nick - i loosened the nuts & bolts you suggested & filed the corners of the front plate but still ended up with the gap. i`think this is because the bracket holes are to high. i'll just fill it with bog for now.
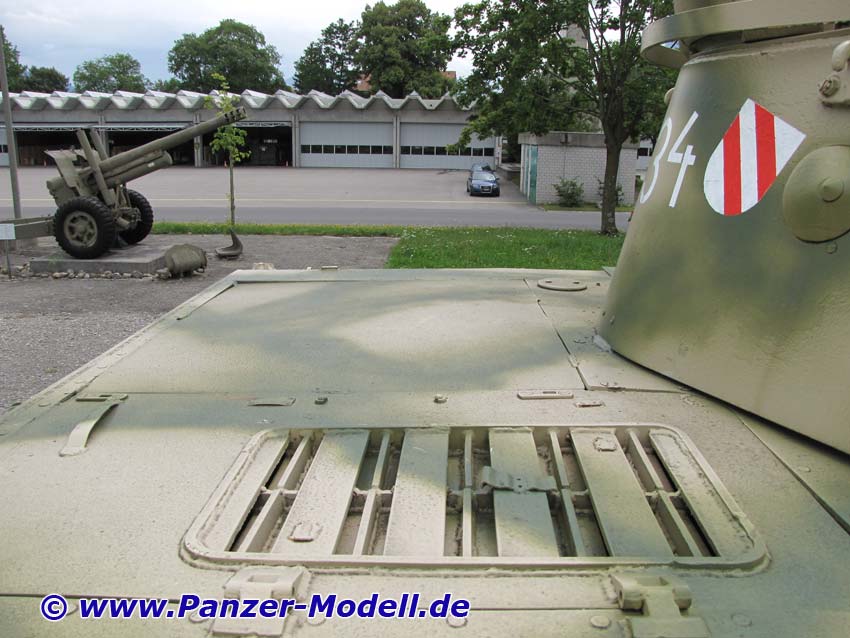
all - something else i've noticed. armortek manual shows rear deck grills as below, yet muesum tank photos show grills are flat. what is the general concensus, flat or lower?
- 17-01-12.JPG (122.72 KiB) Viewed 10418 times