Pz III New Build
-
- Site Admin
- Posts: 3110
- Joined: Sat Oct 11, 2008 7:05 pm
- Location: Dorset
- Has liked: 1024 times
- Been liked: 2094 times
- Contact:
Pz III New Build
Now the build of my Pz IIII has started. It was almost a shame to unpack it - Gill has packed it so beautifully.
Having seen the enthusiasm for build pictures and kit contents, I'll add my lot from time to time.
This is my first post so bear with my and my attempts to use Photobucket.
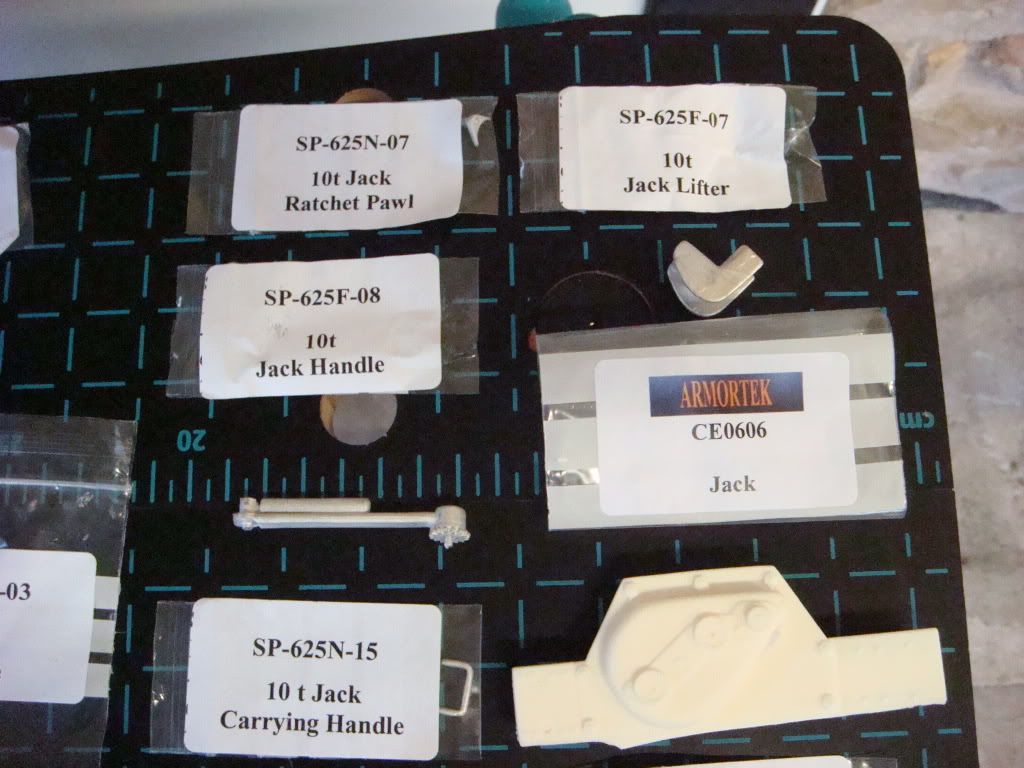
Firstly the kit as unpacked, including Pack 14, the Armorpax details.
The Pack 1 Hull work is now underway, with the seating of the suspension bushes:
So far, so good.
[/img]
-
- Posts: 436
- Joined: Mon Jul 21, 2008 6:47 pm
- Location: Blackpool
- Been liked: 1 time
-
- Posts: 1762
- Joined: Fri Jul 13, 2007 4:53 am
- Location: Northern California
- Been liked: 177 times
- Contact:
- Robert E Morey
- Posts: 2303
- Joined: Wed Jul 18, 2007 12:59 am
- Location: Seattle, WA USA
- Has liked: 126 times
- Been liked: 758 times
-
- Posts: 61
- Joined: Sun Jul 27, 2008 6:02 pm
- Location: Lion City
-
- Posts: 165
- Joined: Thu Jul 12, 2007 7:06 pm
- Location: Westchester, suburb of Chicago, USA
-
- Site Admin
- Posts: 3110
- Joined: Sat Oct 11, 2008 7:05 pm
- Location: Dorset
- Has liked: 1024 times
- Been liked: 2094 times
- Contact:
Today'Progress
Some pictures of today's work - preparation and assembly.
All metal work cleaned with acetone and etch primed.
First assemby - bump stops. Contrary to an earlier post, I found the bolts specified in Mark's instructions for the bump stops to be correct (M3 3 x 10 csk and M3 3 x 10 hex) but you need 16 M3 nuts not 8.
I had hit a problem last night with one suspension bush which I could not drive fully home. I probably seated it slightly out of true or perhaps used too much Loctite. The upshot was a bush left proud by an unacceptable 2-3 mm. The answer was to compress it using a bolt and washer as shown below. No damage to the bush and all bushes correctly seated.
The remaining loose assembly went together well but there is some aliging to do before final tightening.
Now the pictures.
Thanks for your kind comments - much appreciated.
All the best
All metal work cleaned with acetone and etch primed.
First assemby - bump stops. Contrary to an earlier post, I found the bolts specified in Mark's instructions for the bump stops to be correct (M3 3 x 10 csk and M3 3 x 10 hex) but you need 16 M3 nuts not 8.
I had hit a problem last night with one suspension bush which I could not drive fully home. I probably seated it slightly out of true or perhaps used too much Loctite. The upshot was a bush left proud by an unacceptable 2-3 mm. The answer was to compress it using a bolt and washer as shown below. No damage to the bush and all bushes correctly seated.
The remaining loose assembly went together well but there is some aliging to do before final tightening.
Now the pictures.
Thanks for your kind comments - much appreciated.
All the best
-
- Posts: 743
- Joined: Thu Jul 12, 2007 10:34 am
- Location: Kent
- Been liked: 10 times
-
- Posts: 1279
- Joined: Thu Jul 12, 2007 12:44 pm
- Location: london
- Has liked: 218 times
- Been liked: 182 times
-
- Posts: 1762
- Joined: Fri Jul 13, 2007 4:53 am
- Location: Northern California
- Been liked: 177 times
- Contact:
-
- Posts: 1428
- Joined: Fri Jul 13, 2007 1:10 am
- Location: Port Macquarie Australia
- Been liked: 429 times
- Contact:
Thanks for the photos Stephen .This is what the forum needs more builds ..I was suprised to see the cut outs in the hull floor. After looking at my 1/35 scale PZ III . I can now see why Mark has done it ,on the real machine the suspension axles hang low under the hull . this will keep all the running gear in scale ... Dale
-
- Posts: 279
- Joined: Fri Aug 01, 2008 1:01 am
- Location: Grafton, OH - USA
-
- Posts: 1428
- Joined: Fri Jul 13, 2007 1:10 am
- Location: Port Macquarie Australia
- Been liked: 429 times
- Contact:
Hello Stephen . It's a good idea to try not to get to much primer on to early !!! It's Ok to load up the lower steel floor and the inside of the tub , but not to much on the outer alloy hull plates you will need to do a lot of hole filling and sanding , plus fake welds everywhere otherwise you will end up with a build up of paint . It's best to build to a stage where you are happy that there's not to much more to do . Then give it a good cover .... Dale
-
- Site Admin
- Posts: 3110
- Joined: Sat Oct 11, 2008 7:05 pm
- Location: Dorset
- Has liked: 1024 times
- Been liked: 2094 times
- Contact:
Ah - I'd planned to etch prime with a very thin coat primarily to cover metal to metal joints. I'd then planned to do the filling and surface detailing and then apply red oxide to simulate the original German primer. You're suggesting a build up of paint would be a problem - because it obscures the detail and or makes alignment of parts more difficult? I'd appreciate your thoughts. Regards.
-
- Posts: 1428
- Joined: Fri Jul 13, 2007 1:10 am
- Location: Port Macquarie Australia
- Been liked: 429 times
- Contact: