Tank Workshop challenge ?
-
- Posts: 1559
- Joined: Thu Jul 12, 2007 4:44 pm
- Location: North Lancs
- Been liked: 68 times
Tank Workshop challenge ?
Hi fellas.
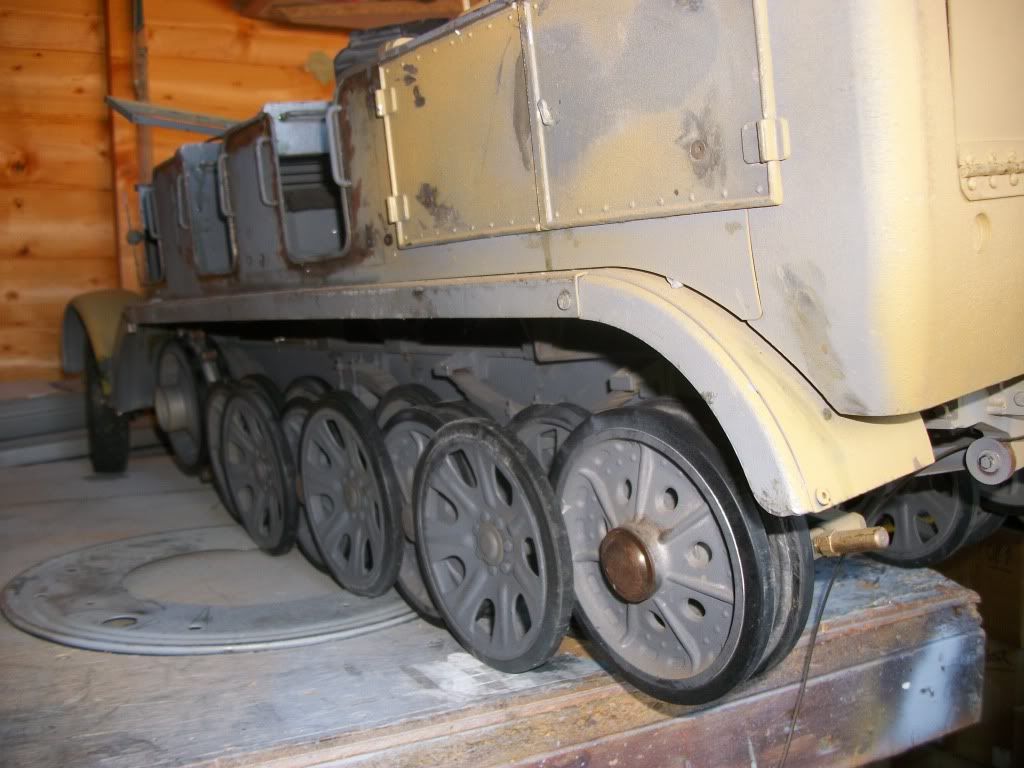
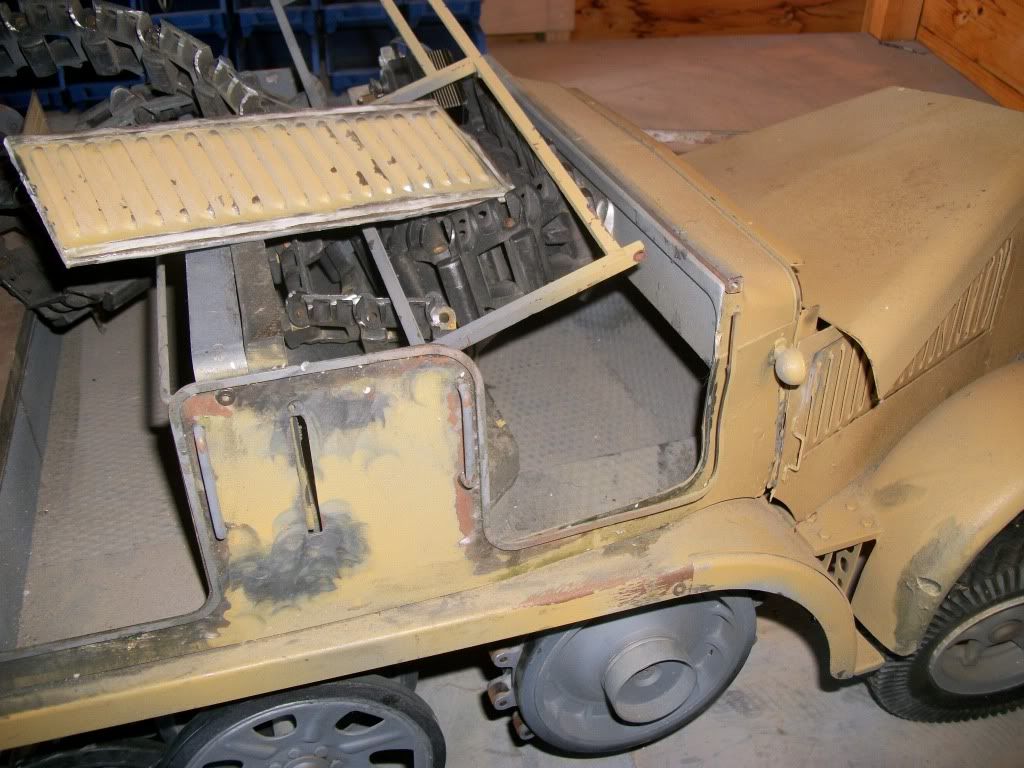
Thought I would start this thread off with a couple of before pictures
As you can see in the far bottom right of the picture I have been driven to drink already on this one Only kidding
The model has had a few problems that include some quite badly cracked wheels, so we decided the best thing was a complete strip down and re start.
then hopefully a phoenix will rise from the ashes
Thats all for now more to follow.
Cheers Paul
Paul's Tank Workshop. Complete Tank builds and re builds zimmerit and paint to museum quality standard. pjtigerman@aol.com
01524 720977
https://www.facebook.com/PaulsTankWorkshop
01524 720977
https://www.facebook.com/PaulsTankWorkshop
-
- Posts: 1762
- Joined: Fri Jul 13, 2007 4:53 am
- Location: Northern California
- Been liked: 177 times
- Contact:
- Robert E Morey
- Posts: 2295
- Joined: Wed Jul 18, 2007 12:59 am
- Location: Seattle, WA USA
- Has liked: 119 times
- Been liked: 753 times
Hi Paul,
I'm sure if anyone can resurect this one -that you can. I think all hard core Armortek owners dream of finding a rust bucket like this to restore.
How did the wheels get cracked? These models are really stout, it must have been dropped? Are they bent and cracked? If they are still true maybe just fill the crack with epoxy? Or maybe Gill can get some more cast for you? Perhaps you can use the original as a master and get more cast locally by one of the master craftsmen there in UK.
Keep us posted on the restoration!
Bob
-
- Posts: 1559
- Joined: Thu Jul 12, 2007 4:44 pm
- Location: North Lancs
- Been liked: 68 times
Hi fellas.
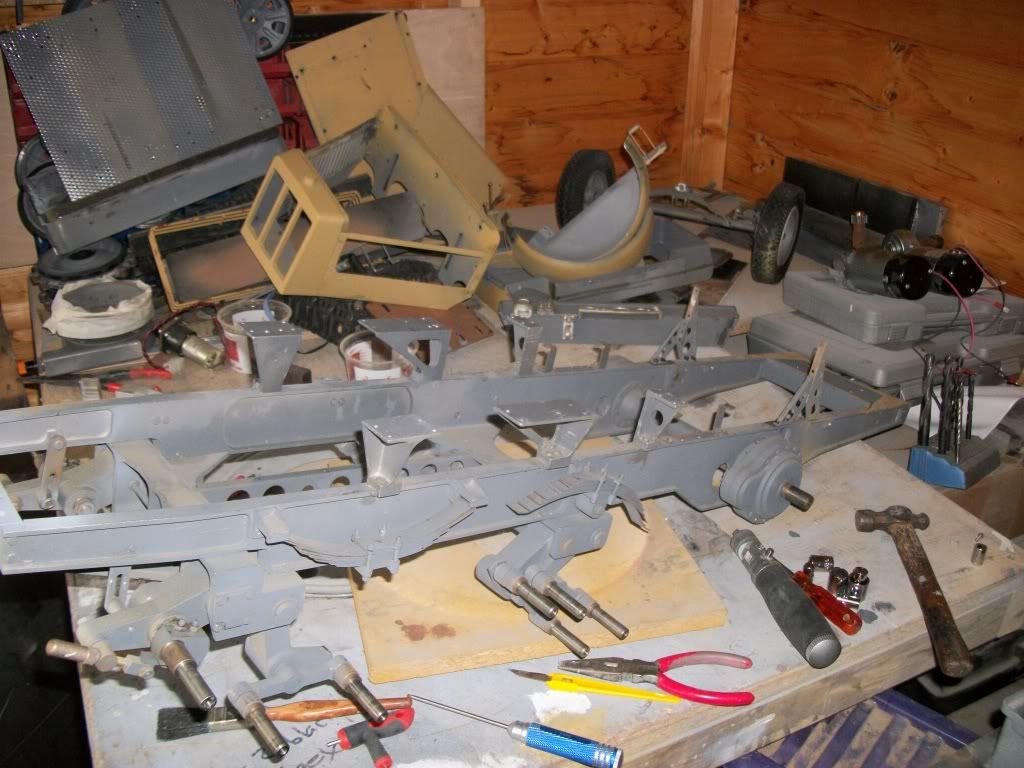
Well the long road to a Phoenix has started I spent all of the weekend getting the model stripped back to the chasis
Thank you for your comments ... Bob I heard that the model was on a bench that collapsed and thats how the wheels were cracked and most of the damage sustained I think the owner was then so upset at what had happened the model was just shelved and left alone till now.
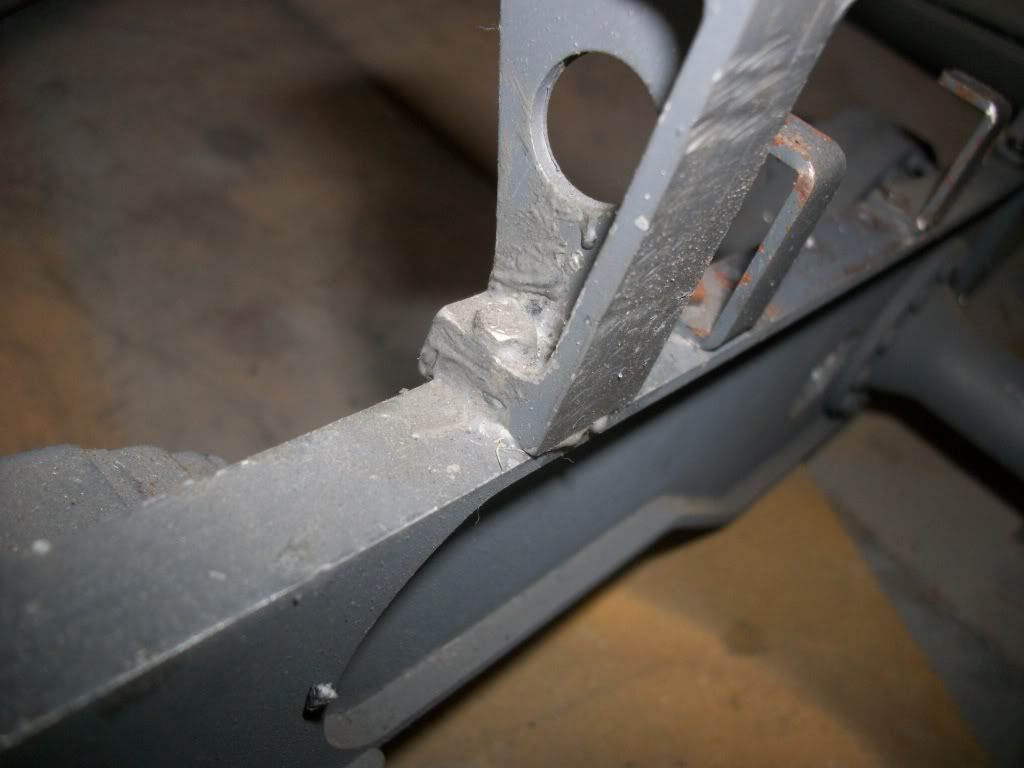
As far as I know the model has had several owners and some of the upright brackets that stand off the chassis needed re doing as the threads were stripped in the holes and the mounting brackets just glued in place.
once removed the holes were then tapped out at 4mm and a small hole drilled in the top of the bracket to allow easy fixing with a 4mm cap head that will not be seen when the model is finished.
The rear towing bracket was repaired in the same way.
Just a question of going all round now and making sure everything is solid and the chassis can be re painted.
Cheers Paul
Paul's Tank Workshop. Complete Tank builds and re builds zimmerit and paint to museum quality standard. pjtigerman@aol.com
01524 720977
https://www.facebook.com/PaulsTankWorkshop
01524 720977
https://www.facebook.com/PaulsTankWorkshop
-
- Posts: 105
- Joined: Fri Dec 03, 2010 7:24 pm
- Been liked: 5 times
-
- Posts: 1224
- Joined: Thu Jul 12, 2007 11:42 am
- Location: Manchester
- Has liked: 8 times
- Been liked: 688 times
-
- Posts: 1559
- Joined: Thu Jul 12, 2007 4:44 pm
- Location: North Lancs
- Been liked: 68 times
Re: Tank Workshop challenge ?
Hi fellas.
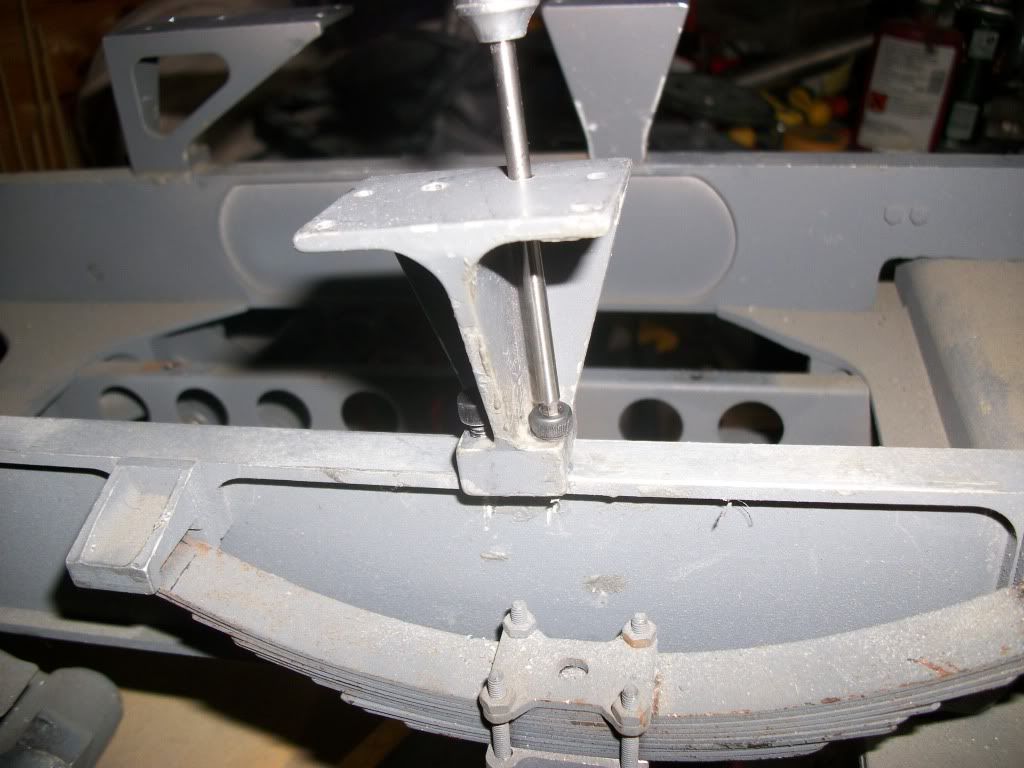
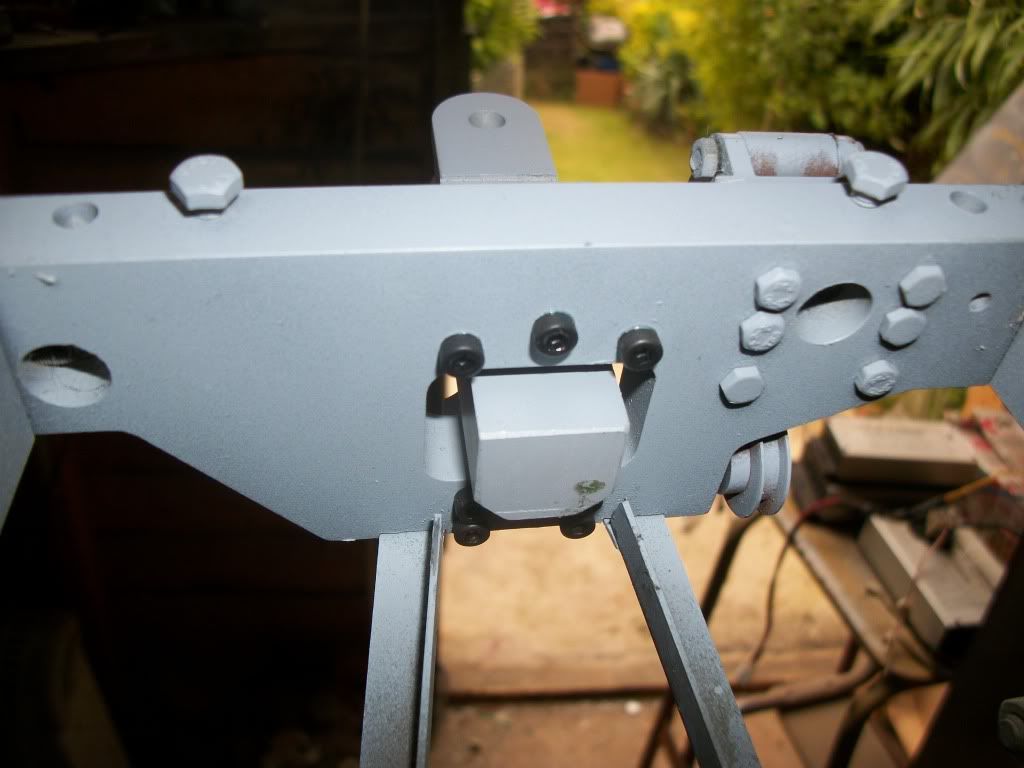
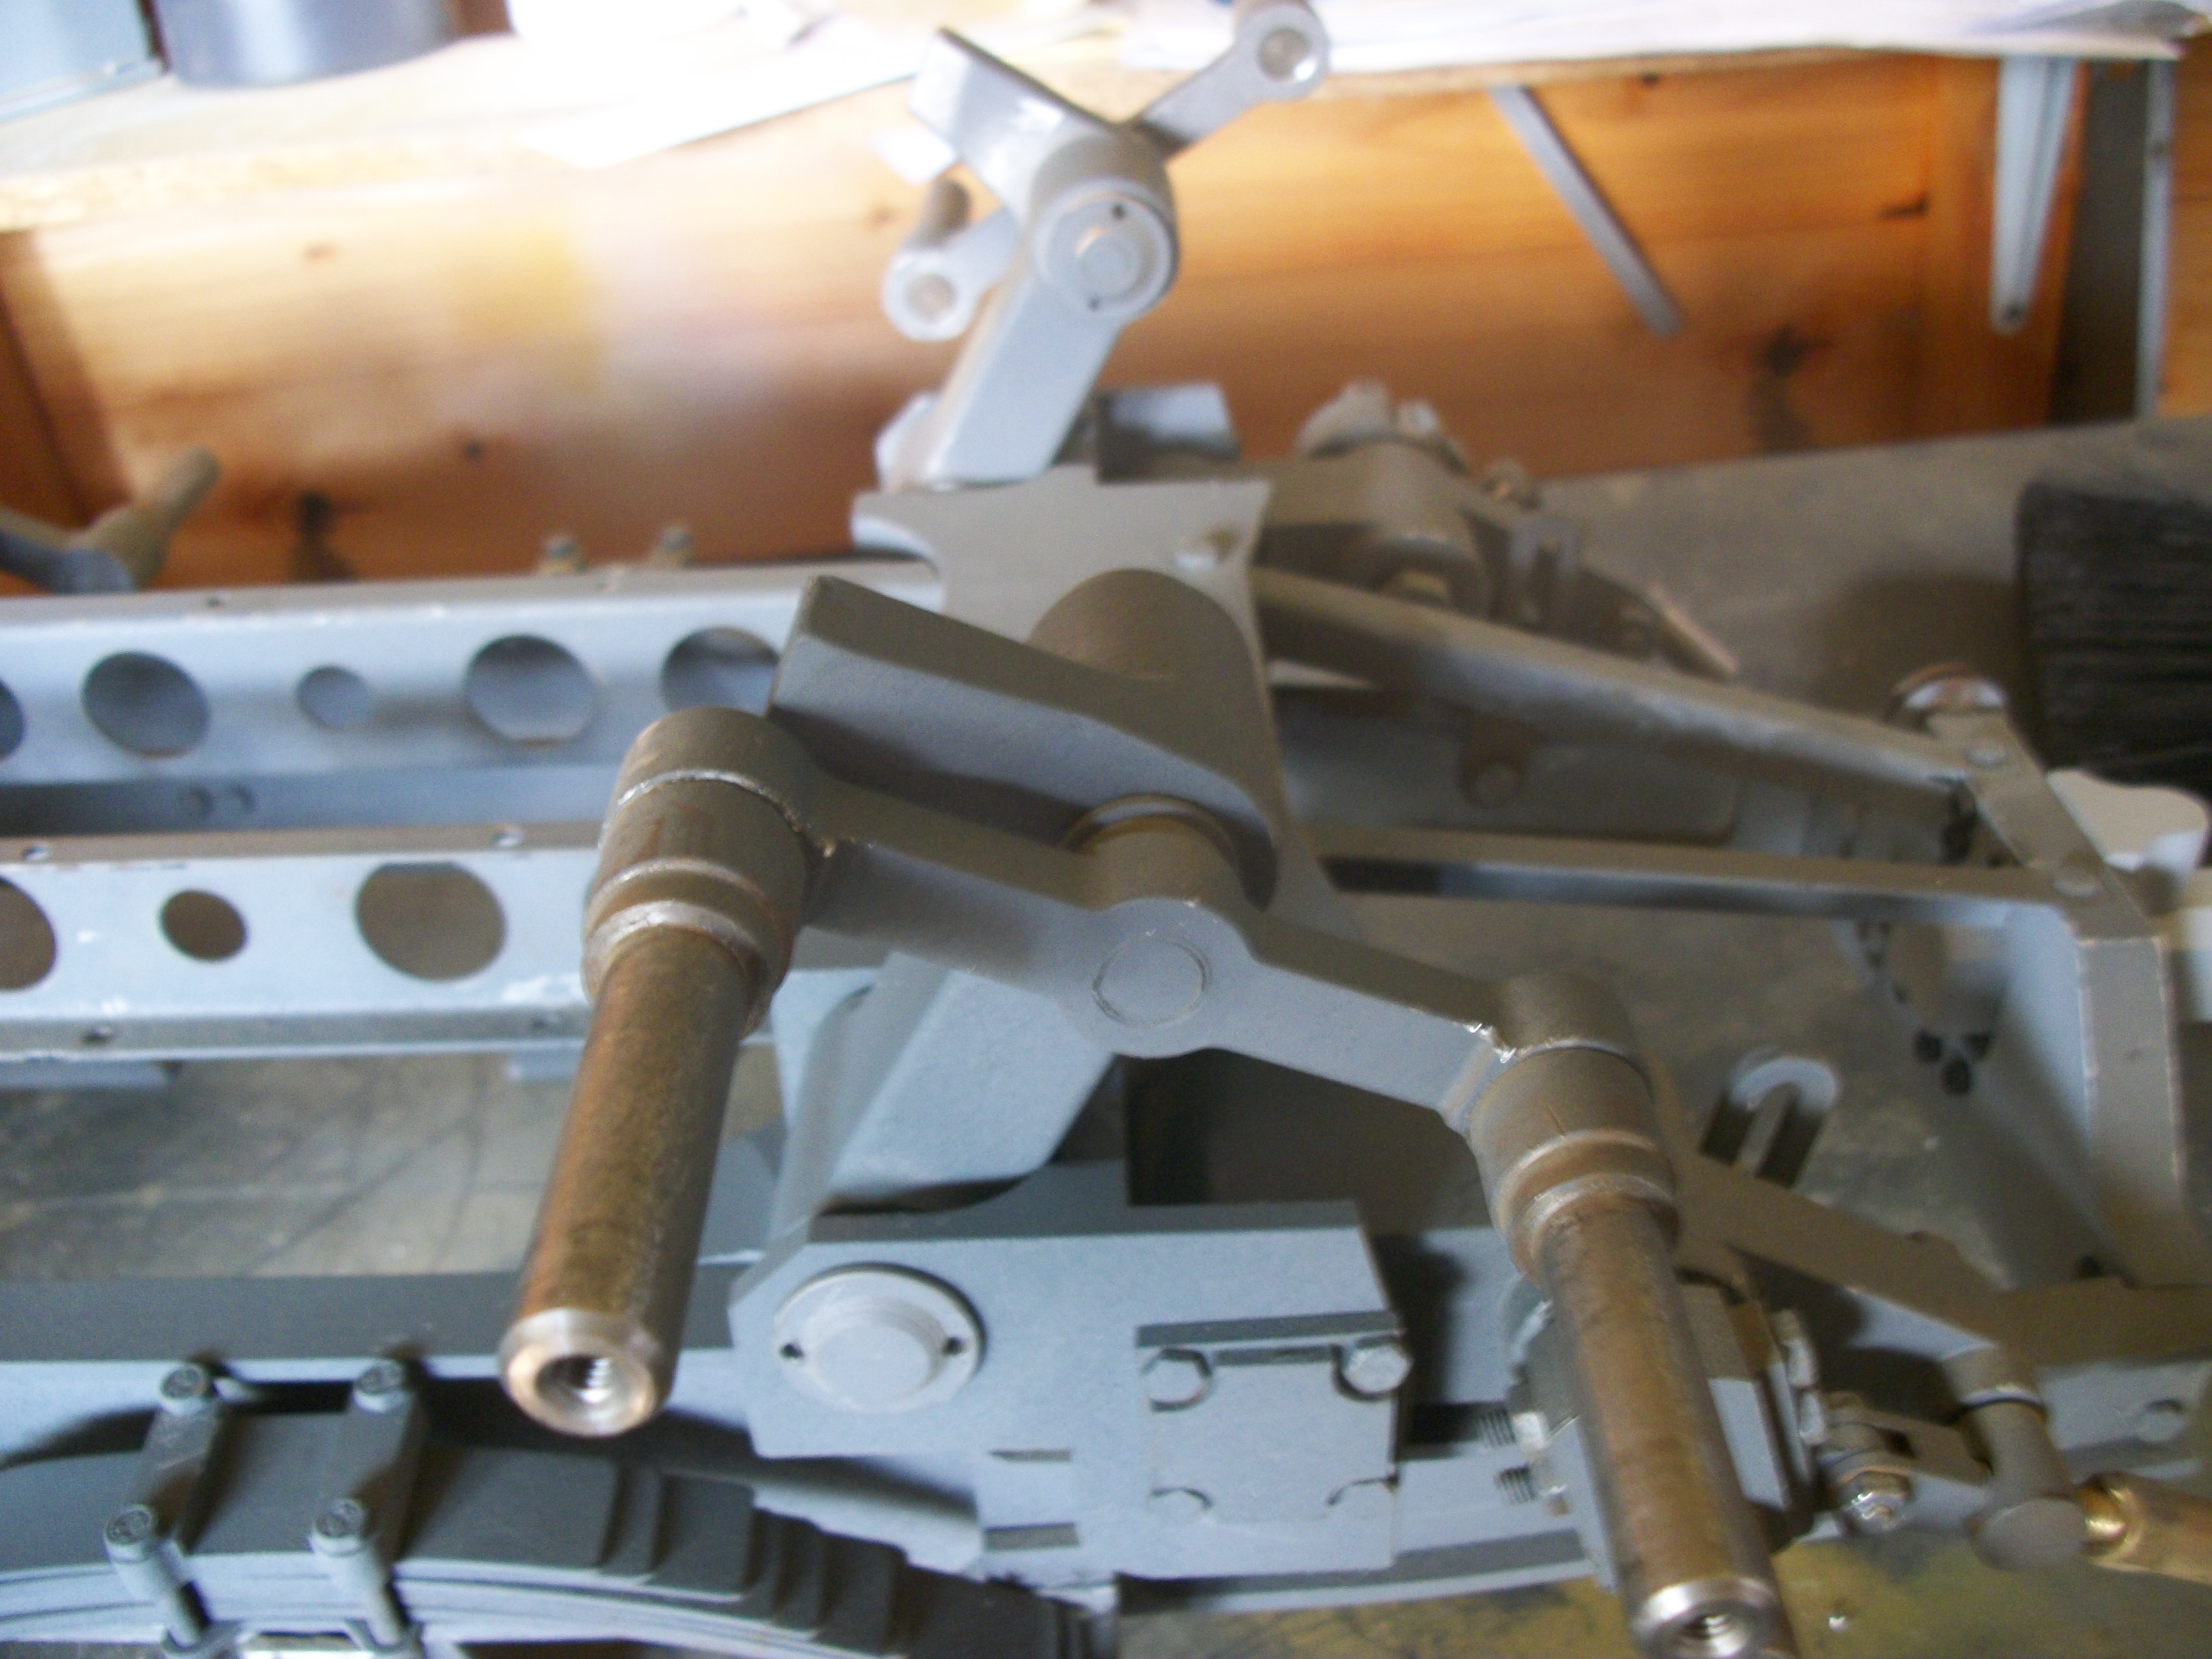
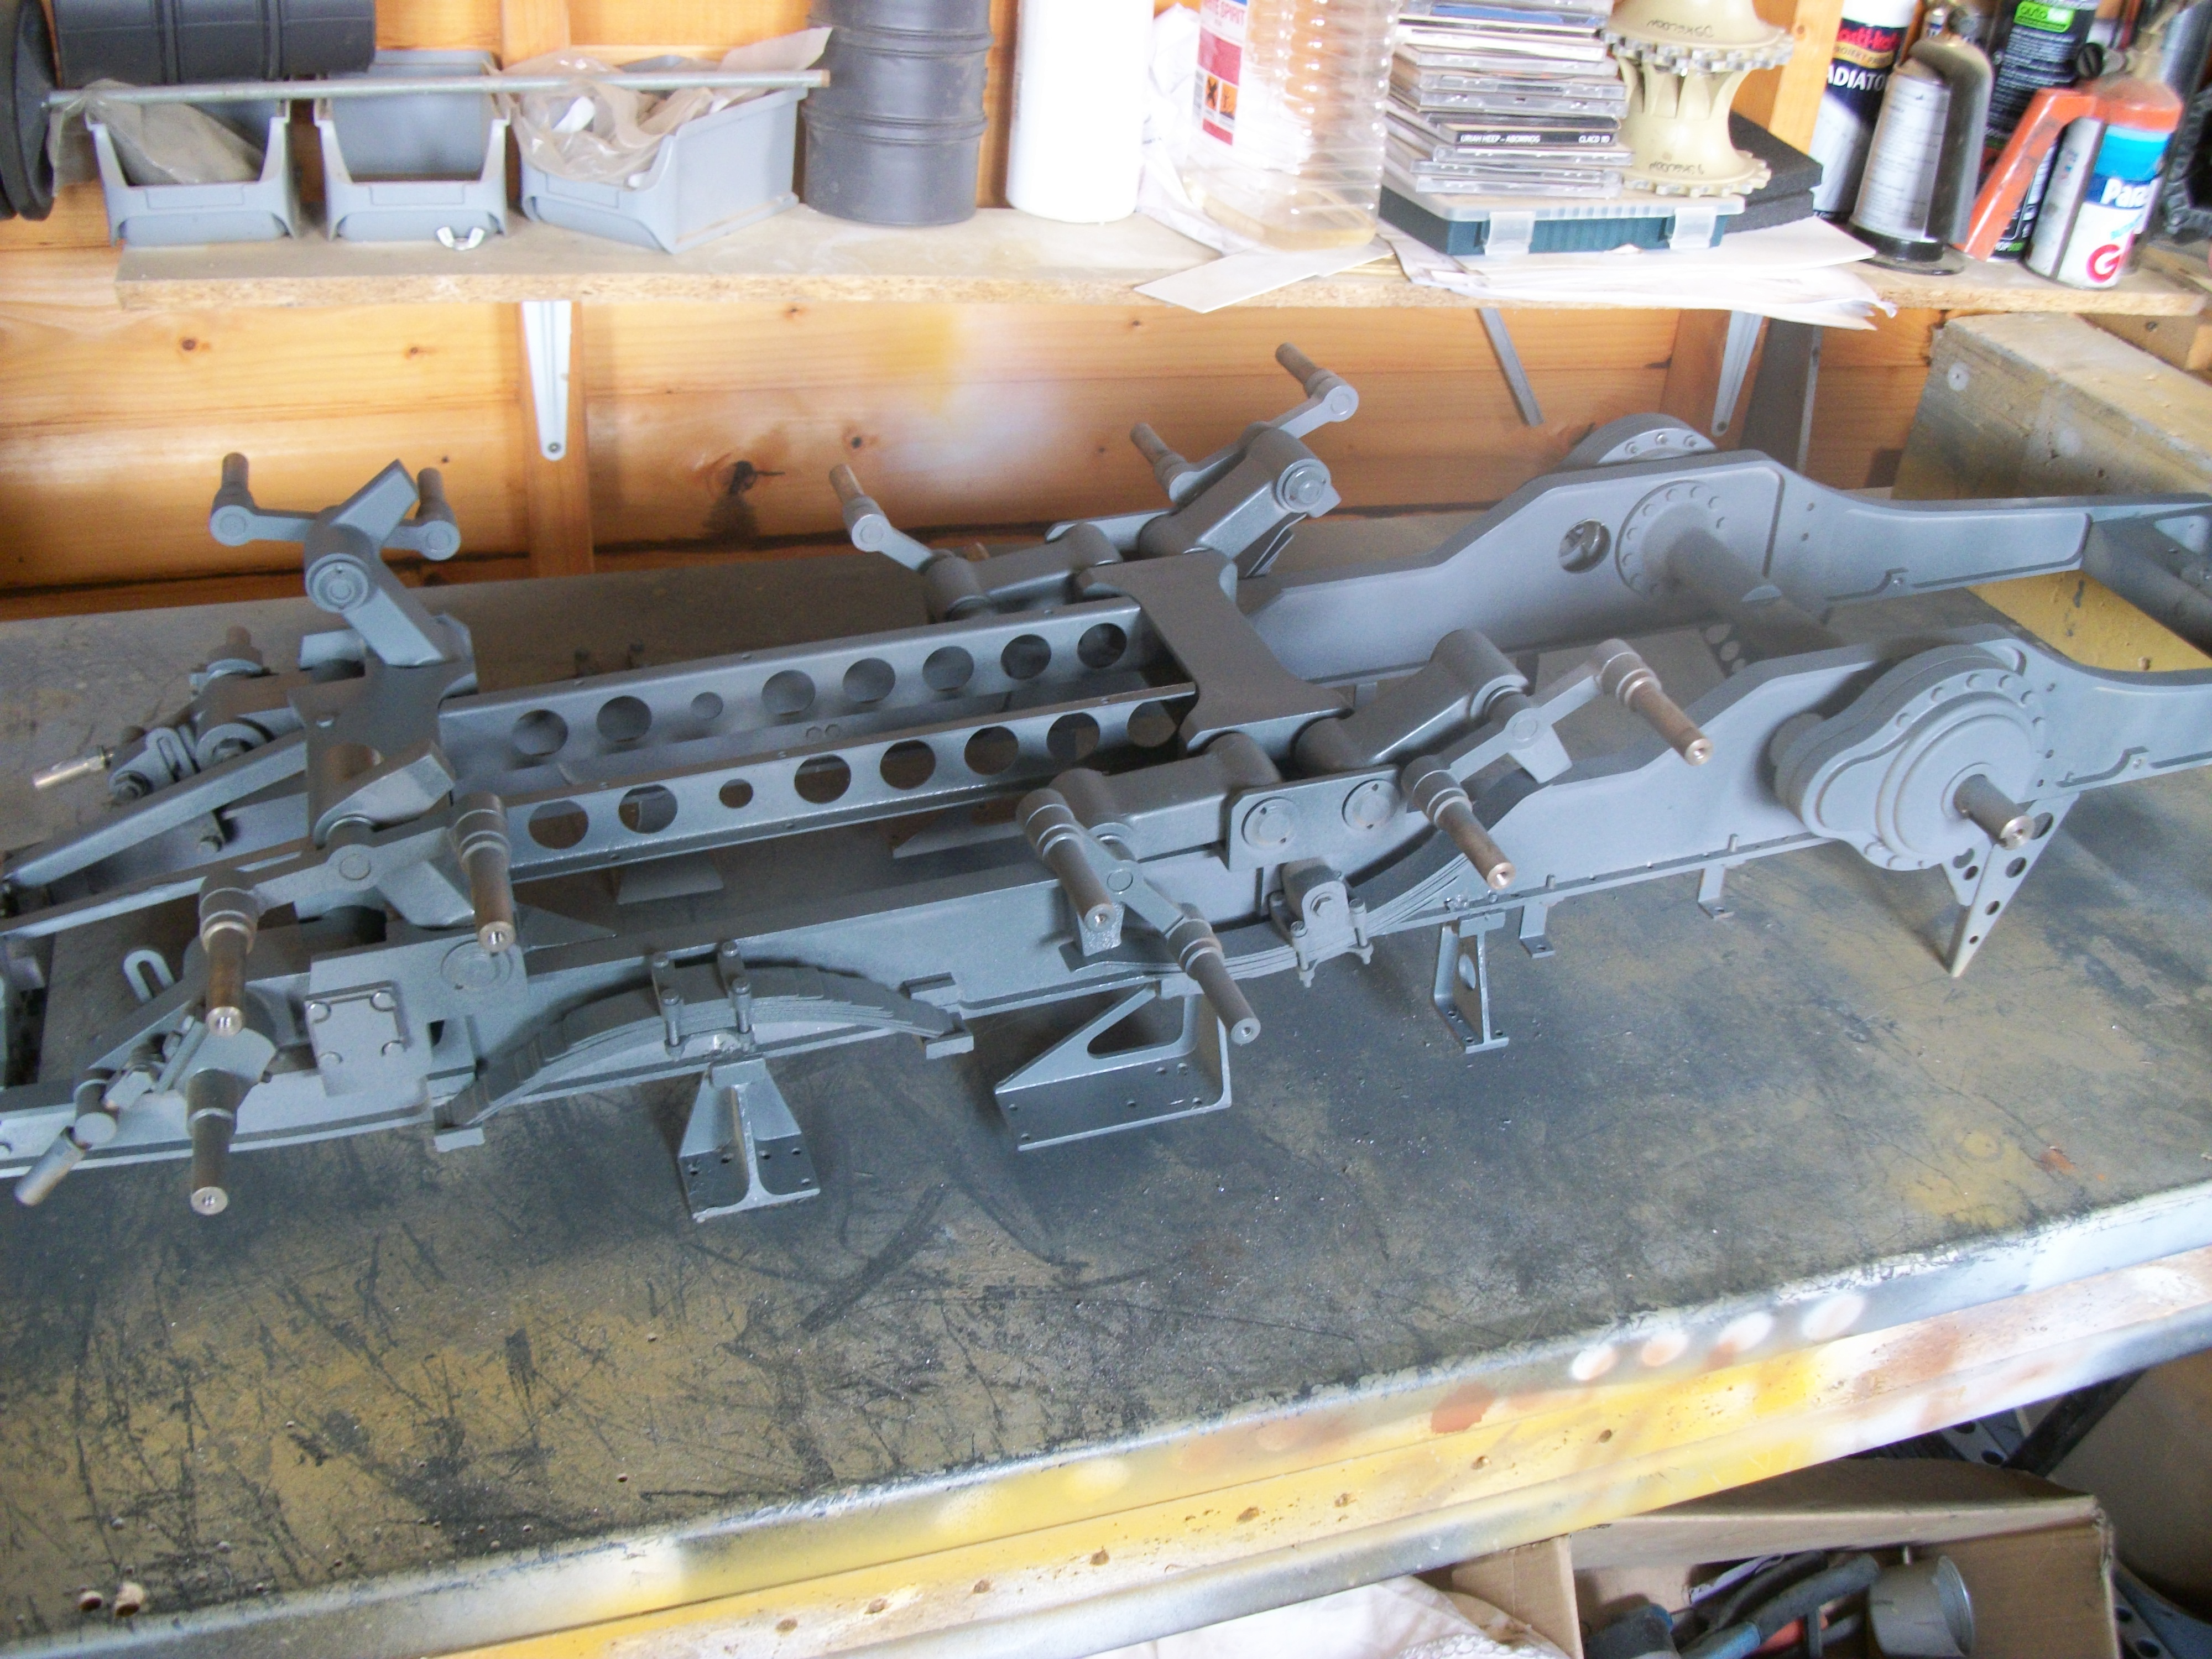
Well I suppose I will have to admit that I have been putting this one off a little bit, the more I looked at it the more problems I seemed to find but here goes lets see what can be made of it. Once most of the model was stripped back to the bacic chasis I started going round tightening things up, the above picture shows a bit of a problem the pins that hold the bogies on had plenty of thread lock on them and needed to come off so get to the countersinks underneath that were very loose, a bit of heat from the blowtorch soon had the pins free and everything put back in place.
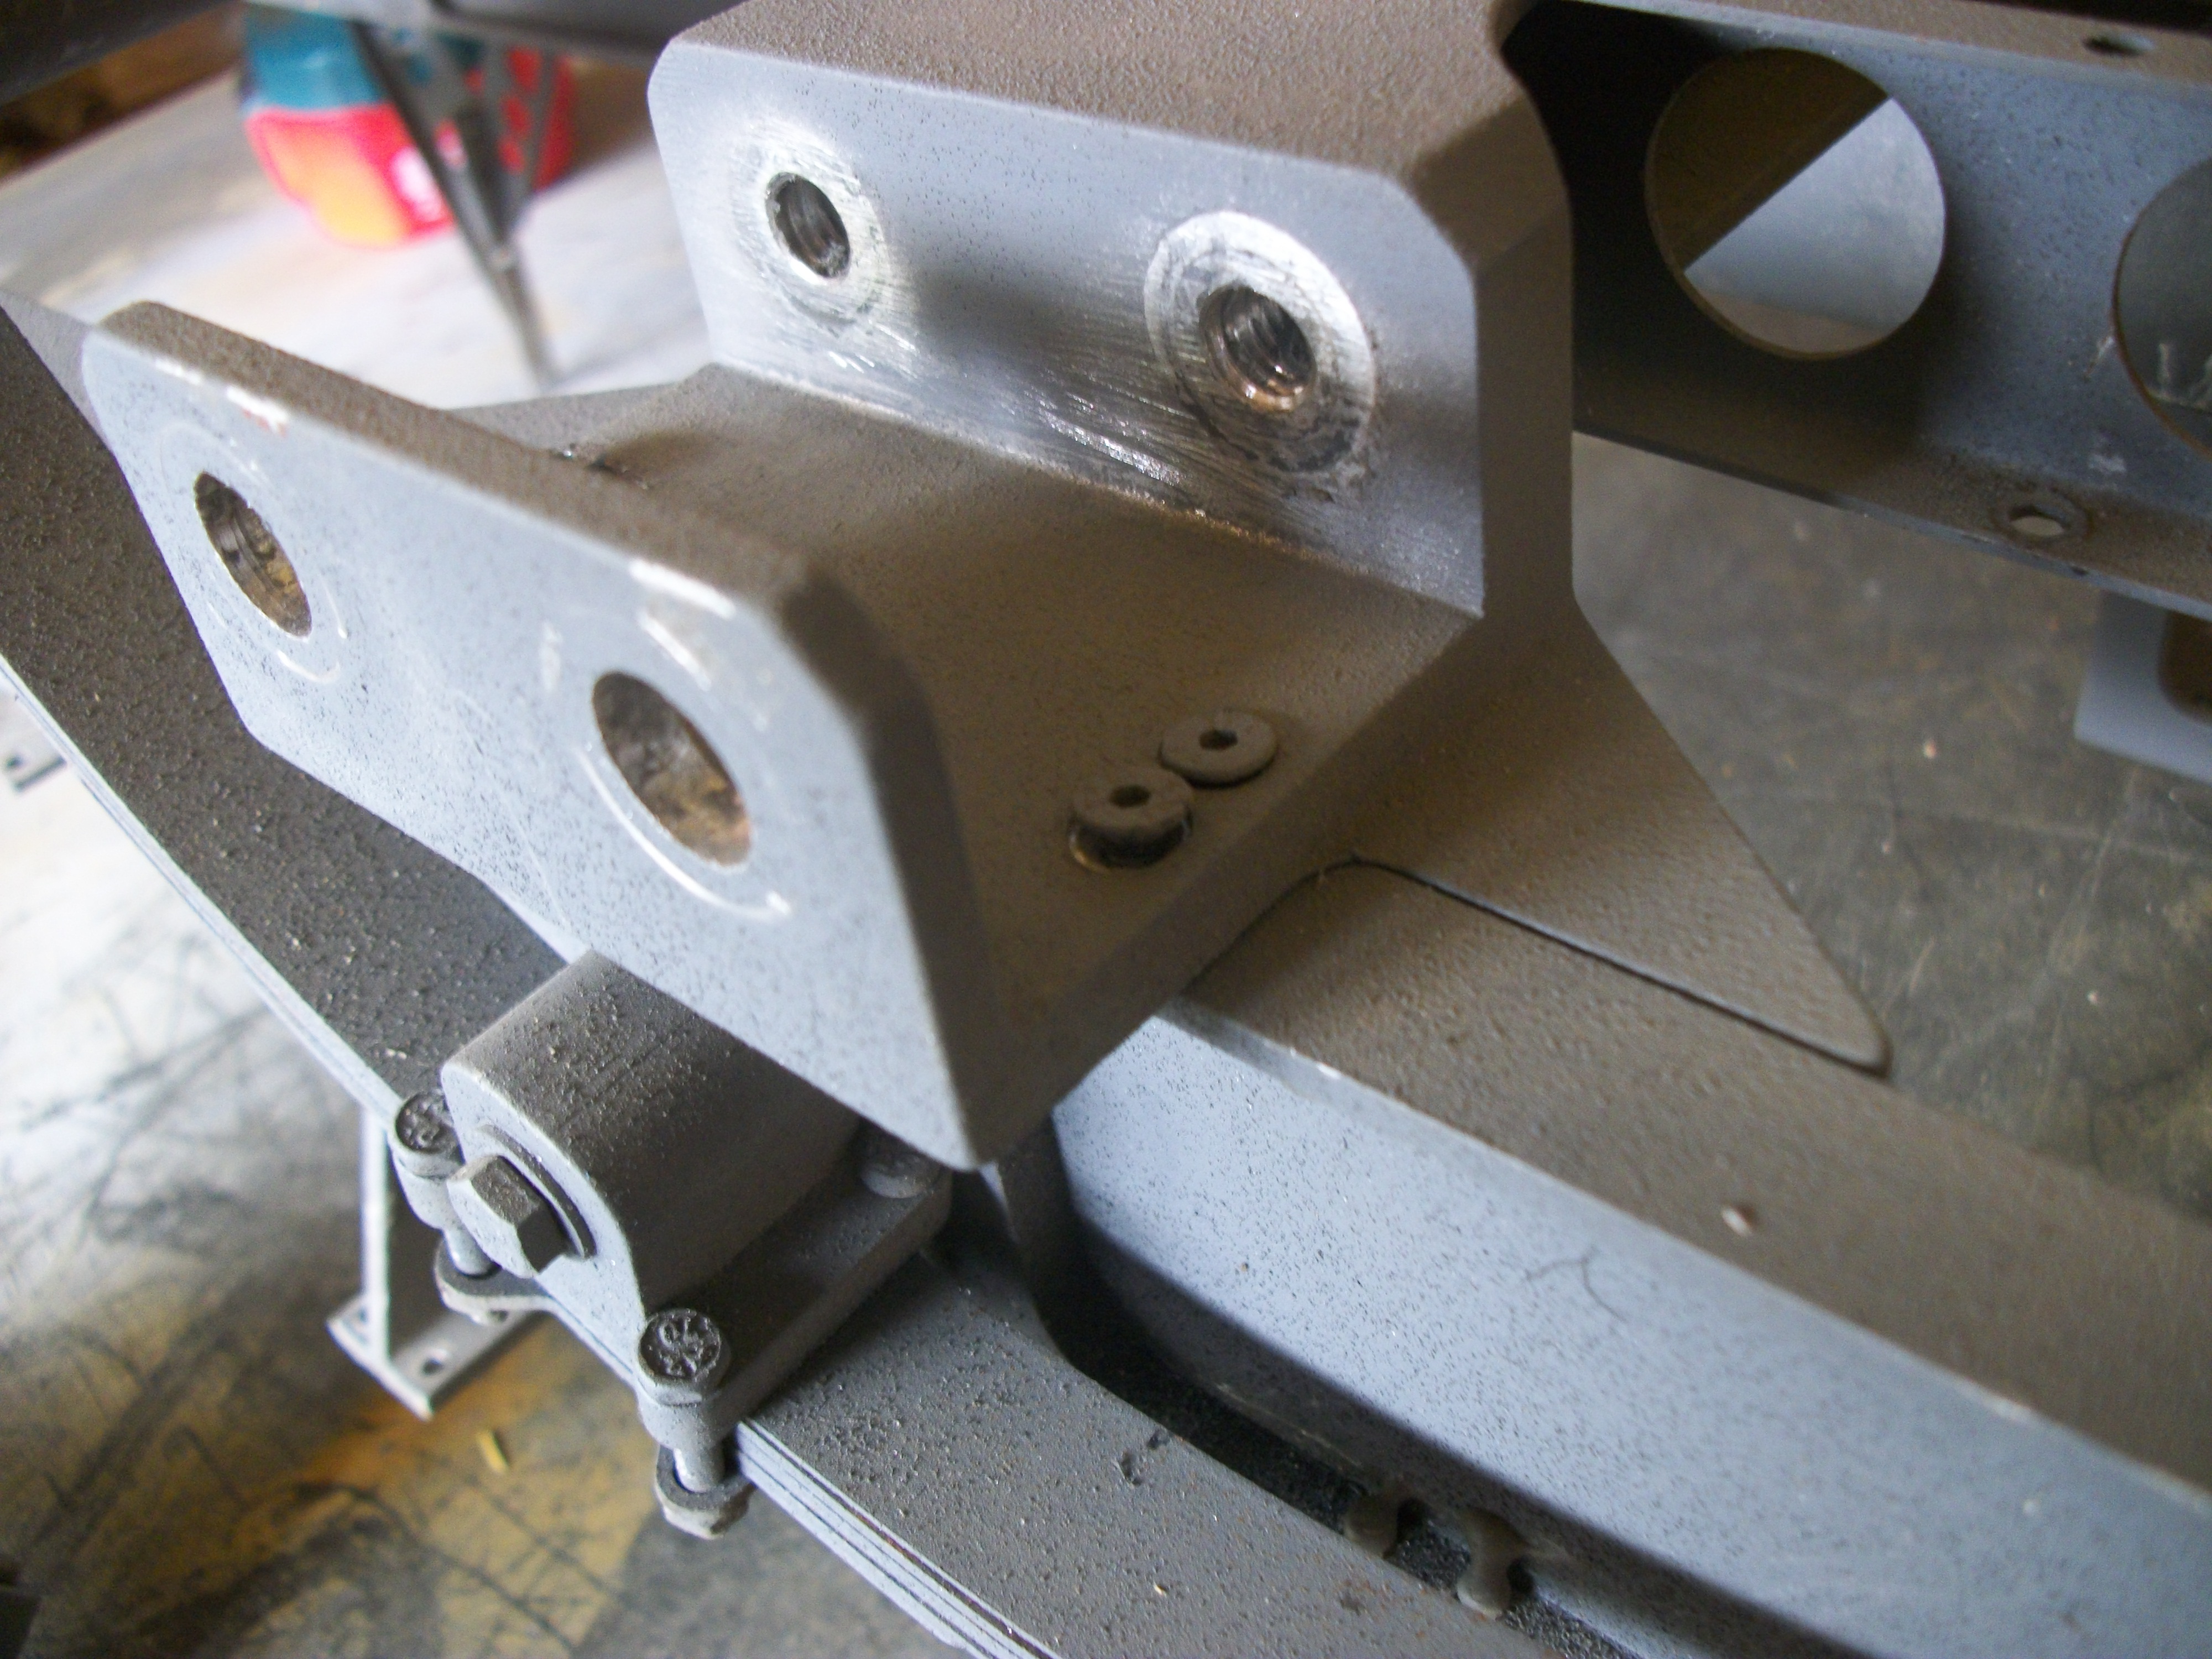
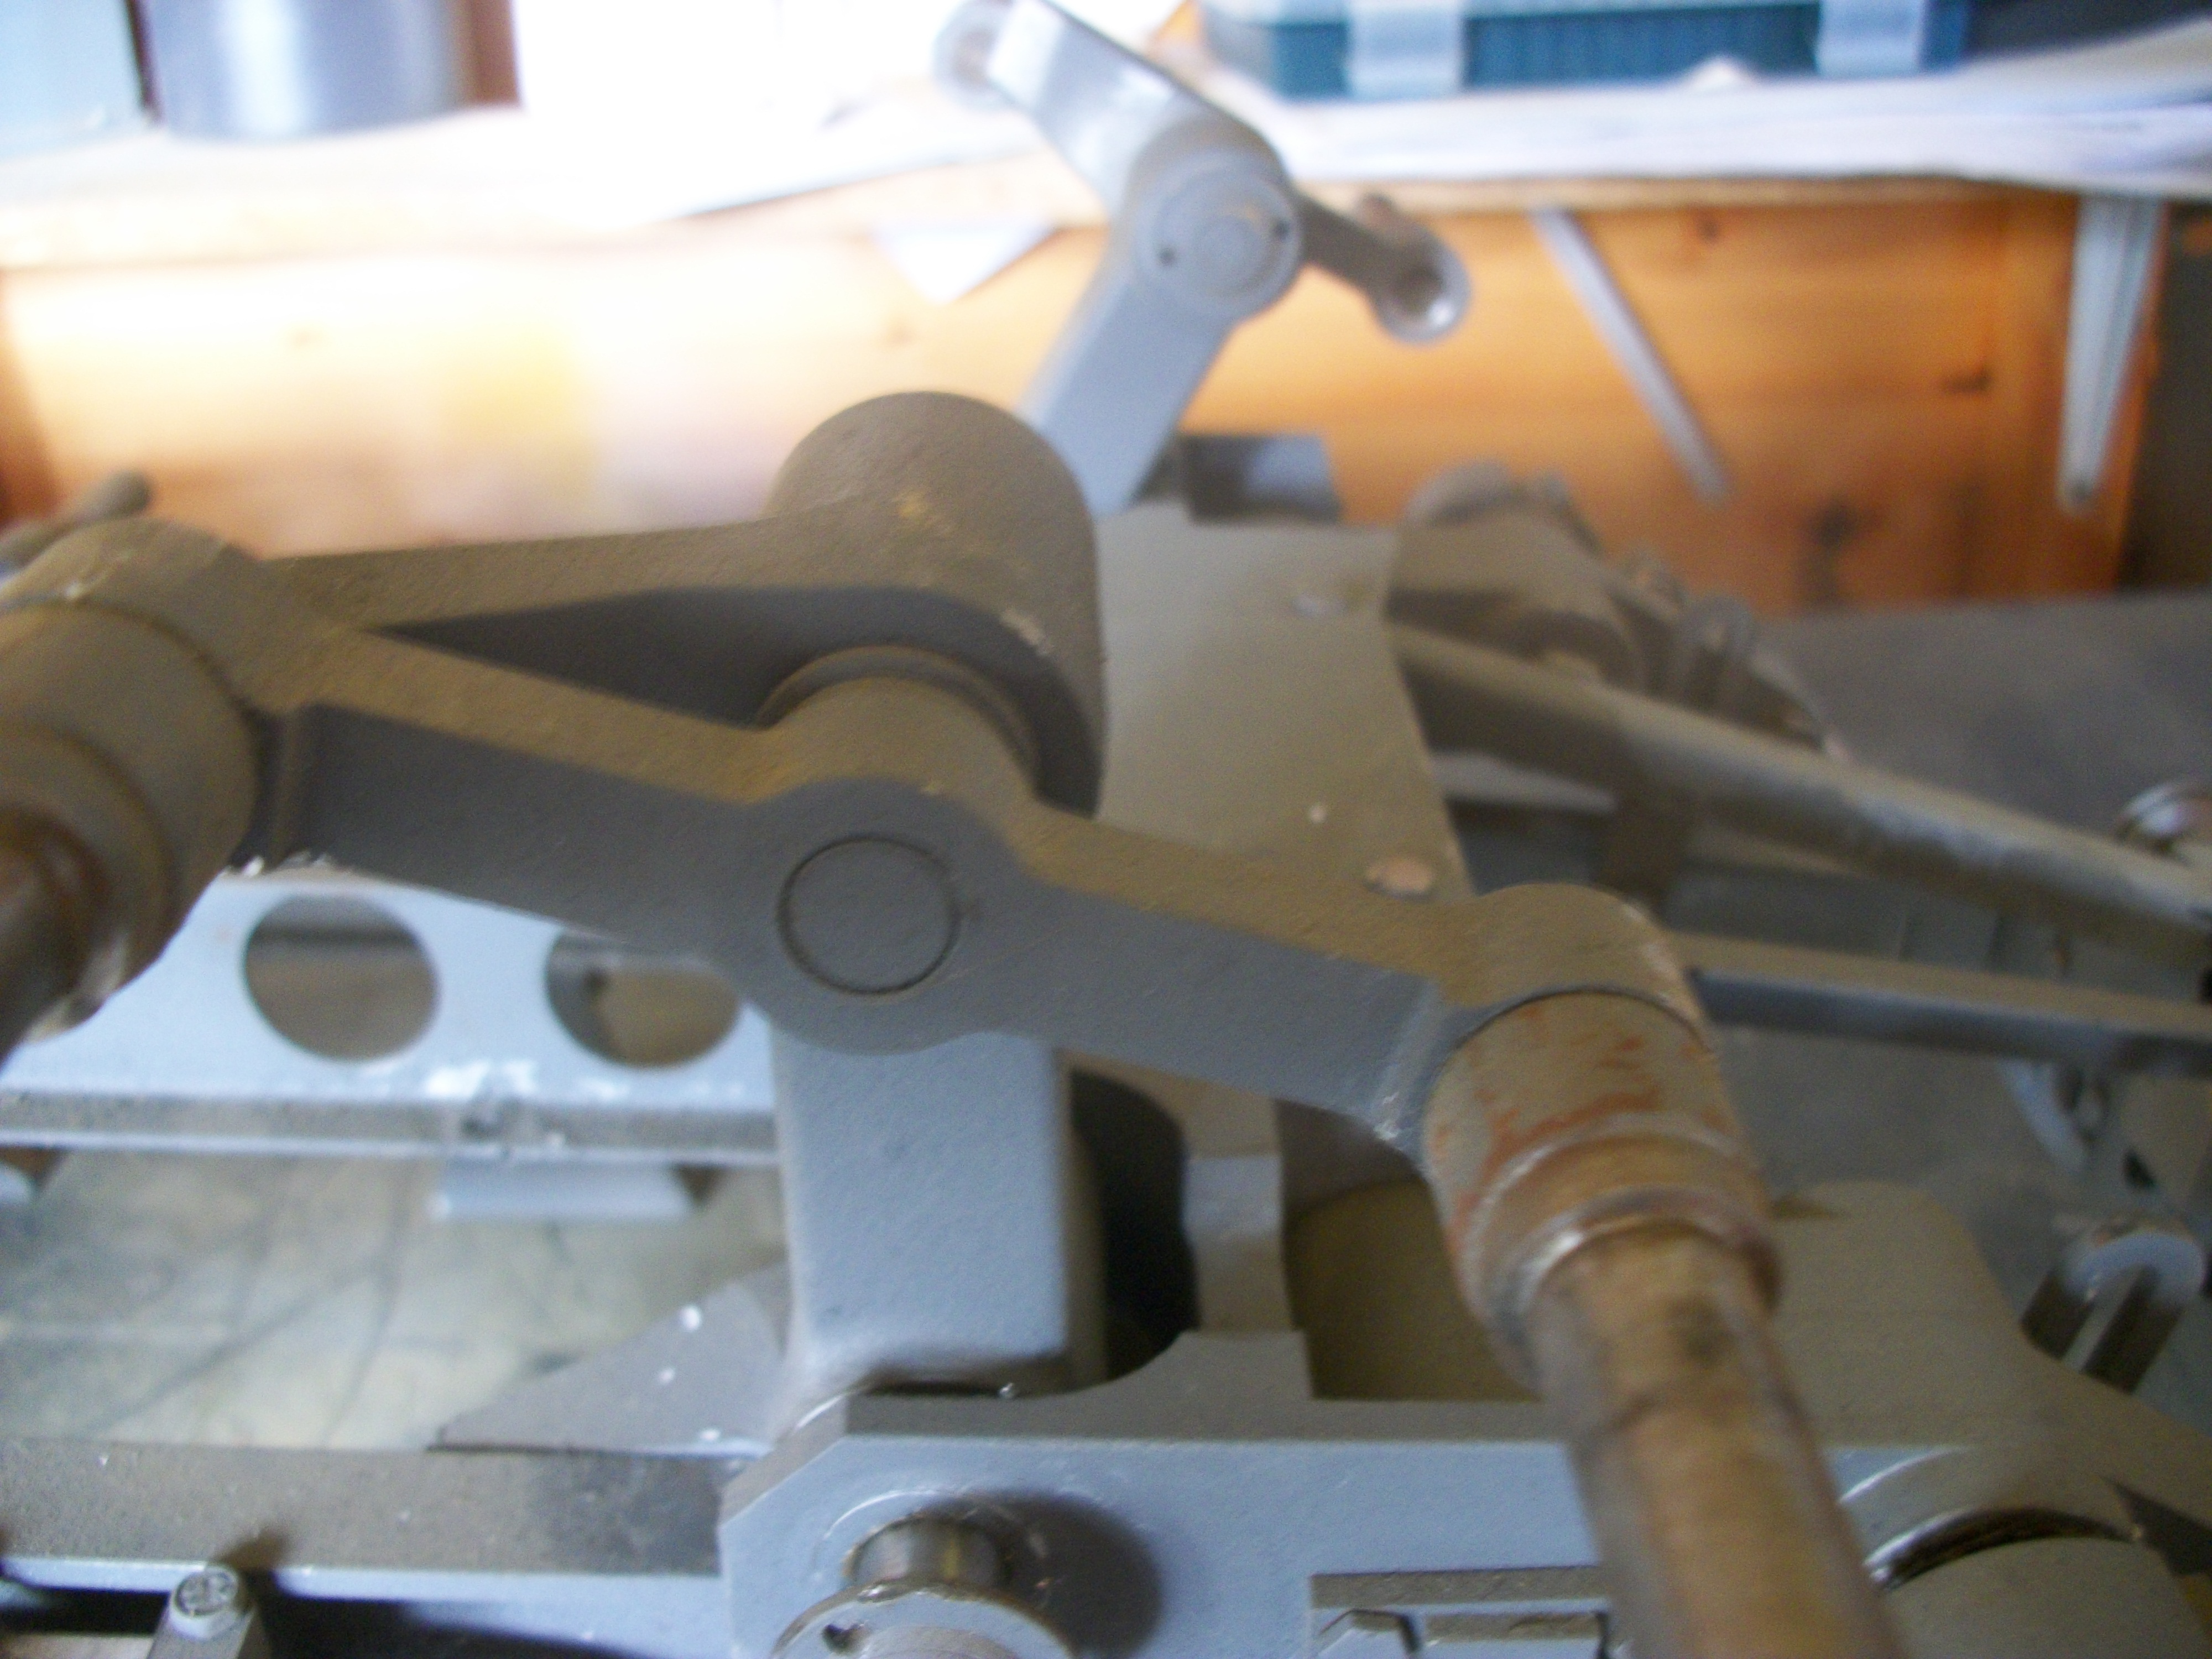
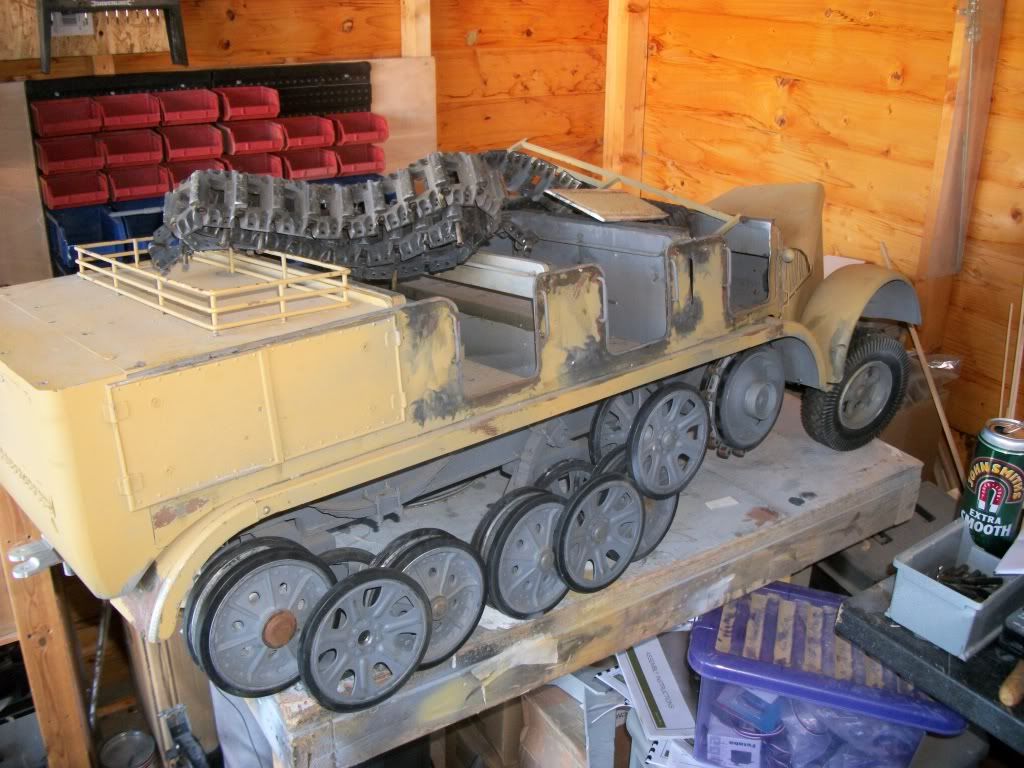
Then I noticed the rear bogies on one side did not travel back as far as the other side did see the next picture. it turned out thet when the bogie moved on its pin it was catching on the brackets below, 5 mins with the power file sorted this out quick style. In the next picture the parts are re painted and you can see that the travel now matches the other side. Finally a picture of the chasis all tightened up and with a coat of etch primer. More to follow soon, thanks for looking.
Cheers Paul
Paul's Tank Workshop. Complete Tank builds and re builds zimmerit and paint to museum quality standard. pjtigerman@aol.com
01524 720977
https://www.facebook.com/PaulsTankWorkshop
01524 720977
https://www.facebook.com/PaulsTankWorkshop
- Robert E Morey
- Posts: 2295
- Joined: Wed Jul 18, 2007 12:59 am
- Location: Seattle, WA USA
- Has liked: 119 times
- Been liked: 753 times
Re: Tank Workshop challenge ?
Looking great Paul. That is quite a complex chassis. Looks like you are getting it sorted nicely!
Best regards,
Bob
Best regards,
Bob
-
- Posts: 1559
- Joined: Thu Jul 12, 2007 4:44 pm
- Location: North Lancs
- Been liked: 68 times
Re: Tank Workshop challenge ?
Oh well.
Onwards and backwards the next thing that jumped out was the front wheels. Mmm quick look here and all is not well as you can see in the picture the tyre is not seated correctly this over time has caused the tyre to start to crack Not a good sign after a little gentle pesuasion with a screwdriver and a rubber mallet I got the tyre to sit correctly on the rim, in the next picture you can still see a gap around the rim that I took to be down to the tyre forming the wrong shape over the time it has been left that way. I removed both wheels and boiled the tyres on the rims to soften up the rubber then both wheels were quenched in a tub of cold water to drag them back to the original shape, this seems to have worked pretty well and both tyres look O.K. now and the cracks seem to be only on the surface.
More to follow soon cheers Paul
Paul's Tank Workshop. Complete Tank builds and re builds zimmerit and paint to museum quality standard. pjtigerman@aol.com
01524 720977
https://www.facebook.com/PaulsTankWorkshop
01524 720977
https://www.facebook.com/PaulsTankWorkshop
-
- Posts: 105
- Joined: Fri Dec 03, 2010 7:24 pm
- Been liked: 5 times
Re: Tank Workshop challenge ?
Great work!
I noticed you have inverted the rim and the spokes, this leaving more rim visible from outside, did you made it for a specific reason? I inverted also mine searching for a better looking wheel.
I also made some maintenance on my halftrack wich suffered of some wheel freeplay ((inner with the outer) caused by bushings movement inside the wheels. What I did was to lock inner and outer wheel eachother by using a brass tube (inner diameter 11mm, outer 13), reworking with a 12.75mm drill the inner part of the wheels and put the tube between wheels with an hammer and loctite. I hope that wheels will never create the same problem.
I also did an adjustment to the sunspensions making them a bit softer by removing some elements. I removed over 26 leaf spring elements from the 5 sunspensions. It runs pretty good now.
The only thing now is that the idler wheel is fully tightened and traks are as you can see, removing a link is not a solution, but I've seen no problems running in this way.
Regards
Andrea Daviero (Andrew)
-
- Posts: 1559
- Joined: Thu Jul 12, 2007 4:44 pm
- Location: North Lancs
- Been liked: 68 times
Re: Tank Workshop challenge ?
Hi Andrea / Andrew.
Thanks for the info on the suspension very interesting and a good video of it all working nicely, I will have a look into that when I have a rolling chasis this is not my model but its something I may do with my halftrack when I get to start it .
I cannot claim any credit for "inverting" the wheels this is how they had been originally put together, for now the centre's have been removed for painting.
Thanks again for the info.
Kind regards Paul
Paul's Tank Workshop. Complete Tank builds and re builds zimmerit and paint to museum quality standard. pjtigerman@aol.com
01524 720977
https://www.facebook.com/PaulsTankWorkshop
01524 720977
https://www.facebook.com/PaulsTankWorkshop
-
- Posts: 1559
- Joined: Thu Jul 12, 2007 4:44 pm
- Location: North Lancs
- Been liked: 68 times
Re: Tank Workshop challenge ?
Hi fellas.
Back again with a little more progress, last time round I had just boiled the tyres on the rims as they were not sitting right, and had actually started to crack, good news is the tyres shrank back into place and are now sitting nice and snug.
Here is a picture of some more damage to the model! Luckily for some of the bits and pieces, I have managed to get a few replacements thanks to Gill and Mark thanks again for your help.
Its nice now to be able to start putting a few pieces back together at last. Funny how you get a real lift once a model begins to start looking like something again. Finally just for a laugh here is . . . " The latest news from Cyber space" Cheers for now Paul
Paul's Tank Workshop. Complete Tank builds and re builds zimmerit and paint to museum quality standard. pjtigerman@aol.com
01524 720977
https://www.facebook.com/PaulsTankWorkshop
01524 720977
https://www.facebook.com/PaulsTankWorkshop
-
- Posts: 2020
- Joined: Fri Nov 02, 2007 8:51 pm
- Location: new forest,hampshire,u.k.
- Been liked: 1630 times
Re: Tank Workshop challenge ?
still one of my favorite models, were do you get the stamina from paul, marathon building, keep the build photos coming,its always enjoyable watching the kit come together, best regards simon.
-
- Posts: 2020
- Joined: Sat Dec 12, 2009 3:38 pm
- Location: Sambourne uk
- Been liked: 223 times
Re: Tank Workshop challenge ?
Hi Paul,
An interesting project to whach you work on and see the problems you sort out.
Great idea with the tyres,I am thinking of trying that out myself,on my spare
tyre.
Quick boil in the bath and run outside in our persistant summer rain
Cheers
Phil
An interesting project to whach you work on and see the problems you sort out.
Great idea with the tyres,I am thinking of trying that out myself,on my spare
tyre.
Quick boil in the bath and run outside in our persistant summer rain
Cheers
Phil
-
- Posts: 1559
- Joined: Thu Jul 12, 2007 4:44 pm
- Location: North Lancs
- Been liked: 68 times
Re: Tank Workshop challenge ?
Hi Simon and Phil.
Thanks for your feedback as long as long as my customers are happy with what I am doing Simon I will keep going for them and I must say myself too, I do get a lot of enjoyment out of doing this its true, and I could never afford the amount of models doing this lets me build . . . so hopefully its win win all round.
Right back to it I think this is just about the last picture of what can go wrong! In the above picture you can see the damage to some of the road wheels, while in the background are some castings that a very helpful friend of mine managed to get cast for me and saved this model.
So on to better things and starting to get a bit of proper colour onto the model. Once this base coat was dry back into the shed and I decided to start doing the weathering on the chasis befor any wheels or tracks went on, just basic stuff this pre wash with turps and then daub some mucky colours on and let it run to represent road grime and mud etc. Should be able to get all the wheels on next and the tracks. More to follow cheers Paul
Paul's Tank Workshop. Complete Tank builds and re builds zimmerit and paint to museum quality standard. pjtigerman@aol.com
01524 720977
https://www.facebook.com/PaulsTankWorkshop
01524 720977
https://www.facebook.com/PaulsTankWorkshop