
Attaching the sprocket
-
Nick Chiocchio
- Posts: 40
- Joined: Wed May 04, 2022 11:15 pm
- Location: New Hampshire, USA
- Has liked: 34 times
- Been liked: 30 times
- Contact:
Attaching the sprocket
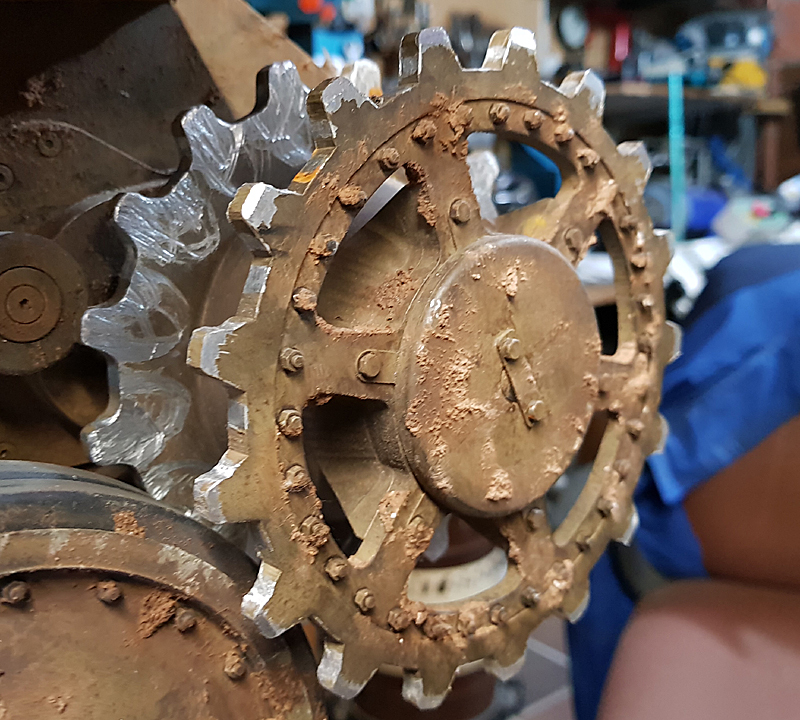
So I was assembling the sprocket tonight and at the point where you slide it on the shaft and tighten the taper bushing. I read that it should be 21mm from the chassis gearcase. I tried really hard to measure, not move the sprocket as I tightened the grub screws on the tapered bushing, but it always moved. So I took a Delrin rod, cut it as close to 21mm as I could, then used it as a brace against the gear case and back of the sprocket to hold it in place while I tightened the tapered busing grub screws. Worked like a charm!
- Attachments
-
- IMG_6122.JPG (110.51 KiB) Viewed 1829 times
Nick C.
-
Armortek

- Site Admin
- Posts: 2804
- Joined: Tue Jul 10, 2007 10:30 am
- Location: Winchester, England
- Been liked: 3034 times
Re: Attaching the sprocket
A good solution.
Just keep in mind that the 21mm is a guide. The most important thing is that the sprocket, roadwheels and idler are in line.
Just keep in mind that the 21mm is a guide. The most important thing is that the sprocket, roadwheels and idler are in line.
Armortek
-
Nick Chiocchio
- Posts: 40
- Joined: Wed May 04, 2022 11:15 pm
- Location: New Hampshire, USA
- Has liked: 34 times
- Been liked: 30 times
- Contact:
Re: Attaching the sprocket
Yes thanks.
I figured this would get it close, then when the tracks are installed to loosen the taper bushing thus loosening the sprocket. Then align the sprocket with the suspension, the tracks should hold the sprocket in place when tightening the bushing again. Well so I hope!
I figured this would get it close, then when the tracks are installed to loosen the taper bushing thus loosening the sprocket. Then align the sprocket with the suspension, the tracks should hold the sprocket in place when tightening the bushing again. Well so I hope!
Nick C.
-
Brian Womersley
- Posts: 23
- Joined: Thu Mar 23, 2023 3:07 pm
- Location: Shaftesbury, Dorset
- Has liked: 33 times
- Been liked: 28 times
Re: Attaching the sprocket
 excellent tip and great photo…thanks Nick……I have just reached stage 14 and got my bits together to assemble the drive sprocket
-
Ray Massa
- Posts: 139
- Joined: Wed Jan 18, 2023 9:44 pm
- Location: Michigan, USA
- Has liked: 18 times
- Been liked: 110 times
Re: Attaching the sprocket
Nick,
Can you tell me if your sprockets sit proud of the hub that they are mounted on? See my pic attached. As a result, the tracks sit on the extreme outside edge of the sprocket teeth with very little play. Just want to be sure before I assemble any of them. I have them pre-painted so I thought maybe there was paint build-up not allowing them to sit fully flush on the hub.
-Ray
-
Nick Chiocchio
- Posts: 40
- Joined: Wed May 04, 2022 11:15 pm
- Location: New Hampshire, USA
- Has liked: 34 times
- Been liked: 30 times
- Contact:
Re: Attaching the sprocket
Hi Ray,
I've got about a little over 1mm of play where I can jiggle the track on the sprocket.


I've got about a little over 1mm of play where I can jiggle the track on the sprocket.
- Attachments
-
- IMG_6150.JPG (80.62 KiB) Viewed 976 times
-
- IMG_6149.JPG (83.84 KiB) Viewed 976 times
-
- IMG_6148.JPG (67.42 KiB) Viewed 976 times
-
- IMG_6147.JPG (62.42 KiB) Viewed 976 times
Nick C.
-
Ray Massa
- Posts: 139
- Joined: Wed Jan 18, 2023 9:44 pm
- Location: Michigan, USA
- Has liked: 18 times
- Been liked: 110 times
Re: Attaching the sprocket
Thanks Nick. That sounds close to what I have. Since I pre-primed and painted the sprocket and hub, I thought maybe I was losing a dimension that needed to be held. I actually had to remove the final color from the edges of the hub and the inside of the ring so it would seat. Very close tolerances on those parts!
Thanks again.
-Ray
Thanks again.
-Ray
-
Gerhard Michel

- Posts: 593
- Joined: Tue Oct 04, 2016 12:27 pm
- Location: near Nuremberg, Germany
- Has liked: 3 times
- Been liked: 559 times
Re: Attaching the sprocket
Hi all,
I would think that this is negligible. After a short time of driving the drivetrain will be run in and color (and material!) will be rubbed off. My Jagdpanther is a significant example for this process since using a steel track link which didn't fit exactly.....
I would think that this is negligible. After a short time of driving the drivetrain will be run in and color (and material!) will be rubbed off. My Jagdpanther is a significant example for this process since using a steel track link which didn't fit exactly.....

kind regards
Gerhard
____________________________________________________________________
1/6 Scale models: Jagdpanther (AT), Jagdtiger (BT), Königstiger (Porsche turret, NH), Königstiger (Production turret, BT), Pz. IV (SH)
Gerhard
____________________________________________________________________
1/6 Scale models: Jagdpanther (AT), Jagdtiger (BT), Königstiger (Porsche turret, NH), Königstiger (Production turret, BT), Pz. IV (SH)
-
Ray Massa
- Posts: 139
- Joined: Wed Jan 18, 2023 9:44 pm
- Location: Michigan, USA
- Has liked: 18 times
- Been liked: 110 times
Re: Attaching the sprocket
Does the position of the taper bushing when locked in position prevent the face of the gear from rubbing against the inside of the drive case (where the four countersunk screws are)? Is the 21mm setting roughly a position that prevents this? Since the gear will be fully encased in the drive case when assembling the taper bushing, you won't be able to tell if it rubs.
-Ray