Tiger weathering stage 1
-
Dale jordan
- Posts: 1456
- Joined: Fri Jul 13, 2007 1:10 am
- Location: Port Macquarie Australia
- Been liked: 514 times
- Contact:
Tiger weathering stage 1
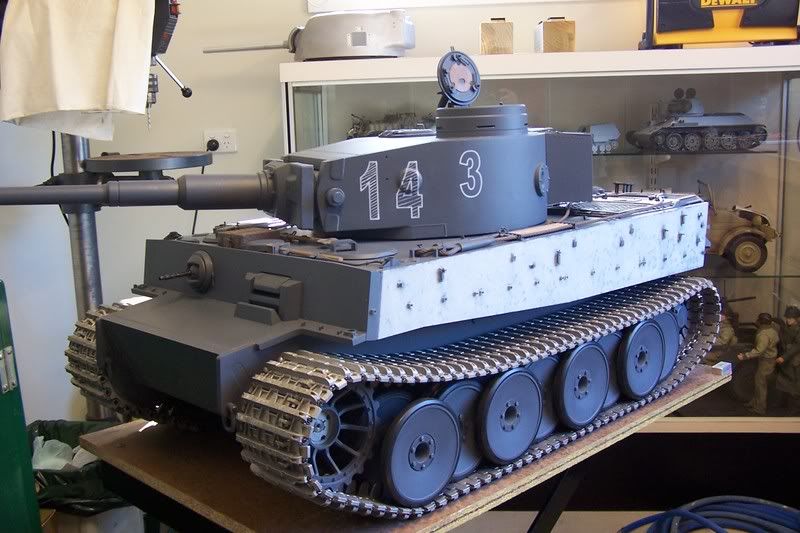
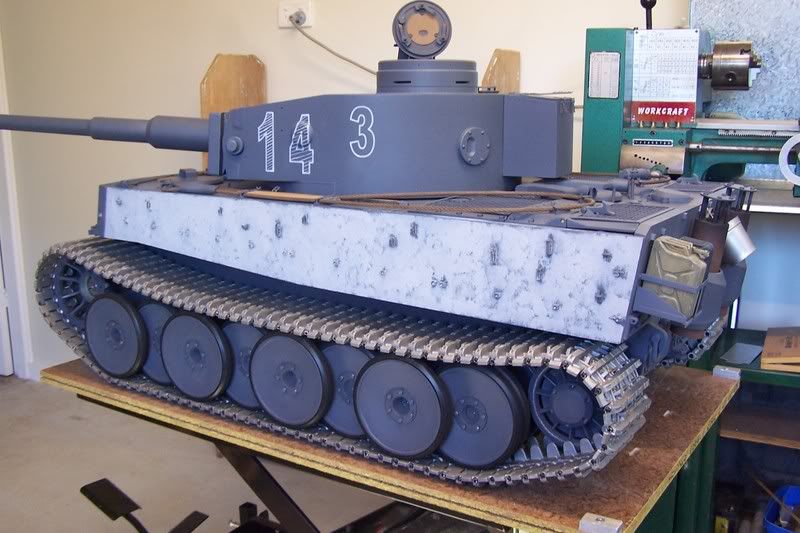
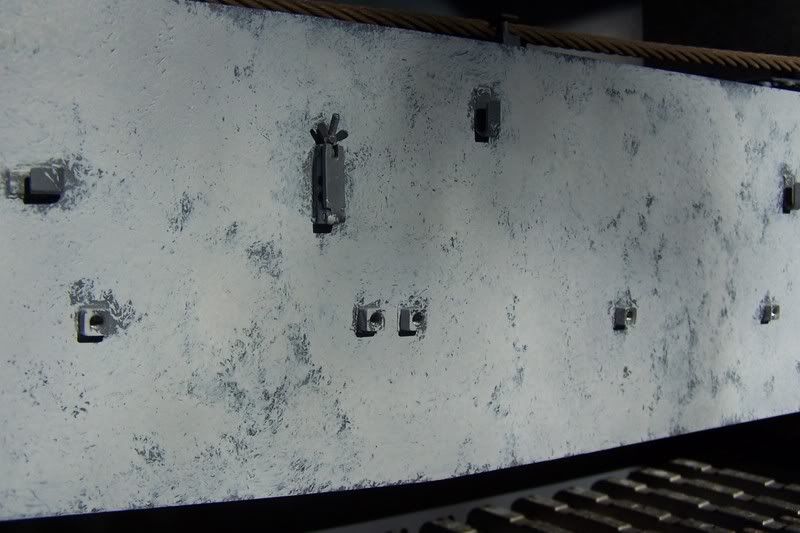
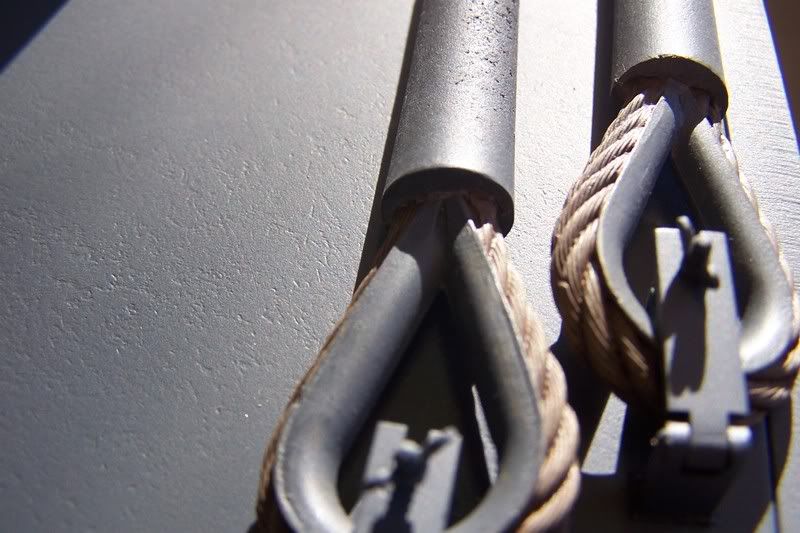
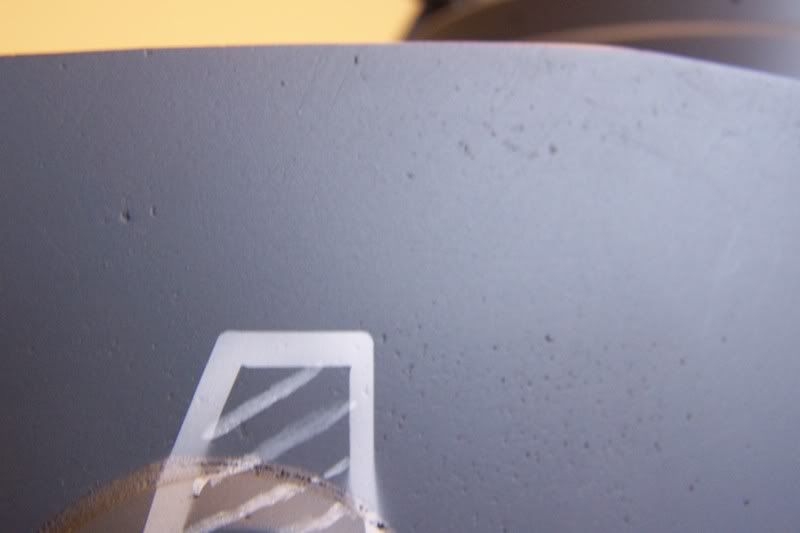
This is the first stage of painting and weathering my tiger . In these photos you can see I have used Mr surfacer 500 on the side hull plates to give the rolled steel look. Also I have masked the turret numbers and sprayed them white . Dale
-
Dale jordan
- Posts: 1456
- Joined: Fri Jul 13, 2007 1:10 am
- Location: Port Macquarie Australia
- Been liked: 514 times
- Contact:
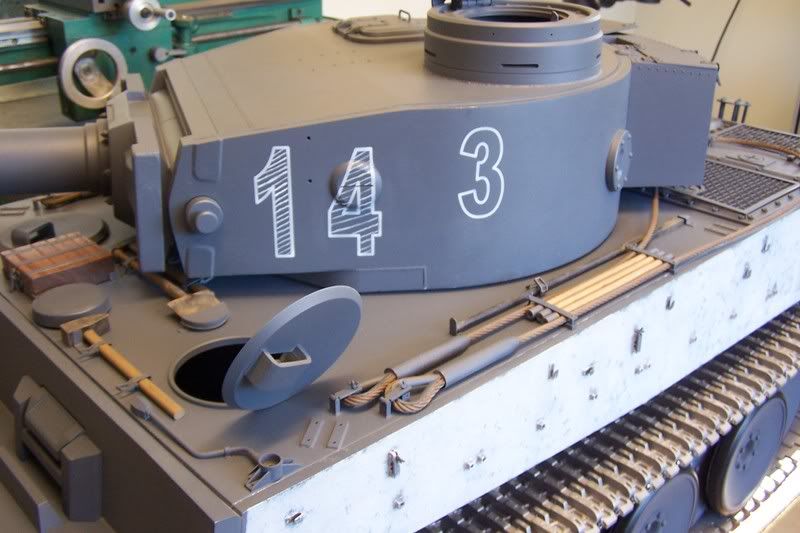
The number 3 was the first number of my tiger . Then later it was number 14
I have painted both numbers on now as in stage 3 of the paint job I will then be respraying the tiger in Dark yellow with patches of the gray still showing through ... These two numbers will still , be just visible through the paint work . After that the last number which will be 113 in white will then be paint over the bottom 3rd of the 14 . Dale
I have painted both numbers on now as in stage 3 of the paint job I will then be respraying the tiger in Dark yellow with patches of the gray still showing through ... These two numbers will still , be just visible through the paint work . After that the last number which will be 113 in white will then be paint over the bottom 3rd of the 14 . Dale
-
Dale jordan
- Posts: 1456
- Joined: Fri Jul 13, 2007 1:10 am
- Location: Port Macquarie Australia
- Been liked: 514 times
- Contact:
-
Kent Wiik
Nice Dale!
Your Tiger are from a today very high level just getting better and better.
Looking forward to see the final result - will be amazing I think (I know!).
Just one thing - do you intend to skip the Mr Surfacer treatment on the turret? Tigers had the same surface structure there as well...
Sorry if I now spoiled your weekend my friend

Cheers
Kent
Your Tiger are from a today very high level just getting better and better.
Looking forward to see the final result - will be amazing I think (I know!).
Just one thing - do you intend to skip the Mr Surfacer treatment on the turret? Tigers had the same surface structure there as well...
Sorry if I now spoiled your weekend my friend
Cheers
Kent
-
Dale jordan
- Posts: 1456
- Joined: Fri Jul 13, 2007 1:10 am
- Location: Port Macquarie Australia
- Been liked: 514 times
- Contact:
-
Adrian Harris

- Posts: 5131
- Joined: Thu Jul 12, 2007 10:46 pm
- Location: Berkshire (UK)
- Has liked: 1484 times
- Been liked: 1687 times
-
Kent Wiik
-
Kent Wiik
Yes Chris,
In my opinion a non zimmerited 1:6th tank shall absolutely have a rough armour surface! Go for it!
It is nowadays standard in 1:35 so there is no excuse for us in 1:6th not to. And it isa about time to face it so this new hobby can take a step further.
Saying a tank-kit like this can be put together in 7 days is silly. That tank will sooner or later be rebuild, we have a lot of examples of that...a build like this take time to be a good one. At least that is my oppinion
The tank looks far too smooth (and a bit silly toyish) with its kit far to plane metal surface.
It must be taken care of and the model will look so much better - believe me!
But I am afraid sand blasting it will only make the surface even more smooth
Cheers
Kent
-
Dale jordan
- Posts: 1456
- Joined: Fri Jul 13, 2007 1:10 am
- Location: Port Macquarie Australia
- Been liked: 514 times
- Contact:
-
Dale jordan
- Posts: 1456
- Joined: Fri Jul 13, 2007 1:10 am
- Location: Port Macquarie Australia
- Been liked: 514 times
- Contact:
-
Dale jordan
- Posts: 1456
- Joined: Fri Jul 13, 2007 1:10 am
- Location: Port Macquarie Australia
- Been liked: 514 times
- Contact:
-
Tim Bowman
- Posts: 1762
- Joined: Fri Jul 13, 2007 4:53 am
- Location: Northern California
- Been liked: 177 times
- Contact:
-
Kent Wiik