Page 1 of 1

LEO-2A4

Posted: Mon Sep 30, 2024 8:12 pm
by Stanislav Yanev
Hello
We all get the same boxes so I'll spare you that. I thought I'd start where I thought I could do something different from the standard build.
Anything I do as changes from the standard model we all receive is entirely my responsibility,no one is obligated and I am not urging anyone to make changes,some modifications require additional knowledge without which you may damage parts which are 100 percent usable, who is not sure of his actions, it is better to stick to the instructions of the Armortek

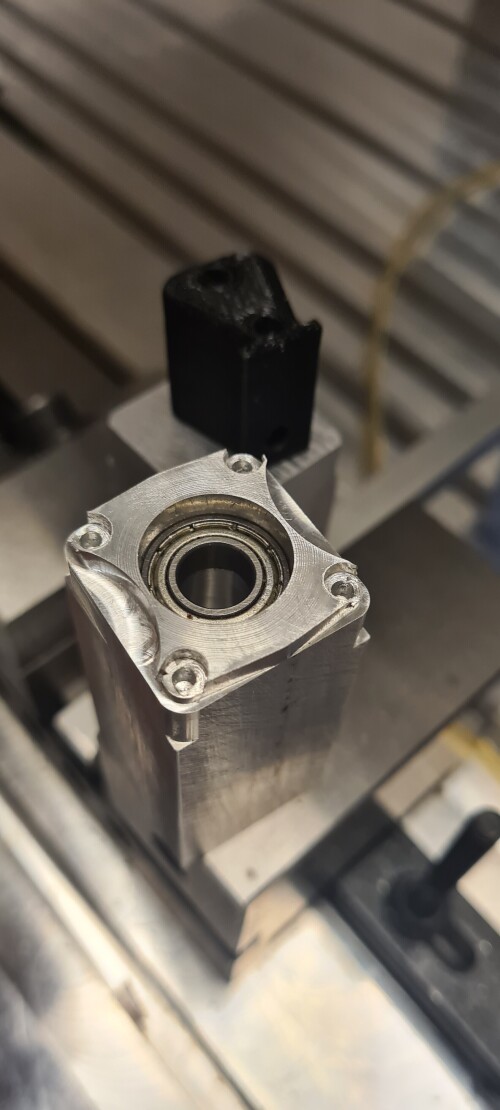
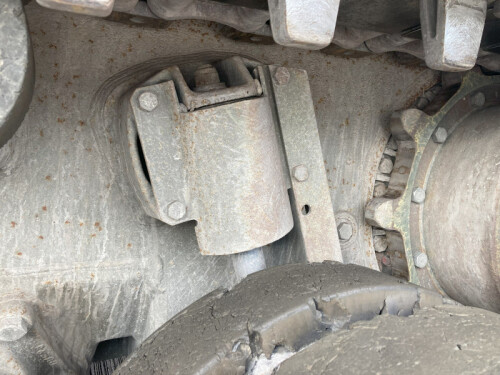
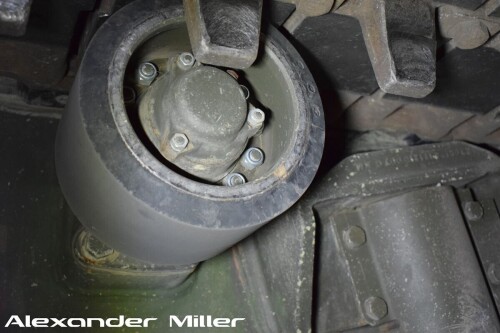
I will start with SPROCKET ASSEMBLY. I will add two details to stop the axial movement of the axle with the gear
Тhe sequence of the photos shows the order of manufacture

Image

Image

Image

Image

Image

Image

Image

Image

Image

Image

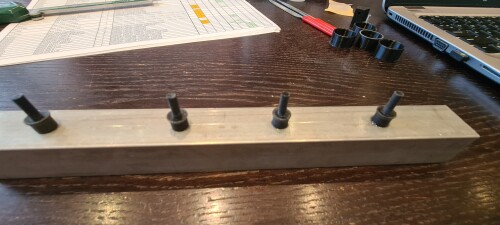
Тhe video shows the end result


Re: LEO-2A4

Posted: Mon Sep 30, 2024 10:11 pm
by John Clarke
Excellent engineering Stanislav, the pictures are brilliant too, looks a very robust system. 8)

Re: LEO-2A4

Posted: Tue Oct 01, 2024 5:26 pm
by Stanislav Yanev
Thanks John
Мy build will be slow because I'm limited by time but I hope it will be interesting and useful for others :) :) :)

Re: LEO-2A4

Posted: Wed Oct 02, 2024 9:43 pm
by Stanislav Yanev
Hello
A little free time and here is the result. New RUBBER STOP. In the pictures is the prototyping process then the molds and then the final result
Image

Image

Image

Armortek and my
Image

Image

Re: LEO-2A4

Posted: Wed Oct 02, 2024 11:52 pm
by John Clarke
Did you recast the rubber bump stop or machine a larger one to size? 8)

Re: LEO-2A4

Posted: Thu Oct 03, 2024 8:27 am
by Stanislav Yanev
John
a completely new detail,it is slightly larger and with a different shape that comes as close as possible to the original

Re: LEO-2A4

Posted: Fri Oct 18, 2024 7:53 pm
by Stanislav Yanev
Hello guys
A few photos from the working moments. The first few photos are of the part that will make the connection between the clevis and the recoil mechanism

Turning, drilling and turning again, then thread threading
Image

Image

Image

Image

Image

Test whether everything is ok with the thread - Perfect

Image

Next is the making of holes on the part and then cutting the thread

Image


Image

Re: LEO-2A4

Posted: Sat Oct 19, 2024 9:55 am
by Stanislav Yanev
I had to put to lathe machine and drill the gear to fit the original details , the picture shows before and after


Image


Аgain, creating an axle to match the original kit parts and of course the new gear

Image

Мaking a keyway will be a real challenge for me I'll leave it for now until I decide how

Re: LEO-2A4

Posted: Wed Oct 30, 2024 6:27 pm
by Stanislav Yanev
So there was little time left today to make the keyway

Image

I made a few samples of the assembly

Image

Image

I also made a tension roller for the belt,I haven't decided yet what kind of motor I'm going to use but the roller is a roller with two bearings

Image

Image

:) :) :)

Re: LEO-2A4

Posted: Sat Nov 02, 2024 5:09 pm
by Stanislav Yanev
One more thing I want to change for more detail like the original

the first photo shows the original, and the following are the stages of my attempts to recreate it


Image


Image

Image

Image

Image

Re: LEO-2A4

Posted: Sun Nov 03, 2024 4:32 pm
by Stanislav Yanev
Hello guys
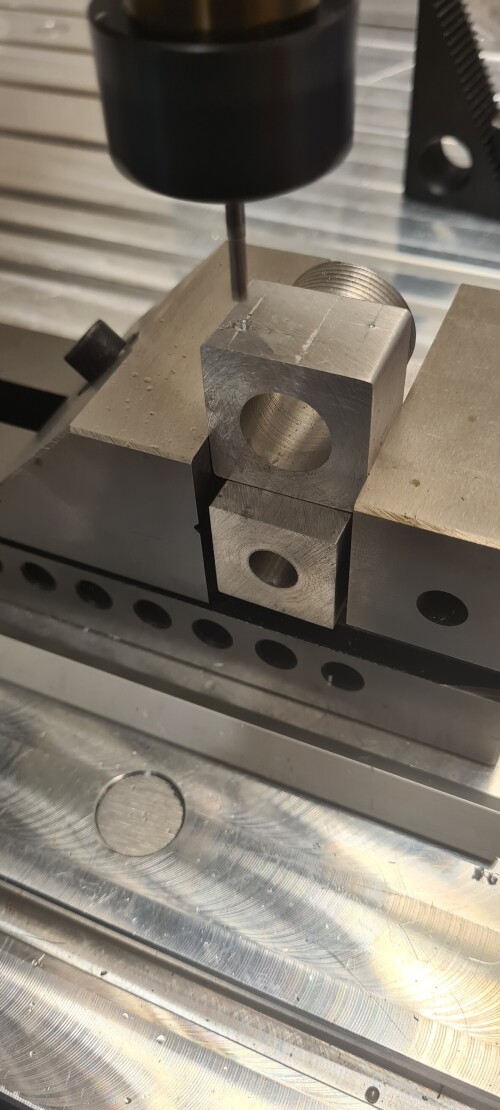
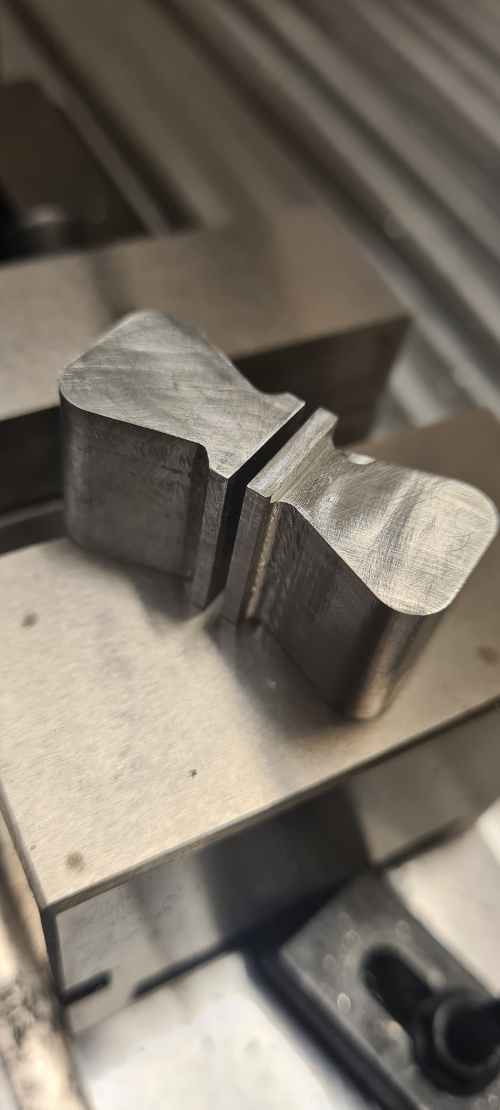
Because the material I have is of a size in which I can mill one detail on both sides,but it is not enough to cut it into two pieces first, so it turned out like this from the picture


ImageImage

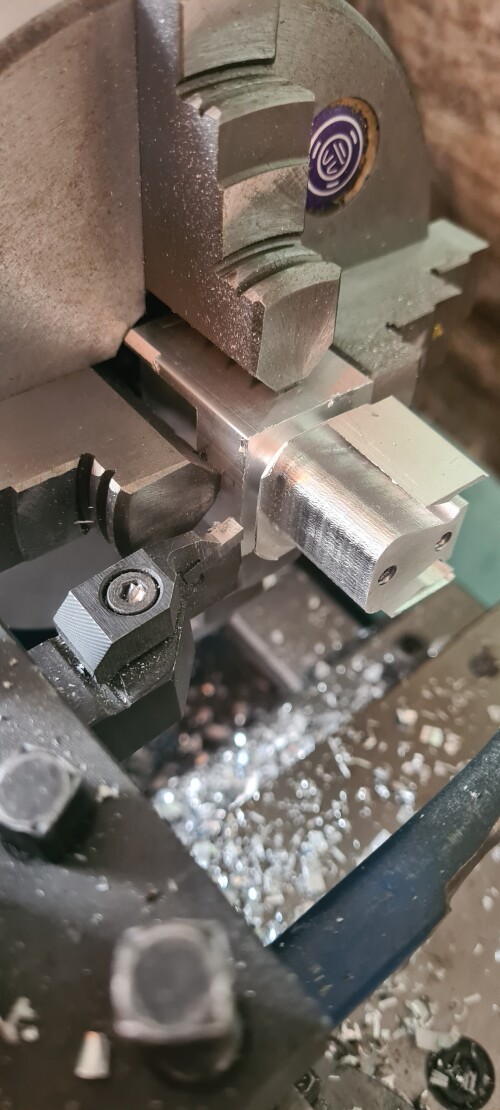
then separate the two parts from the main block

ImageImage

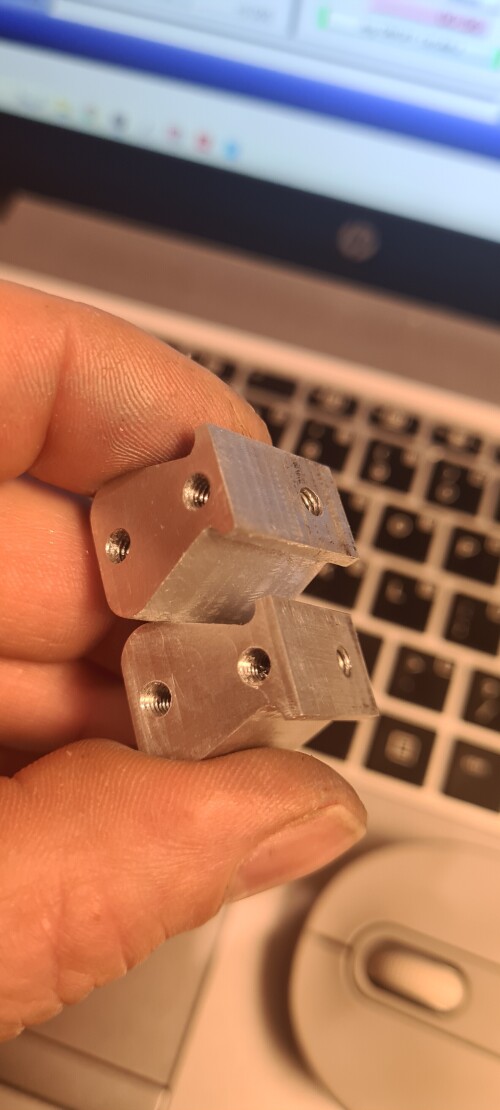
next comes cleaning the details and entering the correct size, another threaded hole and finally the final detail

Image
ImageImage

Re: LEO-2A4

Posted: Mon Nov 04, 2024 5:05 pm
by Stanislav Yanev
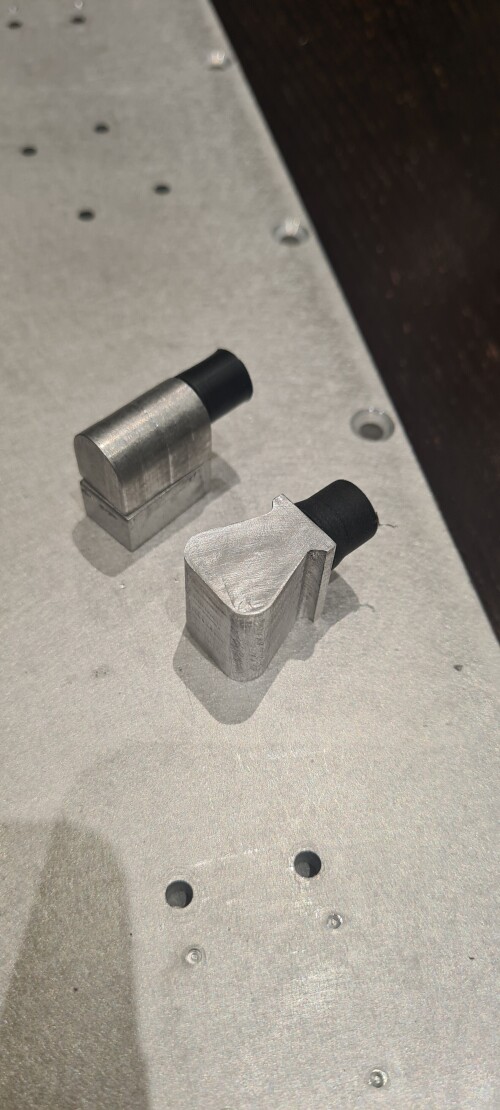
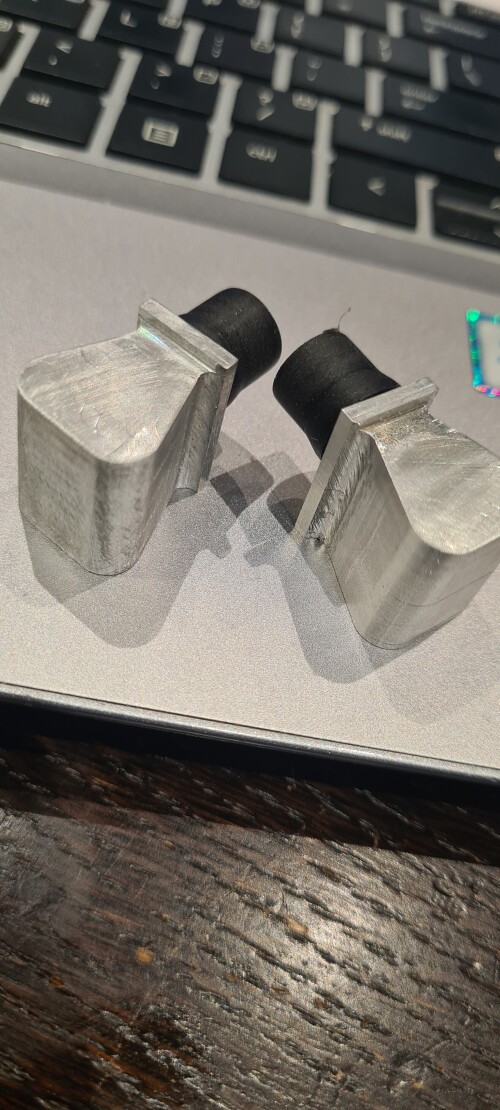
Here is the final result
Image
Image

Мoving forward with the next detail , I just tried but the direction is this

Image

Re: LEO-2A4

Posted: Tue Nov 05, 2024 4:21 pm
by Stanislav Yanev
Hello
My daughter pointed out to me that I had missed an obvious detail and I had to redo the detail ,on the left is before and on the right is after


Image
Image