Panther Paint and weathering

Forum for discussion relating to the Panther
Tim Bowman
Posts: 1762
Joined: Fri Jul 13, 2007 4:53 am
Location: Northern California
Been liked: 177 times
Contact:

Panther Paint and weathering

Post by Tim Bowman »

I know, the title is sort of a tease as it is still in dark yellow. Sorry to disappoint. But, with the exception of Mike Stannard's mesh covers for my intake and fan guards, the last of the base coat is done. Cupola interior and all periscopes will be added after camo and weathering.

Here it is stripped of spare links, tools and cables before tactical markings and balkan crosses are applied. Then camo and weathering will follow.


Image

Image

Image

Image

Image

Image

Image

Image

Here's sort of what I'm shooting for. Camo is not exact it's just quick photoshop test.

Image


Tim
Last edited by Tim Bowman on Fri Nov 14, 2008 1:55 am, edited 4 times in total.
"So long as one isn't carrying one's head under one's arm, things aren't too bad." – Erwin Rommel

simon_manning
Posts: 2000
Joined: Fri Nov 02, 2007 8:51 pm
Location: new forest,hampshire,u.k.
Been liked: 1578 times

Post by simon_manning »

excellent !, a feast of skill,keep the photos coming


simon manning

User avatar
Robert E Morey
Posts: 2261
Joined: Wed Jul 18, 2007 12:59 am
Location: Seattle, WA USA
Has liked: 104 times
Been liked: 701 times

Post by Robert E Morey »

wow Tim that is awesome. Since you are really good a photoshop you should find a photo of rolling country side and paste that behind the tank. That would be a cool picture. The garage floor looks like road so all you need is a background and sky! Think about it. :roll:

I esp like the bugs eye view from the ground of the 3/4 front and rear shots. Really cool. Really gives an impression of size.
Bob

Jeffrey Goff
Posts: 804
Joined: Thu Jul 12, 2007 12:52 pm
Location: NORTHAMPTON
Has liked: 21 times
Been liked: 737 times

Post by Jeffrey Goff »

Hi Tim, that's one good looking Panther, and I like your choice of camo;
looking at the side skirt armour, is it just hung onto hooks, and have you made a full set
regards
Jeff

Tim Bowman
Posts: 1762
Joined: Fri Jul 13, 2007 4:53 am
Location: Northern California
Been liked: 177 times
Contact:

Post by Tim Bowman »

Thank you guys

the Panther is back up on its stand and I just got back from the hobby store with a fresh supply of paints and things. GULP :shock: Guess I gotta start painting camo.

Hi Jeff, The skirts on there are the ones supplied with the kit and I do have a full set. I just think the Panther looks better with missing ones. They simply hook onto the fender brackets along the side. I hope to make some later on out of brass that I can bend up a bit...maybe.

If progress goes well, I'll post pictures. :lol:


Cheers

Tim
"So long as one isn't carrying one's head under one's arm, things aren't too bad." – Erwin Rommel

Stewart Ashton
Posts: 436
Joined: Mon Jul 21, 2008 6:47 pm
Location: Blackpool
Been liked: 1 time

Post by Stewart Ashton »

Fabulous looking Panther Tim

Regards Stewart

Dale jordan
Posts: 1399
Joined: Fri Jul 13, 2007 1:10 am
Location: Port Macquarie Australia
Been liked: 365 times
Contact:

Post by Dale jordan »

Very Very Nice Tim ... I like the photoshop idea . Tim remember keep the brown and green real light even lighter then in your photo . I can't wait to see the next stage .. Dale

Tim Bowman
Posts: 1762
Joined: Fri Jul 13, 2007 4:53 am
Location: Northern California
Been liked: 177 times
Contact:

Post by Tim Bowman »

Thanks Stewart. and Dale, thank you for the tip.

I had some time today so I thought I'd have ago at subduing the "newness" of the tracks.(procrastinating camo) It's a first attempt so I went a little light. I want the tracks to have a nice coating of Normandy dust and some dirt without the "rusty" look. I'll probably add some more grime in the deep areas.

I know the guys that run their tanks are thinking I'm nuts but I thought I'd get everything looking how I want it and then not worry too much about what happens when I hit the real mud. So far, even mud seems to fall out the tracks after running. Not gooey enough I suppose.

Image

Image

Tim
"So long as one isn't carrying one's head under one's arm, things aren't too bad." – Erwin Rommel

Dale jordan
Posts: 1399
Joined: Fri Jul 13, 2007 1:10 am
Location: Port Macquarie Australia
Been liked: 365 times
Contact:

Post by Dale jordan »

I'm the same as you Tim.... It has to look right on the work bench first.
Your Dark yellow is the best I have seen so far!!! It has just a slight sheen to it , and looks a little faded already . Tim how did you come up with this mix ??? Dale

Allan Richards
Posts: 743
Joined: Thu Jul 12, 2007 10:34 am
Location: Kent
Been liked: 10 times

Post by Allan Richards »

Tim,

Thats a very nice looking model. I think the camo scheme you have chosen looks really good. If you are a little nervous of having a go pracice on the track guards because they will be the easiest to blow over with base coulour if you not happy. A good airbrush is whats needed and a little patience. Weathering and the little touches come later when the base colour is done.
Allan Richards

Kent Wiik

Post by Kent Wiik »

Eye candy and I love every photo!

Looking forward to see him in full cammo-paint

Kent

steve winstone
Posts: 149
Joined: Sat Jul 14, 2007 3:36 pm
Location: Waltham Abbey, Essex
Been liked: 46 times

Post by steve winstone »

Hi Tim

Fantastic build, it has been a pleasure watching your photos as you have been building it. Can't wait to see what you do with your Tiger.
:D
Steve

Tim Bowman
Posts: 1762
Joined: Fri Jul 13, 2007 4:53 am
Location: Northern California
Been liked: 177 times
Contact:

Post by Tim Bowman »

Allan, Kent and Steve, Thank you for the words of encouragement. I was side tracked yesterday and had to rework 3 of my torsion bars.YUCK! :x

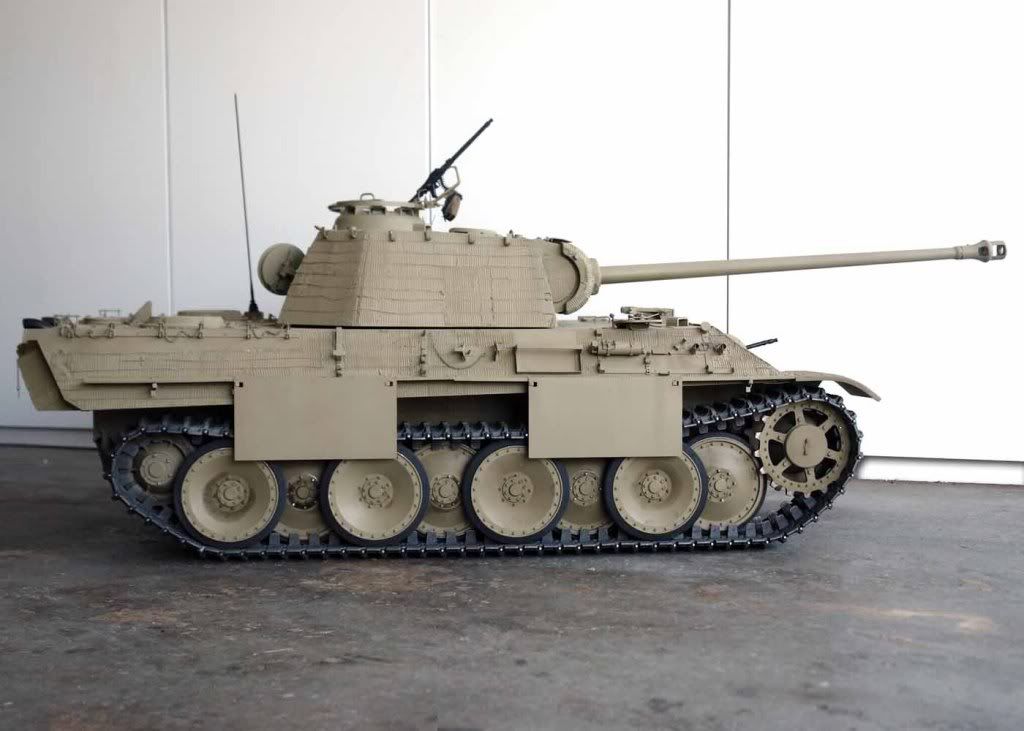
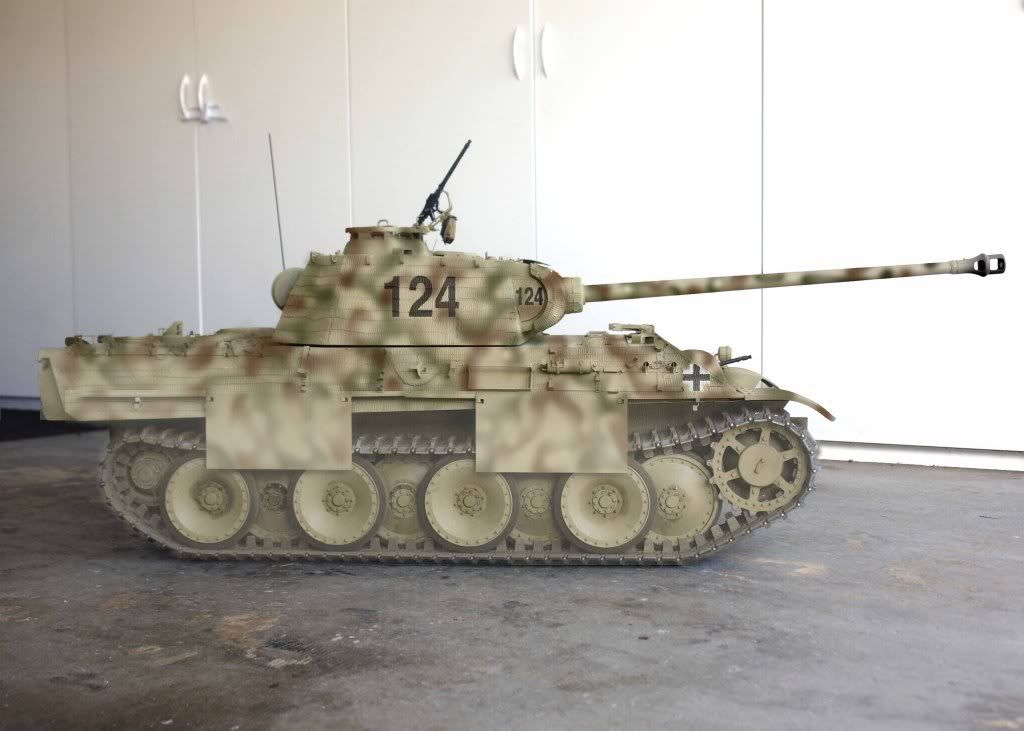
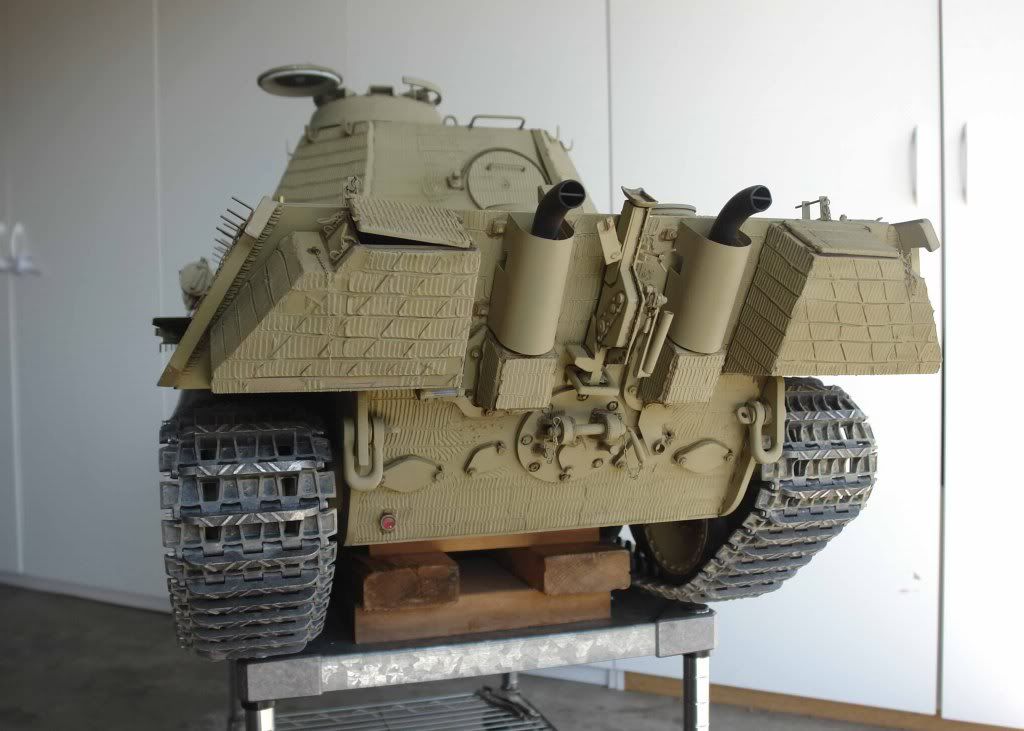
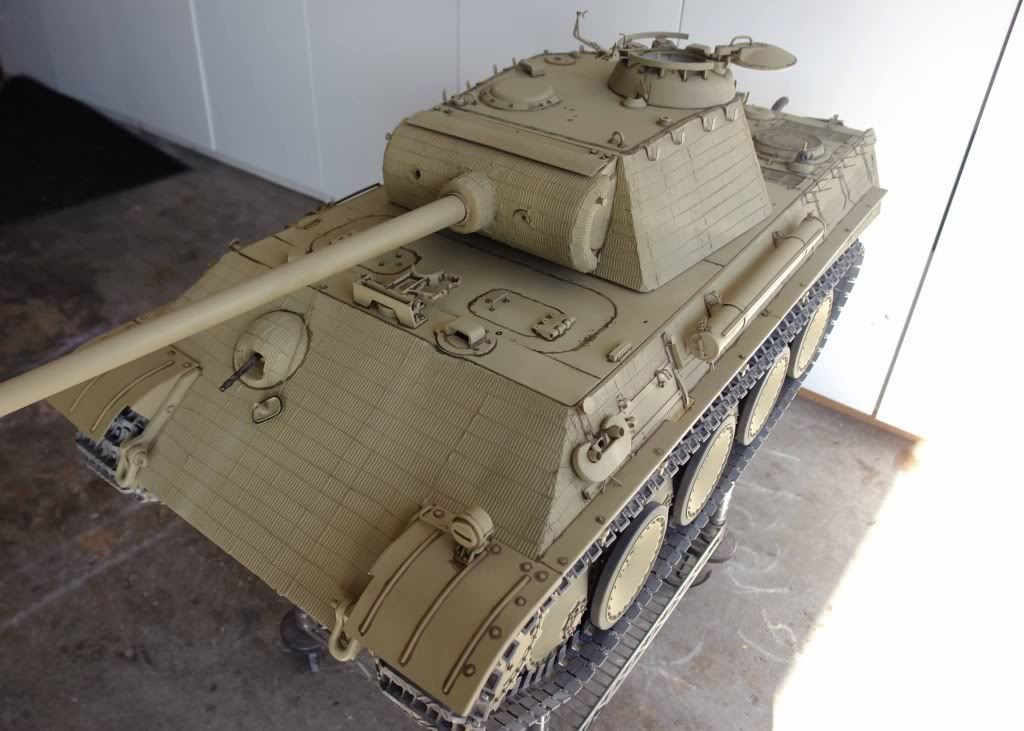
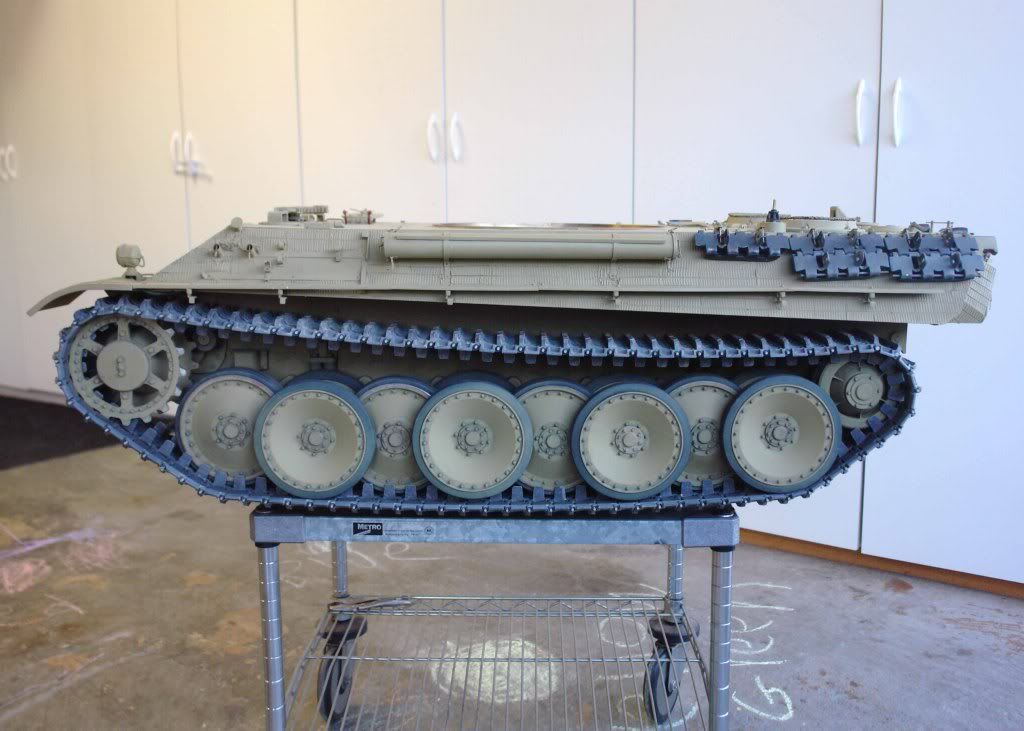
The panther was listing to one side but is now remedied.

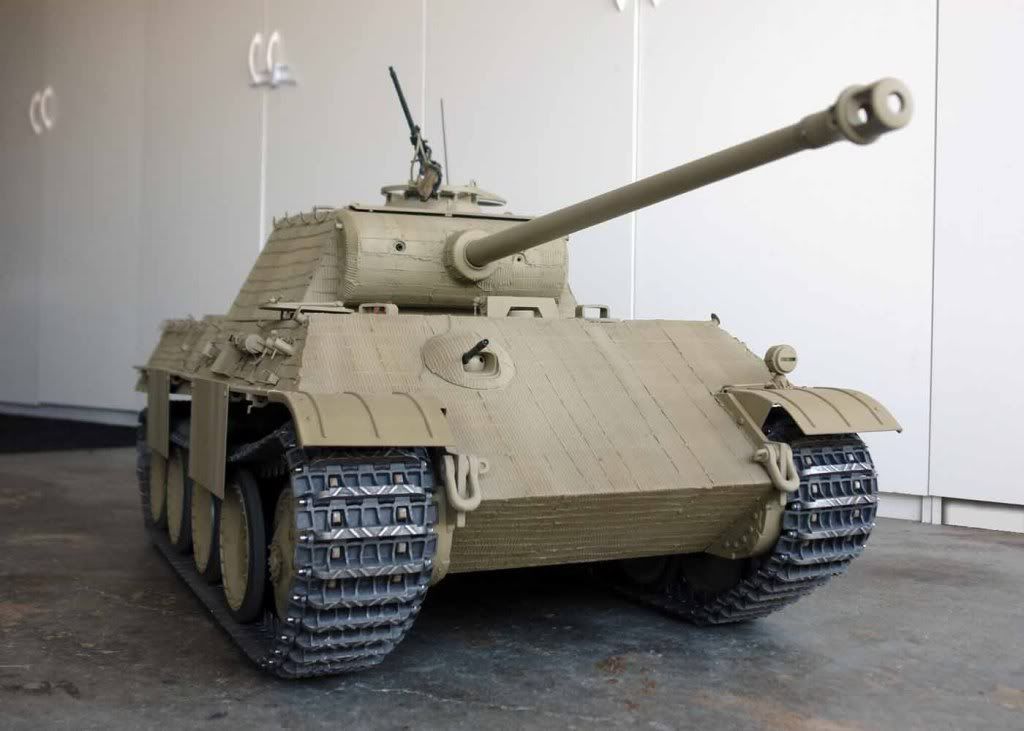
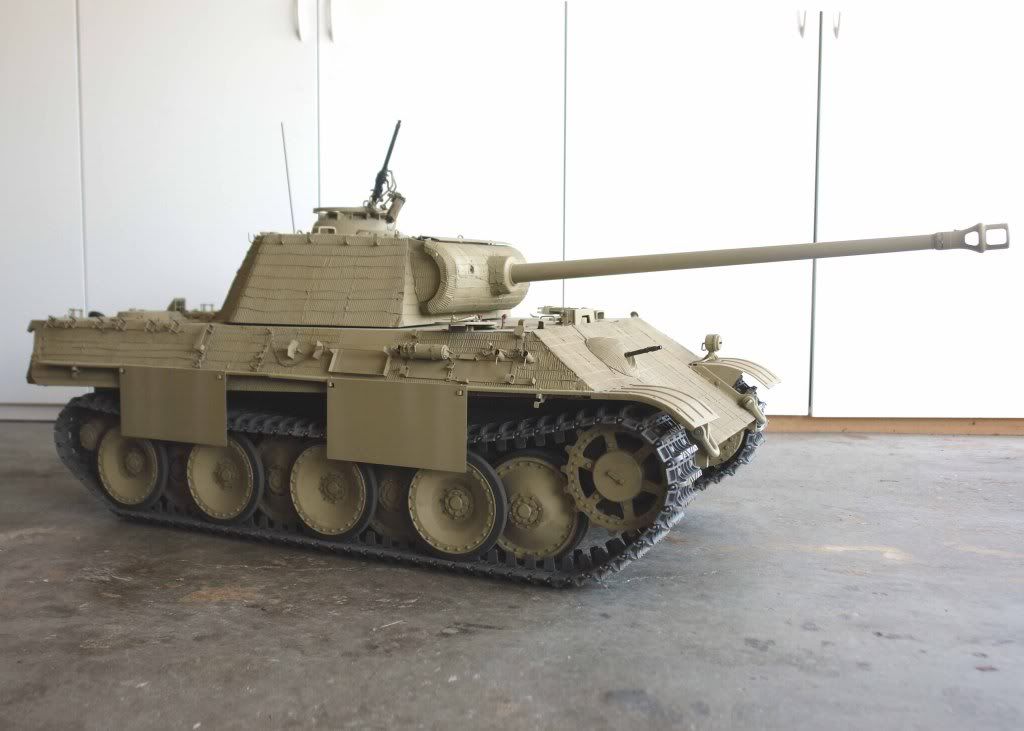
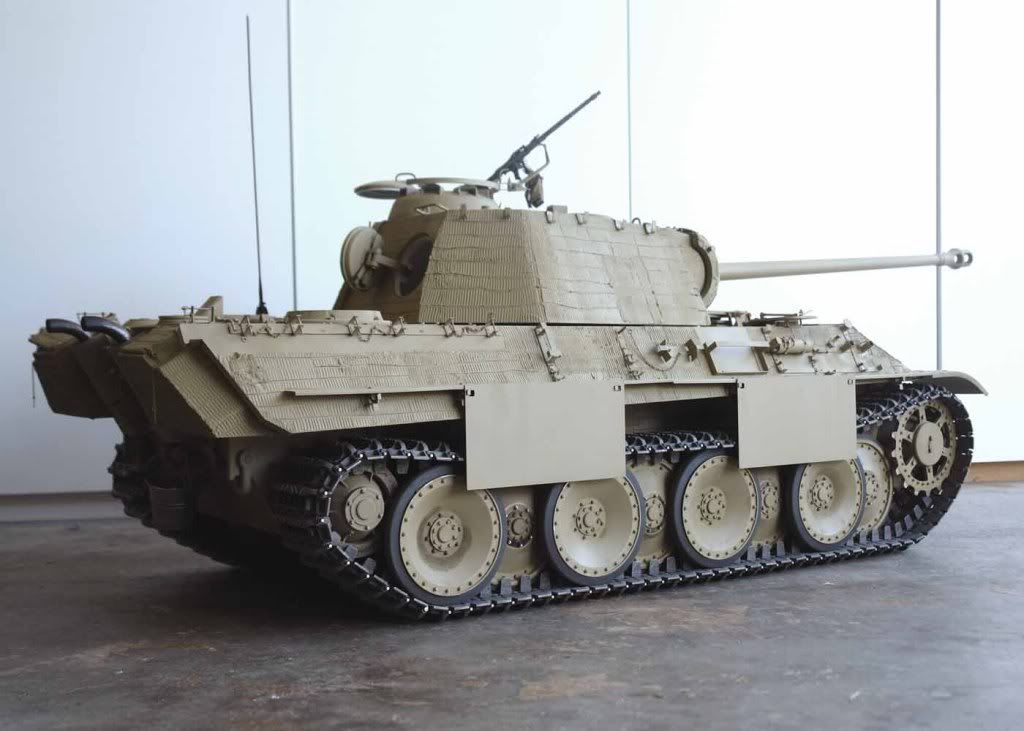
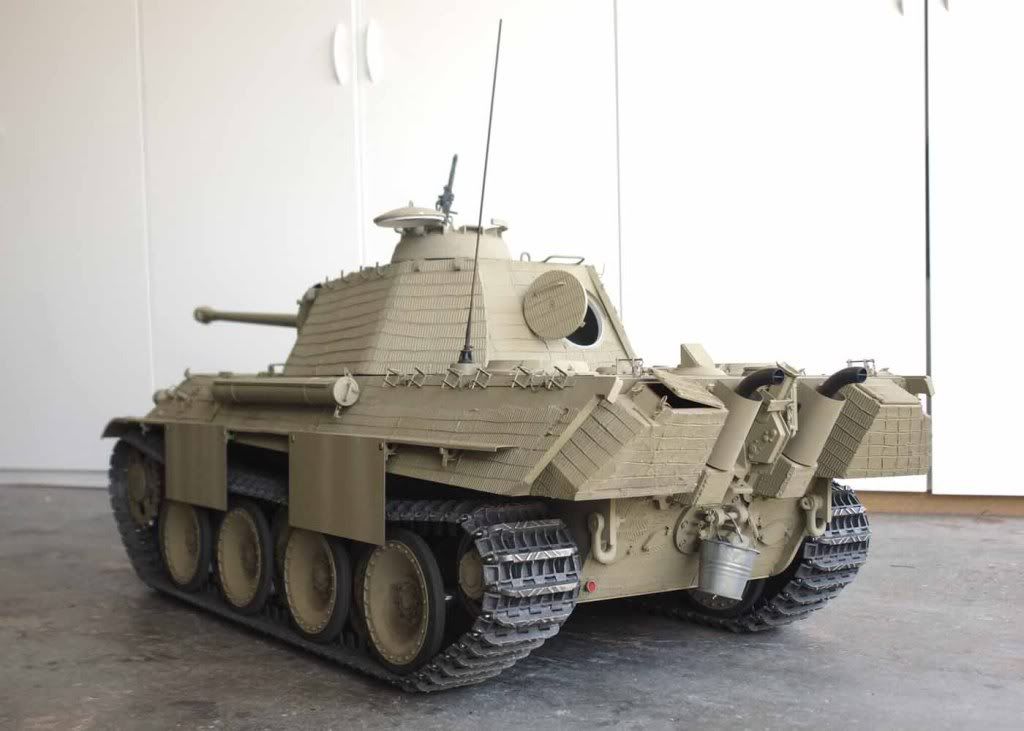
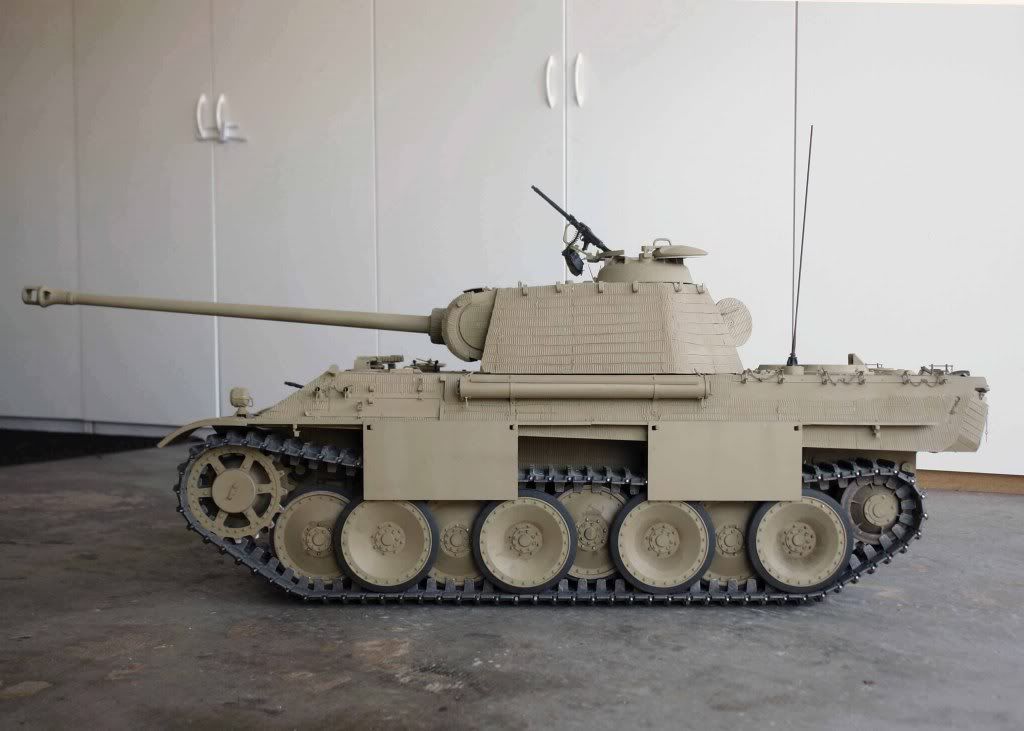
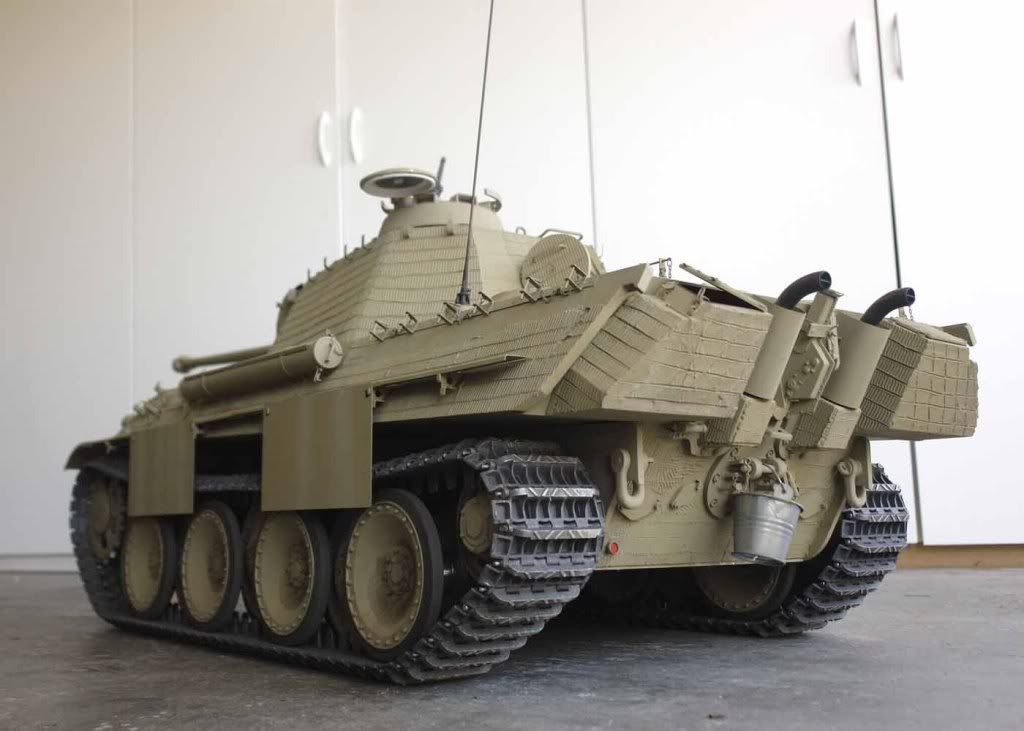
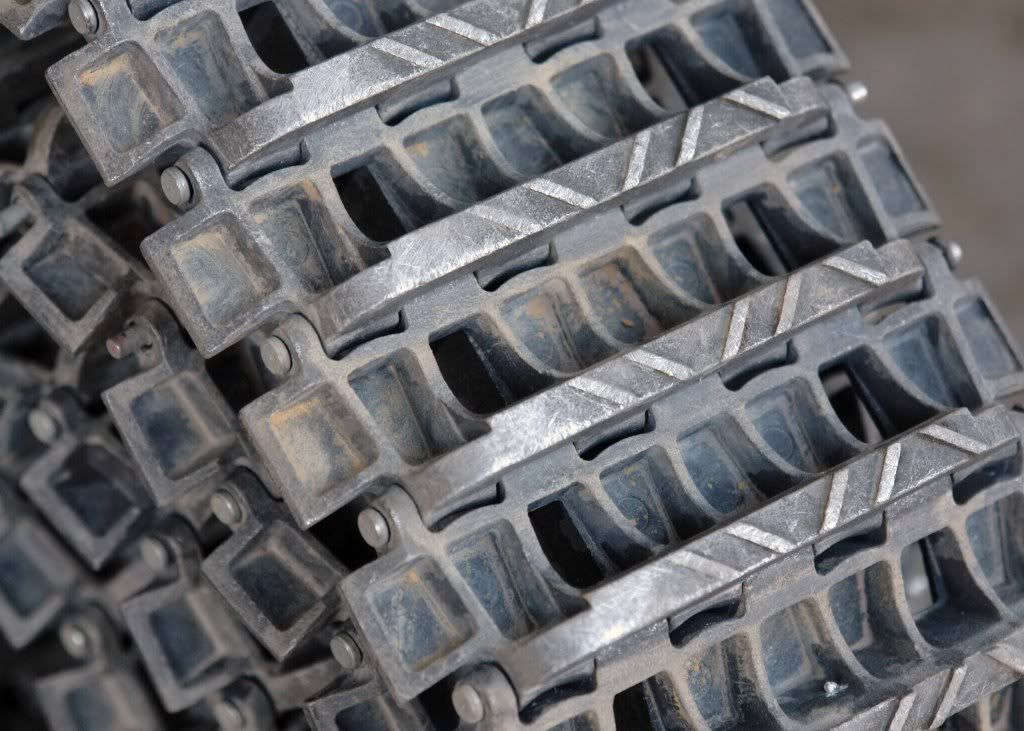
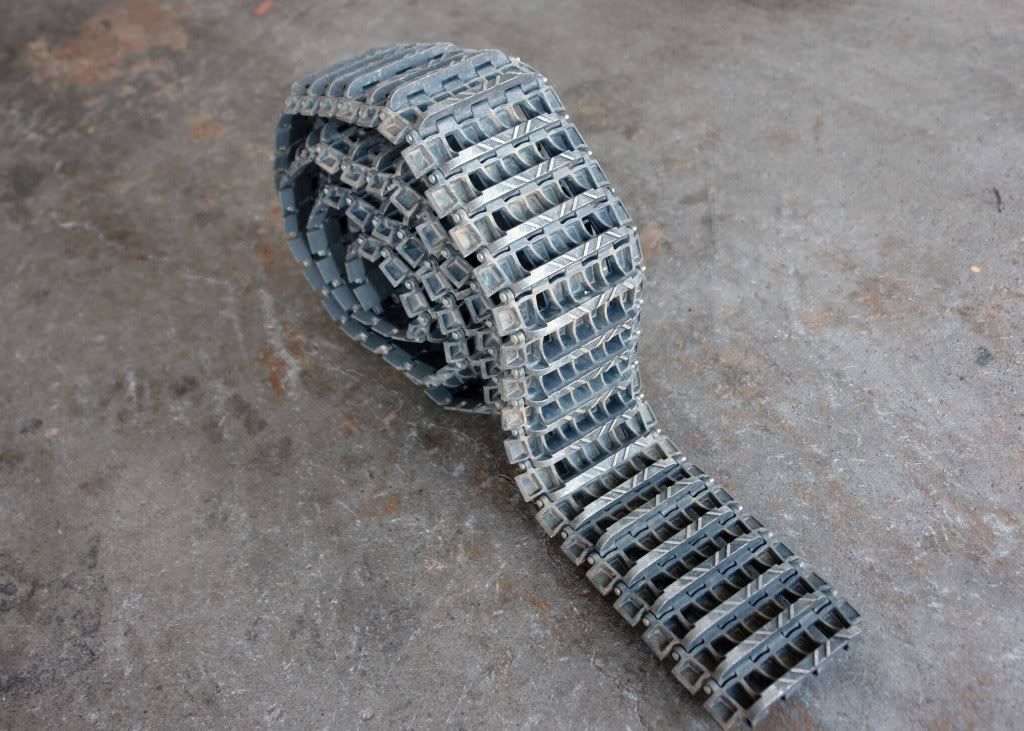
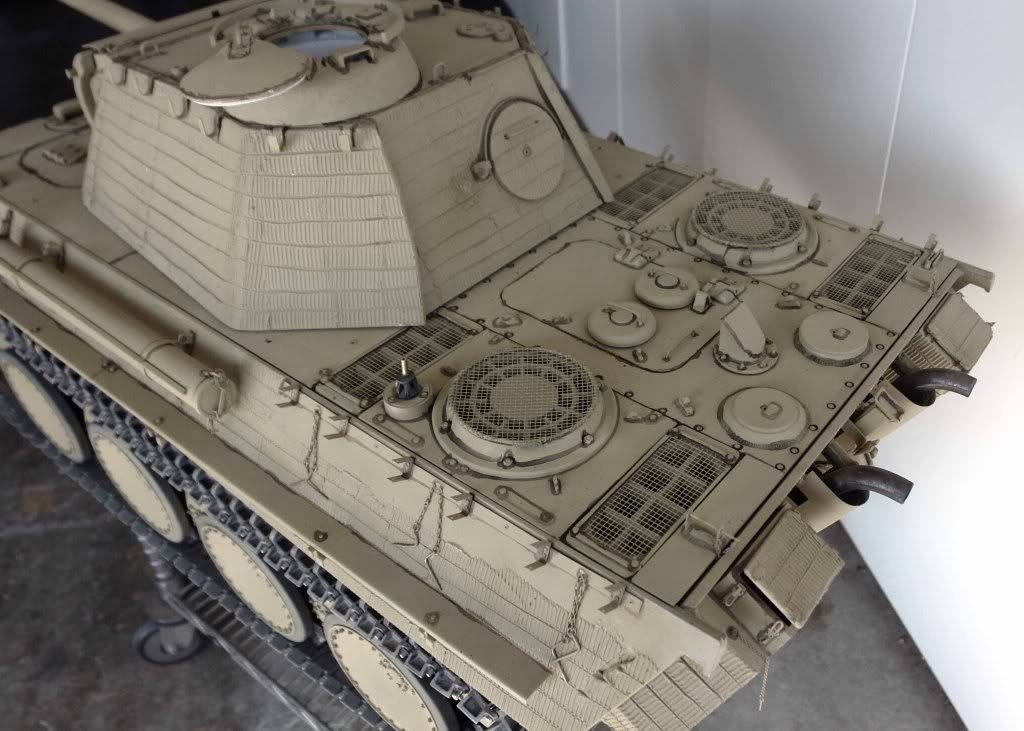
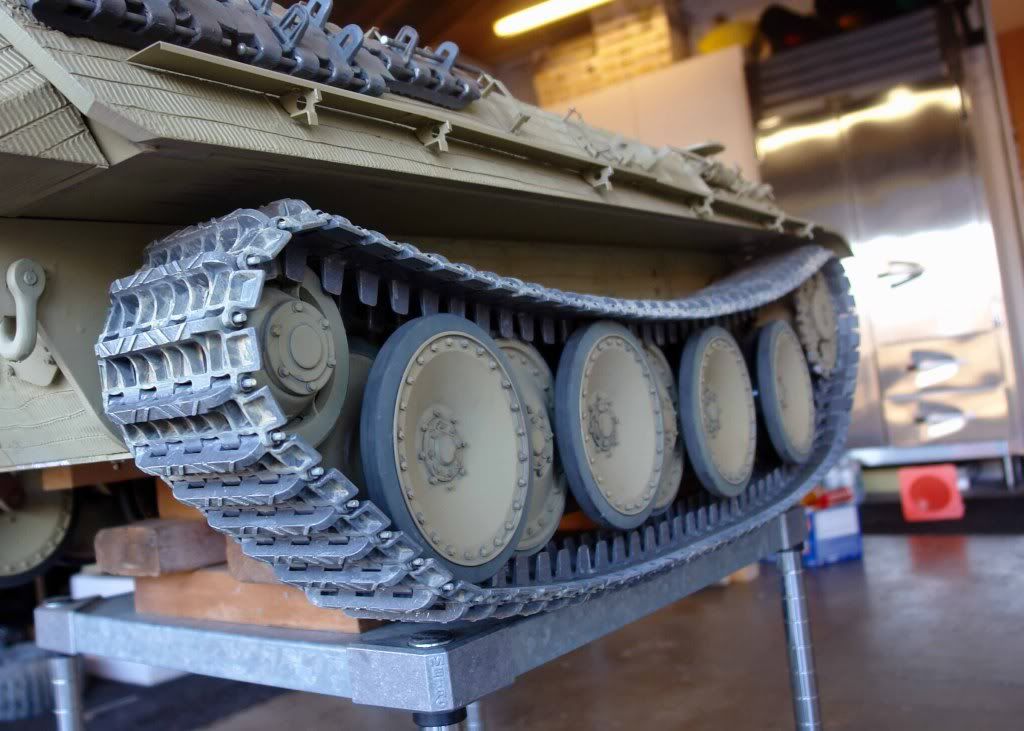
While I had the tracks and wheels off I started experimenting with the first step of weathering on the tracks, wheels and lower hull using my best attempt at a technique shared by Dave Dibbs. His work is amazing! http://www.armorpax.com/Armorpax/Forum/ ... cc78c1bd3a

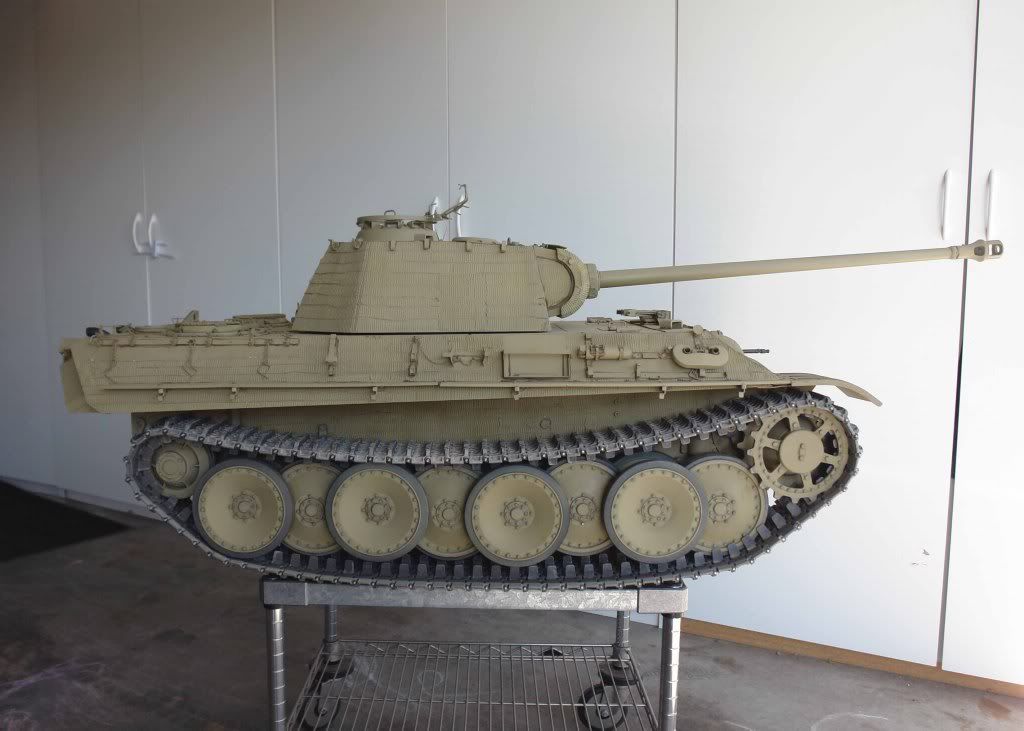
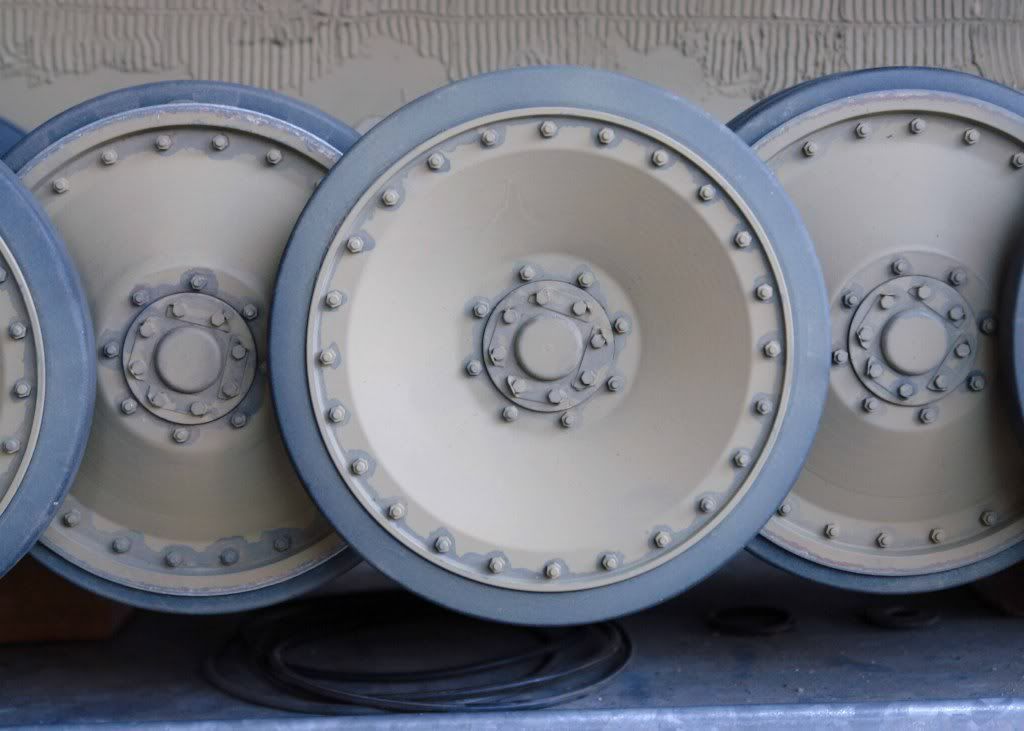
As the wheels will not be camoed, I thought I would test on them. The hard edges on the darker paint will hopefully be softened with some future dry-brushing. I have to say that even with this minimal amount, I am much happier with the wheels and tracks as they sort of blend together now. Hopefully even more so as I progress.

Image

Image

Image

Tim
"So long as one isn't carrying one's head under one's arm, things aren't too bad." – Erwin Rommel

Tim Bowman
Posts: 1762
Joined: Fri Jul 13, 2007 4:53 am
Location: Northern California
Been liked: 177 times
Contact:

Post by Tim Bowman »

I stayed up late last night and did the first step on the hull and turret. The darkened areas will be softened and blended. Once that is completed, the two-color disruptive patterns will be applied. I've never done this before so don't flame me too bad if my process is backwards. Amazing how much the detail pops now.

Image

Image

Image

Image

Image

Image

Image

Happy tanking

Tim
Last edited by Tim Bowman on Mon Nov 17, 2008 8:28 pm, edited 1 time in total.
"So long as one isn't carrying one's head under one's arm, things aren't too bad." – Erwin Rommel

Allan Richards
Posts: 743
Joined: Thu Jul 12, 2007 10:34 am
Location: Kent
Been liked: 10 times

Post by Allan Richards »

Tim,

What you are doing looks great. I think that the idea with weathering or painting of models is to put "depth" into the model. To do that one can use washes and then dry brushing. The washes need to be black or dark gray paint with nearly 100% thinners. It is put on with a soft brush and the idea is that it will pool around things like bolts and edges, but not put any hardly any colour on flat panels. It may need several coats of wash to get the effect, but the rule tends to be that the slower the effect builds up the better. Dry brushing with white, or sometimes silver for a very pronounched effect highlights the sharp edges and high points. I use titanium white artists oils for this with the brush as dry as possible. Finally with the weathering finished I varnish the model to seal in the fragile weathering effect.
Allan Richards

Post Reply