T34/85 25th Guards Brigade No 234a
-
phil fitzpatrick
- Posts: 2020
- Joined: Sat Dec 12, 2009 3:38 pm
- Location: Sambourne uk
- Been liked: 223 times
Photo's
Hi John
Yes thanks I have visited all the photo postings,probably every day and your photobucket
link.
A Tiger and a T34,what a great dilema to be in,I know you will be enjoying them both.
Will your Tiger be from the eastern front aswell?
I see they are forcasting an indian summer again,starting from Monday and lasting
well into October,hopefull they are right this time
Cheers
Phil
-
John Fitzsimons
- Posts: 1869
- Joined: Tue Dec 14, 2010 3:11 pm
- Location: IRELAND,Dublin/Meath
- Has liked: 6 times
- Been liked: 817 times
- Contact:
Re: T34/85 25th Guards Brigade No 234a
Misunderstanding there. I was comparing the speed of your T34 build with my slow Tiger project. Hoped to have it finished by now. Now expecting it to drag into 2012. I do not have T34. Just interested in all the builds in general. Mine will be a Normandy Late Tiger. I have a Panzer IV reserved and might do that as Eastern front.
Lovely day here. You should get lots more done.
Lovely day here. You should get lots more done.
If interested in any parts used in my builds contact me at johnfitzsimons@msn.com for a price list.
http://www.armortek.co.uk/Forum3b/viewt ... f=4&t=4770
https://youtube.com/@16rctankworkshop-y ... TlMwTalnX5
http://www.armortek.co.uk/Forum3b/viewt ... f=4&t=4770
https://youtube.com/@16rctankworkshop-y ... TlMwTalnX5
-
phil fitzpatrick
- Posts: 2020
- Joined: Sat Dec 12, 2009 3:38 pm
- Location: Sambourne uk
- Been liked: 223 times
Re: T34/85 25th Guards Brigade No 234a
Hi John
I know,my mistake as soon as I posted that reply I realised I had been following your Tiger build along with the others.
Your Zimmarit,details and painting are excellent work.
Cheers
Phil
I know,my mistake as soon as I posted that reply I realised I had been following your Tiger build along with the others.
Your Zimmarit,details and painting are excellent work.
Cheers
Phil
-
John Fitzsimons
- Posts: 1869
- Joined: Tue Dec 14, 2010 3:11 pm
- Location: IRELAND,Dublin/Meath
- Has liked: 6 times
- Been liked: 817 times
- Contact:
Re: T34/85 25th Guards Brigade No 234a
Thanks Phil. Learning a lot through the forum. Need to learn some weathering techniques. Whould love to achieve somthing like your Comet.
If interested in any parts used in my builds contact me at johnfitzsimons@msn.com for a price list.
http://www.armortek.co.uk/Forum3b/viewt ... f=4&t=4770
https://youtube.com/@16rctankworkshop-y ... TlMwTalnX5
http://www.armortek.co.uk/Forum3b/viewt ... f=4&t=4770
https://youtube.com/@16rctankworkshop-y ... TlMwTalnX5
-
phil fitzpatrick
- Posts: 2020
- Joined: Sat Dec 12, 2009 3:38 pm
- Location: Sambourne uk
- Been liked: 223 times
Re: T34/85 25th Guards Brigade No 234a
Thanks John.
Before the Comet I did my Panzer 111L and only went as far as air brushing a 3 colour camoflauge.
Untill Phil Woodall explained the techniques of aplying wash's and dry brushing,I thought wash's were what
you did with your clothes and the dishes and dry brushing was what you did on the patio
I had loads of fun experimenting and learning and I plan to do the same with the T34/85.
Cheers
Phil
-
phil fitzpatrick
- Posts: 2020
- Joined: Sat Dec 12, 2009 3:38 pm
- Location: Sambourne uk
- Been liked: 223 times
-
phil fitzpatrick
- Posts: 2020
- Joined: Sat Dec 12, 2009 3:38 pm
- Location: Sambourne uk
- Been liked: 223 times
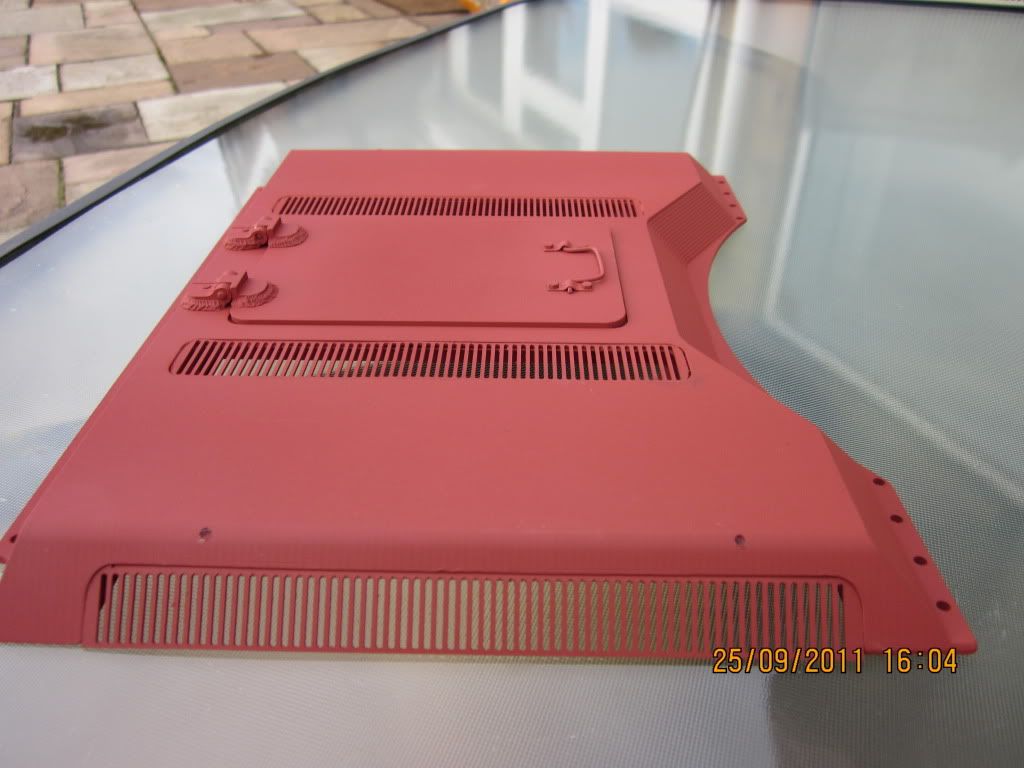
Rear Deck and Deck Hatch
It took a while to find a picture of the hatch handle that I knew should be there but it is
under the turret which sits quite low,then I found a pic showing a fold down handle
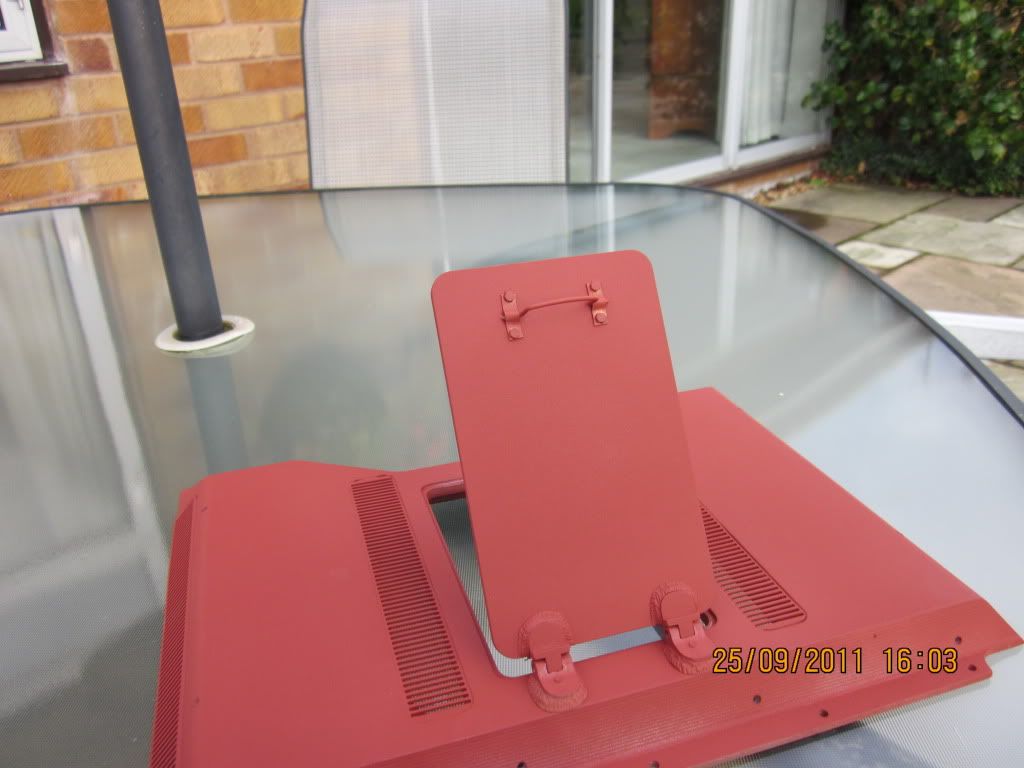
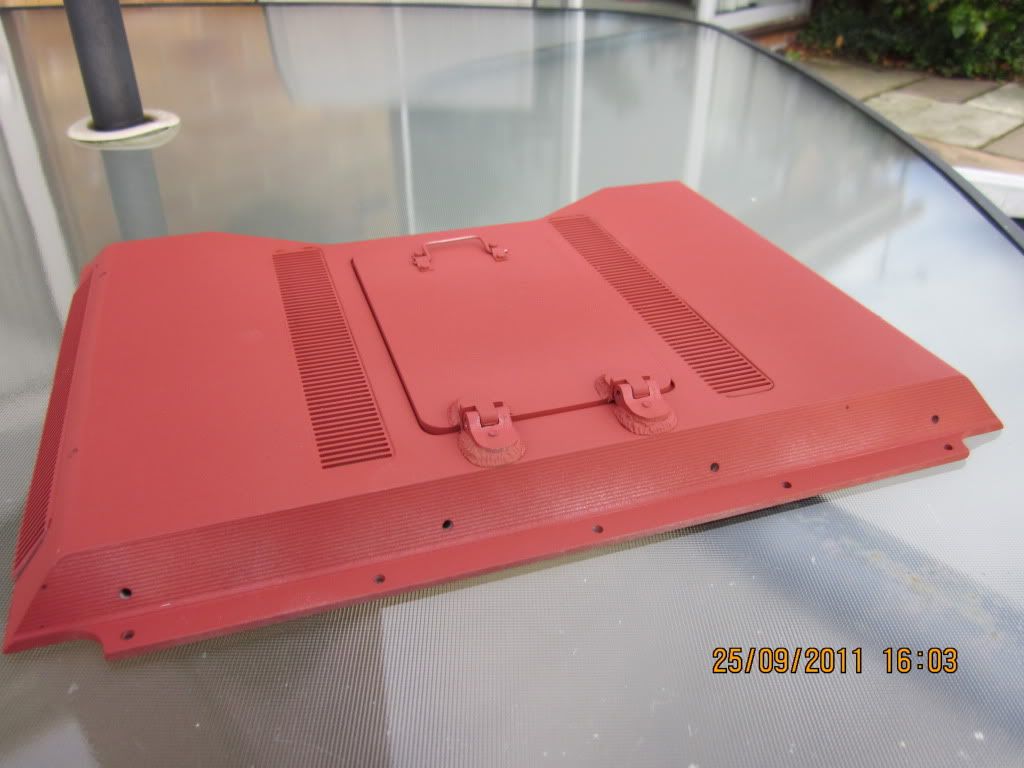
under the turret which sits quite low,then I found a pic showing a fold down handle


-
Brown Hawkins
- Posts: 204
- Joined: Sat Aug 01, 2009 12:34 am
- Location: Denver, Colorado
- Been liked: 33 times
Re: Front Suspension finished
Phil,phil fitzpatrick wrote:Finaly finished my front suspension and got a full rate of movement now.
Am I correct in assuming you cut the head of the connecting bolt off entirely? I can't see any of it in the photo above.
Just making sure before I start grinding.
Brown
-
phil fitzpatrick
- Posts: 2020
- Joined: Sat Dec 12, 2009 3:38 pm
- Location: Sambourne uk
- Been liked: 223 times
Front suspension
Hi Brown
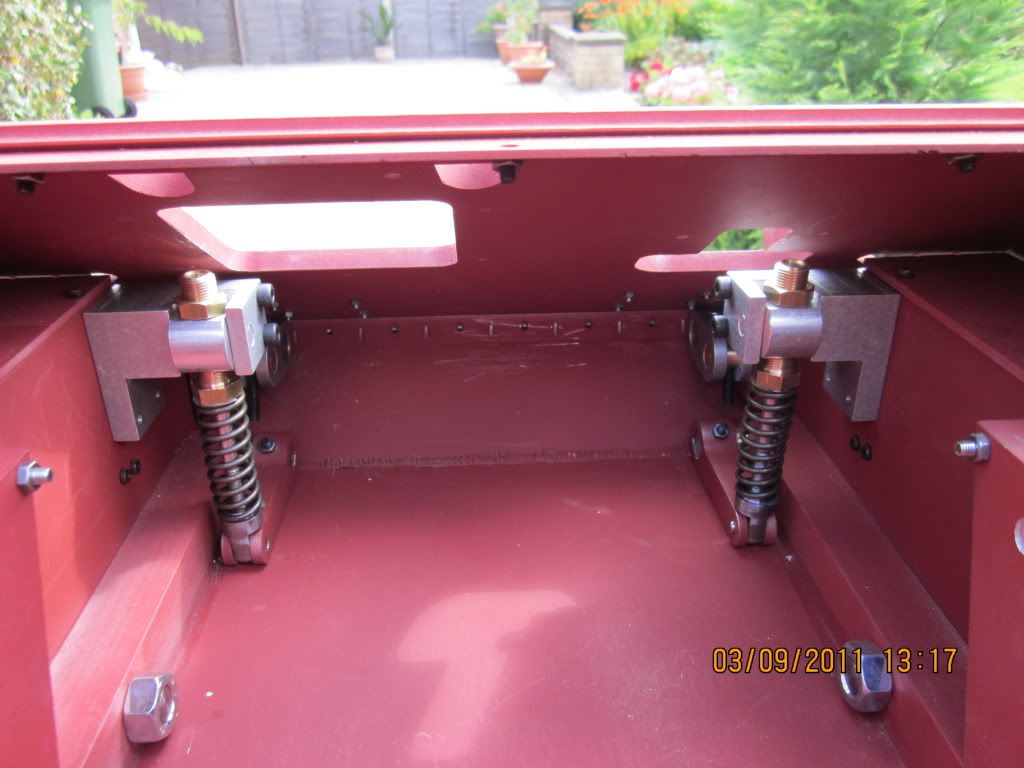
Yes you can see from the picture how close it is to the underside of the glacis plate.
I described what i did on page 4 for reference.
You will see that just cutting the head off still would not be enough,I cut 40mm
off measured from the top of the head,I rounded it off nicely and greased it.
There was enough left inside the spring adjuster about 15 to 20mm and it cannot pop out
because the inner arm would be resting on the floor as pic.
So with full travel the cut bolt cant hit the glacis.
It would be a much easier job doing it without the glacis plate on,I had already done some welds on
mine,but I managed it with a lot of persiverance and blood
Cheers
Phil
-
John Davie
- Posts: 114
- Joined: Wed Jan 13, 2010 8:55 am
- Location: Ampthill, Bedfordshire
- Been liked: 15 times
Re: T34/85 25th Guards Brigade No 234a
You do need to remove the head and make it into a 'stud' otherwise you will have no suspnsion travel. This 'stud' only needs to be long enough to locate into the upper mount tube as it only really locates the spring to stop it falling out - I made mine about 70mm long.Am I correct in assuming you cut the head of the connecting bolt off entirely
John.
ARMORTEK: SdKfz 7, 88mm Flak36, 222, Sherman, Comet, T34, Firefly, Centurion, MarkIV, Limber, 25 Pdr, Pak 43, 17 Pdr.
Plus others!
ARMORTEK: SdKfz 7, 88mm Flak36, 222, Sherman, Comet, T34, Firefly, Centurion, MarkIV, Limber, 25 Pdr, Pak 43, 17 Pdr.
Plus others!
-
Brown Hawkins
- Posts: 204
- Joined: Sat Aug 01, 2009 12:34 am
- Location: Denver, Colorado
- Been liked: 33 times
Re: T34/85 25th Guards Brigade No 234a
Thanks for the additinal information. I went ahead and cut the heads off in frustration last night just to get something put together and secure the glacis plate. Not much room for the hull machine gun after all this.
Brown
Brown
-
phil fitzpatrick
- Posts: 2020
- Joined: Sat Dec 12, 2009 3:38 pm
- Location: Sambourne uk
- Been liked: 223 times
suspension etc
Hi Brown
I posted a picture and little vidio of my MG Traverse mechanism so there is
room if you are putting one in.
Also another stage that is easier with the Glacis plate removed is the Idler
shaft and adjustment mechanism.
Hope thats a help
Cheers
Phil
I posted a picture and little vidio of my MG Traverse mechanism so there is
room if you are putting one in.
Also another stage that is easier with the Glacis plate removed is the Idler
shaft and adjustment mechanism.
Hope thats a help
Cheers
Phil
-
phil fitzpatrick
- Posts: 2020
- Joined: Sat Dec 12, 2009 3:38 pm
- Location: Sambourne uk
- Been liked: 223 times
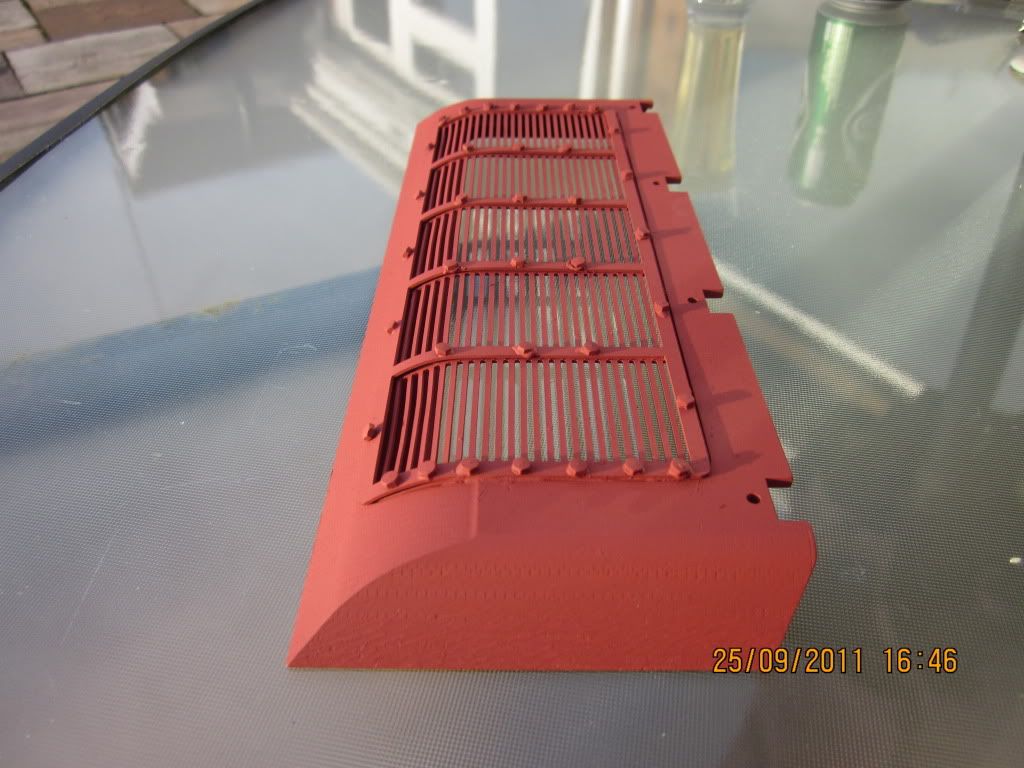
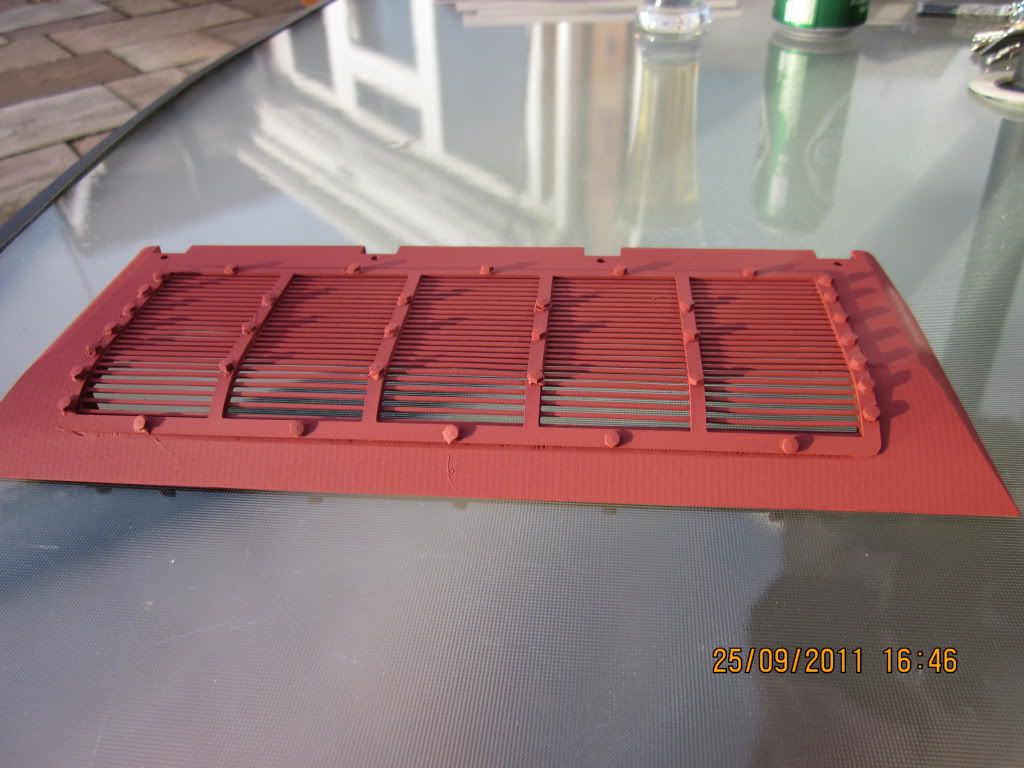
Exhaust covers
I tried some of that spray filler that was recomended on the forum,but just using a stipling
brush like I did on my MG Housing.
It took a few coats to build it up and get the hang of working quick,its a lot more subtle
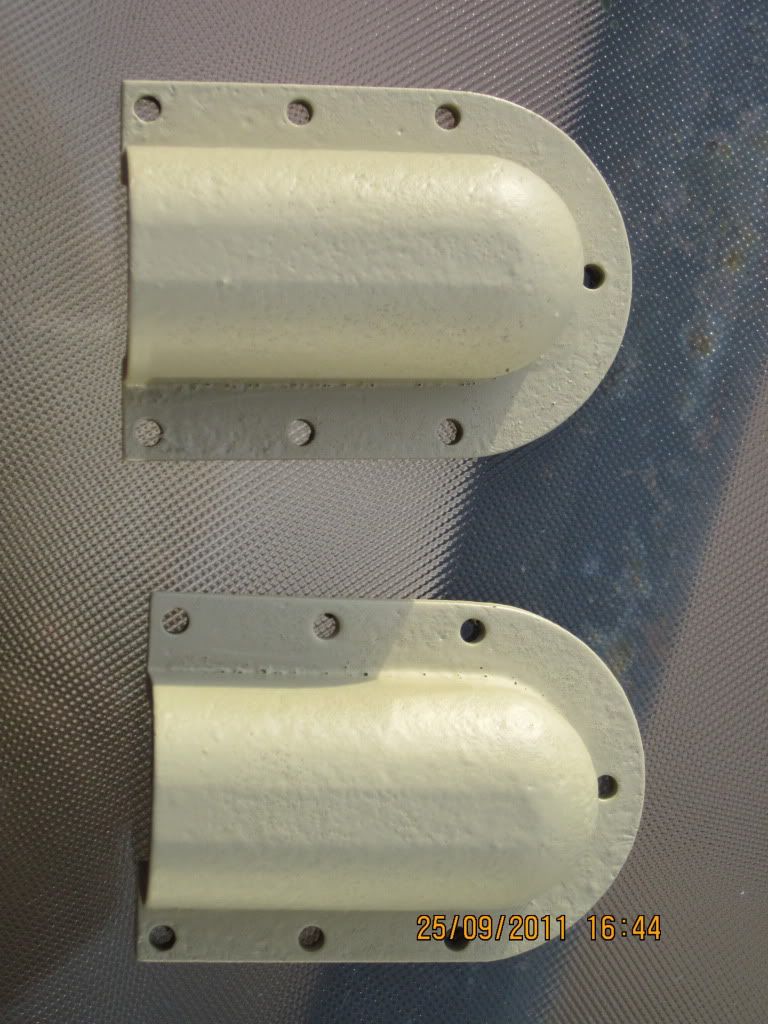
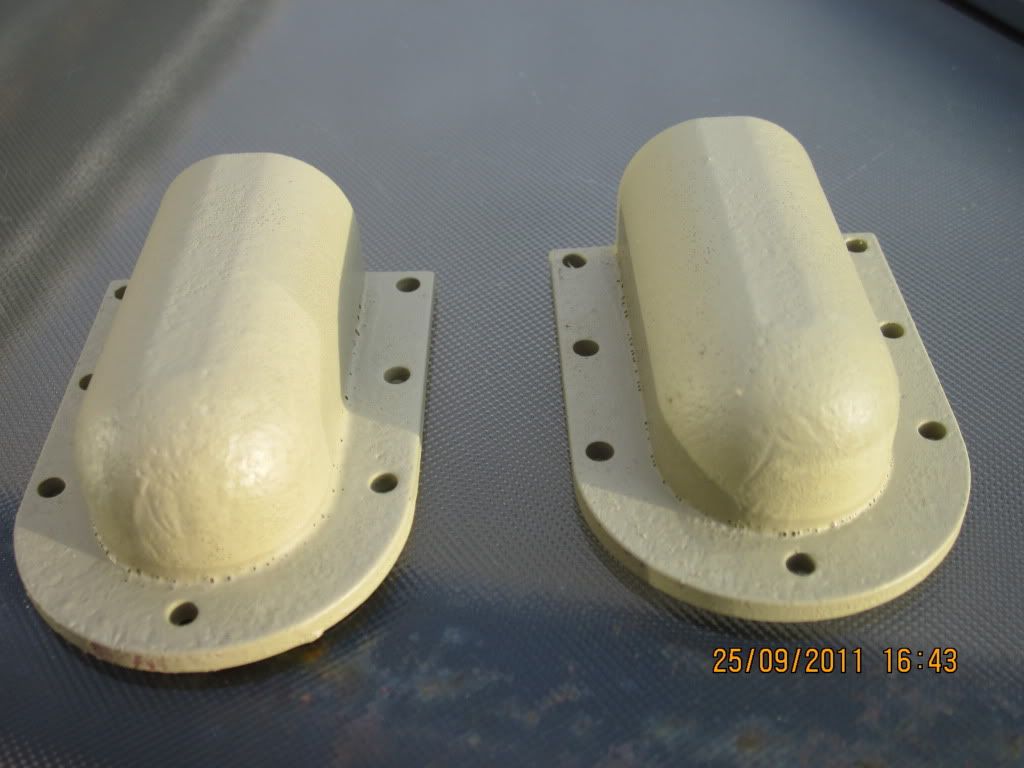
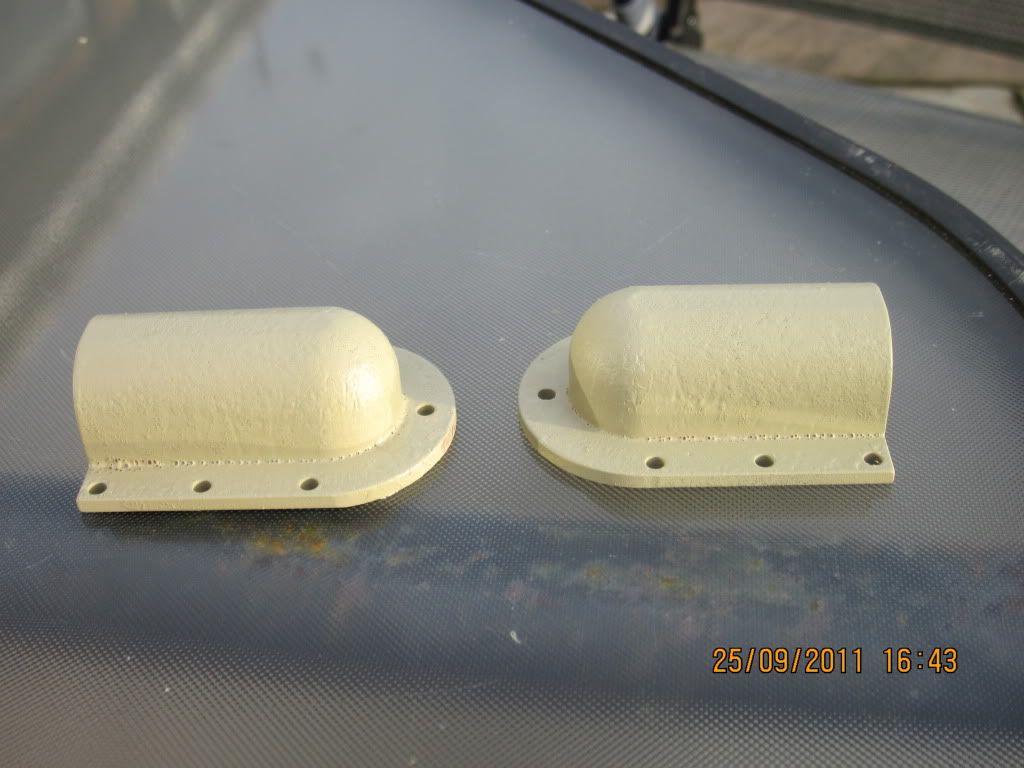
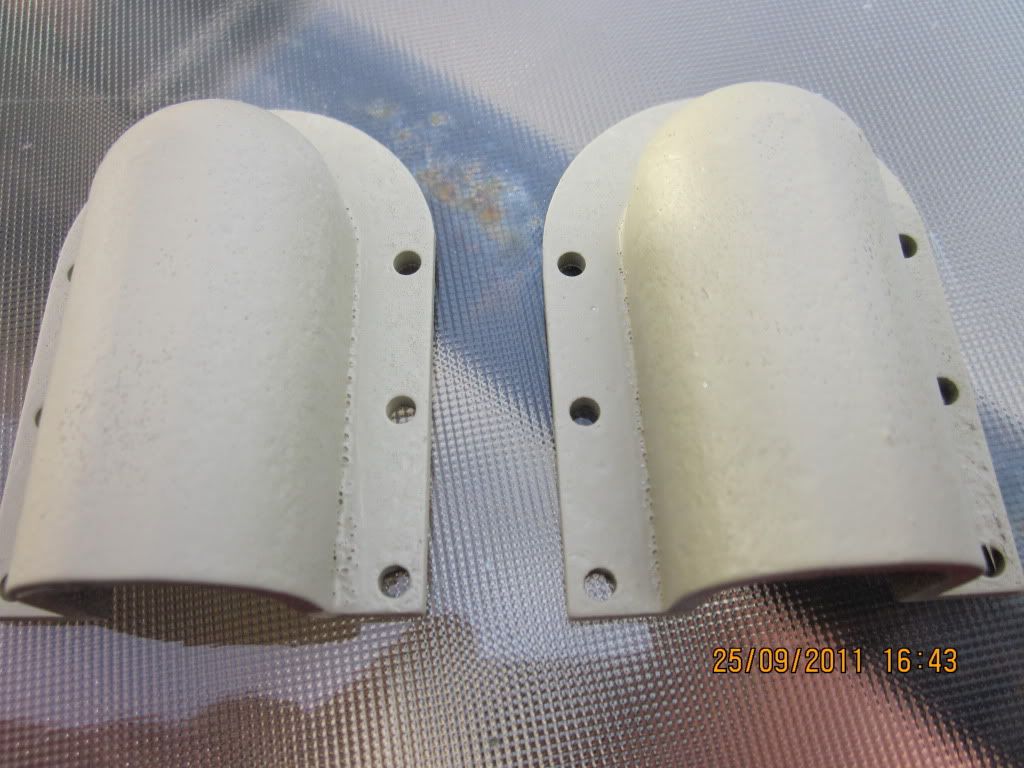
brush like I did on my MG Housing.
It took a few coats to build it up and get the hang of working quick,its a lot more subtle


-
Bodo Langbehn
- Posts: 109
- Joined: Wed Jan 06, 2010 11:07 am
- Location: Germany Black Forest
- Been liked: 25 times
Re: T34/85 25th Guards Brigade No 234a
Hi Phil,
the best method with the carfiller is to sandblast after applying 2-3 a few coates patches away and repeat the process if you not happy with the result. On the idler I have applied the filler with a putty knife. On the van cover I have only sprayed one coat of filler and you can see, it`s very thin.
Bodo
- Attachments
-
- CIMG1333.jpgkl.jpg (235.76 KiB) Viewed 4149 times
-
- CIMG1286.jpgkl.jpg (155.46 KiB) Viewed 4149 times
-
- CIMG1284.jpgkle.jpg (247.29 KiB) Viewed 4149 times
-
phil fitzpatrick
- Posts: 2020
- Joined: Sat Dec 12, 2009 3:38 pm
- Location: Sambourne uk
- Been liked: 223 times
sand blasting filler
Thanks for the pictures Bodo,your parts are excellent and sand blasting looks to
be the best method,but I havent got any sand blasting equipment,I will have to
look into it.
The photo's are very helpfull because you can really see what can be done with
this product using different techniques
Cheers
Phil
be the best method,but I havent got any sand blasting equipment,I will have to
look into it.
The photo's are very helpfull because you can really see what can be done with
this product using different techniques
Cheers
Phil

