First task is to create the artwork. I use Powerpoint, where you can import photos of some of the original graphics and/or create new text and imagery. For the BCF extinguishers, it was difficult to get a flattened image of the cylindrical decals, so I decided to create them from scratch but import the graphic of the hand holding the extinguisher. I also used the colour picking tool ("eyedropper") to match the Deep Bronze Green colour.


Text boxes created and then this image cropped and imported:


To merge the imported photo of the hand holding the extinguisher with the text, I saved the Powerpoint graphic as a picture and imported it into Photoshop Elements. That's a cut down version which is powerful but easy to learn. In photoshop, I tidied up the image, merged the colours, then added some scratches and marks to simulate the use of the original. I then saved the graphic and re-imported it into PPT to scale it to fit the model extinguisher, printing it on paper to do a test fit. Once happy, I cloned the graphic to make the three copies I needed and a spare.

Imported image:

Re-touched and distressed image:

Final stage is to print it onto transfer paper. I use the one by "Experts Choice":
http://www.ebay.co.uk/itm/CLEAR-DECAL-F ... SwpRRWmnV3

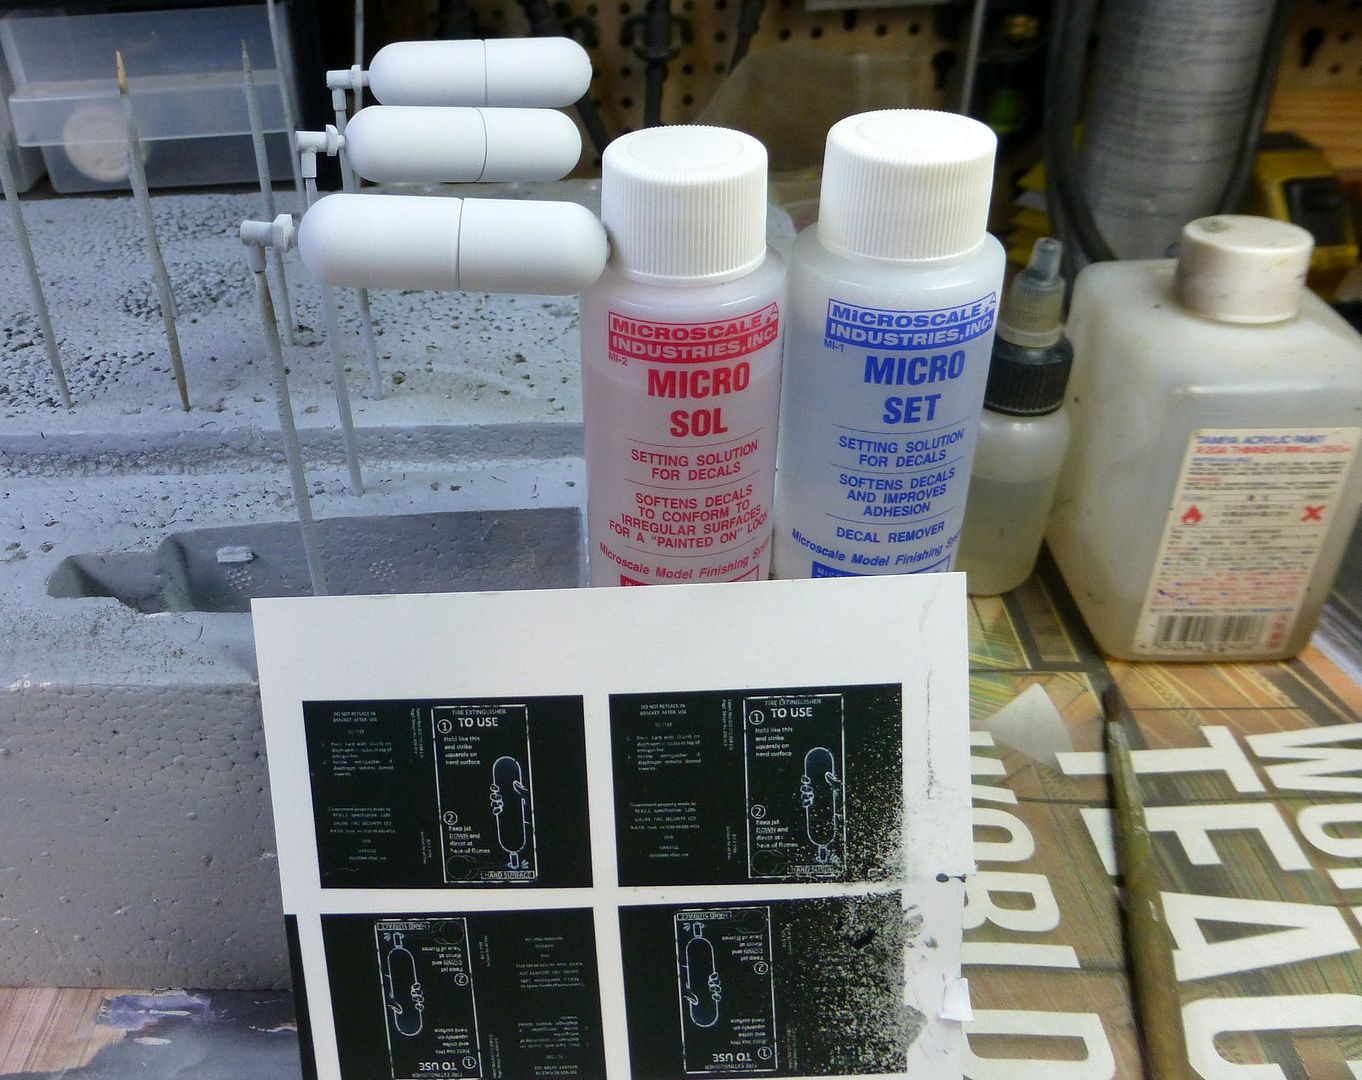
The paper comes in clear or with a white background. Printers don't print white of course, so the white on my graphics would be transparent and would show the underlying colour. I've found the white decal sheets to be unreliably thin and they still allow the underlying colour to bleed through. I prefer to use the clear and give the surface on which the decal sits a coat of Tamiya XF-2 Flat White. If you use an ink jet, you must spray the decal sheet with at least two coats of satin acrylic varnish to protect the print and to give some body to the decal. (You can see how I smudged the print above before the varnish.) I also use Micro Set and Micro Sol to soften the decal, particularly if you need to set it over raised or sunken detail, such as the join in the middle of the extinguishers.
The rest is easy. Soak the decal, apply it, let it dry and spray again with satin varnish. Finally, I completed the paint with Deep Bronze Green and steel for the nozzle.


With many markings such as German Balkenkreunz, it's as easy to mask and spray but there are many markings which can only be done with artwork transferred to decals. Hope this is of interest.
Stephen


