Page 5 of 15
Re: Roy's StuG III (no. 2020/10)
Posted: Fri Dec 04, 2020 2:49 pm
by Tom OBrien
Roy,
The aspect of the gear I refer to is the flat surface (or what is meant to be a flat surface) on the opposite side to what is presented in your illustration.
I should have taken photos of it before installing but simply put, and as described by our other forum guest, the surface is not perfectly flat.
Having a very slight bulge, it had the tendency to make contact with the tops of the CSK screws that are found within the footprint of the gear housing and which holds the bracket which affixes to the front lower plate. The CSK screws were tightened as far as they could go but there remained just a very slight part of the top of the screw that sat above the surface of the hull. I could have removed the CSK screw and deepened the recess but it was actually easier to file the gear surface plus just a tiny bit off the top of the CSK screw (but not enough to weaken them), so now, it works fine.
After filing probably about a mm from the gear surface, the surface was closer to being perfectly flat. I would recommend filing to anyone starting a build. Also, before installing the recessed CSK screws, make sure the top of the screw clears the surface completely once tightened.
So now, it's on to painting the drive sprocket and installing the tapered lock.
cheers... Tom
Re: Roy's StuG III (no. 2020/10)
Posted: Sat Dec 05, 2020 6:34 pm
by Roy Beukeveld
Hi Tom,
Just for the record, the previous post was made by Armortek, not by me

Regarding your issue with the gear I understand what your saying. When I assembled my two gears one ran freely the other didn't when I tensioned the bolts. It turned out to have a small bur at the center of the flat side. I dremeled it of and after that both gears spun freely.
I also placed a steel ruler along both sides of the gear. The shaft side is perfectly flat. Probably because of the machining of the raised surface.
The other side isn't flat, they both aren't. The highest point is in the center. I think it is about 6 tenths of a mm off on the sides.
Although they are both running free now I think I'll put them both up on the lathe next week anyway and machine them flat. That way a little bit more clearance arrises and it won't give any problems in the future for sure

Re: Roy's StuG III (no. 2020/10)
Posted: Sun Dec 06, 2020 2:28 pm
by Tom OBrien
Roy,
Sorry, I get confused sometimes about who's replying on these forums -- whether it's Armortek or individuals like yourself. In any case, I very much appreciate your feedback on the gears, verifying my suspicions that I'm not the only one who has encountered the issue. It's an issue (not a "problem"), as I expect imperfections in manufactured kits, and there are notably very few with Armortek products.
Another subject -- there are slight gaps, mostly unseen unless you subject the vehicle to submersion in water, between the hull floor and the front armor plates, and also other areas around the base of the hull. After priming, I will use a product called "Flex Seal", to help prevent water and moisture from getting into the hull. There are a number of similar products that I've found effective, only don't count on any of them to "float your boat" more than splashing through puddles and perhaps a brief submersion, but not much more. You can apply a finishing paint on top of the flex seal.
Cheers.... Tom
Re: Roy's StuG III (no. 2020/10)
Posted: Sun Dec 06, 2020 7:27 pm
by Roy Beukeveld
Hi Tom,
No problem, just saying. When I machined the gears I will post the result.
Today I worked on the torsion bars and the wheel arms. They are all on now, but not on the proper angle yet.
Now they are on I could try out the strength of the fixed end (CL0222) connection with the axial countersunk screw.
I tightened them quite firmly, and still it was not to difficult to get it out of place by lifting the wheel arm.
Must say that the grub screws aren't in yet so that will definitely help it lock more.
florian rudolf wrote: ↑Thu Dec 03, 2020 11:42 am
On my first StuG I used the grub screws deeper.
After the pre-assembly I drilled with a 1.6mm drill, then drilled a recess with a 2m. grubs with a point were used. this could be screwed into the recess.
so i took little material, but the highest possible security.
I secured the grubs with loctite (blue).
The suggestion Florian made a couple of posts back sounds appealing though. I think I'll leave the connections for now what they are, and later when I can place all the heavy parts in I adjust the angles to the exact position.
After that I will screw in a grub with a sharp point. Hopefully that will leave a tiny marking. Then take the fixed end out and drill a tiny hole in like Florian said. Then place a pointed grub in and the fixed end will be locked in place. From that moment all fixed ends have their own position in the frame of course.
You mentioned Flex Seal, well let me know how that turns out, might be interesting. I do not plan on running the StuG through water but the same point of attention goes for sand and dust. I'm thinking about a shaped rubber profile that can be mounted from the inside. You don't or hardly see it from the outside but does close up nicely. Havent decided on anything yet though.
Re: Roy's StuG III (no. 2020/10)
Posted: Sun Dec 06, 2020 10:13 pm
by Tom OBrien
Roy,
I applied the Flex Seal earlier today. The only problem with it is that you have to give it 24-48 hrs to cure, and you know how hard it can be to just let something like this sit. Although, I can turn to other aspects, like painting the tracks with an automotive primer in dark grey.
(Also, I might want to apply a second coat of Flex Seal, but still, cannot apply until the first coat cures.)
Your torsion bar solution should work once the grubs are in place. I found that 3mm grubs can be moderately easy to over-torque, stripping the threads, and I've done that with only one on this build. But, it's easy to re-tap/thread for a 4mm grub, which might be a better size anyway.
Your build is looking great.
Cheers... Tom
Re: Roy's StuG III (no. 2020/10)
Posted: Mon Dec 07, 2020 2:38 pm
by Tom OBrien
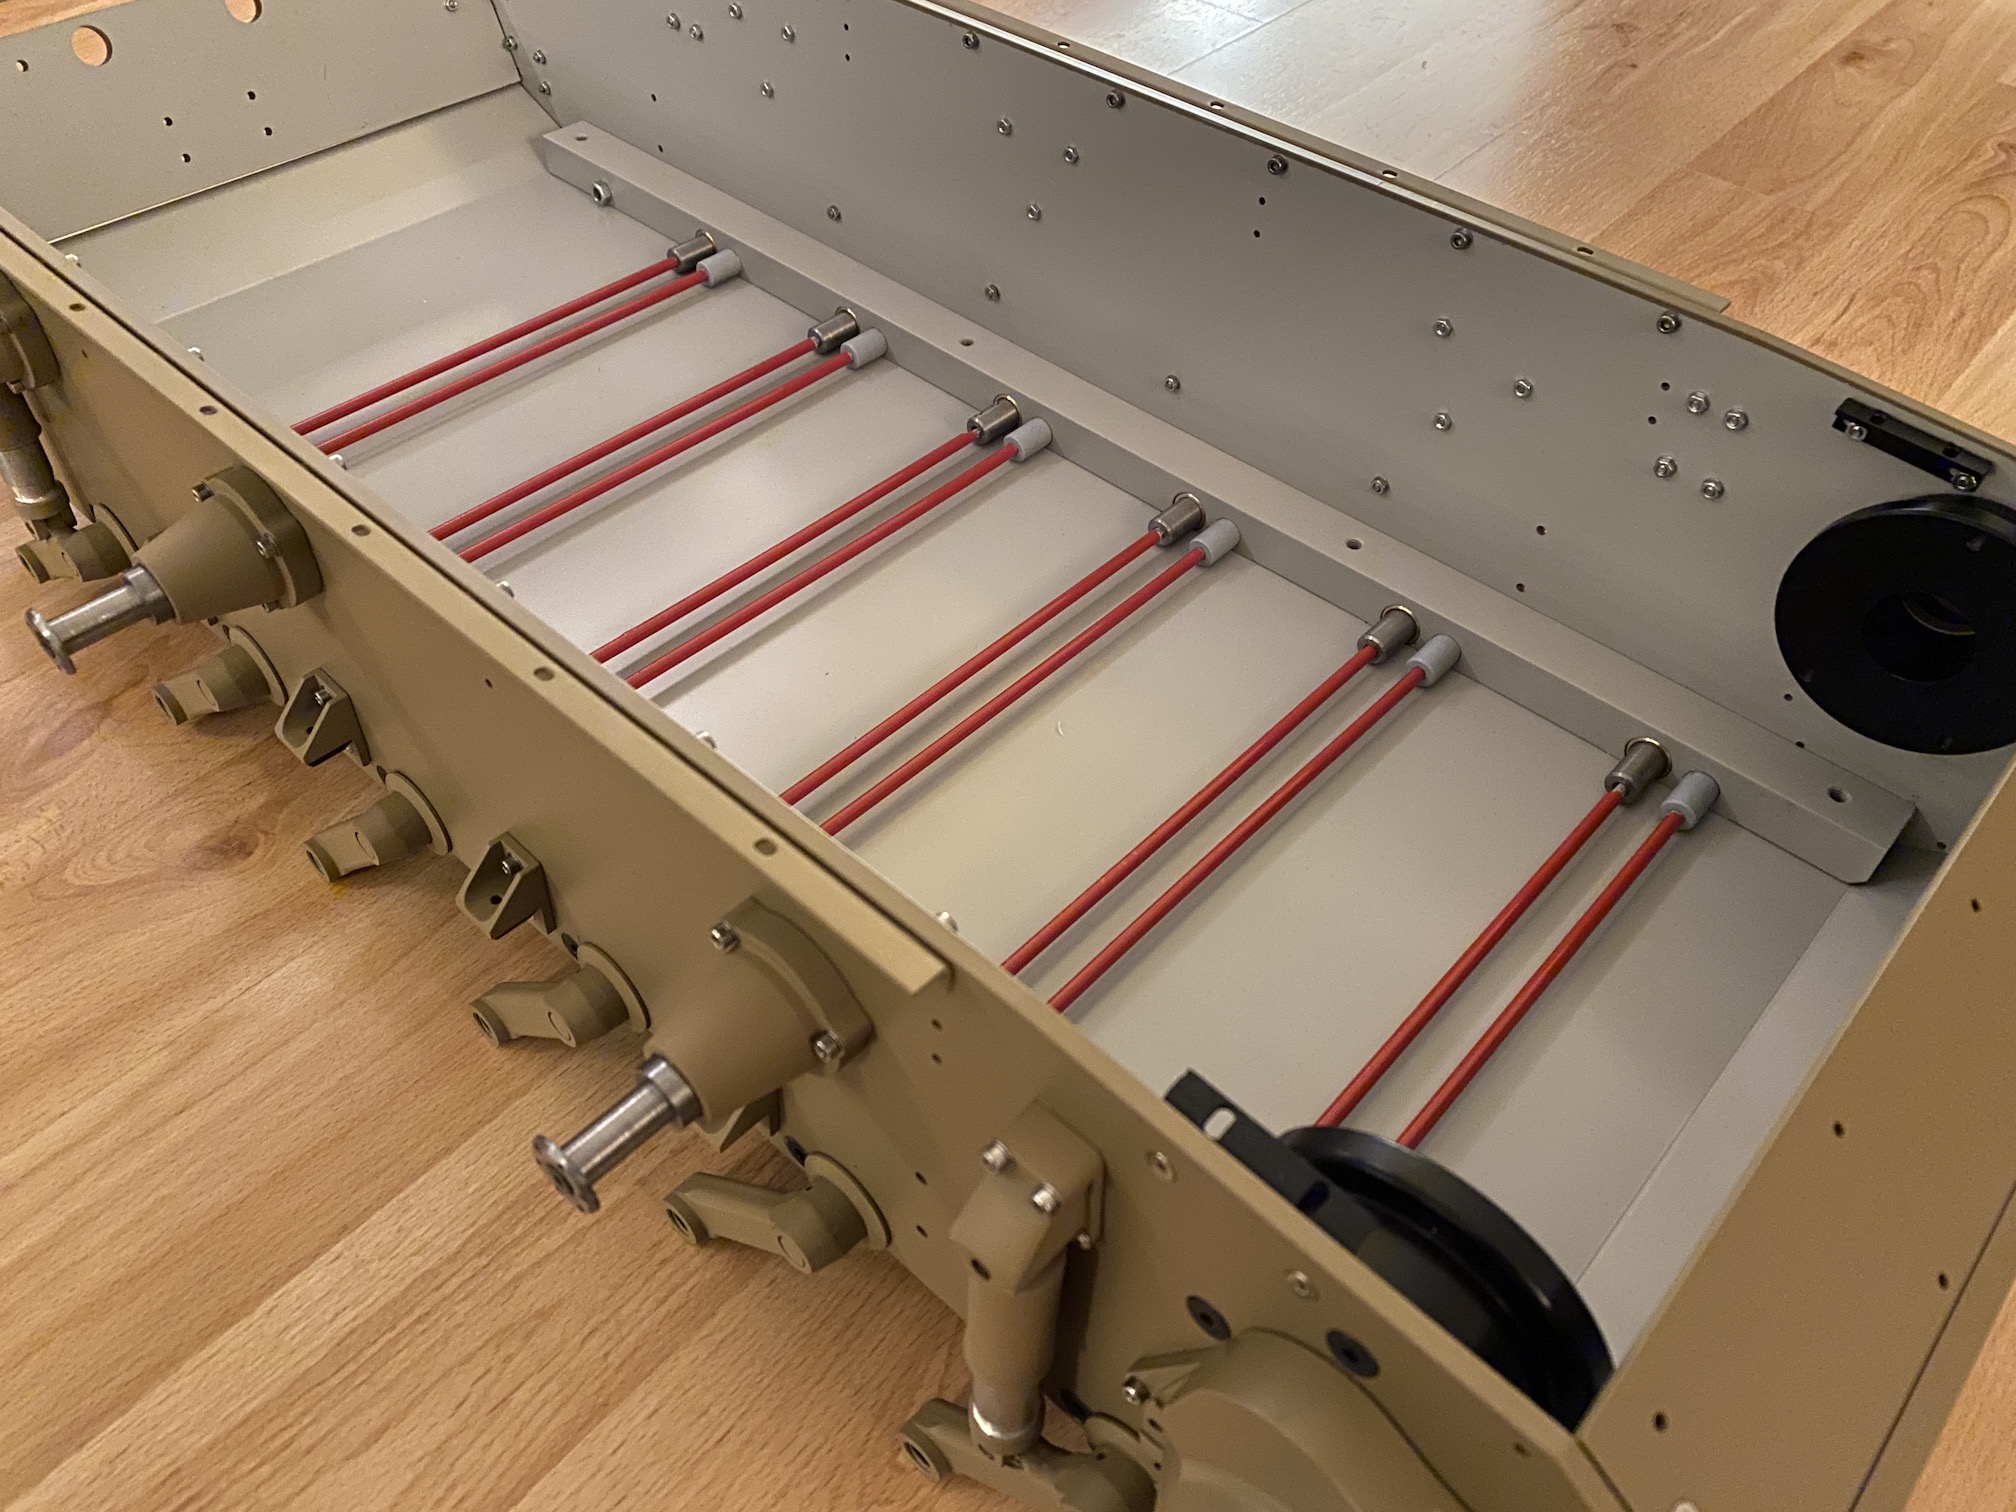
I noticed your top front (driver's) plate is off, I assume to give you easier access to the motor mounts, etc.
That got me to thinking -- would it be advantageous to use liquid weld on the 3mm nuts that hold the 3mm CSK screws in place from the top aspect of the plate, against the underside of the steel bracket? Such that, once assembled, it would be much easier to remove that plate when or if it becomes necessary to access the front compartment of the vehicle, like the motors, without having to fiddle with a very tight space to align the nut with the screw when putting the plate back on. So, all you would have to do is unscrew the screw to remove the plate and screw it back in place when you're finished doing whatever you wanted to do in the compartment.
Thinking again, it might be enough to simply re-tap the 3mm CSK holes for a 4mm CSK into the steel bracket (again, only from the top aspect).
I might experiment and will you know.
cheers... Tom
Re: Roy's StuG III (no. 2020/10)
Posted: Mon Dec 07, 2020 4:03 pm
by Roy Beukeveld
Hi Tom,
That's exactly the reason. I want it to be removable by removing screws from the top side. The brackets therefor would ideally have threaded holes in them. I'm thinking of making some custom brackets for this.
This front top plate is also clamped in front of the fighting compartment between two other parts. With two custom brackets this connection must change from clamped to slided in. That way the front is easily accessible/removable.
I also have some changes in the making for the engine deck as well for the same reason. I'm also considering the use of some strong magnets to hold the top engine deck plate in place. Magnets in combination with two pins for alignment, and then hold firmly by a couple of industrial magnets. Easy removal of this plate will make access to batteries more easy. But I'll have to do some drawing for that first to see if it all works out.
But one thing at a time, so first continuing the work on the running gear

Re: Roy's StuG III (no. 2020/10)
Posted: Tue Dec 08, 2020 2:10 pm
by Tom OBrien
Roy,
I would guess that Armortek designed the brackets as they did with slotted holes to provide some minor adjustability when positioning the plates.
My solution:
After assembling the front armor plates and I was sure the top-front plate is where I wanted it to be, I removed the top screws (two on each side), and then used a 4mm tap to create threads through both the plate and the slot in the bracket where the 3mm CSK had previously been assigned.
Also, I very carefully re-bored the recess for a 4mm CSK screw. Finally, when I was satisfied with the screw recess (flush with the deck), I re-painted the area with primer, let dry, and set the 4mm CSK. It works well but I also had to remember that the threads in the bracket only apply to two sides of the hole (or slot). Thus, the screw will not have the same strength as a fully threaded hole would and because of this, I will have to be careful to not over-tighten the screws.
I assume the top front plate in question is not critical to the structural integrity of the vehicle, and the only weight it will bear will be the two hatches. Later, if it appears the 4mm CSK may not be enough, I can always re-tap for a 5mm CSK.
Your point about "ease of access" is well taken. I'll also look at the engine deck once I've gotten that far.
Cheers... Tom
Re: Roy's StuG III (no. 2020/10)
Posted: Sat Dec 12, 2020 6:40 pm
by Roy Beukeveld
In the past week not much work is done to the StuG, temperatures in the garage were too low, fortunately they will go up again here in the coming week.
Tom OBrien wrote: ↑Fri Dec 04, 2020 2:49 pm
..After filing probably about a mm from the gear surface, the surface was closer to being perfectly flat...
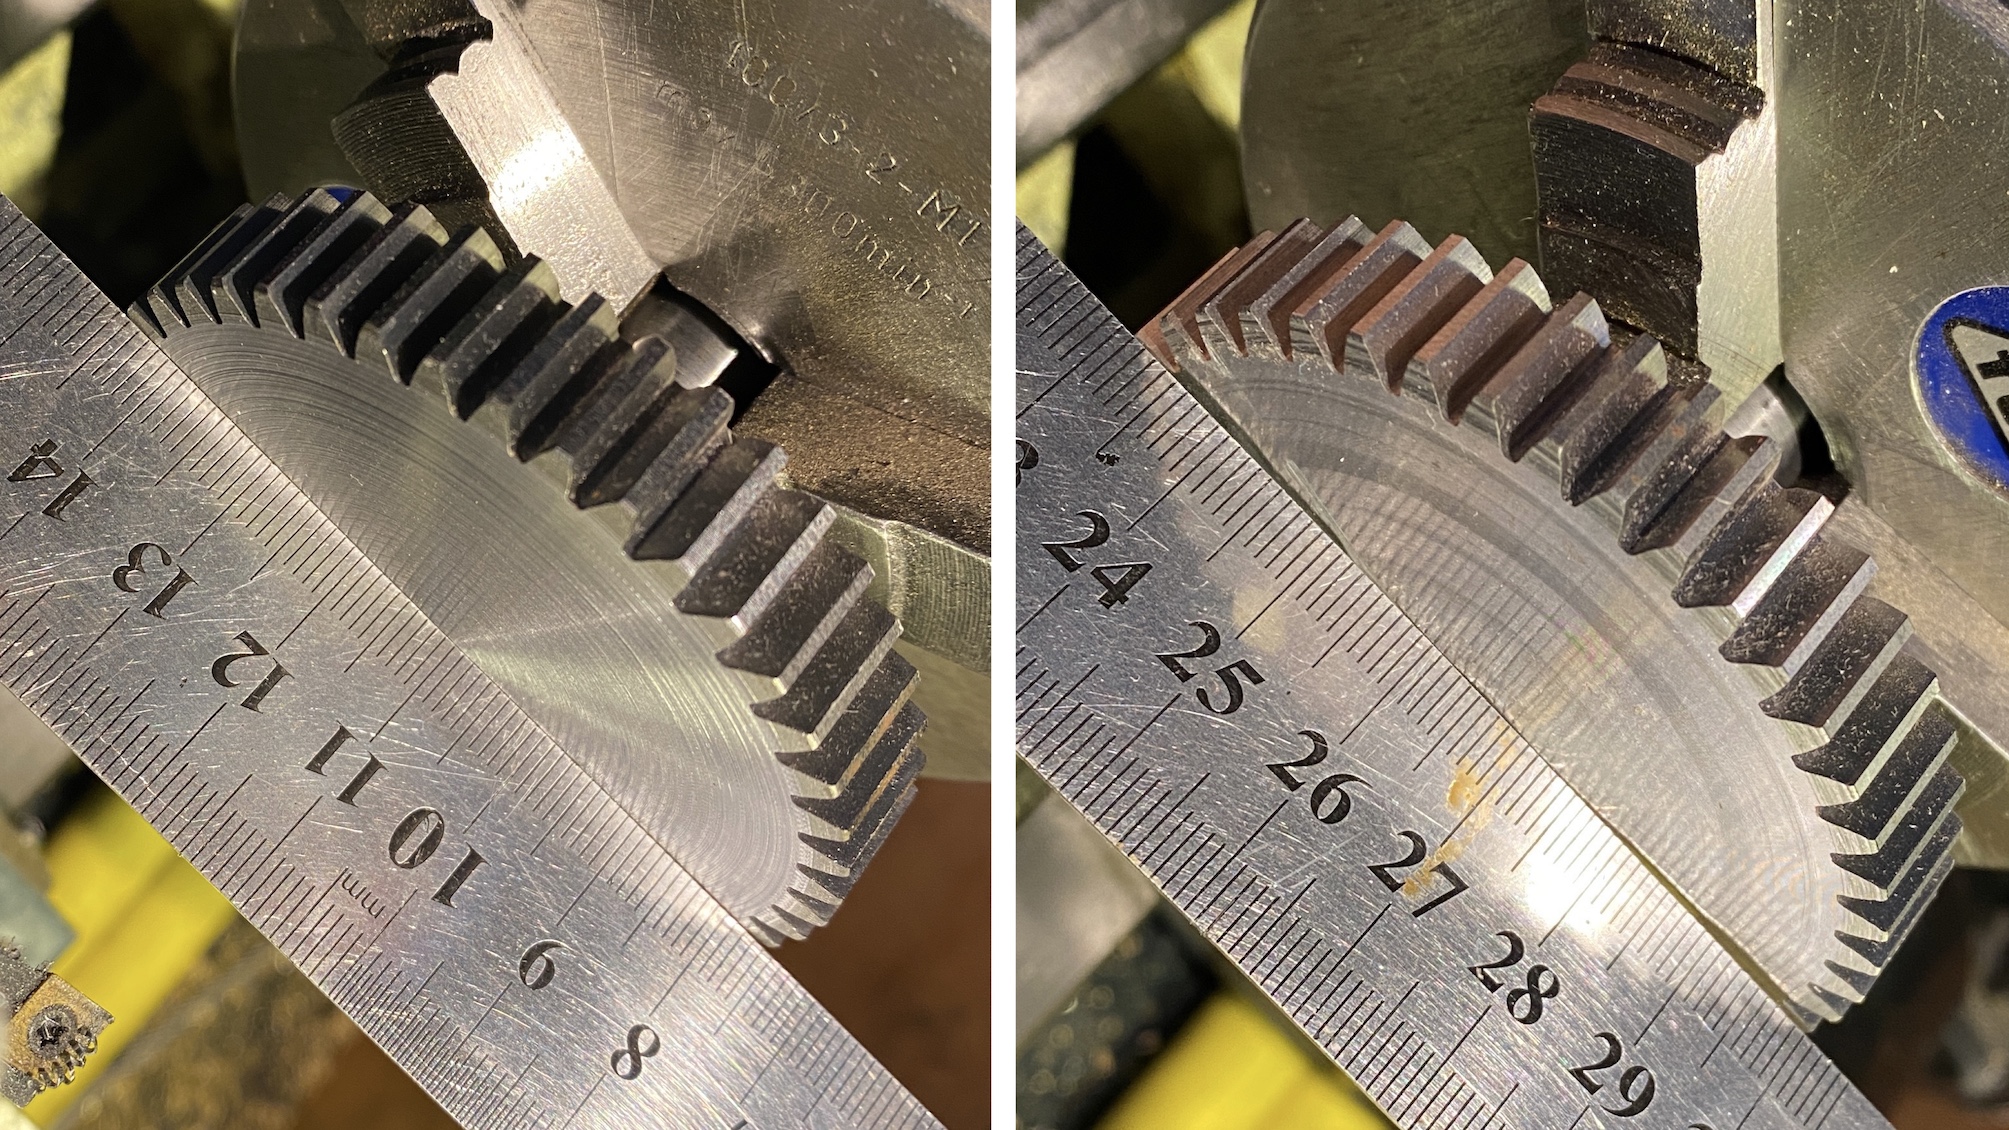
What I did do today was put the two drive gears up the lathe. I machined about a millimeter of, now they are nice and flat. Although they did run free before doing this, the clearance was very thin. So decided to give it a little more space to stay safe here
Re: Roy's StuG III (no. 2020/10)
Posted: Sun Dec 13, 2020 9:47 am
by yves mouton
Hello, Roy
I got de same problem, i use my milling maschine to cut the gear a little.
Best regards Yves
Re: Roy's StuG III (no. 2020/10)
Posted: Sun Dec 13, 2020 11:40 am
by Roy Beukeveld
Hi Yves, yes more people had this, and different solutions are possible indeed.
But it’s a minor thing and luckily an easy fix
Re: Roy's StuG III (no. 2020/10)
Posted: Sun Dec 13, 2020 1:53 pm
by Tom OBrien
Thanks for the photos for everyone to see -- it makes the whole issue more clear. (Again, just an issue, not a problem since it can be easily corrected).
I don't have a lathe so I used a file and took my time to file off the extra metal.
I'm waiting for the right paint to arrive in the mail so I can finish the lower hull. Meanwhile, I'm working on the upper hull/deck.
Have you received your sound and motion packs yet? Once I complete assembly of the upper parts, I'll have to set aside the project until they arrive. But that's OK, I should probably take a break from it.
cheers... Tom
Re: Roy's StuG III (no. 2020/10)
Posted: Sun Dec 13, 2020 2:18 pm
by yves mouton
Hello Tom,
My optionpacks will arrive just before Christmas.
Best regards Yves
Re: Roy's StuG III (no. 2020/10)
Posted: Sun Dec 13, 2020 2:28 pm
by Roy Beukeveld
Tom OBrien wrote: ↑Sun Dec 13, 2020 1:53 pm
...Have you received your sound and motion packs yet? ...
Hi Tom, no not yet, but to complete the lower hull entirely they are needed indeed at some point. When they arrive i will start to figure out the layout of the components and the way they can be secured in the hull.
I bought my batteries already and some materials for the equipment mounting plate/floor.
In the diary thread from Armortek a picture is seen of their arrangement at that time. Both batteries were positioned on the side and separated from each other. That gives a good center of gravity. On the other hand i like them standing up but that doesn’t seem to fit. Once the components arrive it will fall in to place which layout is best.
Re: Roy's StuG III (no. 2020/10)
Posted: Sun Dec 13, 2020 5:15 pm
by Tom OBrien
Roy,
Thanks for reminding me -- I didn't think about batteries so I ordered two 12V 22Ah SLA batteries, the same ones I use in the Tiger 1. They've worked very well and I can use the same charger. They cost 50 USD with 20 dollars shipping.
Sealed Lead Acid batteries should be fine laying on its' side but it still looks weird to me that the terminals aren't accessible from the top.
BTW, I used a battery dis-connect switch in the Tiger and I will do the same for the StuG, as it isolates the battery where there is normally still power going out to the system electronics. The batteries last longer and there is no chance of a fire or whatever from a short in any of the system electronic components.
Tom