Hi Simon,
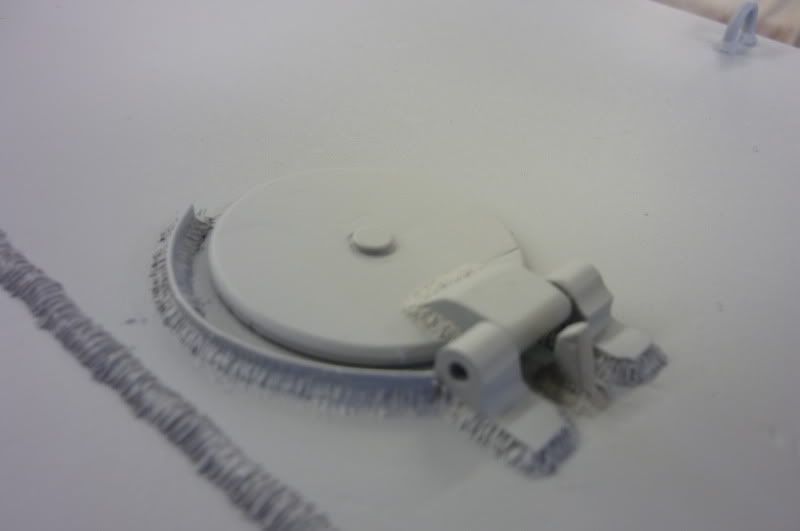
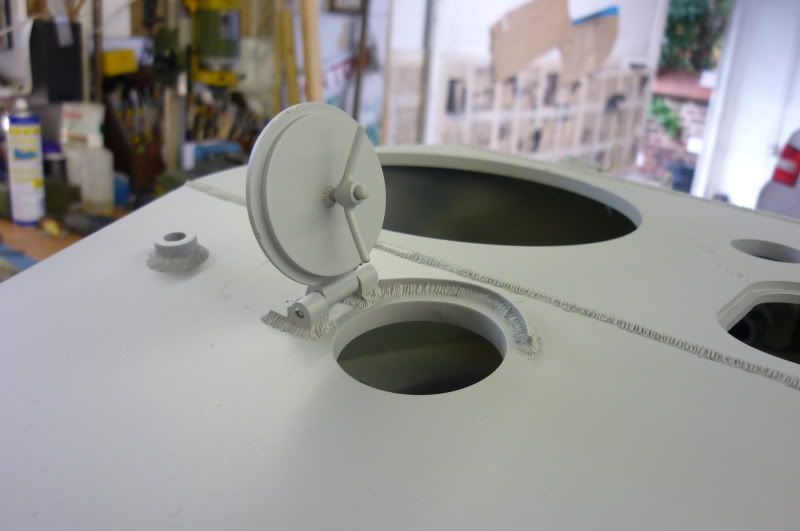
Thanks for posting the photos of the rear deck,great work! They have saved me a bit of head scratching of what goes where on the rear deck.
Cheera Jeff Hyder.
King Tiger Build
-
Jeff Hyder
- Posts: 88
- Joined: Wed Jun 18, 2008 9:47 am
- Location: Buckinghamshire
- Been liked: 3 times
-
Fredrik Jorgensen
- Posts: 361
- Joined: Fri Jul 11, 2008 7:48 pm
- Location: Stockholm Sweden
- Been liked: 1 time
Stunning Simon as always!!!.
I especially like the welds and the rust method you use.
Noticed 1 minor thing, i dont know if its relevant or not.
The left exhaust guard seems in the pictures and all the research ive done to be more Tiger1 like (Rounded off) i honestly havent seen 1 pair wich are the same. It aint a big fuzz but i just wanted to see if there were a reason for it.
And the rust method.............INFO man its really neat.
Im thinking of doin the same.
Regards
Freddie
I especially like the welds and the rust method you use.
Noticed 1 minor thing, i dont know if its relevant or not.
The left exhaust guard seems in the pictures and all the research ive done to be more Tiger1 like (Rounded off) i honestly havent seen 1 pair wich are the same. It aint a big fuzz but i just wanted to see if there were a reason for it.
And the rust method.............INFO
Im thinking of doin the same.
Regards
Freddie
-
simon_manning
- Posts: 2061
- Joined: Fri Nov 02, 2007 8:51 pm
- Location: new forest,hampshire,u.k.
- Been liked: 1767 times
-
simon_manning
- Posts: 2061
- Joined: Fri Nov 02, 2007 8:51 pm
- Location: new forest,hampshire,u.k.
- Been liked: 1767 times


-
Fredrik Jorgensen
- Posts: 361
- Joined: Fri Jul 11, 2008 7:48 pm
- Location: Stockholm Sweden
- Been liked: 1 time
I will scan some photos for you and mail them to you.
And again WOW....... awesome rust looks. ive bought some humbrol paints both oil and the standard paints to mix for the grease and rush finish...need a practise run thou.
Was sick this weekend so the build was to a complete standstill:(.
Are you going to use the front guards inner plate i see you have mounted.
Looks better without just that piece i think, but thats just me.
Freddie
-
simon_manning
- Posts: 2061
- Joined: Fri Nov 02, 2007 8:51 pm
- Location: new forest,hampshire,u.k.
- Been liked: 1767 times


-
Fredrik Jorgensen
- Posts: 361
- Joined: Fri Jul 11, 2008 7:48 pm
- Location: Stockholm Sweden
- Been liked: 1 time
-
Robert E Morey

- Posts: 2349
- Joined: Wed Jul 18, 2007 12:59 am
- Location: Seattle, WA USA
- Has liked: 161 times
- Been liked: 830 times
-
simon_manning
- Posts: 2061
- Joined: Fri Nov 02, 2007 8:51 pm
- Location: new forest,hampshire,u.k.
- Been liked: 1767 times
-
Jeffrey Goff
- Posts: 805
- Joined: Thu Jul 12, 2007 12:52 pm
- Location: NORTHAMPTON
- Has liked: 20 times
- Been liked: 737 times
-
Fredrik Jorgensen
- Posts: 361
- Joined: Fri Jul 11, 2008 7:48 pm
- Location: Stockholm Sweden
- Been liked: 1 time
Simon!!.
I really like your work and you have made me go bananas on the exhausts. I am redoing it all including the lowerpart as i really love yours, especially the rust treatment.
Have done some measurements and will cut and copy with the best of my technical knowleage and with the tools i have at hand.
Did you redo the size of the exhaust tube as i see nothing of the
stud ring wich goes down in the lower exhaust.
Im thinking of silver soldering the spacer to the tube and thread the stud to smoothen it out.
And man your welds......wish mine were as good!!!!
Ace i must say.
Best of regards.
Fredrik
I really like your work and you have made me go bananas on the exhausts
Have done some measurements and will cut and copy with the best of my technical knowleage and with the tools i have at hand.
Did you redo the size of the exhaust tube as i see nothing of the
stud ring wich goes down in the lower exhaust.
Im thinking of silver soldering the spacer to the tube and thread the stud to smoothen it out.
And man your welds......wish mine were as good!!!!
Ace i must say.
Best of regards.
Fredrik
-
simon_manning
- Posts: 2061
- Joined: Fri Nov 02, 2007 8:51 pm
- Location: new forest,hampshire,u.k.
- Been liked: 1767 times


-
Fredrik Jorgensen
- Posts: 361
- Joined: Fri Jul 11, 2008 7:48 pm
- Location: Stockholm Sweden
- Been liked: 1 time
-
peter karlsson
- Posts: 74
- Joined: Wed Apr 29, 2009 8:44 pm
- Location: Norrköping Sweden.
hi there fredde!!
here you hav a link where you could find the instant rust,i bought my rust kit here in norrköping at the hobby store.
http://www.stylefeeder.com/i/5dnpv9yh/I ... stant-Rust
kin regrads peter.
here you hav a link where you could find the instant rust,i bought my rust kit here in norrköping at the hobby store.
http://www.stylefeeder.com/i/5dnpv9yh/I ... stant-Rust
kin regrads peter.
-
simon_manning
- Posts: 2061
- Joined: Fri Nov 02, 2007 8:51 pm
- Location: new forest,hampshire,u.k.
- Been liked: 1767 times