Page 4 of 8
Re: Firefly 008 build
Posted: Mon Jan 09, 2012 5:44 pm
by John Wiggins
Hi
All sorted!

The bad news, my wife has remembered, I promised to decorate the bedroom, in exchange for me using the extension to build the Firefly!

Hopefully, by the time I have finished, the new mask will have arrived and I will be able to start priming the rest of the parts.
Regards
John
Re: Firefly 008 build
Posted: Mon Jan 09, 2012 6:38 pm
by leesellars
Hello John
How did you sort it?
Lee
Re: Firefly 008 build
Posted: Mon Jan 09, 2012 6:50 pm
by John Wiggins
Hi Lee
The rear deck, on the left hand side, needed to be bent a little more, less than one degree!
I took it to the site where my pottery workshop is. There is a large fitters workshop on the site, they look after all clay and glaze making machinery, for the manufacturer, who owns the site. They have a forming machine, it took more time to set up the machine than do the job!
Doing some more work on the tank tonight, then I start stripping wallpaper, tomorrow. Mmmmm
Regards
John
Re: Firefly 008 build
Posted: Mon Jan 09, 2012 6:57 pm
by leesellars
Hello John
Got to keep her sweet cause thers always another tank to get

Lee
Re: Firefly 008 build
Posted: Tue Jan 10, 2012 6:19 pm
by John Wiggins
Hi
Been let off for good behaviour! Walls stripped, prep done for painting ceiling and skirting.
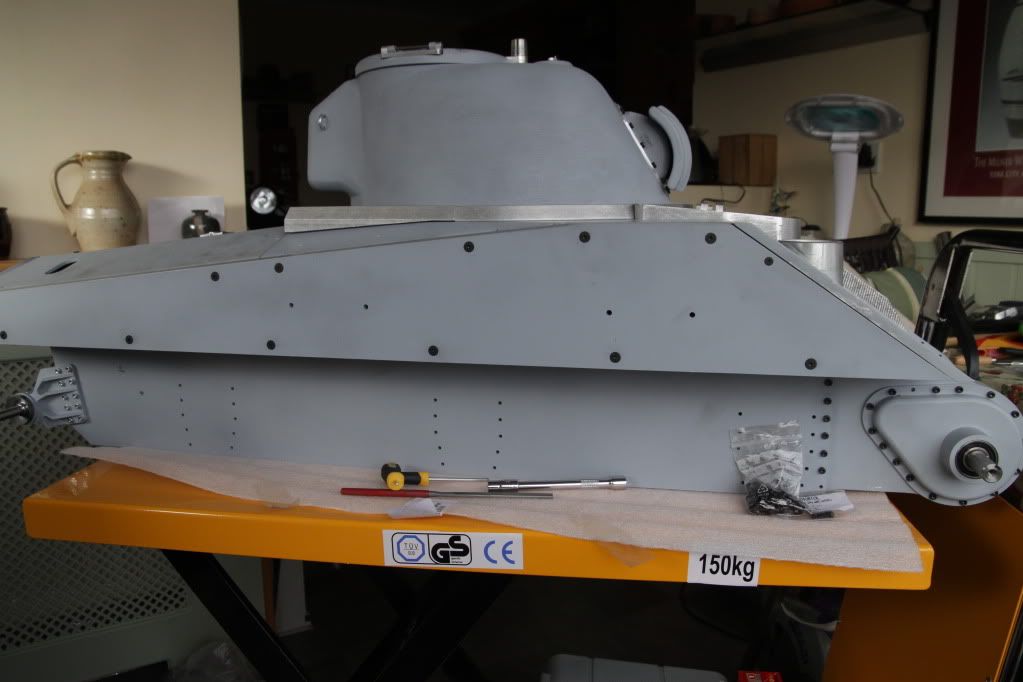
So time to have fun tank building! Never had so much fun, standing up, in a long long time.
Who ever came up with the idea of using a hydraulic lift table, to build our tanks, is a genius.
With restricted space they are a boon!
Starting to do the deck fittings,
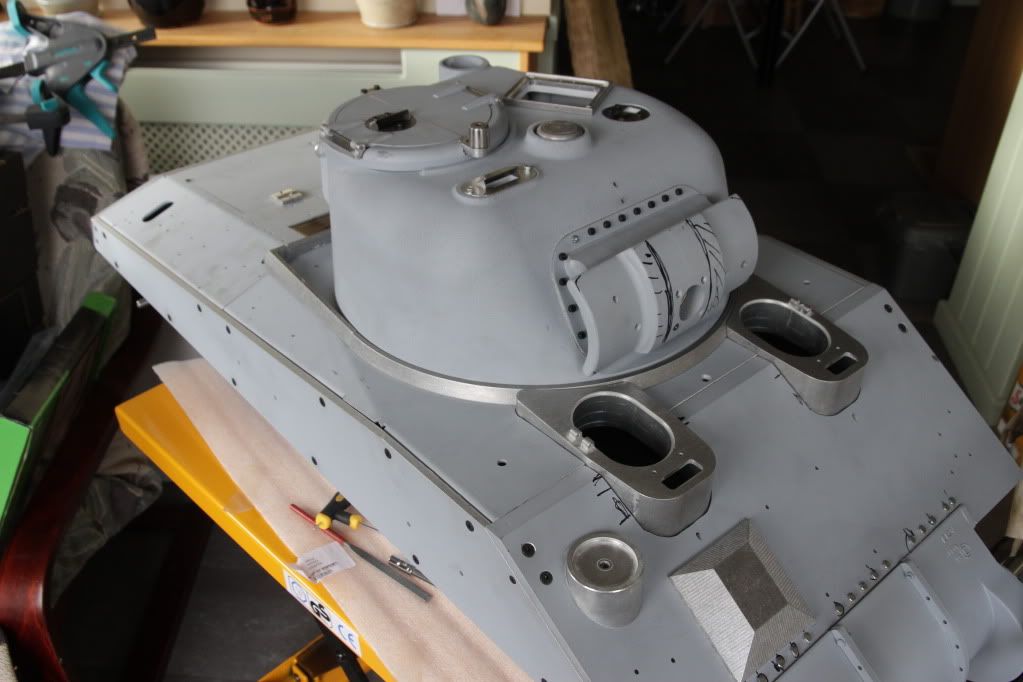
If you are building a Firefly, please read the paragraph at the bottom of page 19, when fitting the drivers hood.
Its a great piece of advice.
I love getting up in the morning, opening the curtains in the extension, turn around and see a tank 'growing'.
For a novice, like me, who panicked, after ordering the kit, i need not have worried. There is help an email away, thanks Mark. There is also inspiration, and a wealth of knowlege on this forum.
I need help! I did not take the advice of (I think Lee?) who said DON'T use Allen keys with the rounded ends.
Well I have broken off the end of the small key, in a 3mm csk bolt! In the mantlet, is there a way of removing it?
Still having fun and totaly addicted. If you are thinking of buying a kit, do it, now!
Regards
John
Re: Firefly 008 build
Posted: Tue Jan 10, 2012 8:57 pm
by leesellars
Hello John
Try to get it out with a wire sharpened to get on one of the corners. Have you got a magnet. (strong one) In my car restoreation tools i have a 1/2" magnet on a collapsable pinter that can reach in out of the way places That can hold 5kgs.
Or try drilling it out. Last resort. But if your luck is the same as mine you cant get a drill in.
Lee
Re: Firefly 008 build
Posted: Tue Jan 10, 2012 9:05 pm
by John Wiggins
Thanks Lee
I will try your suggestions , in that order. I have just bought one of those magnet things, new it would come in handy, one day!
Regards
John
Re: Firefly 008 build
Posted: Tue Jan 10, 2012 9:22 pm
by Adrian Harris
I've come to hate ball-end allen keys

If you don't actually need to remove the screw, just filler over it - who's to know

Oh, you just told the whole forum
Adrian.
Re: Firefly 008 build
Posted: Tue Jan 10, 2012 9:31 pm
by John Wiggins
Thanks Adrian!

Re: Firefly 008 build
Posted: Wed Jan 11, 2012 8:42 am
by Ray Brown
g'day,
i'm with you john. p iv my first and i'm hooked. the guys are great and helpful. its a great group. keep the pics coming.
Re: Firefly 008 build
Posted: Thu Jan 12, 2012 7:39 pm
by John Wiggins
Thanks Ray
Have been enjoying your build. It looks a bit warmer in NSW than Newcastle und Lyme! Lots of daylight too.
Build has slowed this week, due to decorating duty. Just doing an hour in the evening (on the Firefly). Should be back in full production by the middle of next week!

Best regards
John
Ps, I did manage to get the screw out of the mantlet, I cut a groove in the head with the Dremel and unscrewed it with flat bladed screw driver. I live and learn, must remember not to use round head Allen keys ever again!

Re: Firefly 008 build
Posted: Fri Jan 20, 2012 12:54 pm
by michael hilton
Hello John, I am enjoying your build immensely. This hobby is so relaxing and keeps the 'grey matter' working.
Well done, and best wishes....Mick.
Re: Firefly 008 build
Posted: Fri Jan 20, 2012 2:37 pm
by John Wiggins
Hi
Thanks for the support Mick.
Currently in London, visiting our son. Spent a couple of hours at the model engineering show at Ali Pali, this morning.
Some truly amazing models on show. Met Derek with his Stug and Robin with his Tiger, both showing the Armortek flag.
Should be back priming on Sunday, now the decorating is finished!
Re: Firefly 008 build
Posted: Fri Jan 27, 2012 6:26 pm
by John Wiggins
Hi
M4A4, Shermans seem to have 5 piece glacis plates.
Question,
, I would like to replicate this on my Firefly kit, do I cut a grooves in the plate and fill with epoxy putty, tp simulate welds. Or is there a way to use a Dremel tool to replicate the welds directly on the plate?
The 5 plates are defined by the black lines on this photo.......
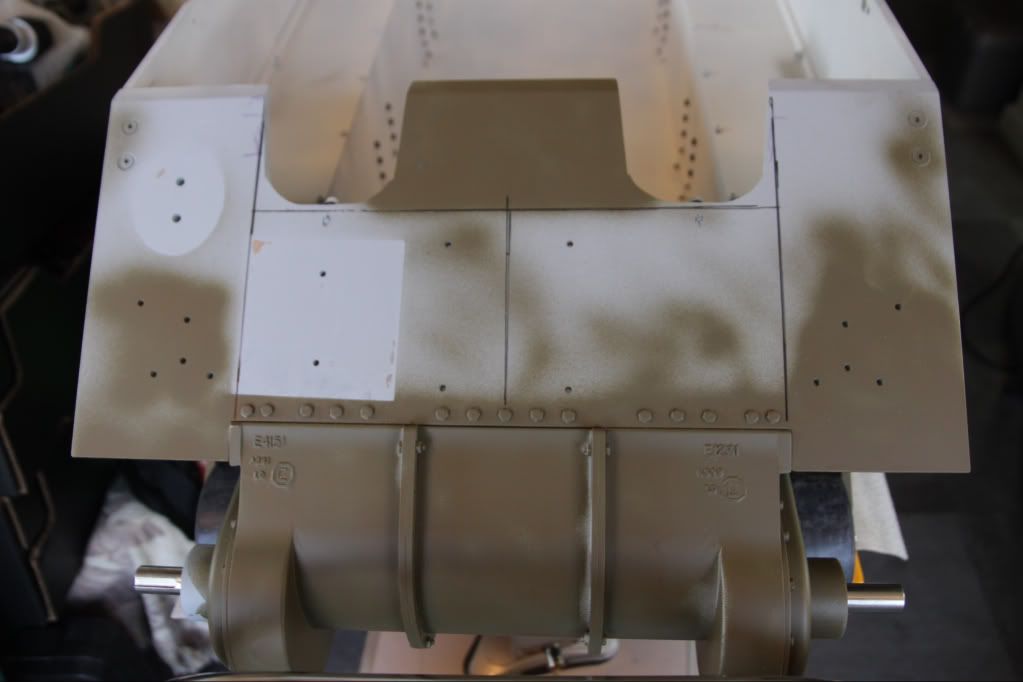
Thanks in advance, for your input.
Regards
John
Re: Firefly 008 build
Posted: Fri Jan 27, 2012 6:42 pm
by leesellars
Hello John
To simulate plates what you can do is get 0.5mm poly card and stick to the glasis plate. Simples
Lee