Page 3 of 8
Re: Panzer IV Build 002
Posted: Sun Dec 18, 2011 11:04 am
by Ray Brown
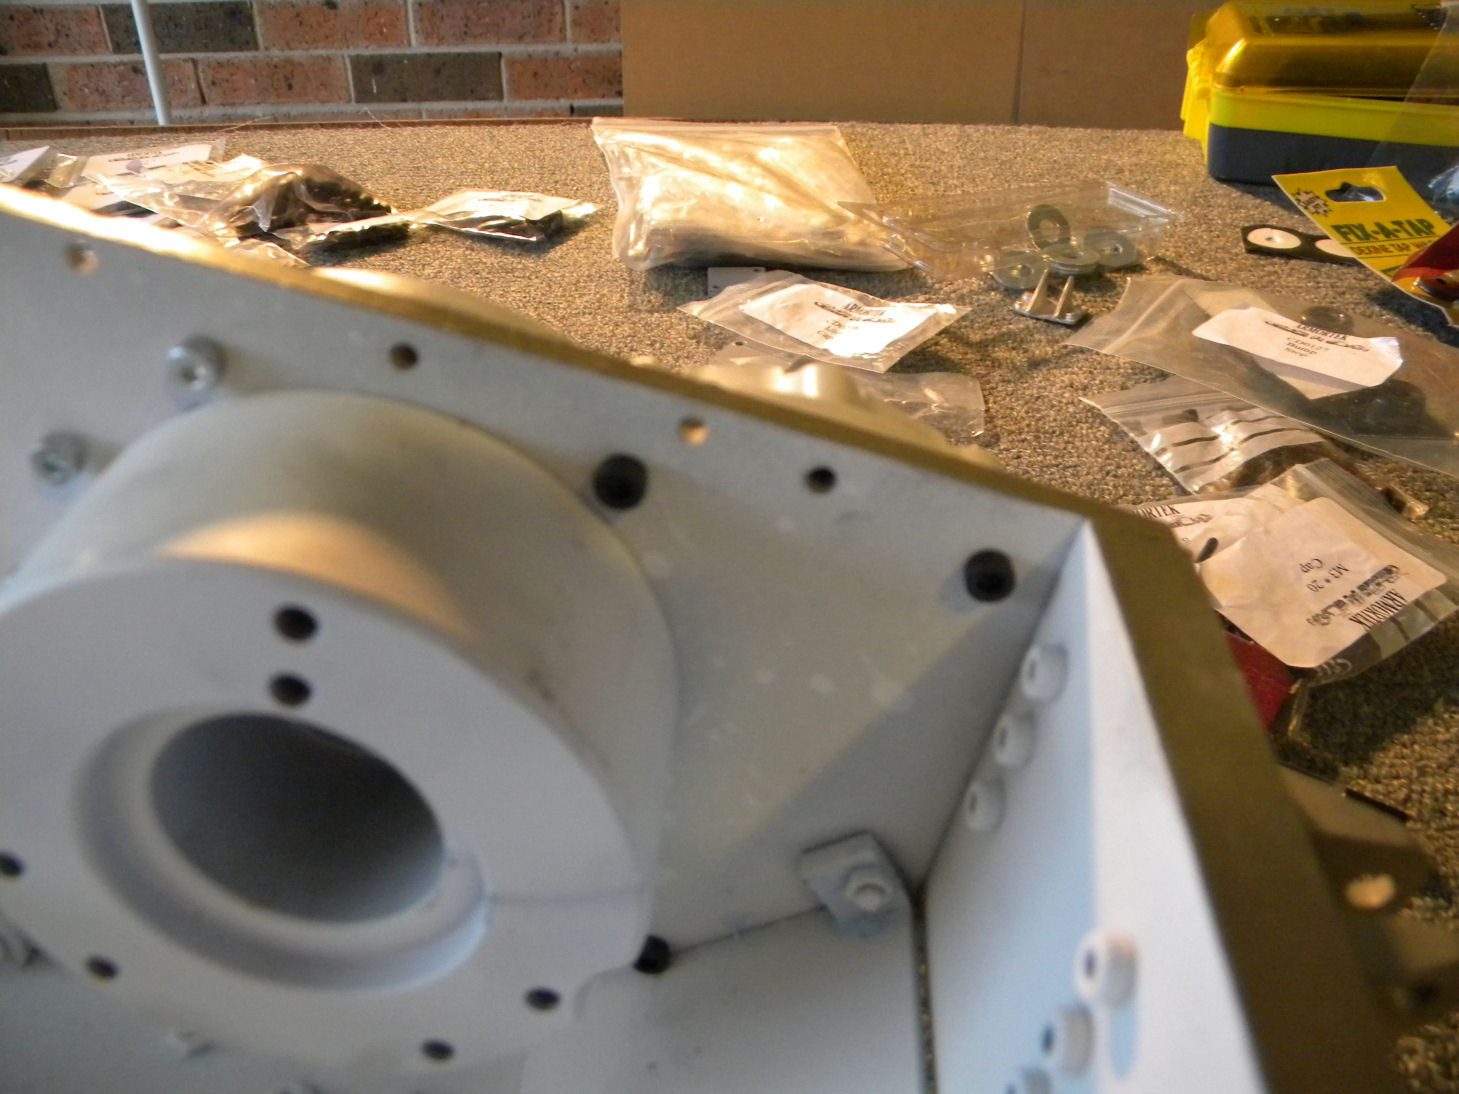
adding washers as per nick. different way same result.

- 031 18-12-11.JPG (175.18 KiB) Viewed 5037 times

- 032 18-12-11.JPG (210.94 KiB) Viewed 5037 times
moving on to the gearing.
Re: Panzer IV Build 002
Posted: Sun Dec 18, 2011 11:16 am
by Ray Brown
Re: Panzer IV Build 002
Posted: Sun Dec 18, 2011 11:19 am
by Ray Brown

- 041 18-12-11.JPG (189.64 KiB) Viewed 5035 times

- 042 18-12-11.JPG (162.86 KiB) Viewed 5035 times
- 044 18-12-11.JPG (225.6 KiB) Viewed 5035 times
Re: Panzer IV Build 002
Posted: Sun Dec 18, 2011 11:32 am
by Ray Brown
i had to take the son to cricket on saturday so i thought why not take the track links & pins and put them together to kill some time. well 4 hours later i'd completed 1 side of 98. here's the result.
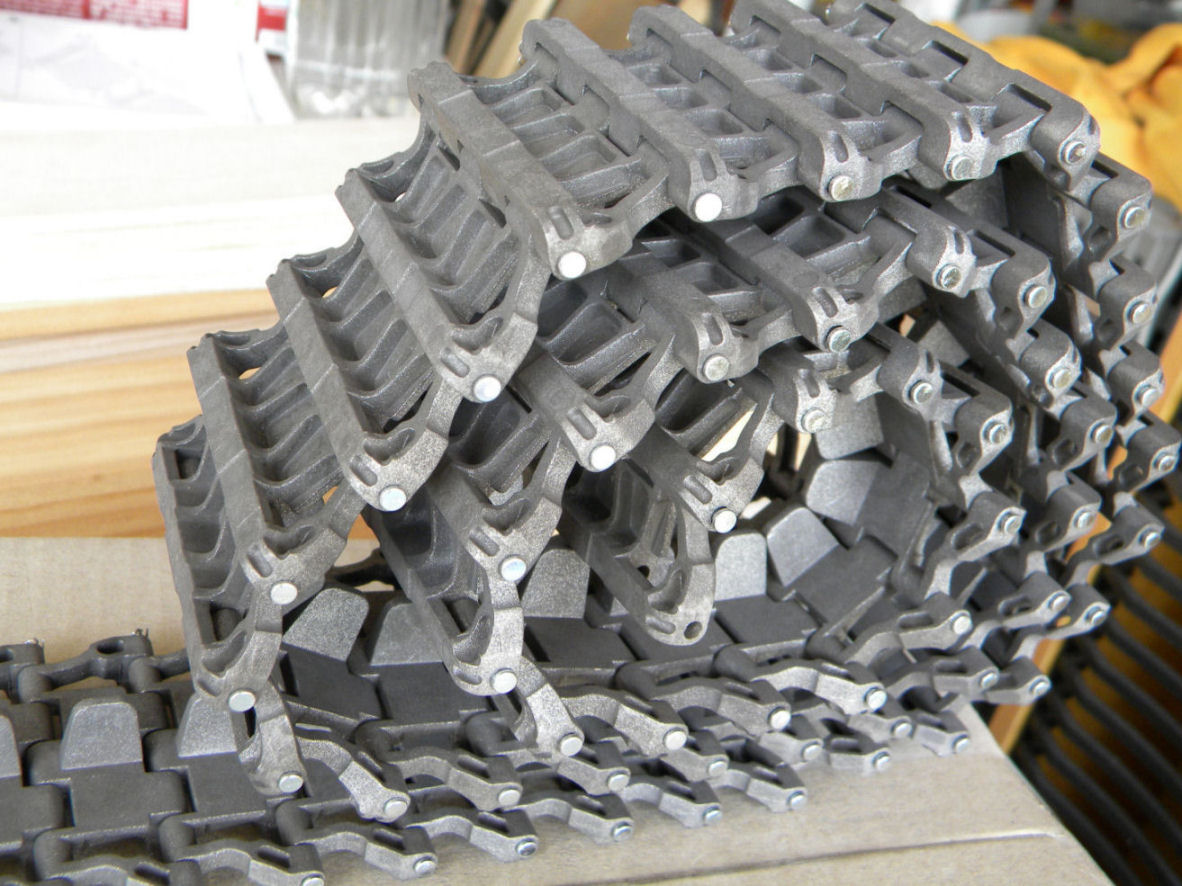
- 036 18-12-11.JPG (208.64 KiB) Viewed 5034 times
- 037 18-12-11.JPG (231.26 KiB) Viewed 5034 times
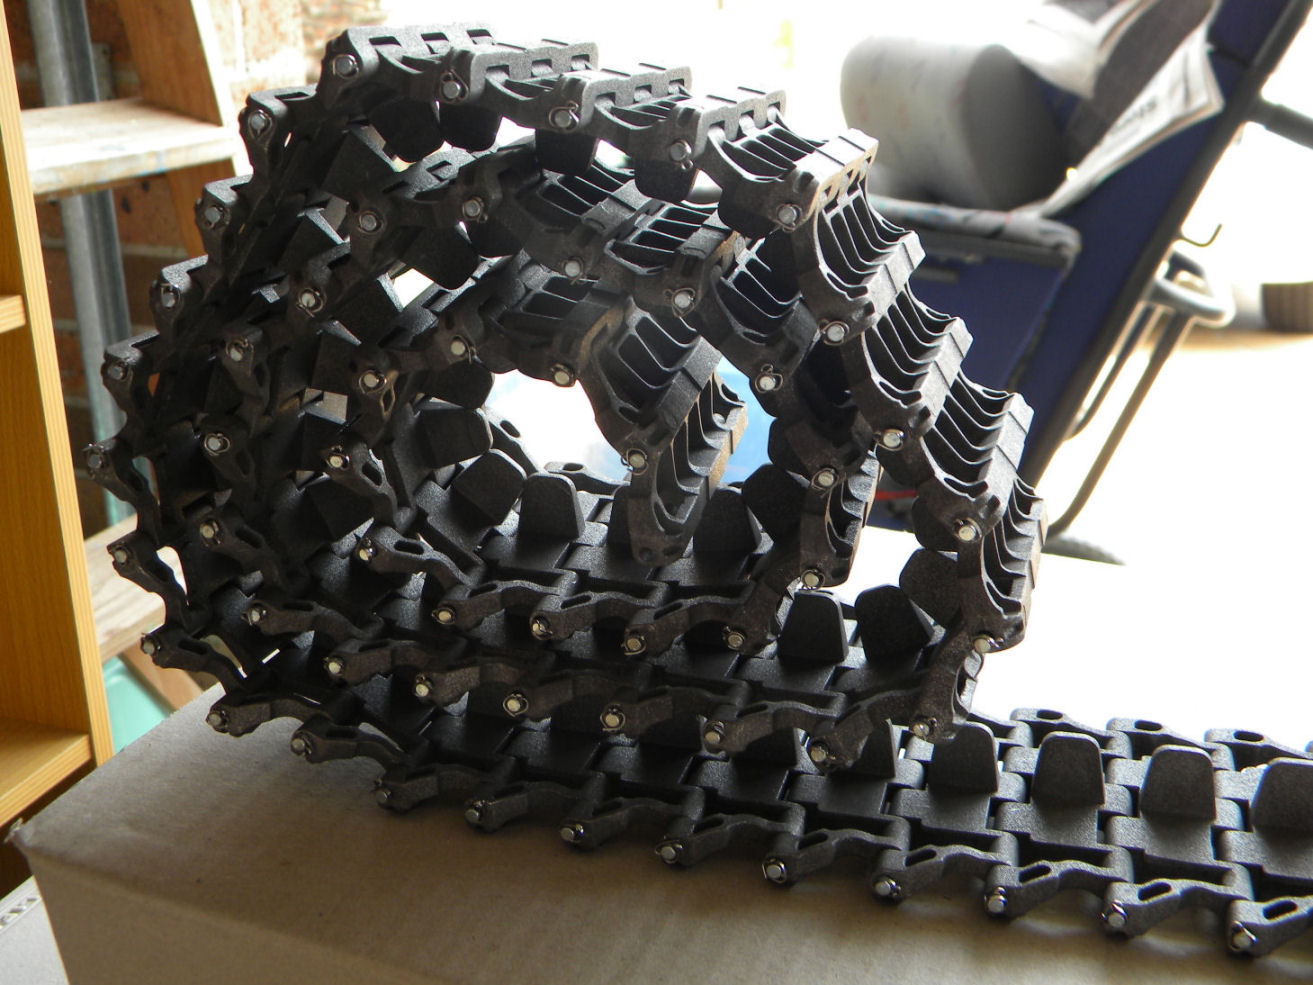
couldn't help myself. nice contrast.
- 039 18-12-11.JPG (232.48 KiB) Viewed 5034 times
Re: Panzer IV Build 002
Posted: Sun Dec 18, 2011 11:40 am
by John Fitzsimons
I see you have found a use for chicken stock powder. Does it add texture or just flavour.

Have you painted it white?
Re: Panzer IV Build 002
Posted: Sun Dec 18, 2011 11:49 am
by Ray Brown
grease flavoured chicken stock. yes, i've been using etch primer grey with a matt white spray over the top. i may have to touch up with airbrush. snow cam in sydney....lol
Re: Panzer IV Build 002
Posted: Sun Dec 18, 2011 12:04 pm
by Adrian Harris
Looking good Ray

> snow cam in sydney....lol
I was there a couple of weeks ago and it sure was cold and wet - not quite snowing though
Adrian.
Re: Panzer IV Build 002
Posted: Sun Dec 18, 2011 12:24 pm
by Nick Farrugia
Hello Ray
now thats coming on a treet those tracks do look good it looks like you had the same trouble with the bump stops as me, easy fix though looking good keep your progress coming and like i said, dont worry about the odd hickup it happens to us all thanks for posting
regards to you nick
Re: Panzer IV Build 002
Posted: Sun Dec 18, 2011 1:18 pm
by John Fitzsimons
Did you get the bearings bonded to the drive gear. Took me a while to work out what that was about.
Re: Panzer IV Build 002
Posted: Mon Dec 19, 2011 12:45 am
by Ray Brown
g'day john. i greased the gear before trying parts for fit. i had to sandpaper the gear shaft and inner gear housing a bit. i didnt bond the bearings to the drive gear or gear housing because it was a tight fit anyway.
Re: Panzer IV Build 002
Posted: Mon Dec 19, 2011 8:35 am
by John Fitzsimons
With the tiger the bearings had to be bonded to the shaft with permanent thread lock. Keeps the gear wheel from rubbing against the hull plate.
Here is the link to the instruction. Was not clear from my build instructions. Permanent thread lock is what you need to attach the bearings to the shaft. If you don't do this the shaft will have too much sideways play and rub against the hull side.
http://www.armortek.co.uk/Forum3b/viewt ... f=3&t=2210
Re: Panzer IV Build 002
Posted: Mon Dec 19, 2011 10:52 am
by Ray Brown
thanks mate. didnt know that. will fix them when i take em off to secure the glacis plate.
Re: Panzer IV Build 002
Posted: Wed Dec 28, 2011 1:09 am
by Ray Brown
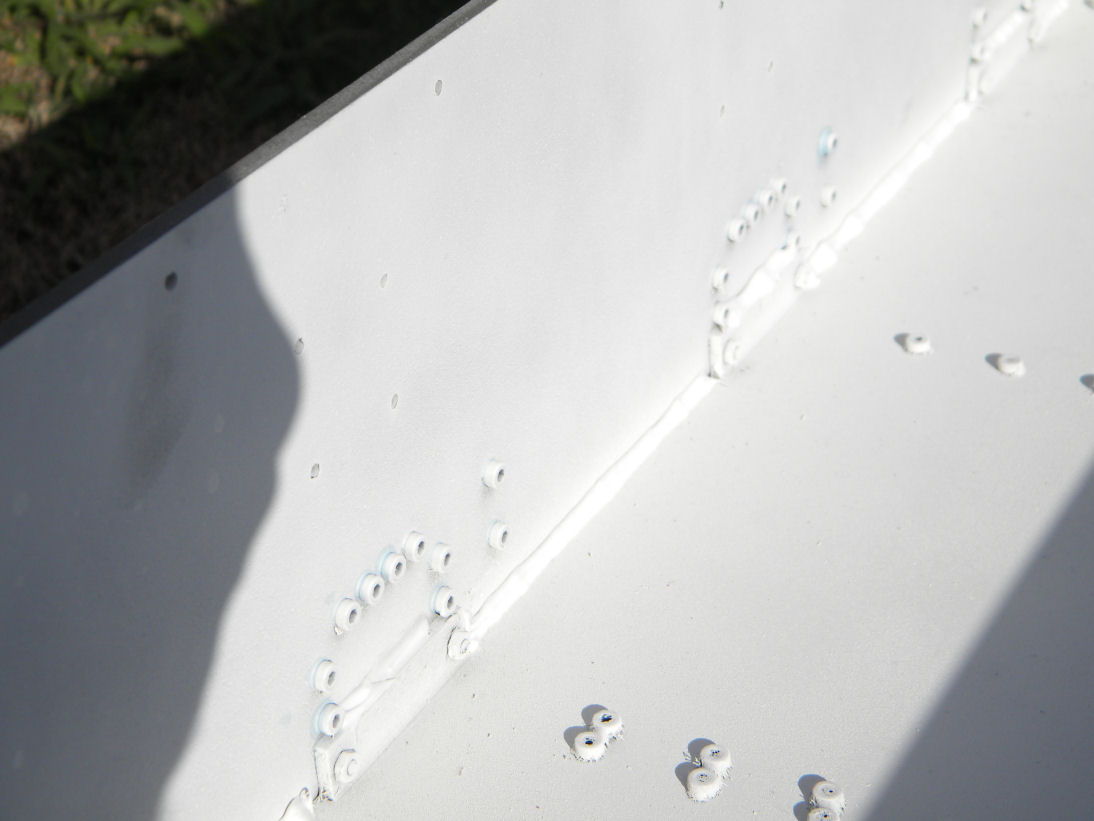
added some sealant along all the join gaps. hope to keep the water out.
- 045 27-12-11.JPG (77.02 KiB) Viewed 4901 times
key for the sproket as Nick stated needs to be cut.
- 048 27-12-11.JPG (85.02 KiB) Viewed 4901 times
after cutting with the ryobi

- 049 27-12-11.JPG (99.35 KiB) Viewed 4901 times
Re: Panzer IV Build 002
Posted: Wed Dec 28, 2011 1:13 am
by Ray Brown
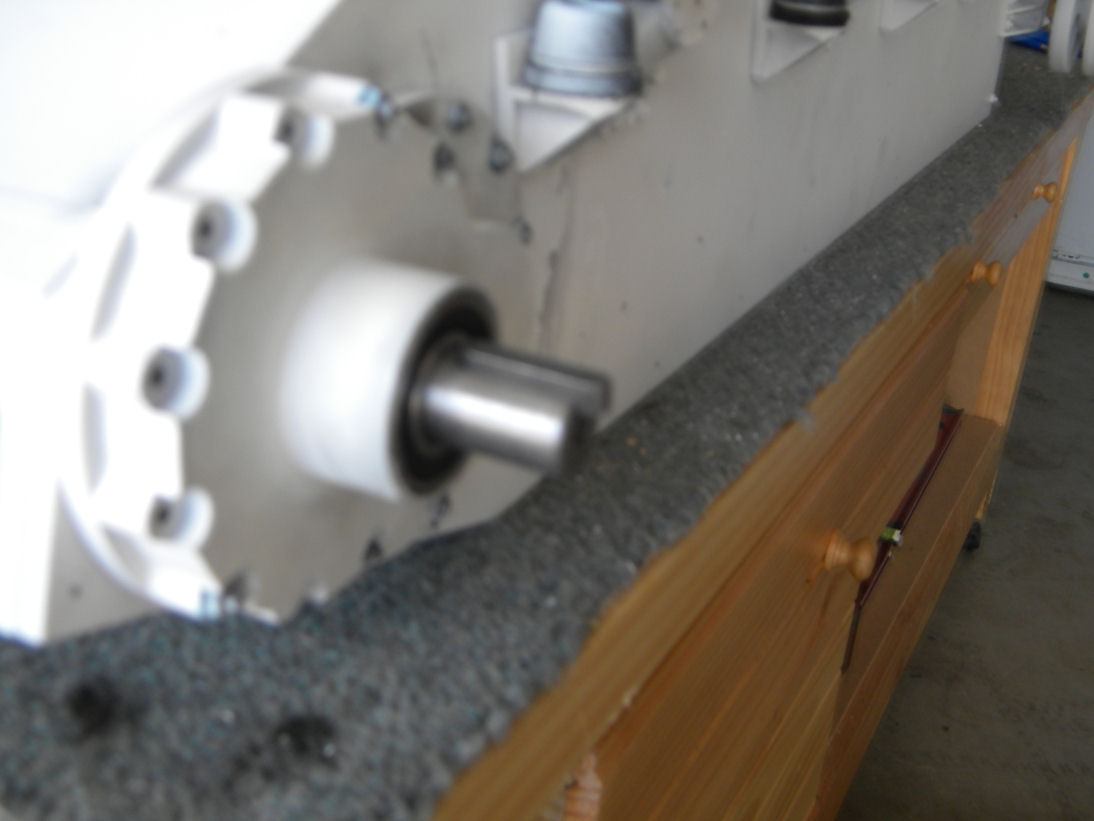
theres a small gap that needs filling to prevent water and crap getting into the gear housing. what did you do for this Nick? i'm thinking of using a small peice if metal cut and bolted on. would this be the right way?

- 051 27-12-11.JPG (91.63 KiB) Viewed 4901 times
Re: Panzer IV Build 002
Posted: Wed Dec 28, 2011 1:24 am
by Ray Brown
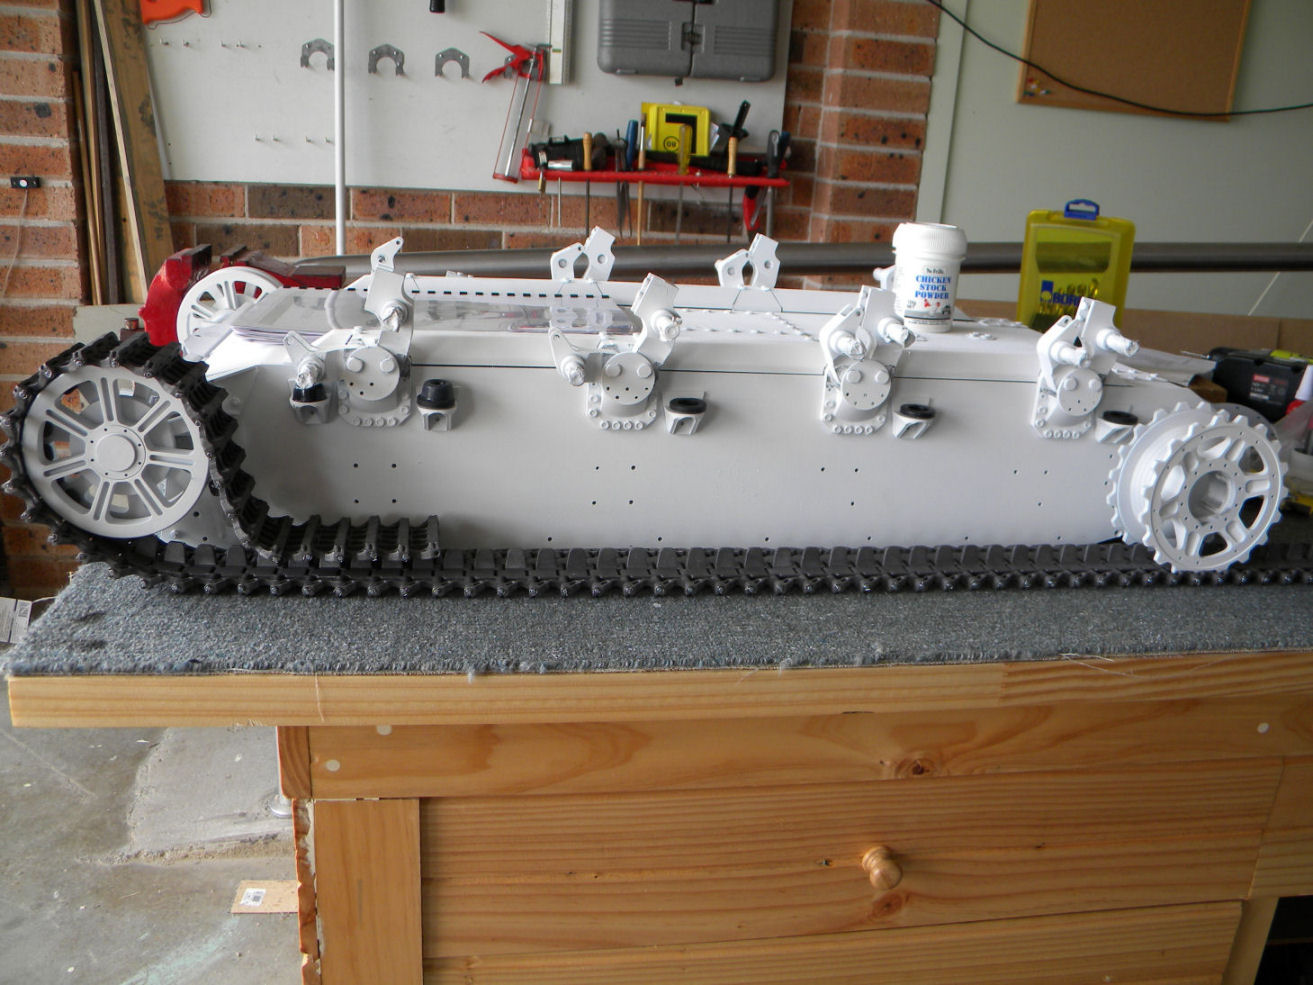
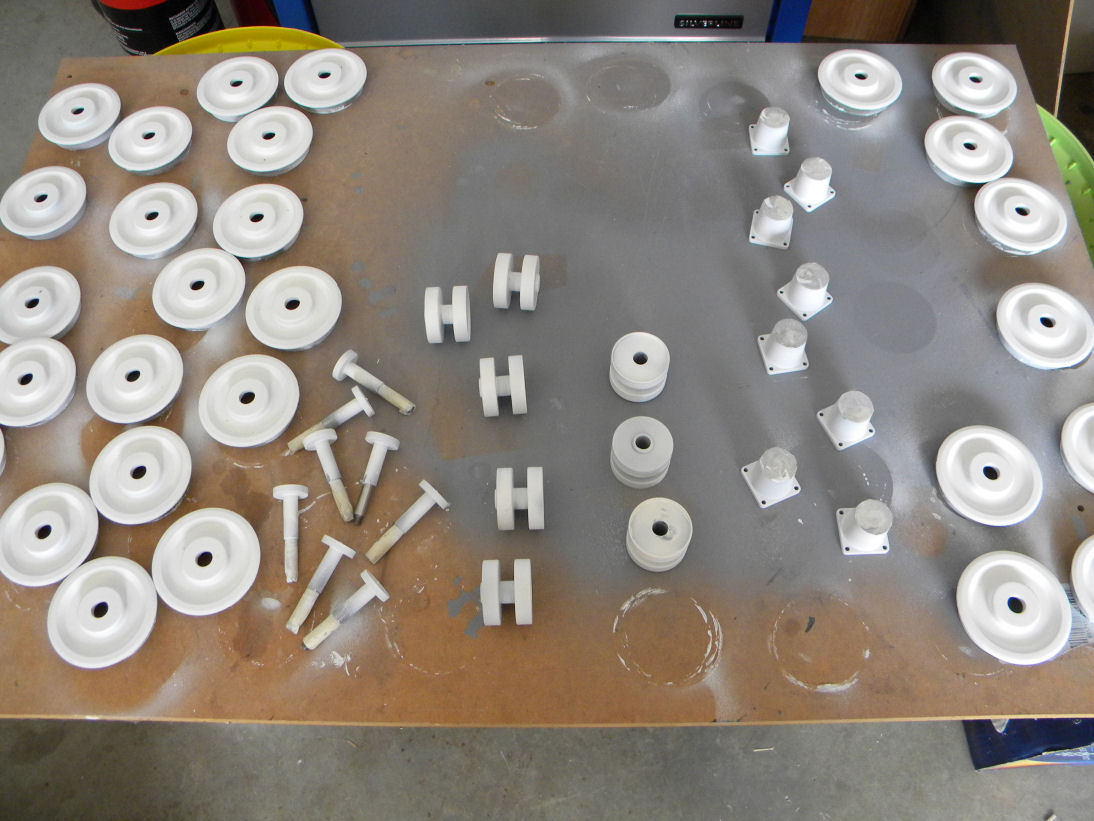
prepared the running gear. all the wheels insides, return rollers and shafts painted.
- 053 26-12-11.JPG (149.19 KiB) Viewed 4900 times
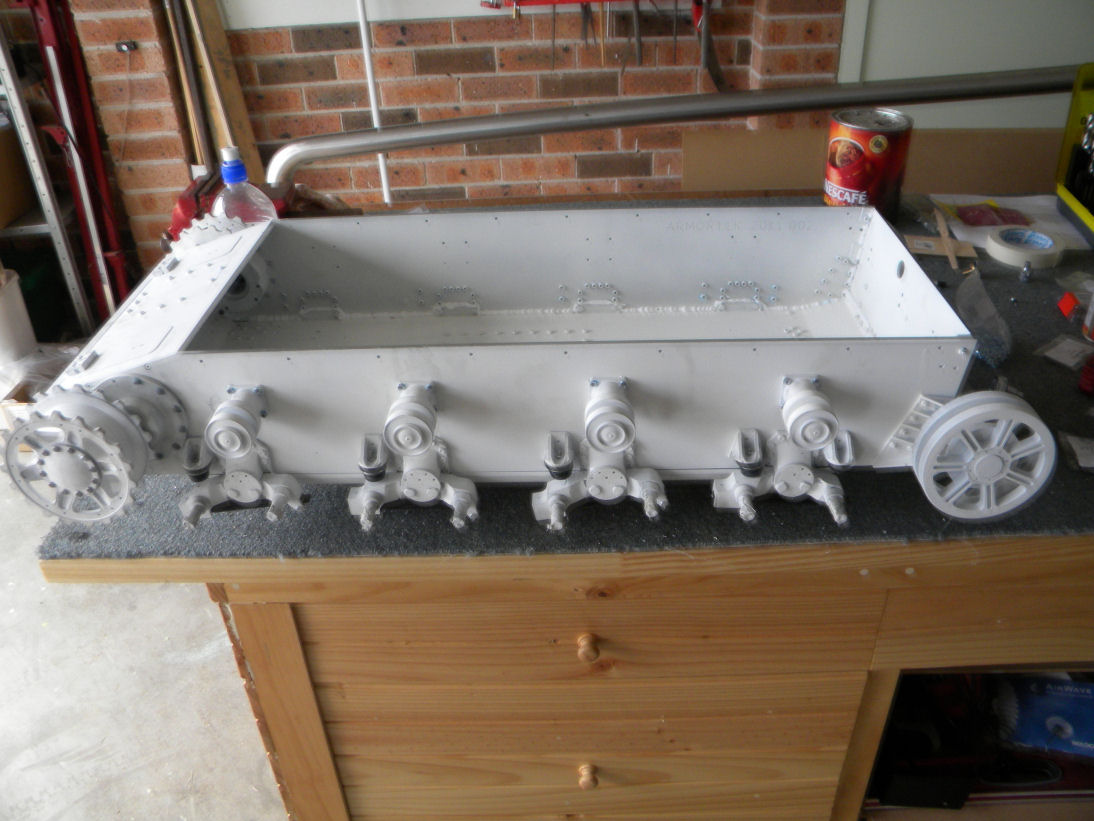
return rollers fitted and operating well.
- 054 26-12-11.JPG (152.63 KiB) Viewed 4900 times
draped the track over the rollers, sprocket & idler for a sneak peek of what's to come. the reference to the last return rooller being to high and should be lower whilst correct, i don't think is possible. i think the distance it needs to drop is maybe 3 or 4mm which maybe isnt far enought to redrill. i may be wrong.
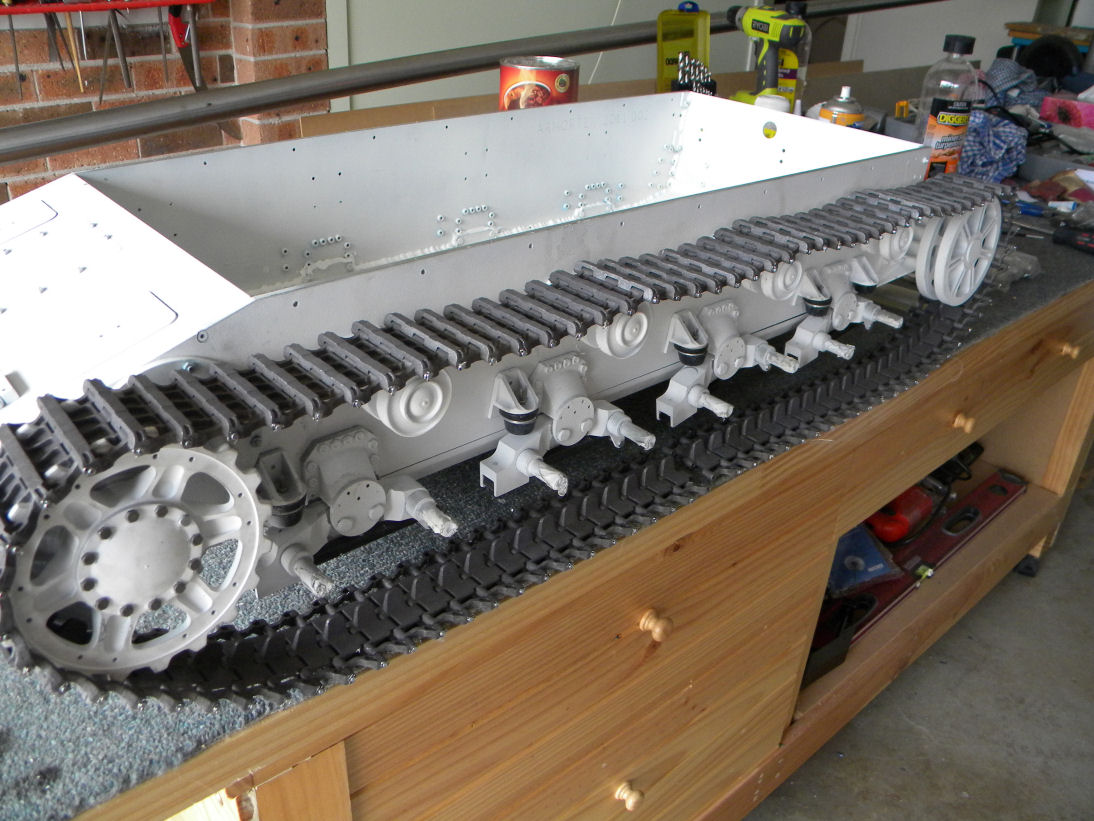
- 055 26-12-11.JPG (179.49 KiB) Viewed 4900 times