Page 19 of 22
Re: Chieftain No. 34
Posted: Wed Dec 07, 2022 2:48 am
by John Clarke
Very nice indeed

Re: Chieftain No. 34
Posted: Tue Jan 03, 2023 4:38 pm
by Charles A Stewart
A Happy New year to you all.
Another little snippet, just to keep the Chieftain interest going. There is a lot to do, don't get me wrong I am not moaning at tall, its a great challenge


.
The end of the barrel has been sitting in the house for ages, I keep looking at it and the books, it's cold outside: So here goes.
I'll let the glue dry before some filler is applied to blend those "cheek" bits in. The little plate will be bolted on afterwards.
Cheers for now.
Charles
Re: Chieftain No. 34
Posted: Wed Jan 04, 2023 9:44 pm
by John Clarke
Hummm Lovely job Charles, a job not to be trifled with unless you steady fingers.

Re: Chieftain No. 34
Posted: Mon Jan 16, 2023 10:22 pm
by Charles A Stewart
Evening all.
Cold, Again. anyway another snippet, I will not be one for sitting around and do nowt due to the weather, forever pottering, that's me.
Tweaked the muzzle, again, adding the bolts.
Started "knitting" camo, that's what it feels like, camo for the Chieftain that is, my humble efforts so far:-
Also working on a general camo net for the Chieftain:-
This could be tailored to hide all sorts of things, possibly

Cheers Charles
Re: Chieftain No. 34
Posted: Tue Jan 17, 2023 4:24 pm
by Robert E Morey
Your rifling came out perfect - can't say I would even attempt that. Well done. Love the camo net! Looks great for modern tanks.
Bob
Re: Chieftain No. 34
Posted: Tue Jan 17, 2023 7:07 pm
by Charles A Stewart
Hi All.
Thank you Robert for our post, dark winter nights; sewing a camo net by the fire, it just dosen't get any better

or maybe

I did try .5mm plastic rod but that tried my patience just a bit, so opted for .8mm instead.
Not being a "rivet" counter, I believe there should be 32(ish) lands, I am happy to settle for 27 as a representation though.
Cheers
Charles
Re: Chieftain No. 34
Posted: Tue Jan 24, 2023 7:09 pm
by Charles A Stewart
Hi All
At last some warm weather, well it is up here (12deg.C) as we type!!


NBC box again; raised the intake unit, as usual I hadn't noticed until after the event. I am working on this affliction though, lots of studying. Scratch built the thingy, which I assume is the inlet to the turret from the NBC pack.


There will have to be a bit more tweaking by way of a compromise, I will let you all in on that at a later date.
Cheers for now.
Charles
Re: Chieftain No. 34
Posted: Wed Jan 25, 2023 6:50 pm
by Charles A Stewart
Hi Folks.
That little tweak I mentioned.
The retaining bar didn't quite reach the hole, unless extreme force was put on the hinges


: so I have replace the rod with a slightly longer one and hope it does not detract from the overall look when stowed

Will fill hole and tidy that box edge, a bit more weld too and move on

Cheers Charles
Re: Chieftain No. 34
Posted: Wed Feb 01, 2023 8:27 pm
by Charles A Stewart
Good evening to you all.
A small job done this evening, only another 10 to do, but as this one went well (I hope). I have soldered the brass to the steel followed by a bit of fabric paint as weld, after sanding it all down.
All seems sound at present, but as always, I am open to suggestions for improvement.
Take care
Charles
Re: Chieftain No. 34
Posted: Sat Feb 04, 2023 12:52 pm
by John Clarke
Hi Charles, really nice detail being loaded on to the Chieftain. so many good little details, I'll be coming out of hibernation soon, so hope to do a bit soon, to catch up a bit.

Sadly the two year plan is still two years


Re: Chieftain No. 34
Posted: Fri Mar 24, 2023 5:03 pm
by Charles A Stewart
Hi all.
The recent weather here is like being on a cross channel ferry(in my experience anyway): open a door and its wrenched out of your hands, followed by a face full of water

. And that's just between the house and garage!
All good fun

.
Apart from the above I have been able to do some jobs on the Chieftain without my digits(fingers) falling off after ten minutes. The main things I have been doing is to clean up the boxes and other bolt on parts, then bubble wrapped until the weather will allow me to apply NATO green, like this front box:-
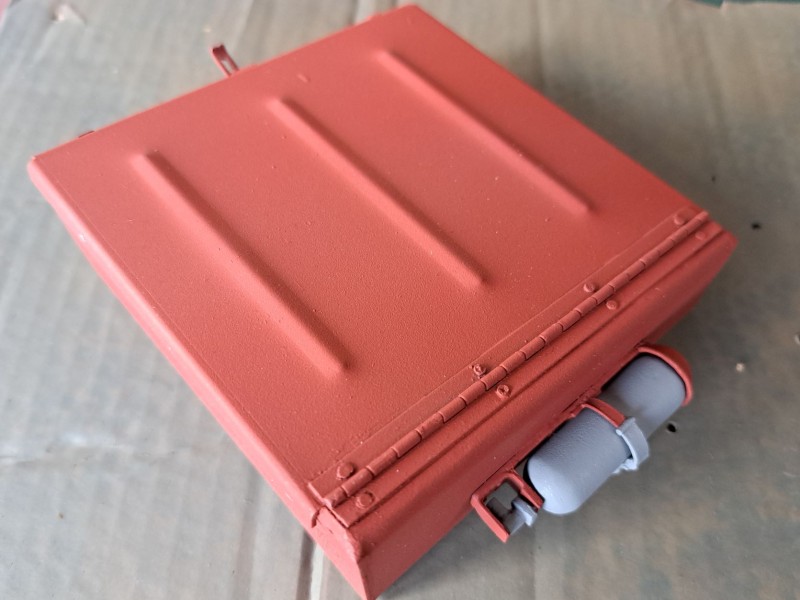
- Fire extinguisher will be bolted on from inside.
With the enthusiasm of a newby, back in 2020, I charged into the kit (forced to stay at home at the time had something to do with it too). Fortunately I was able to release the previously fitted fuel vents and mill actual vents into (onto) them:-
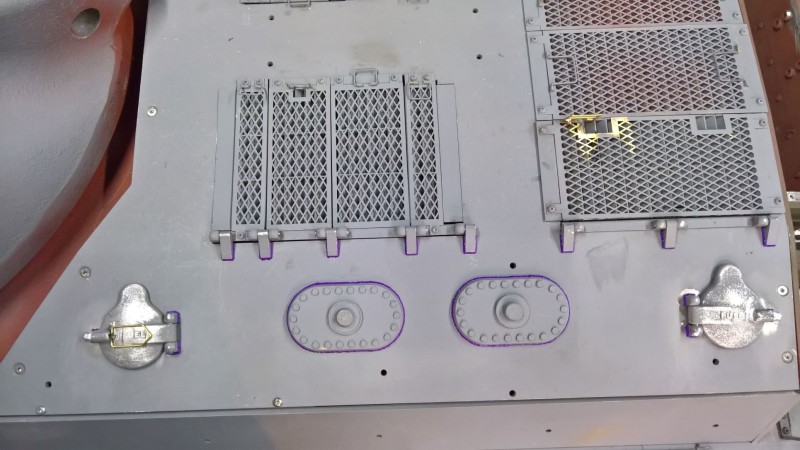
- Before
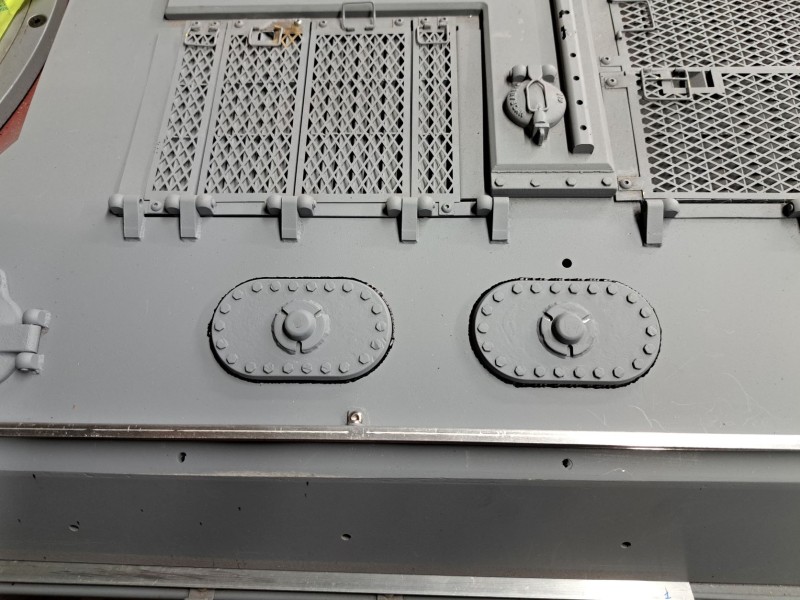
- After, just don't ask how many bits I broke.
Today I had a go at fitting the Wading rails, I would like to fit the turret back on to check rotation/clearance, but will have to wait until the wind shifts; Again

before I can open the garage door.
The Takom kit part helped as guide.
Hope you all have a good and constructive weekend.
Cheers
Charles
Re: Chieftain No. 34
Posted: Sat Mar 25, 2023 9:54 pm
by Charles A Stewart
Hi all.
After last evenings post I had some concerns regarding the rotation of the turret and clearance of the wading rail fittings. I was right.
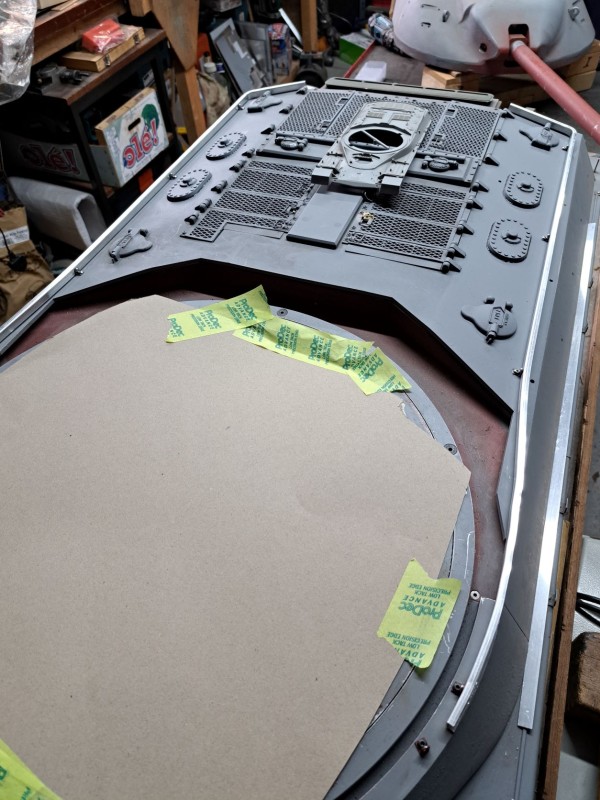
- Before turret fitting
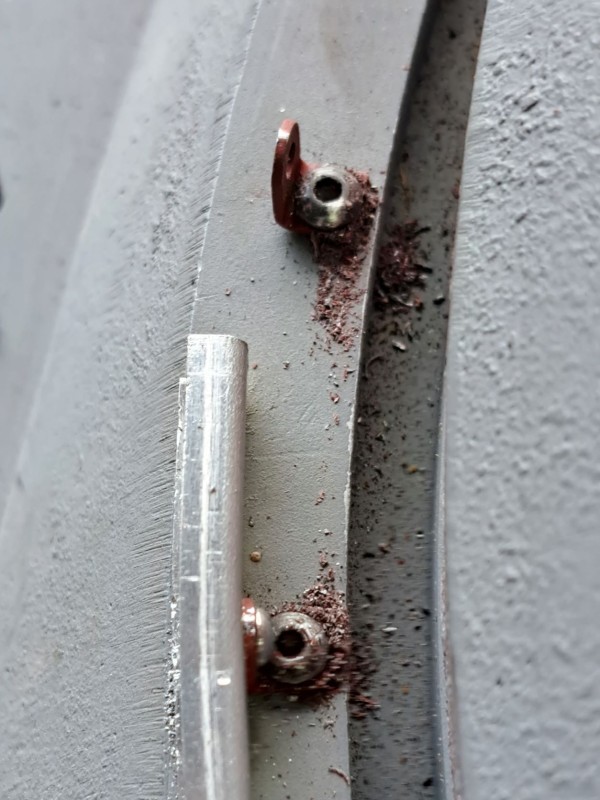
- After turret was fitted and rotated, note the swaff from the turret
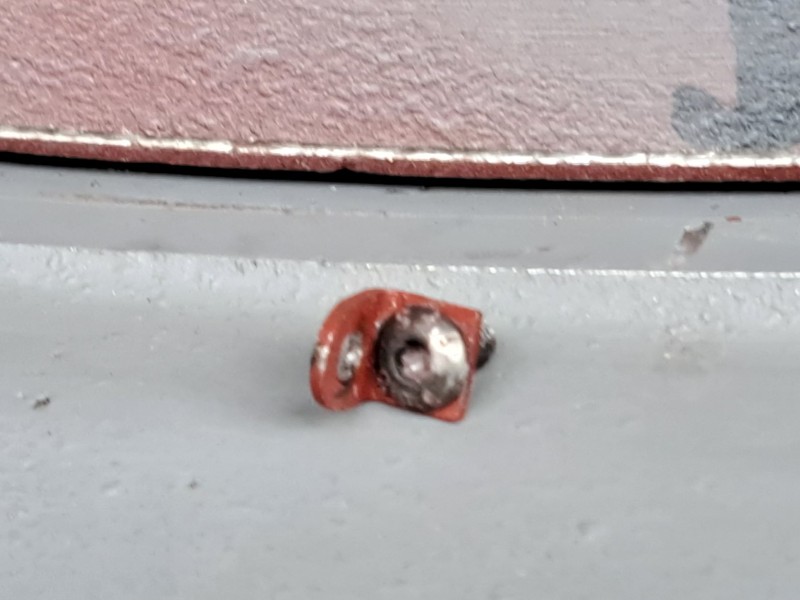
- Scoring of the turret & screw(sorry for quality of picture)
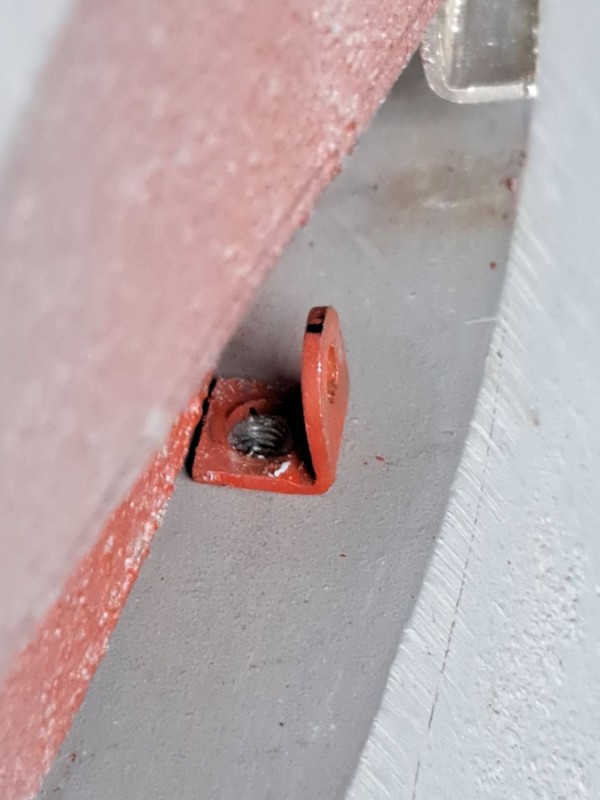
- Tis a tight fit
I am open to suggestions as to rectify this issue: the port side wading(photos) rail is in a good position but the st'bd rail needs to come inboard slightly.
Personally I like the rough cast surface of the turret and am a bit annoy it has been damaged, also chaps with Chieftains M3x8 & m3x 30 are a better bet to fix the rail retainers.
Have a good one
Charles
Re: Chieftain No. 34
Posted: Sun Mar 26, 2023 11:18 am
by Didier Molard
Hello.
You can may be use some hexagon screw, and then file them to reduce height till no contact ?
or do the same on the area where button screw are rubbing the turret
Seems the contact is in a very specific area
Just be careful to leave enough of the head for you can still remove the screw later on if necessary
Regards
didier
Re: Chieftain No. 34
Posted: Thu Mar 30, 2023 4:50 pm
by Charles A Stewart
Good Afternoon all.
Some progress with the wading rail. I took Didier's idea on board, but instead of a hex bolt I was able to reduce the overall height of the bolt by using a csk. m2 screw.
I filled the existing holes with threaded rod and drilled new holes:-
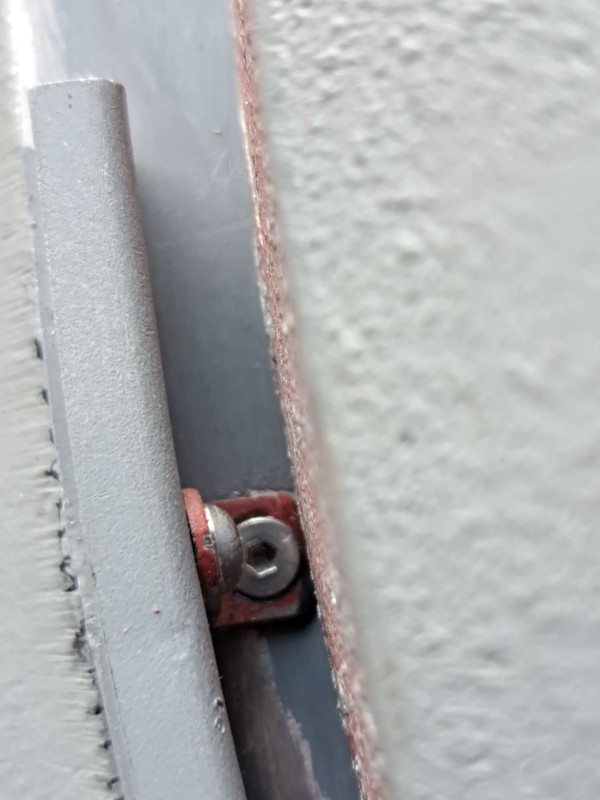
- Still tight, but dosen't fowl turret, port side.
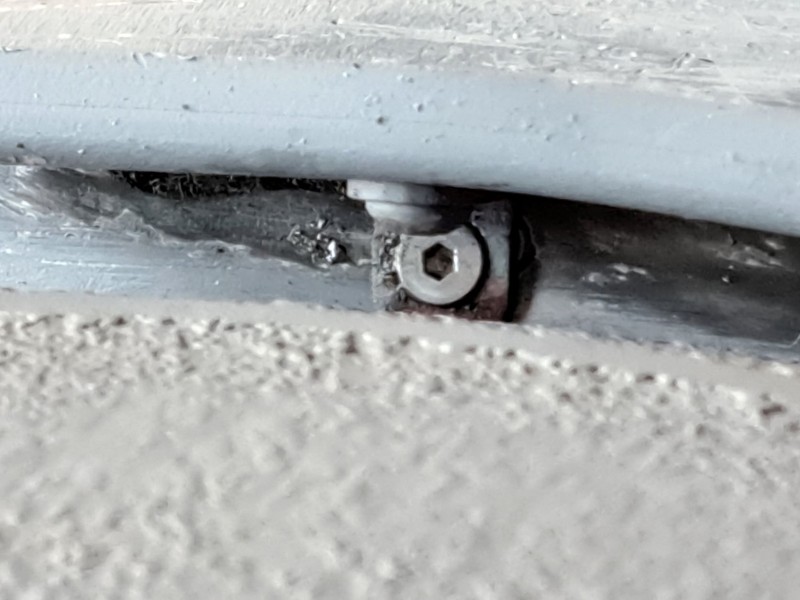
- St'bd side, tidy up req'd.
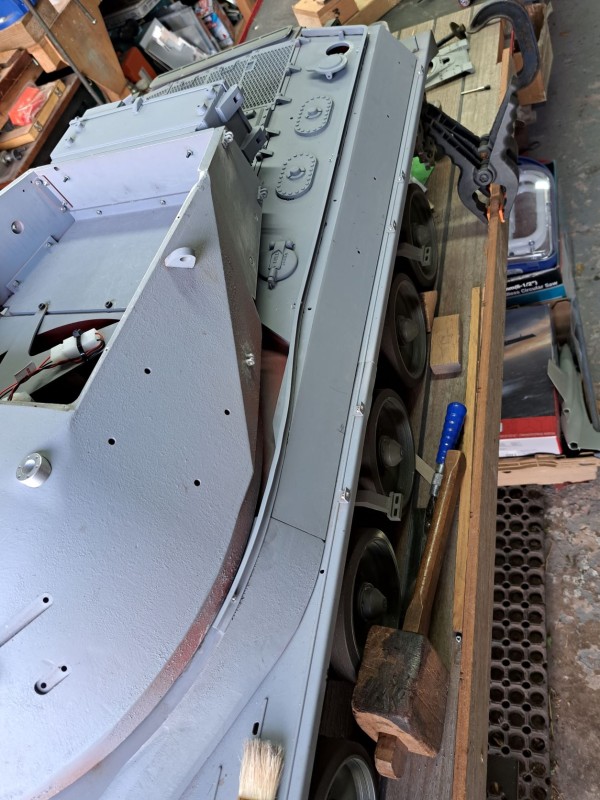
- The bent, twisted and fitted rail, glued & screwed.
Just the front bit to do now

Cheers all
Charles
PS What are folks thoughts on out of date super glue, i.e. locktite 480(10/22). Store in the fridge and garage, much the same, cold!!
Re: Chieftain No. 34
Posted: Thu Mar 30, 2023 4:56 pm
by Brian Ostlind
If the 480 is still liquid it’s good.
