Page 11 of 20
Re: Churchill Mk3 number 67
Posted: Mon Oct 16, 2023 2:28 pm
by Gary Richardson
Thanks David
I found a copy on line and have ordered it.
Regards
Gary
Re: Churchill Mk3 number 67
Posted: Sat Nov 04, 2023 5:33 pm
by Gary Richardson
Good evening
After a couple of weeks doing decorating and laying flooring I managed to make some progress on the Churchill this afternoon. I decided to make the front lights out of brass starting with the two smaller lights. I used 10mm brass rod drilled out to 6.5mm inside. I also added an internal lip for the glass to sit in. The glass will be made using UV resin once I have worked out how to make the moulds.
The lights will have 12v grain of rice bulbs to provide illumination and I will work out a way to remove the lenses if they need replacing.
Next job is the two main lights which will be made from 25mm brass rod, the interiors will be hollowed out to keep the weight down. These will need removable front covers to access the bulbs as the one with the hood will have no glass and the other only has a small glass section.
Regards
Gary
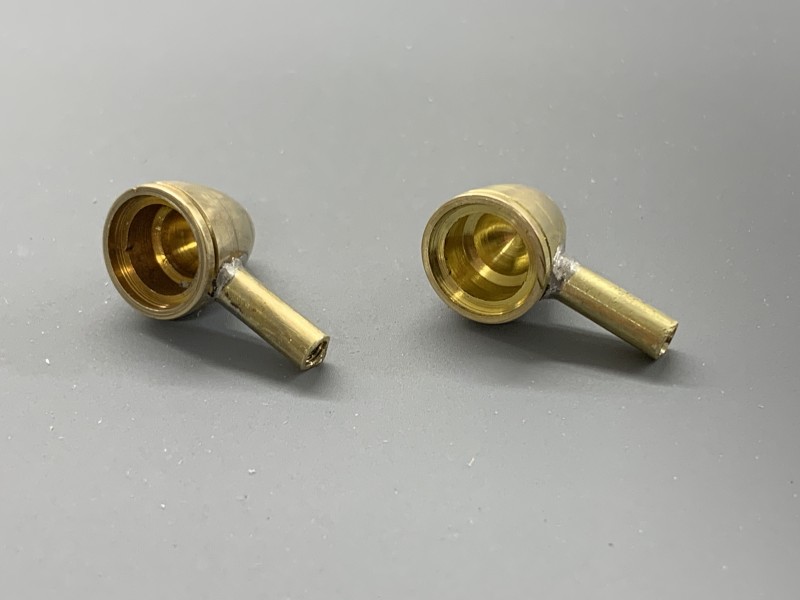
- Made from 10mm brass rod
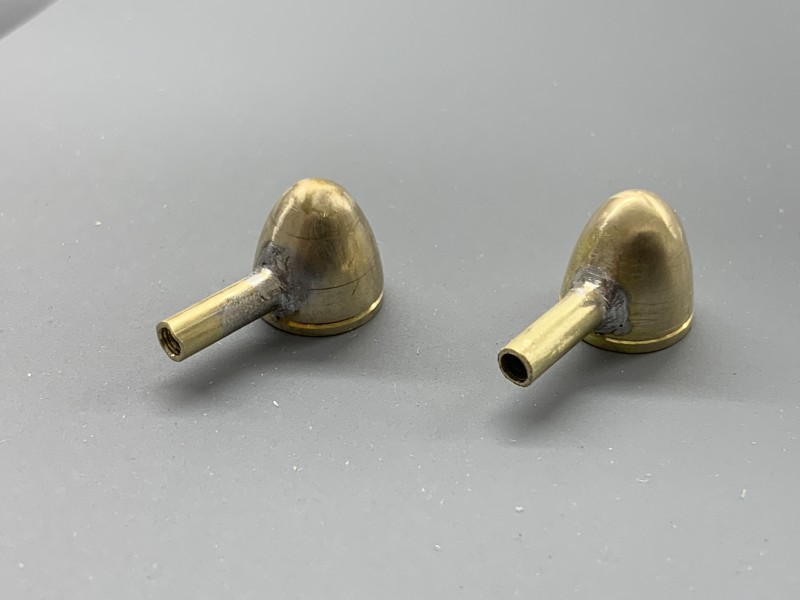
- Need to clean them up before priming.
Re: Churchill Mk3 number 67
Posted: Sun Nov 05, 2023 5:17 pm
by Gary Richardson
Hi all
Todays job was to make the larger two front lights. I decided to make the bodies out of 25mm aluminium rod mainly because I had a short length in the scrap box and I can save the 25mm brass to use on the trailer. I will be making the front covers from brass as it is easier to add the brass detailing such as the hood.
I found making the lights was quite tricky, mainly because of my lack of experience using the lathe and getting use to which tool to use for all the different cuts I had to make. It was good practice though and I am starting to feel more confident about what I can make. In order to hollow out the lights I used a 5mm ball end mill followed by a 10mm end mill. Then I used the boring tool to enlarge the hole and curve it. The outside shaping of the light body was trial and error, luckily I got away with just making the two.

I was looking at using 12v grain of rice bulbs all round but may use fibre optic cable for the two smaller lights which will save me having to make removable lenses. The larger light front covers will be held in place with screws as per full size.
It's been a long day on the lathe and it must be wine o' clock

Regards
Gary
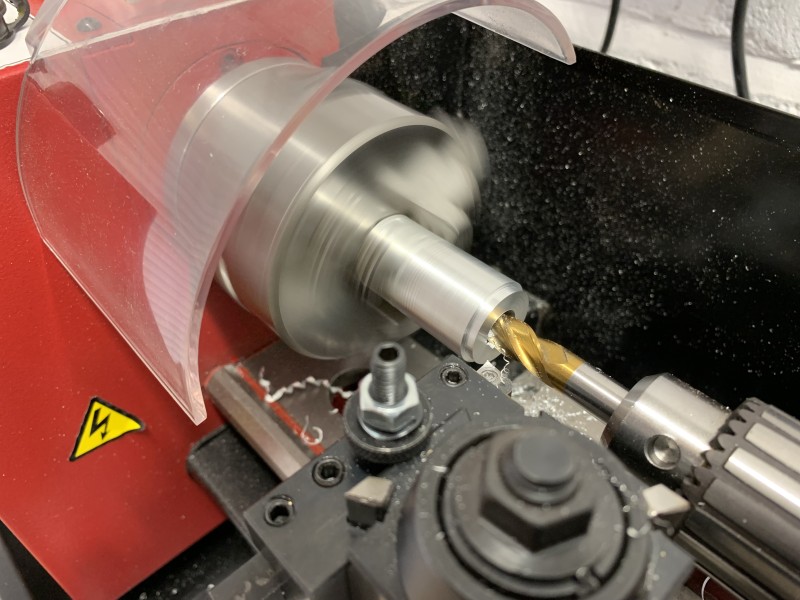
- 25mm aluminium rod for the main light bodies
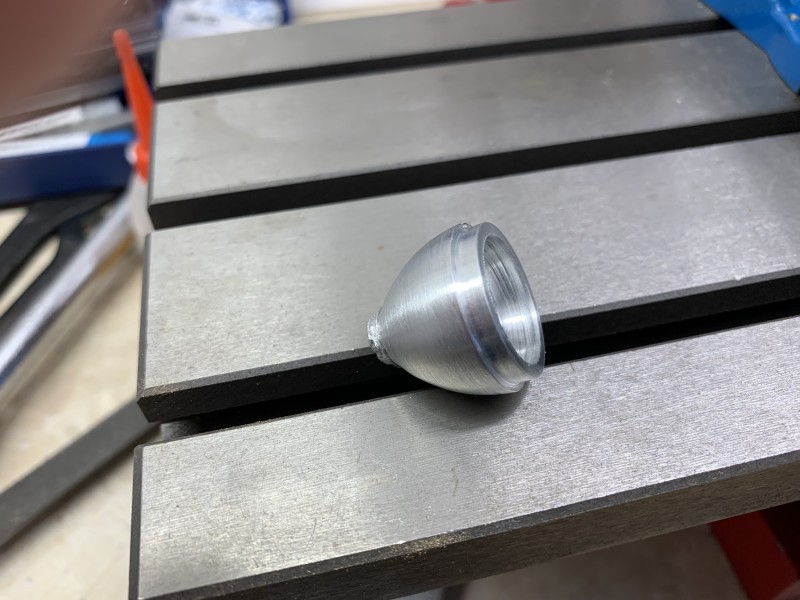
- Needs tidying up, managed to break the parting off blade.
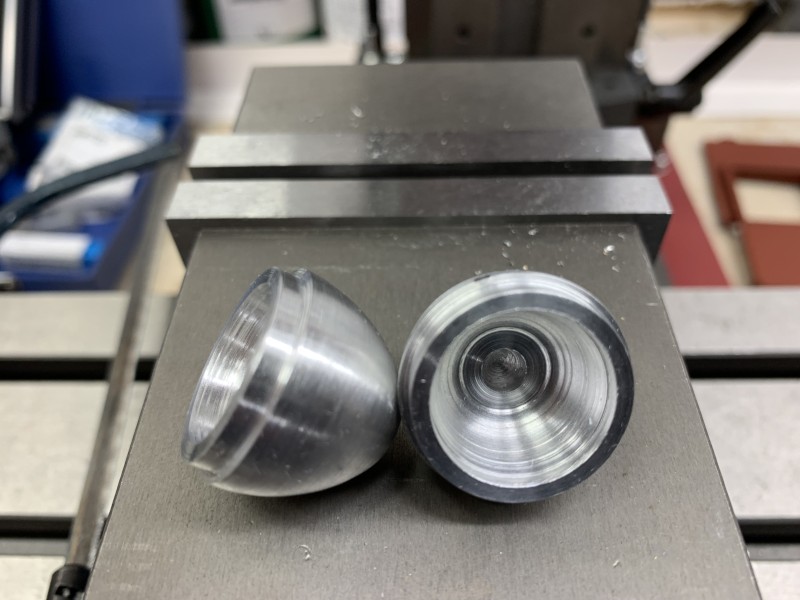
- Both ready for final profiling at the back.
Re: Churchill Mk3 number 67
Posted: Sun Nov 05, 2023 11:18 pm
by Donald Suttie
Hi Gary
Good to see you went for the QR tool-holder,it saves lots of time,i have never managed to do a diagonal type cut like you have done on those lights
ill have to have a practice at that,fantastic job
Donald
Re: Churchill Mk3 number 67
Posted: Tue Nov 07, 2023 1:32 pm
by Gary Richardson
Hi all
Just a quick update on the front lights. I have completed the headlight stems and ordered some 12v grain of rice bulbs. Next job is making the headlight front covers and lenses. I have also added some detail to the sliding loaders hatch so a fairly productive morning.
Regards
Gary
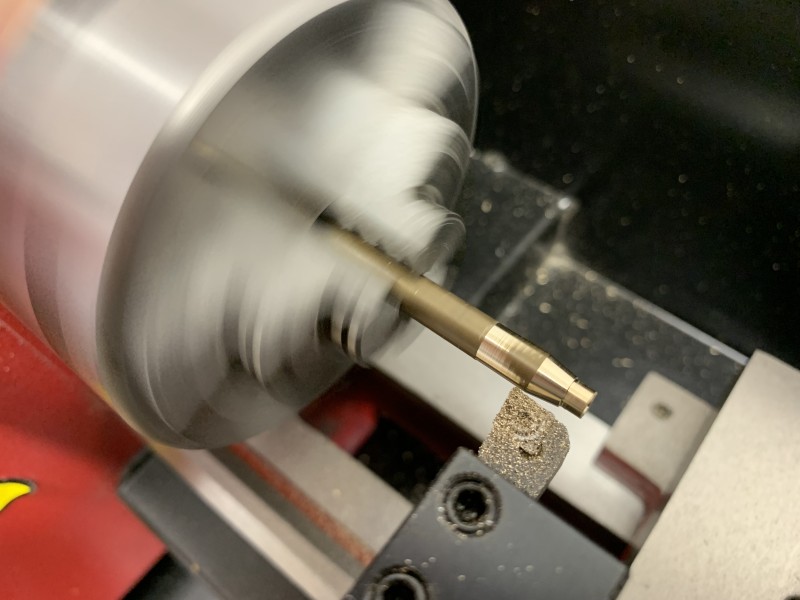
- Turning the headlight stems
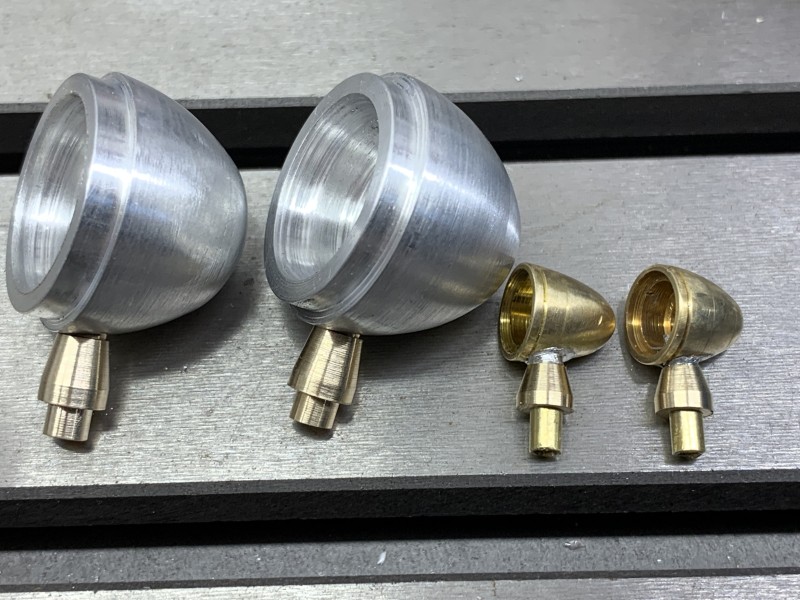
- Bodies and stems completed.
Re: Churchill Mk3 number 67
Posted: Thu Nov 09, 2023 4:37 pm
by Gary Richardson
Hi all
Just a couple of photos of the sliding hatch details and headlight covers I milled this morning. I still have the lens holders and hood to make for the main lights.
Regards
Gary

- Added a rain guard and a few rivets
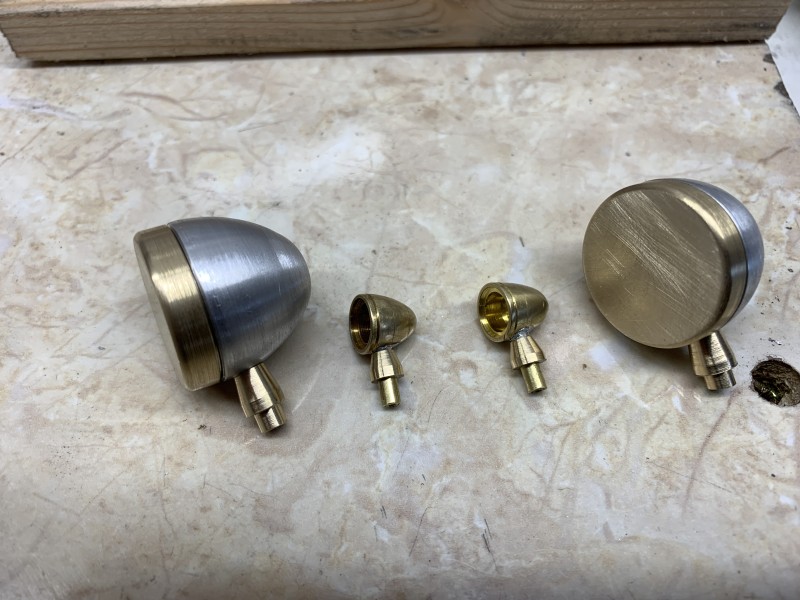
- Front covers lathed and milled ready for detailing
Re: Churchill Mk3 number 67
Posted: Thu Nov 09, 2023 4:48 pm
by David Battson
Hi Gary,
Great to see you're honing those skills on the new lathe. The new headlights look good. It's not easy making up a matched pair by eye, did you use a template ?
David
Re: Churchill Mk3 number 67
Posted: Fri Nov 10, 2023 9:03 am
by Gary Richardson
David Battson wrote: ↑Thu Nov 09, 2023 4:48 pm
Hi Gary,
Great to see you're honing those skills on the new lathe. The new headlights look good. It's not easy making up a matched pair by eye, did you use a template ?
David
Hi David
The headlights were mostly done by eye, I didn't use templates but relied on vernier callipers and micrometres to try and match the pair. The most pleasing part so far are the two front covers which fit perfectly. I have left just enough tolerance for the paint thickness after learning from the Tiger cupola lid

I think the hood and lens mount will be the hardest thing to replicate and will start those this morning, I have a good selection of brass and aluminium sections that I have gathered over the past year so hopefully something will spring to mind. I does make me think a 3D printer is the way to go but I am enjoying using the lathe and mill and find it very relaxing and satisfying.
Regards
Gary
Re: Churchill Mk3 number 67
Posted: Fri Nov 10, 2023 4:07 pm
by Adrian Harris
Those are darned fine lights you've got there.
One of the reasons I bought the CNC lathe was I could never free-hand something like that with any chance of repeatability

Adrian.
Re: Churchill Mk3 number 67
Posted: Sat Nov 11, 2023 7:02 am
by Gary Richardson
Good morning
Thanks for the kind comments.
I got side tracked yesterday and decided to make a new light mounting rail from brass angle. It took a lot longer than expected as I had to mill an oversize section which would give me enough thickness on the top edge to allow me to tap M2.5 threaded holes. I will silver solder 5 lengths of M2.5 threaded rod into the holes from below, these will pass through the upper hull plate and be secured with nuts. I will add a false weld along the back edge of the mounting rail as per full size which will allow me to remove the whole light set up in the future.
I bought some 2.2mm 50mA grain of rice bulbs which fit perfectly in the small lights, the problem is making the lenses and being able to remove them to change the bulbs. I may still go with fibre optic cable which would be a permanent solution.
For the main lights I may go with grain of wheat bulbs as there is a lot more room to play with. I have ordered a 12v BEC and a receiver operated nano switch which will be powered through a small blade fuse and switch in the same way as I did my Funklenk Tiger. This keeps the lighting/accessory circuit separate, the BEC gives a constant 12v supply and the nano switch is capable of handling 21A, plenty of scope for adding an extra 12v add on such as a searchlight

I have one photo showing the rail in place but there is still some work needed today before I start on the main light lens housing and hood.
Regards
Gary
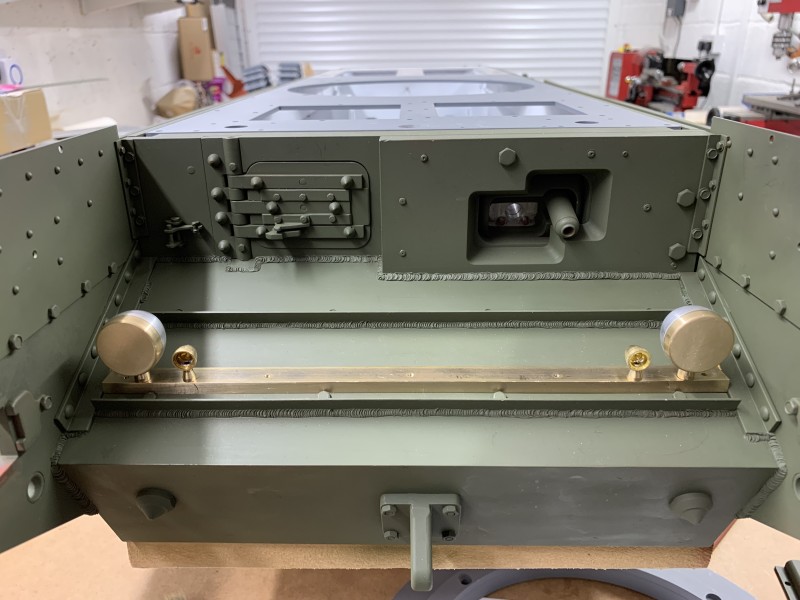
- Light mounting rail trial fit.
Re: Churchill Mk3 number 67
Posted: Sat Nov 11, 2023 5:46 pm
by Gary Richardson
Good evening
This light business is becoming addictive. I have finally finished making the hood for the left hand headlight and have cut the slot in the front cover. It was a bit more complicated than I thought with a lot of soldering involved to get everything in the right place. The body of the hood was silver soldered to give it strength as there was a lot of filing required and also so I could use flux cored solder for the round edge strips, rivets etc. I went through my stock of miniature slotted screws but they were all too large so ended up using 3/64" brass rivets. I still have to tidy up the excess solder and give the hood a going over with a soft brass brush to get it clean ready for the etch primer.
I will sort out the screws for holding the cover in place tomorrow as they will need to be M2 or smaller to keep in scale and also start on the right headlight. I think the headlights could be cast in brass if suitable moulds were available much like the Tigers Bosch headlight. I have been given a book about casting metals on a small scale so food for thought.
Regards
Gary
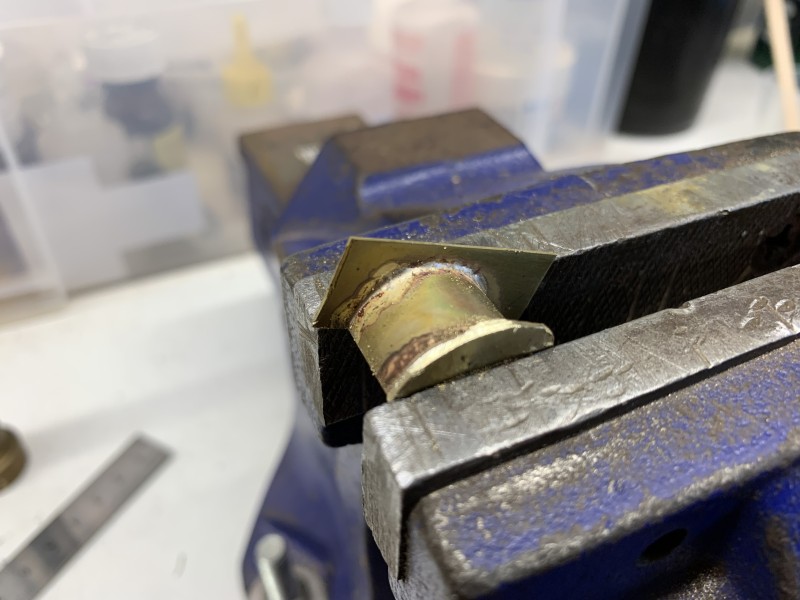
- And so it starts.....
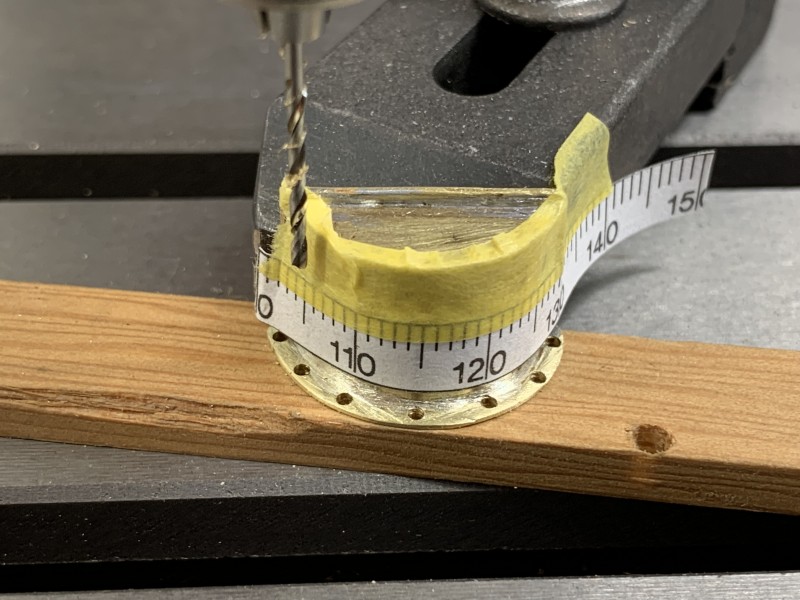
- Easy method for placing the seven rivets in correct locations
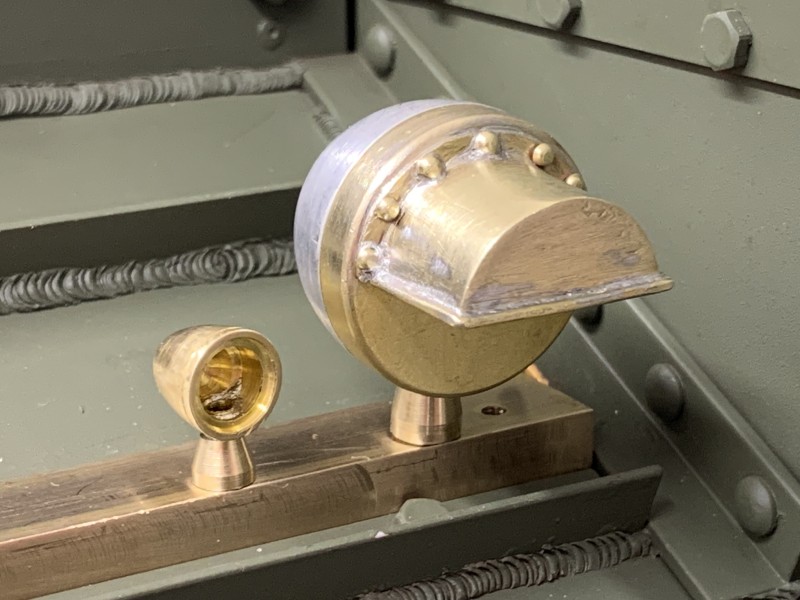
- Needs cleaning up but pleased with the result so far.
Re: Churchill Mk3 number 67
Posted: Fri Nov 17, 2023 4:27 pm
by Gary Richardson
Hi all
Just a quick update on the front lights. I have completed all the brass detailing on both the main headlights, just the lenses to make for the left light and two side lights. I am going to try making some silicon moulds and use UV resin for the lenses, that way I can add the ribbed effect on the left headlight lens. I have now received the fibre optic cables, grain of rice bulbs and the 12v BEC and 21A Nano switch so I will start experimenting to see which works best, it's mainly the side lights that are the problem as the interior space is very limited although the GOR bulb does fit inside.
Next step is to thoroughly clean the brass prior to spraying with acid etch primer.
Regards
Gary
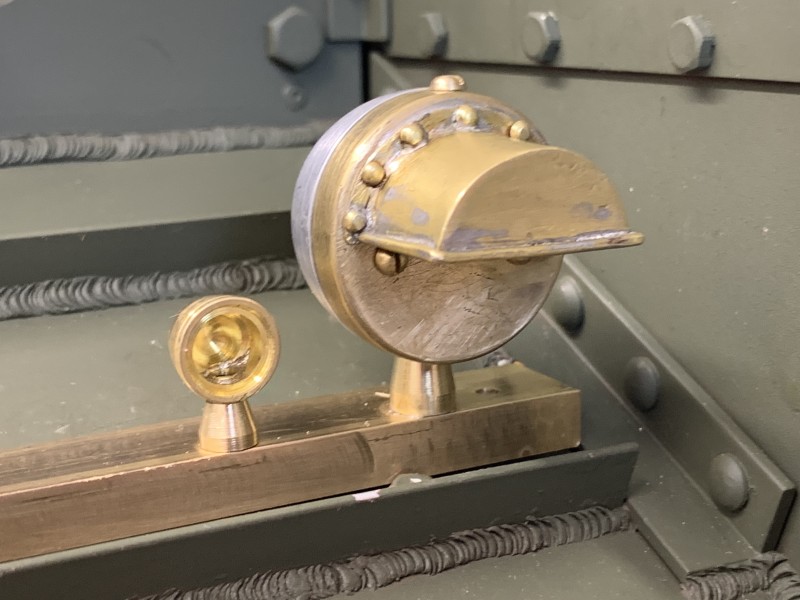
- Right side lights
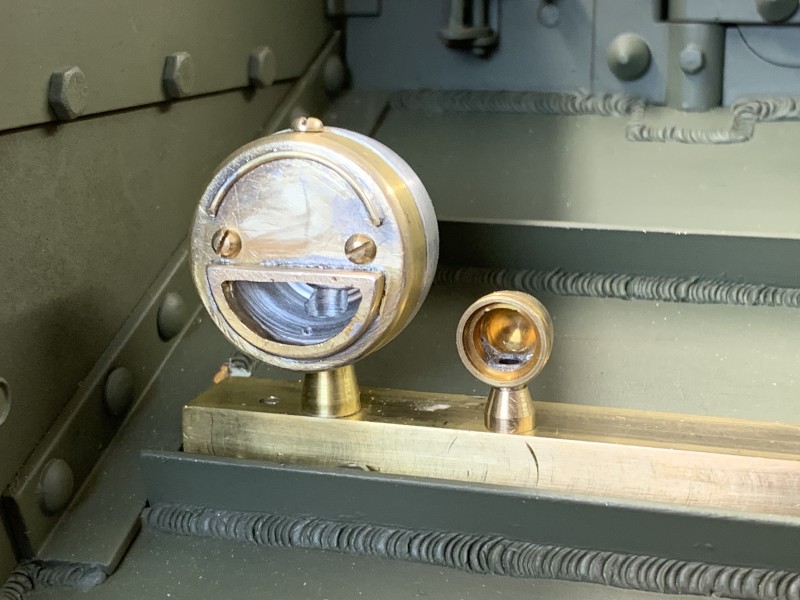
- Left side lights
Re: Churchill Mk3 number 67
Posted: Fri Nov 17, 2023 7:28 pm
by Robert E Morey
Lovely lamps Gary - A pleasure to see. Your details are really nice.
Best regards,
Bob
Re: Churchill Mk3 number 67
Posted: Sat Nov 18, 2023 11:23 am
by Gary Richardson
Robert E Morey wrote: ↑Fri Nov 17, 2023 7:28 pm
Lovely lamps Gary - A pleasure to see. Your details are really nice.
Best regards,
Bob
Hi Bob
Thanks for the kind words. Although it is very time consuming I get a lot of pleasure doing the detailing plus it's an opportunity to learn new skills.
Regards
Gary
Re: Churchill Mk3 number 67
Posted: Mon Nov 20, 2023 8:32 am
by Gary Richardson
Good morning
The saga of the headlights continues. I decided to make the lenses from a piece of clear plastic I found in an old iPhone box. The thickness was ideal and so I looked for a way to cut out the 8mm circles. I decided to use brass tube with an 8mm inside diameter and I filed tiny teeth into one end the sharpened them with wet and dry. Once installed in my pillar drill it worked a treat cutting out two discs. The discs were then carefully sanded to give a rounded edge on the front face and a frosted finish on the rear face.
My friend Pat had some chrome auto paint which he allowed me to use to give a reflective surface on the inside areas on the lights. Next step is to to assemble the lights and try out the fibre optic cable and GOR bulbs to see what looks best.
Regards
Gary
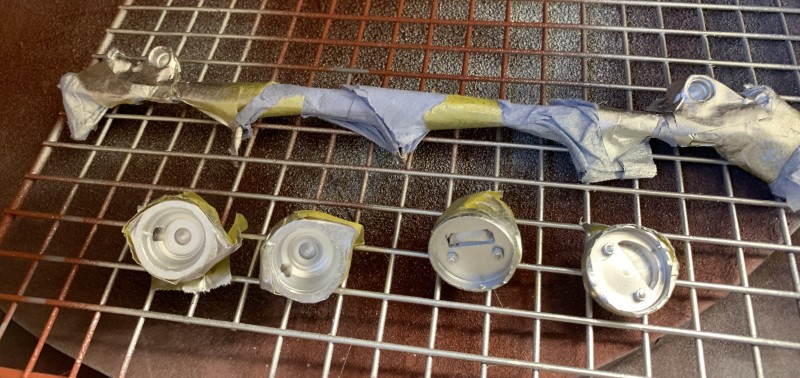
- I used chrome auto paint for the reflective surfaces.
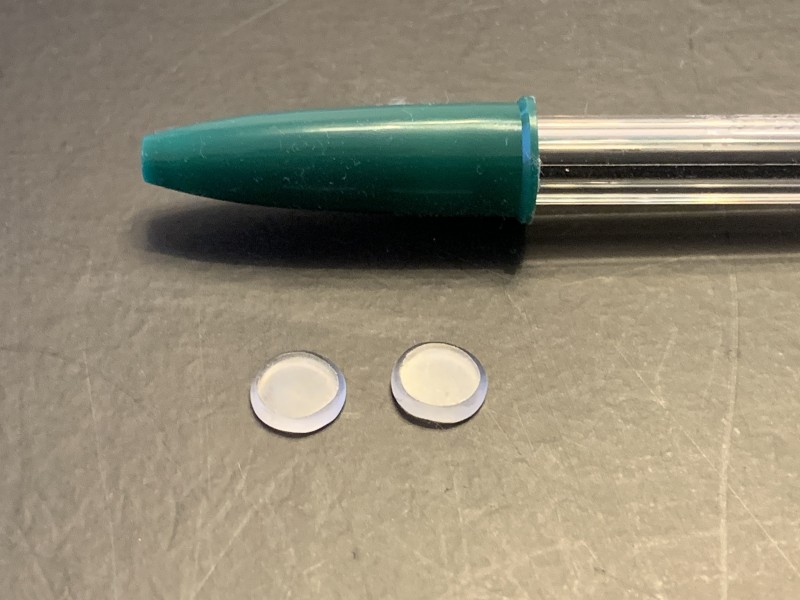
- Just to give an idea of how small the sidelight lenses are.