Re: M4A4 Sherman tank project
Posted: Sat Jun 28, 2014 6:24 pm
Thanks guys, More progress has been made and the tank is another step closer to completion.
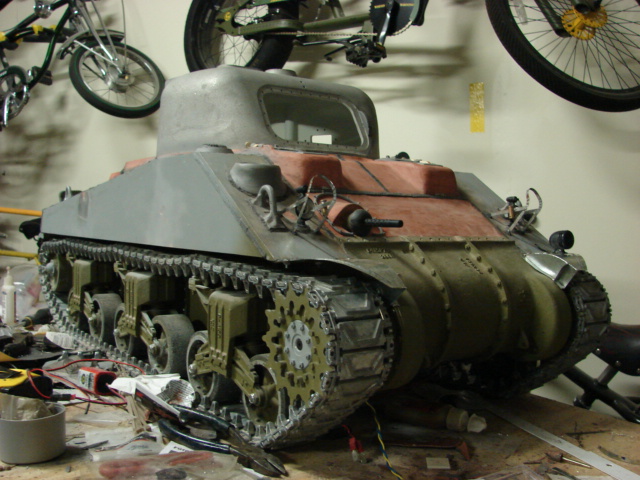
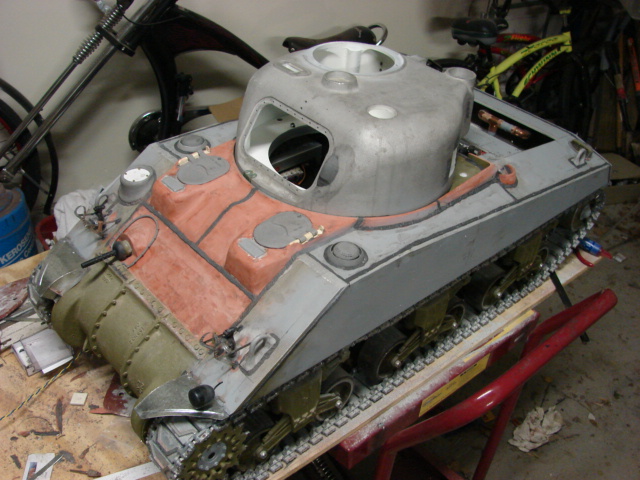
Since the last post the rear deck was mounted,
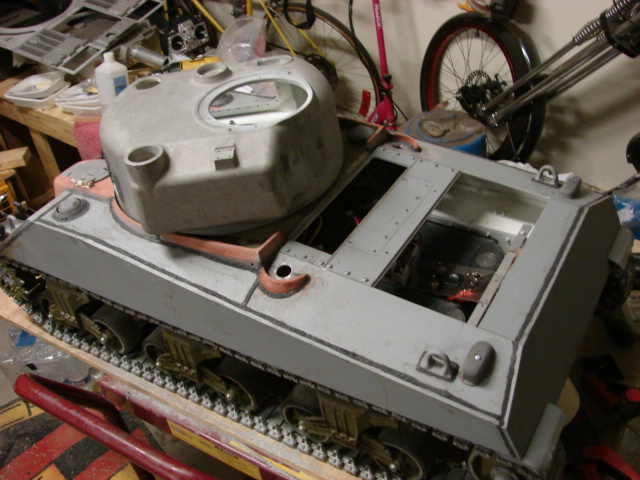
Before I was able to mount the deck to the tank I first had to add the etch lines for the rear plates. On the armortek shermans the rear deck is one pressed metal pan. Because of this the panel lines that are found the real tank are not present. To add them I etch them into the plate with a Dremel. Before I add the lines I mark where the lines go, and use tape as a guide
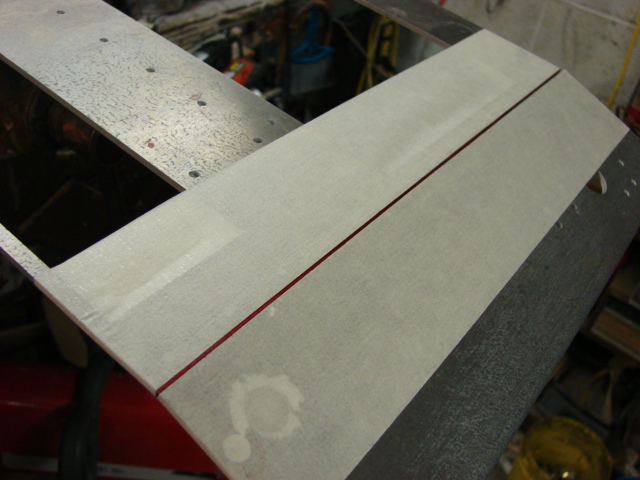
with a steady hand the lines are etched, Once the lines were etched the interior of the plate was primed and painted in flat white, then was added to the tank
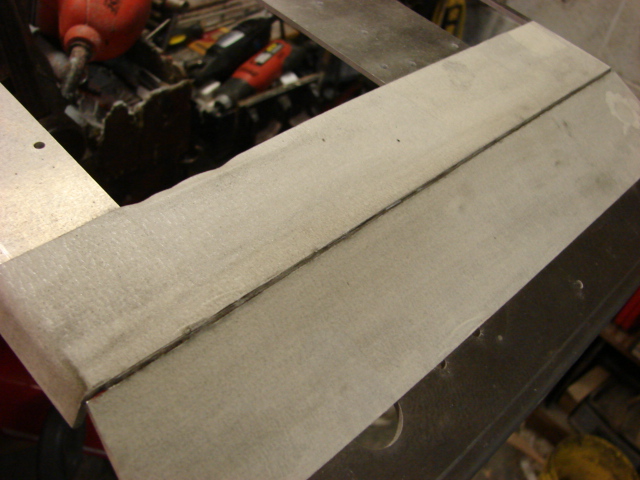
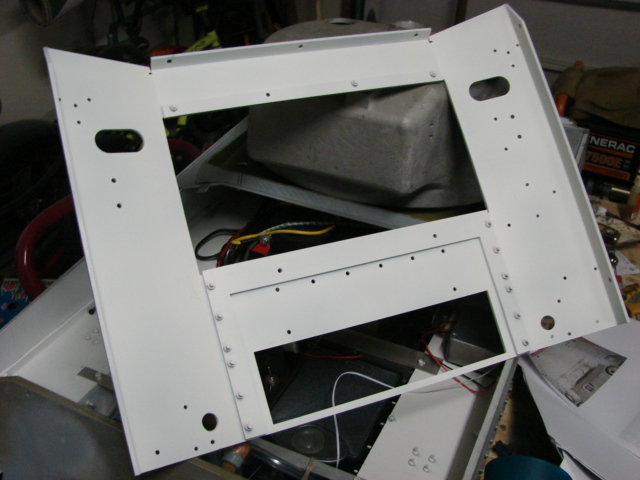
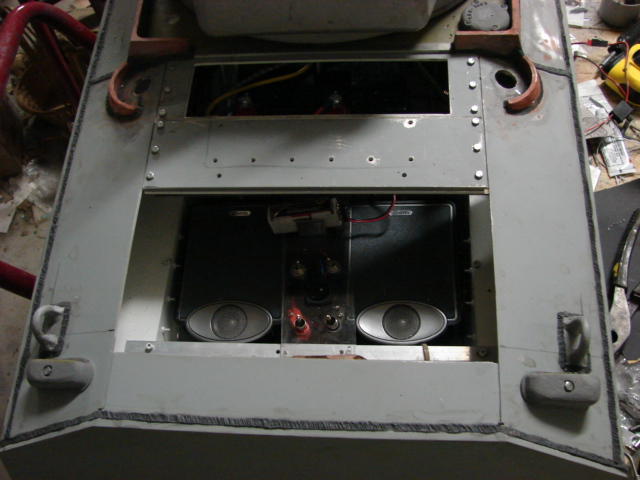
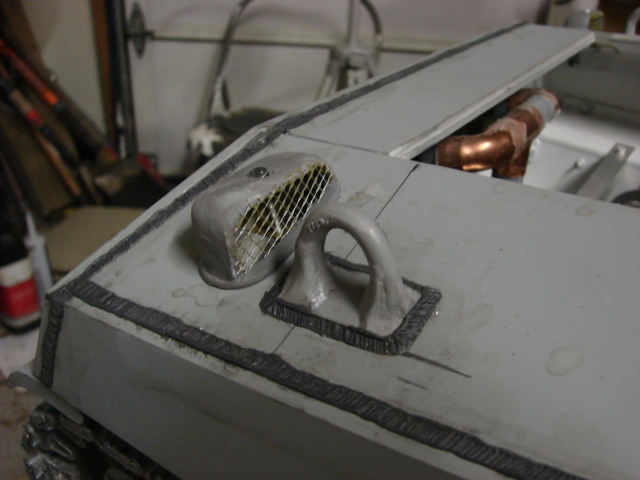
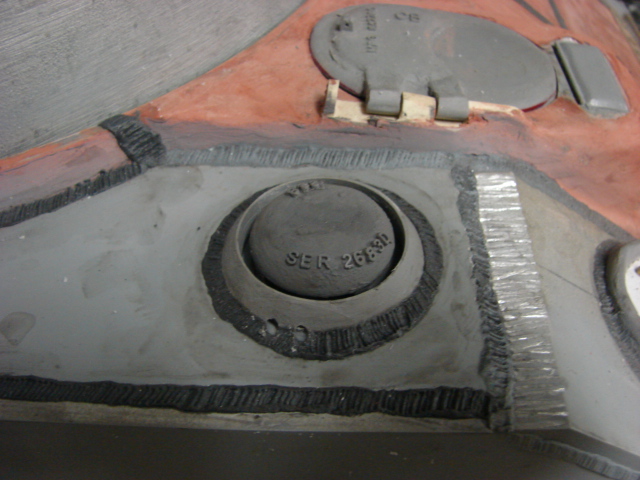
Once the rear deck was fitted I was now ready to add on the rear deck components. This would include the fuel cap guards, rear lift hook, and rear vents. For the guards the kit supplies you with two CNCed aluminum ones that work very well.
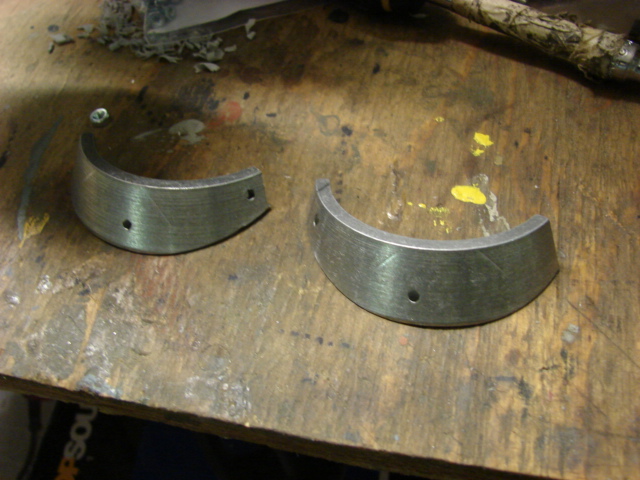
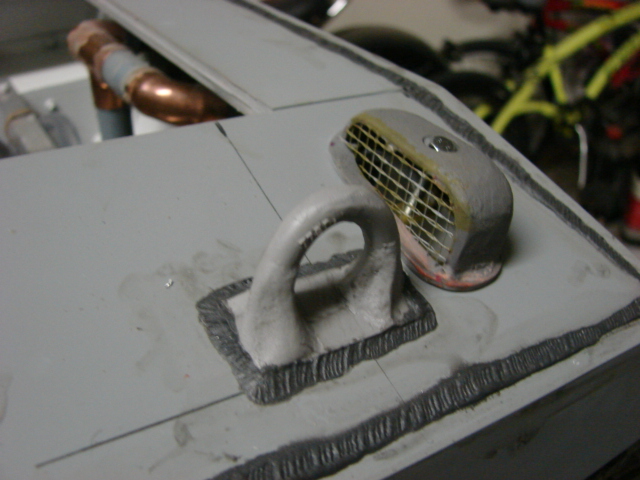
All the bullet splash guards received cast textureing, welds, and their drainage holes. All that will be added to complete the look will be the cast numbers, which will be added as the build continues
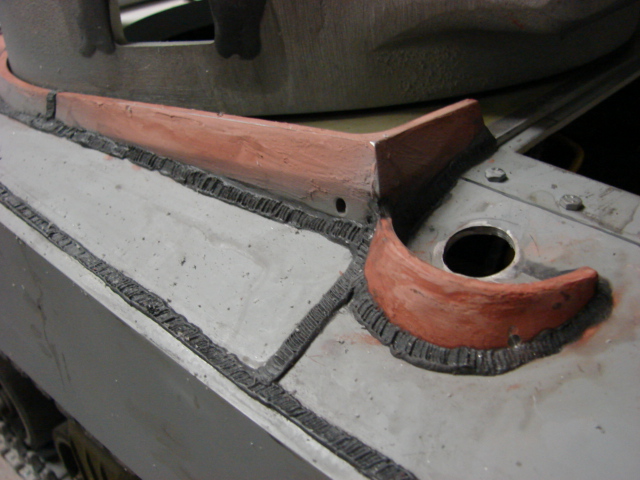
The rear hull blower was also mounted, for the part I swapped out the kit original for one of my own.
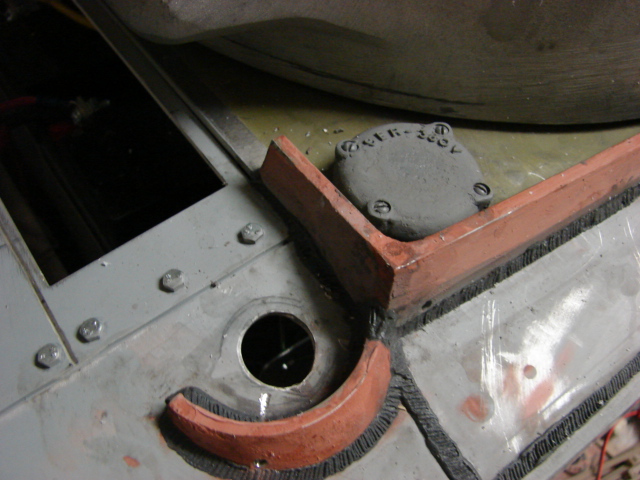
Just like with the rear blower I swapped out the basic kit supplied vent, lift hook, and front blowers with my own sets.
On the tank's bow hull I completed the tin work. This would include the front fenders and the brush guards.
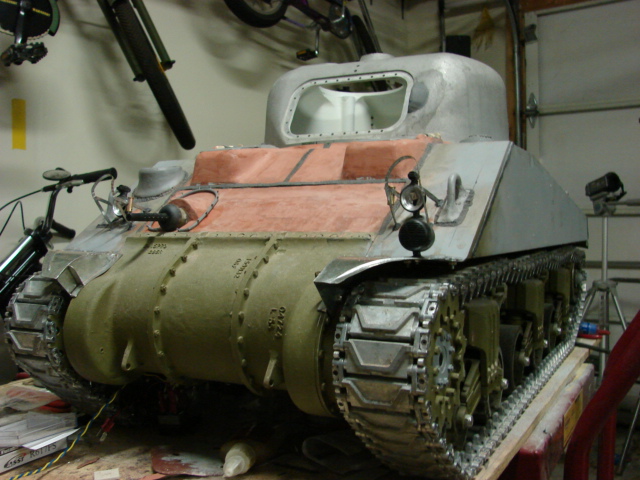
The kit supplied fenders were swapped out for one of my own sets. The fenders are all soldered together and are mounted to the tank's fender mounts via fasteners like the real unit.
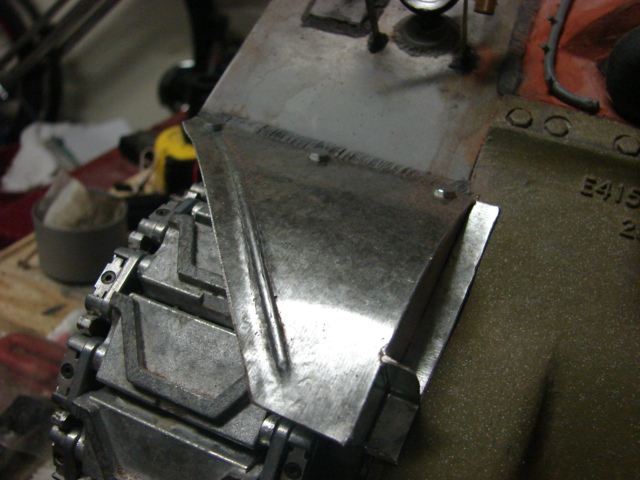
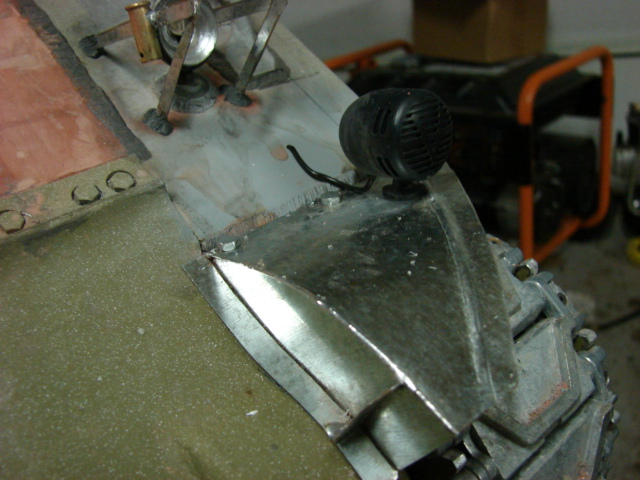
The kit supplied brush guards were not compatible with my head lights so I fabricated a new set that works better for them. Like on all my tanks the guards are all soldered together and have the plunger canister mounted to them. Chains and plunger detail to be added later.
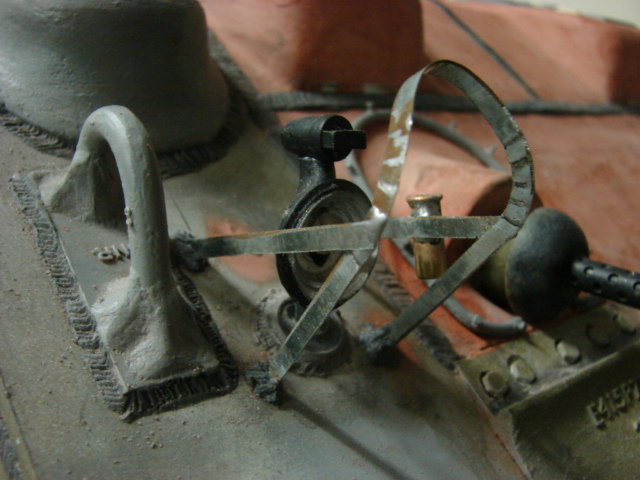
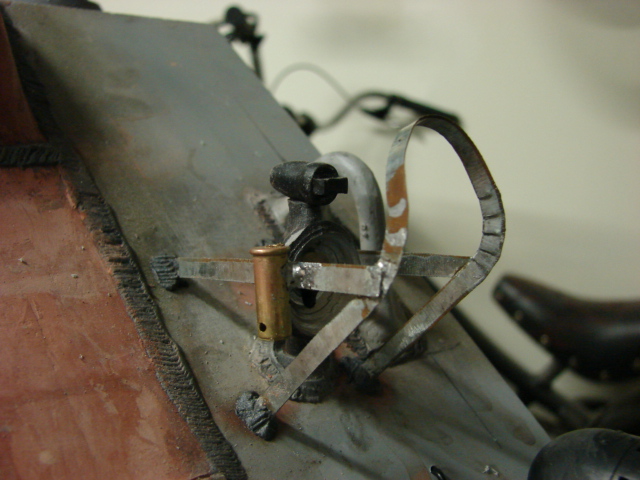
The tank's siren was also mounted. For this tank I went with a different style siren then I normally use. Rather than using my funnel horn I went with the Panzerwerk resin unit instead.
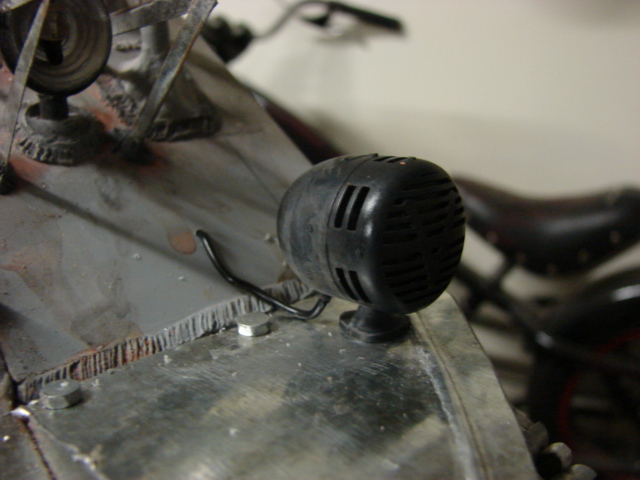
Because of the early period style tank I want to represent the larger panzerwerk siren was a more accurate choice. Also Unlike all my other shermans the siren is not mounted to the hull, or has a brushguard. Instead it is mounted to the front fender
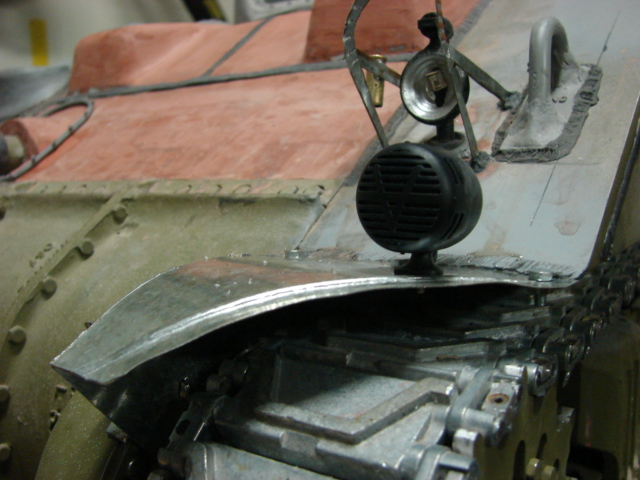
Mounting the siren here is another early war / production trait, Because of the high vulnerability of the siren getting damaged in this location it was moved from this spot to the front hull where it would be protected by the caged brush guard. Like the real one the part itself is attached to the fender via a fastener.
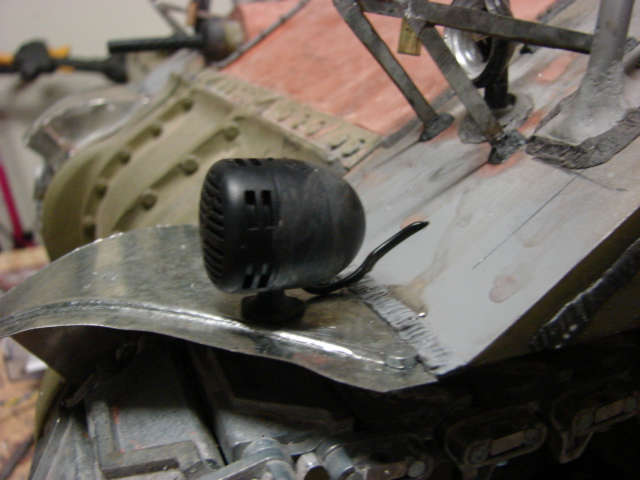
The M1919 Tarpaulin rail was also affixed to the tank, welds will be sculpted soon.
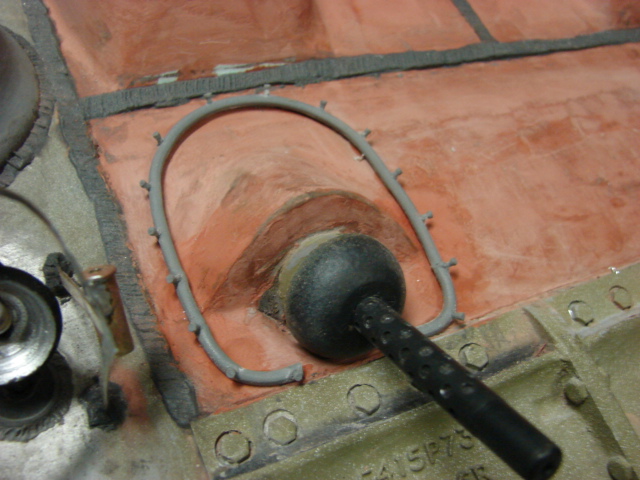
Work was also stared on the turret. this is the biggest difference from my model than the other armortek firefly kits. When I purchased the kit I requested that the kit firefly turret and gun be swapped out from the turret and gun from thier 05 release early M4A3.
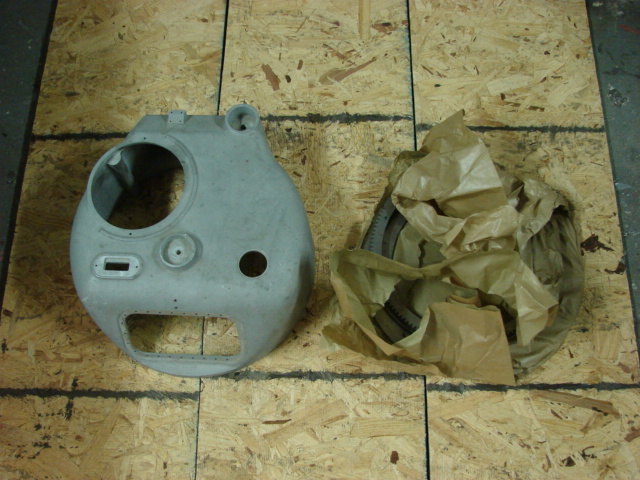
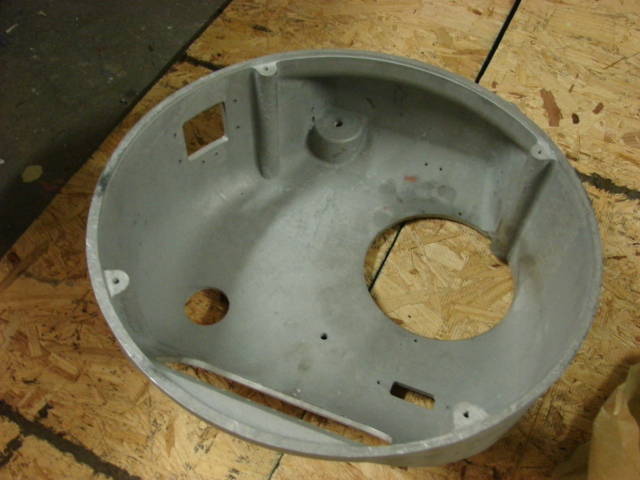
The turret itself is all one piece aluminum casting, has real cast texture to it and has a very realistic feel to it. The turret has a cooking pot resemblance.
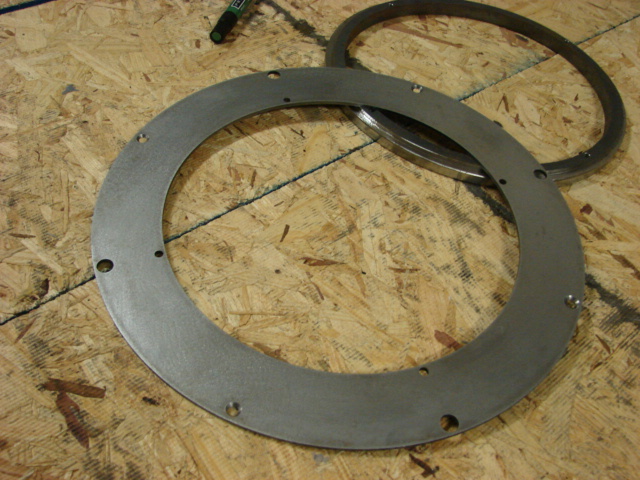
The turret's floor is made out of laser cut steel and is comprised of the floor, turret neck and the turret rotation gear ring. the parts are very nice and assemble easily. Before prime and paint I simply hit the surface with an Emory cloth to buff away any surface rust that was present.
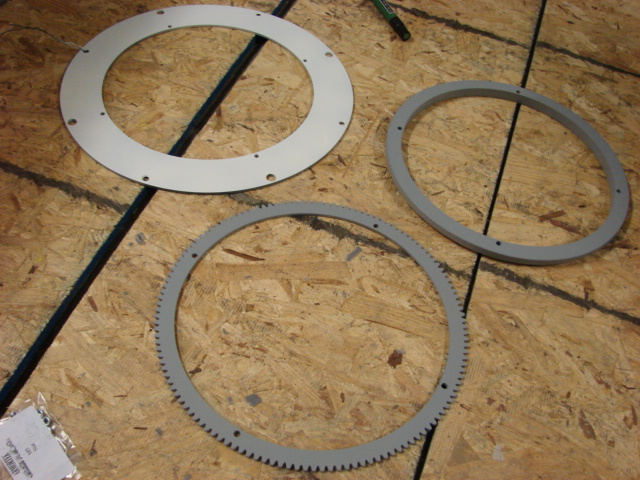
Once complete the parts were painted and installed. The only addition was adding lock washers to the fasteners
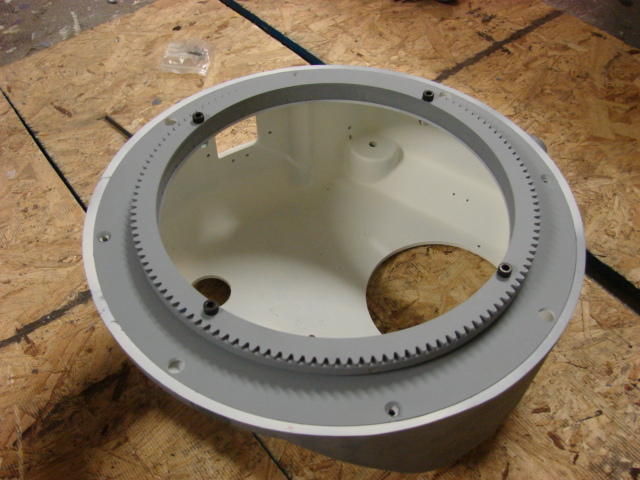
After a few small tweaks to the bullet splash rim the turret plops into place and rotates on control.
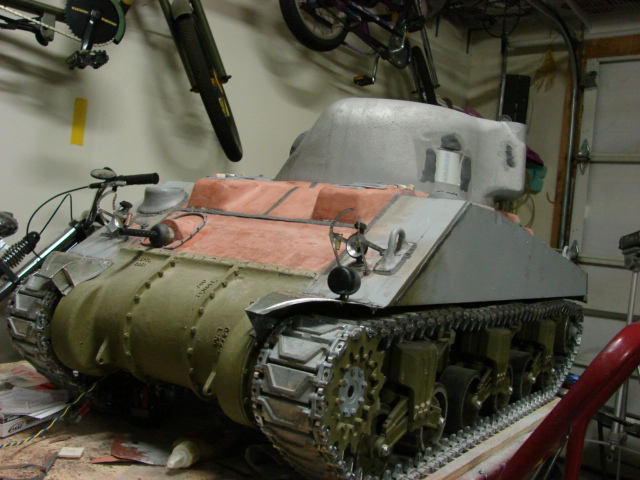
a youtube video was made describing the updates in more detail,
http://youtu.be/9whWNO5Ic0E
More pics were also added to the facebook page,
http://www.facebook.com/EastCoastArmory
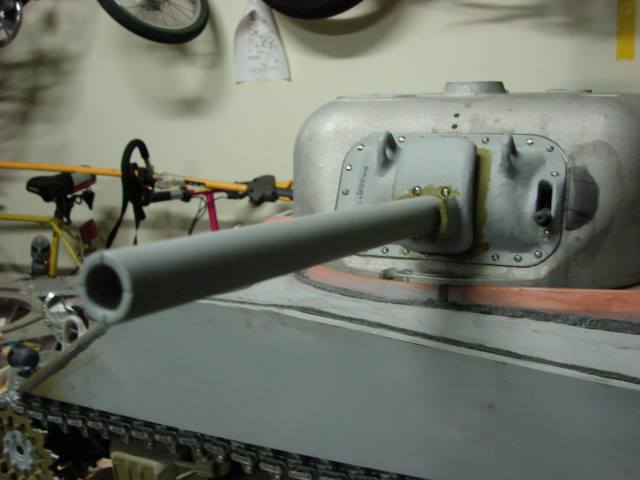
Currently I'm working on the gun and turret. I got lots of plans for this part of the build, and will also have some new early period sherman parts to add to the catalog, As for what they are, here is a sneek peek
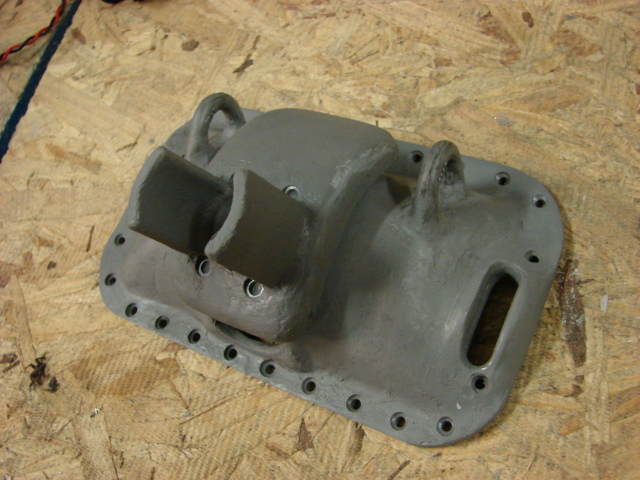
More to come!
Since the last post the rear deck was mounted,
Before I was able to mount the deck to the tank I first had to add the etch lines for the rear plates. On the armortek shermans the rear deck is one pressed metal pan. Because of this the panel lines that are found the real tank are not present. To add them I etch them into the plate with a Dremel. Before I add the lines I mark where the lines go, and use tape as a guide
with a steady hand the lines are etched, Once the lines were etched the interior of the plate was primed and painted in flat white, then was added to the tank
Once the rear deck was fitted I was now ready to add on the rear deck components. This would include the fuel cap guards, rear lift hook, and rear vents. For the guards the kit supplies you with two CNCed aluminum ones that work very well.
All the bullet splash guards received cast textureing, welds, and their drainage holes. All that will be added to complete the look will be the cast numbers, which will be added as the build continues
The rear hull blower was also mounted, for the part I swapped out the kit original for one of my own.
Just like with the rear blower I swapped out the basic kit supplied vent, lift hook, and front blowers with my own sets.
On the tank's bow hull I completed the tin work. This would include the front fenders and the brush guards.
The kit supplied fenders were swapped out for one of my own sets. The fenders are all soldered together and are mounted to the tank's fender mounts via fasteners like the real unit.
The kit supplied brush guards were not compatible with my head lights so I fabricated a new set that works better for them. Like on all my tanks the guards are all soldered together and have the plunger canister mounted to them. Chains and plunger detail to be added later.
The tank's siren was also mounted. For this tank I went with a different style siren then I normally use. Rather than using my funnel horn I went with the Panzerwerk resin unit instead.
Because of the early period style tank I want to represent the larger panzerwerk siren was a more accurate choice. Also Unlike all my other shermans the siren is not mounted to the hull, or has a brushguard. Instead it is mounted to the front fender
Mounting the siren here is another early war / production trait, Because of the high vulnerability of the siren getting damaged in this location it was moved from this spot to the front hull where it would be protected by the caged brush guard. Like the real one the part itself is attached to the fender via a fastener.
The M1919 Tarpaulin rail was also affixed to the tank, welds will be sculpted soon.
Work was also stared on the turret. this is the biggest difference from my model than the other armortek firefly kits. When I purchased the kit I requested that the kit firefly turret and gun be swapped out from the turret and gun from thier 05 release early M4A3.
The turret itself is all one piece aluminum casting, has real cast texture to it and has a very realistic feel to it. The turret has a cooking pot resemblance.
The turret's floor is made out of laser cut steel and is comprised of the floor, turret neck and the turret rotation gear ring. the parts are very nice and assemble easily. Before prime and paint I simply hit the surface with an Emory cloth to buff away any surface rust that was present.
Once complete the parts were painted and installed. The only addition was adding lock washers to the fasteners
After a few small tweaks to the bullet splash rim the turret plops into place and rotates on control.
a youtube video was made describing the updates in more detail,
http://youtu.be/9whWNO5Ic0E
More pics were also added to the facebook page,
http://www.facebook.com/EastCoastArmory
Currently I'm working on the gun and turret. I got lots of plans for this part of the build, and will also have some new early period sherman parts to add to the catalog, As for what they are, here is a sneek peek
More to come!
