Page 2 of 9
Re: Iacopo's Panzer III, a new and first adventure for me.
Posted: Sun Sep 16, 2012 6:57 pm
by Iacopo Di Giampietro
Hi all.
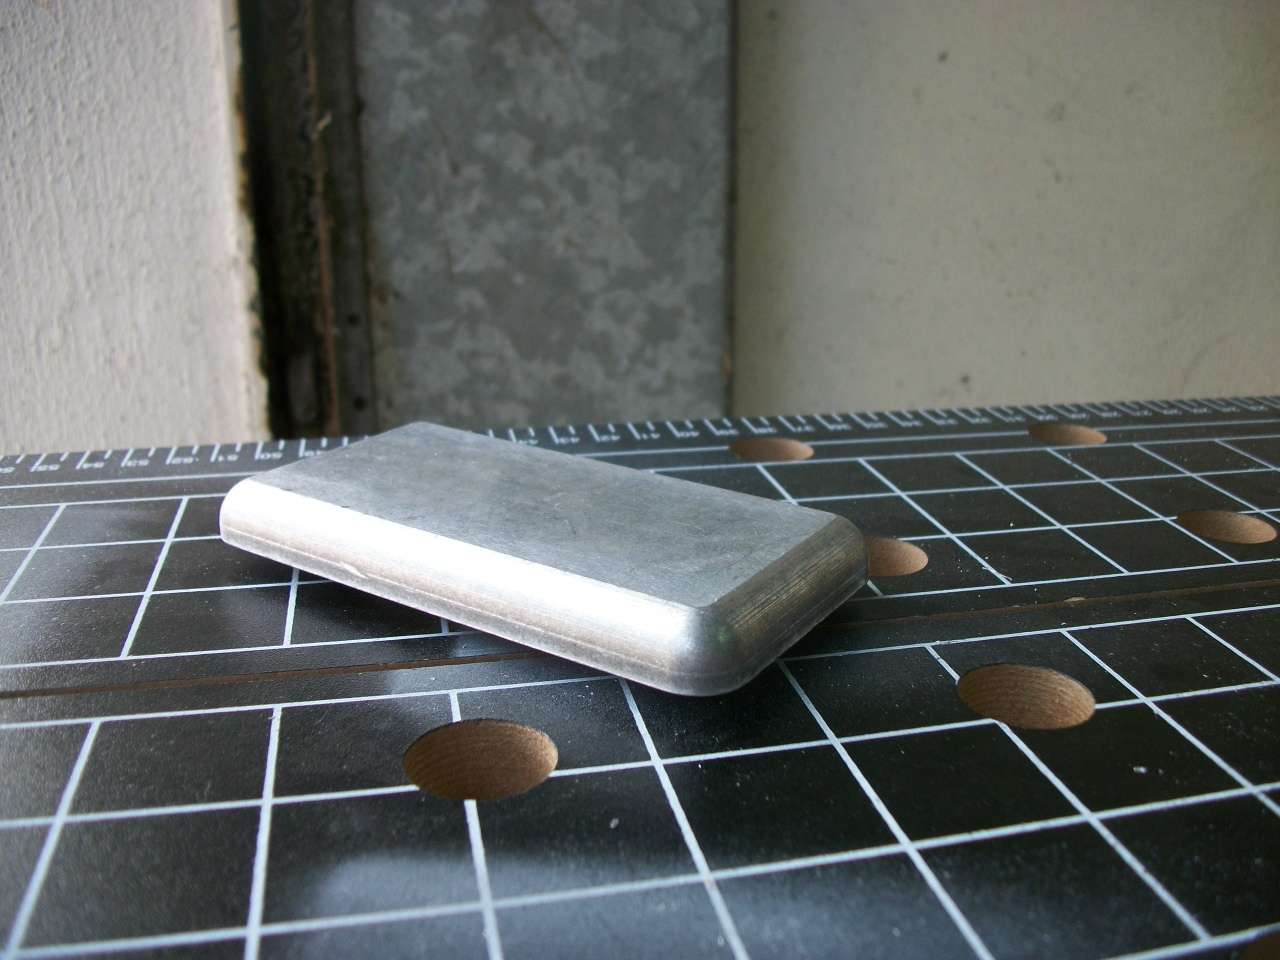
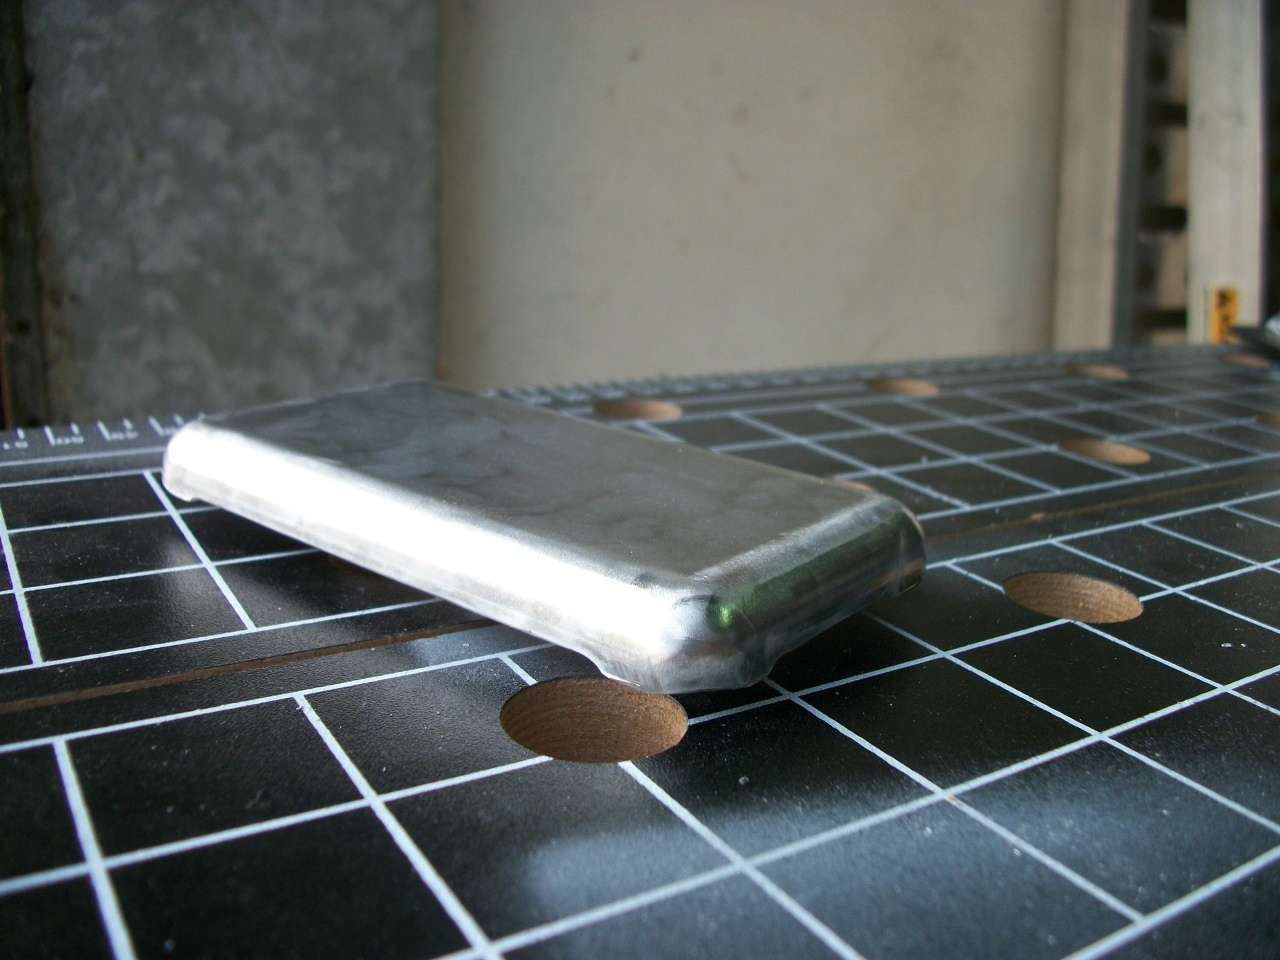
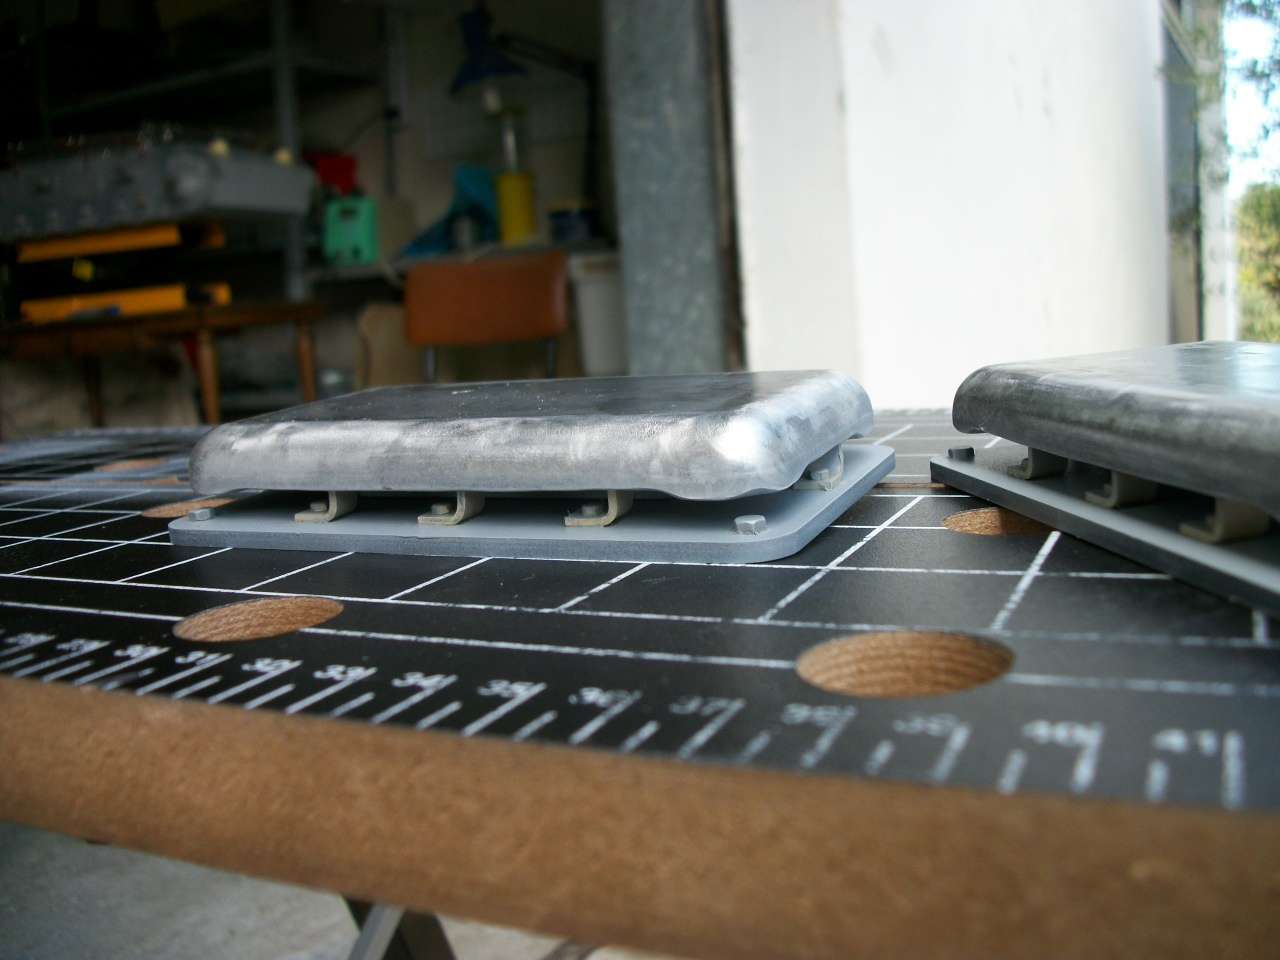
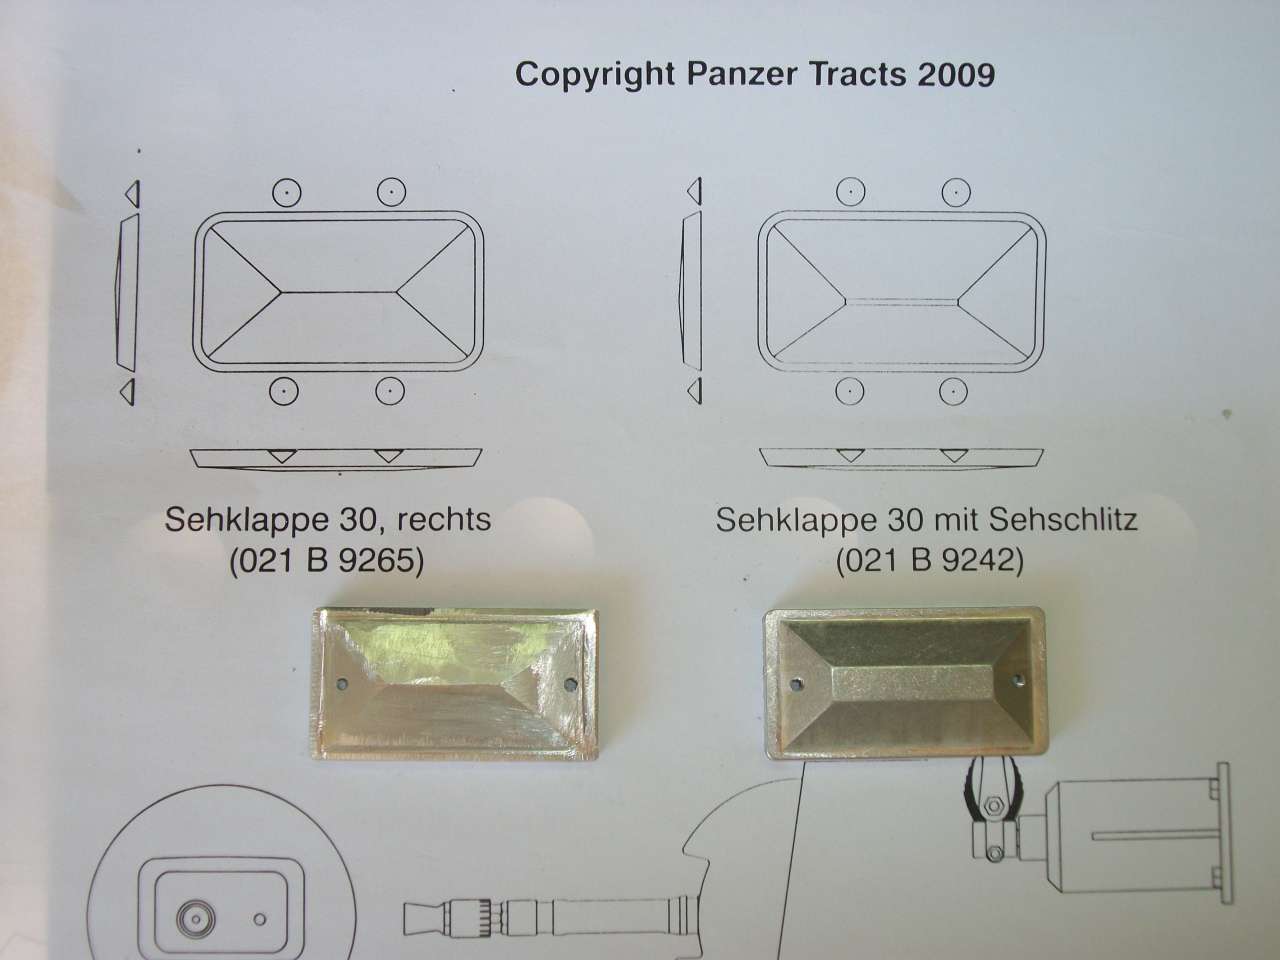
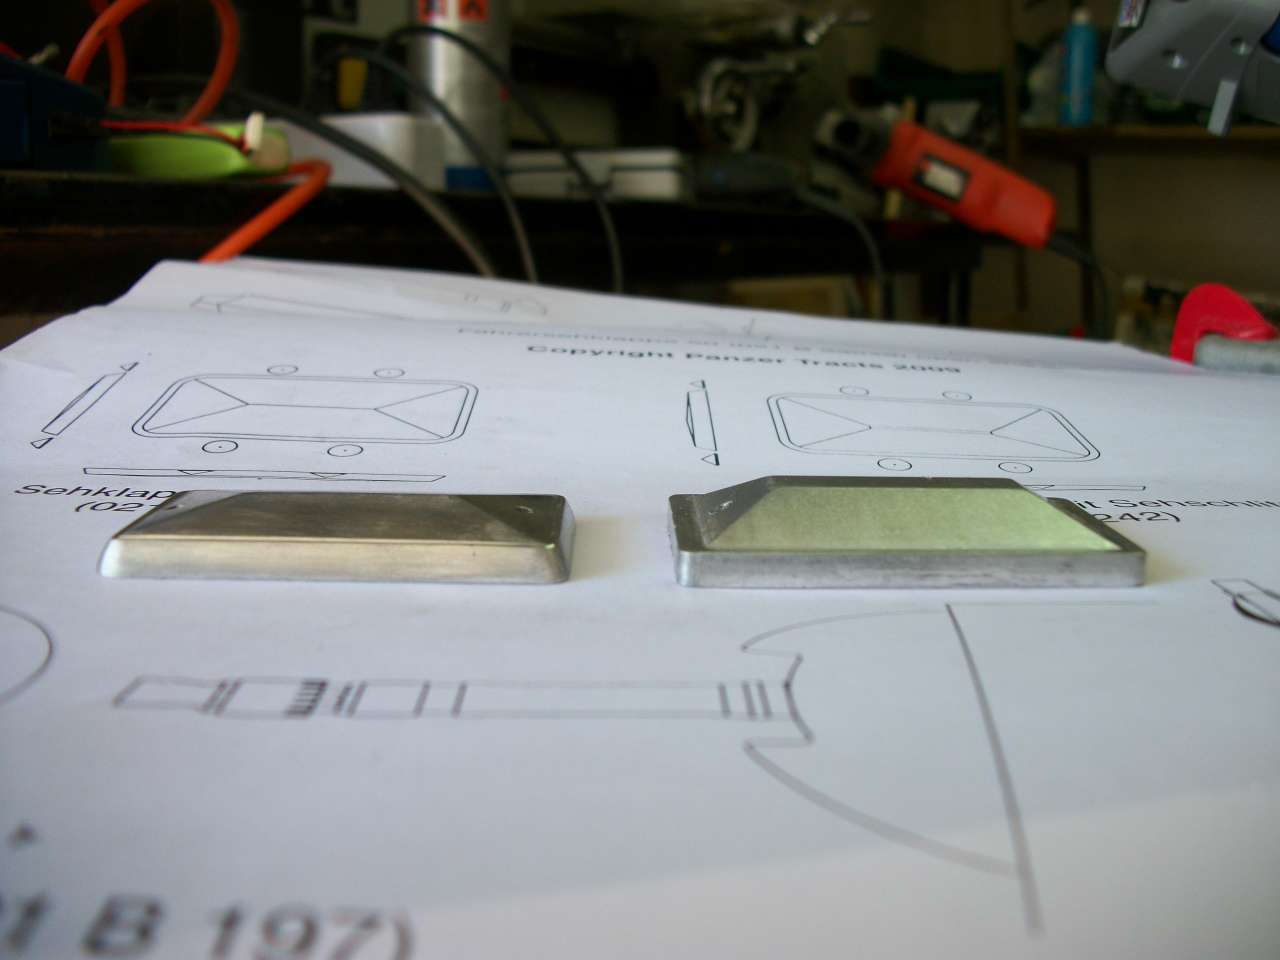
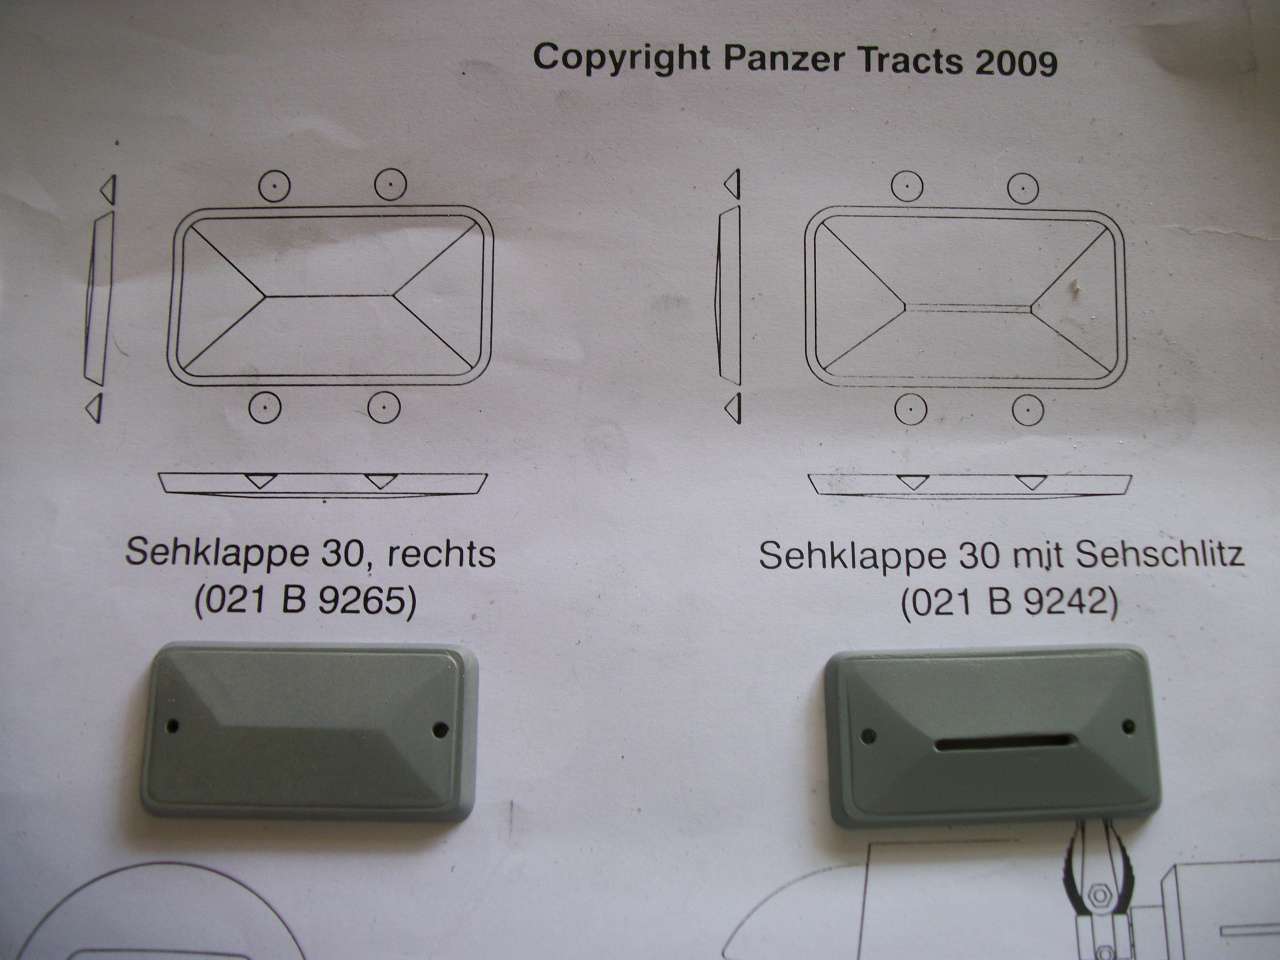
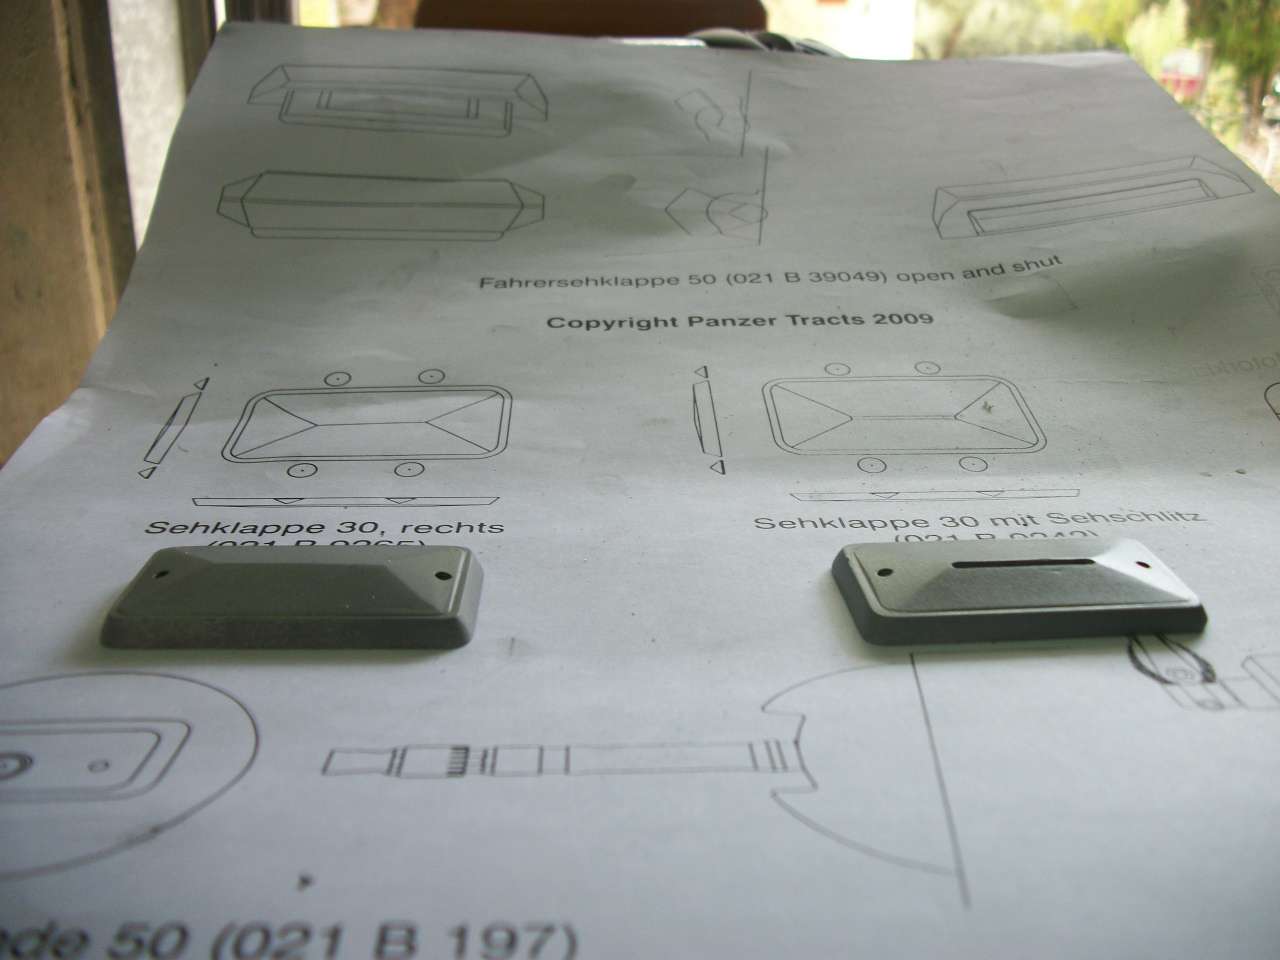
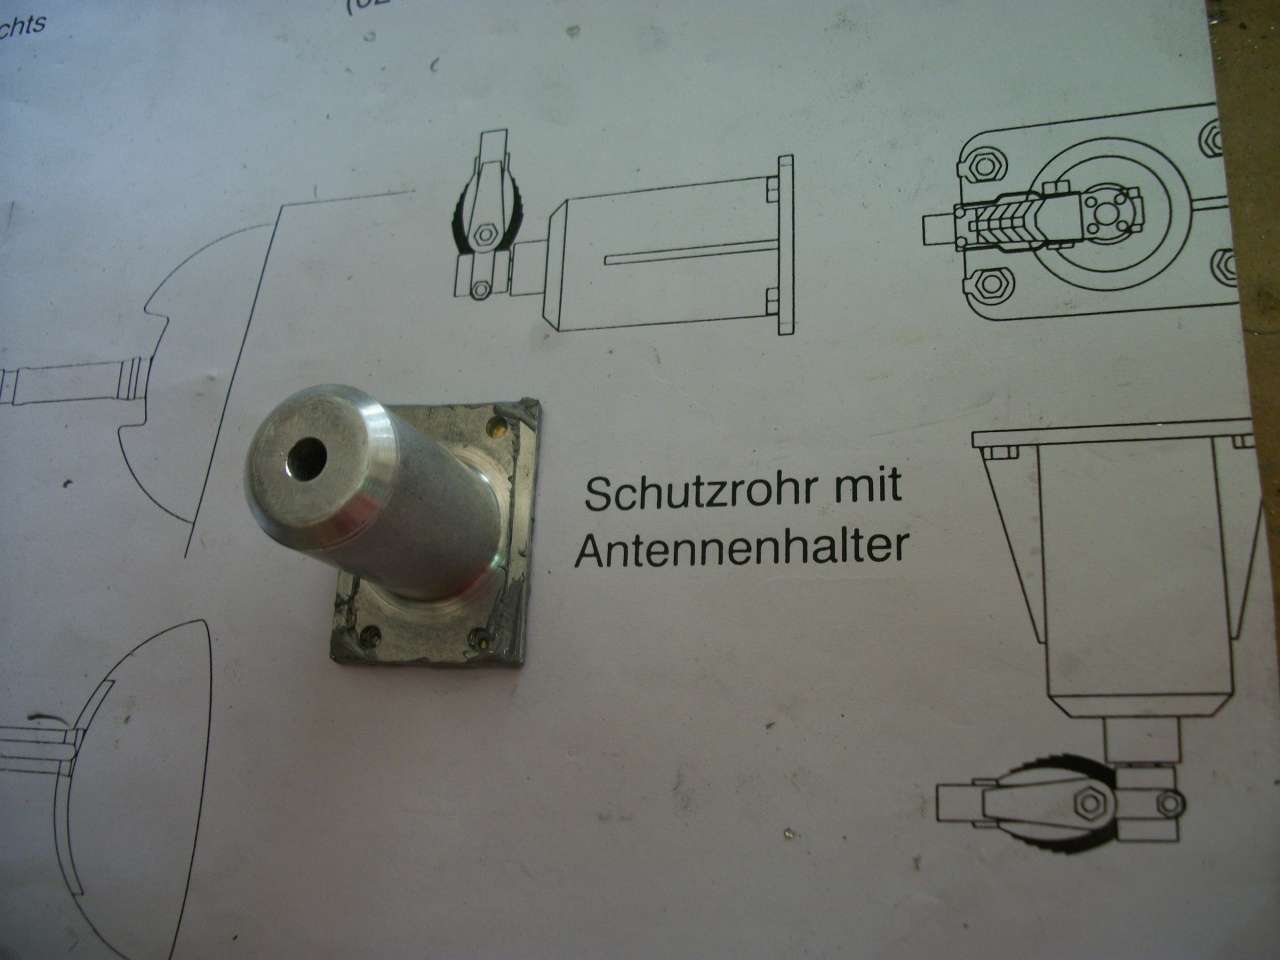
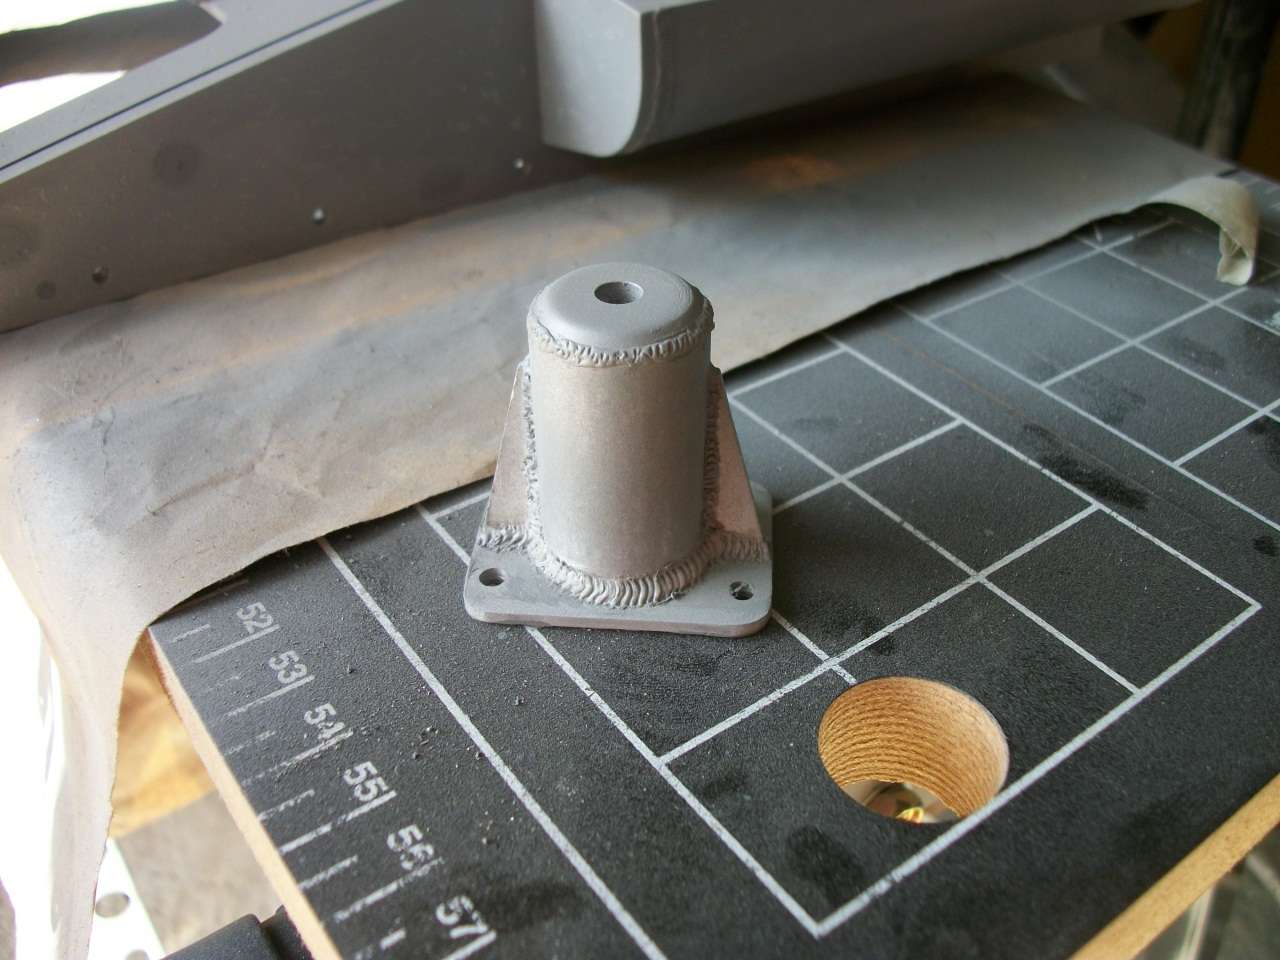
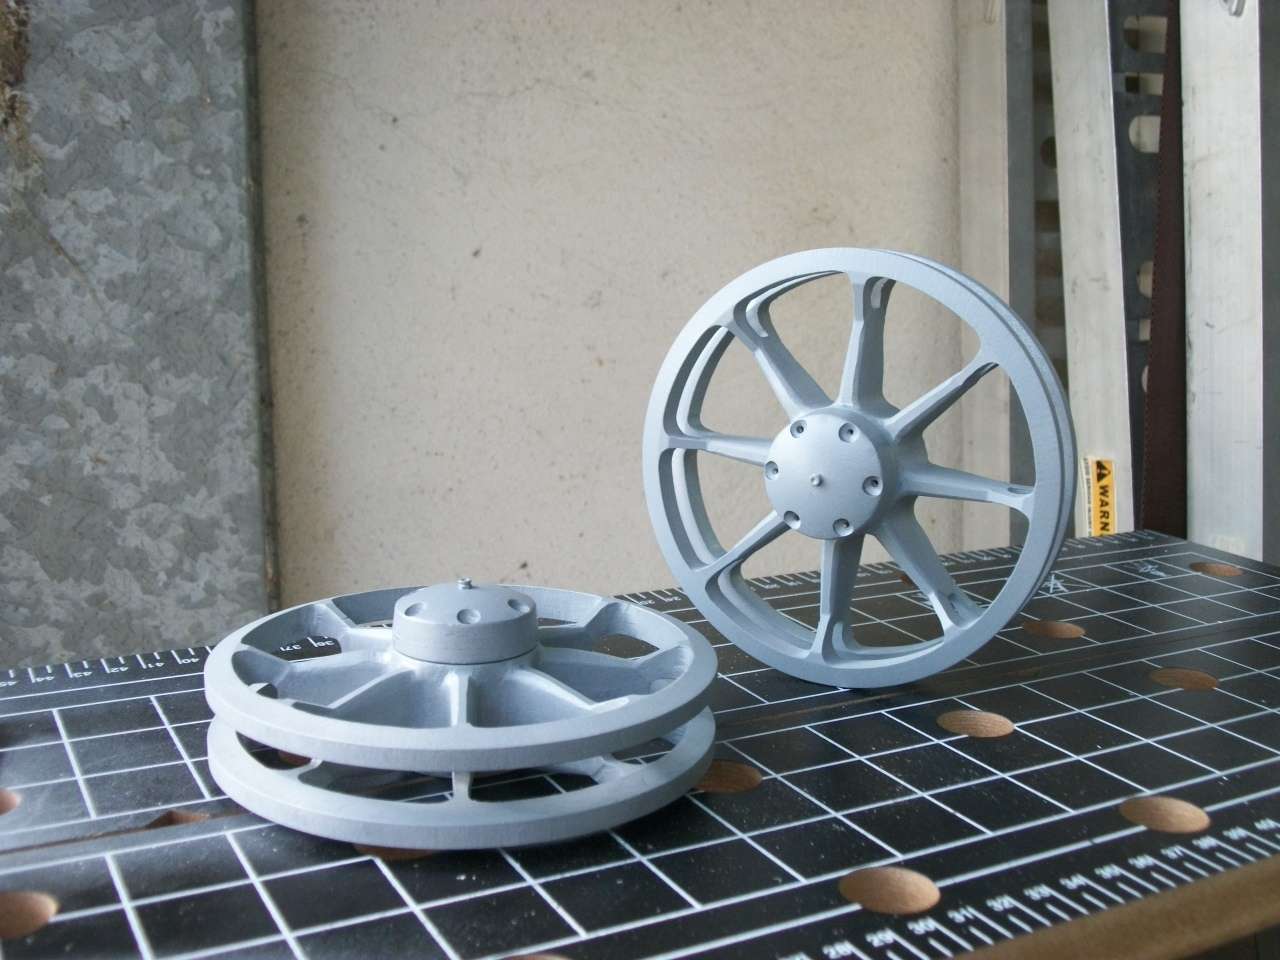
I prepared the idler wheels and hub cover.
By personal choice, I decided not to use putty to change the wheels.


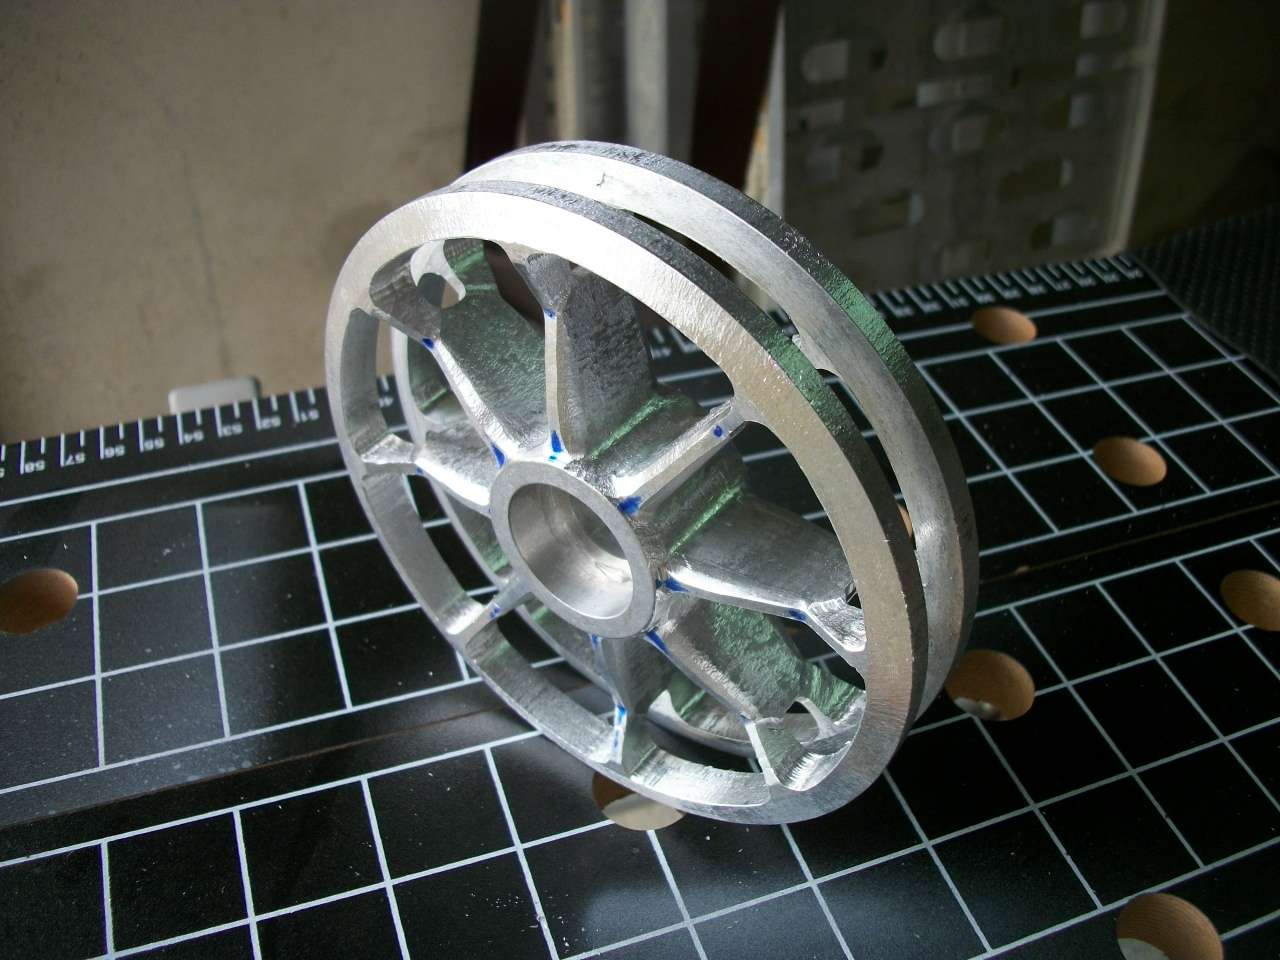
The holes of the original hubs, were too close to the edge so I preferred to redo them and also provide them with the recess for the bolts with the washers.

Missing only the fastening bolts, but put them subsequently, during assembly.

Ciao,
Iacopo.
Re: Iacopo's Panzer III, a new and first adventure for me.
Posted: Sun Oct 07, 2012 10:07 am
by Iacopo Di Giampietro
Re: Iacopo's Panzer III, a new and first adventure for me.
Posted: Sun Oct 07, 2012 2:06 pm
by Adrian Harris
Excellent parts Iacopo.
The corners of the armoured covers really capture the shape of the originals.
Adrian.
Re: Iacopo's Panzer III, a new and first adventure for me.
Posted: Tue Oct 09, 2012 9:35 pm
by Andrea Daviero
duncanallender wrote:Hi Iacopo,
Ha,ha at last.It is good to hear you are making the Panzer 111.I look forward to seeing some more of the construction.Good luck my friend.
Arrivederci
Duncan
Hi Duncan, You will see soon also pics of the sherman near to the pz III.
I just temporarily assembled most of the hull in only one day (yesterday) for exhibit it in a local show this week end and will be with my other models and Iacopo's pz III as it is now but with the other finished parts assembled (wheels, sunspensions)
The sherman is still not painted, not completed, we spent most of the time making the Pz 3, the first Iacopo's 1:6th model, it must have the priority over all the other works.
I must admit that Iacopo learned how to work on the big scale very fast, the first days he asked for assistance in all things, but now he cuts, files... perfectly and without needing my help. When we can, we do 2 different works at the same time. It is sad that we can spend only few time to it.
Re: Iacopo's Panzer III, a new and first adventure for me.
Posted: Sat Jul 27, 2013 1:05 pm
by Iacopo Di Giampietro
Welcome back, my friends.
After a few months off I finally resumed work on my Panzer III.
Unfortunately, several problems have forced me to a long pause and my tank has been waiting patiently for me!

Soon I come back to write about my progress on this model!
As always I apologize for my bad English ...

Hello to all and see you soon!
Re: Iacopo's Panzer III, a new and first adventure for me.
Posted: Sun Jul 28, 2013 9:15 am
by Adrian Harris
Good to see you back Iacopo.
Can wait to see where you go next with your Panzer

Adrian.
Re: Iacopo's Panzer III, a new and first adventure for me.
Posted: Tue Jul 30, 2013 9:54 am
by Iacopo Di Giampietro
Thank you very much Adrian.
Unfortunately, many health problems have occurred over the last few months ...

I just hope not to disappoint the expectations.

Let's start with the change to the hull machine gun and relative kugelblende, work in which I have been helped by Andrea Daviero.
As can be seen in this photo (taken during a test assembly) the ball MG is flush with the Kugelblende. The Kugelblende also turns out to be too low and flush with the front plate.
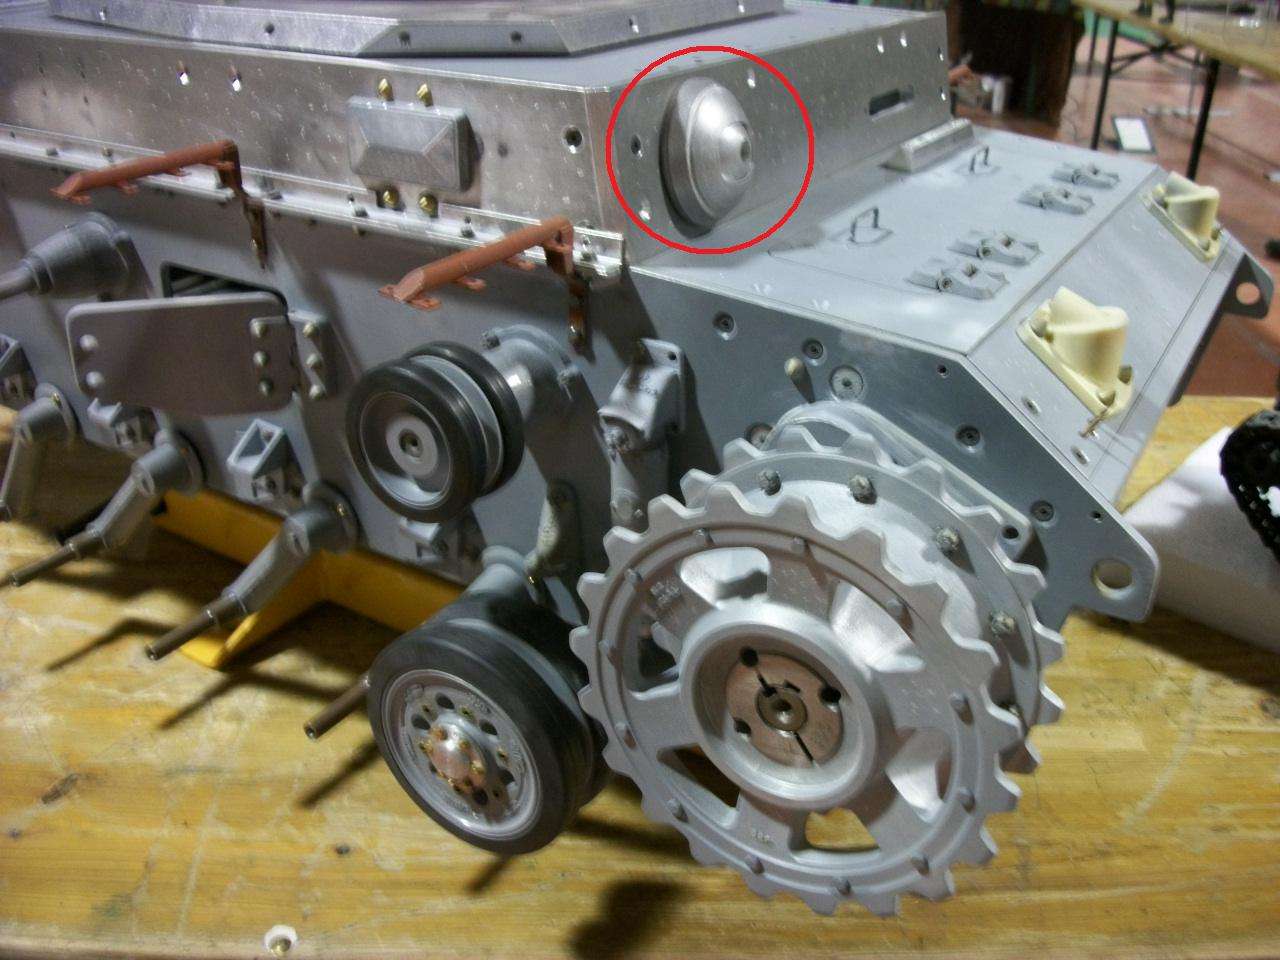
First of all, we have expanded the hole on the front plate, so that the ball MG could move back a little.
Then we have completely reshaped the Kugelblende, adding a thickness of about 5mm in Forex.
The hemisphere obtained was reworked with auto body putty and thickened.
Before the grout harden, there has been stamped with the ball MG covered with cellophane and fat, and then we left to dry.
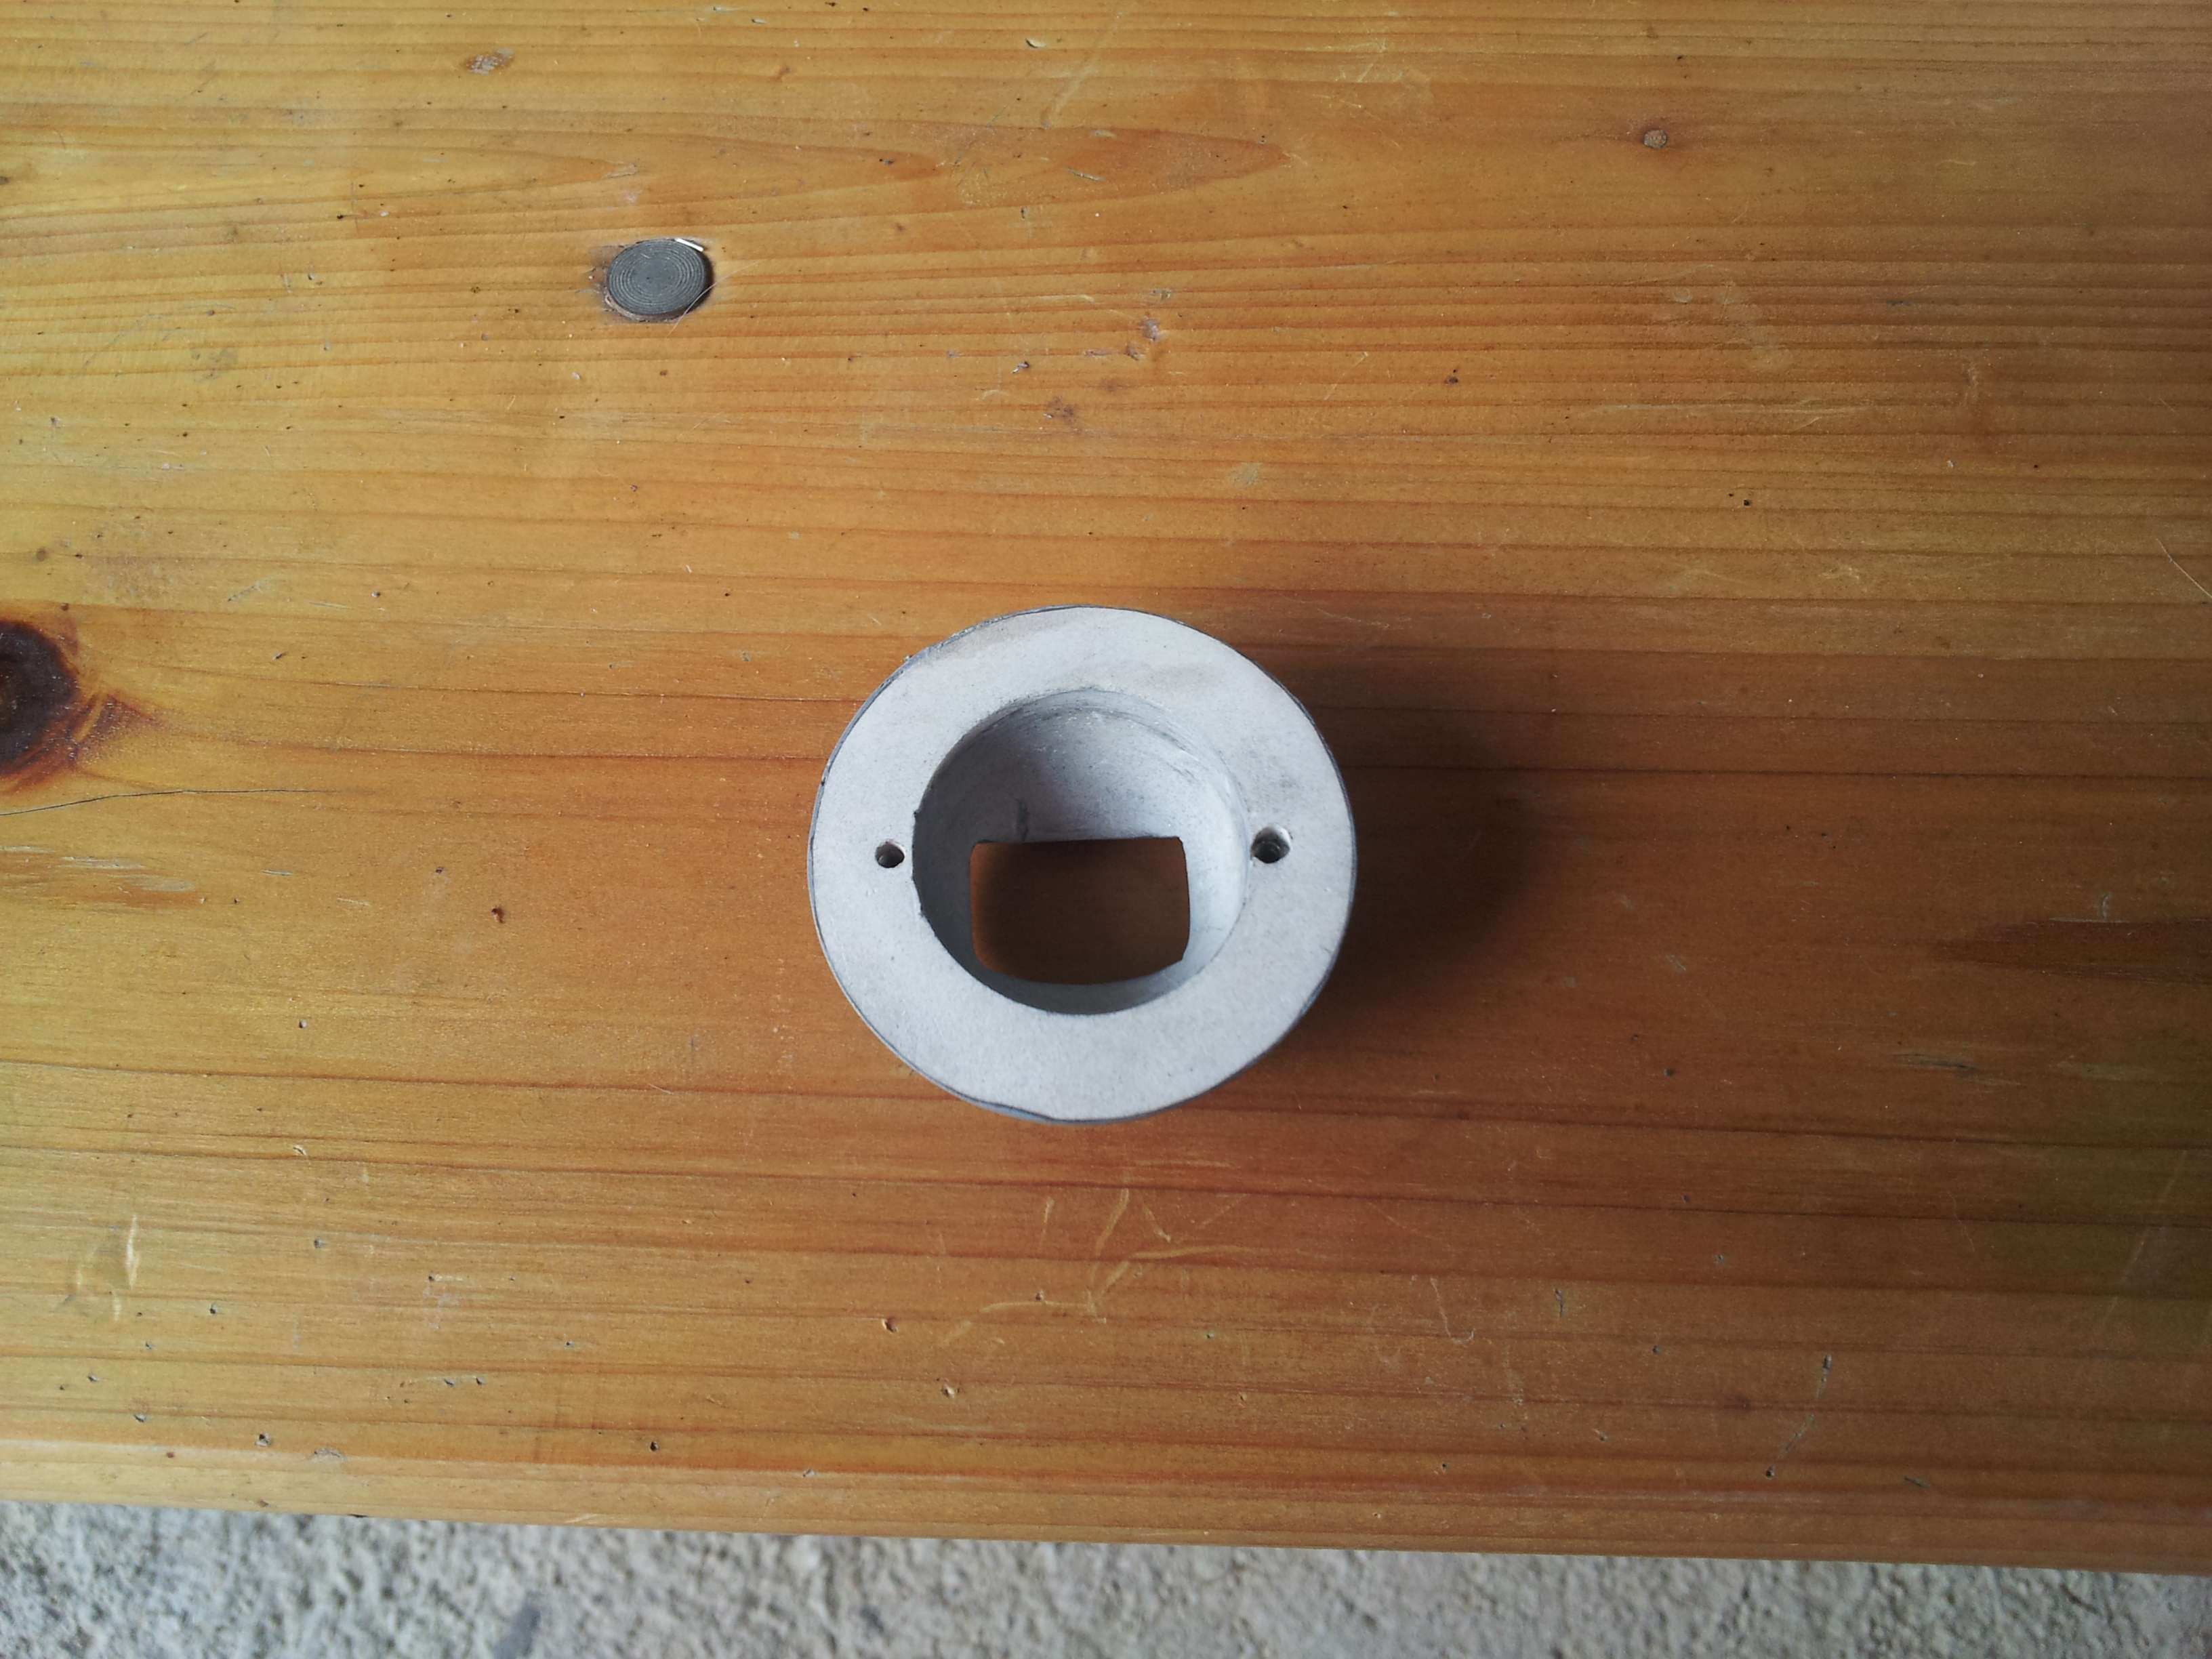
Once the putty is perfectly dry, we have expanded the front opening, and we have tilted the rear part of Kugelblende, so that in the rest position the MG was parallel to the ground.
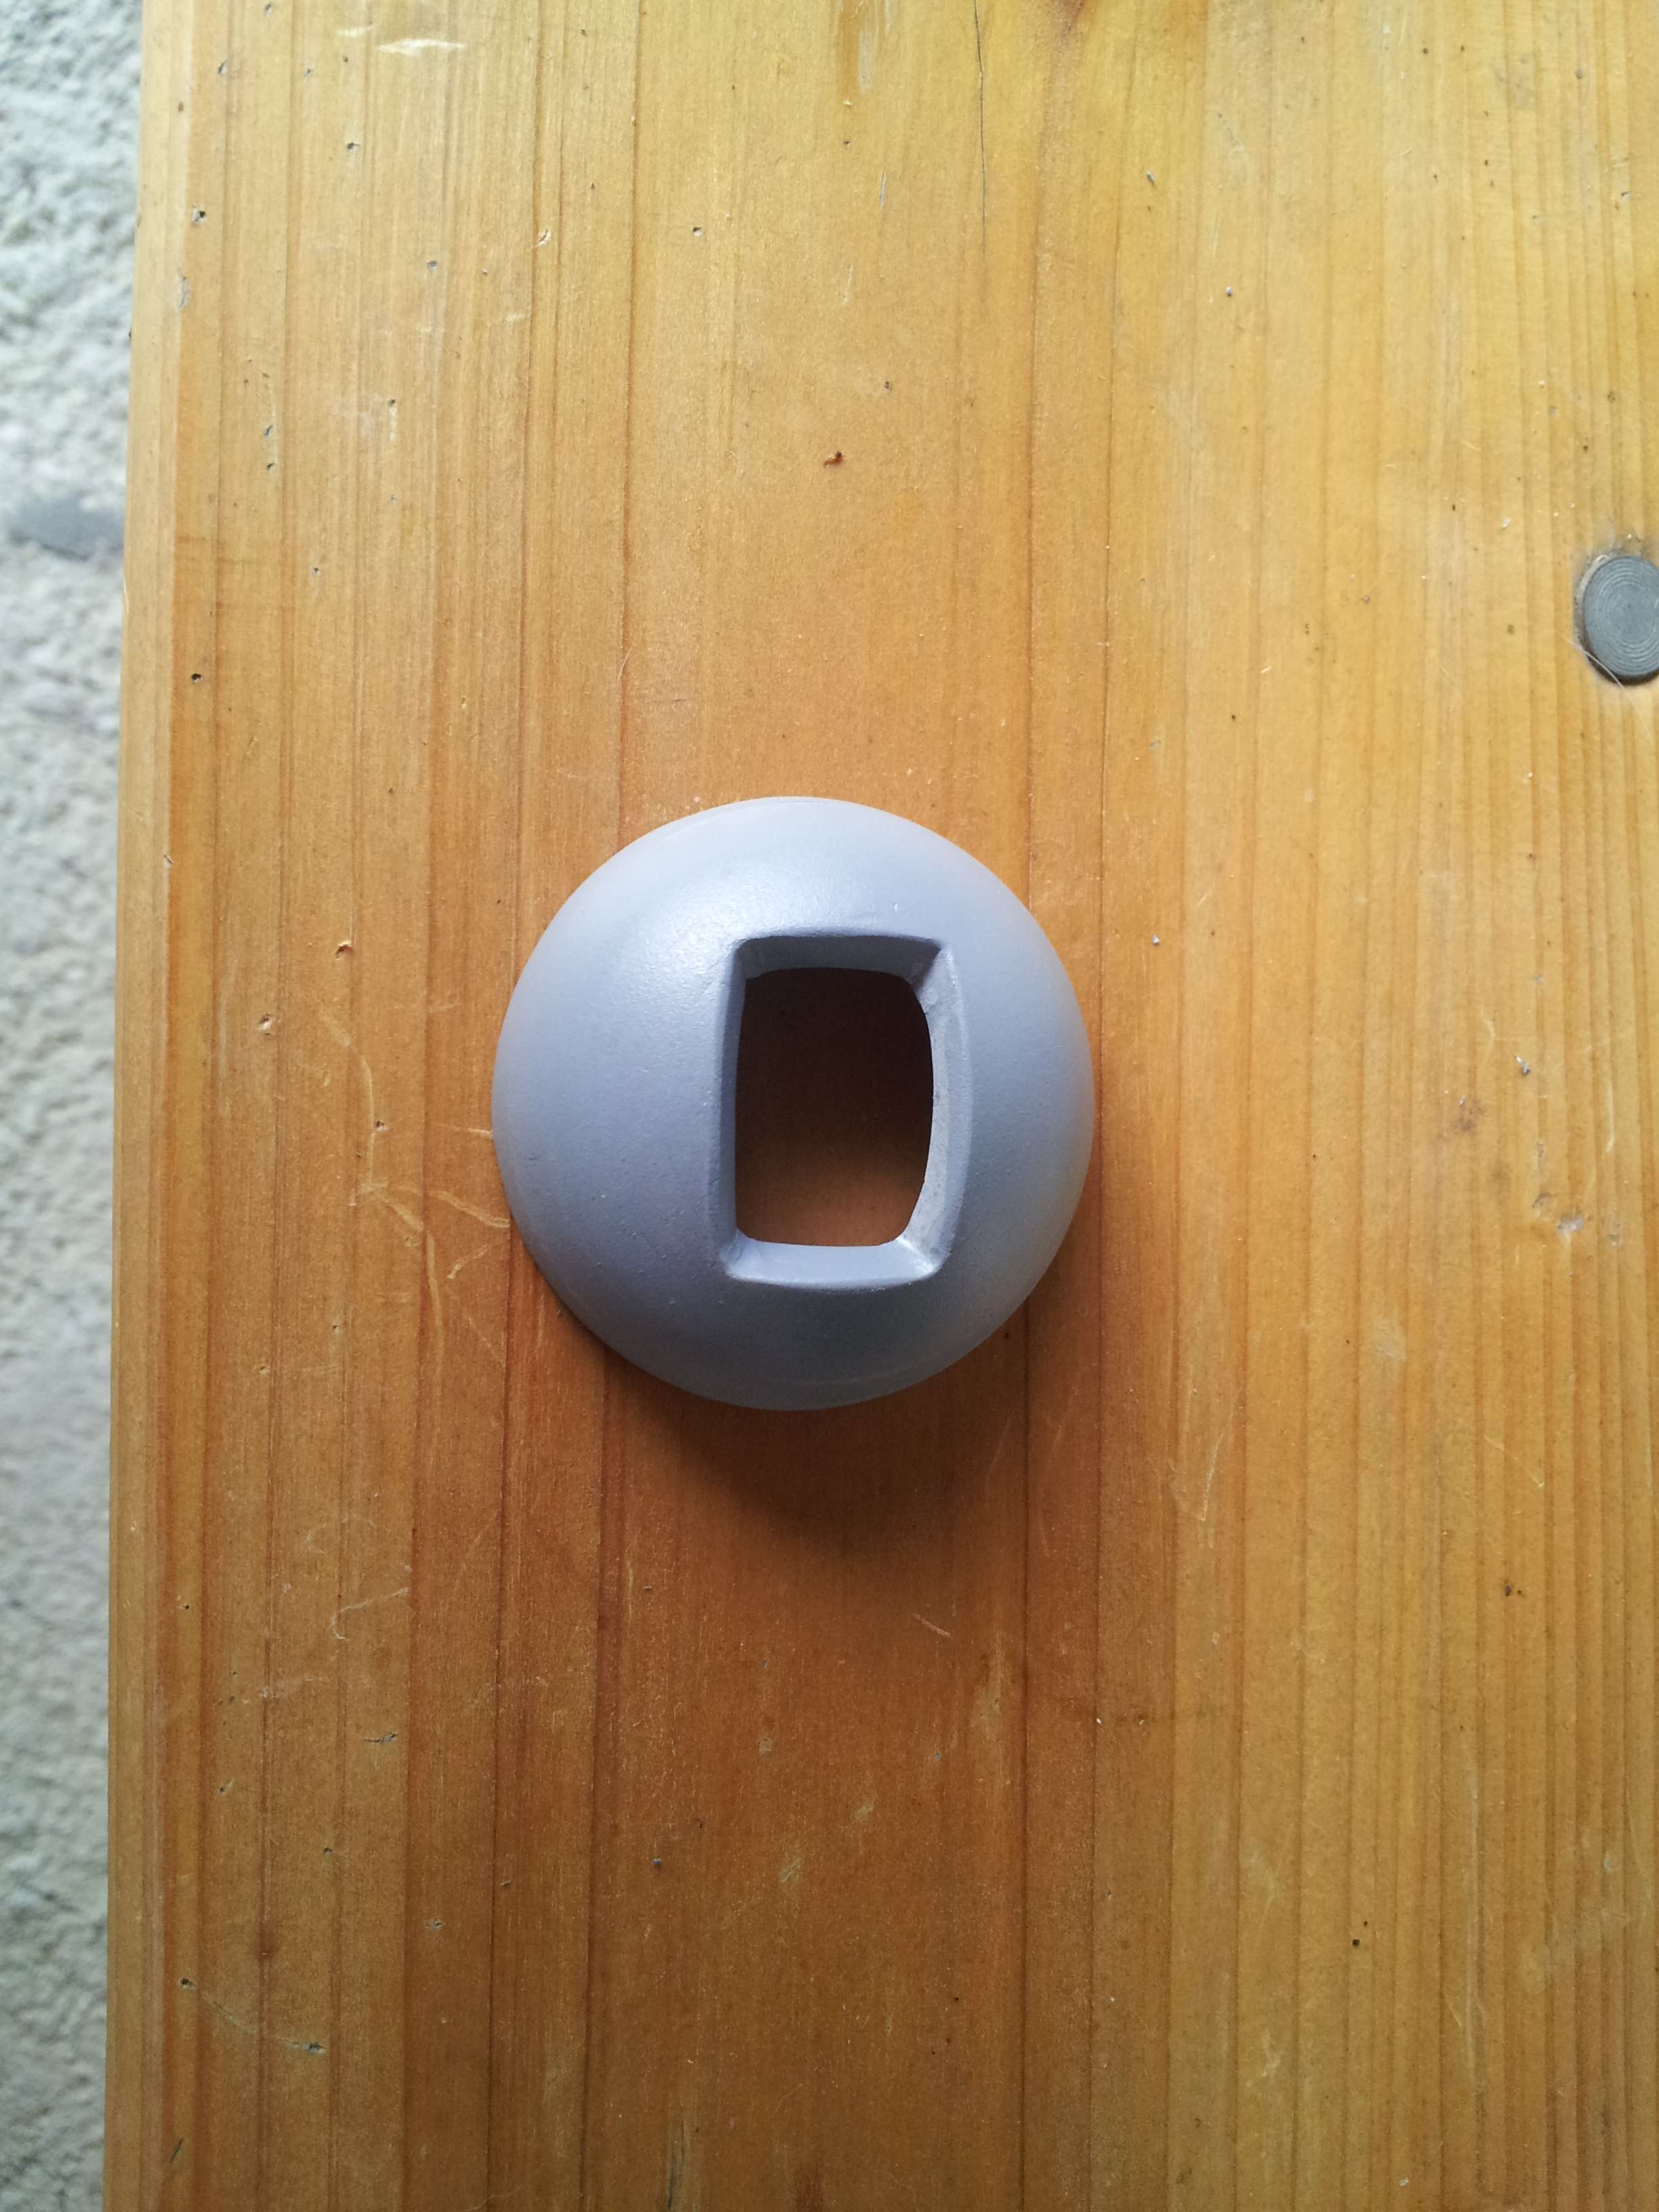
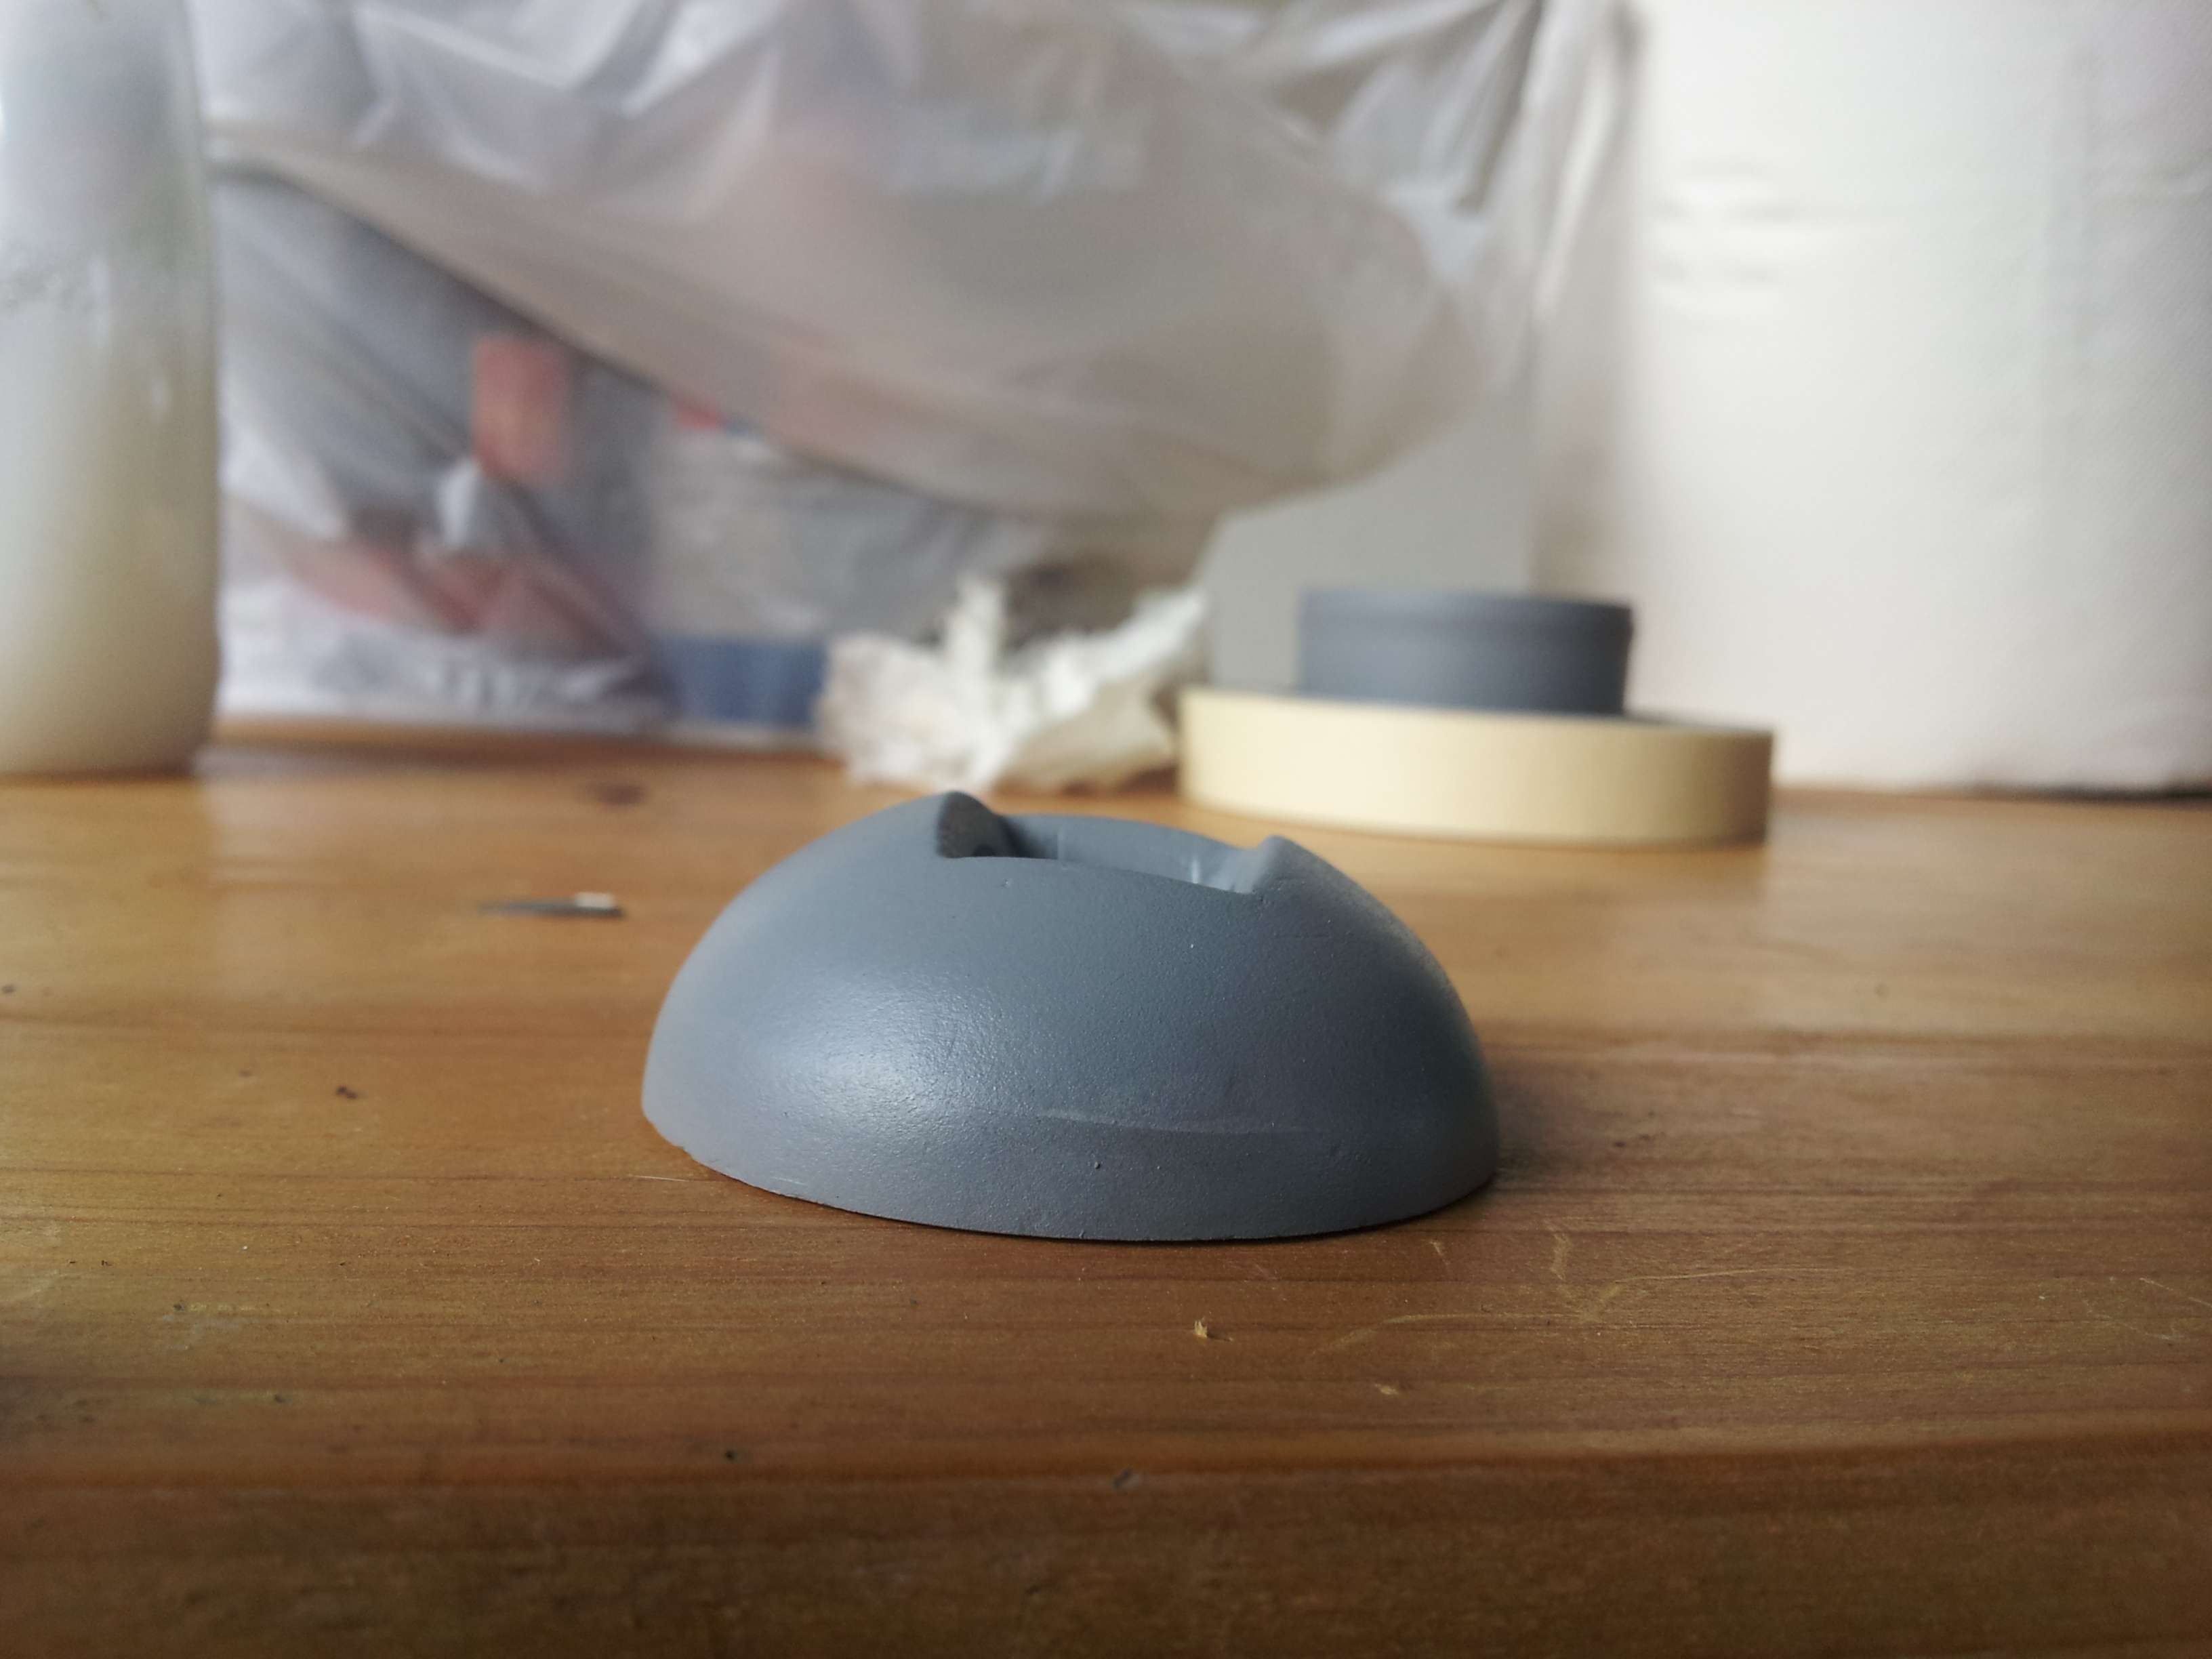
A small modification to the MG Ball to bring the viewer, and you're done!
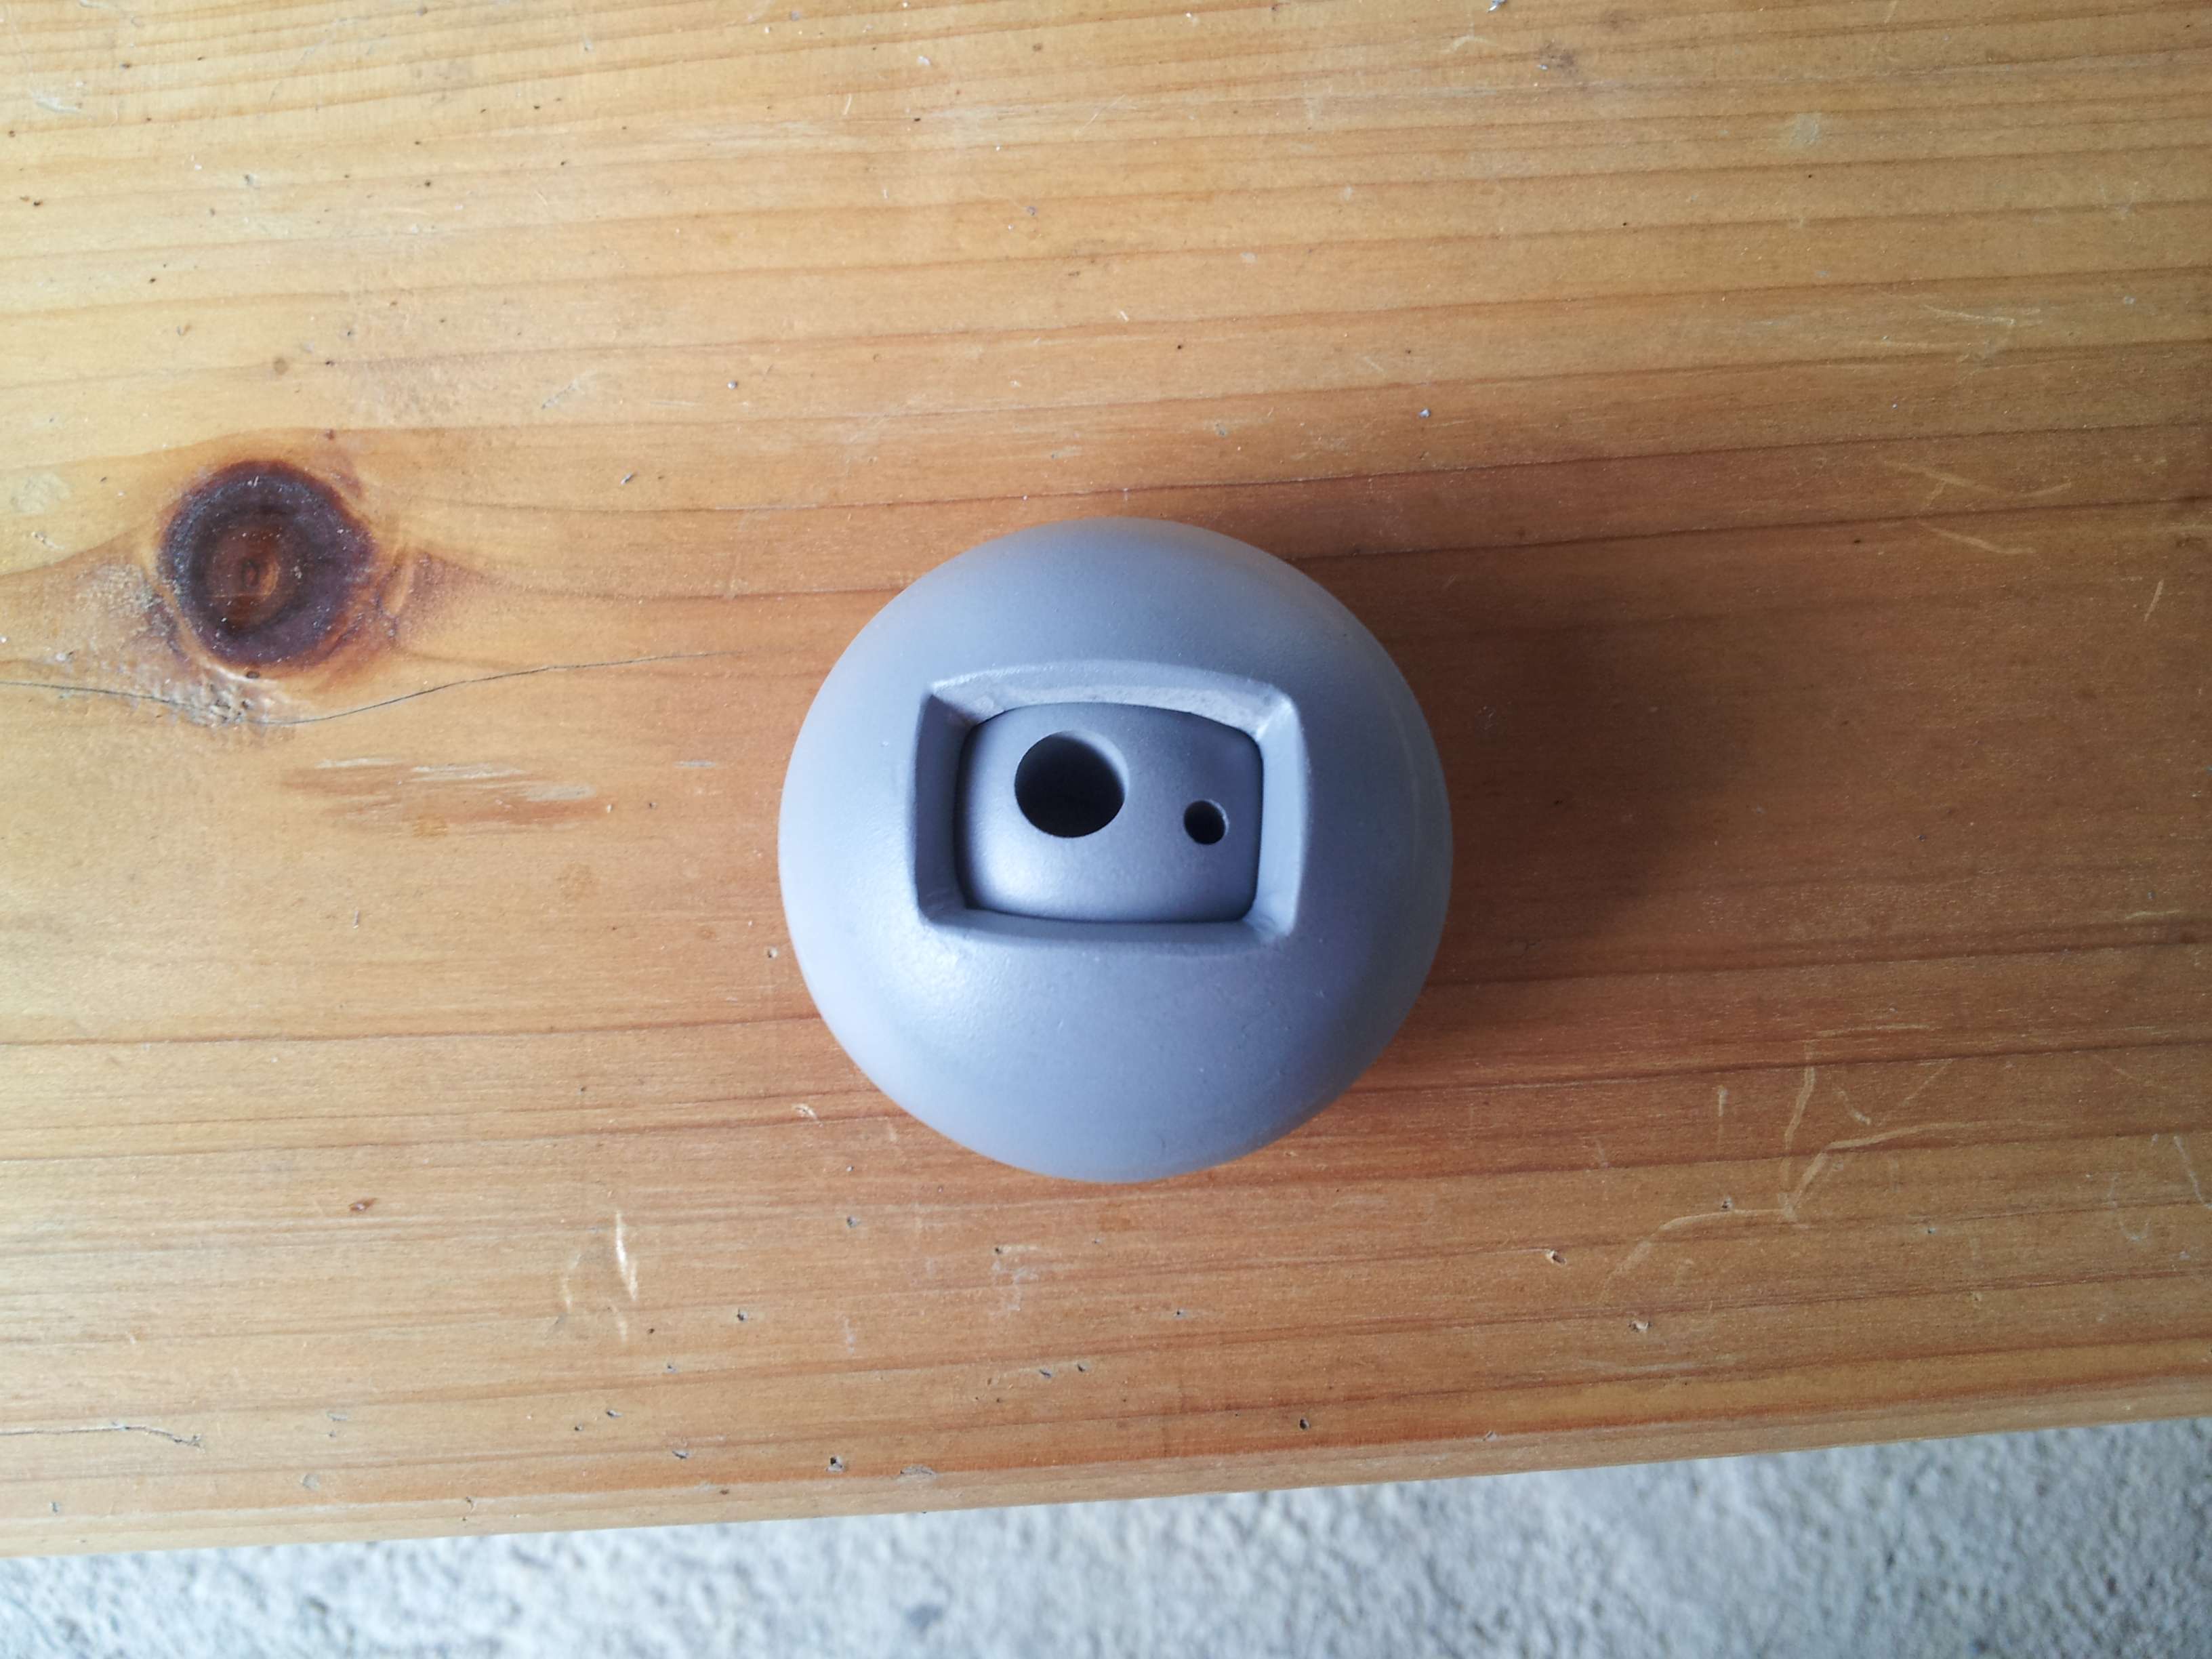
Until next time!
Re: Iacopo's Panzer III, a new and first adventure for me.
Posted: Tue Jul 30, 2013 8:33 pm
by duncanallender
Buona sera Iacopo,
Come sta? Good to see you are progressing well with the Panzer III.And that Andrea is helping you.
I hope your health problems are now ok, and that soon we will see a great model from Italy.
Keep the Forum in touch with your build.
Arrivederci
Duncan
Re: Iacopo's Panzer III, a new and first adventure for me.
Posted: Sat Aug 03, 2013 2:12 pm
by Iacopo Di Giampietro
Hello, friends.
Here we are back for changes to the rear mufflers.
As always I ask you to forgive my bad English.
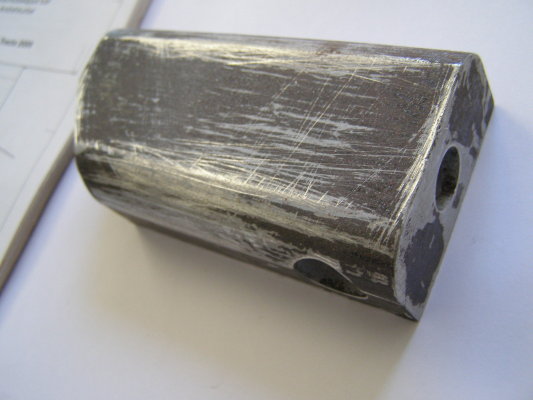
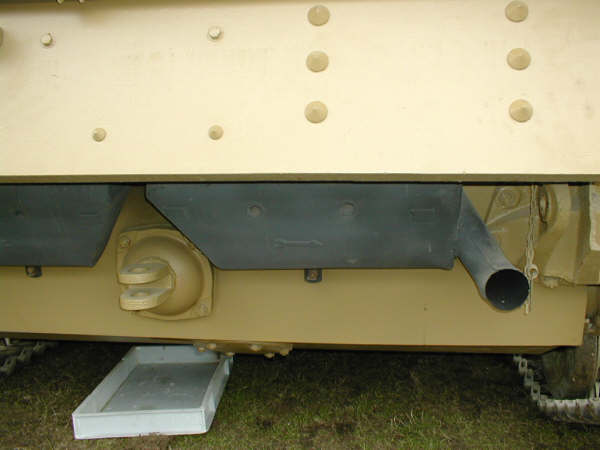
In this picture (taken on the Forum, given that I have not photographed my) you can see how they present the silencers kit, quite different from the original ones:
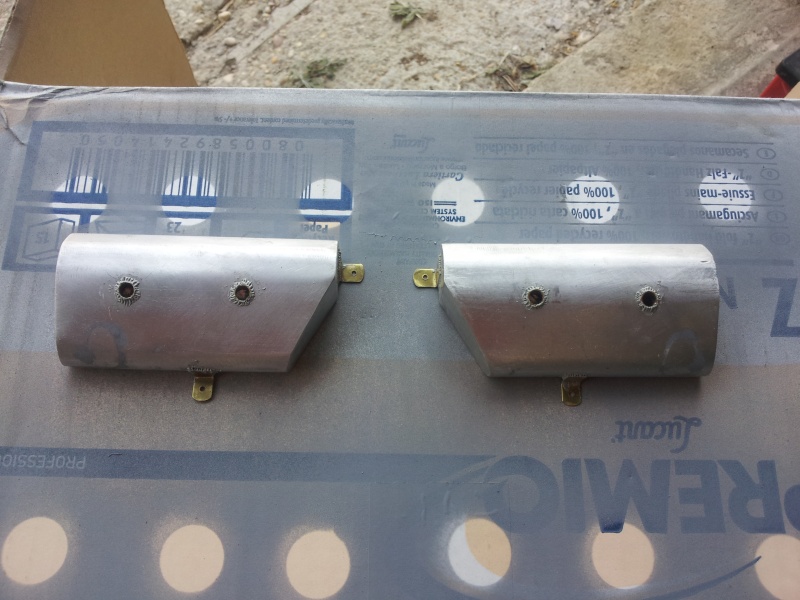
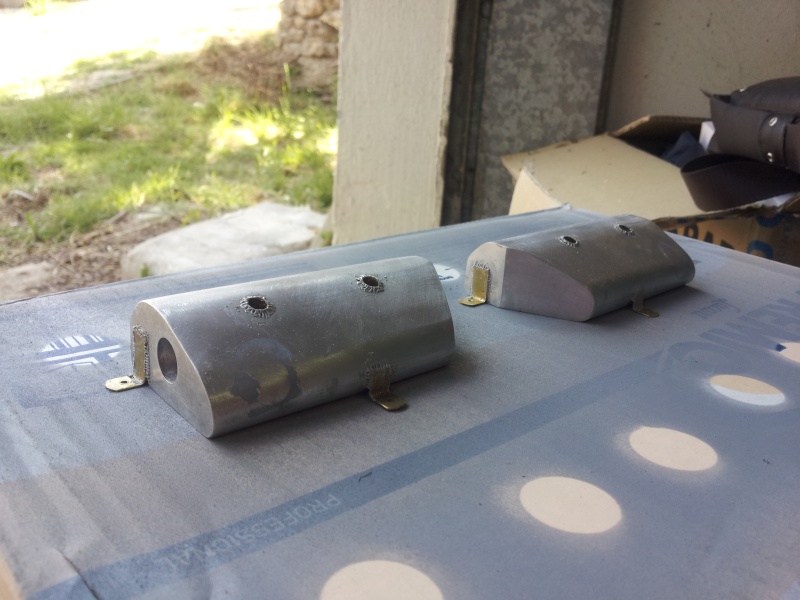
We then proceeded to the complete renovation of discharges, reshaping the original ones but removing excess material and plugging the two lower holes.
Have also been added brackets and the two "holes" in the rear:
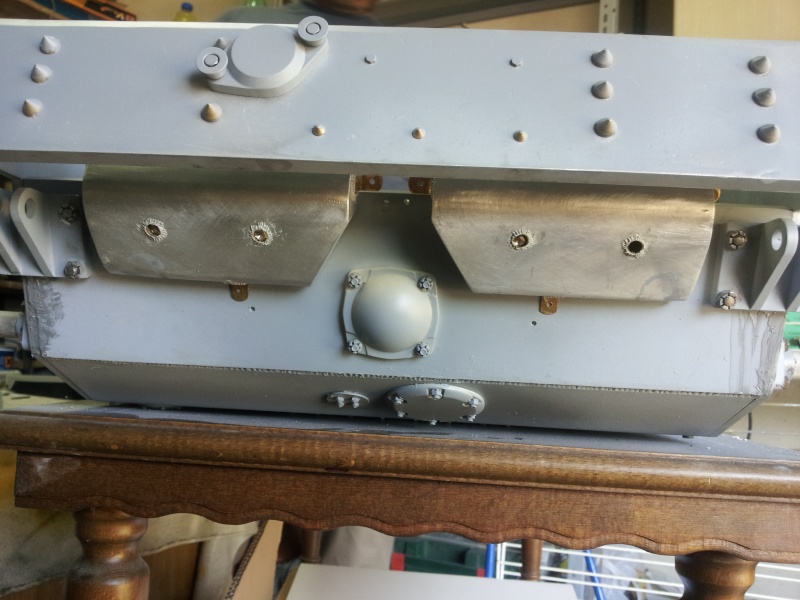
Once you have changed the mufflers, we tried to make a montage "dry" and we realized that ... something was wrong. In fact, the original mufflers are mounted lower and centered with respect to what is expected from the kit.
Mufflers BEFORE the change:
And ... mufflers AFTER the change:
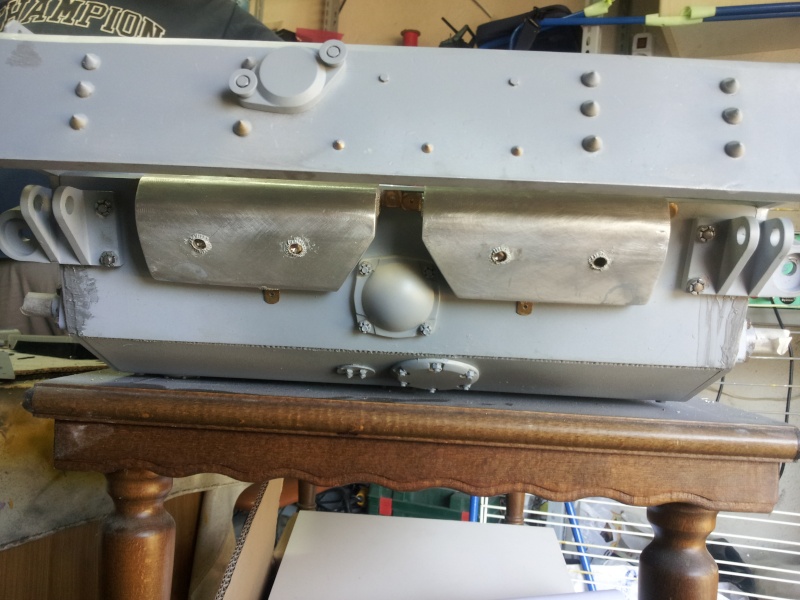
This shift has allowed us to gain some side space for the installation of terminals, which otherwise were going to collide with the two supports of the rear idlers.
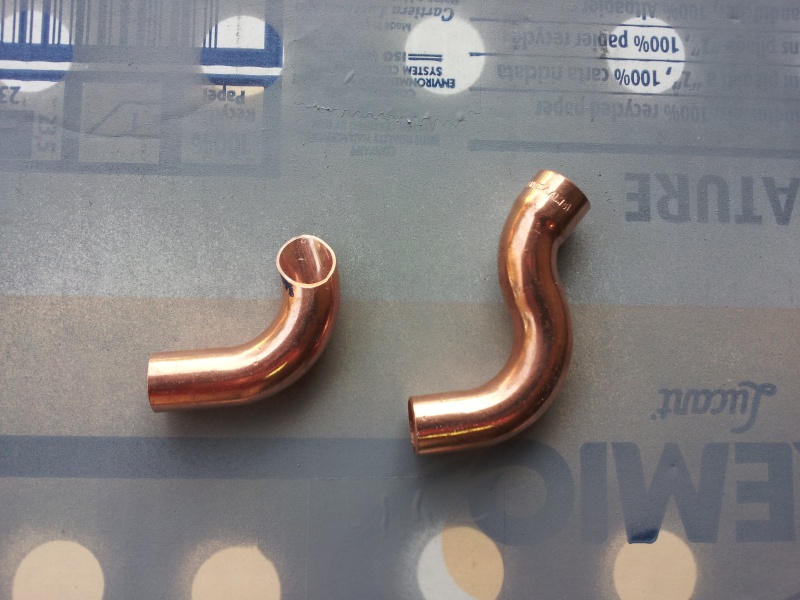
And here is the preparation of the terminal:
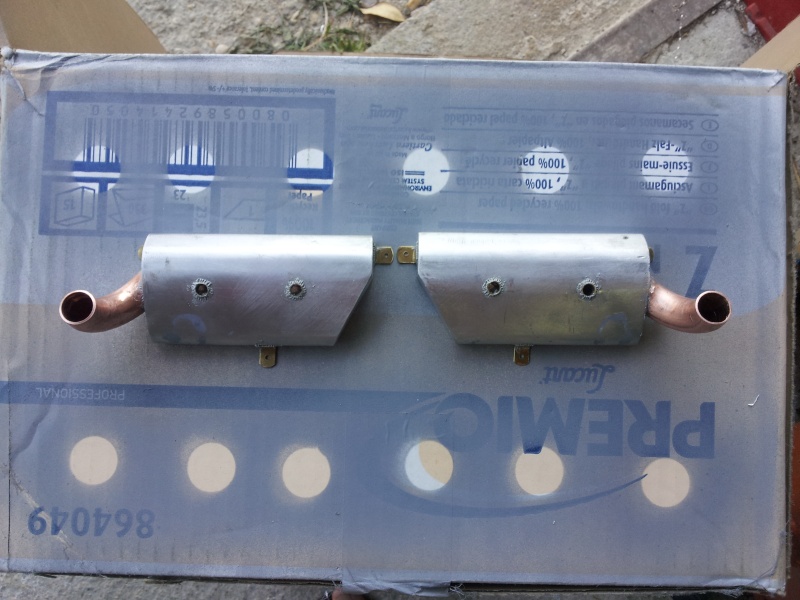
Mufflers fitted with terminals inserted and fake welds, still a couple of details and are almost finished!
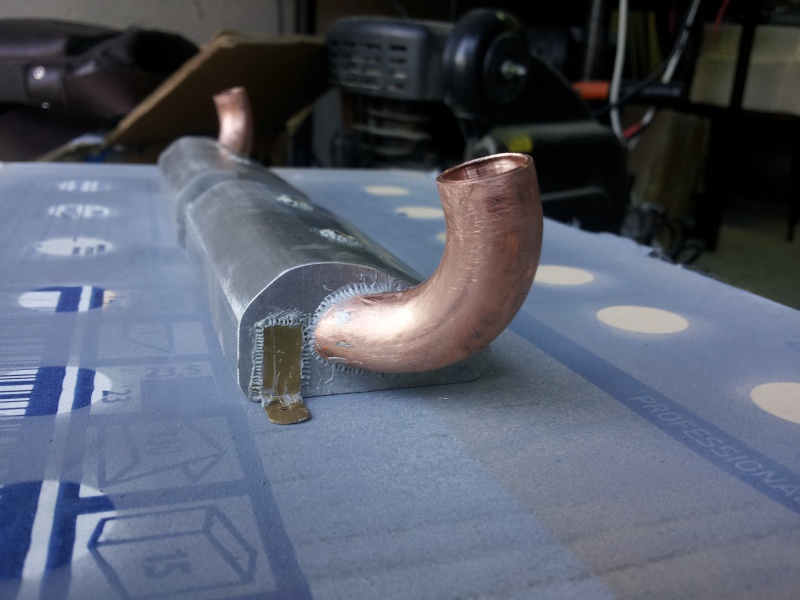
Thank you all for your attention and see you soon.

Iacopo
Re: Iacopo's Panzer III, a new and first adventure for me.
Posted: Tue Sep 10, 2013 11:59 am
by Iacopo Di Giampietro
duncanallender wrote:Buona sera Iacopo,
Come sta? Good to see you are progressing well with the Panzer III.And that Andrea is helping you.
I hope your health problems are now ok, and that soon we will see a great model from Italy.
Keep the Forum in touch with your build.
Arrivederci
Duncan
Hello Duncan.
I do not know how it happened, but I had not seen your message: I apologize to you if I did not answer right away!

The health problems are partially solved, and the work is proceeding slowly.
I thank you for your words.
See you soon.

Iacopo
Re: Iacopo's Panzer III, a new and first adventure for me.
Posted: Tue Sep 10, 2013 2:07 pm
by Iacopo Di Giampietro
We have reached a major turning point during the work on the panzer III!
Once finished the lower hull, we have drawn a first primer on all components, since the next step is to mount the suspension.
Finally, here is the lower hull which takes a bit of color!
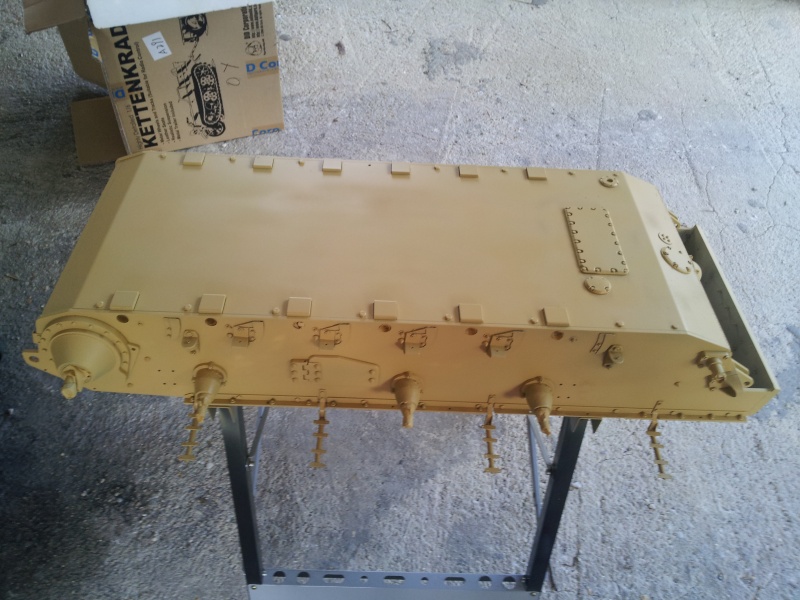
Of course were first covered all the brass bushings on the sides.
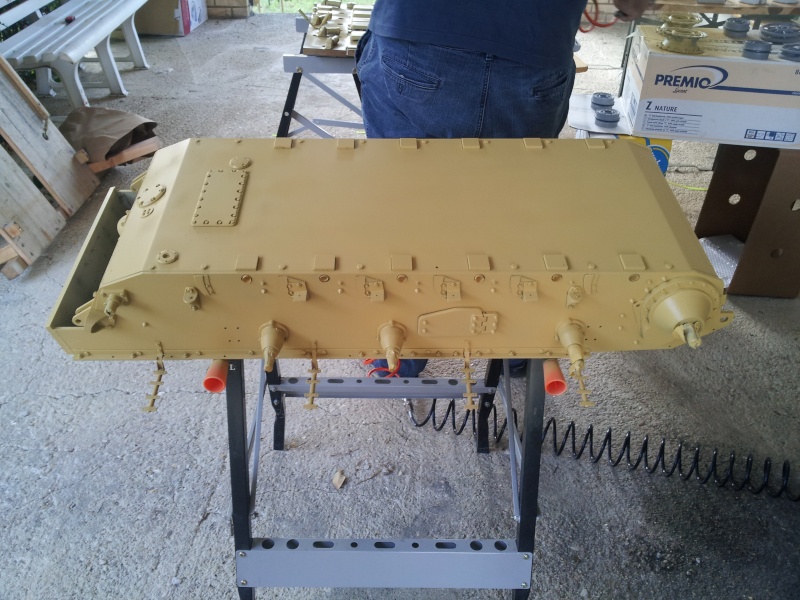
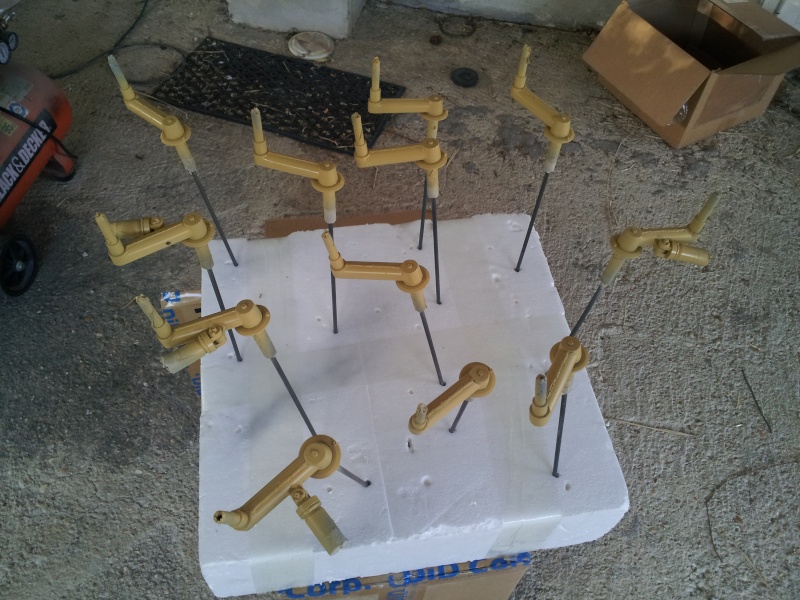
As the base color we used a light sand colored, very similar to Tamiya XF-60 which we used as reference, and that will still be used for the final painting.
Unfortunately, the number of dark yellow RAL 7028 no longer exists.
At that point, we opted for the RAL 1002 Yellow Sand, which is almost equal to the Tamiya Dark Yellow.
I hope you like it!

Until next time!
Re: Iacopo's Panzer III, a new and first adventure for me.
Posted: Sun Feb 02, 2014 6:04 pm
by Iacopo Di Giampietro
Hello to all.
Slowly, I try to take forward work on my Panzer III.
After that I painted the base colors of the various parts, I started to assemble the torsion bars and suspension arms.
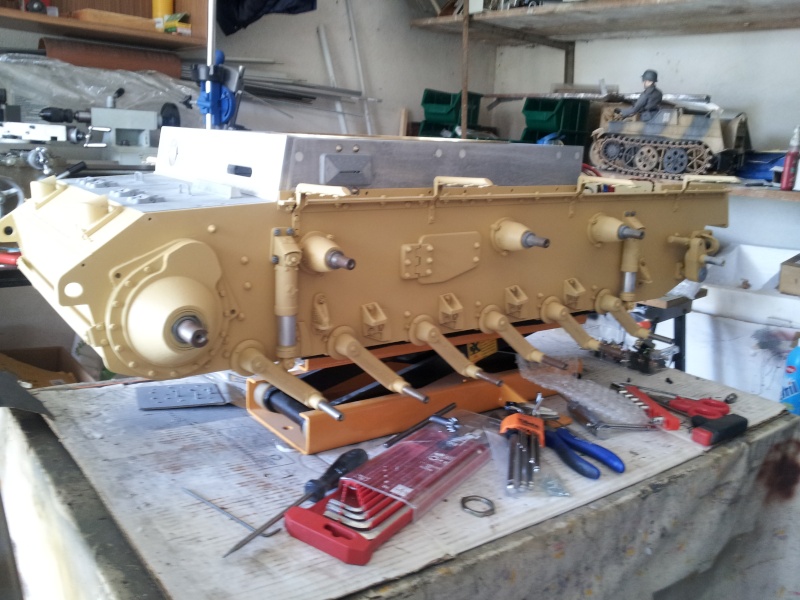
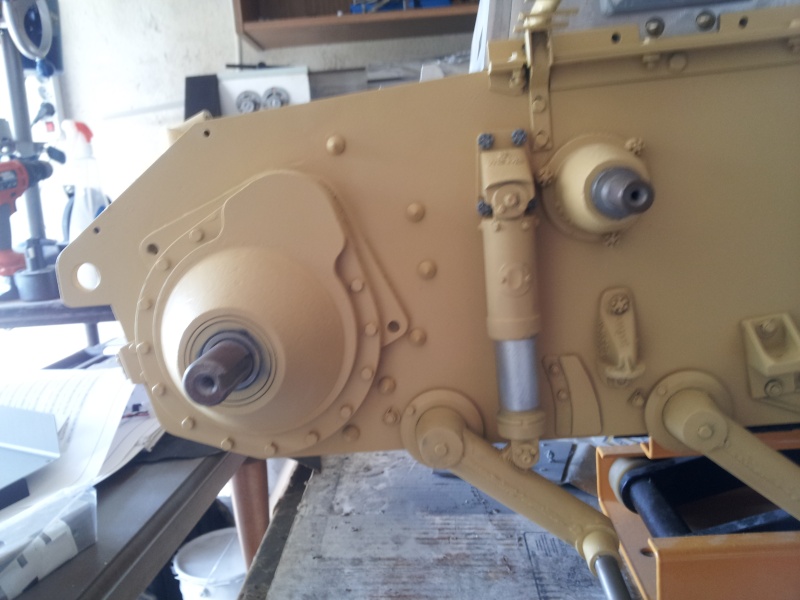
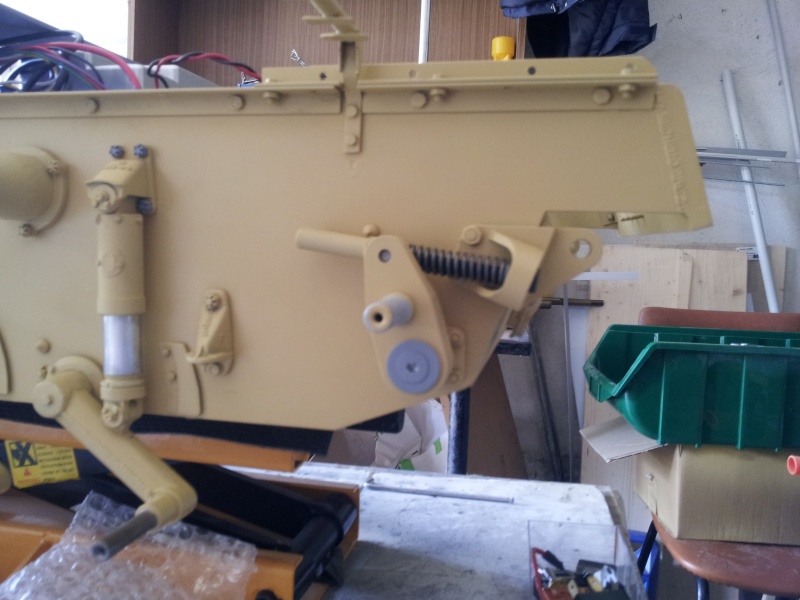
In the meantime, I have prepared the rear supports for the side fenders.
I used a profile of brass "U" shaped, cut and welded.
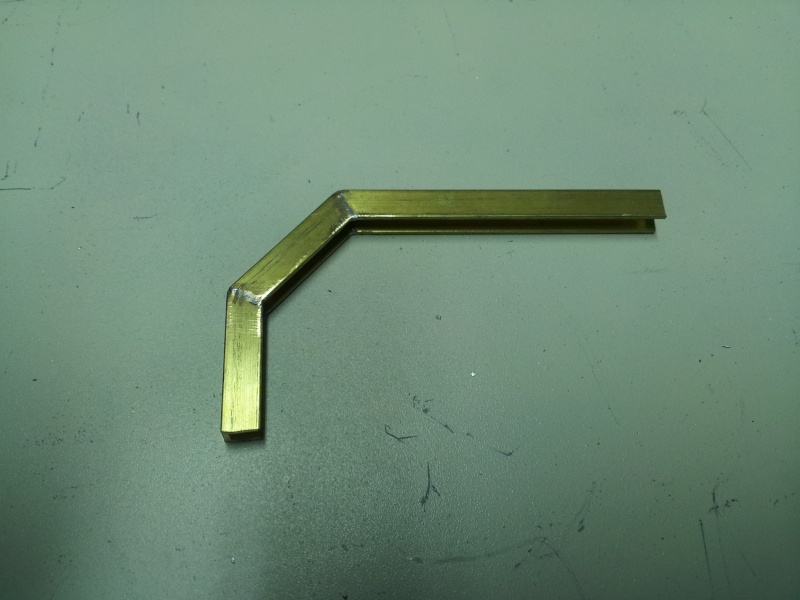
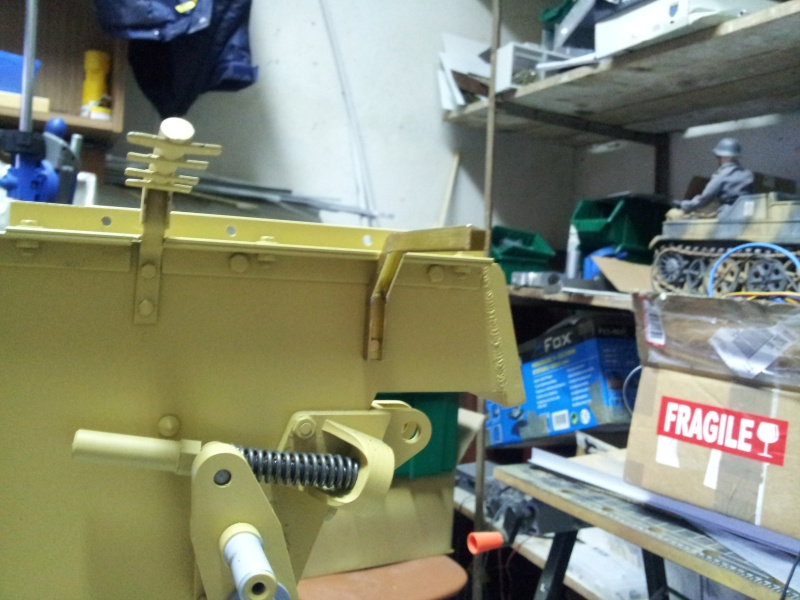
As you can see, the last brass supports were mounted lower than the other media, so that the side fenders curved line will follow the same track as the real Tank.
Once assembled the whole thing, we painted the interior with ivory white.
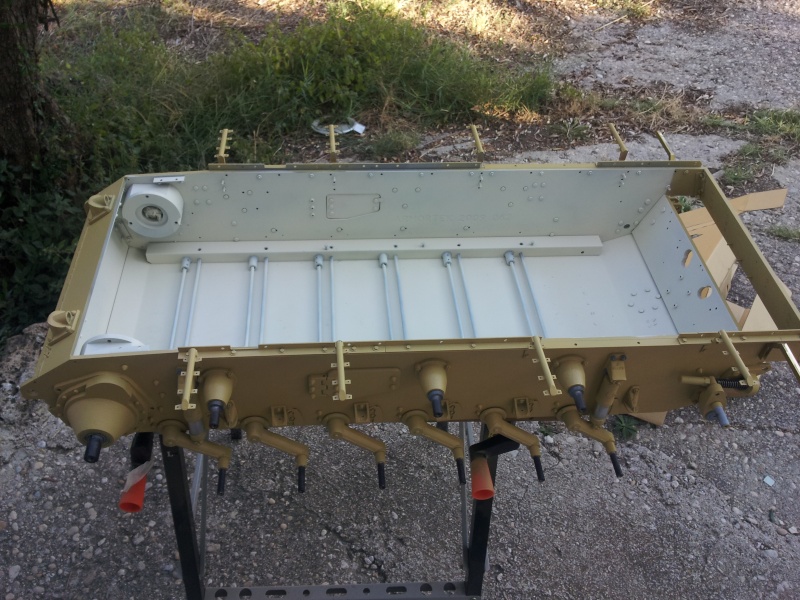
The hull is then ready to receive the electronics and batteries.
In the meantime we have moved to the side fenders, which have been cleaned and painted with primer.
The five sections were sawed in the outer part is to simulate the separate sections of the fenders true, both to facilitate the bending of the various sections.
Then were placed the various plates of brass almond, that were first bonded and then pierced and riveted.
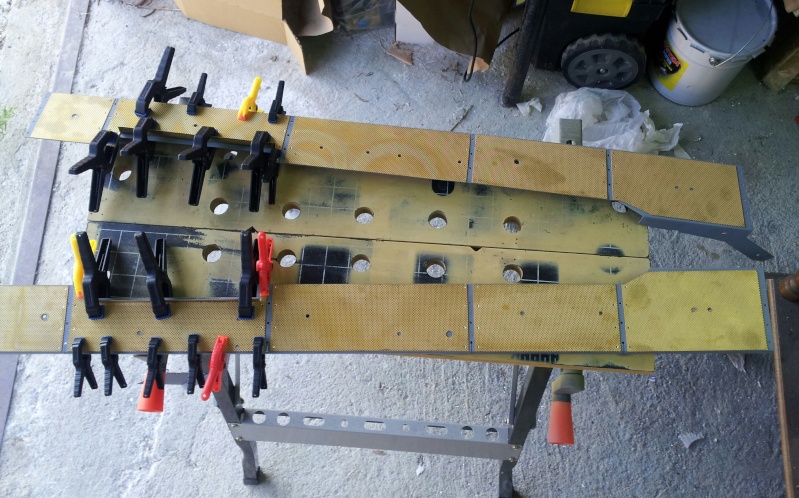
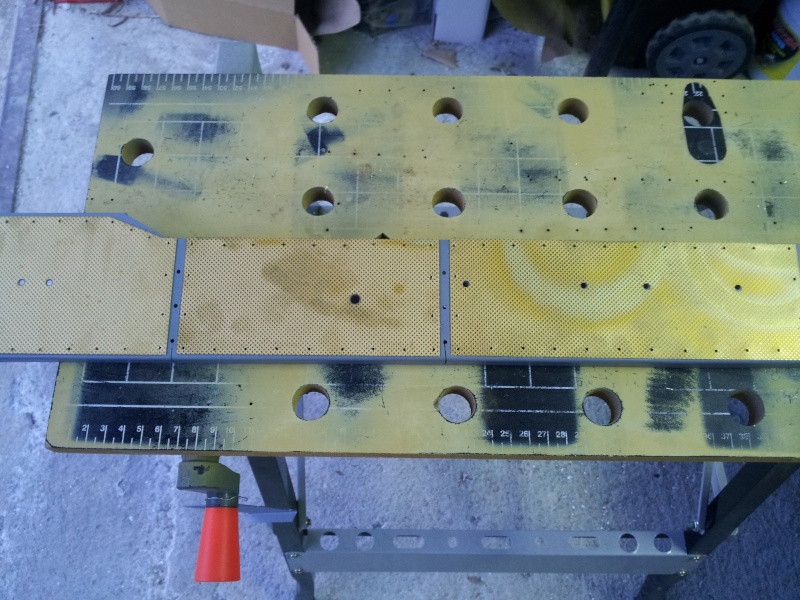
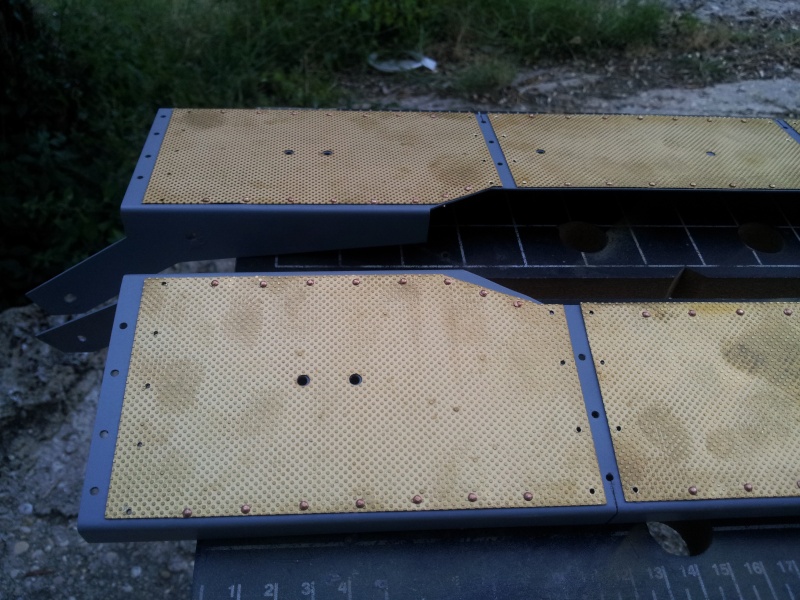
As you can see, the fourth sections of the fenders were modified as in the real Panzer for the presence of the side air intakes of the upper hull.
This change is necessary because the fenders are slightly raised with respect to the location of the kit.
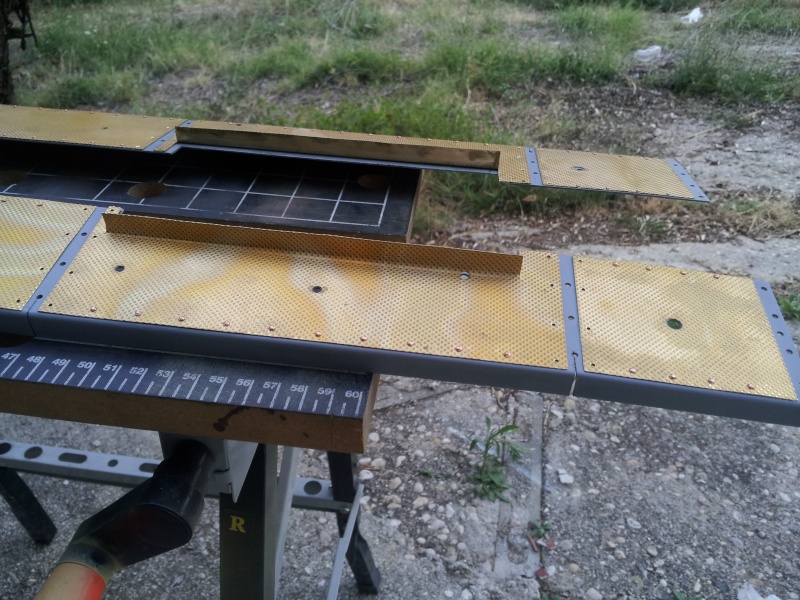
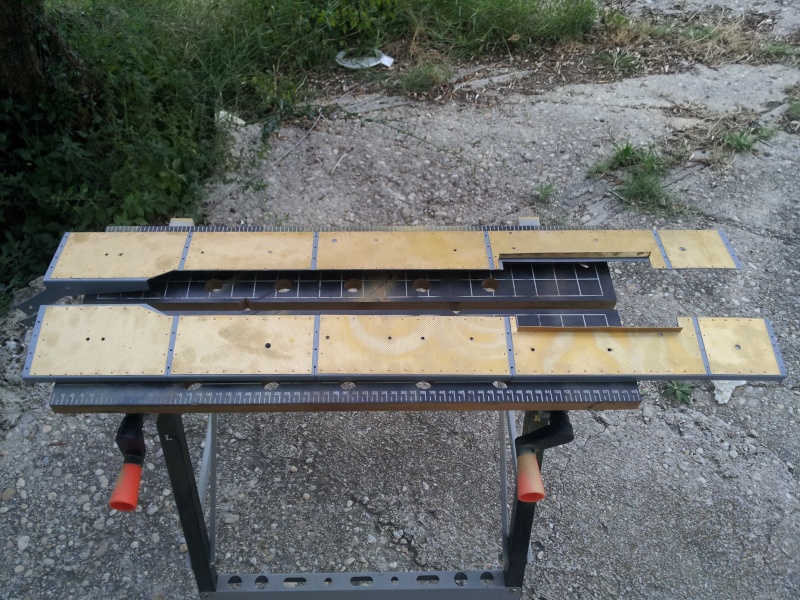
As always, I will apologize for my bad English: I hope you will forgive my mistakes!
Until next time!
Re: Iacopo's Panzer III, a new and first adventure for me.
Posted: Sun Feb 02, 2014 8:10 pm
by martin pitcairn
Lacopo, this is a great build, well done, keep the posts coming. It is starting to look like a real quality Pz III
Martin.
Re: Iacopo's Panzer III, a new and first adventure for me.
Posted: Fri Feb 14, 2014 6:13 am
by Iacopo Di Giampietro
Good morning everyone.
We begin to work side fenders.
Not finding suitable hinges already in scale, I have modified hinges bigger to fit the scale of my Panzer III.
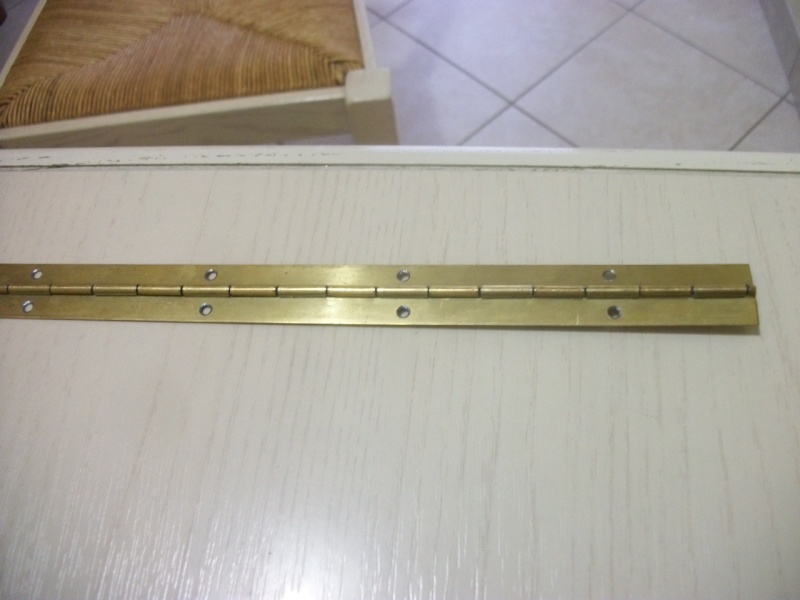
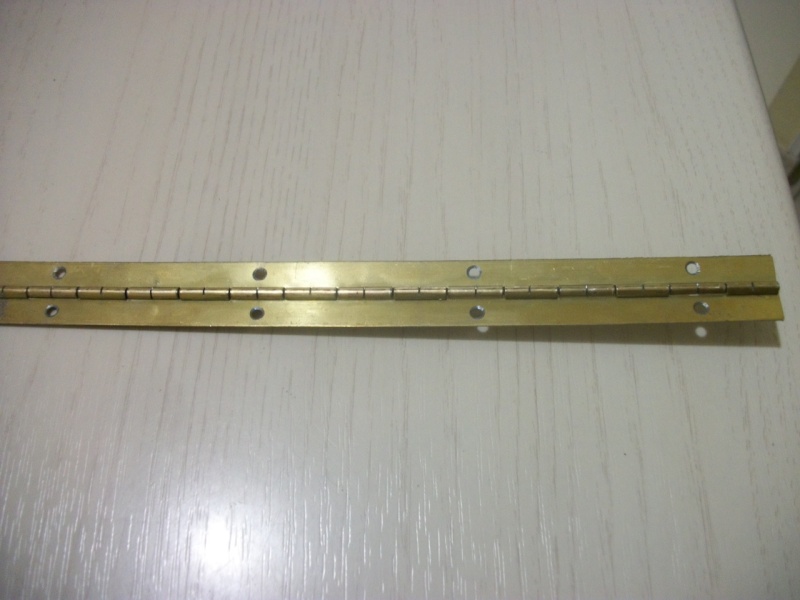
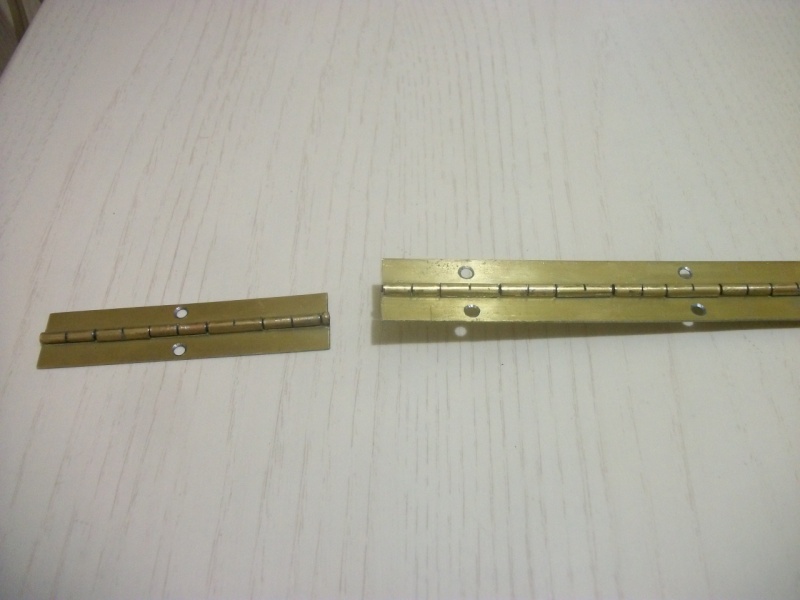
The hinges are now ready and can be adapted to Panzer: cut to size and chamfered corners at 45 degrees.
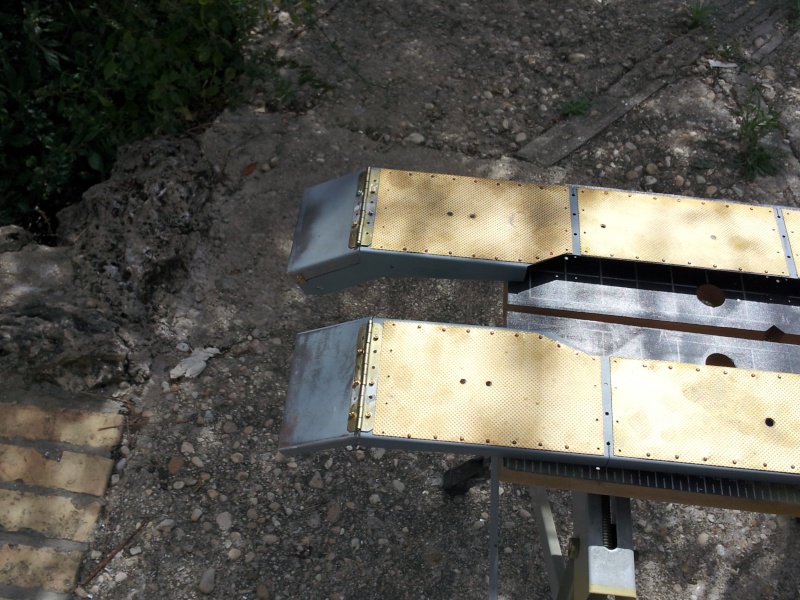
In the meantime, I have prepared the rear supports with aluminum foil and the rear fenders were cut to show the rear lights once folded.
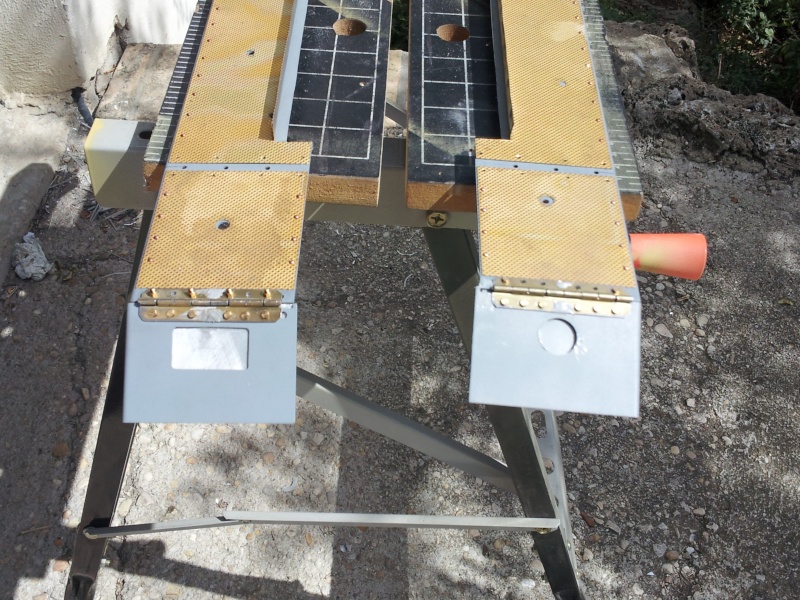
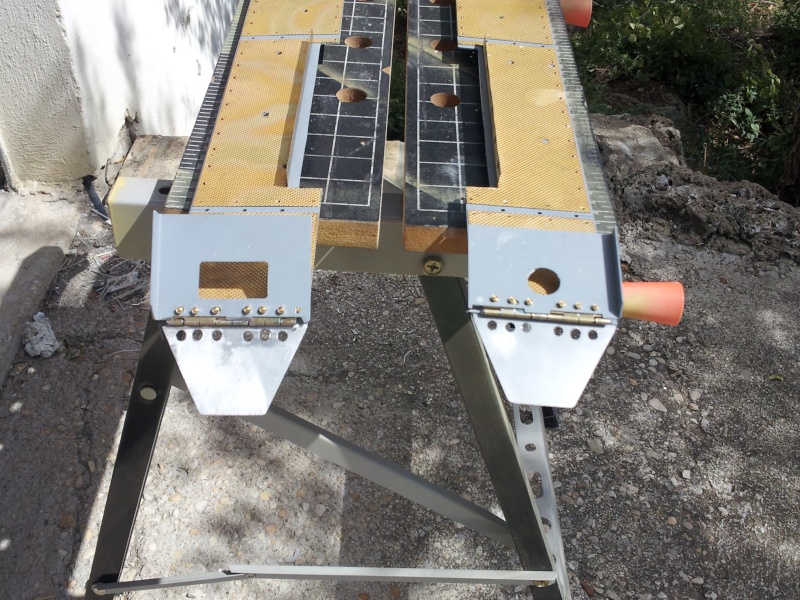
Finally, were sketched the two retaining hooks of the front fenders.
There are still weld and will be fully functional with the small springs inside.
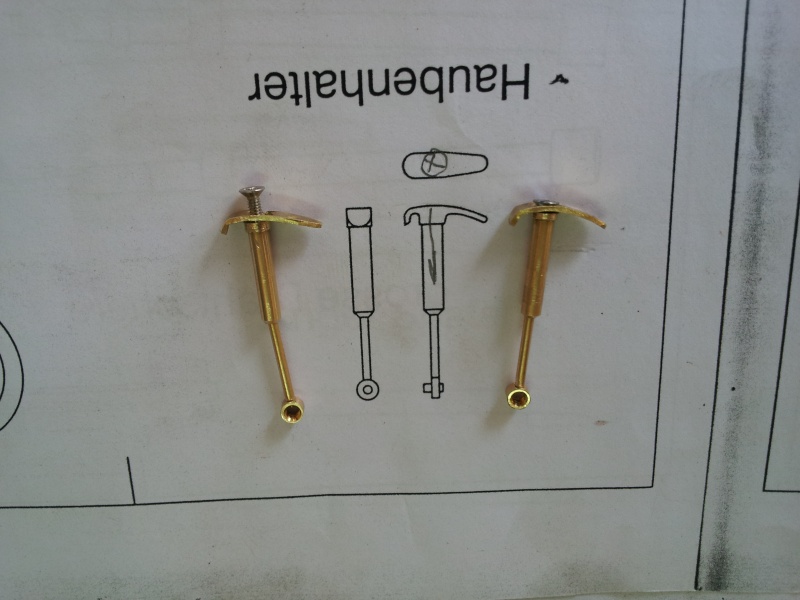
Thanks to all .... Until next time!
Ciao!
Re: Iacopo's Panzer III, a new and first adventure for me.
Posted: Thu Mar 27, 2014 6:41 am
by Iacopo Di Giampietro
Hello to all.
It is a bit that I do not update my works.
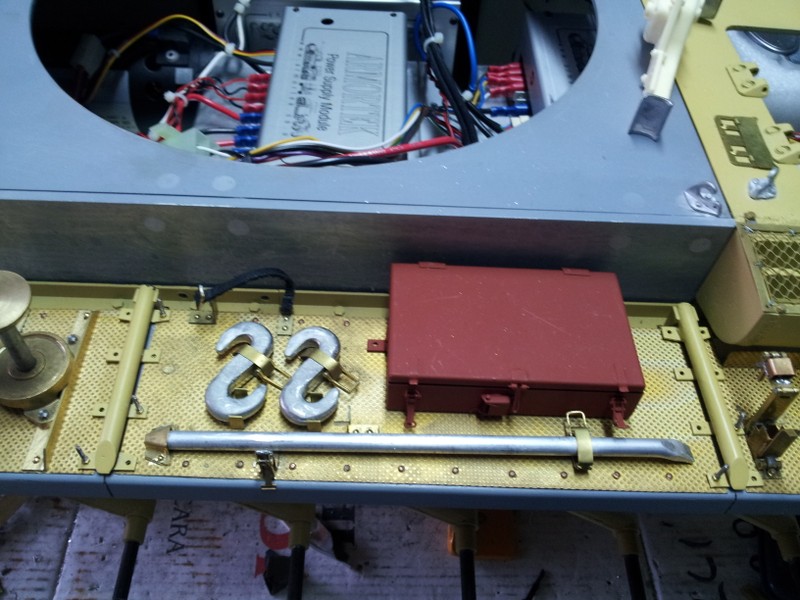
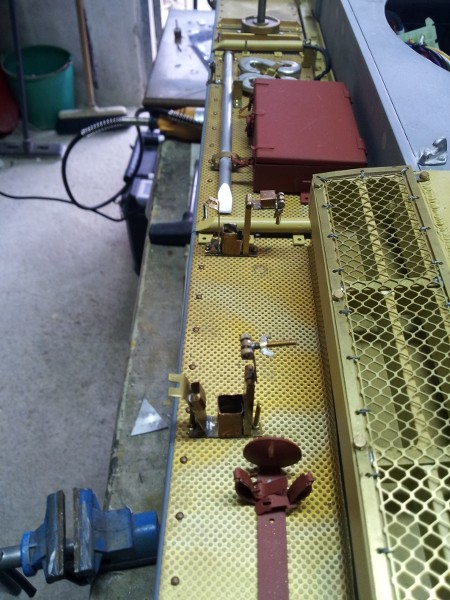
Here is the progress made on the side fenders , which for now are only supported in order to better position the various tools.
Right tail light , scratch build , including the brass support :
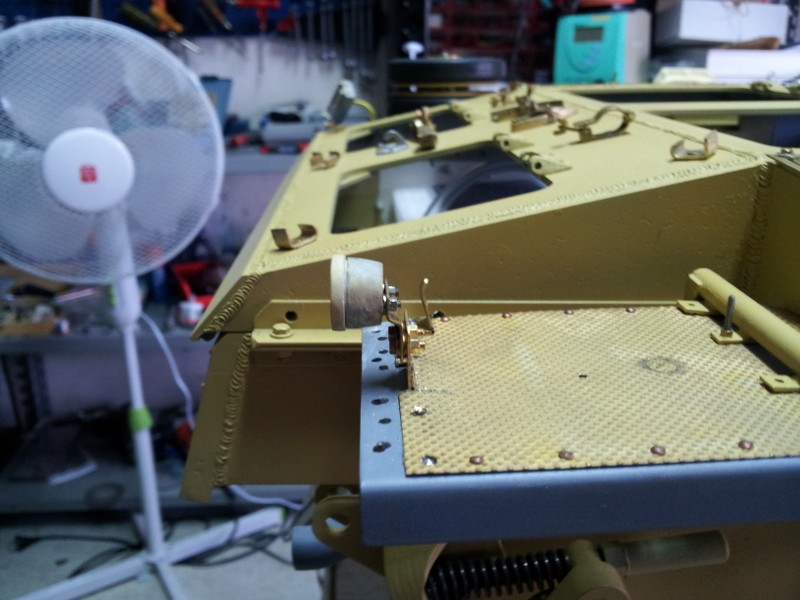
Remade the supports for the jack fully functional
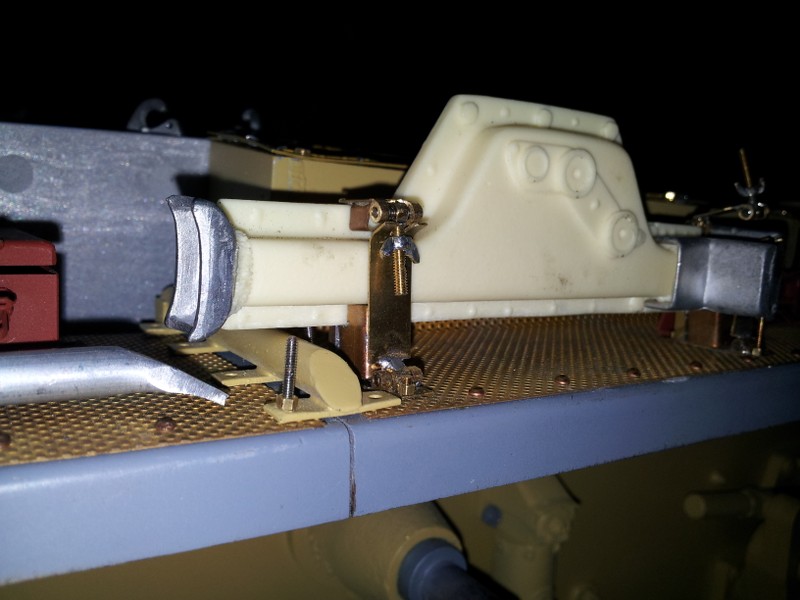
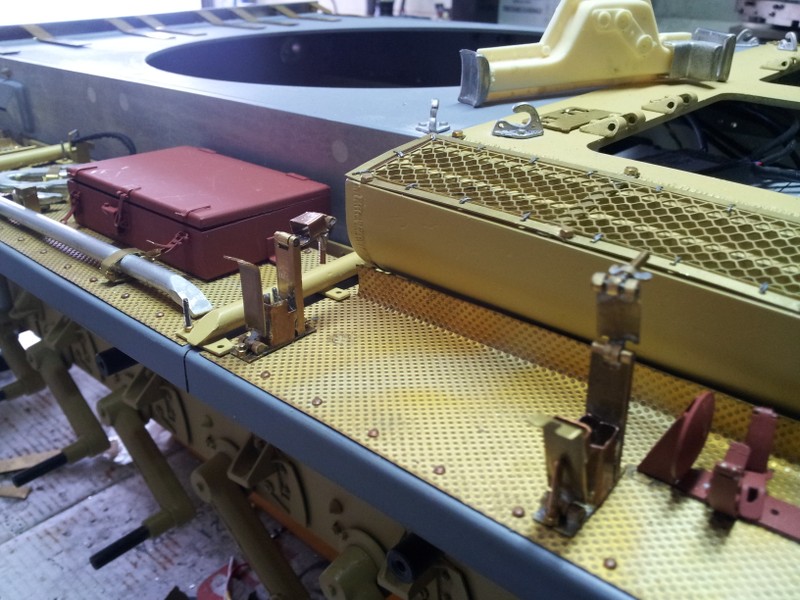
Miscellaneous equipment , note the latch to the Pry bars, scratch rebuilt in brass :
Finally, the support of Notek , this scratch built in brass ( sorry for the bad quality of the photo ... and the temporary installation for wiring ) :
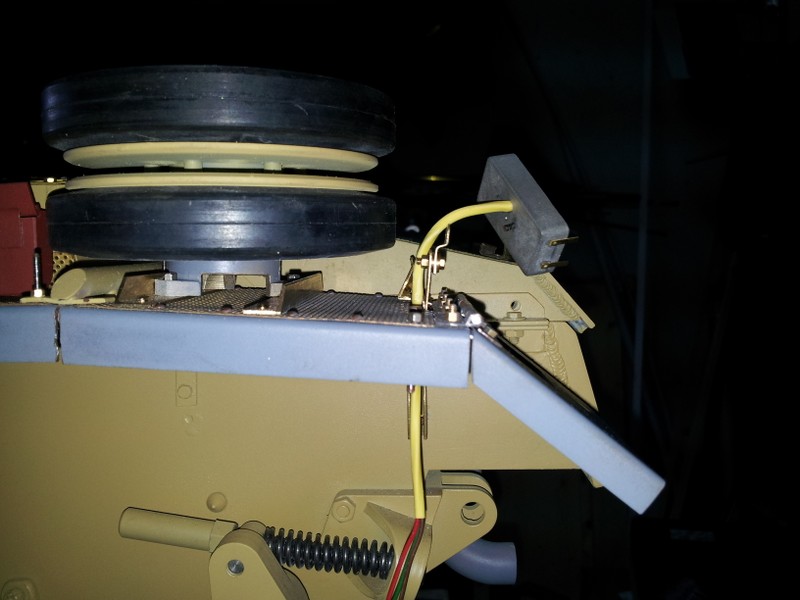
As always, please forgive my bad English...

Well, all for now !
Stay tuned for more updates!
Ciao!


