Iacopo's Panzer III, a new and first adventure for me.
-
Iacopo Di Giampietro
- Posts: 226
- Joined: Fri May 11, 2012 9:14 pm
- Been liked: 48 times
Iacopo's Panzer III, a new and first adventure for me.
Hi all!
II'm Iacopo and I recently bought an armortek pz3 kit from Duncan, another Armortek user.
I started building it but I'm having the first doubts about the sunspensions.
The problem is about sunspension shafts from torsion bars to the swing arms, I read from the manual that loctite must be used to lock the threads, but, the left side arms works counterclockwise and this will probably loose the arm from the shaft.
I searched other discussions here and have not seen modifications to the system so I'm starting to think that it is be good enough as it is.
Can someone tell me if it is better to proceed in other ways or just continue with loctite?
Thanks
Iacopo
- Adrian Harris
- Posts: 5061
- Joined: Thu Jul 12, 2007 10:46 pm
- Location: Berkshire (UK)
- Has liked: 1370 times
- Been liked: 1567 times
Re: Iacopo's Panzer III, a new and first adventure for me.
Hi Iacopo, and welcome to the forum.
The usual fix for the suspension bars unscrewing themselves is to put a pin through the arm and bar once they have been fitted together. See this posting from Sarah Frazer for a photograph of her suspension arms and bars.
http://www.armortek.co.uk/Forum3b/viewt ... 005#p16692
You can just see the 2mm roll pins she mentions on the top of the arm, at the right hand end.
Adrian.
Contact me at sales@armortekaddict.uk for details of my smoker fan control module
-
Iacopo Di Giampietro
- Posts: 226
- Joined: Fri May 11, 2012 9:14 pm
- Been liked: 48 times
Re: Iacopo's Panzer III, a new and first adventure for me.
Thank you very much, Adrian: both for the welcome for the comprehensive reply. 
I have seen many Wip and I was just looking for this type of information, but the photos of the work of Sarah I had just escaped!
Thanks again and see you soon.
I have seen many Wip and I was just looking for this type of information, but the photos of the work of Sarah I had just escaped!
Thanks again and see you soon.
-
ATTILA KISS
- Posts: 24
- Joined: Tue Jan 31, 2012 2:31 pm
- Location: Transylvania , Romania
- Has liked: 13 times
- Been liked: 4 times
- Contact:
Re: Iacopo's Panzer III, a new and first adventure for me.
Hi,
I put 3mm pin's as well..
Cheers
Attila
I put 3mm pin's as well..
Cheers
Attila
-
Iacopo Di Giampietro
- Posts: 226
- Joined: Fri May 11, 2012 9:14 pm
- Been liked: 48 times
Re: Iacopo's Panzer III, a new and first adventure for me.
Good morning to all!
Here I am again.
First I would ask you to forgive my bad English, I hope you are able to understand what I write!
Then I would like to thank Andrea Daviero, which allowed me to use his garage to start building my Panzer III.
Start with the suspension arms, which we know were originally rectangular, while in reality they were round section, so we reworked the arms adding material and working it until you get the desired shape.
In this phase were also added to the "washers" that contact with the hull.
Here is a picture of a suspension in the works:

Then we began the process of driven wheels is higher and lower.
The upper wheels were machined on a lathe and in the photo (from right to left) you can see a comparison of the original wheel, a wheel machined on a lathe, and finally the picture of a wheel of the Panzer III:

These are the wheels instead of less, and have also worked on the lathe of the welds:

Were cut dozens of tubes of brass to couple the wheel and soon will post the progress.
In the meantime we have also started assembling the hull.
So much for now: I hope you enjoy the work!
See you soon!
Here I am again.
First I would ask you to forgive my bad English, I hope you are able to understand what I write!
Then I would like to thank Andrea Daviero, which allowed me to use his garage to start building my Panzer III.
Start with the suspension arms, which we know were originally rectangular, while in reality they were round section, so we reworked the arms adding material and working it until you get the desired shape.
In this phase were also added to the "washers" that contact with the hull.
Here is a picture of a suspension in the works:

Then we began the process of driven wheels is higher and lower.
The upper wheels were machined on a lathe and in the photo (from right to left) you can see a comparison of the original wheel, a wheel machined on a lathe, and finally the picture of a wheel of the Panzer III:

These are the wheels instead of less, and have also worked on the lathe of the welds:

Were cut dozens of tubes of brass to couple the wheel and soon will post the progress.
In the meantime we have also started assembling the hull.
So much for now: I hope you enjoy the work!
See you soon!
-
Iacopo Di Giampietro
- Posts: 226
- Joined: Fri May 11, 2012 9:14 pm
- Been liked: 48 times
Re: Iacopo's Panzer III, a new and first adventure for me.
Hello everyone!
A little progress for my Panzer III ...As always please forgive my bad English!
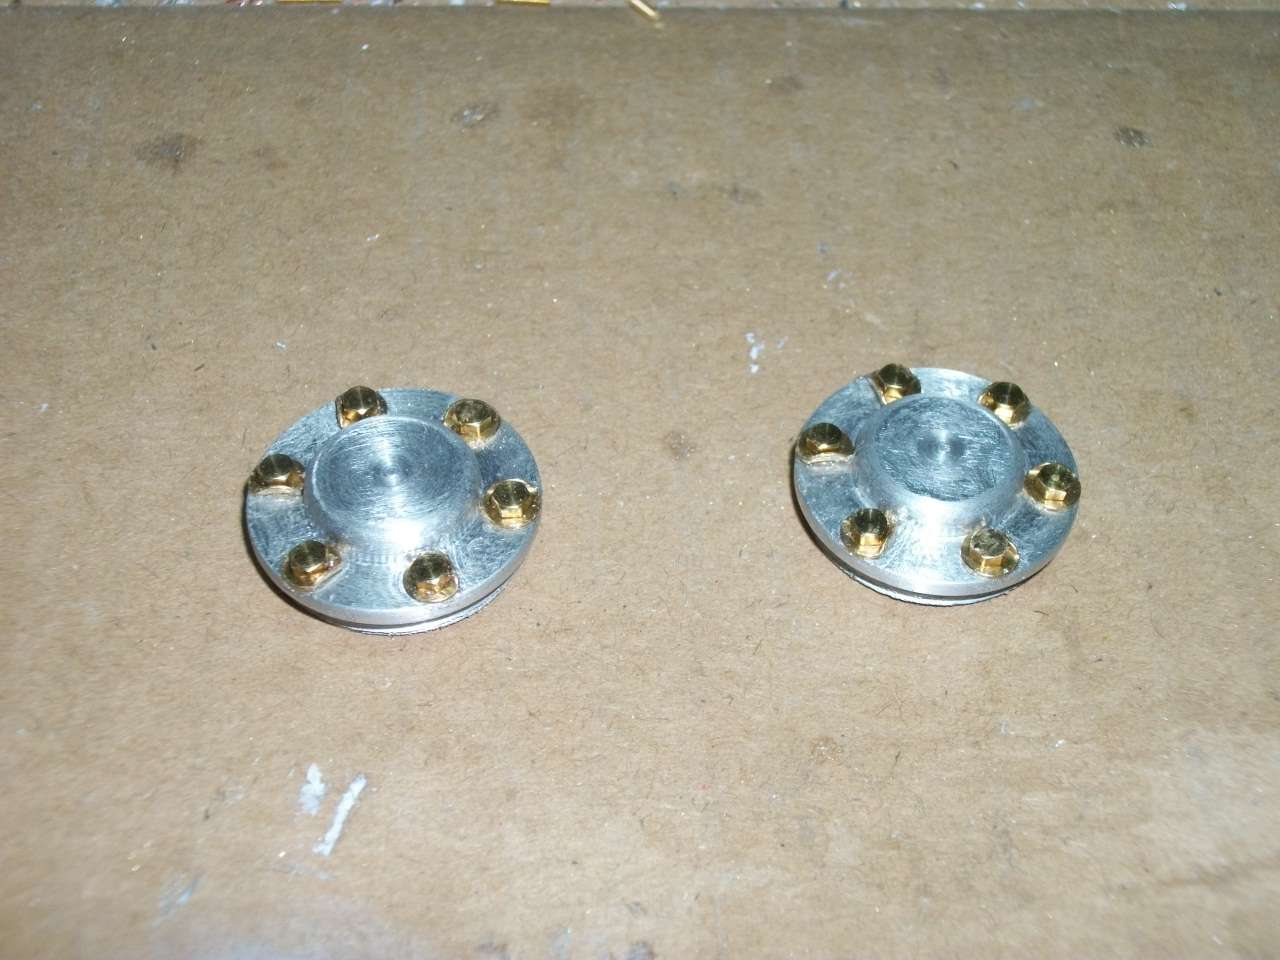
The wheels, assembled with the brass tubes and are ready to be mounted:

Wheel covers with bolts and washers riveted:

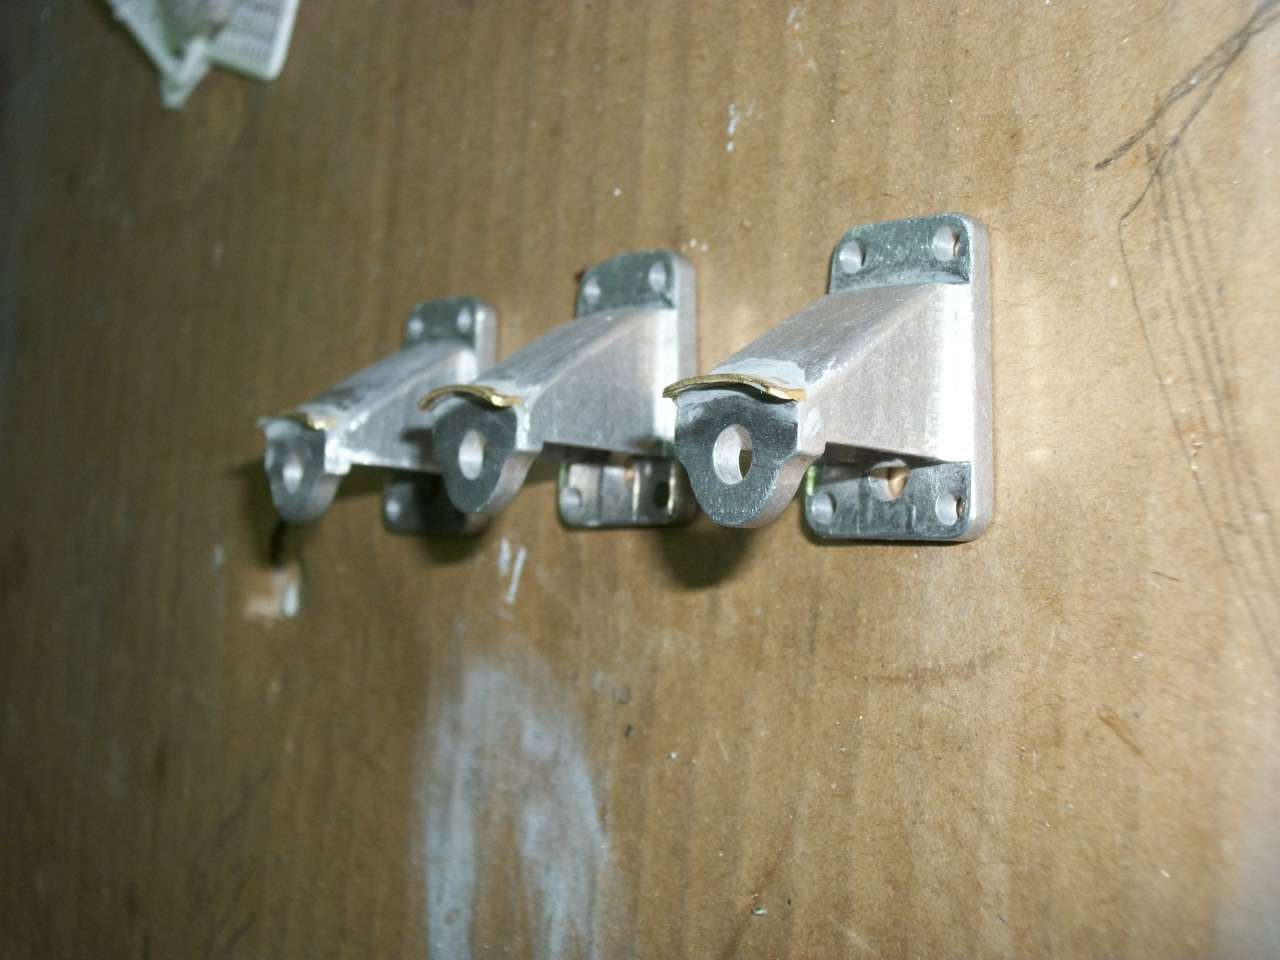
Changing the shock absorbers and their supports:

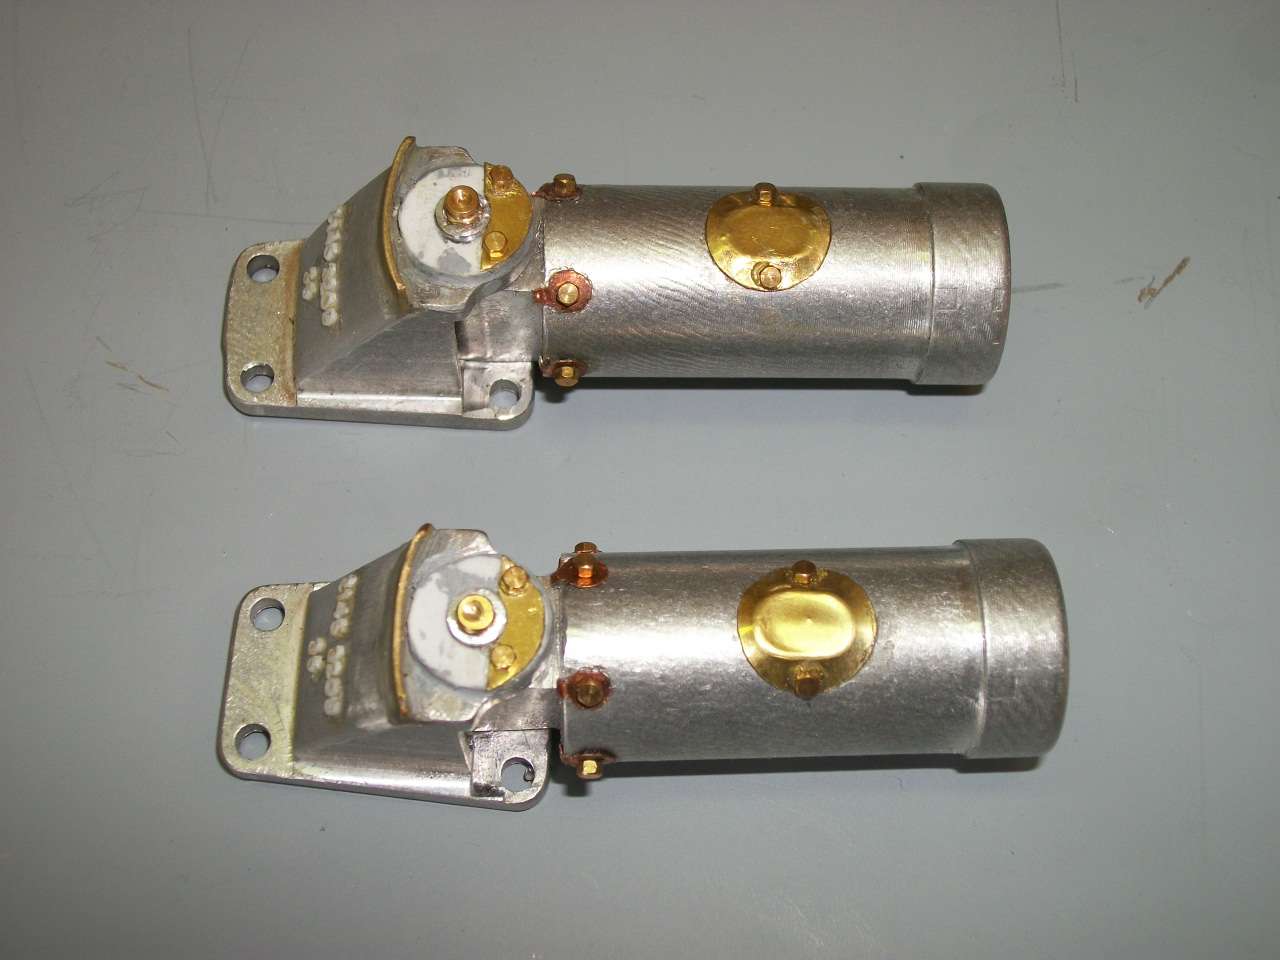
Addition of:
casting, bolts and washers, bolt fastening system of working ...

Adding the "greasers" and...shock absorbers completed!

A big thank you to Andrea Daviero for his invaluable help!
Until next time.
Iacopo
A little progress for my Panzer III ...As always please forgive my bad English!
The wheels, assembled with the brass tubes and are ready to be mounted:

Wheel covers with bolts and washers riveted:


Changing the shock absorbers and their supports:


Addition of:
casting, bolts and washers, bolt fastening system of working ...

Adding the "greasers" and...shock absorbers completed!


A big thank you to Andrea Daviero for his invaluable help!
Until next time.
Iacopo
Re: Iacopo's Panzer III, a new and first adventure for me.
wow nice detail
--------------------------------------------------------
A wife is only temporary, an ex-wife is FOREVER!!
The man in the avatar is my grandfather
A wife is only temporary, an ex-wife is FOREVER!!
The man in the avatar is my grandfather
-
Tim Bowman
- Posts: 1762
- Joined: Fri Jul 13, 2007 4:53 am
- Location: Northern California
- Been liked: 177 times
- Contact:
Re: Iacopo's Panzer III, a new and first adventure for me.
Hi Iacopo
Fantastic detailing on your Panzer III parts. It will be fun to watch your build progress.
Keep up the great work.
kind regards
Tim
Fantastic detailing on your Panzer III parts. It will be fun to watch your build progress.
Keep up the great work.
kind regards
Tim
"So long as one isn't carrying one's head under one's arm, things aren't too bad." – Erwin Rommel
-
Iacopo Di Giampietro
- Posts: 226
- Joined: Fri May 11, 2012 9:14 pm
- Been liked: 48 times
-
Iacopo Di Giampietro
- Posts: 226
- Joined: Fri May 11, 2012 9:14 pm
- Been liked: 48 times
Re: Iacopo's Panzer III, a new and first adventure for me.
Hi all!
As always I apologize for my bad English ... ... I never tire of saying it!
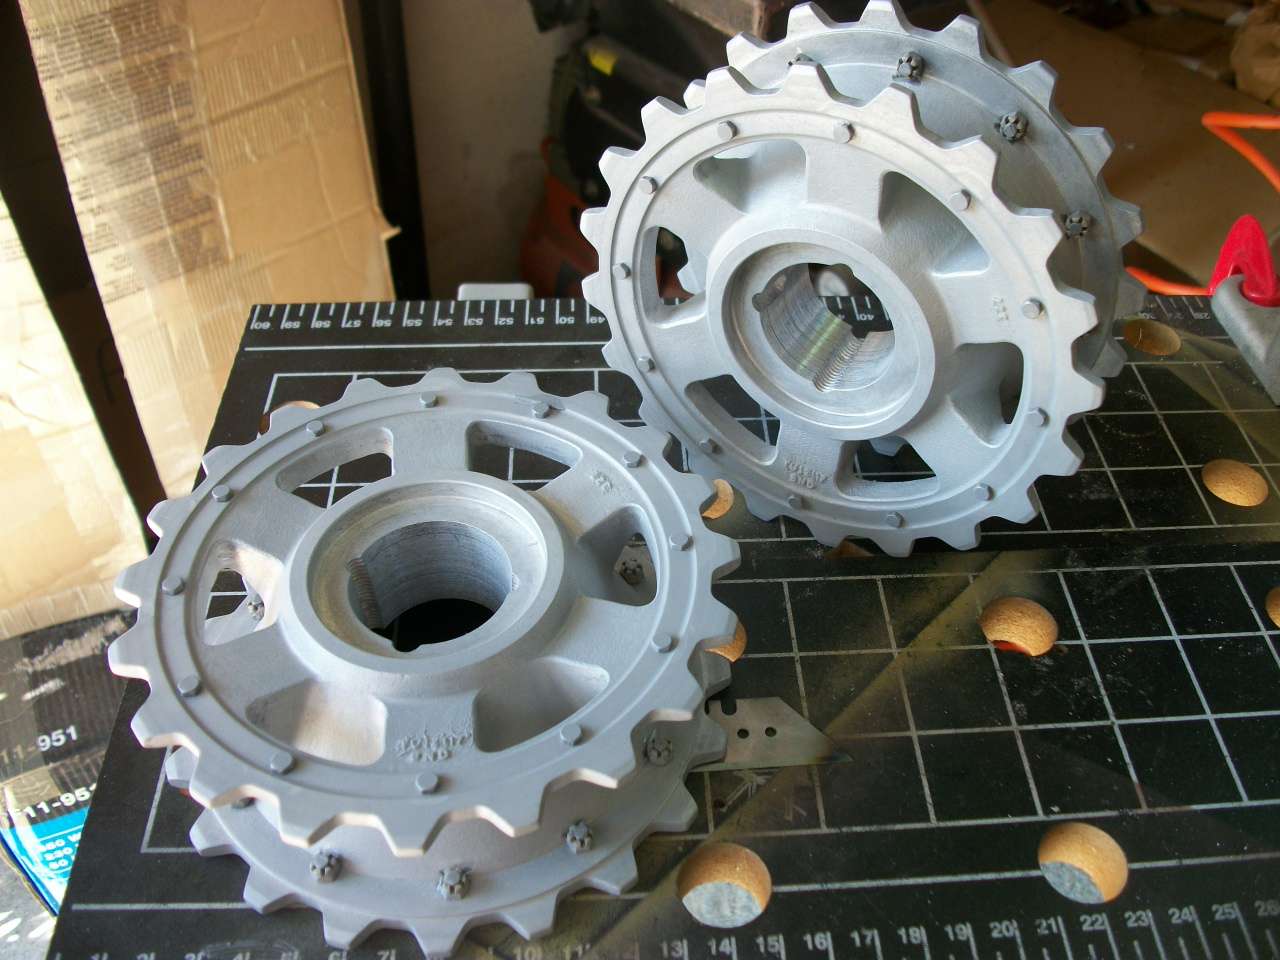
We end the train of rolling of the tank with the wheels to neutral and the drive wheels.
Of great inspiration the work of Stephen White regarding the drive wheels.
We all know the original wheels:
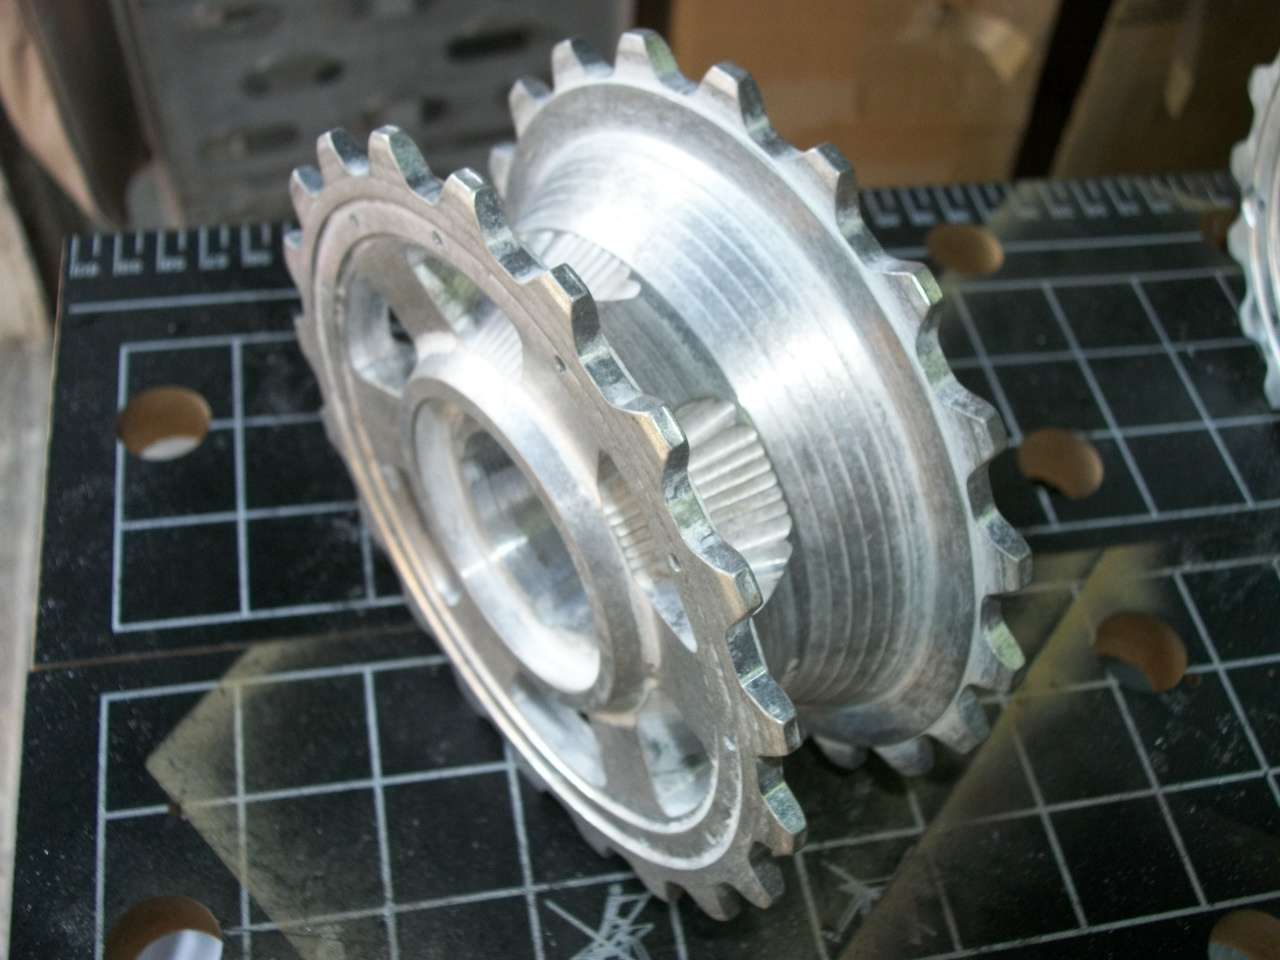
were first roughened with a file and then work with small abrasive cutters:
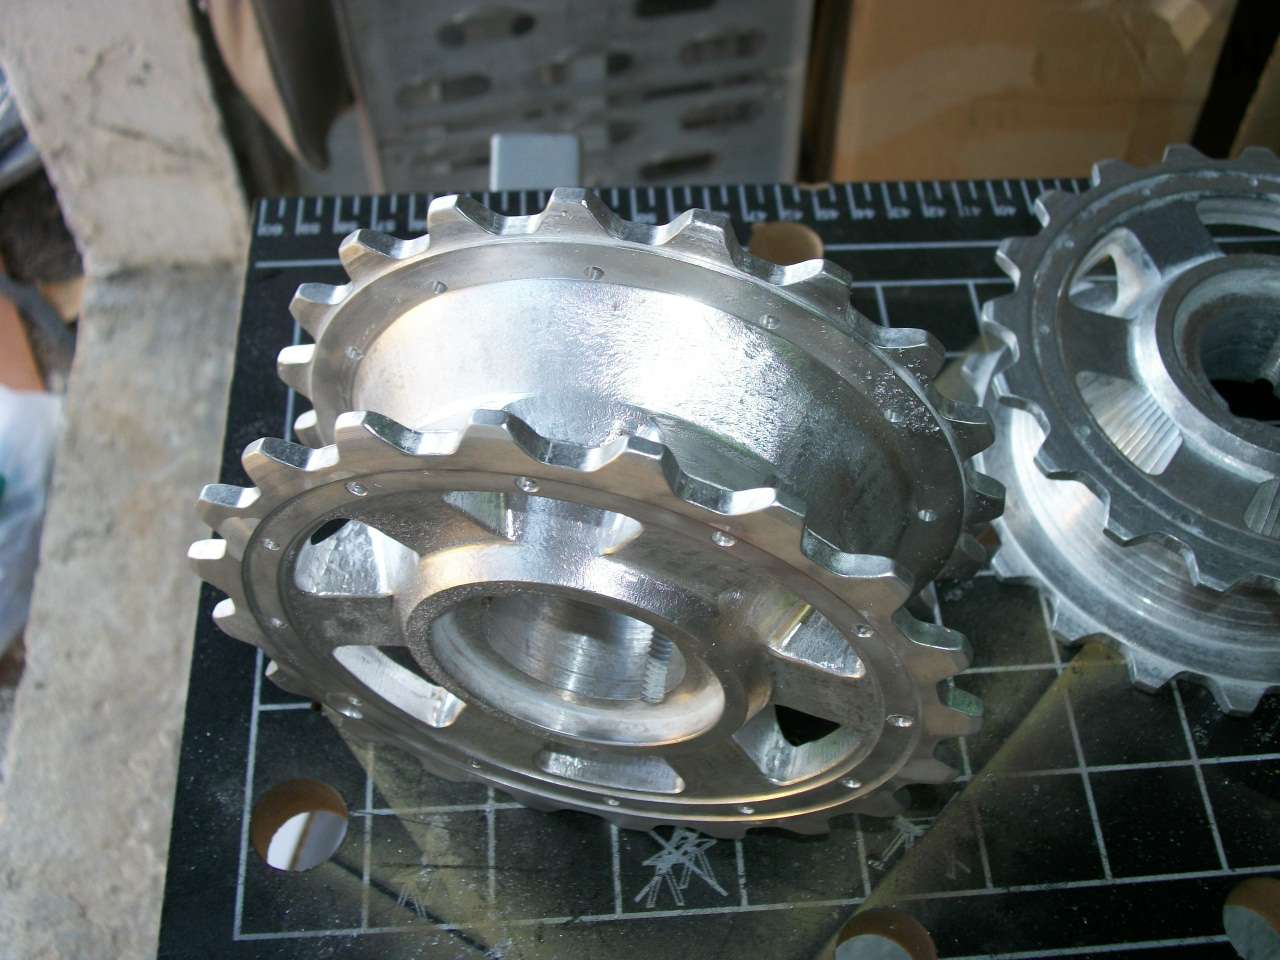
The wheels were then pierced even in the inner frame, with bolts and castellated nuts:

casting numbers, primer and the work is done:
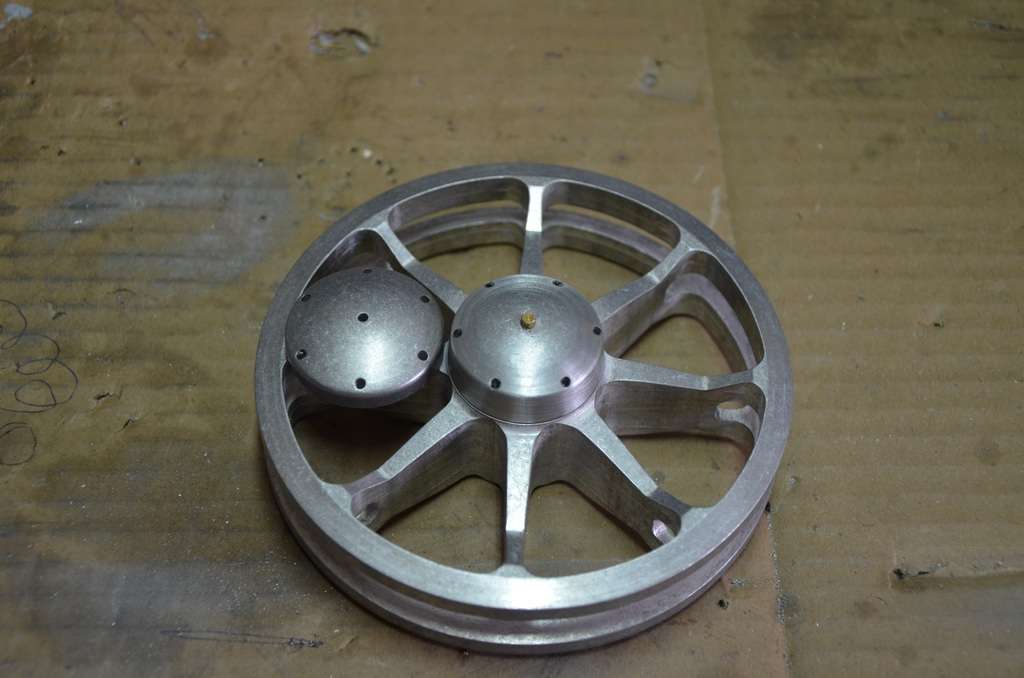
For idlers, we worked the original cover after we have put on the aluminum bar 40mm:
Until next time!
Iacopo
As always I apologize for my bad English ...
We end the train of rolling of the tank with the wheels to neutral and the drive wheels.
Of great inspiration the work of Stephen White regarding the drive wheels.
We all know the original wheels:

were first roughened with a file and then work with small abrasive cutters:

The wheels were then pierced even in the inner frame, with bolts and castellated nuts:

casting numbers, primer and the work is done:

For idlers, we worked the original cover after we have put on the aluminum bar 40mm:

Until next time!
Iacopo
-
simon_manning
- Posts: 2029
- Joined: Fri Nov 02, 2007 8:51 pm
- Location: new forest,hampshire,u.k.
- Been liked: 1634 times
Re: Iacopo's Panzer III, a new and first adventure for me.
very nice work iacopo, great details on your panzer 111, thanks for your compliments on my jagdpanther build, regards simon manning.
-
duncanallender
- Posts: 287
- Joined: Wed Jul 08, 2009 9:55 am
- Location: Wirral,Merseyside
- Been liked: 8 times
Re: Iacopo's Panzer III, a new and first adventure for me.
Hi Iacopo,
Ha,ha at last.It is good to hear you are making the Panzer 111.I look forward to seeing some more of the construction.Good luck my friend.
Arrivederci
Duncan
Ha,ha at last.It is good to hear you are making the Panzer 111.I look forward to seeing some more of the construction.Good luck my friend.
Arrivederci
Duncan
-
Iacopo Di Giampietro
- Posts: 226
- Joined: Fri May 11, 2012 9:14 pm
- Been liked: 48 times
Re: Iacopo's Panzer III, a new and first adventure for me.
Ciao Duncan! What a pleasure to hear from you!
Thank you very much for your words, I hope to do a good job!
See you soon!
Arrivederci!
Iacopo
Thank you very much for your words, I hope to do a good job!
See you soon!
Arrivederci!
Iacopo
-
Iacopo Di Giampietro
- Posts: 226
- Joined: Fri May 11, 2012 9:14 pm
- Been liked: 48 times
Re: Iacopo's Panzer III, a new and first adventure for me.
Hi all.
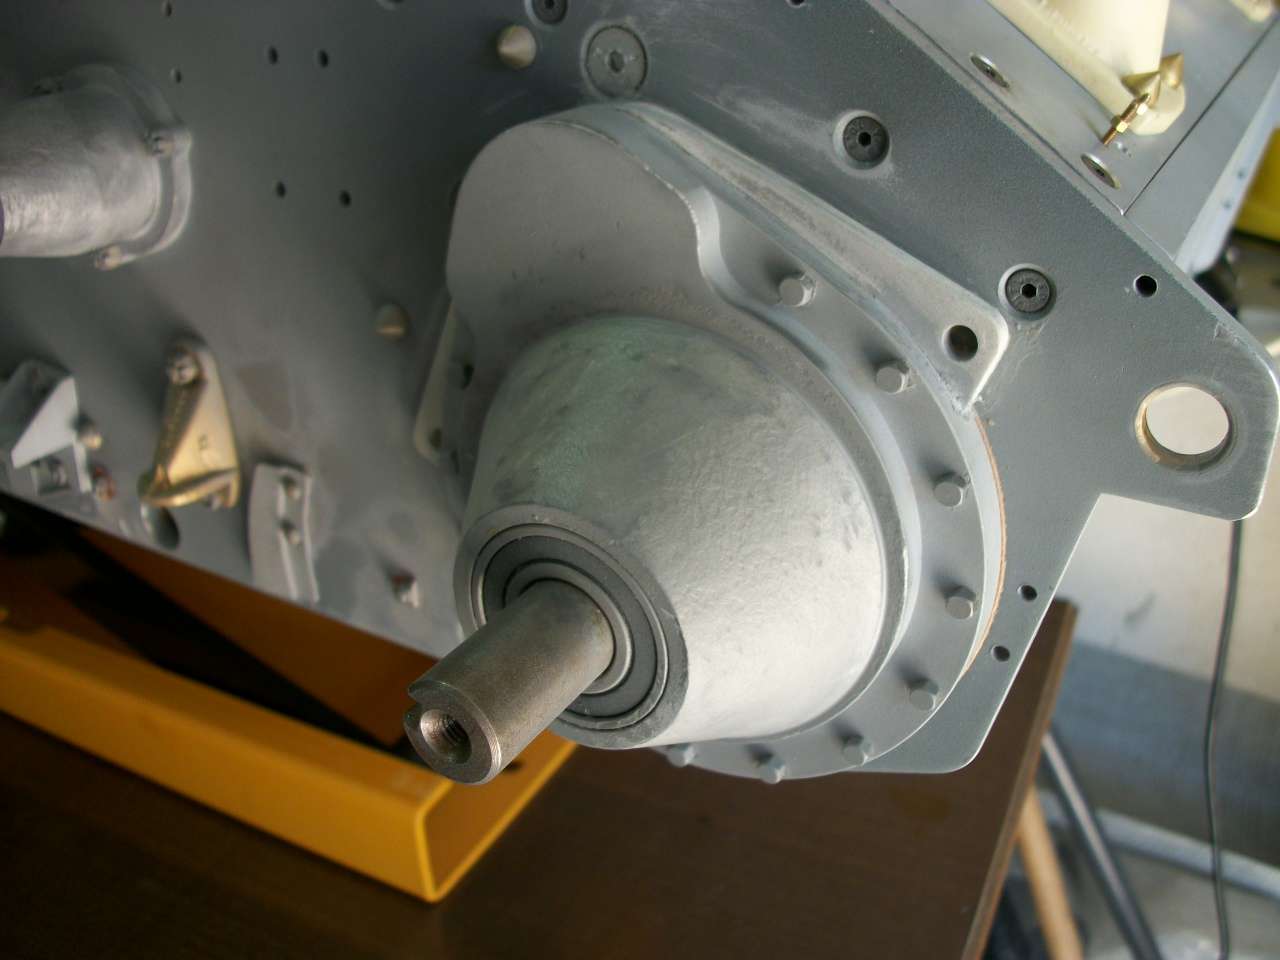
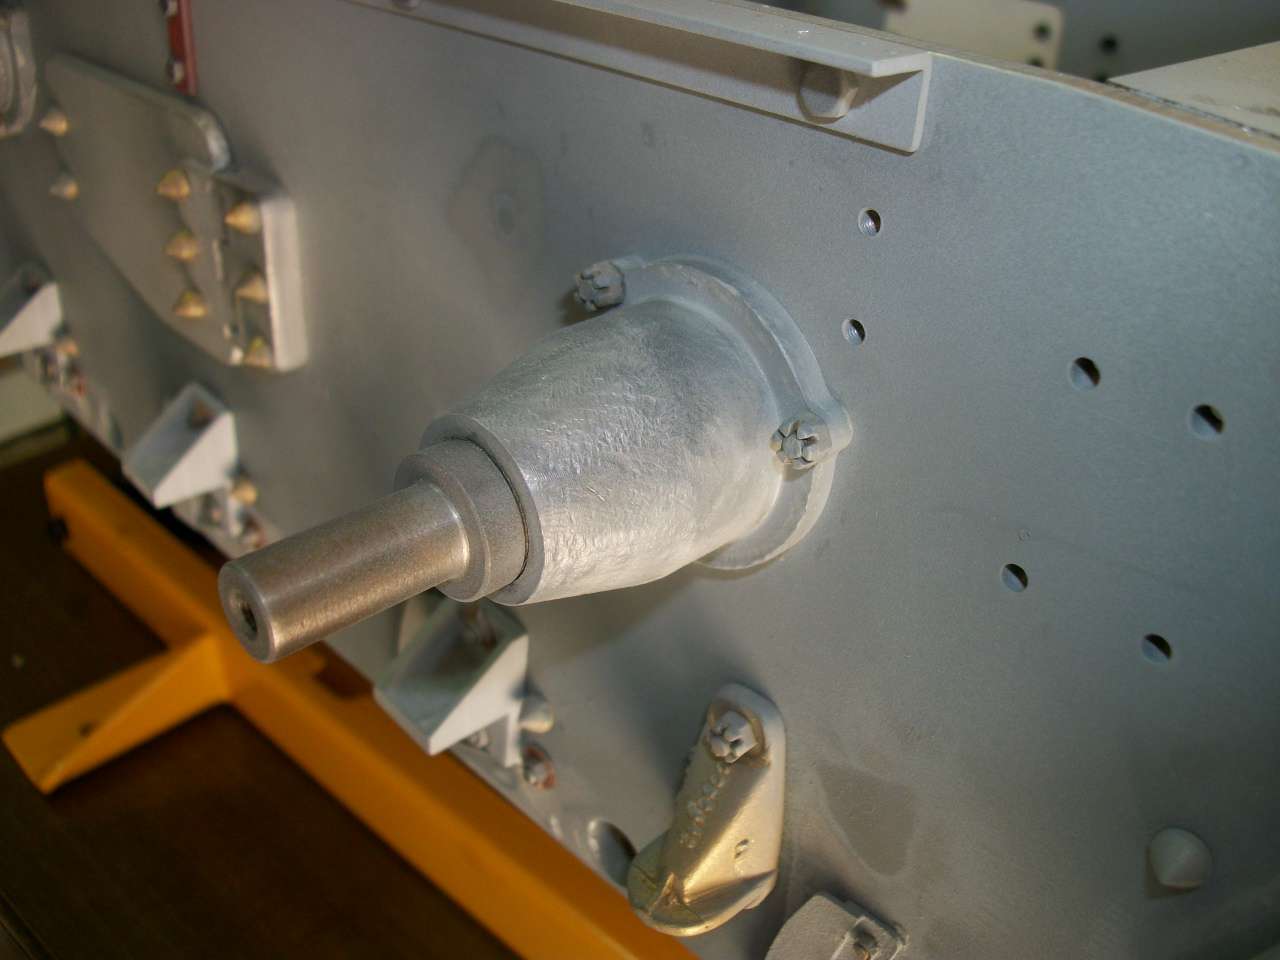
After testing the effect of the molten metal on the front wheels, the I extended also to the supports of the front driving wheels and the driven gears higher. For front mounting brackets have been used in high strength steel bolts M3 hexagon and were made even the "wings" side.
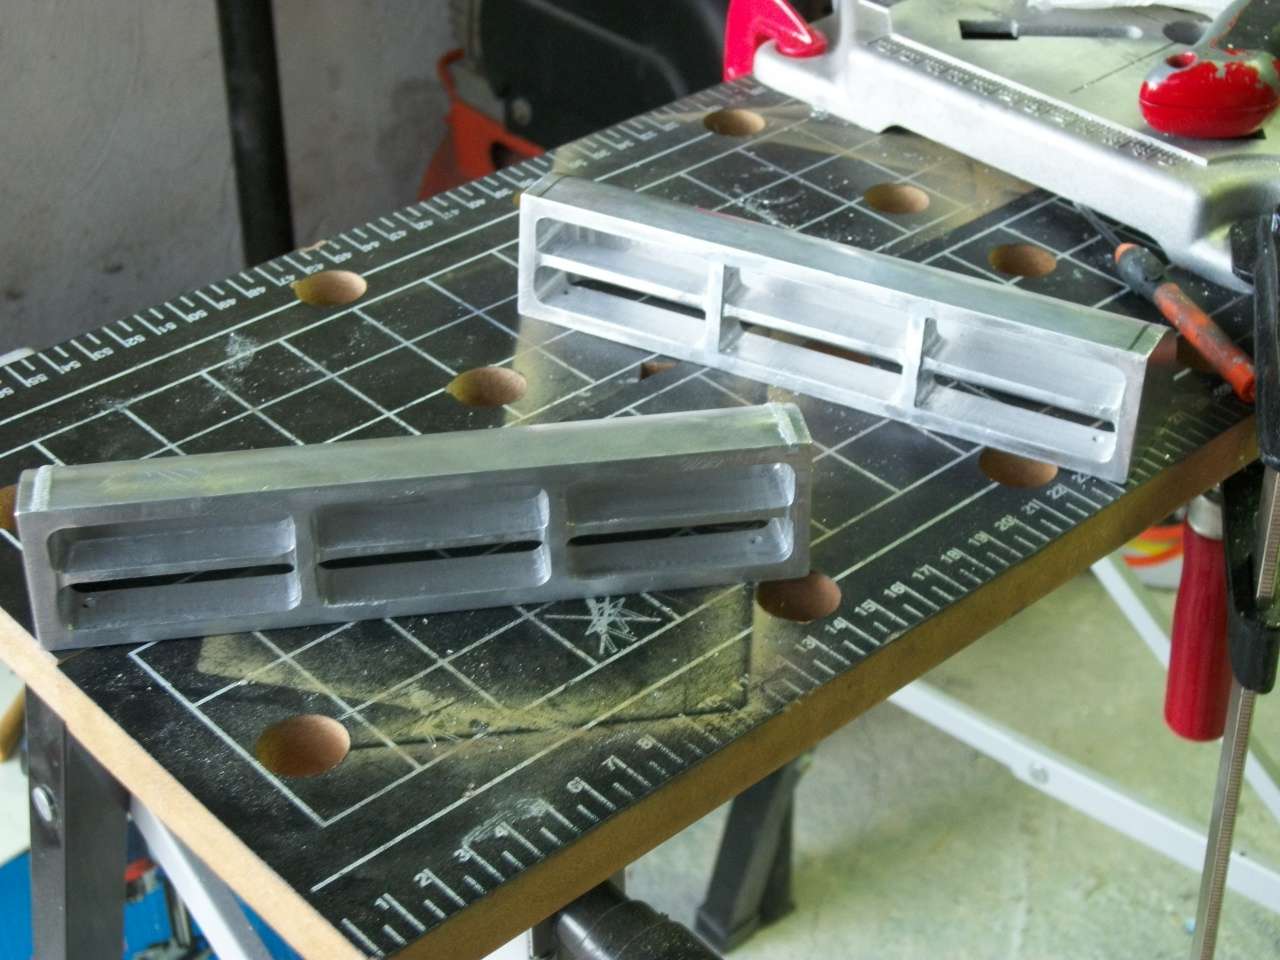
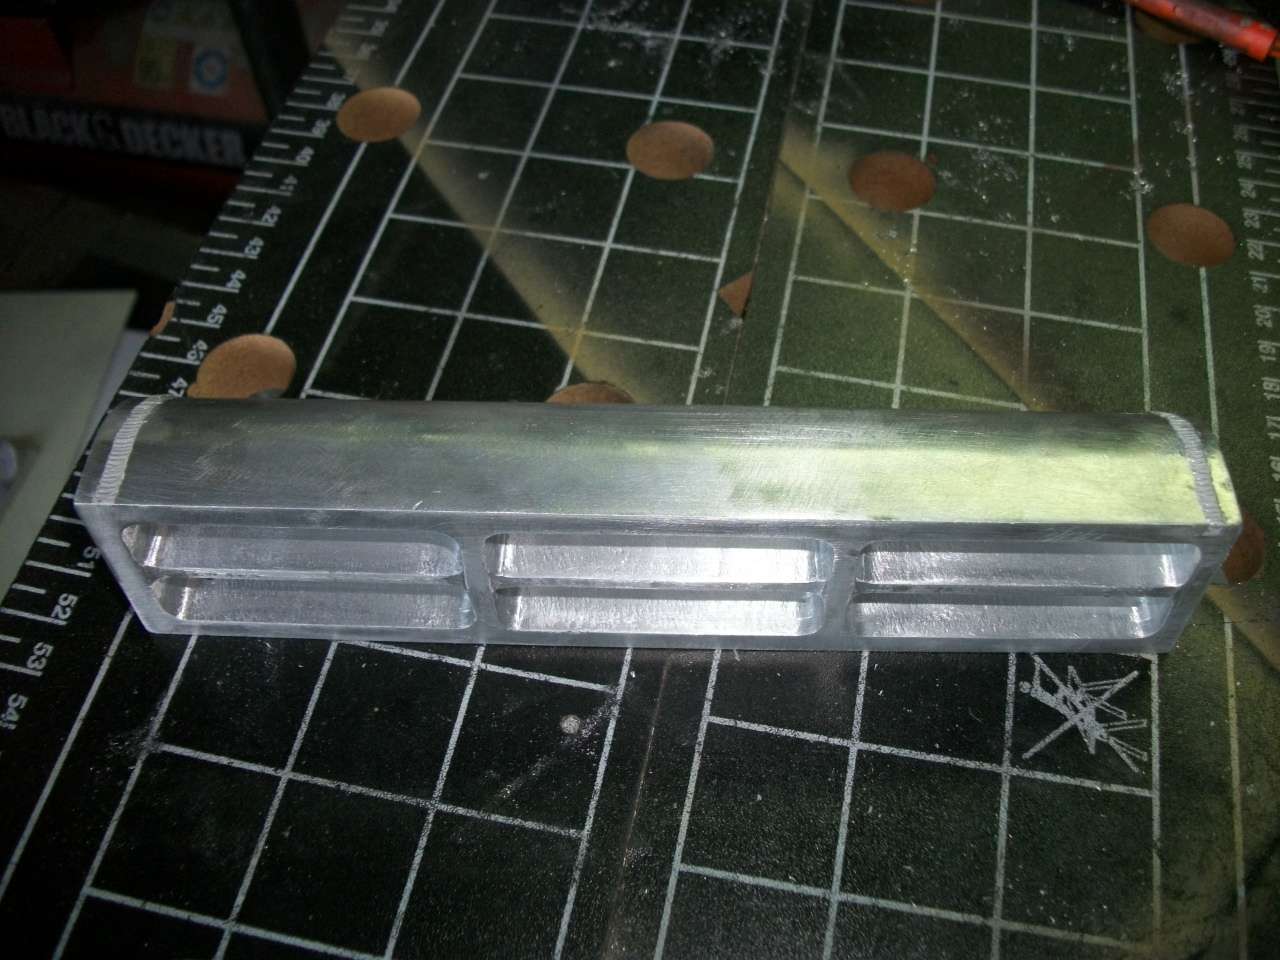
Meanwhile, the side air intakes have been modified.
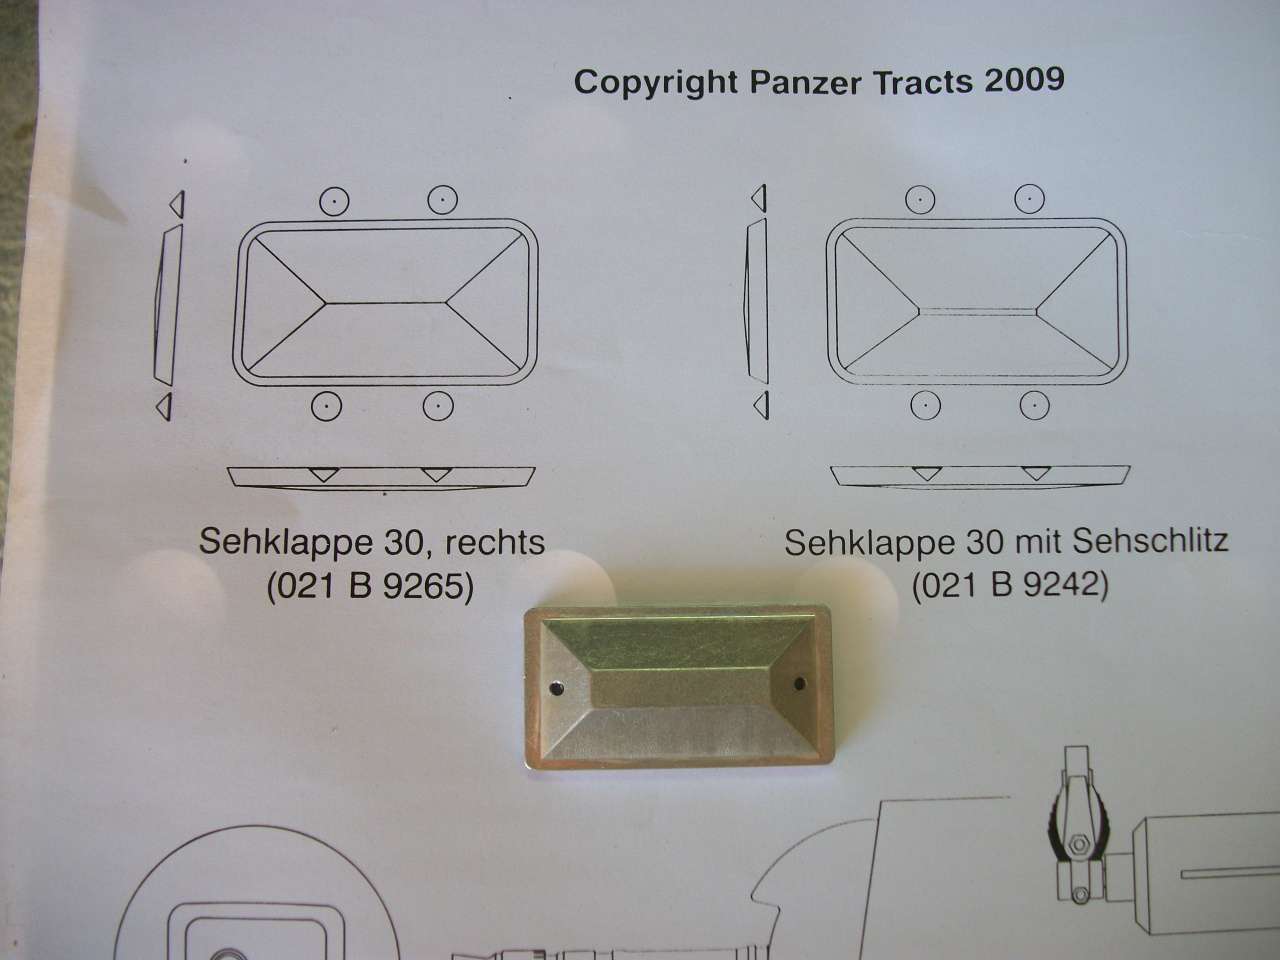
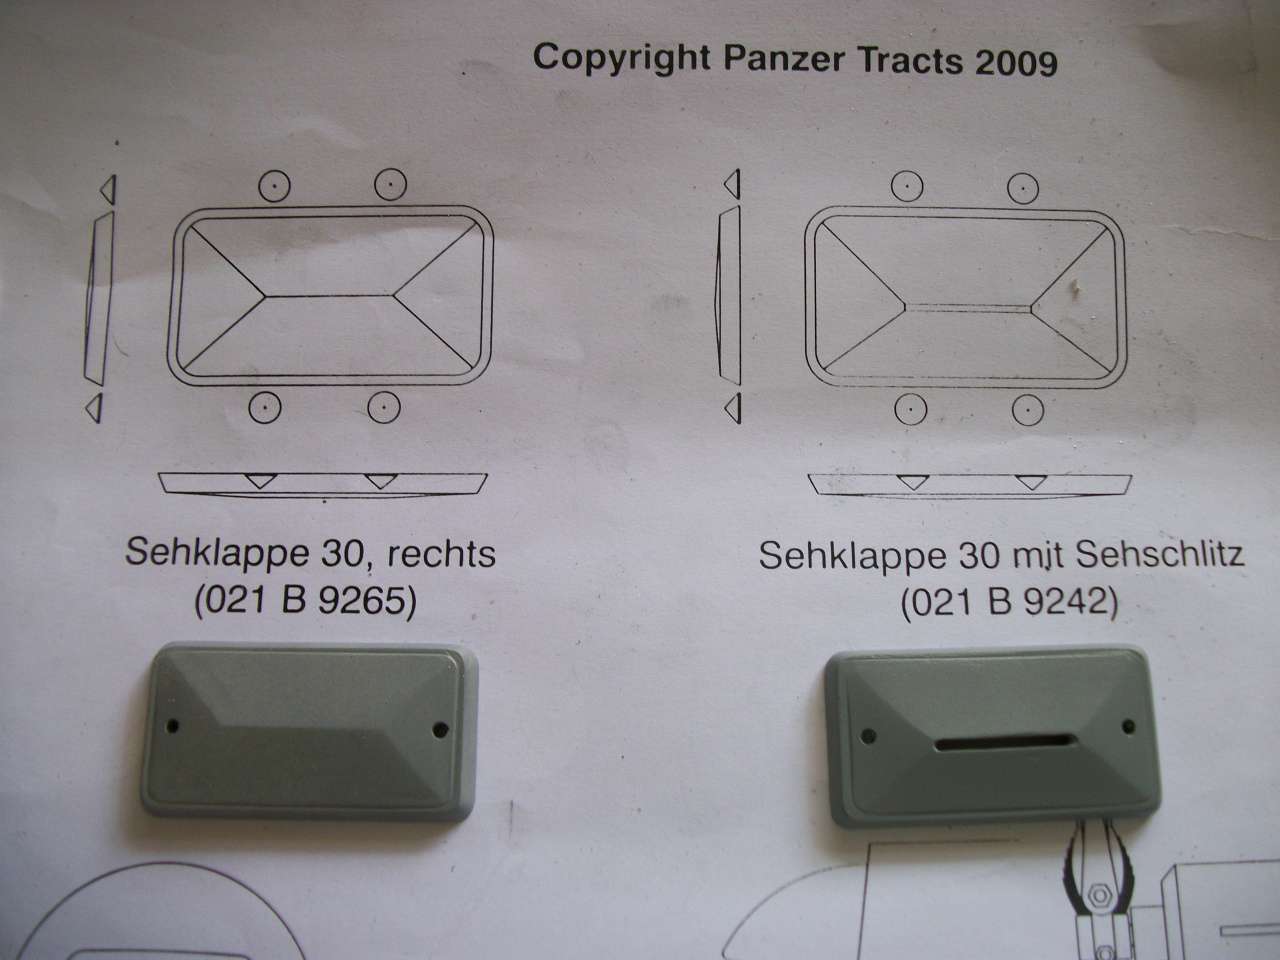
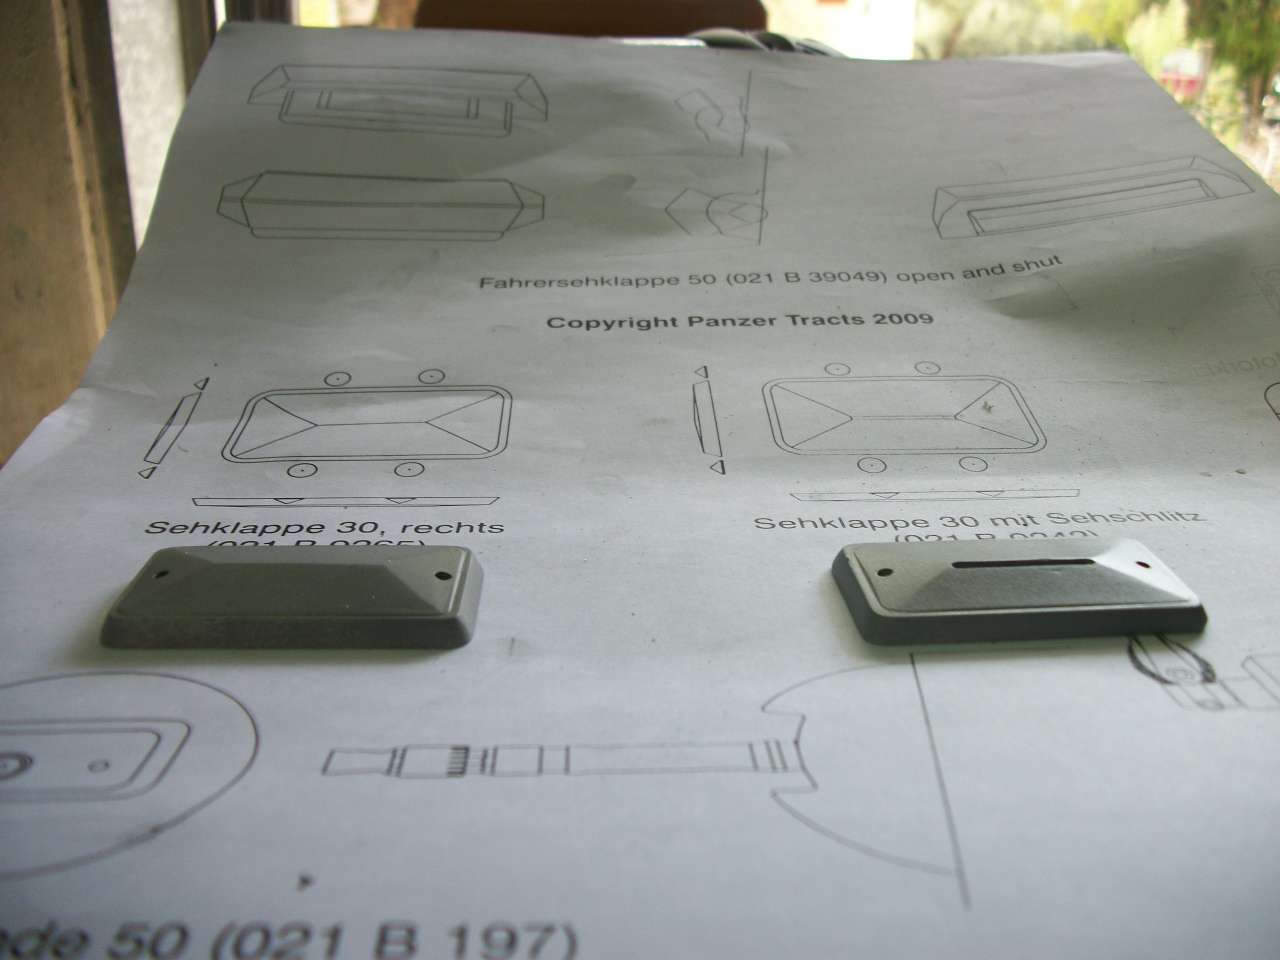
Viewers side of the driver and gunner:
Well, that's all for now!
Ciao a tutti!
Iacopo
After testing the effect of the molten metal on the front wheels, the I extended also to the supports of the front driving wheels and the driven gears higher. For front mounting brackets have been used in high strength steel bolts M3 hexagon and were made even the "wings" side.


Meanwhile, the side air intakes have been modified.


Viewers side of the driver and gunner:


Well, that's all for now!
Ciao a tutti!
Iacopo
-
Nick Farrugia
- Posts: 547
- Joined: Fri Aug 28, 2009 10:08 pm
- Location: South Wales Glamorgan
Re: Iacopo's Panzer III, a new and first adventure for me.
HI lacopo
just gone through your build picks amazing detail you are adding ,its good to see it .
regards ,,,,,,,,,,,,,nick
just gone through your build picks amazing detail you are adding ,its good to see it .
regards ,,,,,,,,,,,,,nick
