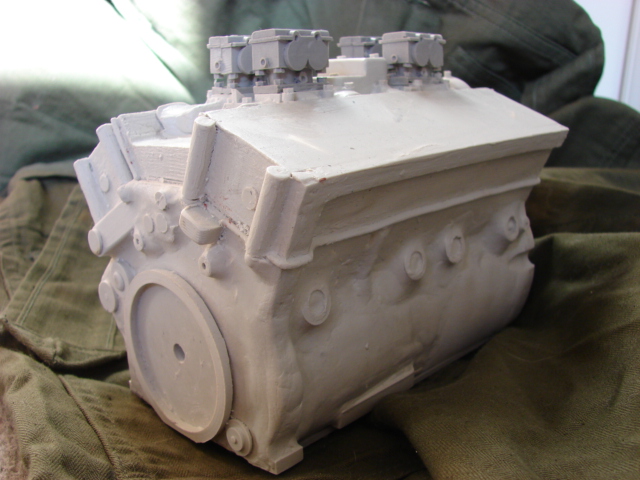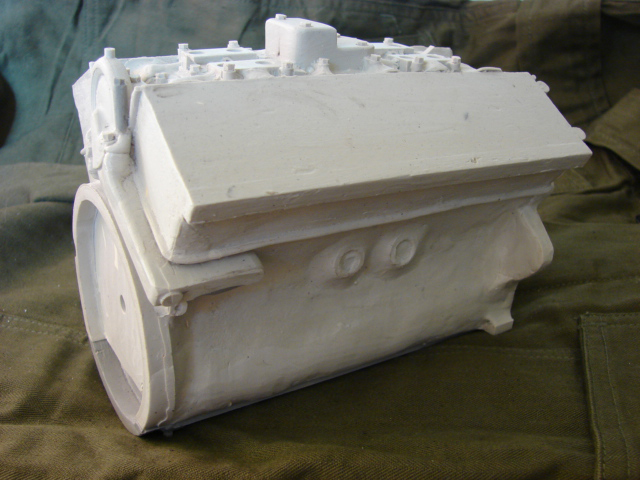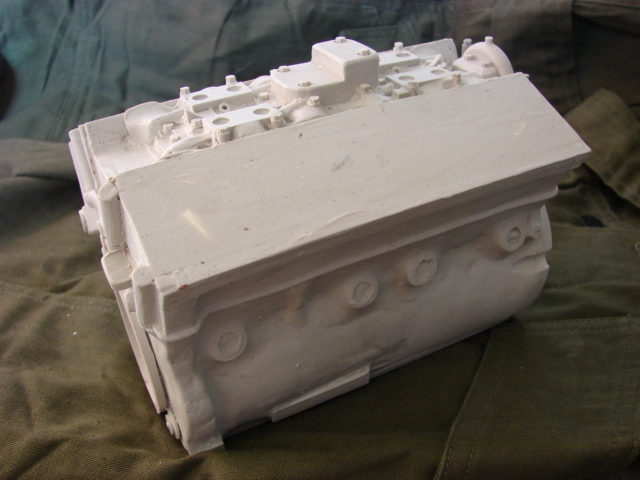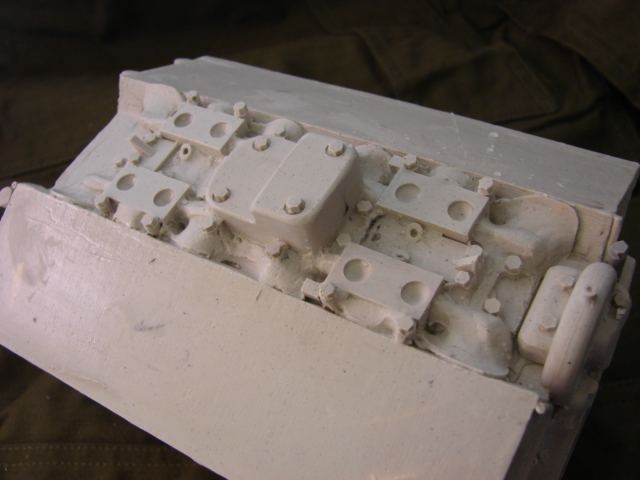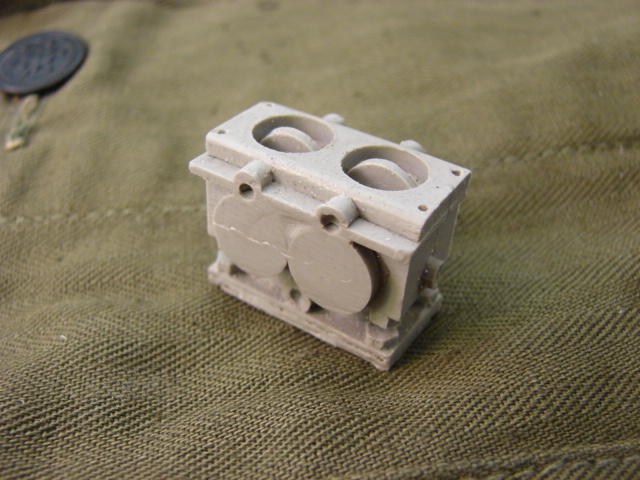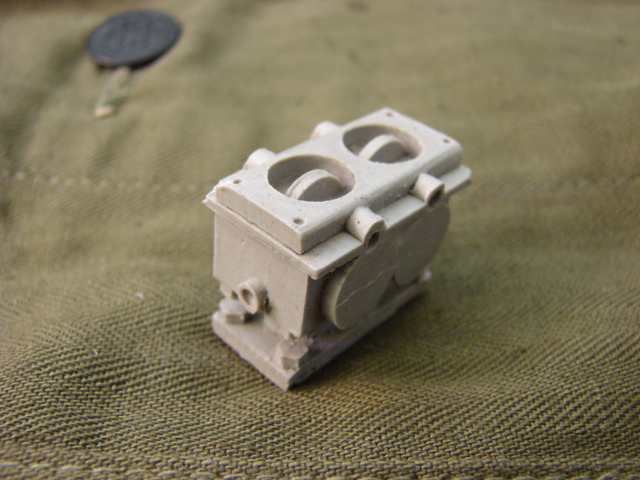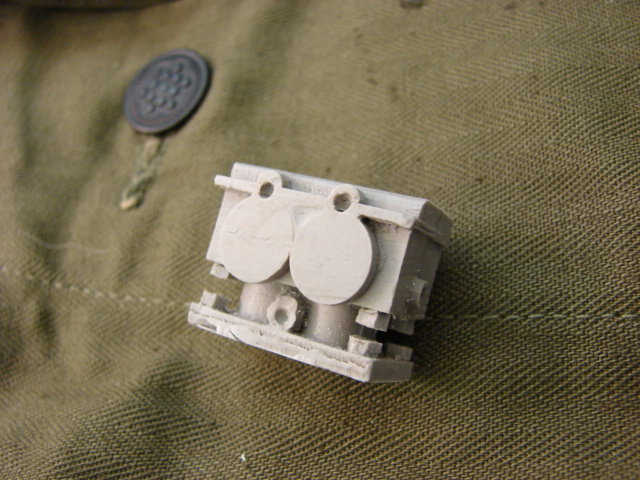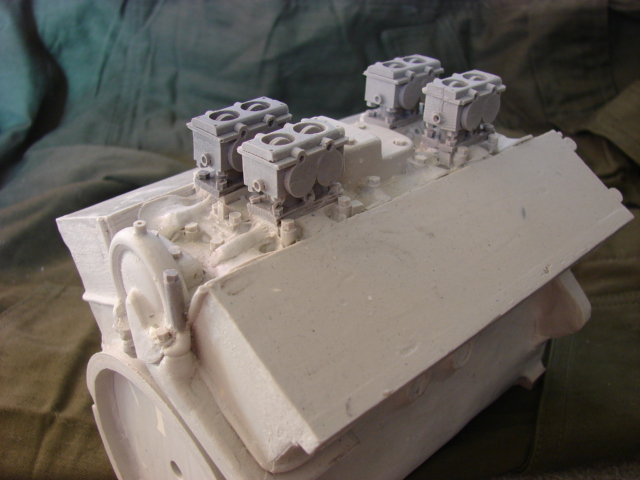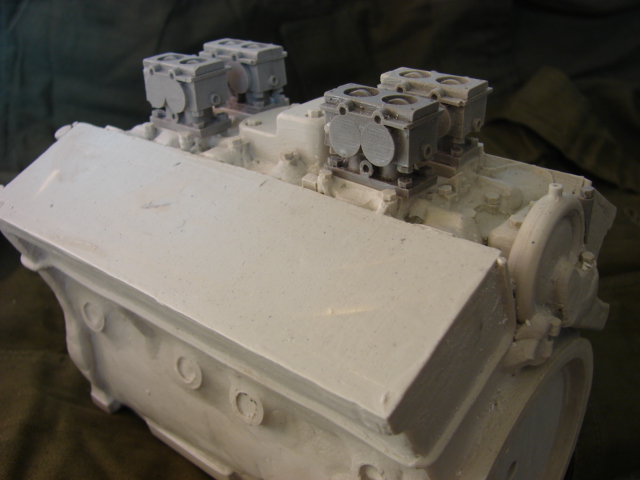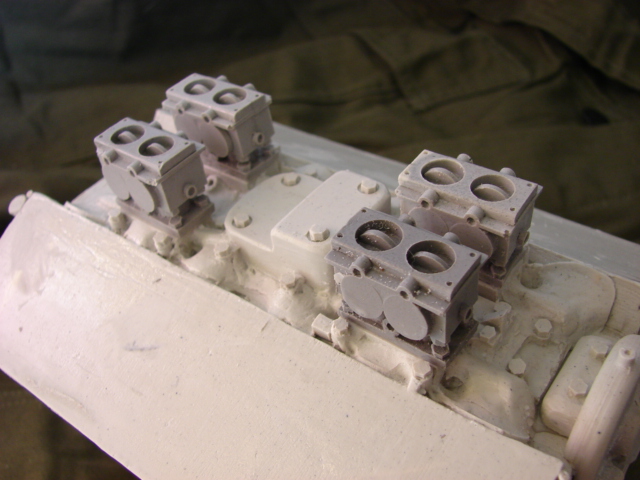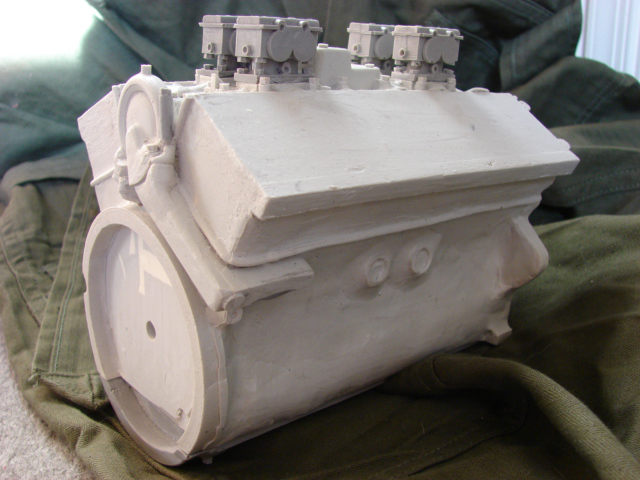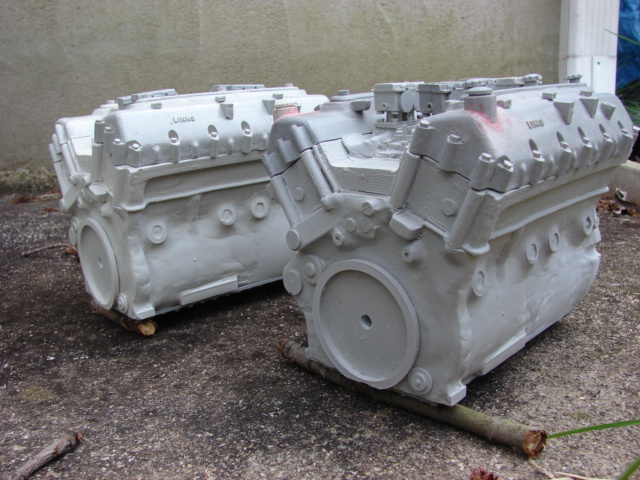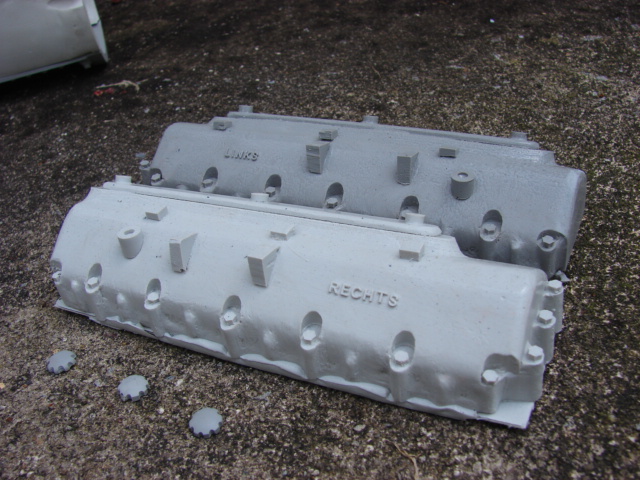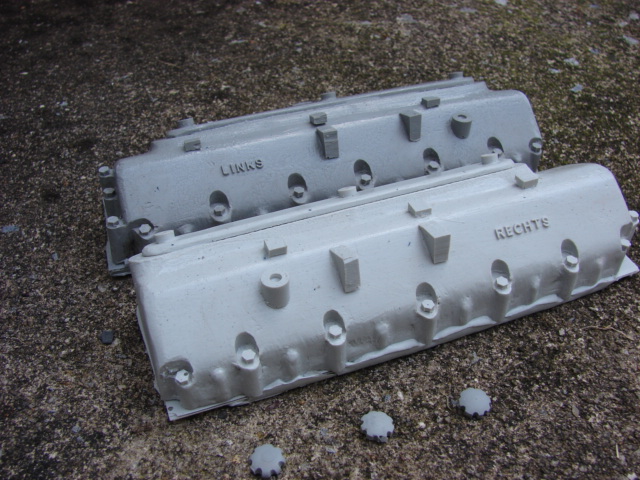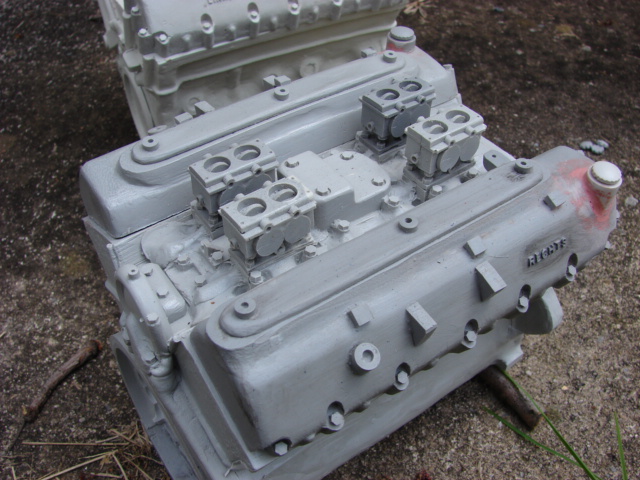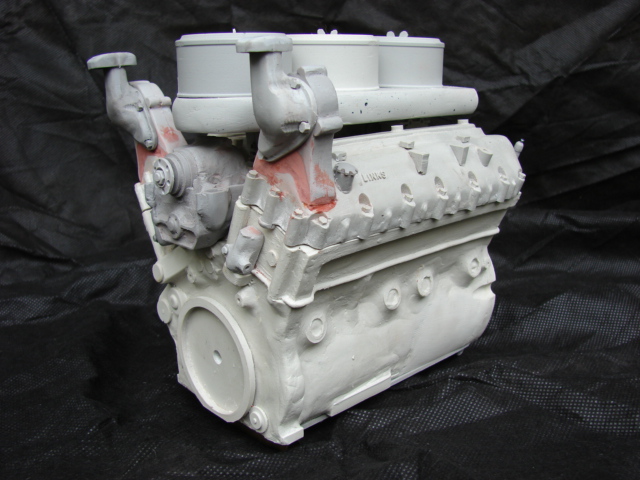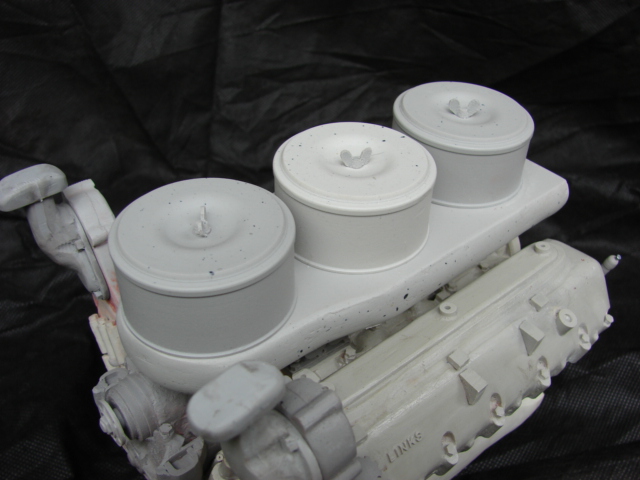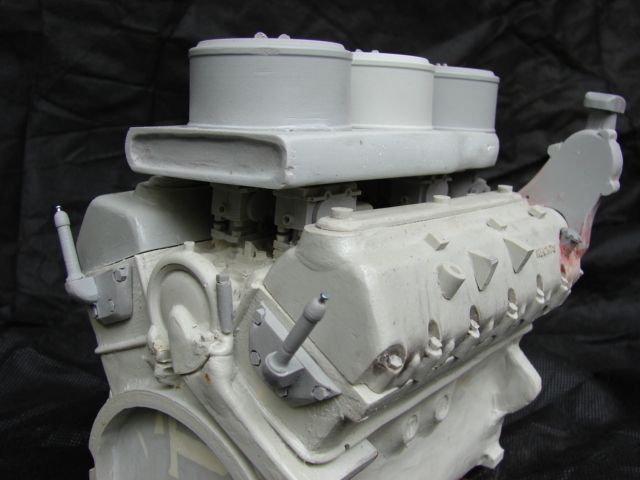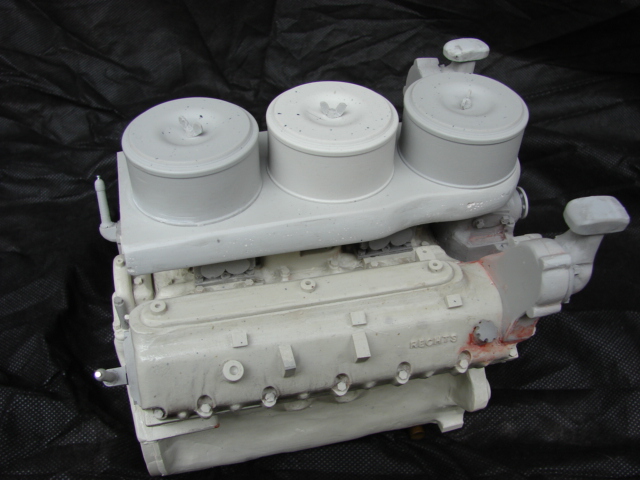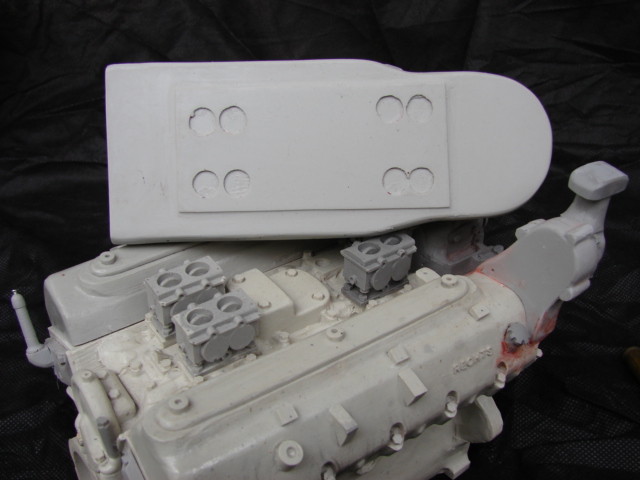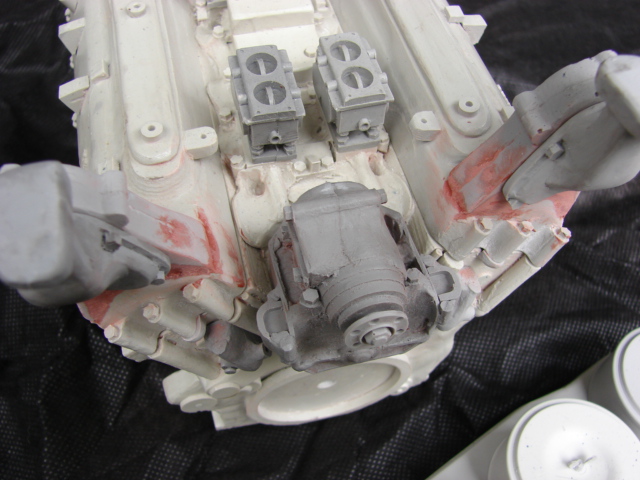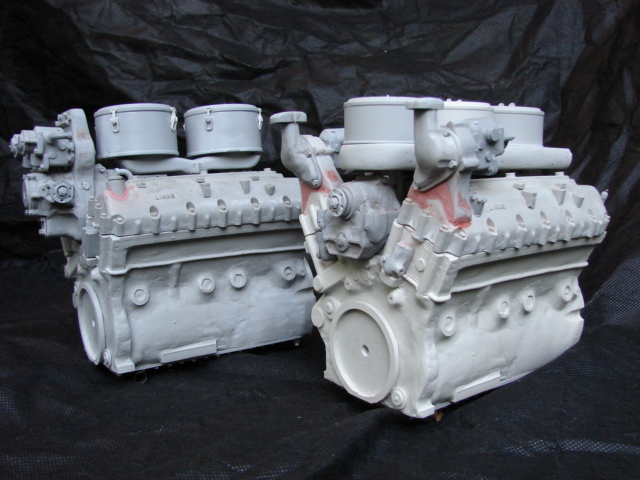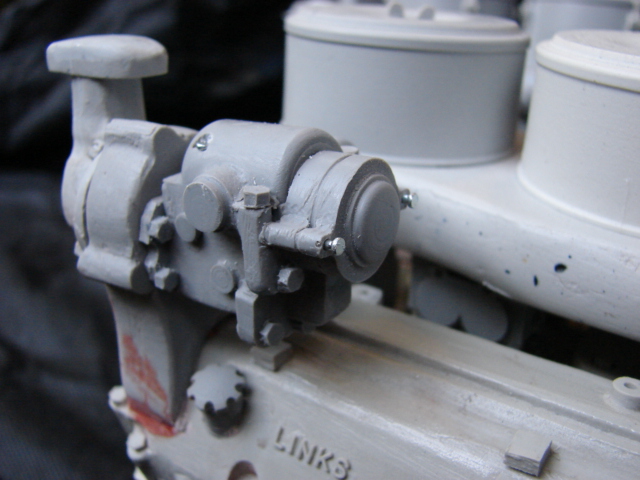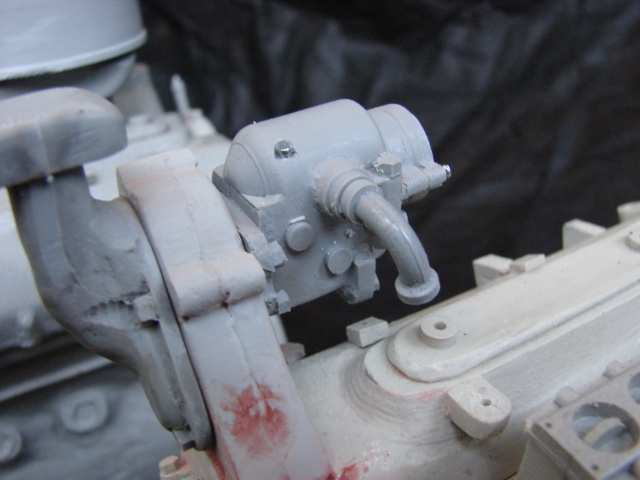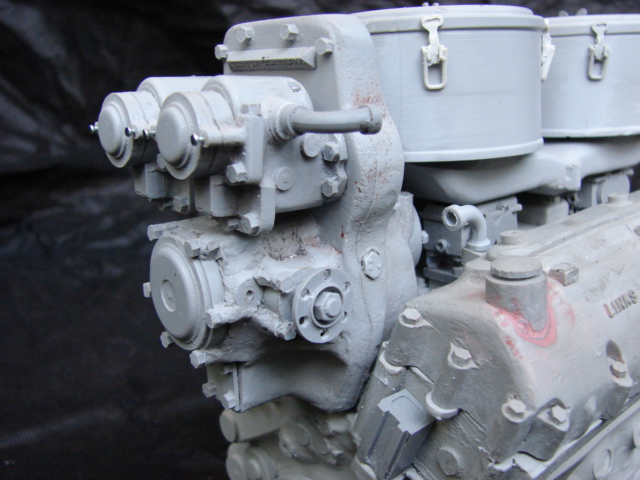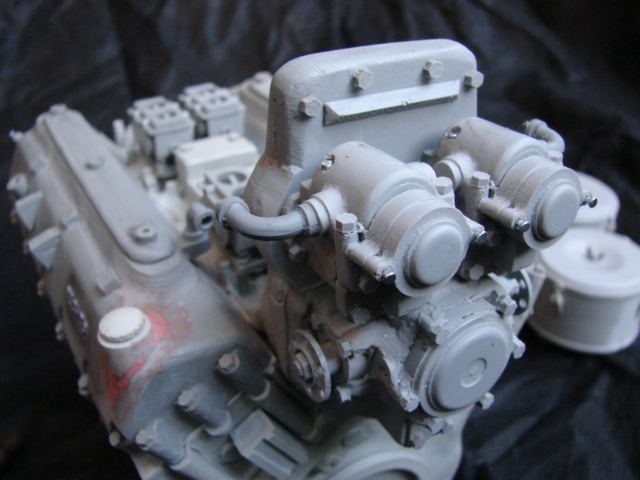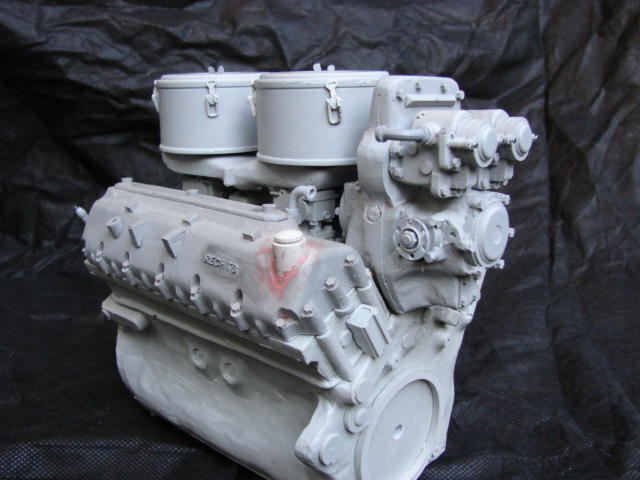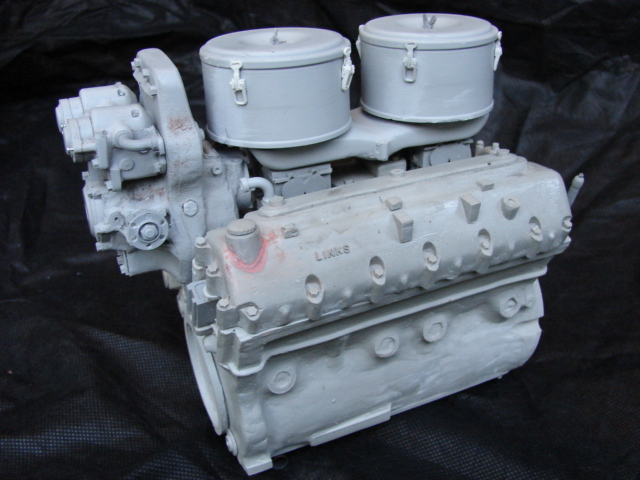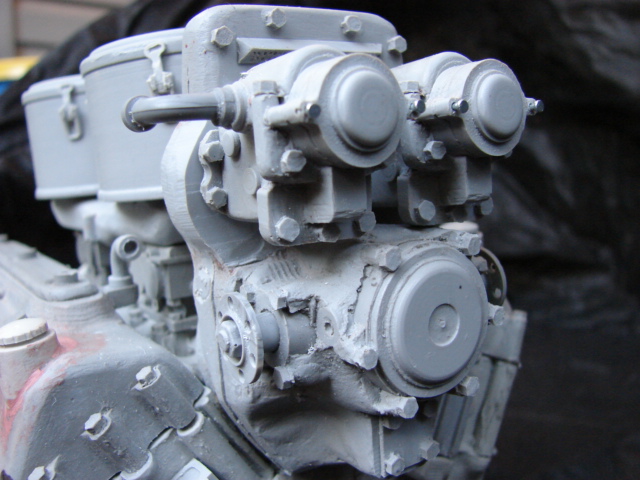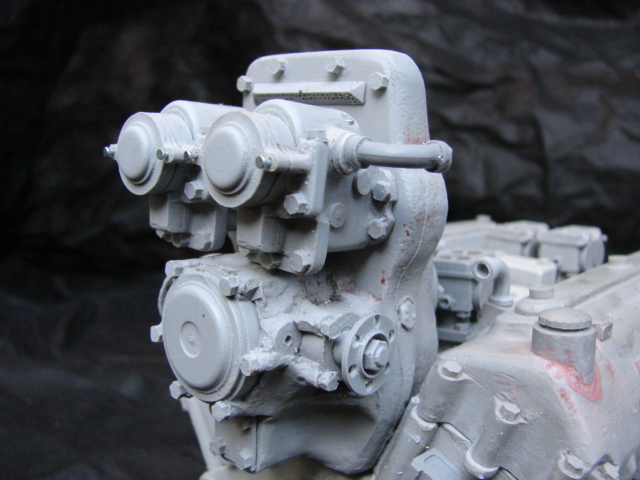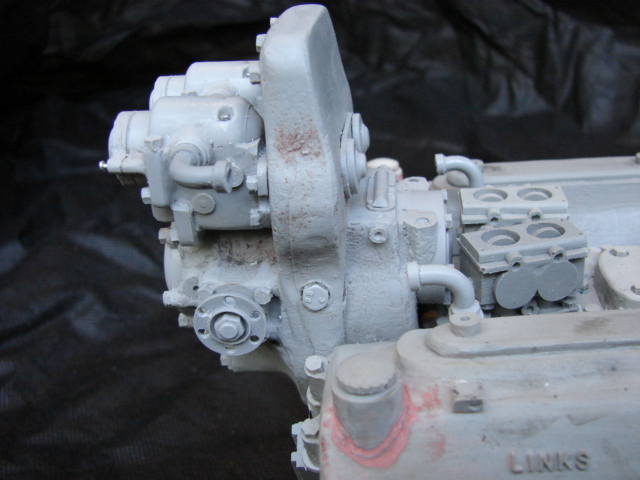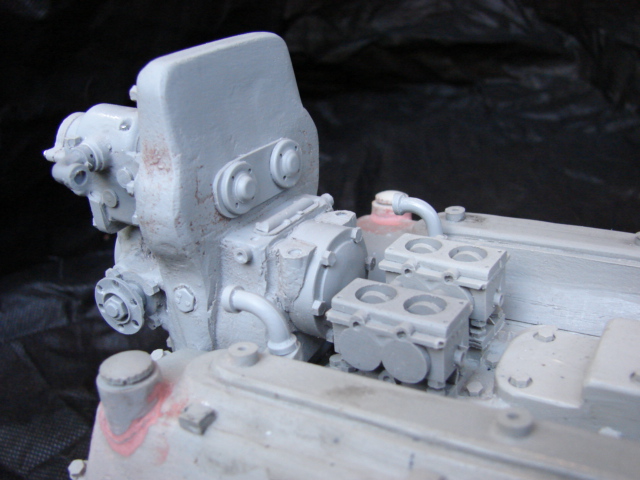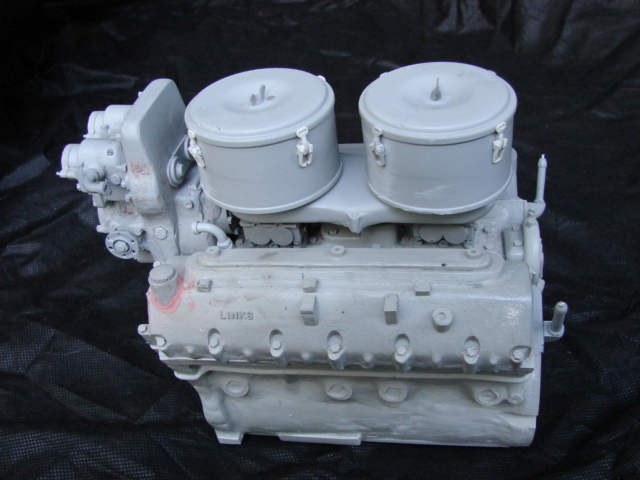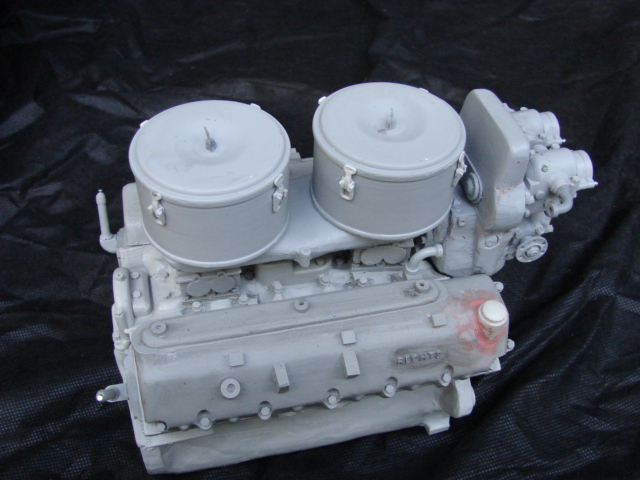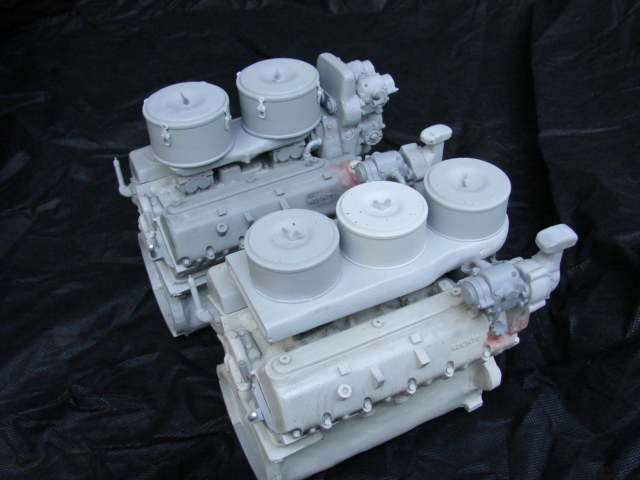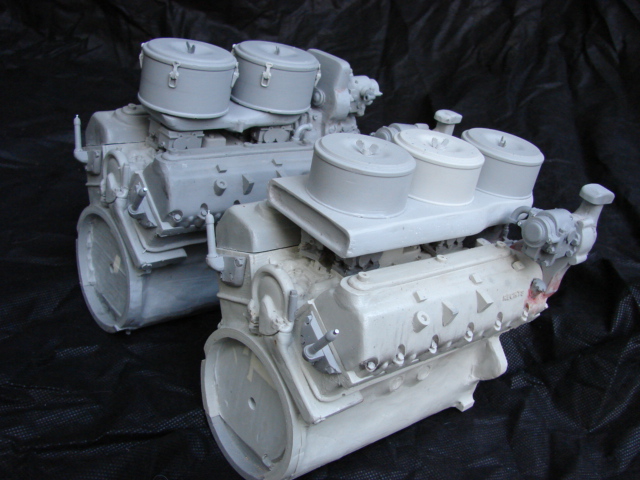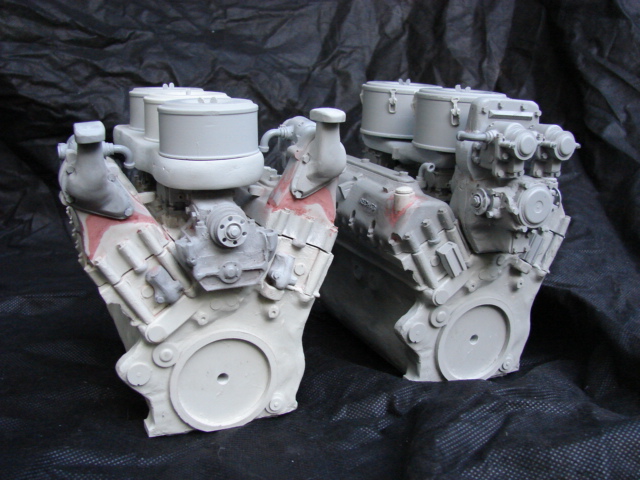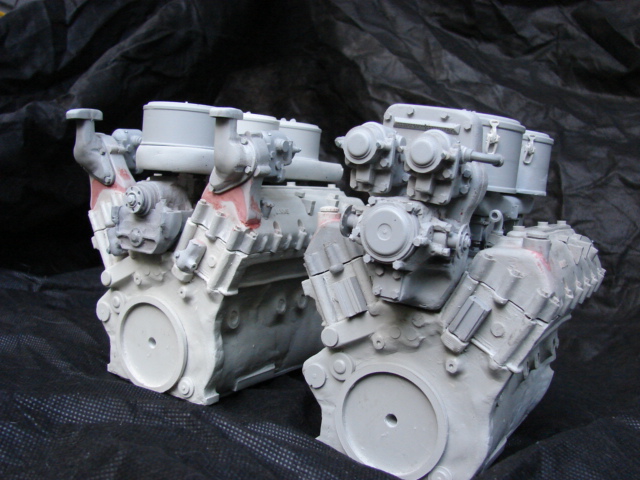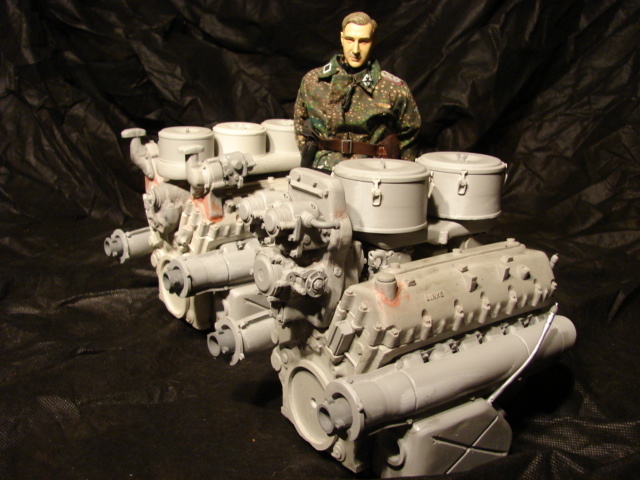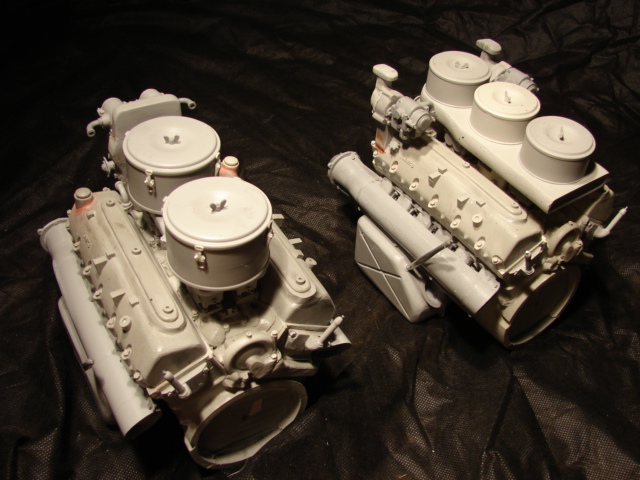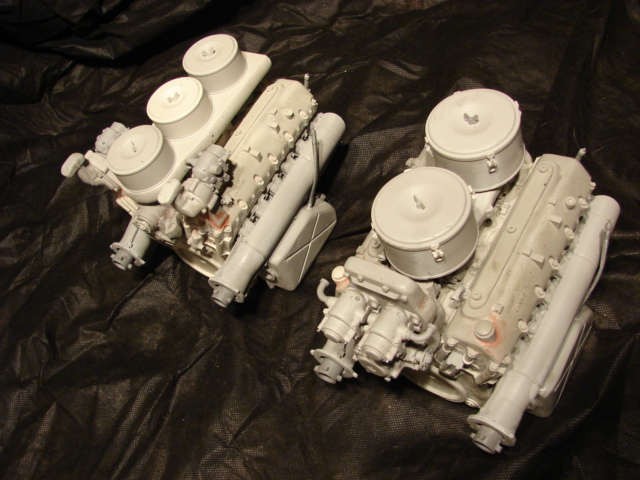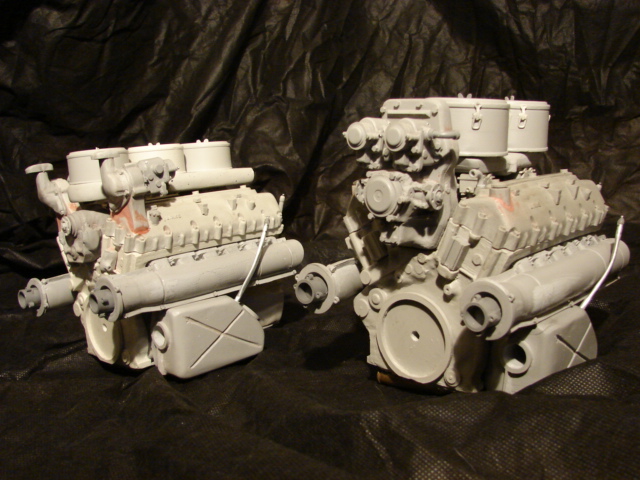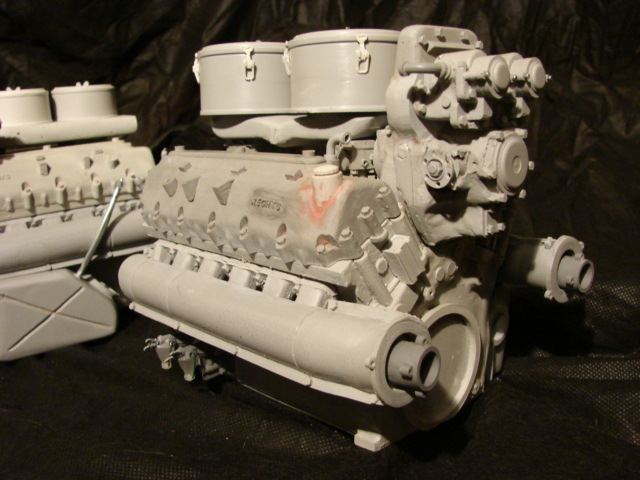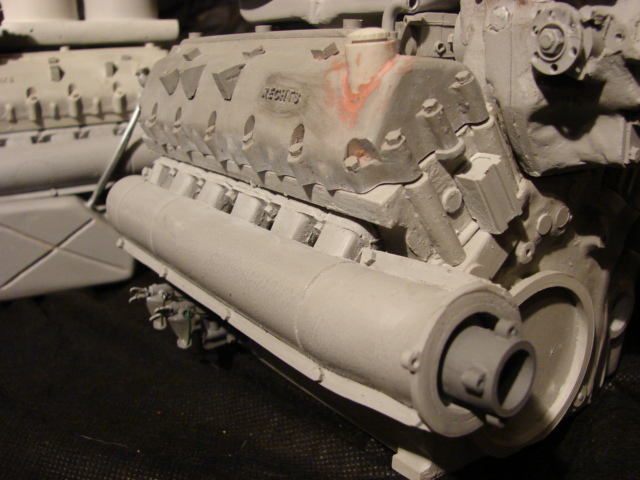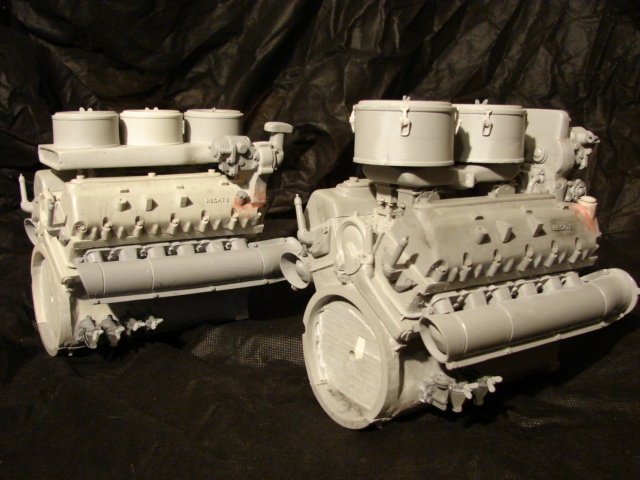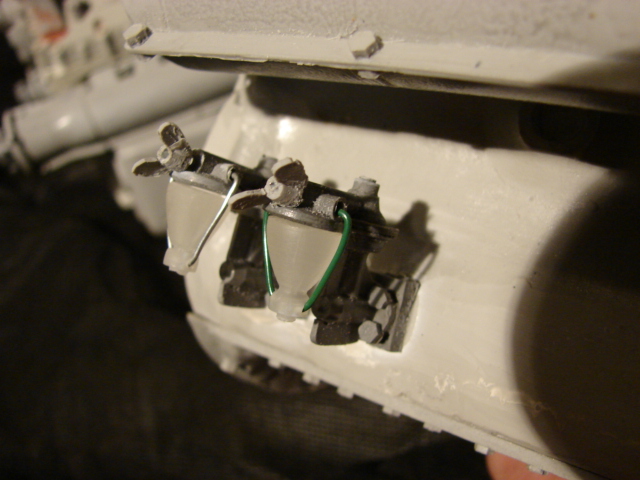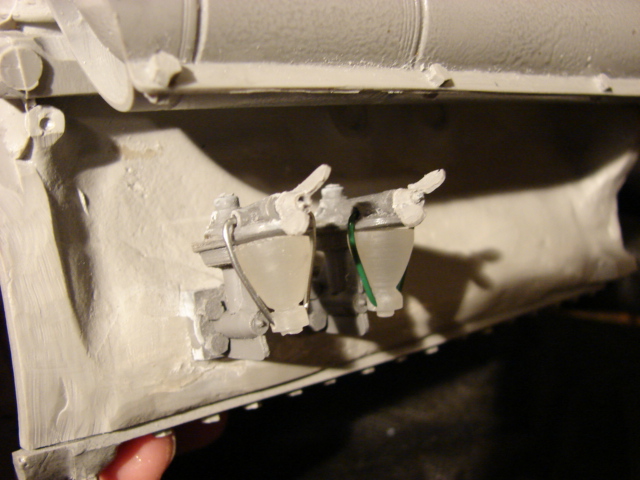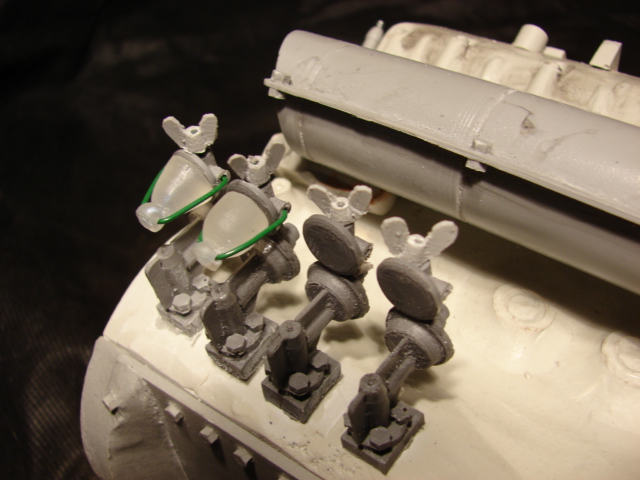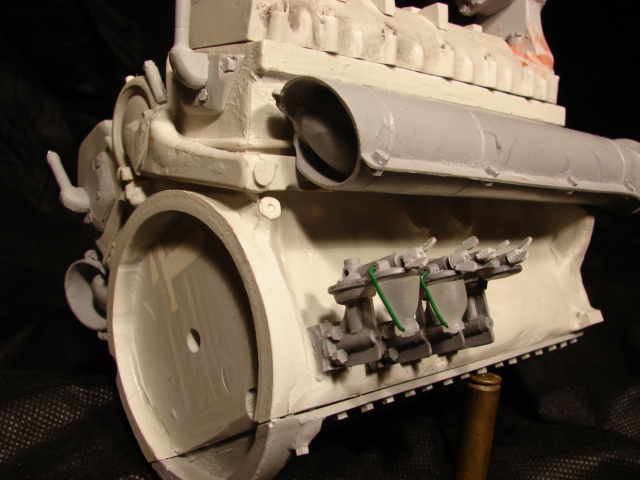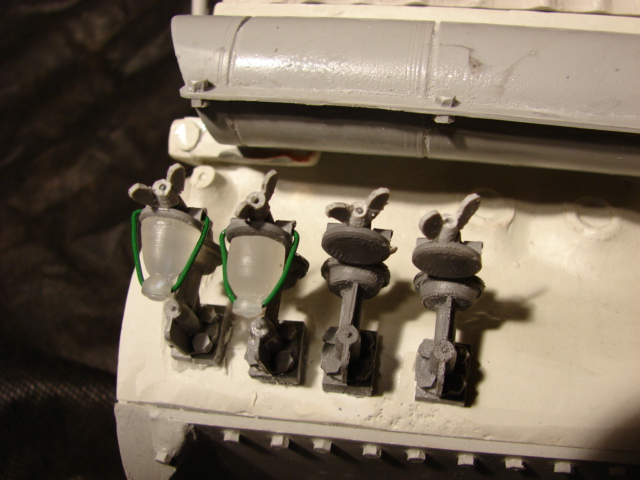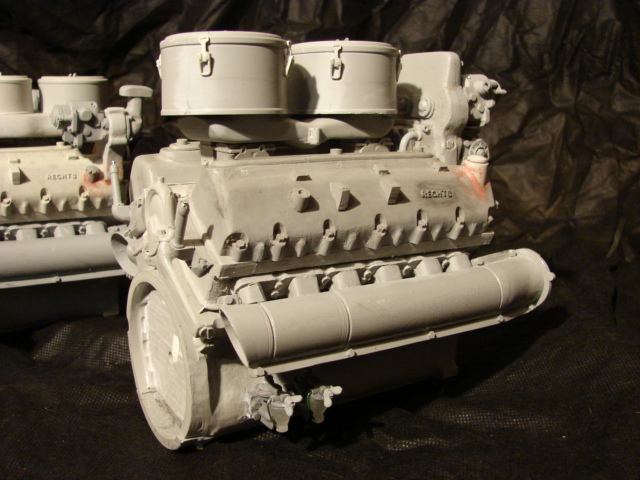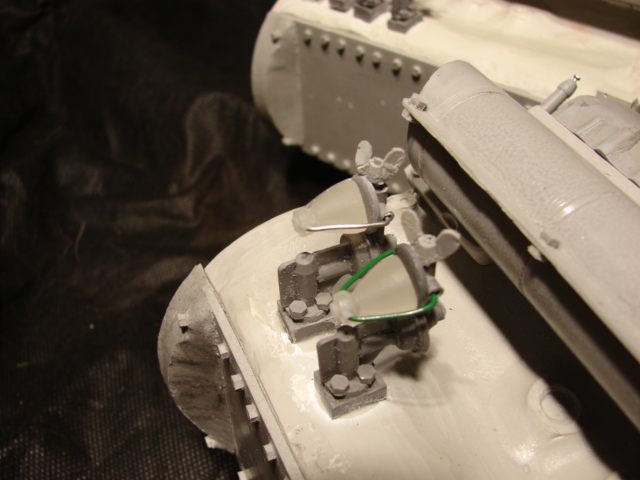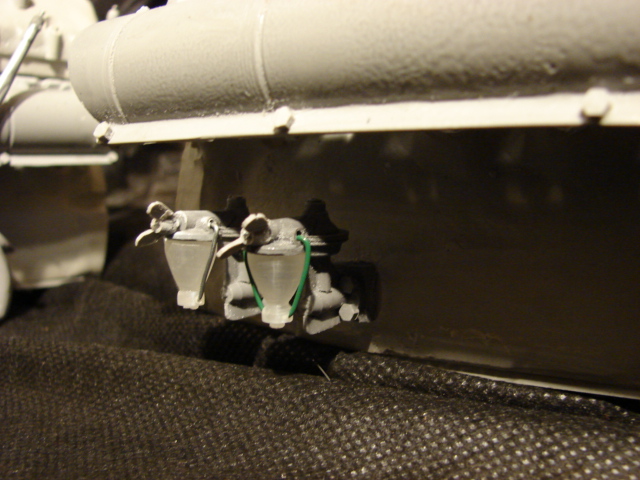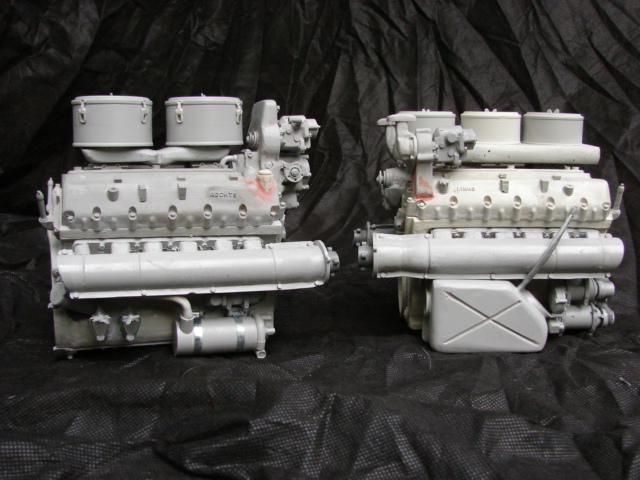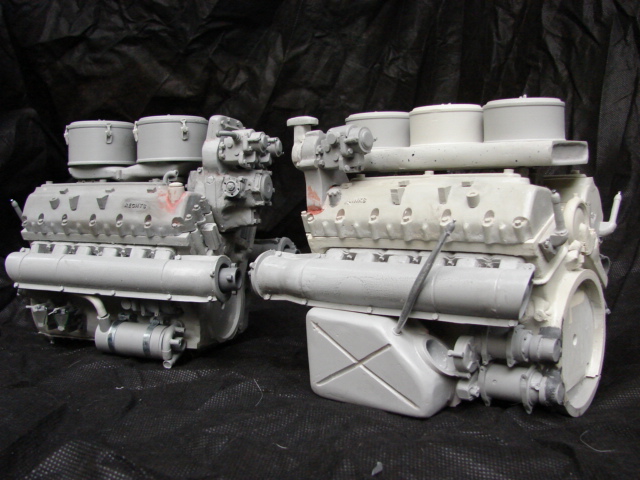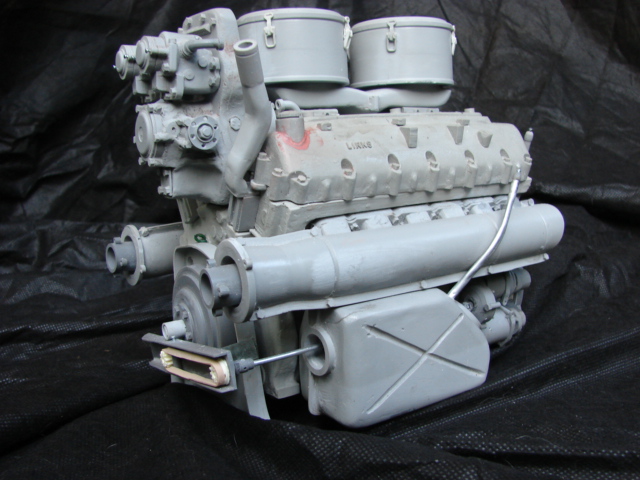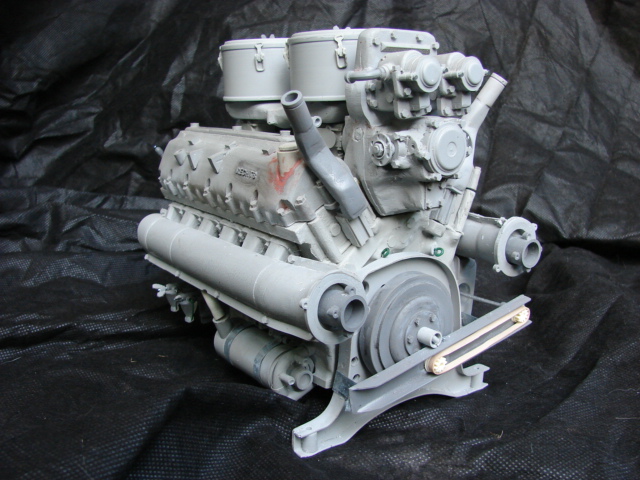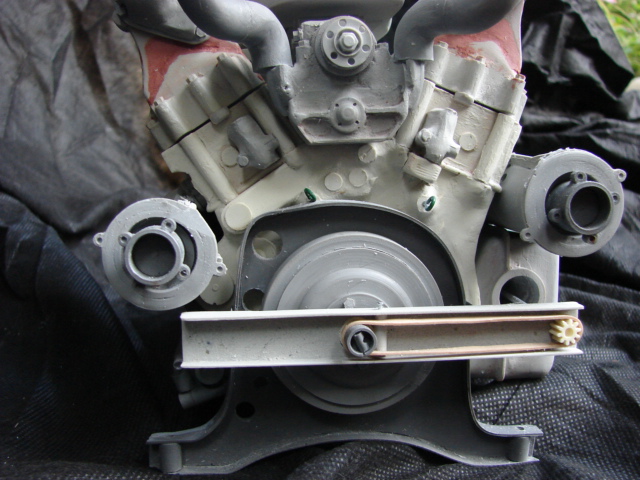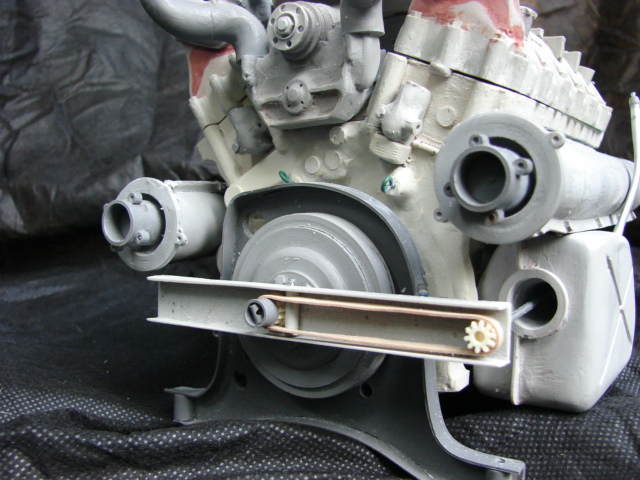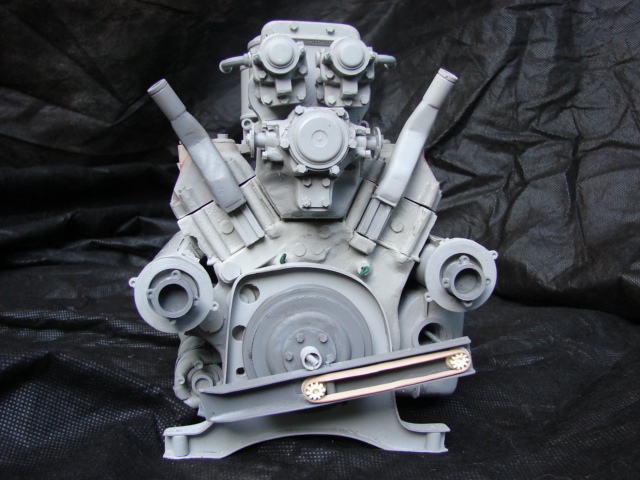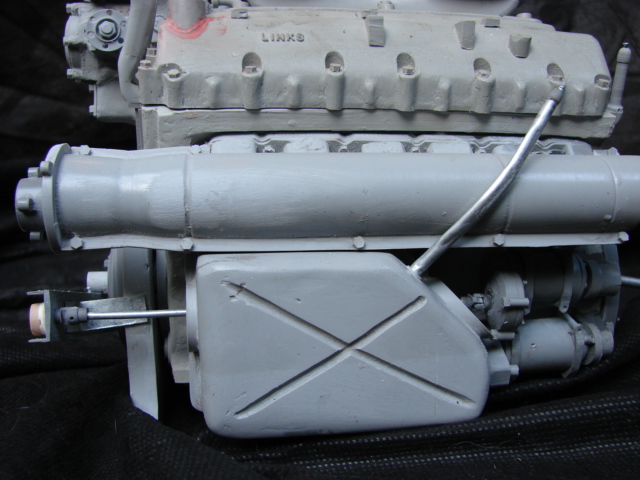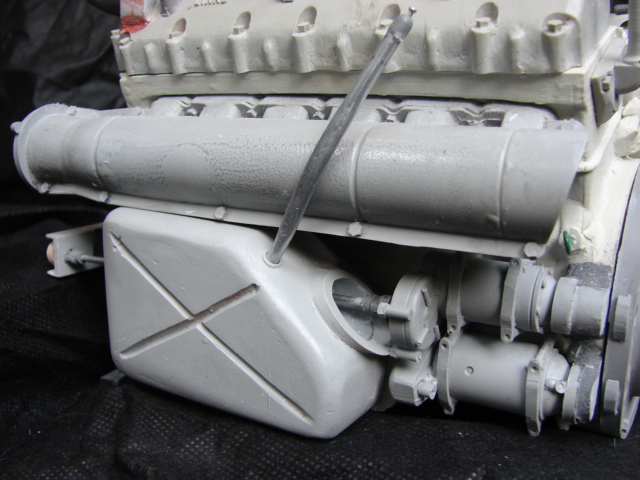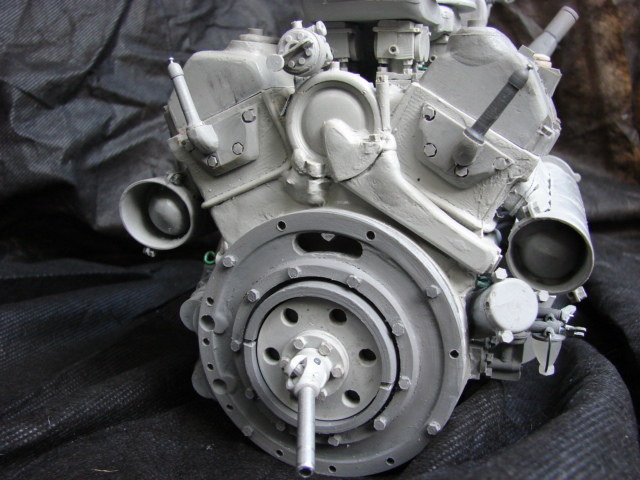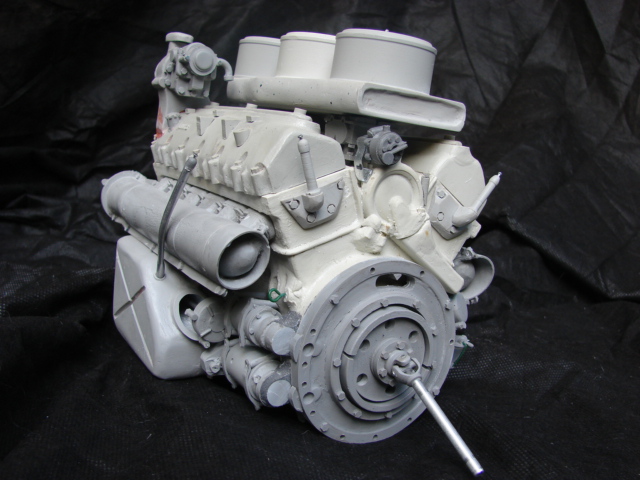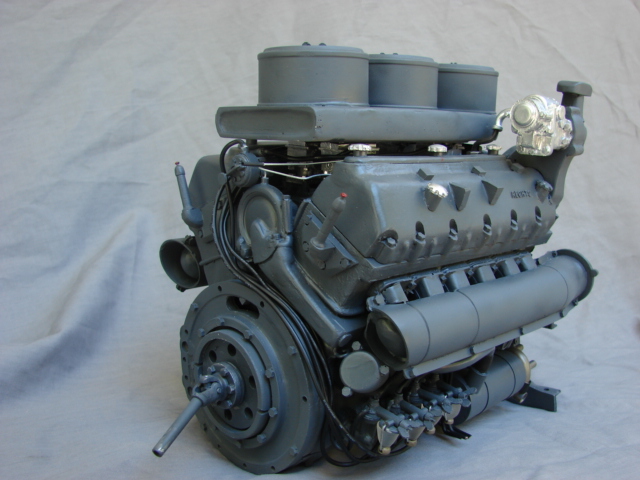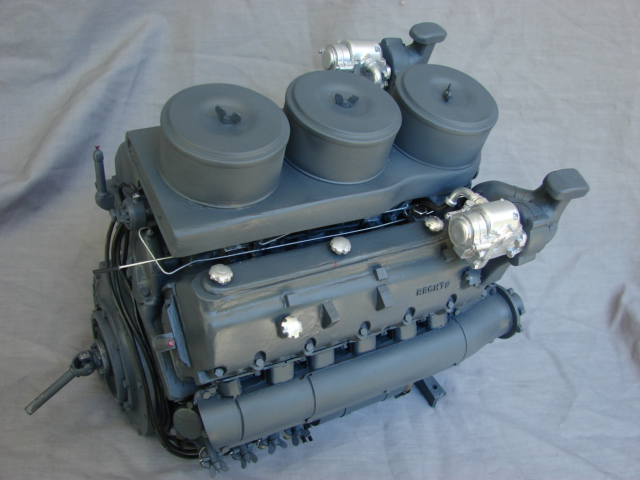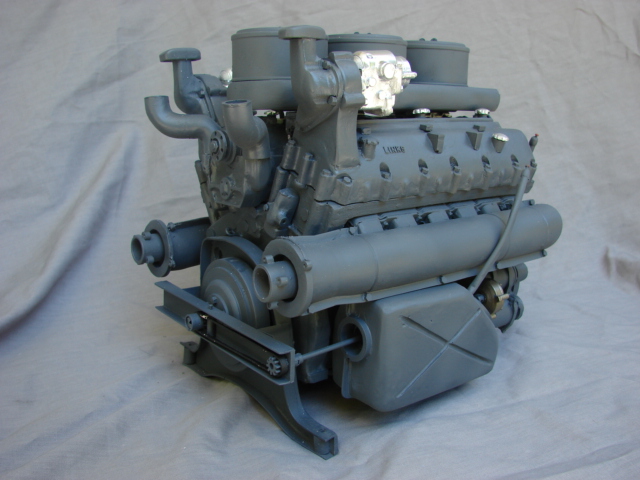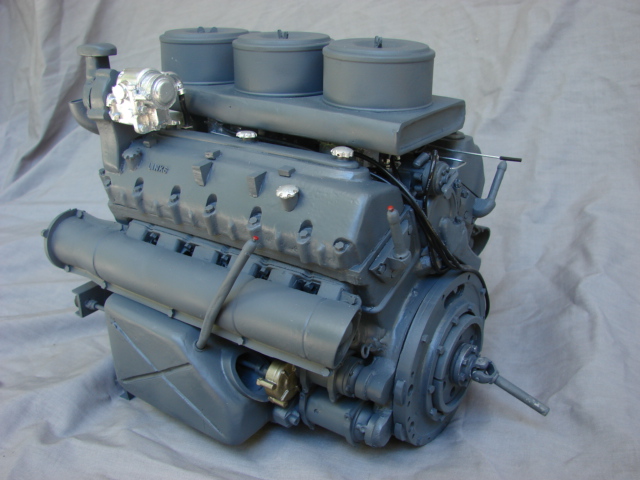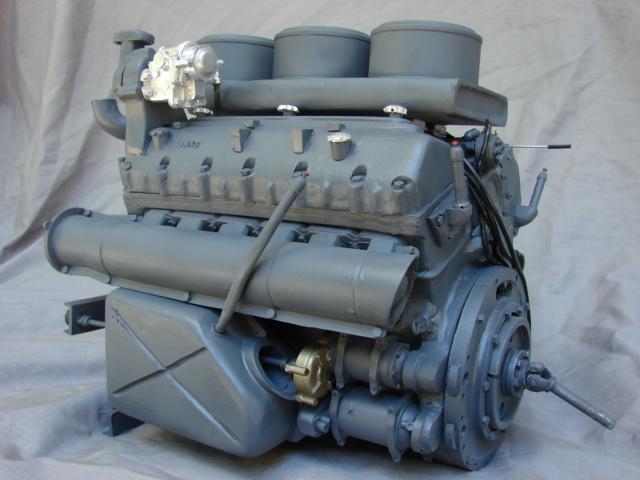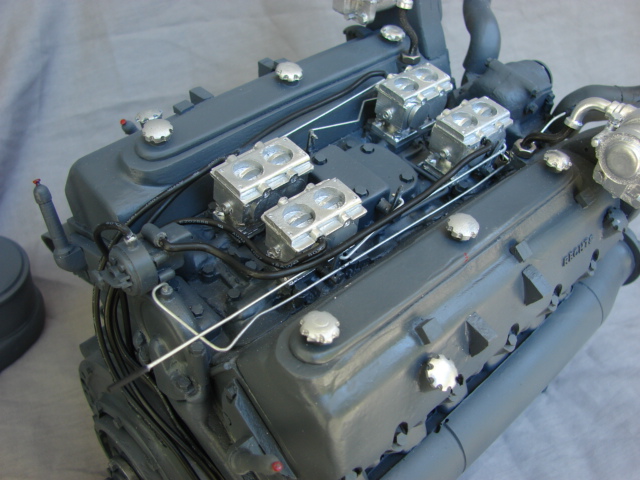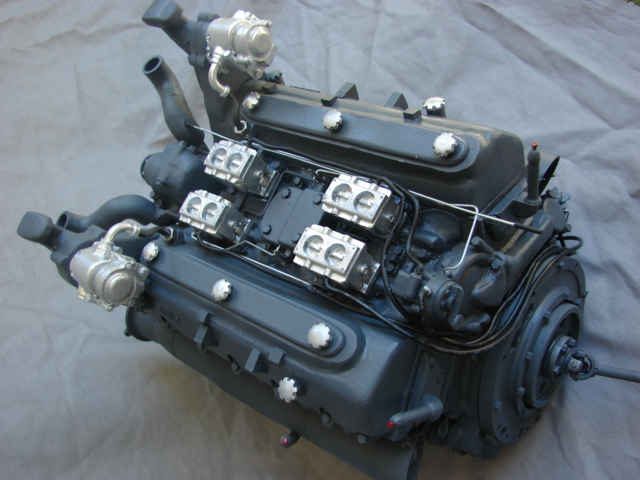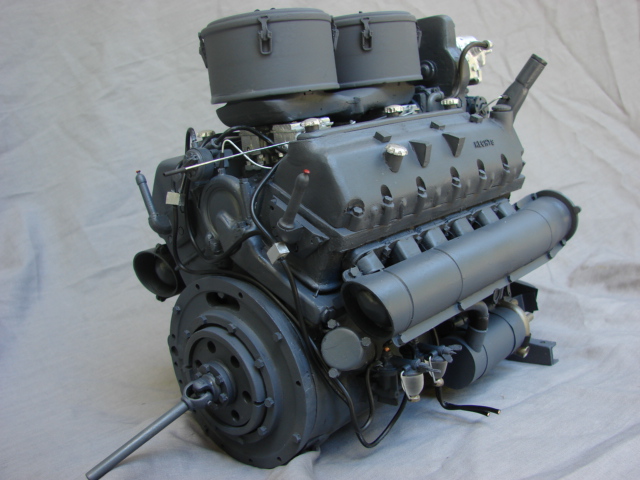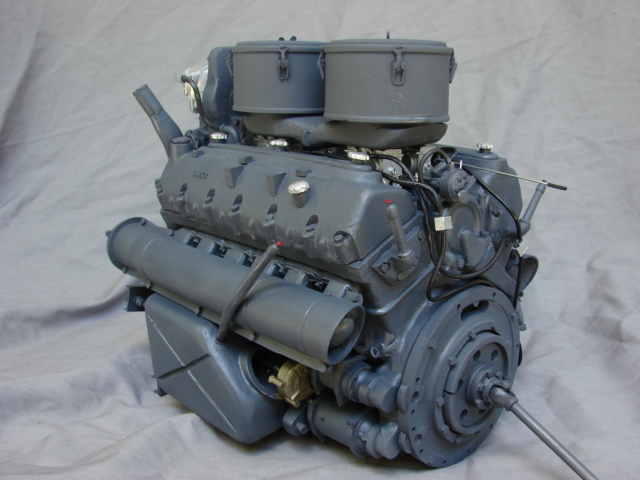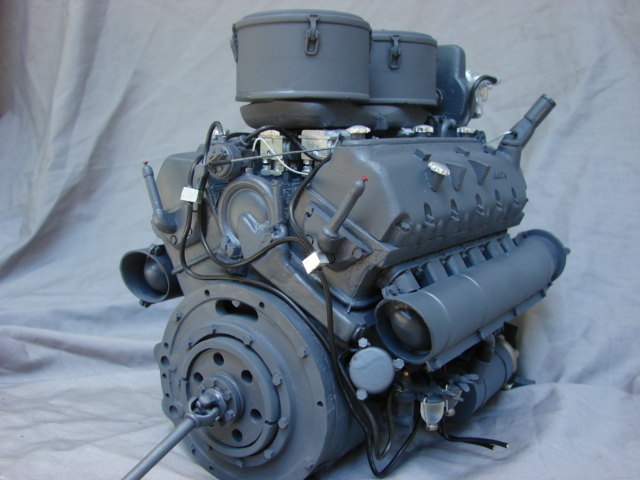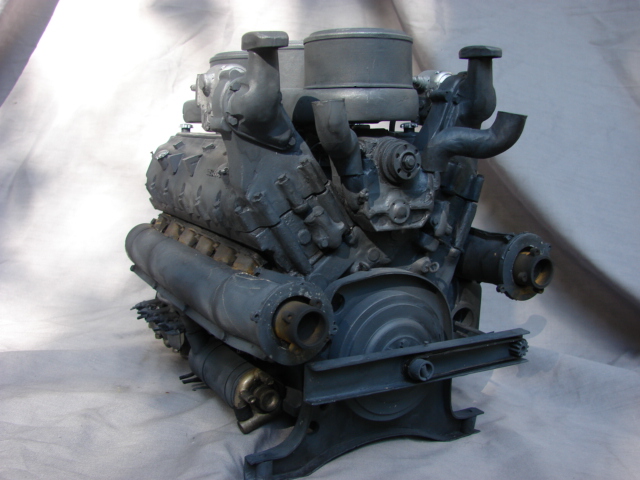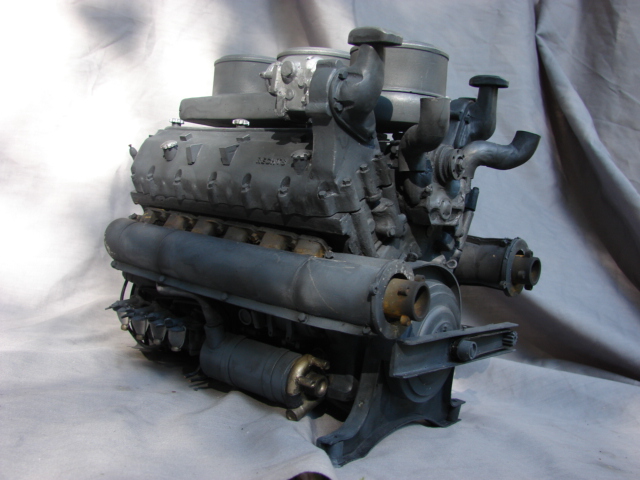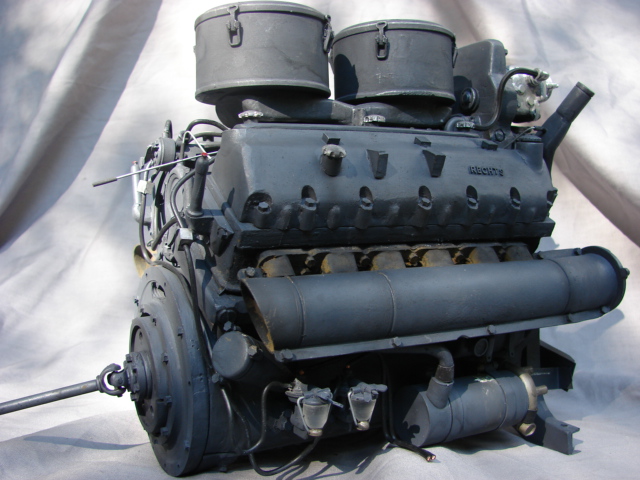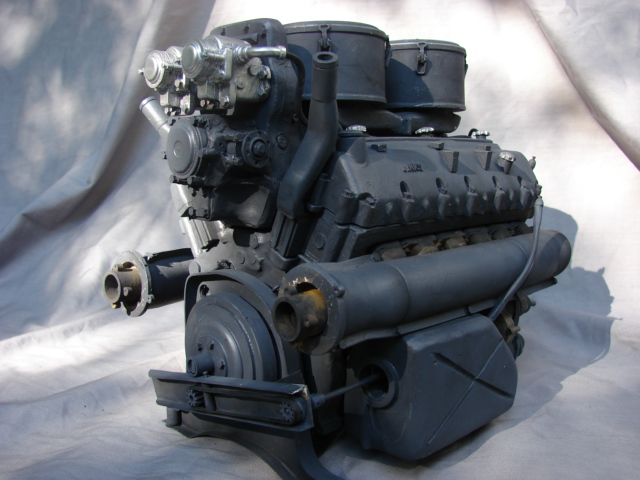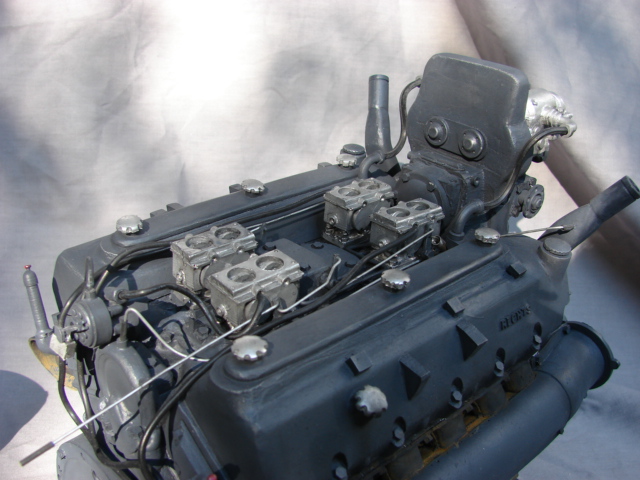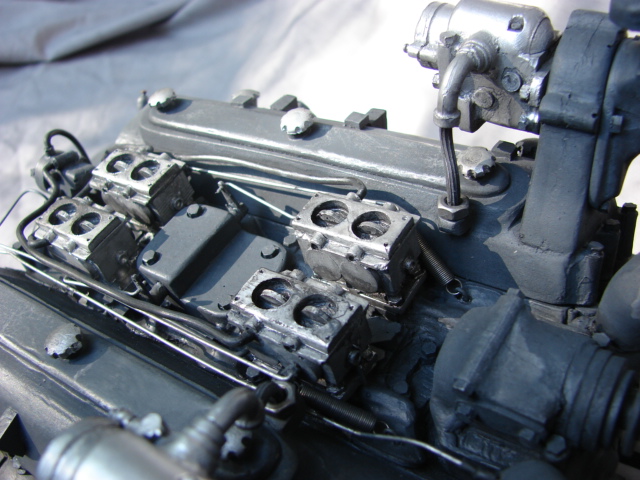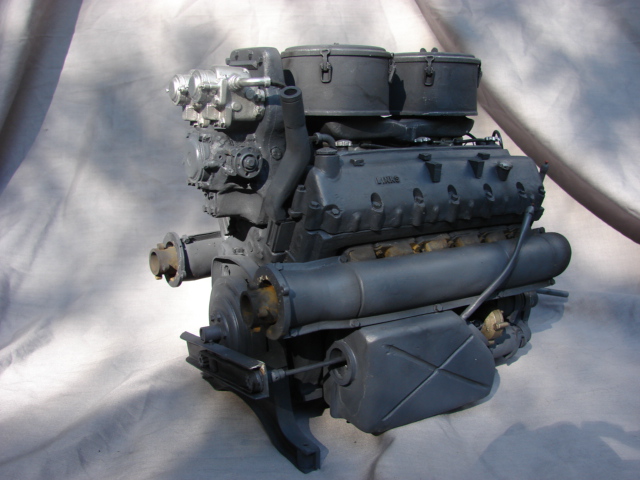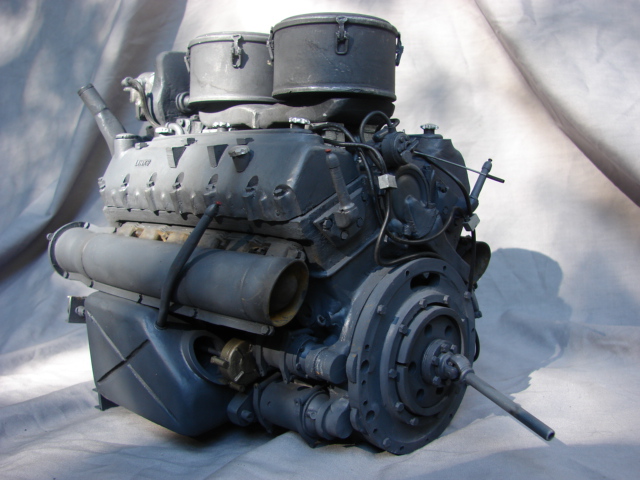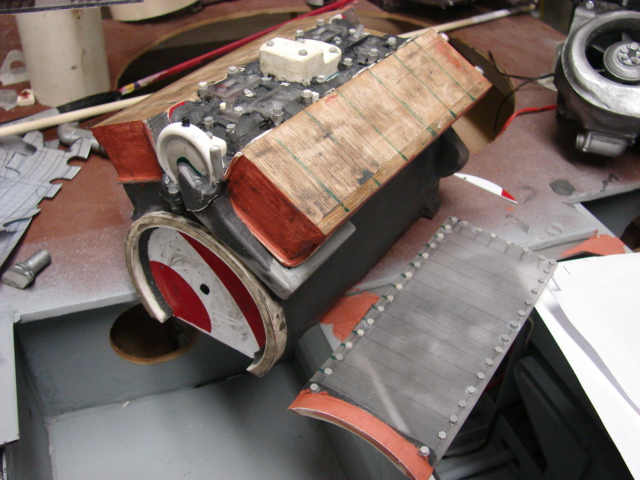
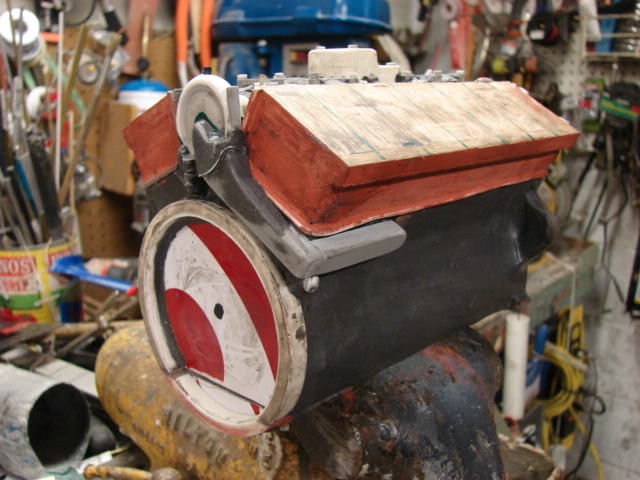
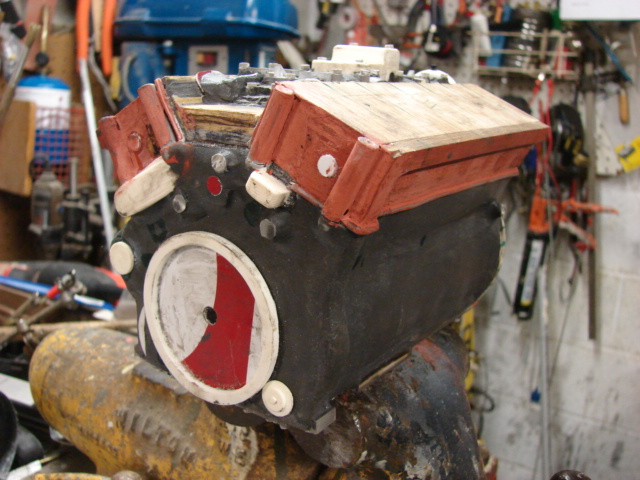
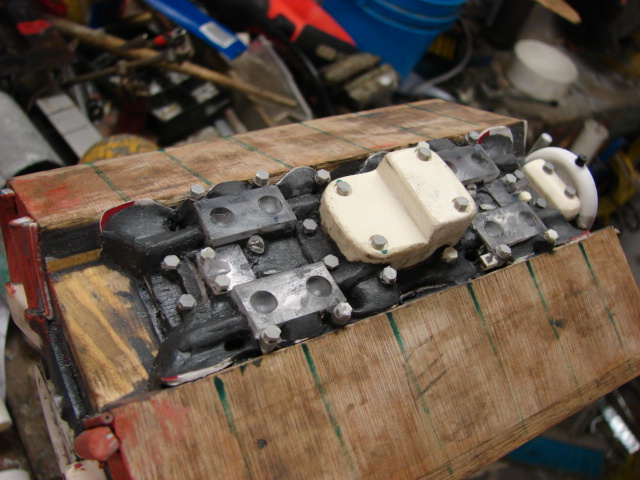
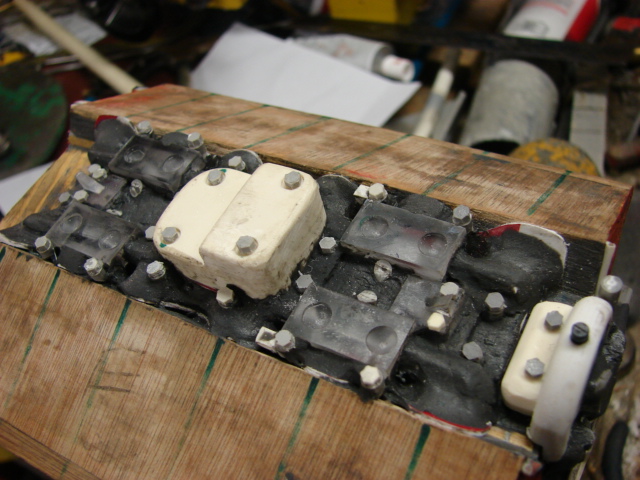
Since both engine blocks are so similar both kits will use the same crank case, but will have different components (rocker arm covers, air filter manifolds, starters... etc.)
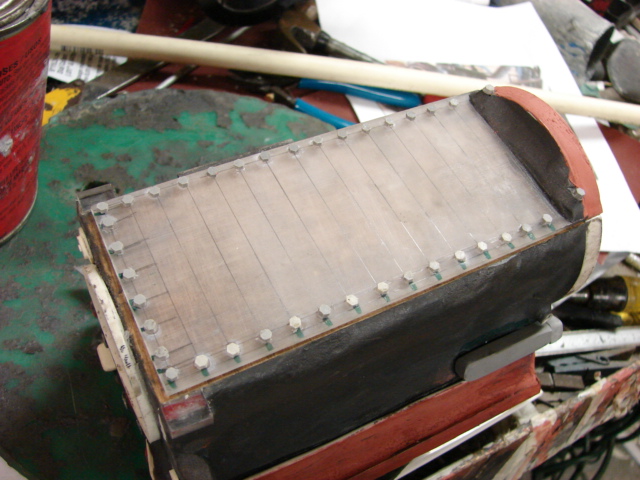
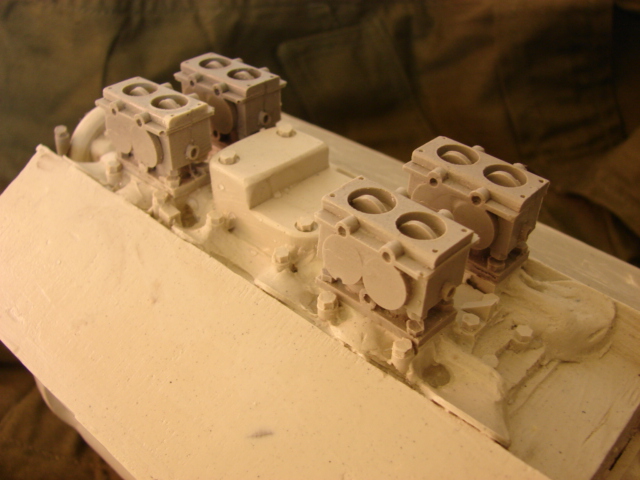
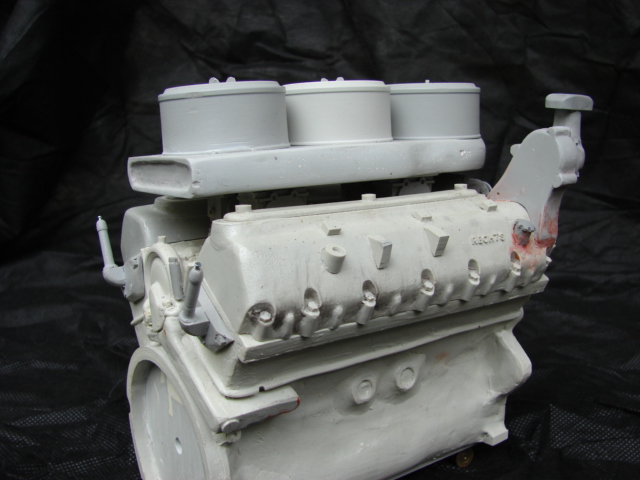
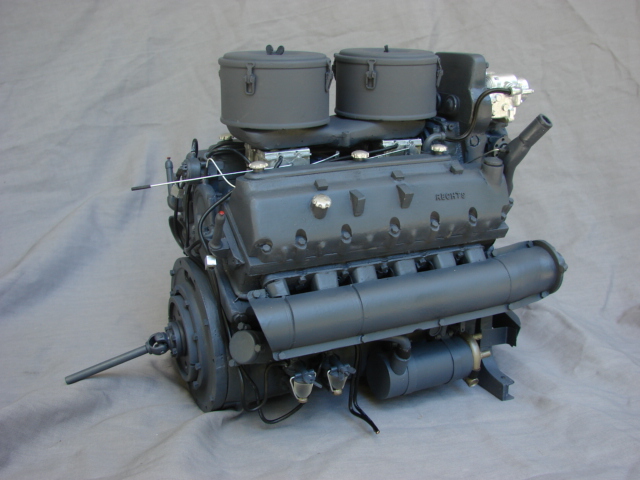
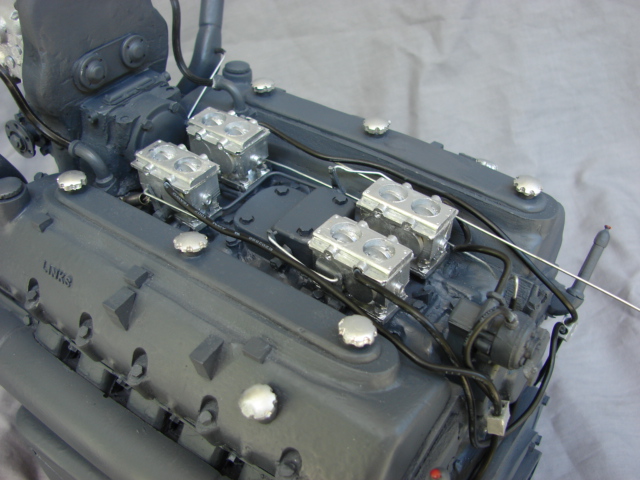
I should have the 210 engine masters complete in about 3 weeks. More to come