T34/85 25th Guards Brigade No 234a
-
- Posts: 2020
- Joined: Sat Dec 12, 2009 3:38 pm
- Location: Sambourne uk
- Been liked: 223 times
RE Shaped my front end
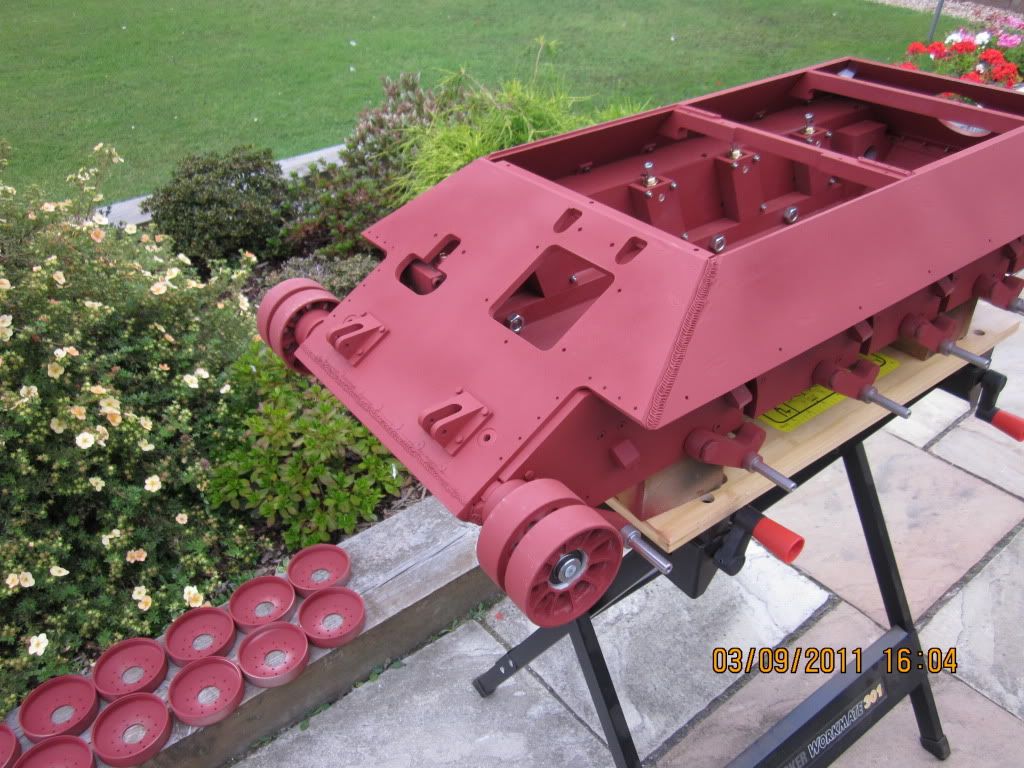
Thanks Kent for your advice,I found a way to re shape my front end for the sharper T34/85 look
Just need a bit more attention to the front counter sunk screws to hide them better.
-
- Posts: 2020
- Joined: Sat Dec 12, 2009 3:38 pm
- Location: Sambourne uk
- Been liked: 223 times
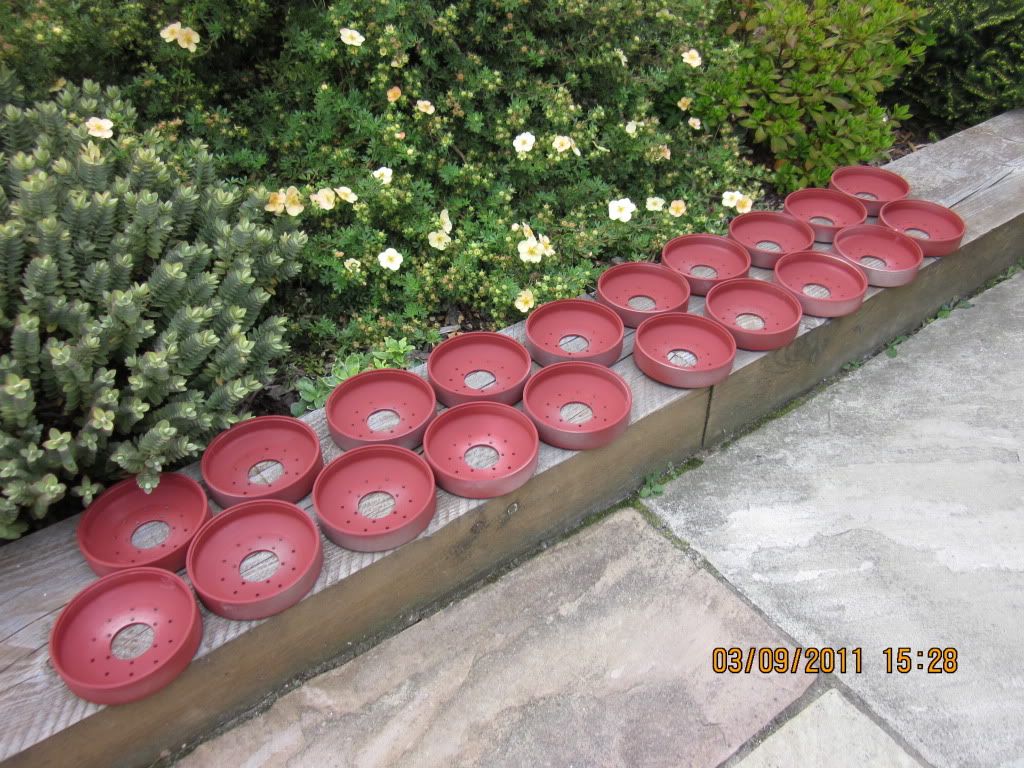
Stared on Idler,sprocket and road wheels
Started on the Idler,Sprocket and road wheels.
light coat of primer on my road wheels
Fitted bearings and installed Idler
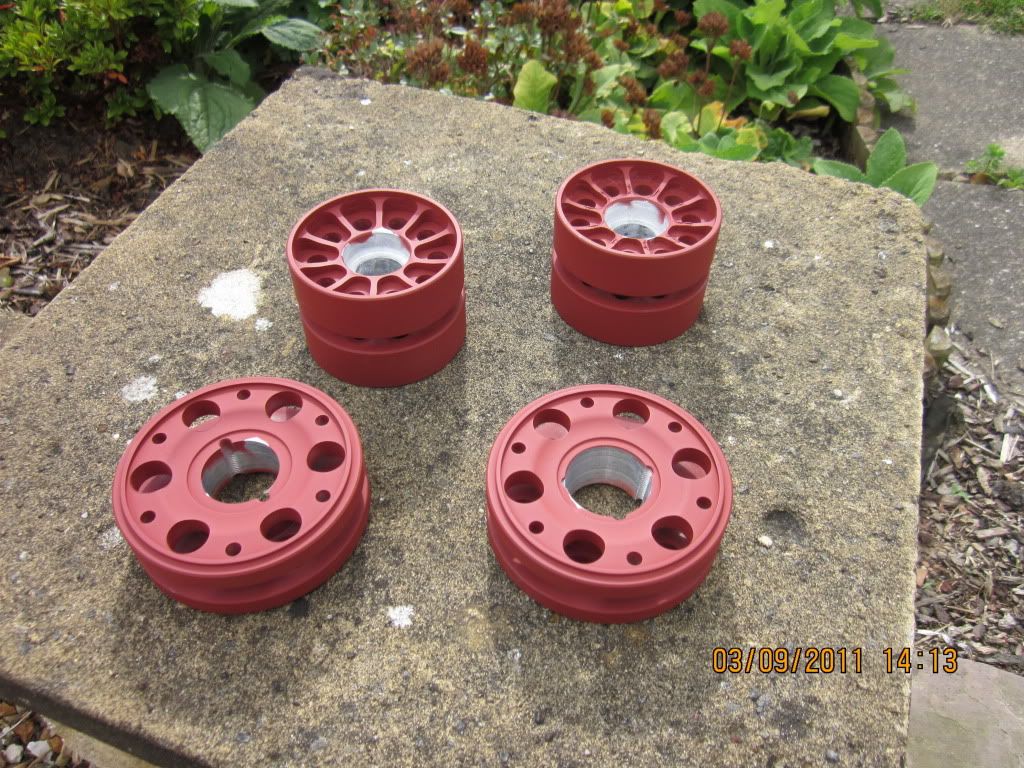
Idler and sprockets primed,waiting for bearings to go in the Idler
light coat of primer on my road wheels
Fitted bearings and installed Idler
Idler and sprockets primed,waiting for bearings to go in the Idler
-
- Posts: 2020
- Joined: Sat Dec 12, 2009 3:38 pm
- Location: Sambourne uk
- Been liked: 223 times
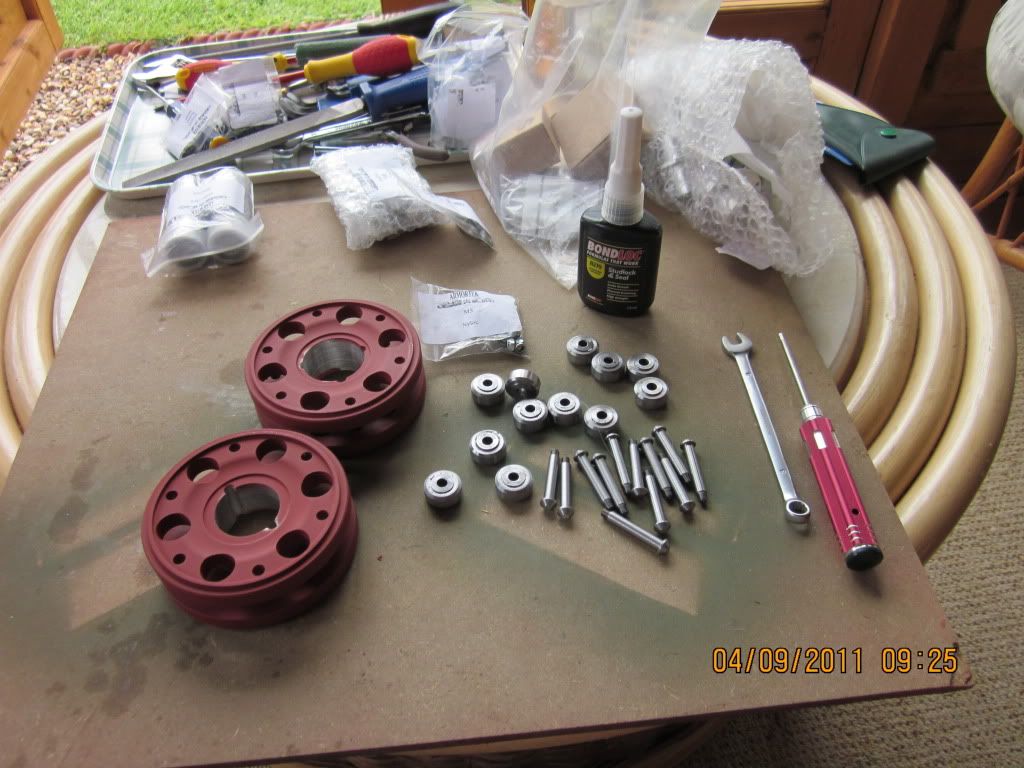
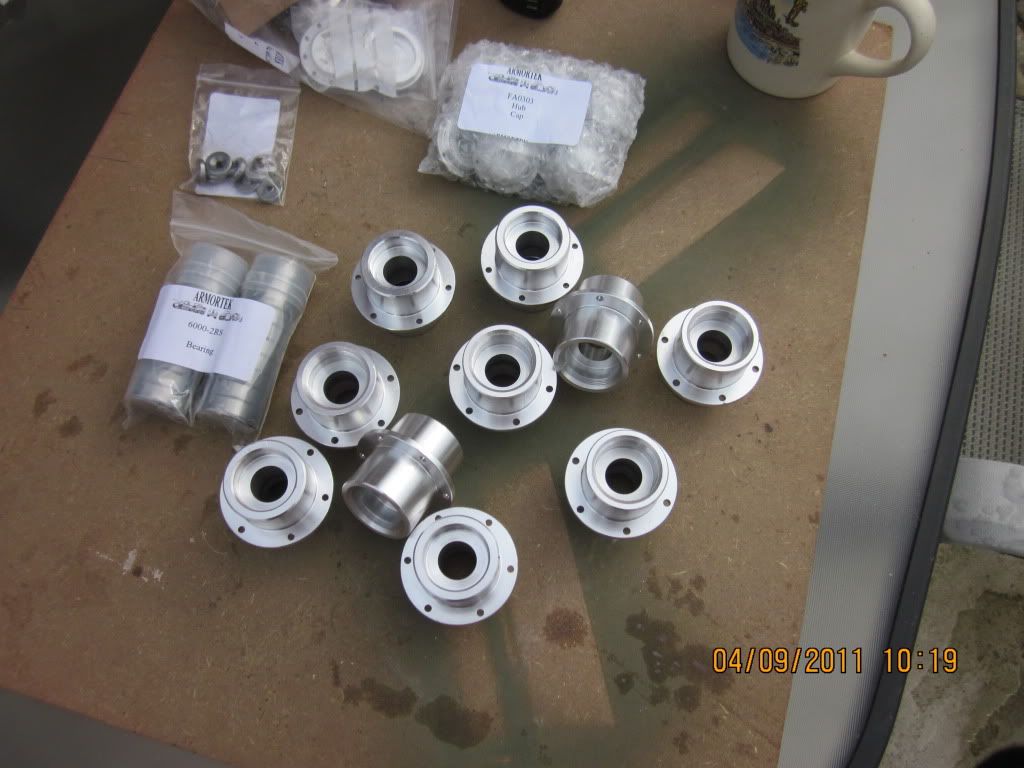
Sprocket and wheel hub bits
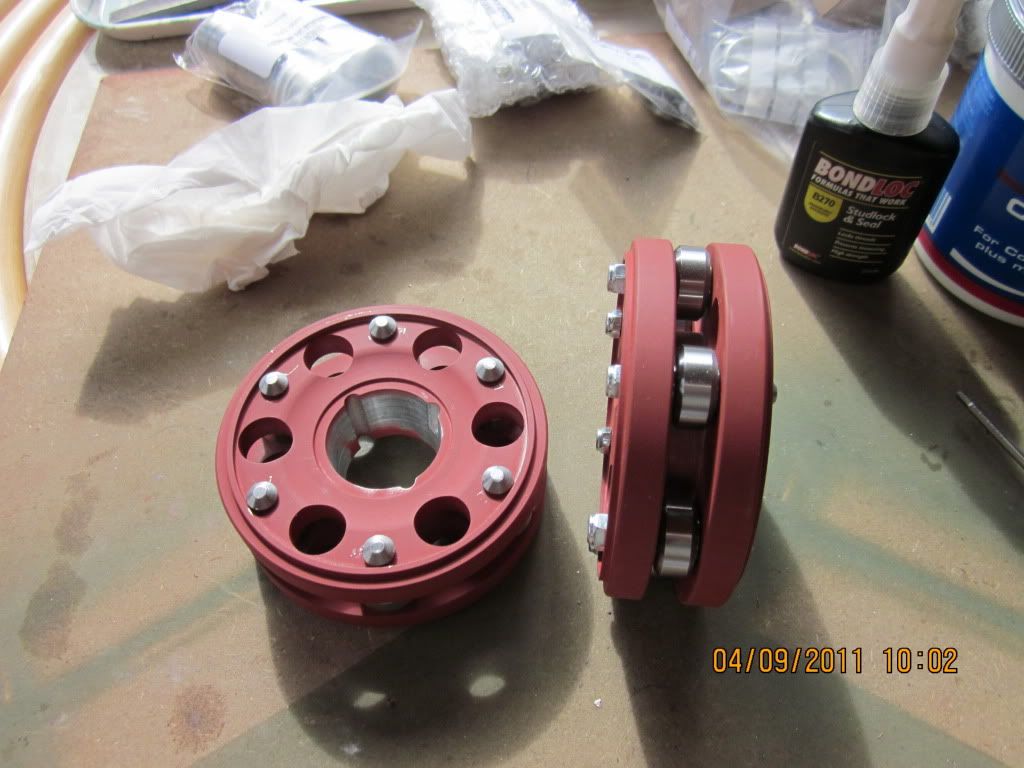
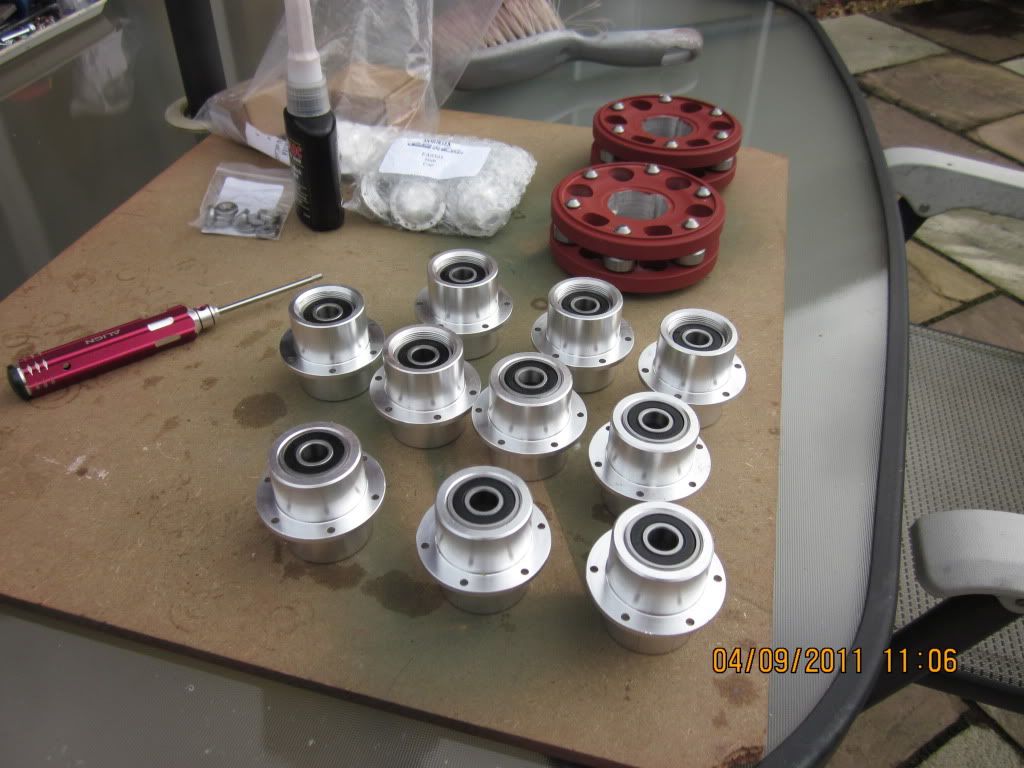
Assembling the sprocket rollers and bearings into hubs
Rollers fitted into sprockets
Sprocket Bits
Hub Parts
Bearings fitted in hubs
Rollers fitted into sprockets
Sprocket Bits
Hub Parts
Bearings fitted in hubs
-
- Posts: 2020
- Joined: Sat Dec 12, 2009 3:38 pm
- Location: Sambourne uk
- Been liked: 223 times
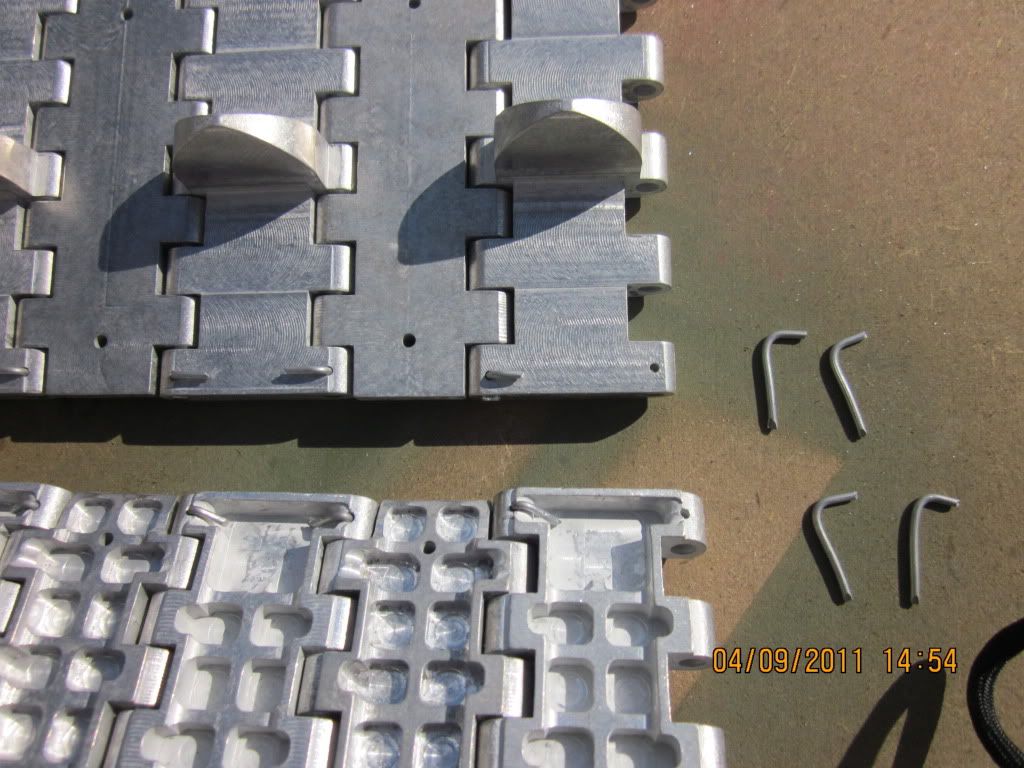
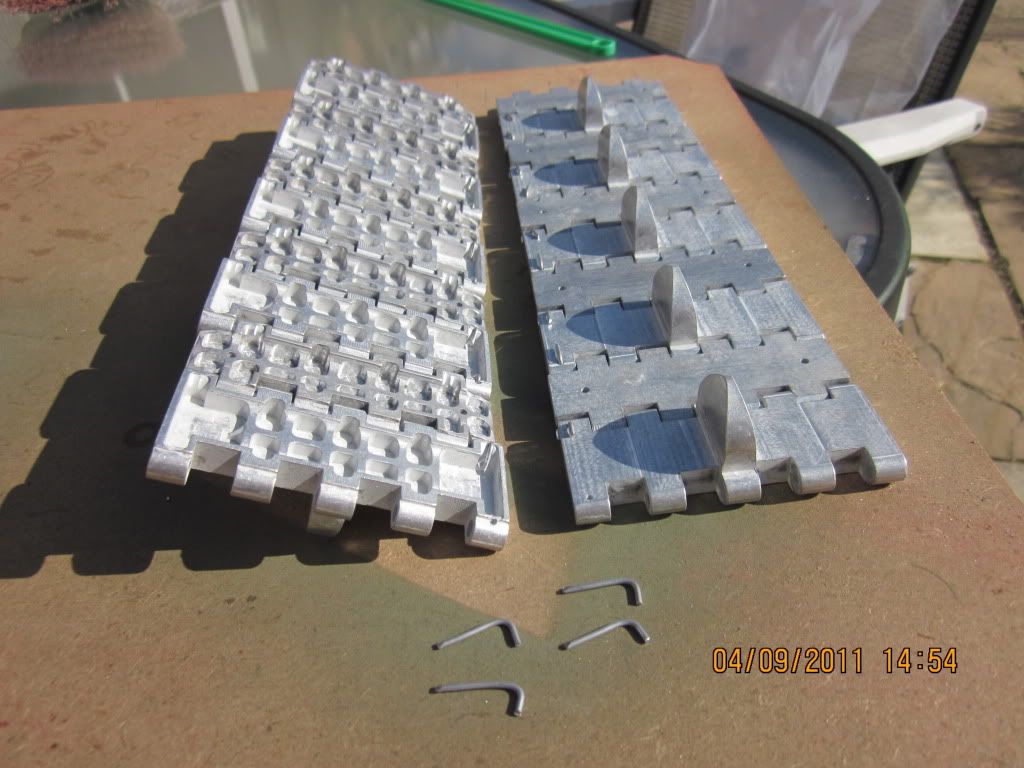
Started Tracks
Started to assemble the Tracks
Nice and easy with the bent wire,just a few links to clean up so they move nice,lovely stuff
-
- Posts: 50
- Joined: Sun Jun 19, 2011 10:37 am
Re: T34/85 25th Guards Brigade No 234a
Good morning Phil,
I notice that when you installed the front suspension pieces, the allen screws are not fixed into the top mechanism for the spring tension. And, it doesn't look like they would clear the glacis plate anyway.
Regards,
Bill
I notice that when you installed the front suspension pieces, the allen screws are not fixed into the top mechanism for the spring tension. And, it doesn't look like they would clear the glacis plate anyway.
Regards,
Bill
-
- Posts: 2020
- Joined: Sat Dec 12, 2009 3:38 pm
- Location: Sambourne uk
- Been liked: 223 times
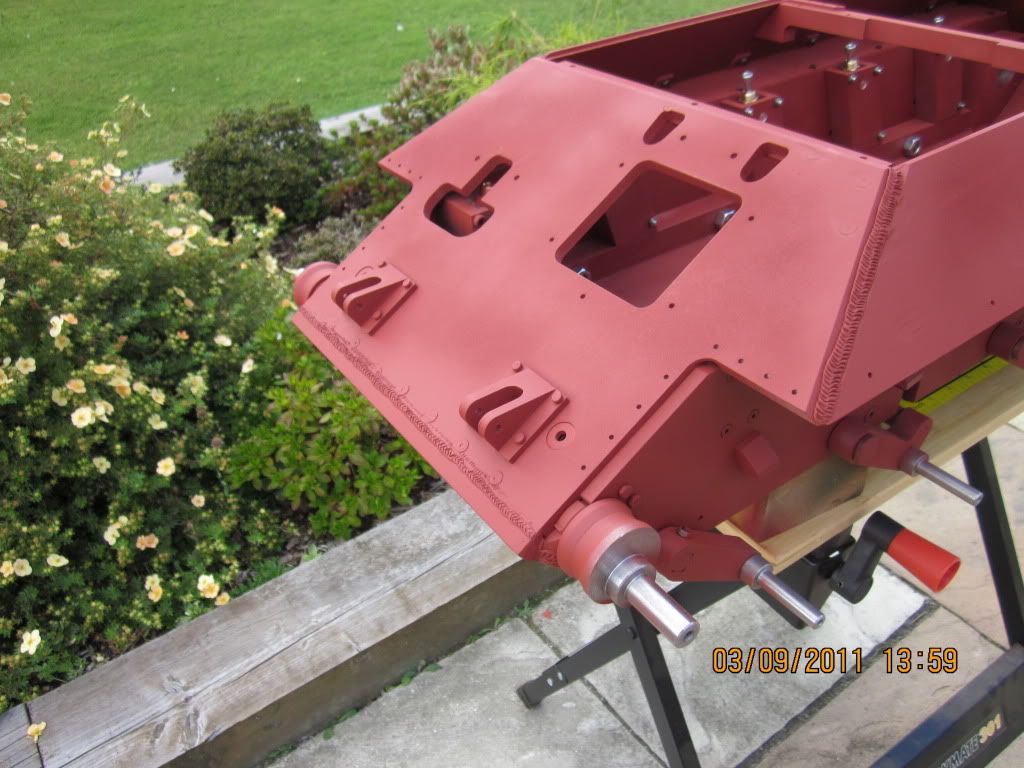
Front Suspension
Hi Bill
Yes you are right,the 100mm replacement screws were still too big because they hit the underside
of the glacis plate.
I cut off 40mm measured from the top of the cap head and rounded the end nicely.
This was enough to have plenty left inside the spring adjuster so it cant fall out evan at the
lowest the suspension can get,this was with the spring adjuster screwed right up into the trunion.
I greased it before reassembly so it slid nice in the spring adjuster,and now the front suspension
has got all the travel it could need.and the cap head shaft does not hit the underside of the
glacis plate but still suports the spring if neaded.
I adjusted the front springs about the same as the main ones.
Check with Mark though because you may get away with cuting a little less off.
I was working underneith the glacis plate because I hadent read right through the manual first.
and I had already done some welds and flushed off the fasteners on the front,when I found out
that taking off the glacis plate was recomended when i came to fit the Idler shafts.
But I did it
Cheers
Phil
-
- Posts: 2020
- Joined: Sat Dec 12, 2009 3:38 pm
- Location: Sambourne uk
- Been liked: 223 times
- Robert E Morey
- Posts: 2298
- Joined: Wed Jul 18, 2007 12:59 am
- Location: Seattle, WA USA
- Has liked: 125 times
- Been liked: 755 times
Re: T34/85 25th Guards Brigade No 234a
Phil,
Great work on the T-34, its really coming together. It looks like a nice model. I love the machined track links! Keep us posted on your progress.
Nice to see one of the first ones coming together so well.
Best regards,
Bob
Great work on the T-34, its really coming together. It looks like a nice model. I love the machined track links! Keep us posted on your progress.
Nice to see one of the first ones coming together so well.
Best regards,
Bob
-
- Posts: 2020
- Joined: Sat Dec 12, 2009 3:38 pm
- Location: Sambourne uk
- Been liked: 223 times
Re: T34/85 25th Guards Brigade No 234a
Thanks Bob
Yes its going to be a fun model to build and the Kit parts are all lovely stuff as usual
Need to start turning the Hull a bit green soon especially the bottom,so I dont have to
keep turning it over now the weight is growing
Cheers
Phil
Yes its going to be a fun model to build and the Kit parts are all lovely stuff as usual
Need to start turning the Hull a bit green soon especially the bottom,so I dont have to
keep turning it over now the weight is growing
Cheers
Phil
-
- Posts: 2020
- Joined: Sat Dec 12, 2009 3:38 pm
- Location: Sambourne uk
- Been liked: 223 times
-
- Posts: 2020
- Joined: Sat Dec 12, 2009 3:38 pm
- Location: Sambourne uk
- Been liked: 223 times
-
- Posts: 50
- Joined: Sun Jun 19, 2011 10:37 am
Re: T34/85 25th Guards Brigade No 234a
Good Morning, Phil.
I noticed in the second to last photo, you have what looks like added another coat of different colored primer to the suspension parts and appears that something has also been applied to give the components a rougher "forged or cast" texture.
How are you doing that? With what?
Really fine and quick assembly.
Best Regards,
Bill
-
- Posts: 2020
- Joined: Sat Dec 12, 2009 3:38 pm
- Location: Sambourne uk
- Been liked: 223 times
Paint texture
Hi Bill
I was just having a play about with a Mat Black aerosol acrylic and I found a Green car paint when I was picking up
some more Red Oxide.
It was Vauxhall "Leaf Green" and it looked a reasonable shade for use as a quick under coat.
I was spraying the lower hull and the bottom from a longer distance than normal especially with the black to
make it speckly and dirty in the areas that would get dirty,I did the Green first then ran over the dirty places
with the Black,put more black on the bottom
But the texture turned out good aswell.
Once I move the Tank into my spare room,I will only be Air Brushing and weathering.
Cheers
Phil
-
- Posts: 2020
- Joined: Sat Dec 12, 2009 3:38 pm
- Location: Sambourne uk
- Been liked: 223 times
-
- Posts: 2020
- Joined: Sat Dec 12, 2009 3:38 pm
- Location: Sambourne uk
- Been liked: 223 times