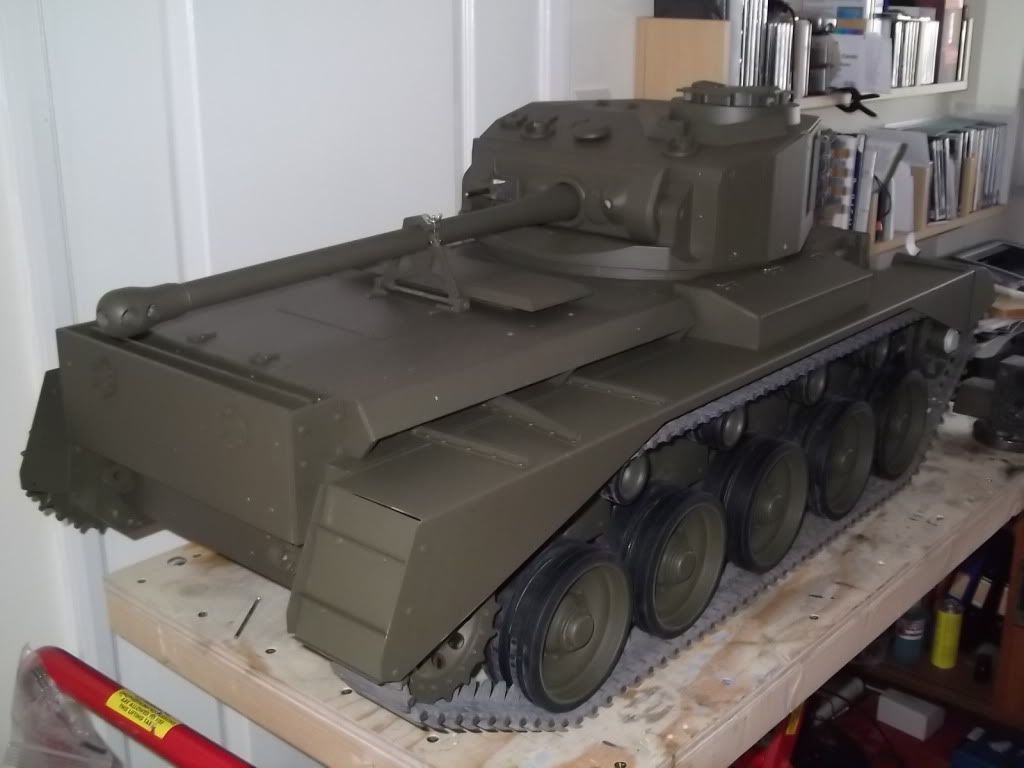
I've been slowly building my Comet slowly over the last 6 months; freely using Phil Fitzpatrick's (thanks Phil!) photo guide to help me. But I thought I ought to share some photos of my own, and some of the ideas I've had.
Two photos from early in the build:
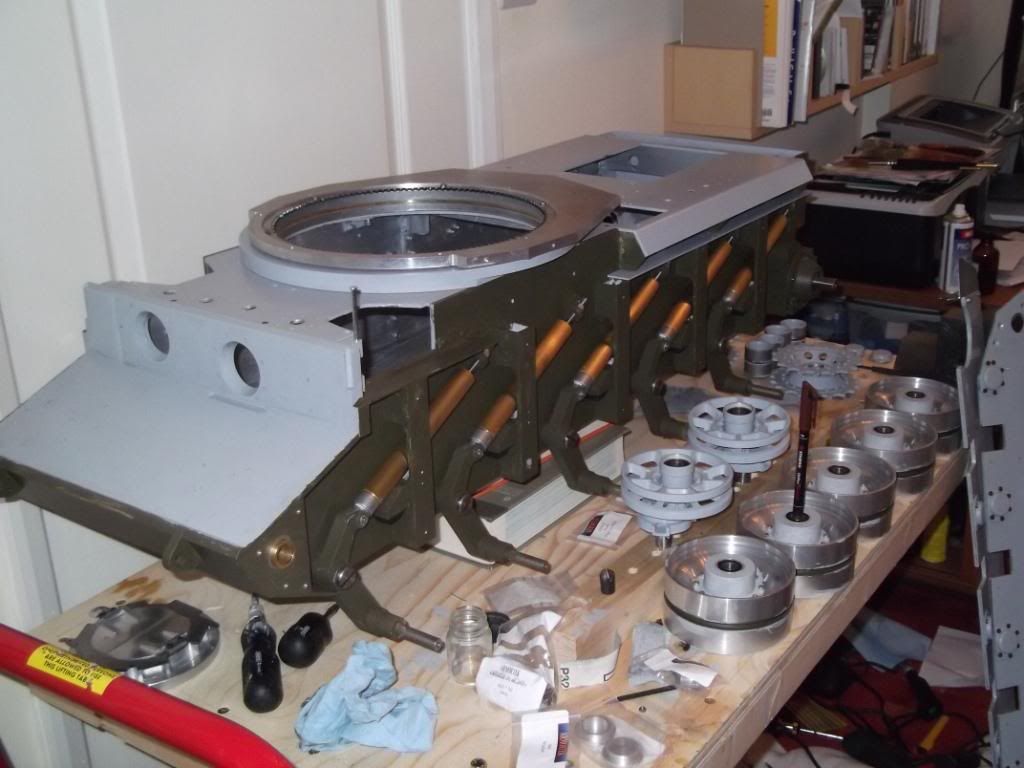
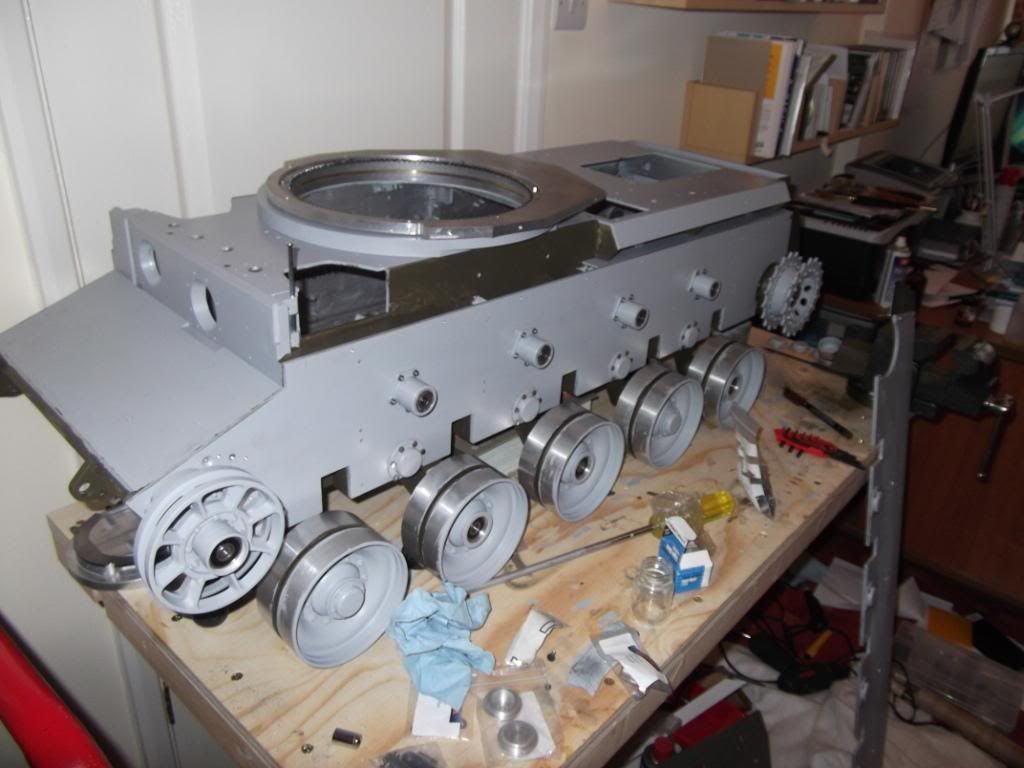
AS you can see, I've gone for a grey etch primer with SCC15 care of Trade Paint (UK) Ltd.
In these early photos I was using a couple of undergraduate chemistry textbooks to chock up the hull. However, it was becoming obvious that manual lifting was going to be an issue before to much time... Enter the Sealey motorbike lift.
I decided to use M1.6 nuts & screws filled flat to simulate the hubcap bolt heads, and used Steve Winstone's excellent castellated nuts for the sprocket hub cover.
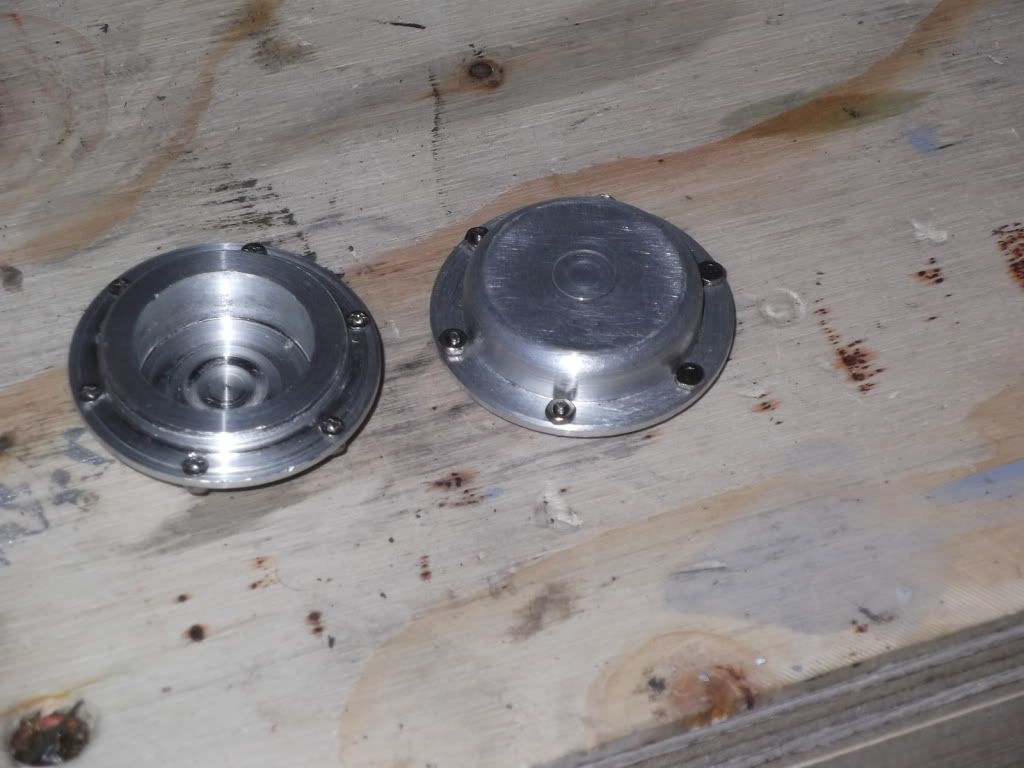
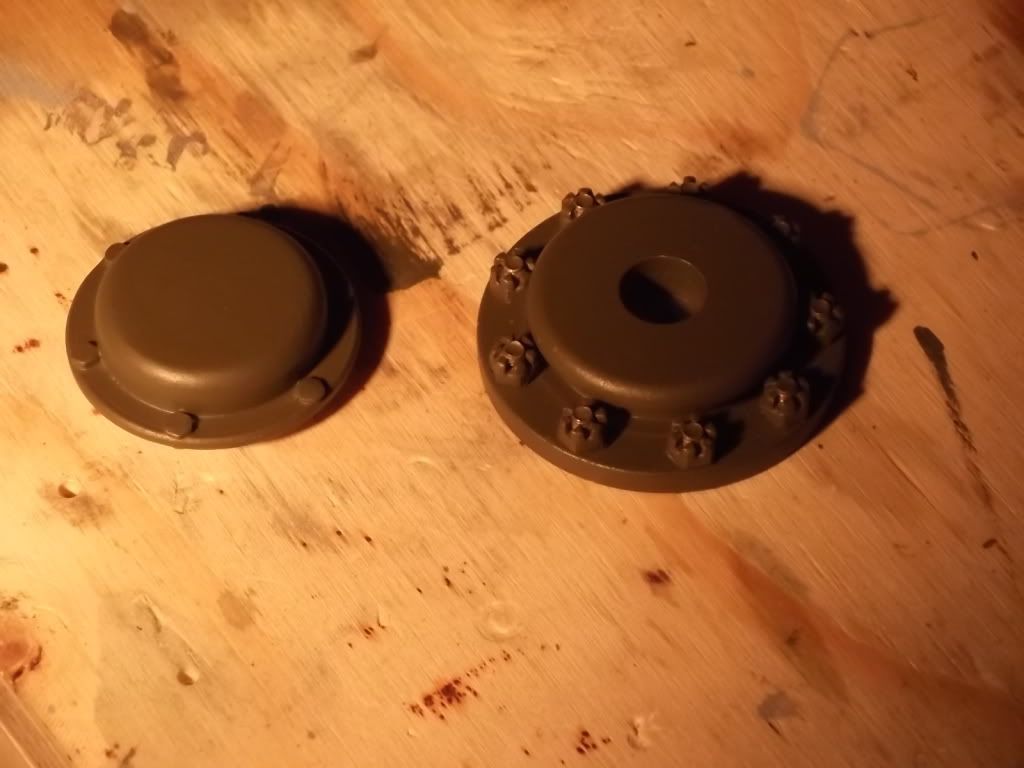
With one side structurally completed it looks pretty good!
Got hold of some counter sunk slotted machine screws to secure the various deck scopes. Since they are (along with all the hex-head bolts I've used to replace the cap head and nuts for surface details) stainless steel I've had to individually key all bolt heads on some wet and dry... time will tell if the paint holds true - although initial results are very promising.
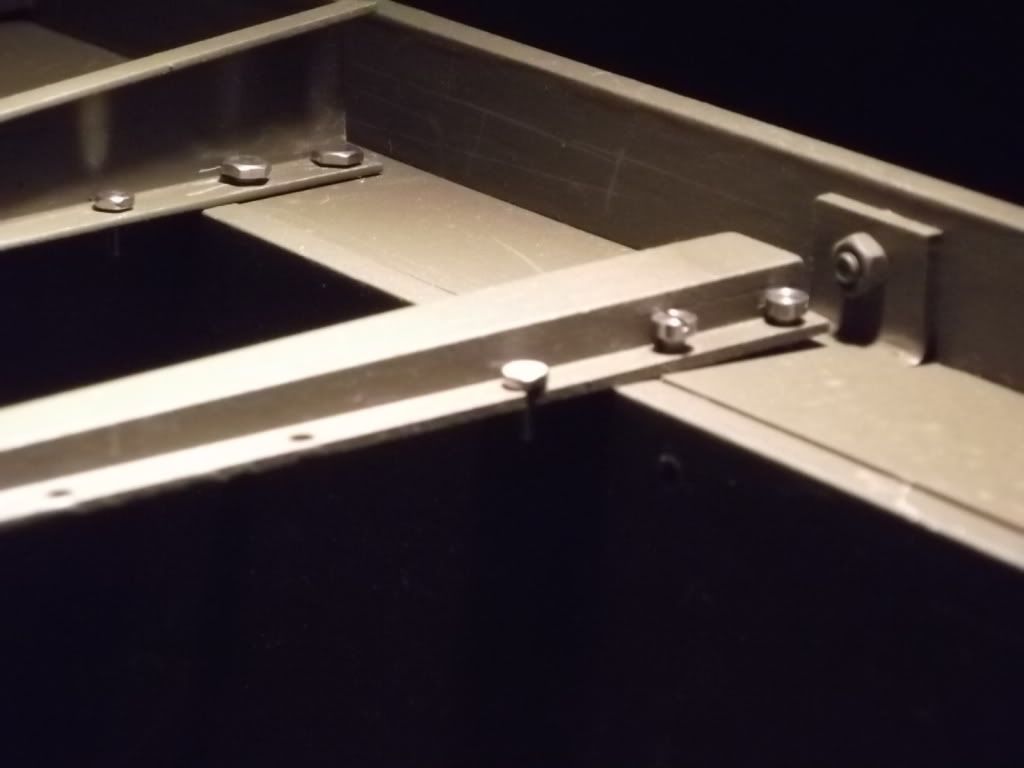
I was not a happy camper when I came to fit the mudguard arms to discover that I would have to take off the outer hull side... Then hit on the idea of tapping the holes - and used 8BA cheeseheads.
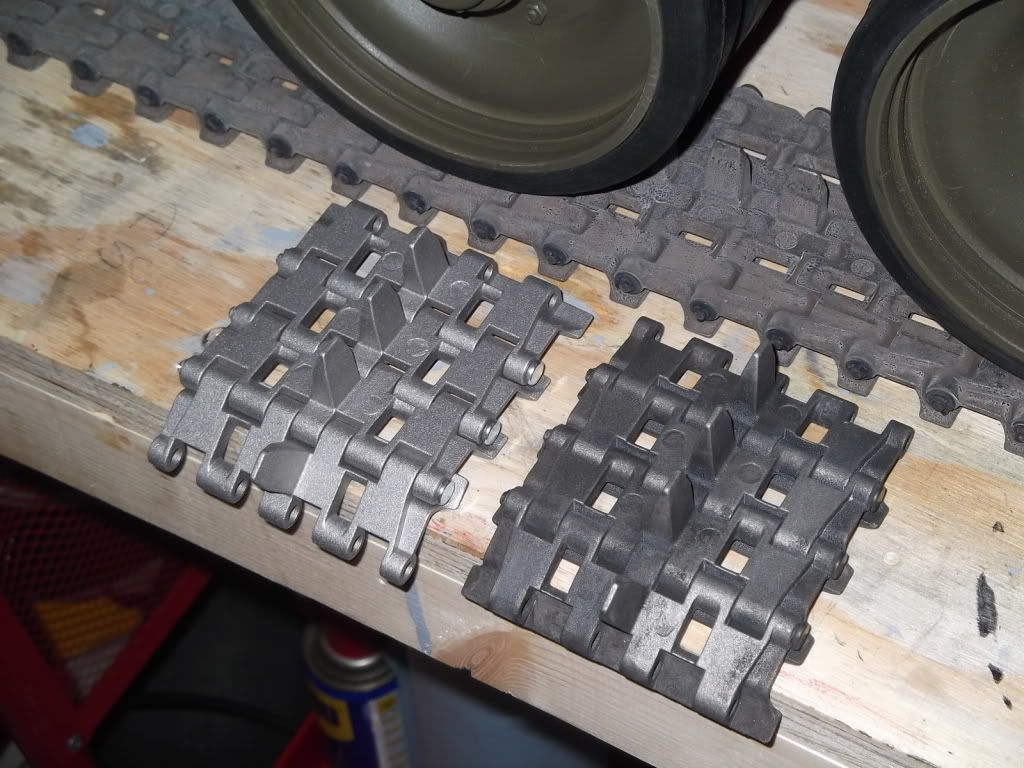
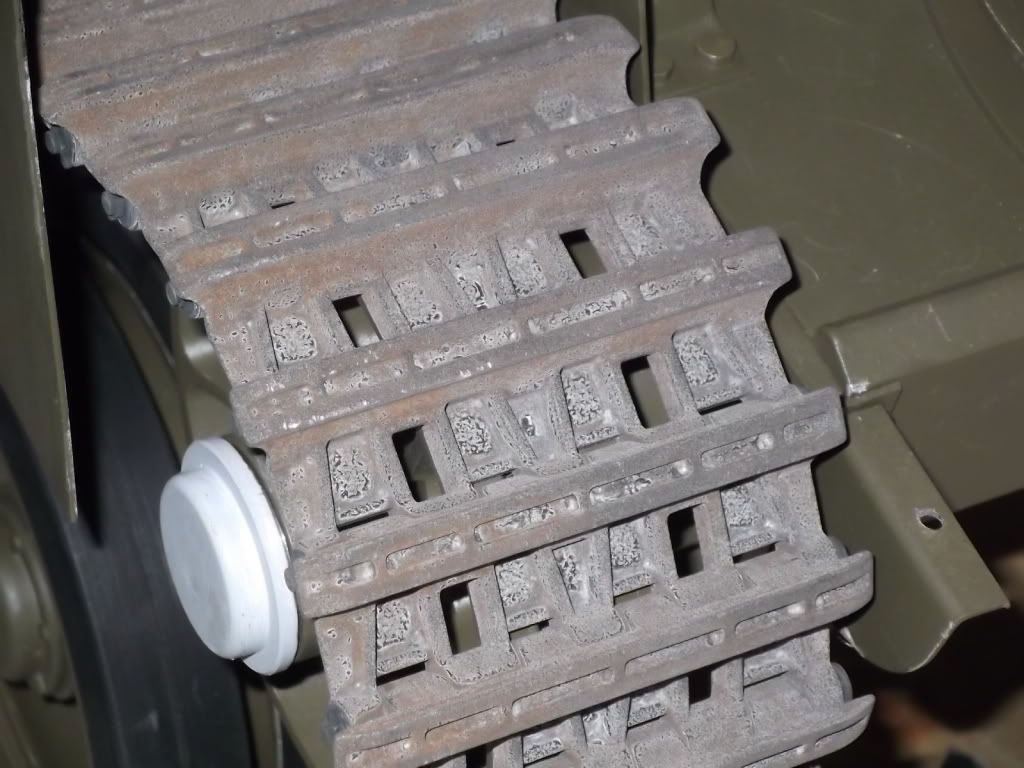
I've tried out using chemical blacking for the track - (5% solution of Carr's Aluminium Black - 200ml in 4 litres for each track). The results look impressive, it even nicely blackens off the track pins. Gloves and coveralls job, and whooshed the track through a bucket of the solution util it looked pretty dark, then rinsed with plenty of water. However, definitely a job for outside as aluminium reacts with the blacking agent to produce detectable quantities of hydrogen selenide (think rotten eggs) which is not good for enclosed locations! Time will tell how durable it is.
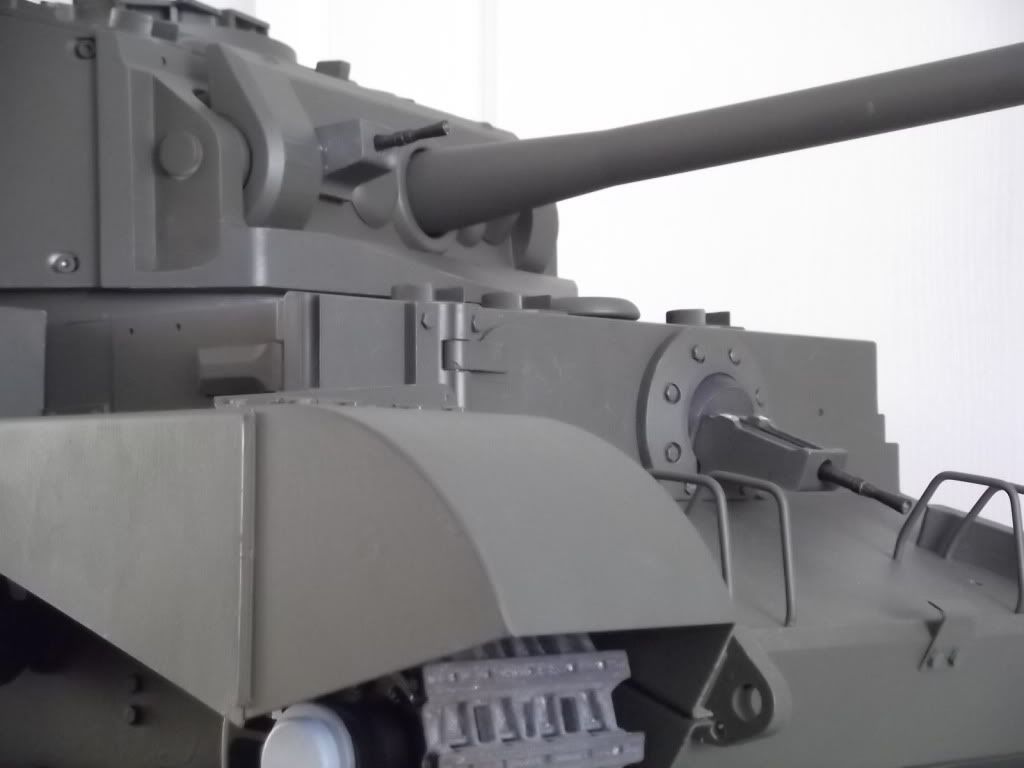
A couple of imperious views of the front:

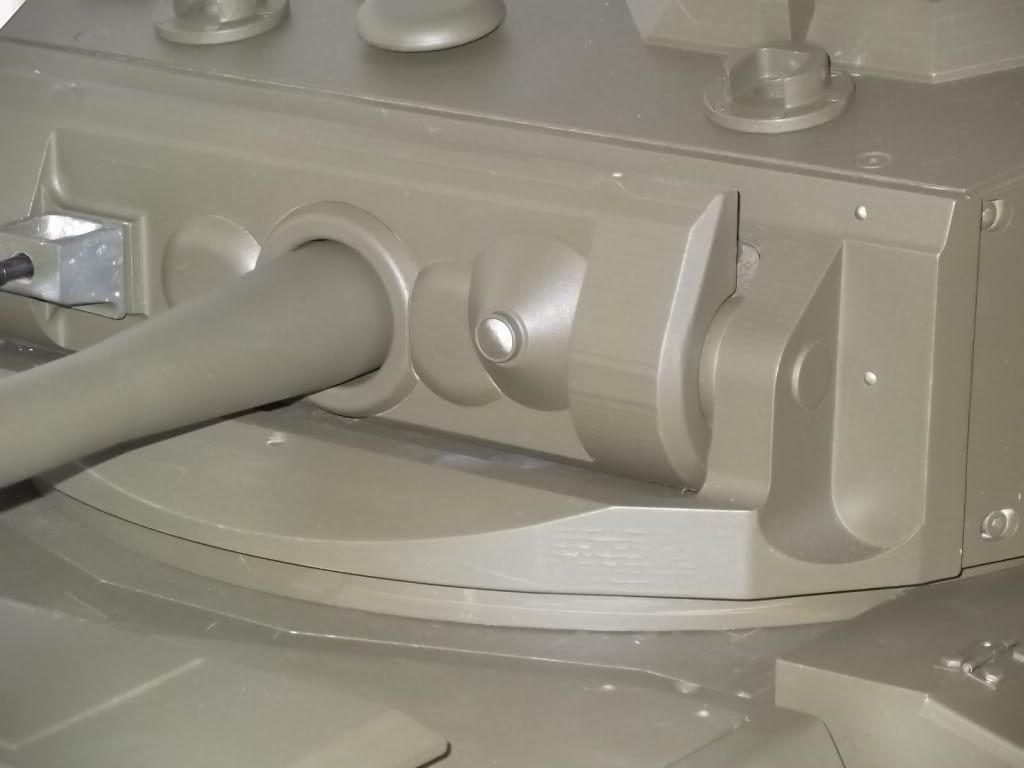
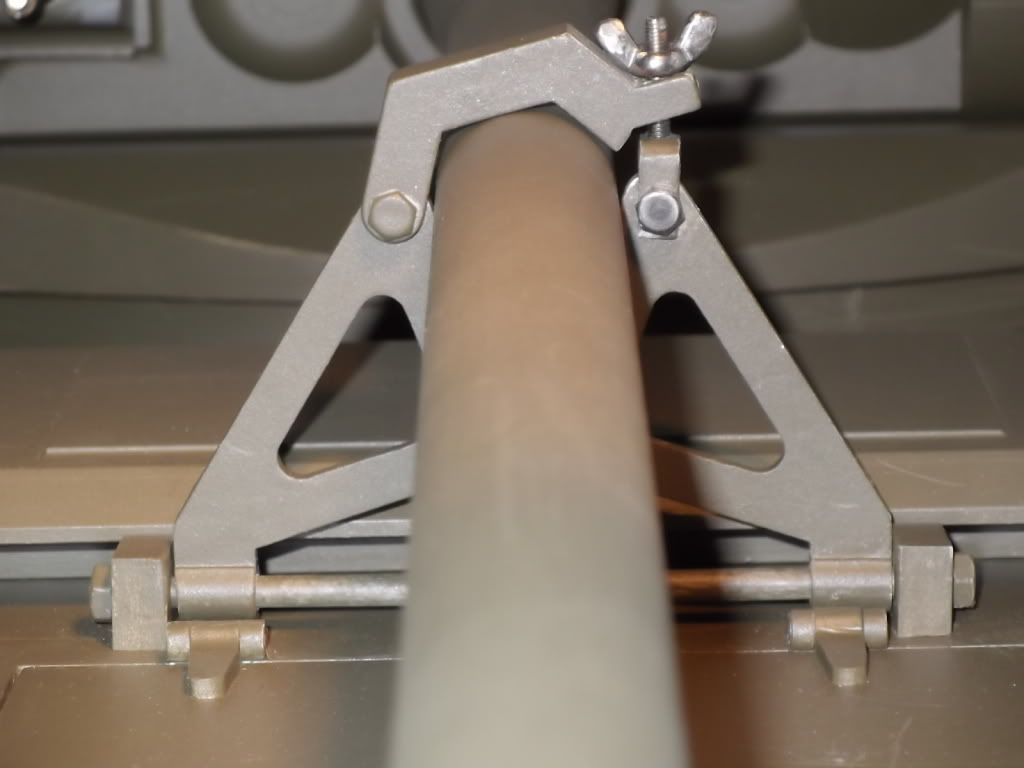
My first essay into super-detailing for the gun crutch. 4mm stainless steel rod tapped at both ends and a piece of 2mm aluminium bent, tapped and a filled down M3 wing nut.
Like Phil has commented on his build, you spend your time adding to the list of refinements as you go along - usually faster than you can complete them!
