Recent build pix.
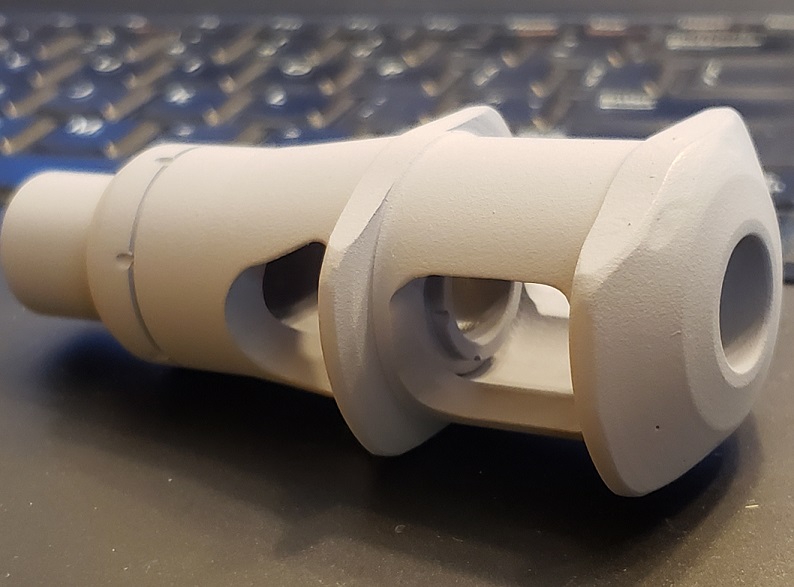
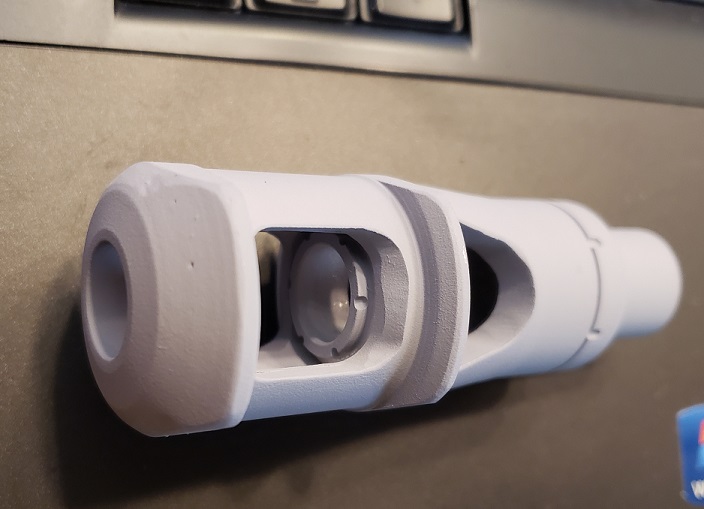
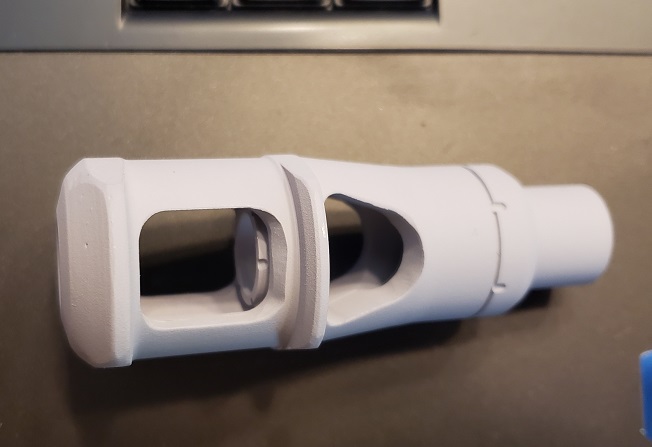
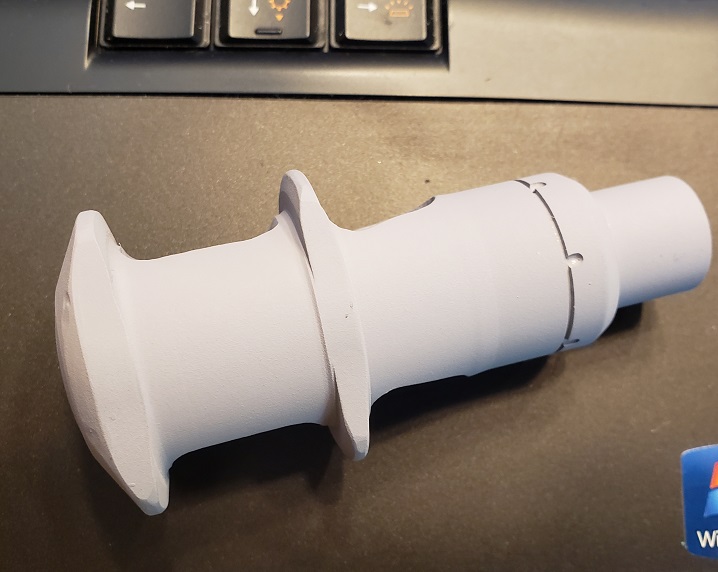
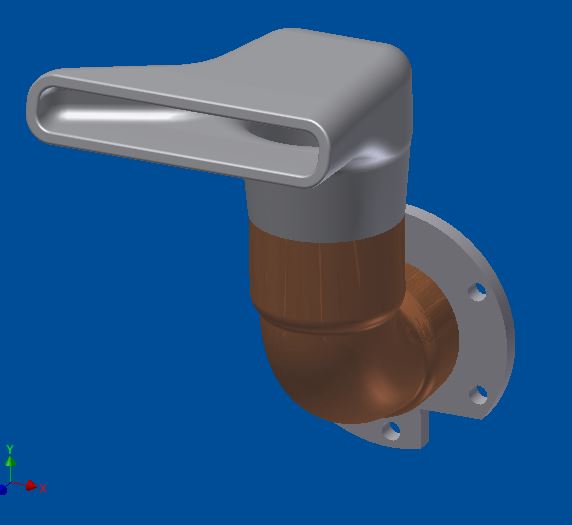
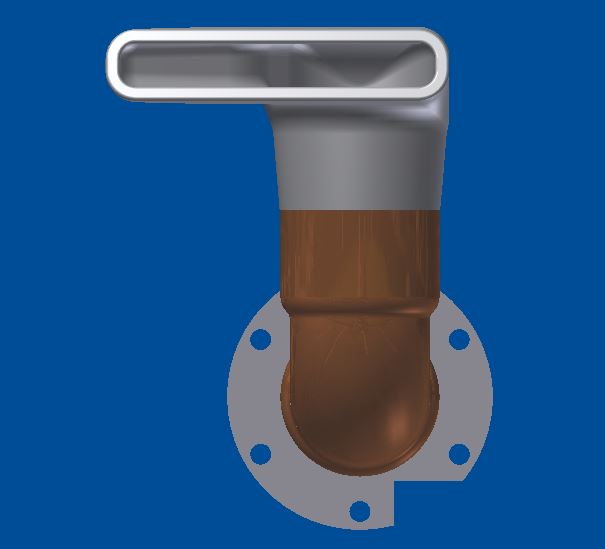
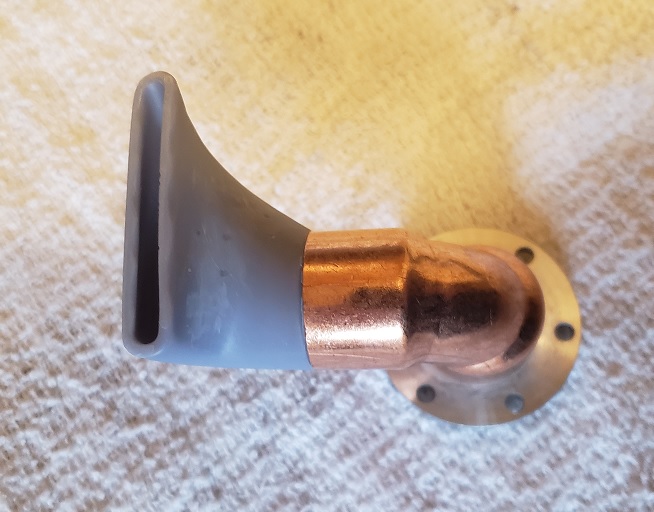
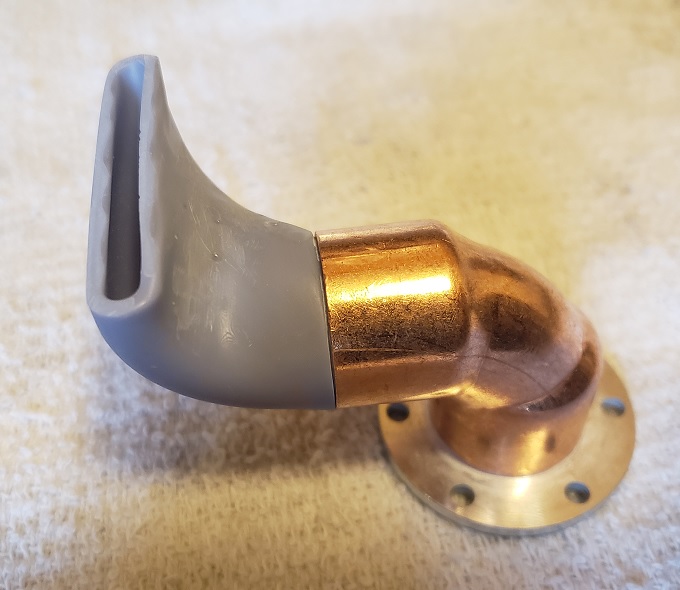
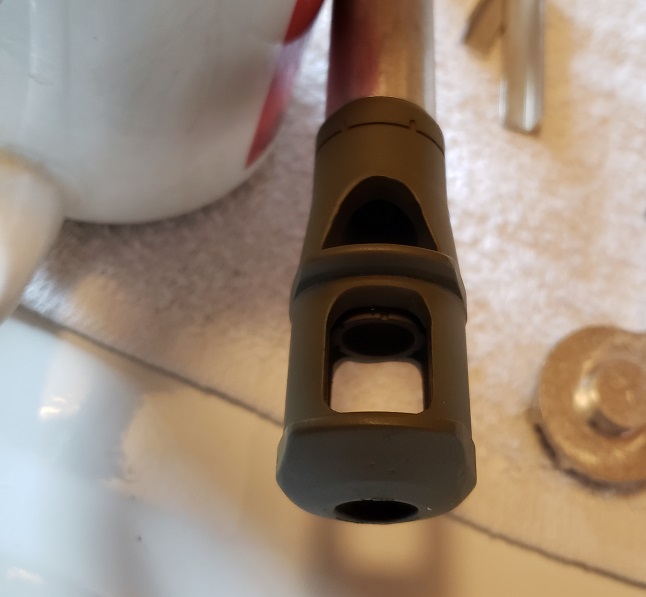
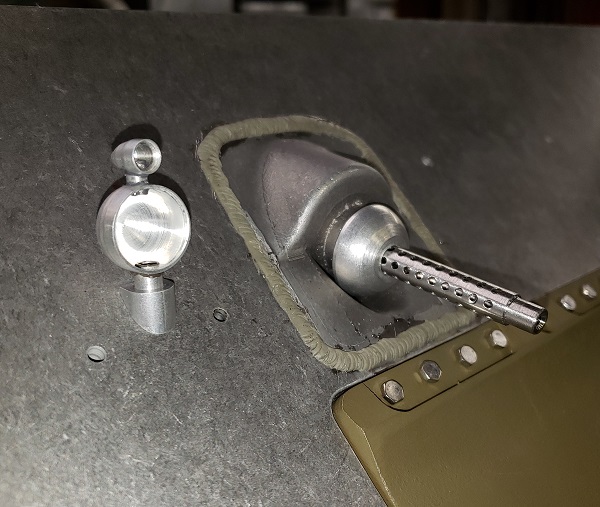
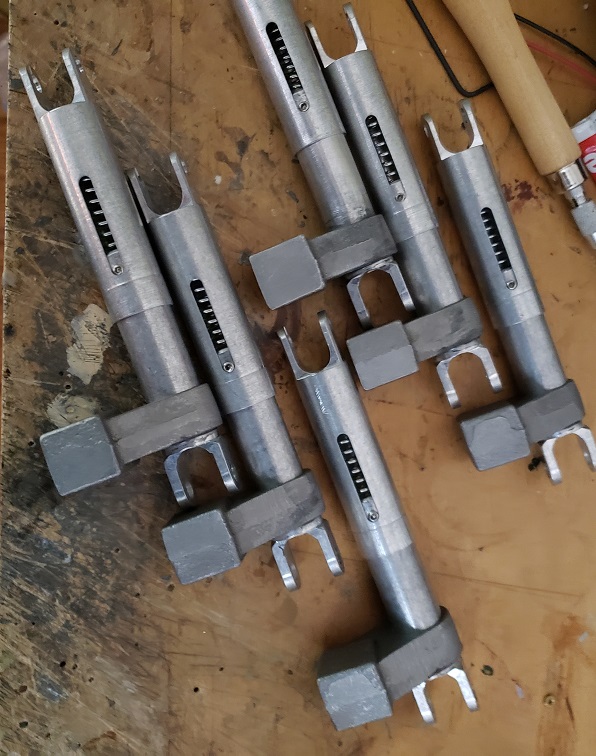
Printed exhaust tips, epoxy texture:
shock damper with light spring inside:
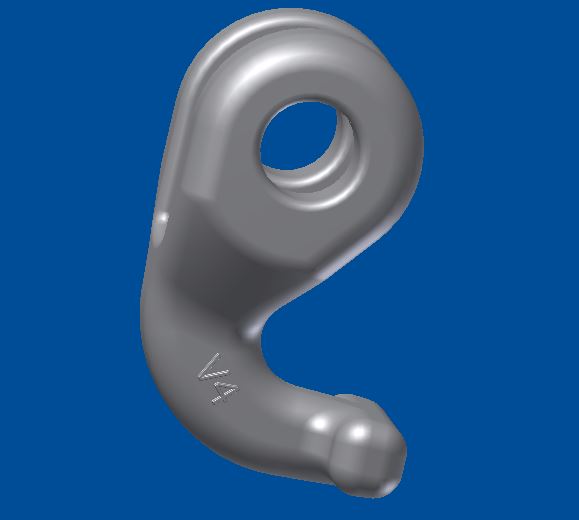
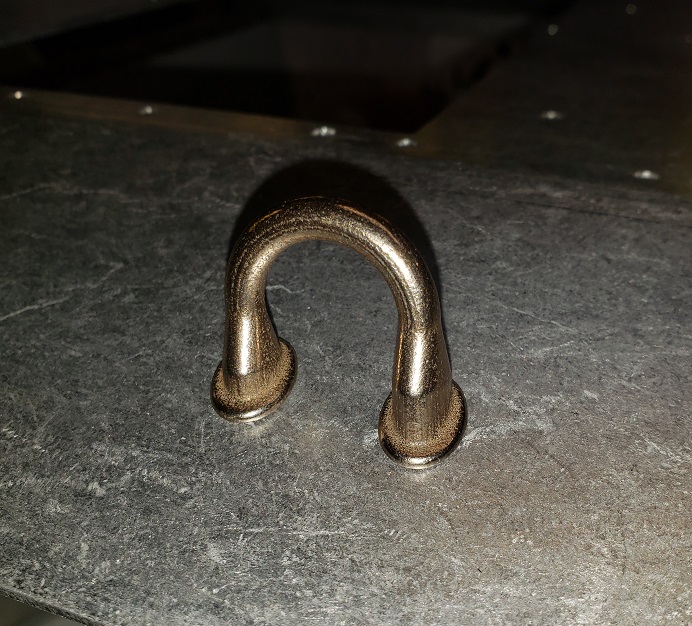
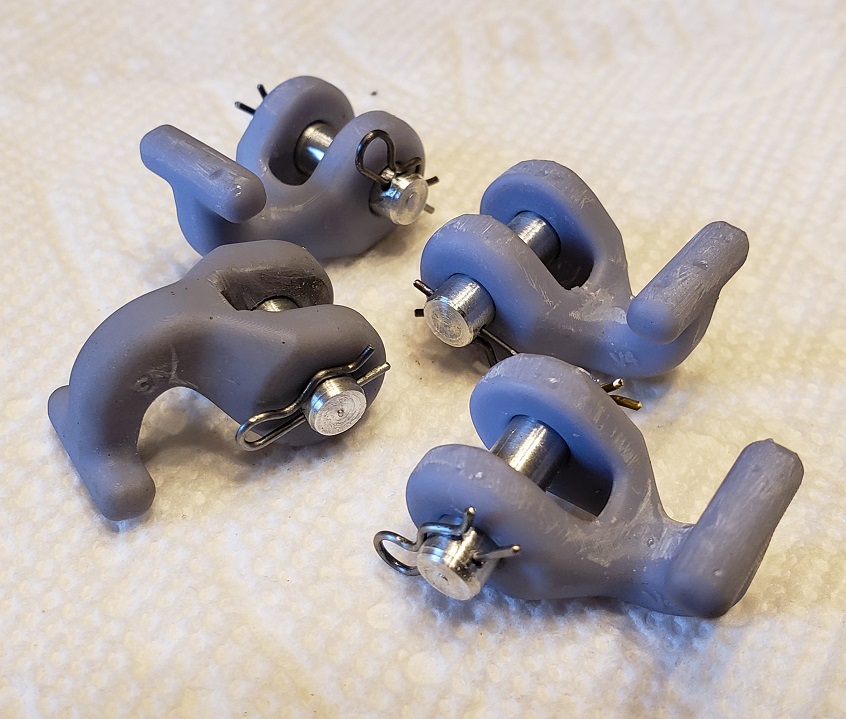
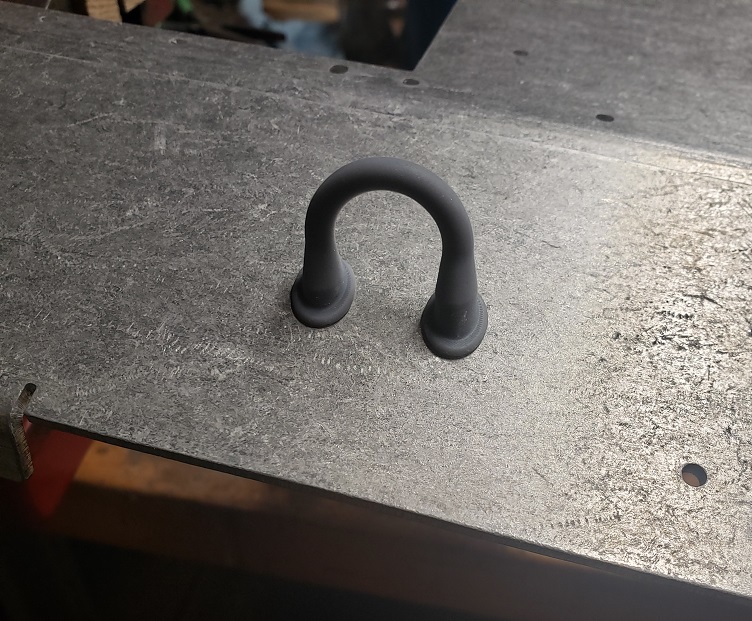
Printed shackle prototypes:
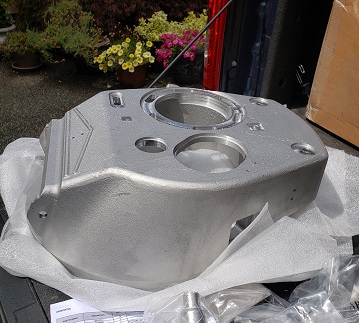
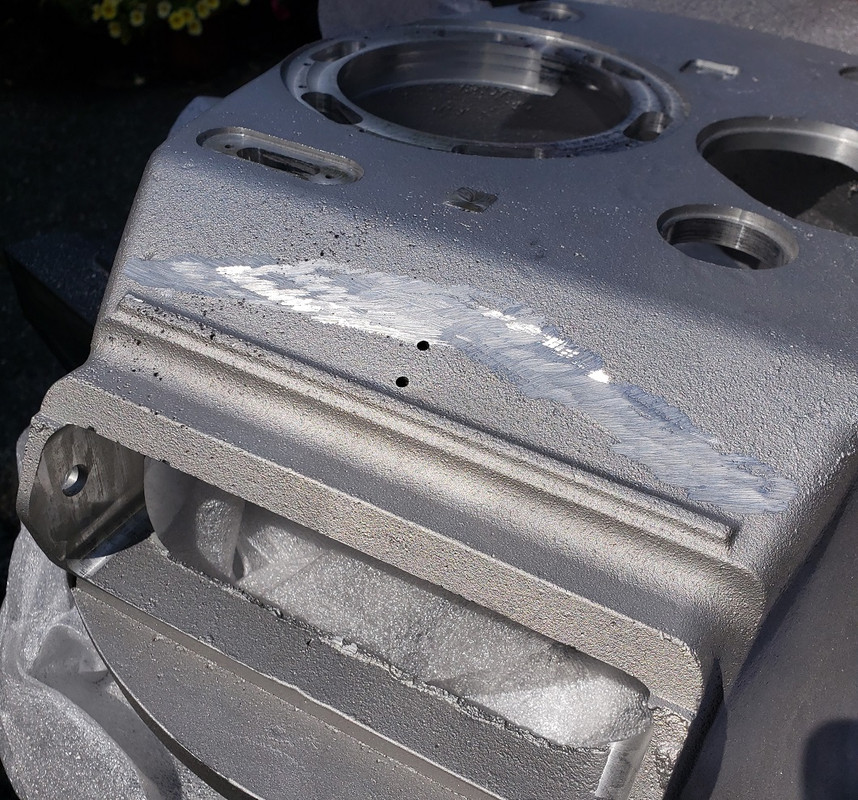
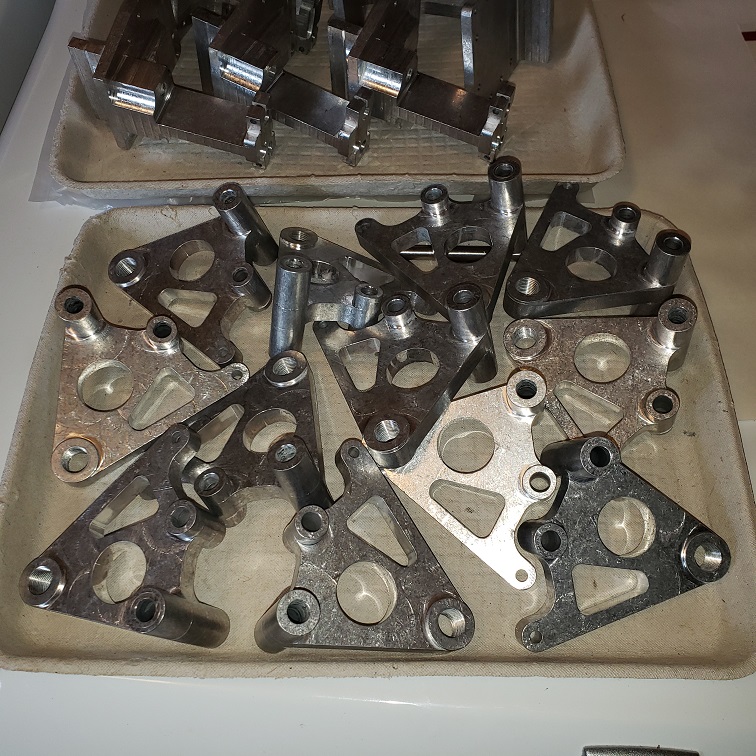
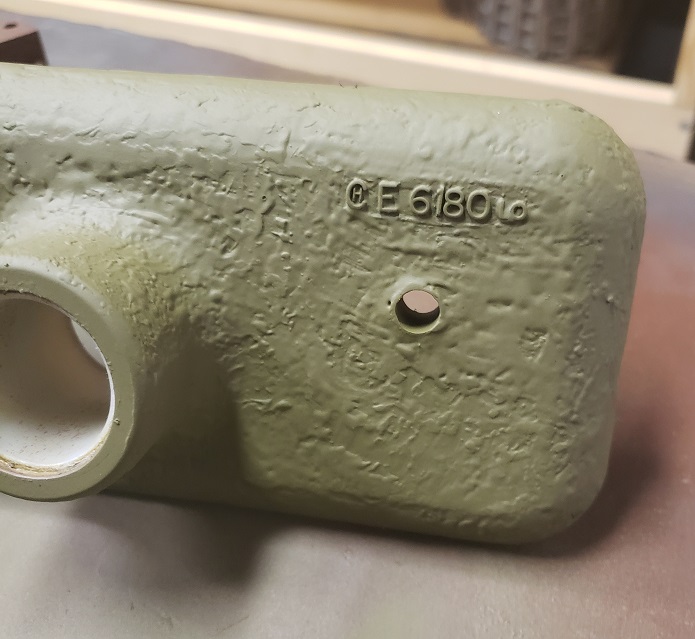
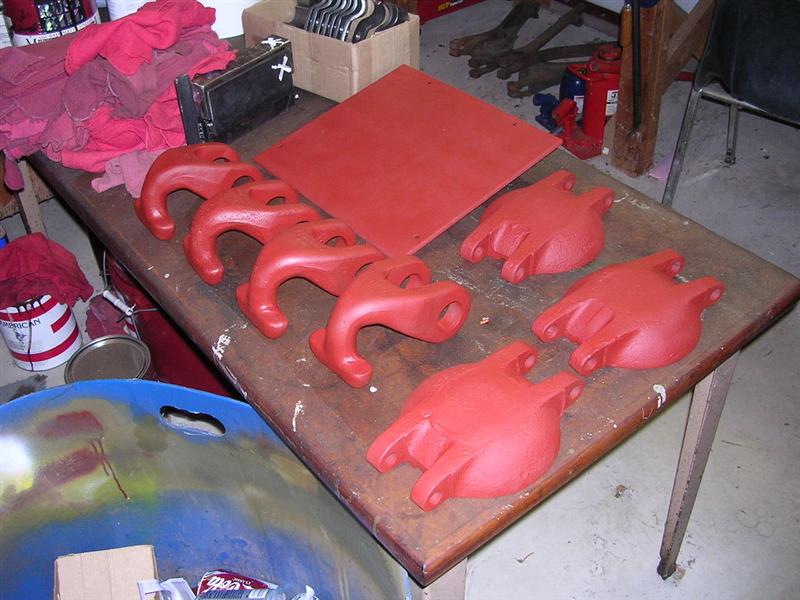
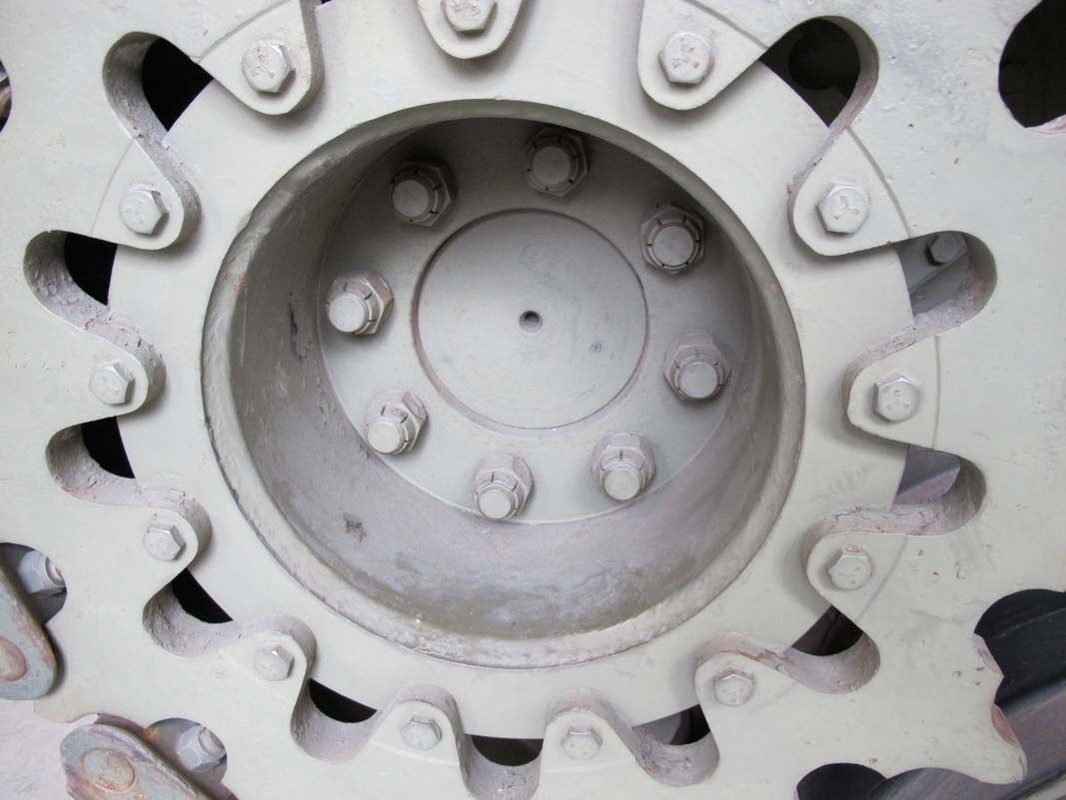
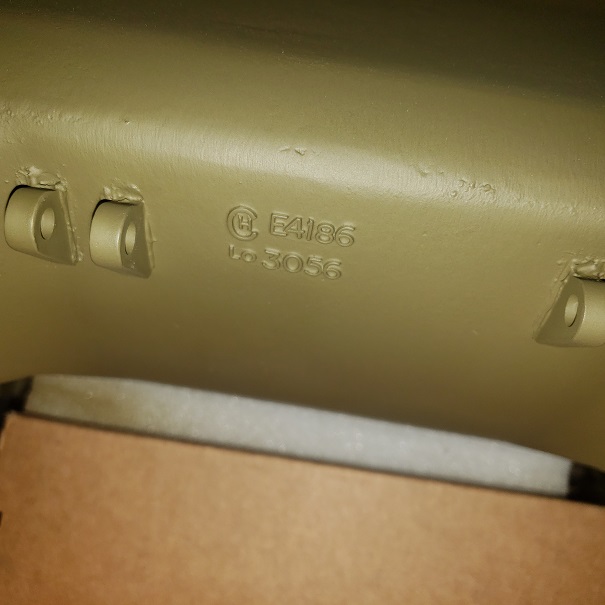
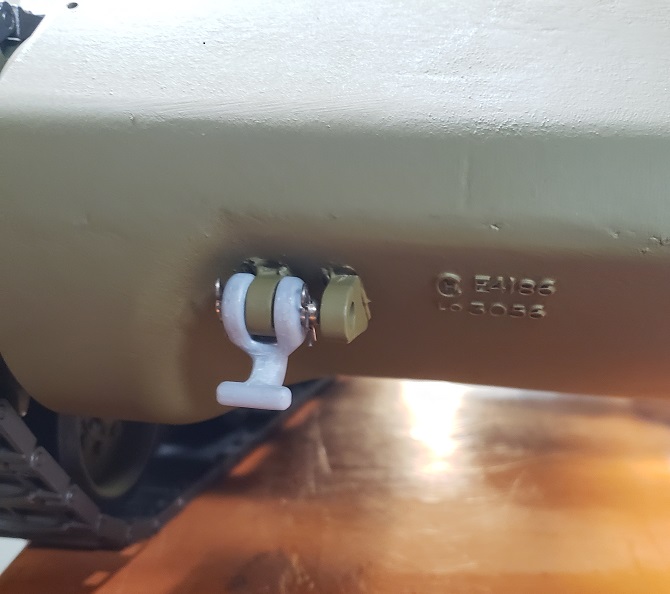
Casting numbers:
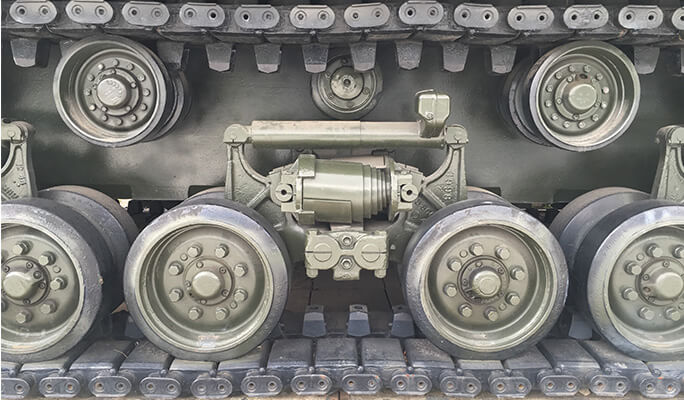
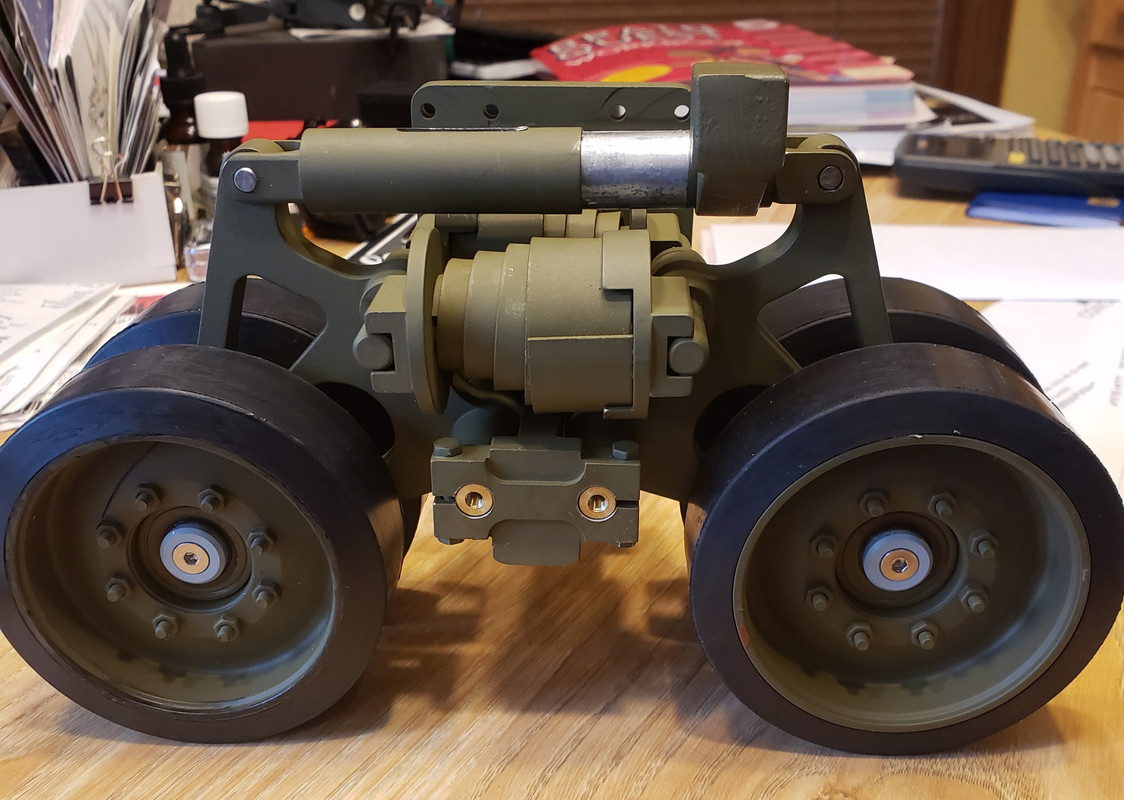
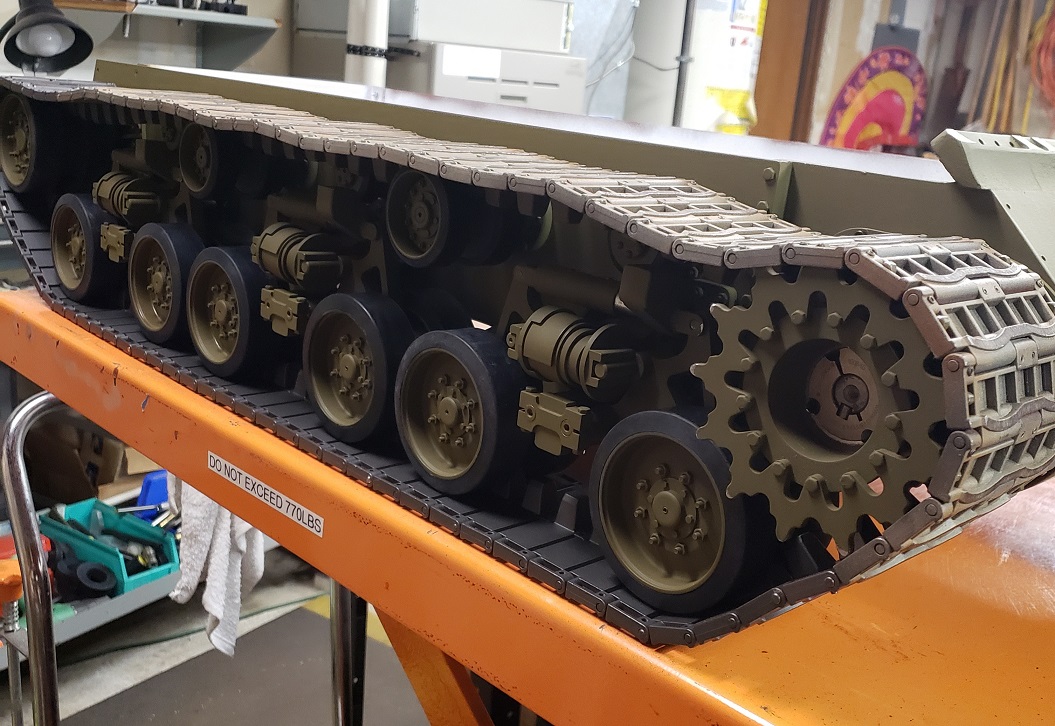
Bogey assembled:
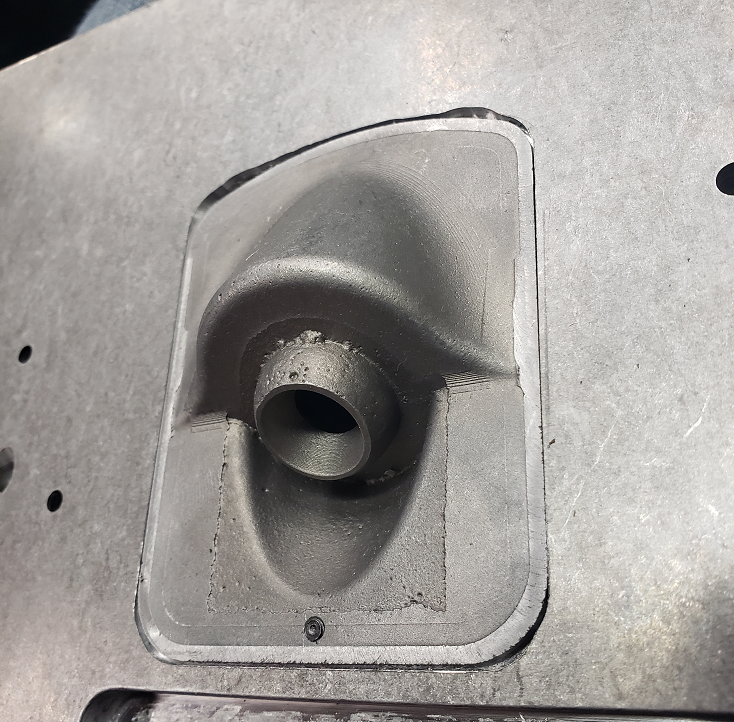
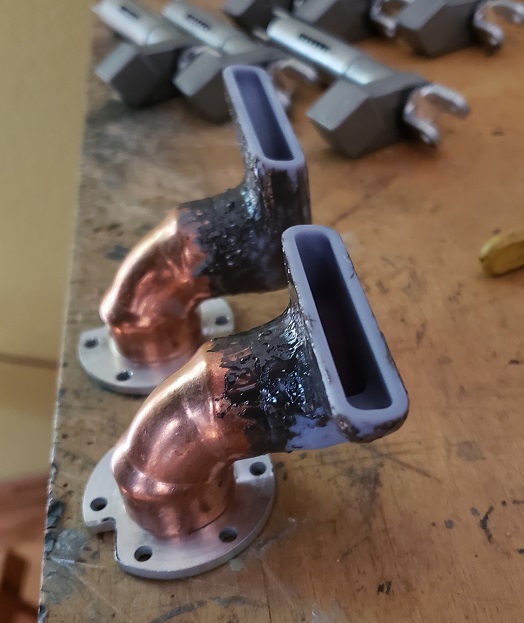
Exhaust pipe installed:
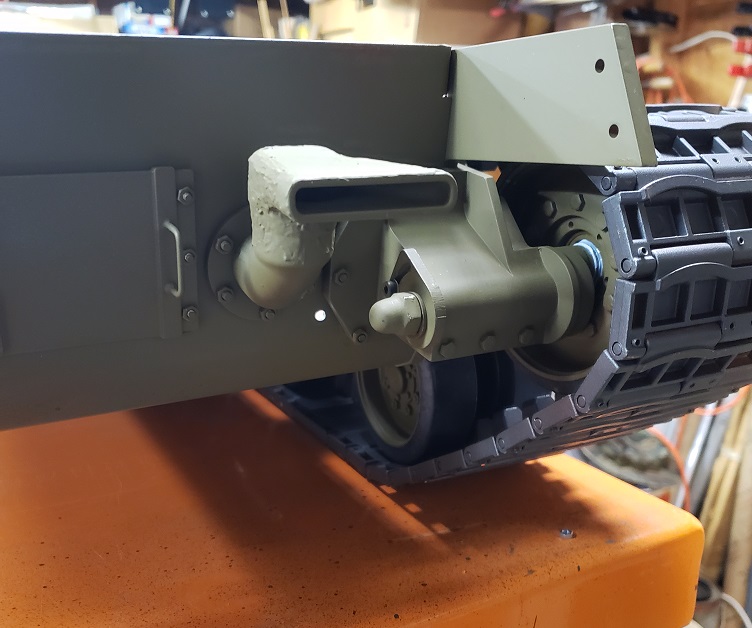
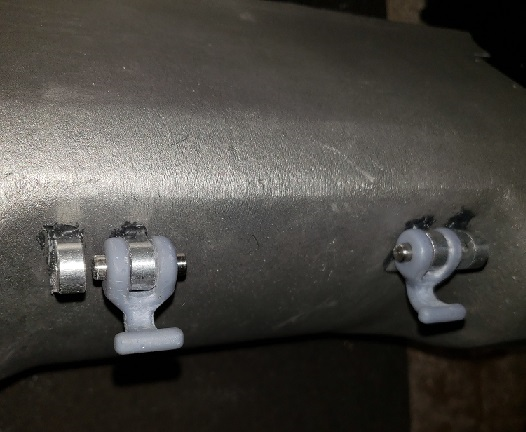
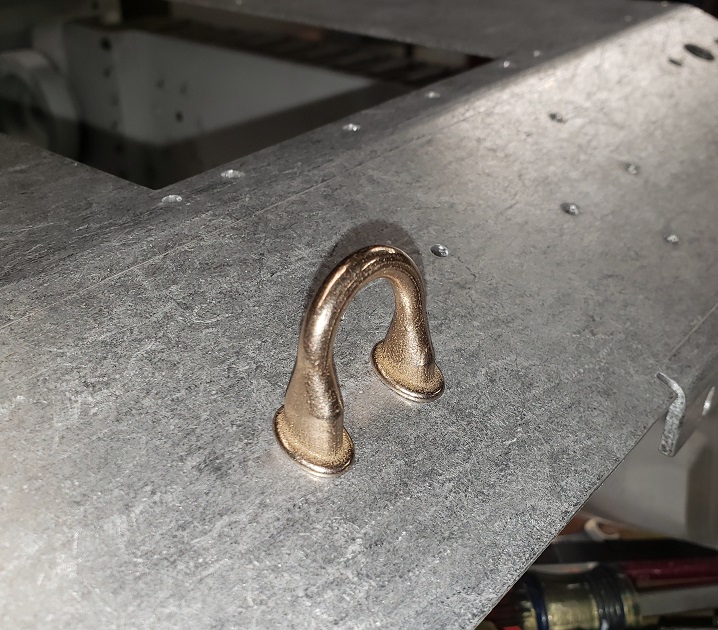
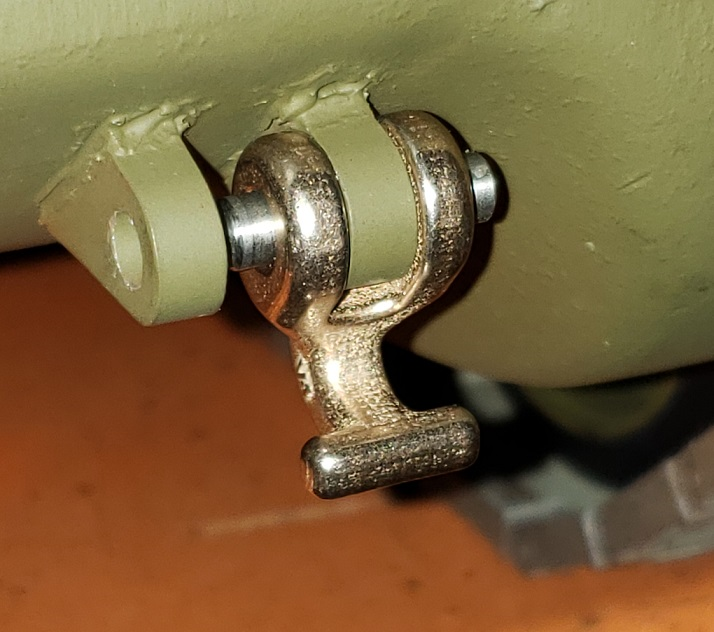
Front shackle installed:
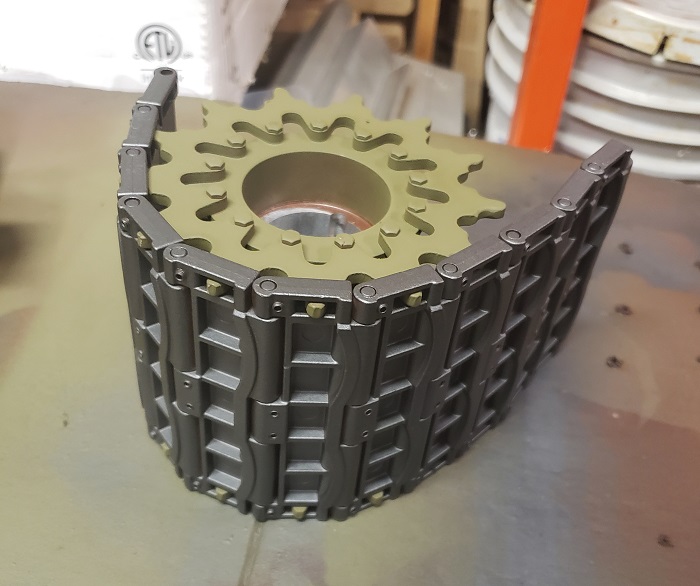
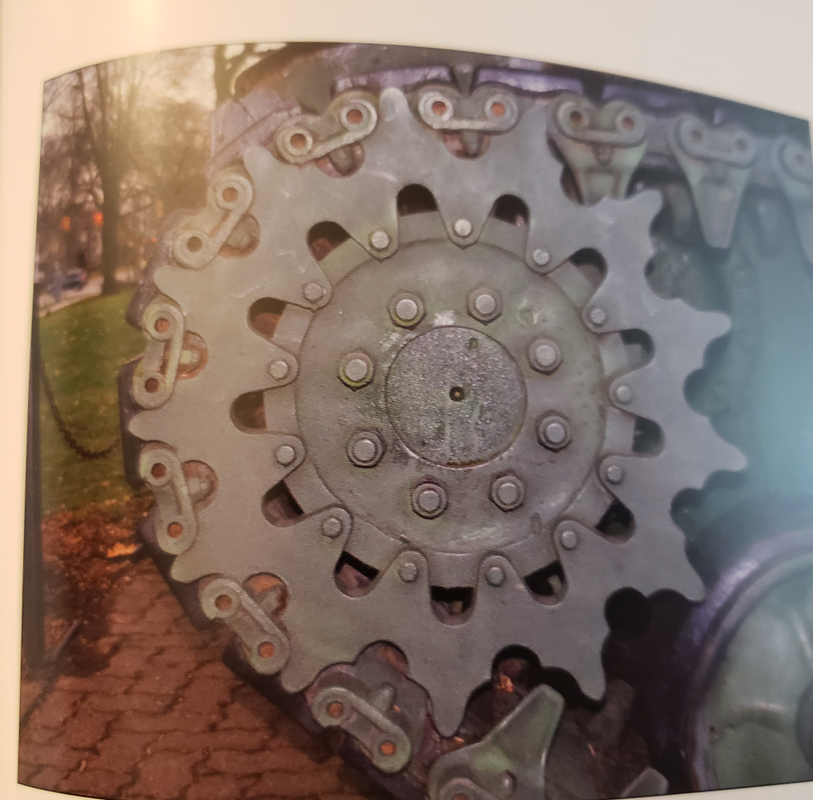
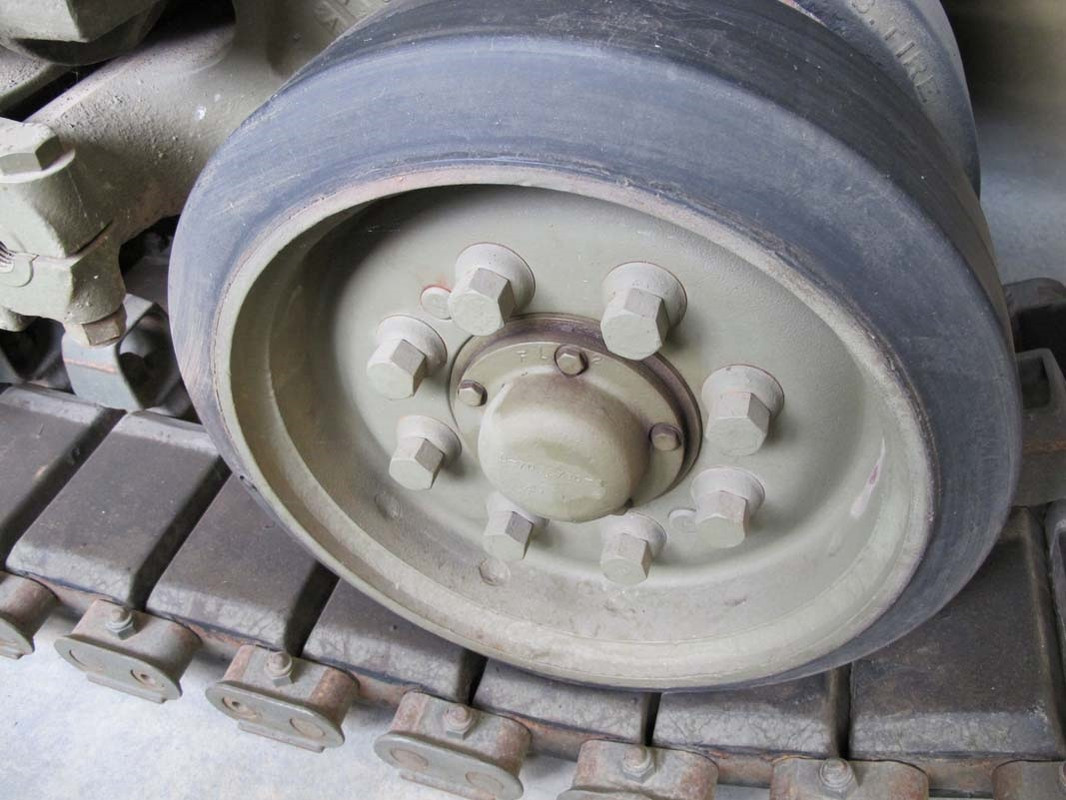
Rear idler:

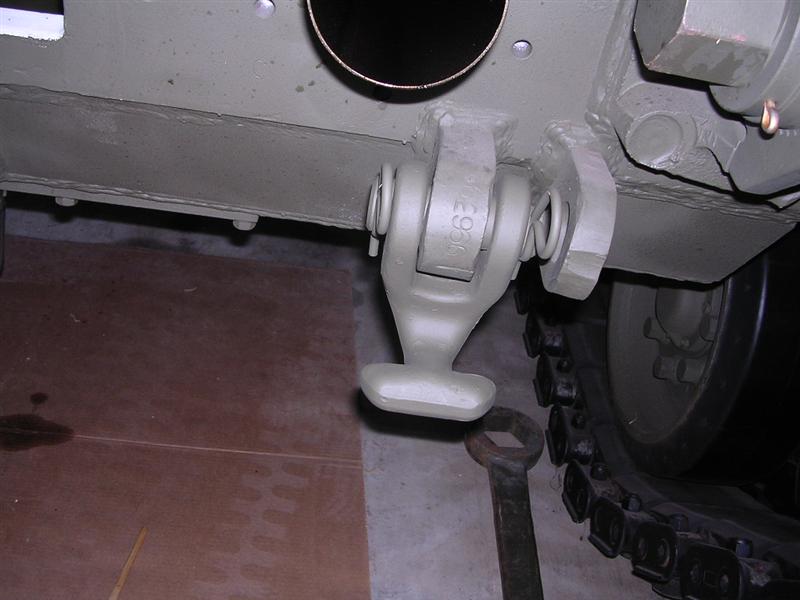
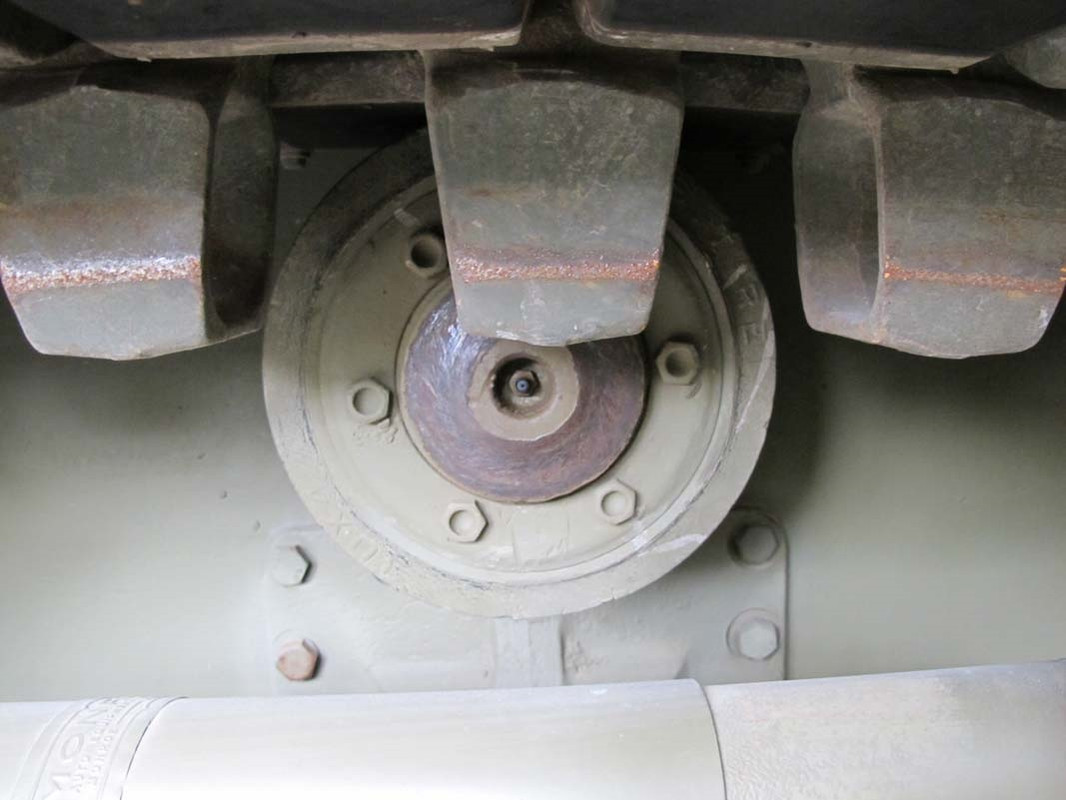
Leaking oil from volute spring!

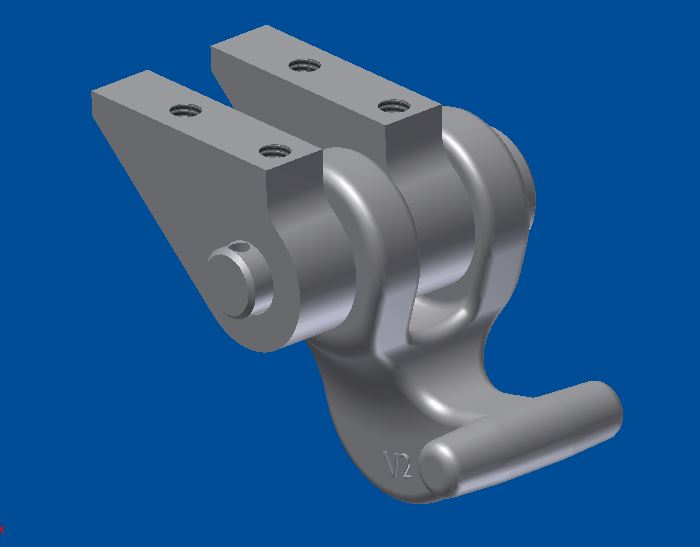
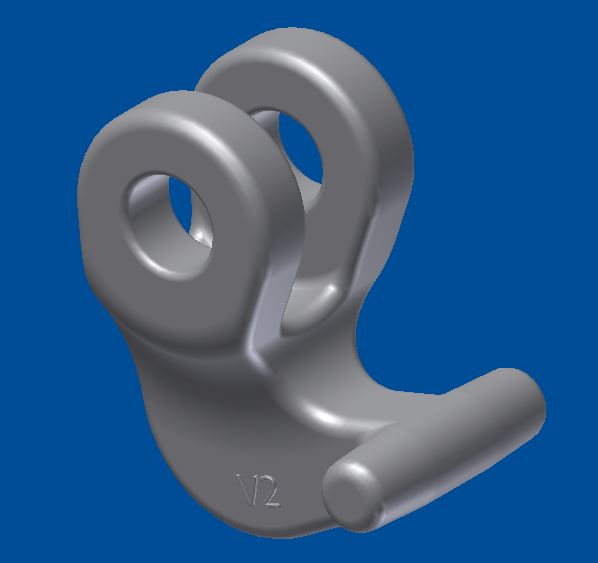
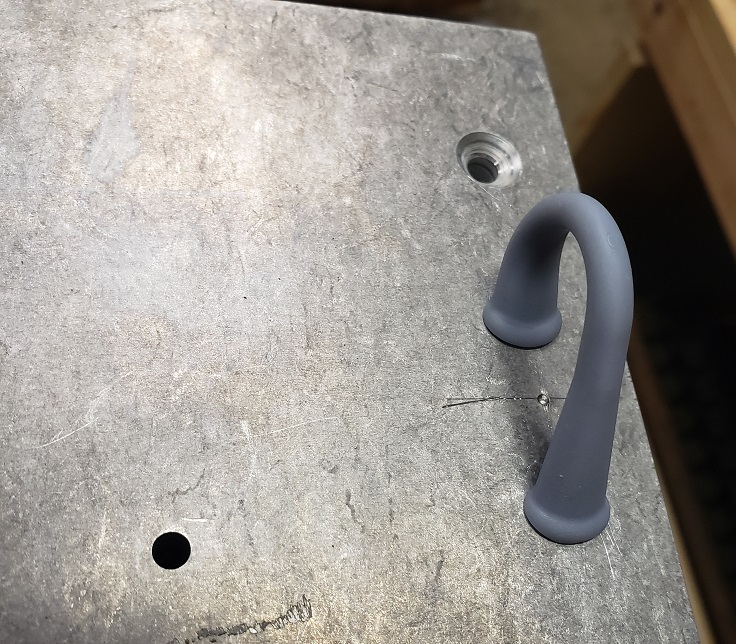
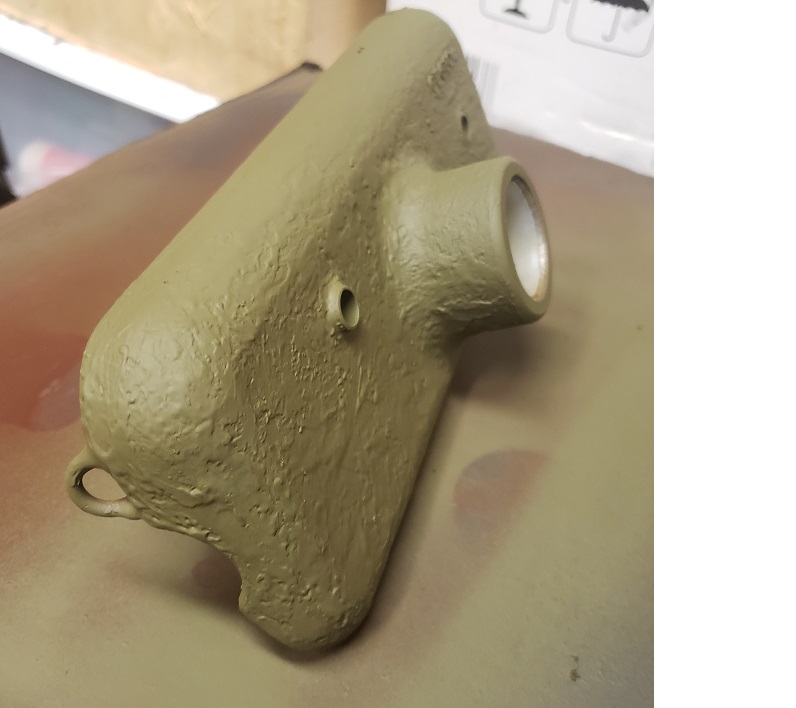
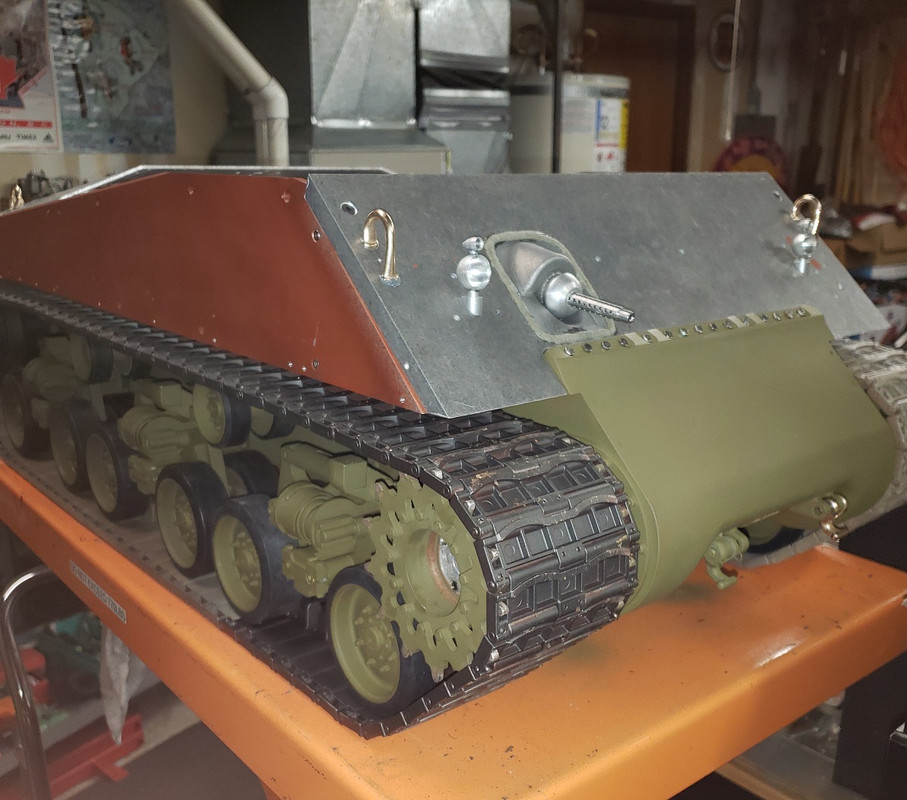
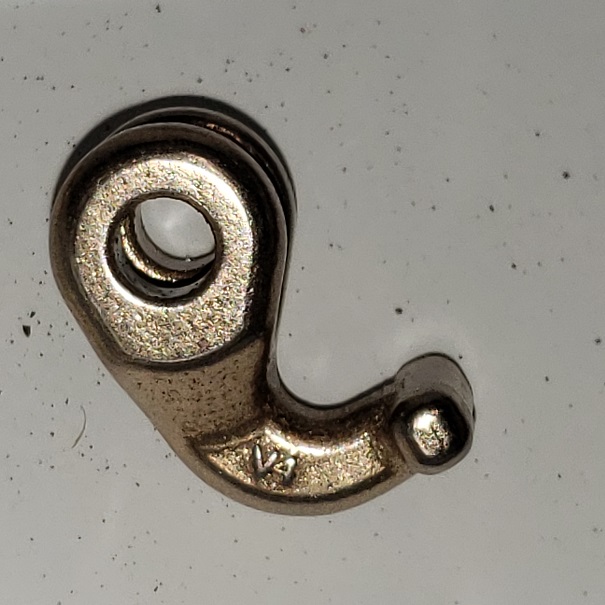
Printed rear lift hook prototype:
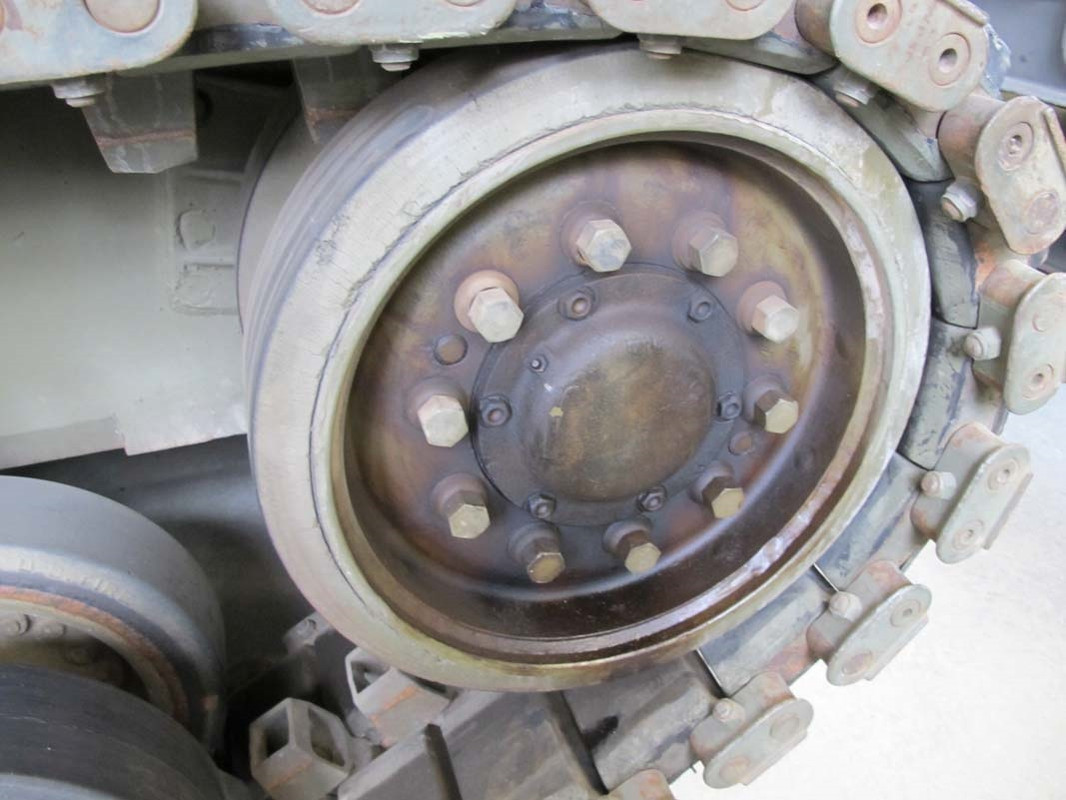
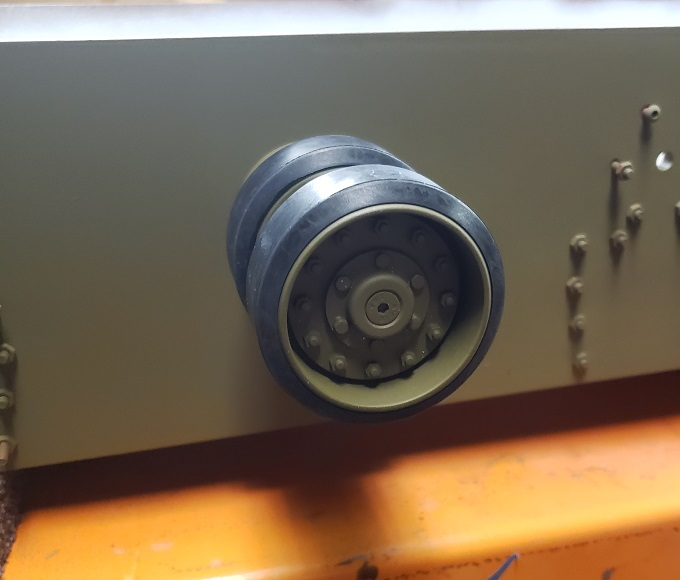
Roller:
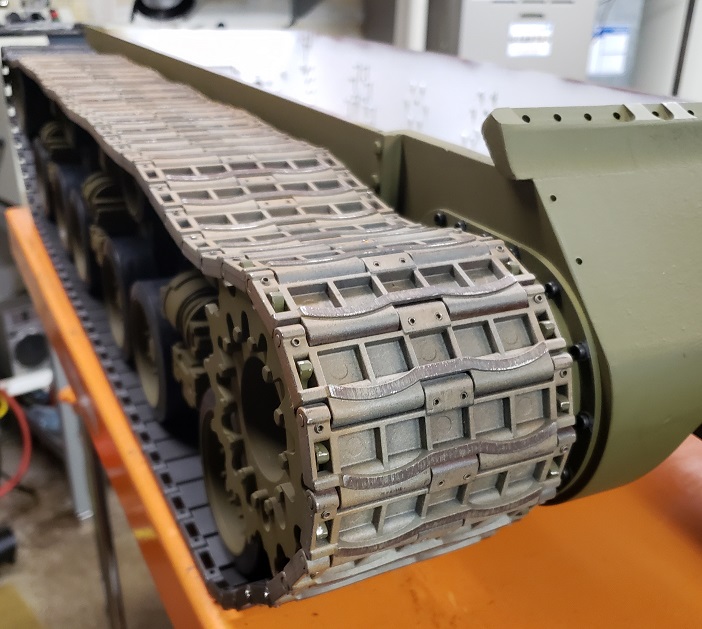
Weathered tracks - 1st pass:
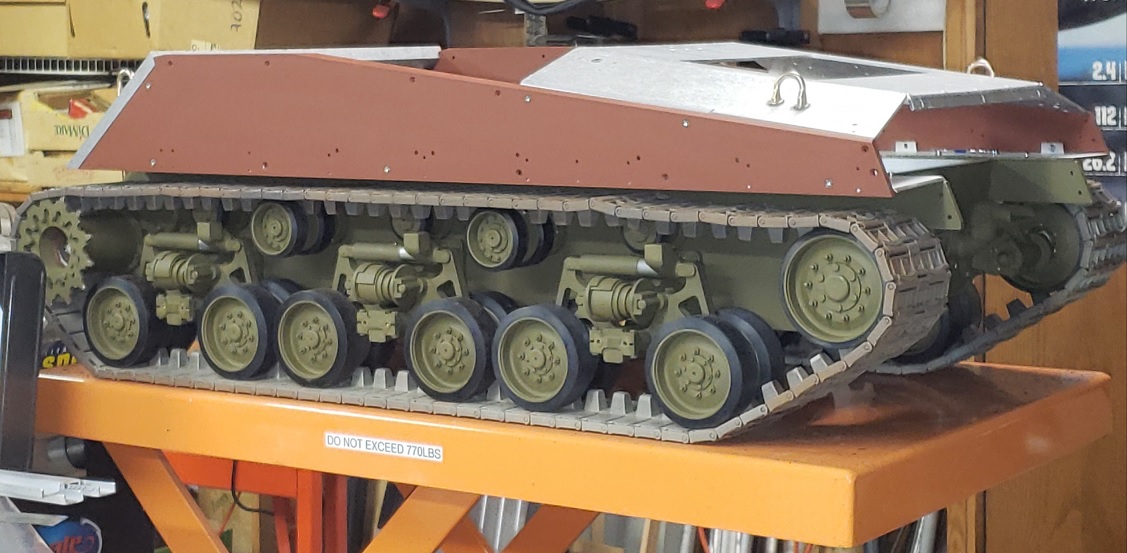
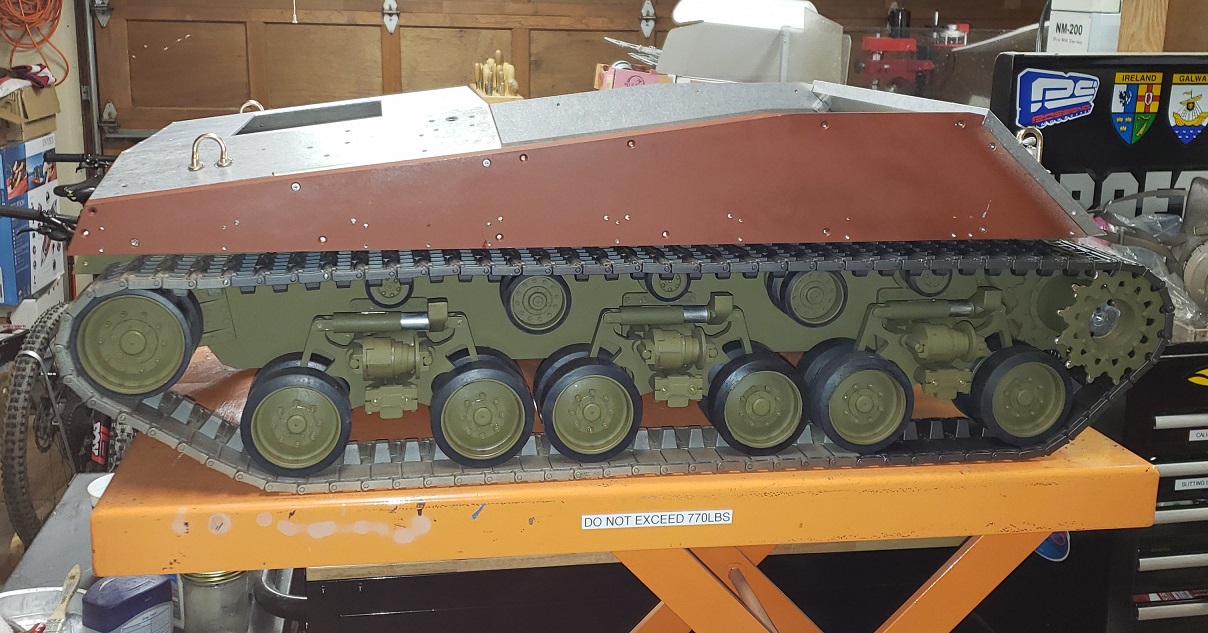
One side track installed:
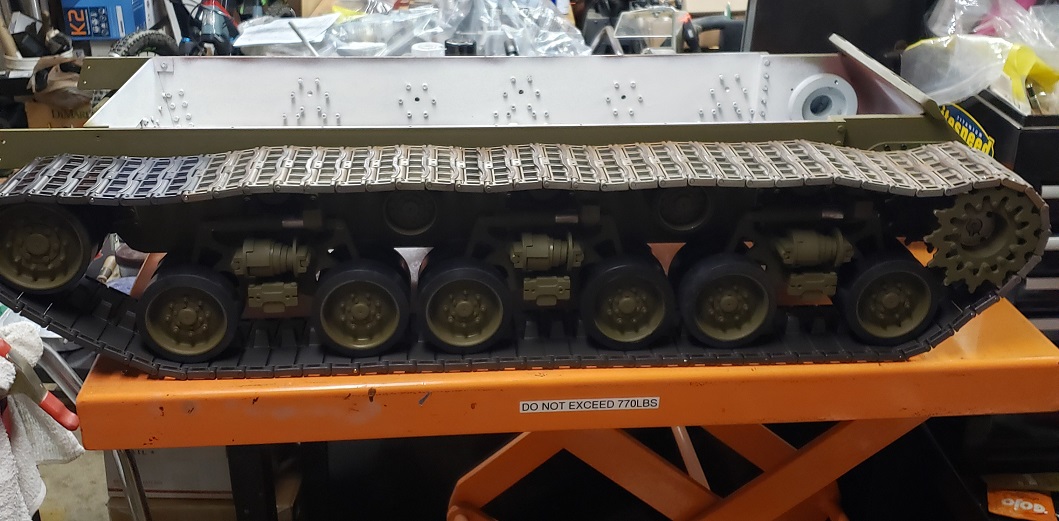
One side track installed:
Very cool to see tracks on one side! Till next time,
Bob