Page 1 of 7
early tiger build.
Posted: Tue Sep 02, 2008 6:27 pm
by simon_manning
Posted: Tue Sep 02, 2008 7:06 pm
by Kent Wiik
Nice details Simon and good to see there are other slow builders in this hobby but me...

Keep us posted
Cheers
Kent
Posted: Tue Sep 02, 2008 9:20 pm
by Adrian Harris
Simon,
Thanks for posting details of the parts you've located, as well as the progress photos.
Having an Early Tiger in bits myself this is another build I'll be following closely

Adrian.
Posted: Tue Sep 02, 2008 9:31 pm
by Allan Richards
Simon,
Excellent work on the Tiger. Have you turned down the diameter off the larger diameter on the sub axles as this is one possible are of wheels fouling. The other thing you may wish to consider is putting pins in the spacers and drilling corresponding holes in the wheels such that the wheels are prevented from rotating individually on their axles.
Posted: Tue Sep 02, 2008 10:01 pm
by Dale jordan
Nice work Simon . This brings back memorises . Is this a rebuild or did you have a unstarted kit ??? Please keep the photos comming as I'm sure there are still some early tigers out there not finnished yet ! This is what the forum needs more photos of builds underway . I like the work area as well . I was going to say the same as Allan you need to turn down the blob on the other axle to the same DIA as the radius arm end , otherwise it will hit the inside road wheels . Simon are you going to do a grey early tiger this time . Which unit ??? Dale
Posted: Tue Sep 02, 2008 11:41 pm
by Joe Boylan
Hi Simon:
I am interested in how mush was turned off the axles - could you e-mail me some dimensions/ tolerances.
I have taken all my wheels and suspension apart because of the rubbing of the rubber tires to the axles. I to am trying to stop all rubbing between axles and rubber tires for a totally free rotation of the tires and up and down movement of the wheels/torsion bars.
I also had to replace all my aluminum blocks inside the hull with brass. All the screws in the aluminum I had locktited in - when removing a few I found out they had stripped out. Bad call on my part - tightening to tight & locktiting them too!!!
Always use heat to remove loctited parts - (I find a easy way to transfer the heat is to heat up a old screwdriver head very dull red and place it to the head of the screw you want to remove - heat is transfered into the screw/bolt/ect, releasing the Loctite and all unscrews easily.)
Your Tiger is looking tough!
JOE
Posted: Tue Sep 02, 2008 11:48 pm
by simon_manning
thanks for the info on the spacers,not sure myself yet trial and error?
the tiger kit i bought second hand but not assembled,complete with motion pack,smoke system and various nice add on parts.
perhaps forum members could suggest some authentic tiger regiment ,markings,my preference is somthing like doug pinkertons tiger.
i have little knowledge concerning vehicle colors, markings, only what i,ve seen on the forum,feel free to post some photos and any tips
regards simon manning
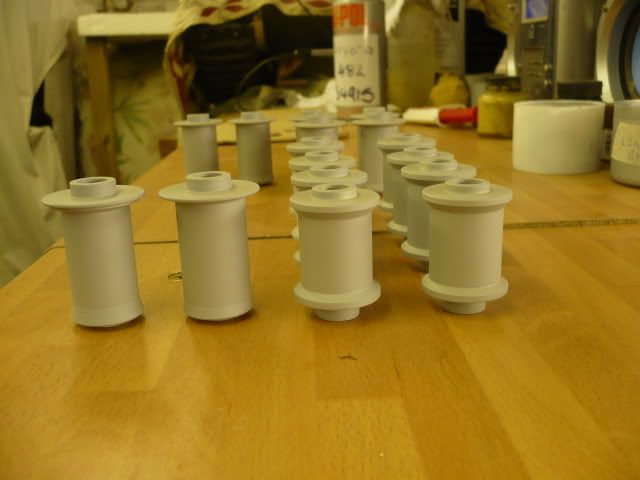
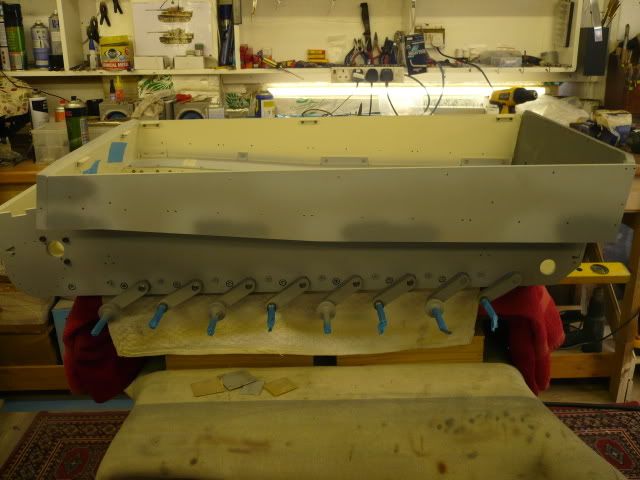
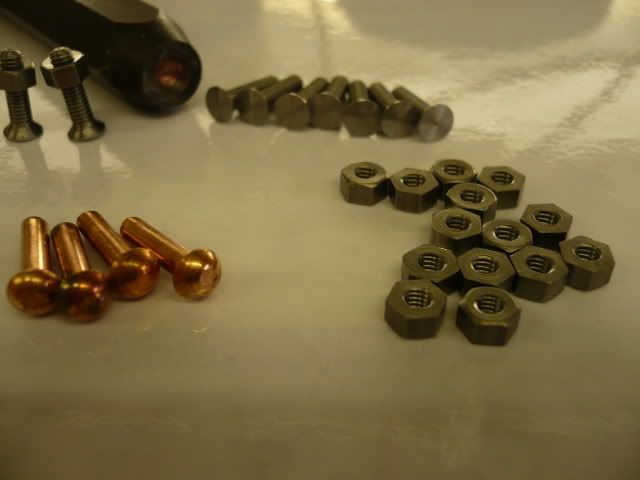
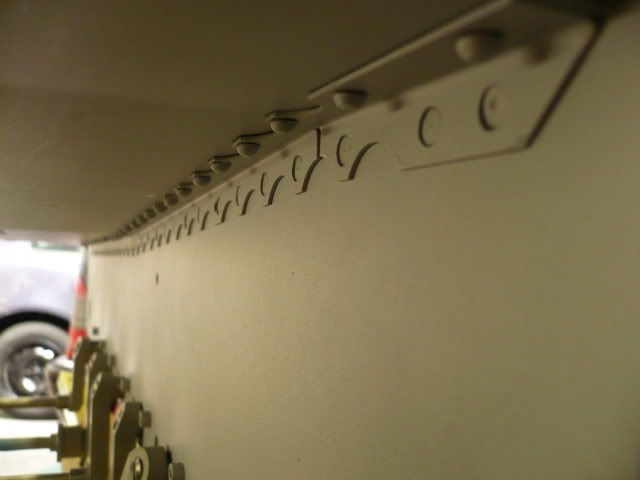
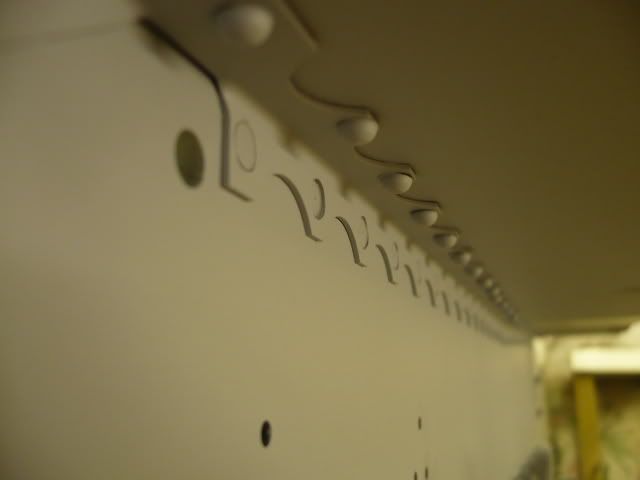
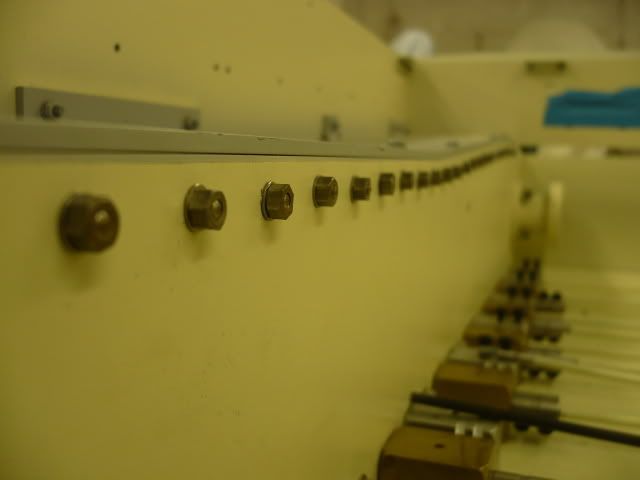
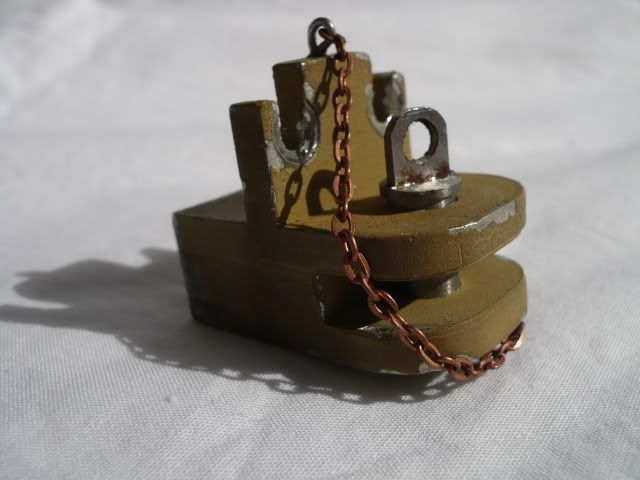
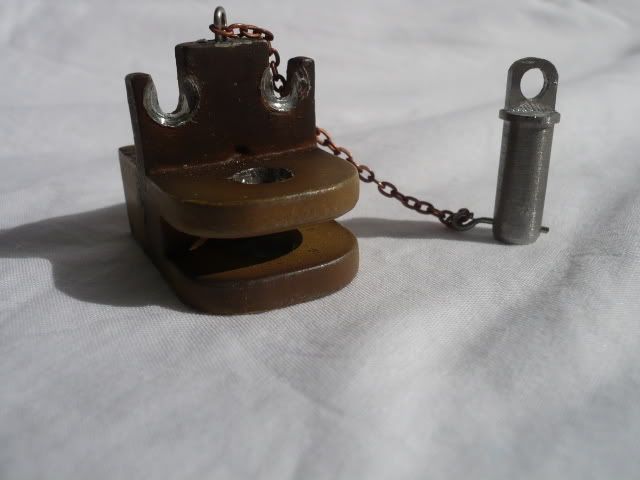
Posted: Sat Sep 06, 2008 12:36 pm
by simon_manning
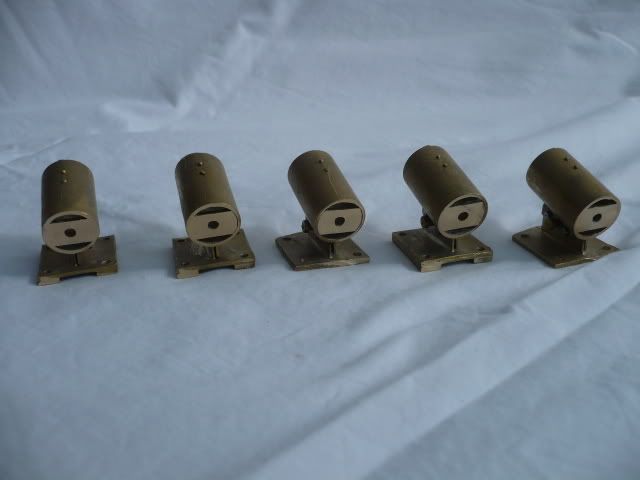
Posted: Sat Sep 06, 2008 3:39 pm
by Adrian Harris
The smoke dischargers look to the ones Vince Abbott used to supply.
Adrian.
Posted: Sat Sep 06, 2008 3:49 pm
by Tim Bowman
HI Simon,
Beautiful! Thanks for posting the photos and keep them coming.
It will be great to see more your progress.
regards
Tim
Posted: Sat Sep 06, 2008 8:24 pm
by Robert E Morey
Simon,
Really cool detail parts! Nice workmanship on them indeed. Keep posting photo's. You're right build progress photos seem to be lagging in all catagories. I know everyone is busy.
Thanks for taking time to share your progress, and for the photos.
Bob
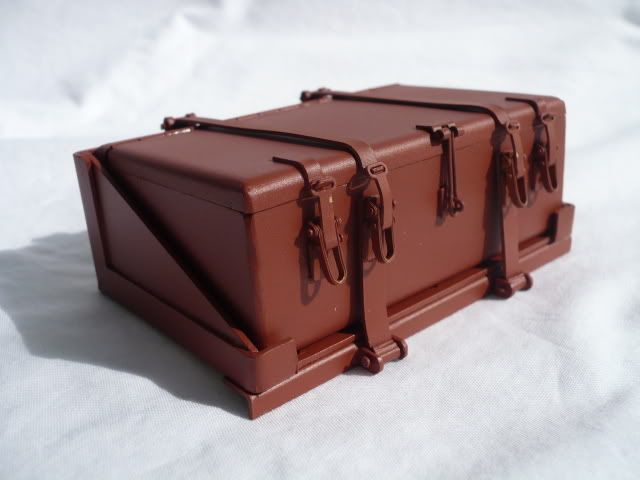
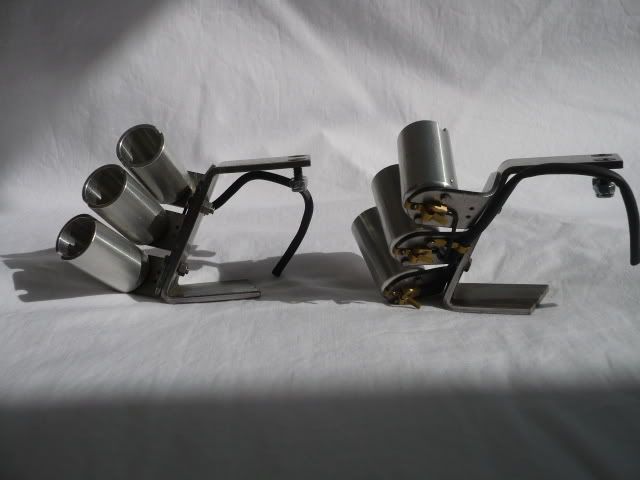
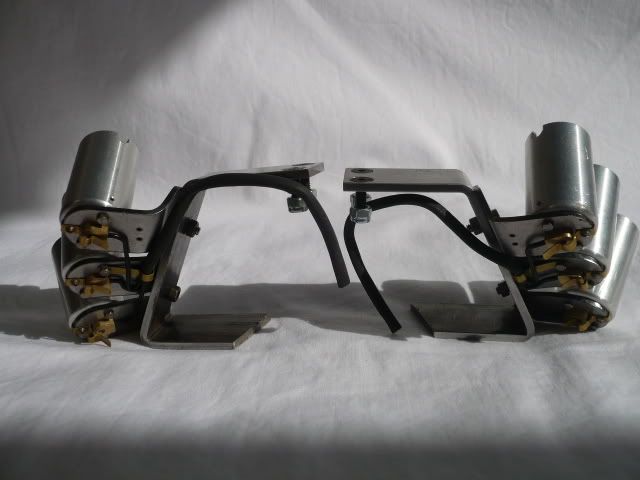
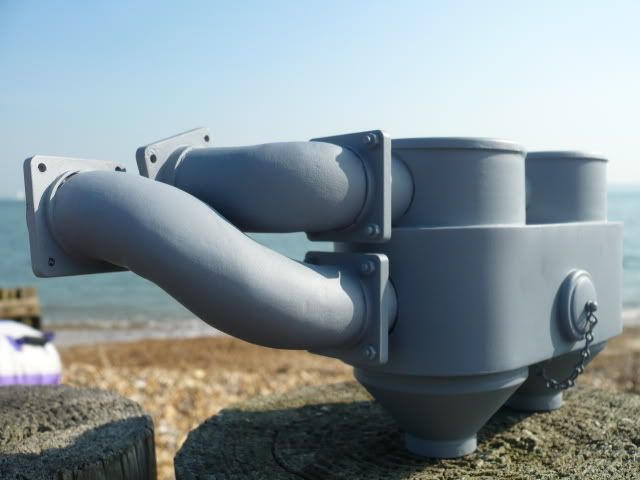
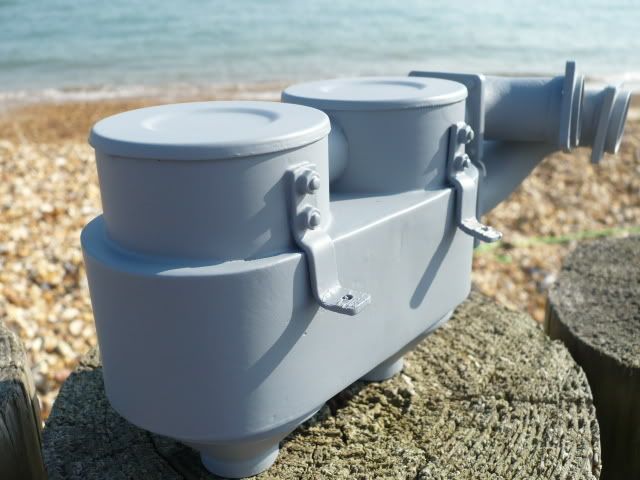
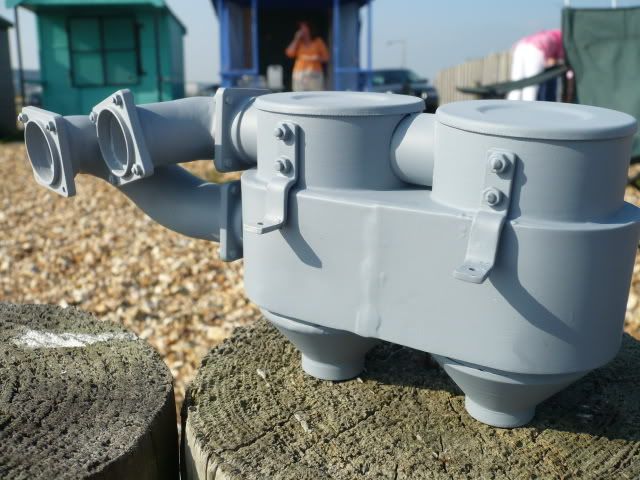
Posted: Sun Sep 28, 2008 8:07 pm
by simon_manning
Posted: Sun Sep 28, 2008 8:42 pm
by Allan Richards
Those are an excellent set of feifels, who made them? Lots of detail.
Saying they needed a bit of cleaning up and de rusting I could have assumed you found them on the beach!!!
Posted: Mon Sep 29, 2008 1:17 am
by Tom Schulze
Yes very nice who made them ?
Posted: Mon Sep 29, 2008 2:40 am
by Tim Bowman
Hi Simon,
Those are incredible! They look like the real thing. Not a bad modelling shop location either.

Super!
kind regards
Tim