Page 1 of 5
My Sherman - a 14 year project
Posted: Sun May 03, 2020 5:18 am
by Robert E Morey
Re: My Sherman - a 14 year project
Posted: Sun May 03, 2020 5:33 am
by Vince Cutajar
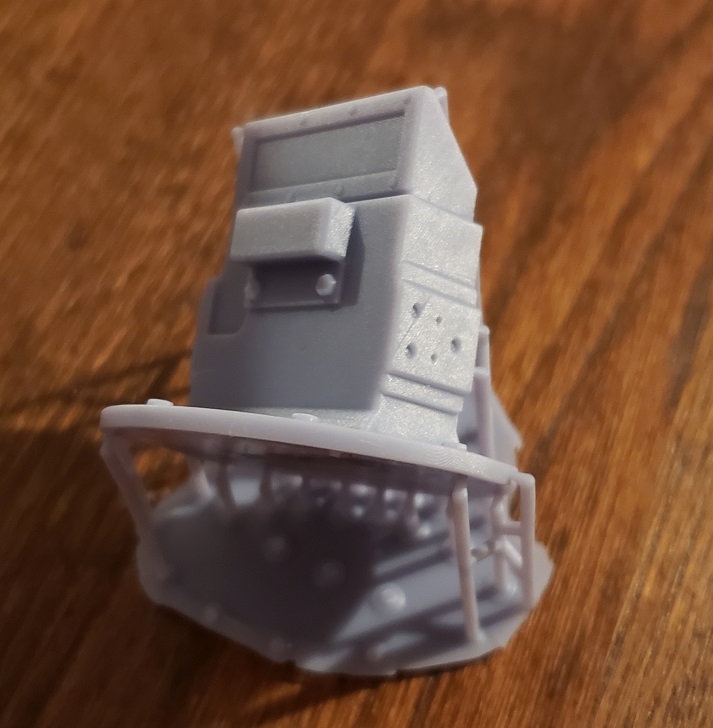
That periscope looks great. Which printer are you using?
Vince
Re: My Sherman - a 14 year project
Posted: Sun May 03, 2020 5:46 am
by Robert E Morey
Hi Vince, thanks for looking. I have an Elegoo Mars. It does a great job once you get the knack of supporting the parts correctly. These parts are not even printed on the higher resolution.
Best regards,
Bob
Re: My Sherman - a 14 year project
Posted: Sun May 03, 2020 10:48 am
by Adrian Harris
Good to see your Sherman making a reappearance

These resin printers certainly knock the socks off FDM printers.
Am I right in thinking you have to empty the tank when you're not using it ? Is that a problem, as I understand it's like runny honey, so sounds like it could be a pain, especially if it's UV sensitive ?
Adrian.
Re: My Sherman - a 14 year project
Posted: Sun May 03, 2020 10:57 am
by Vince Cutajar
Yes Adrian, from what I am reading, it's a messy and smelly business although now it seems there a plant based resins which do not smell that much. Yes one has to empty the tank when not using the printer as otherwise the resin in the tank might start setting with the residual UV light that might be in the room.
I sent Bob the Sherman rifling insert maybe he will have better luck.
Vince
Re: My Sherman - a 14 year project
Posted: Sun May 03, 2020 7:20 pm
by Robert E Morey
Hi Adrian,
You have to empty the vat if the printer sits idle more than 3-4 days. When I'm printing I try to keep a steady flow of parts going on to the machine so there is no need to empty the vat unless you want to change color. The Elegoo "ABS like" resin is a bit smelly, but only during printing. This is due to the heat generated from the processor and UV light. I usually close the bedroom door while in use. I tried having the machine in the garage and opening the window in bedroom - both of which caused the prints to fail. The resin does not like cooler temps or fluctuating temps while printing. So the resin printers perhaps are more sensitive than the FDM printers in that regard. Steady warm 70 deg F room temp seems to work like a charm for this printer/resin.
I would like to try the new water washable resins, they may be less smelly. Being able to clean with water vs alcohol sounds like a huge improvement.
The other time you have to empty the vat is if a part pulls of the build plate or fails. Once I got the geometry orientation issue solved I never have any more parts pulling off the plate or failed prints.
And yes for high detail parts the resin printers are hard to beat. The ABS resin is very strong and hard, but a bit brittle. You have to be careful dropping some thin wall parts onto concrete floor. But for small tank detail "fiddly bits" the resin printers are great.
B
Re: My Sherman - a 14 year project
Posted: Sun May 03, 2020 8:52 pm
by Christoffer Ahlfors
Very enlightening - thanks!

Re: My Sherman - a 14 year project
Posted: Sun May 03, 2020 11:35 pm
by Adrian Harris
Thanks Bob, most interesting and those printers seem pretty reasonable.
Adrian.
Re: My Sherman - a 14 year project
Posted: Mon May 04, 2020 6:52 pm
by Robert E Morey
Hi Vince,
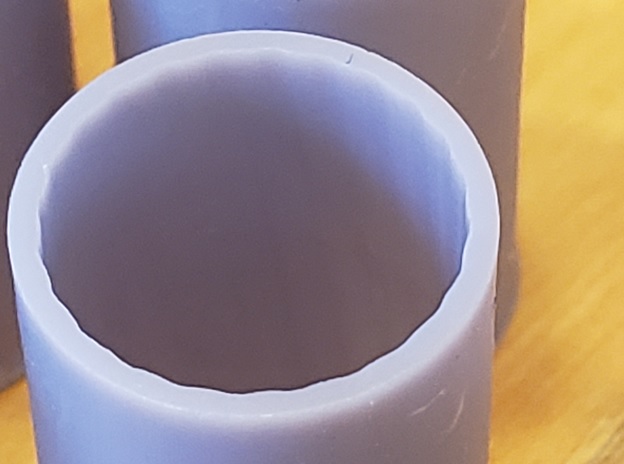
I printed your Sherman rifling inert. It printed ok, except the rifling detail is barely visible. I would recommend exaggerating the rifling a bit. Perhaps twice as deep as you have it now. Maybe a little bit wider on each ridge as well. I think the rifling detail was right at the accuracy limits of the printer machine which is why its a bit blurred. You have to exaggerate fine detail like bolt heads, rivets, fine grooves etc.
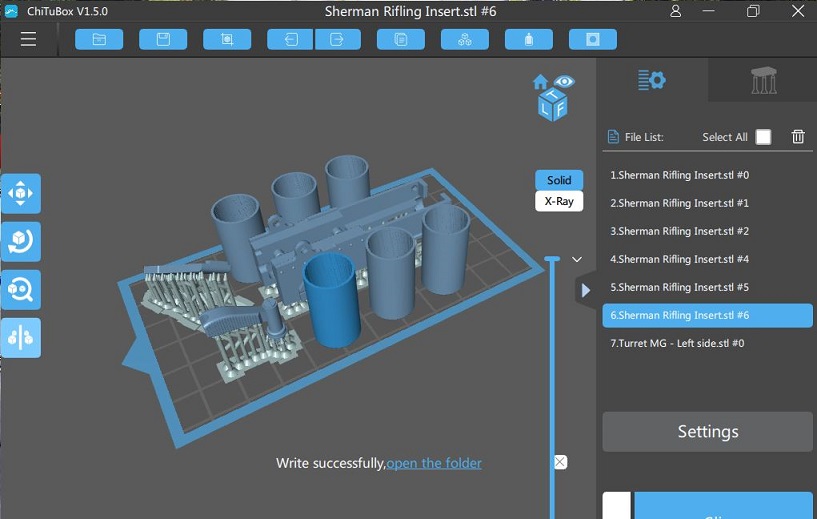
Here is how it looks in the slicer. I printed your inserts vertically. I threw in a .30 MG which I've been designing based on the Dragon model, just to see how it would come out.
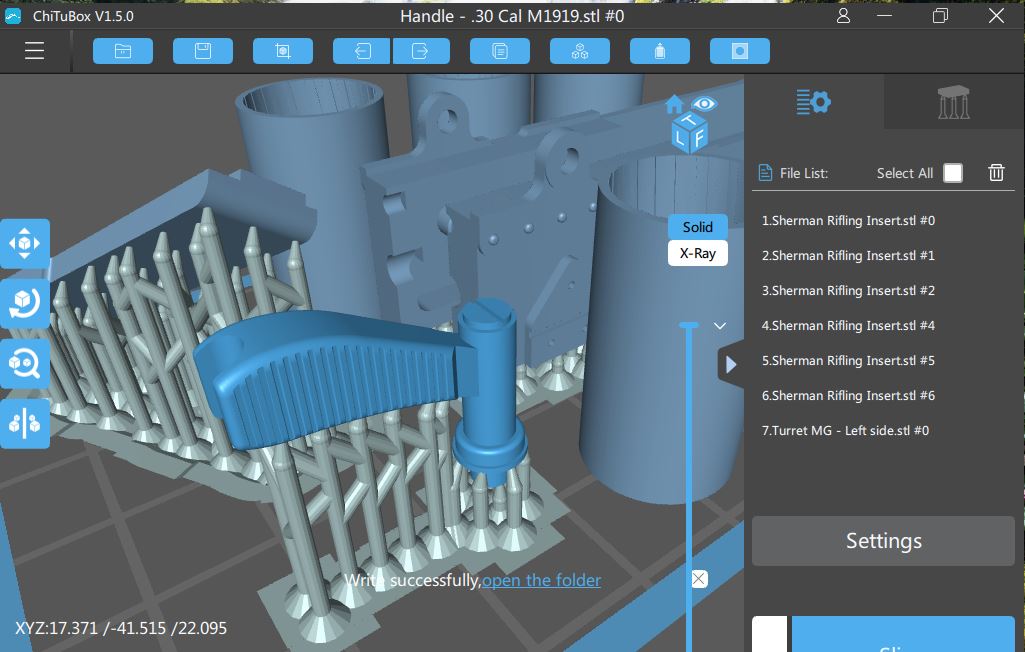
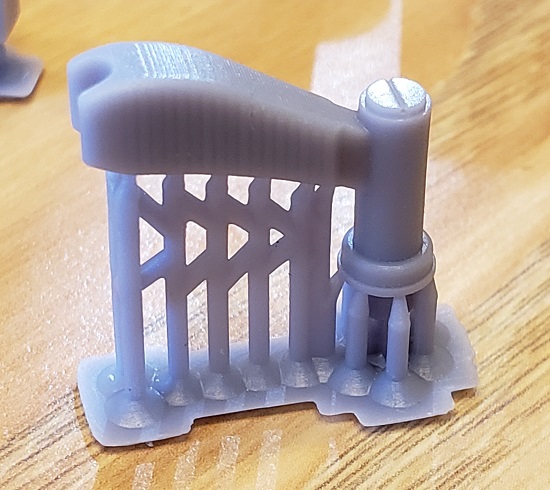
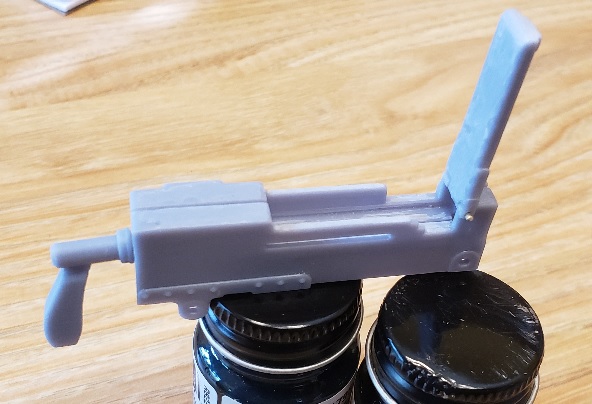
Here is close of MG handle showing grooves in handle:
Here is overall pix of your rifling insert:
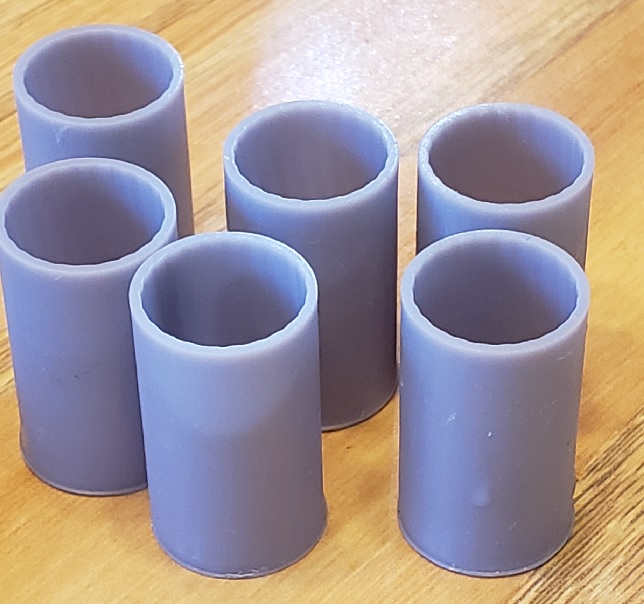
Close up of the rifling insert:
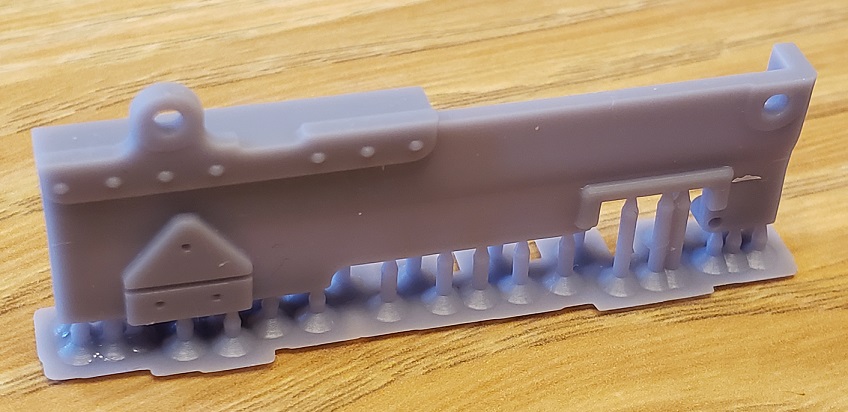
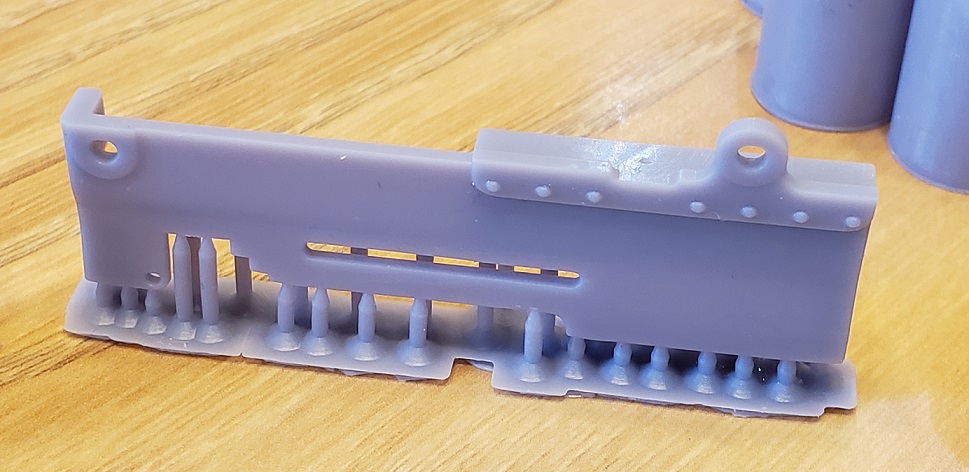
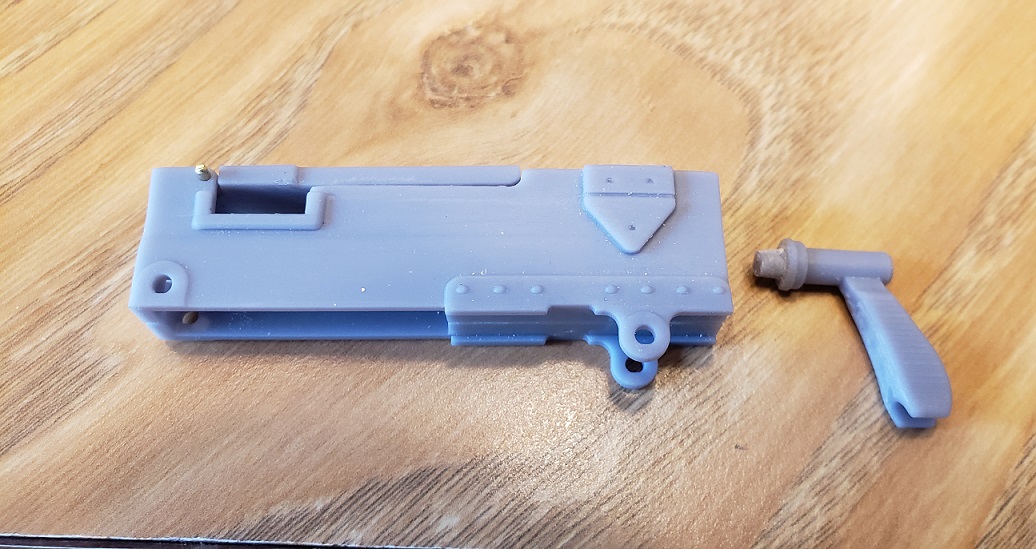
The MG body and parts after printing:
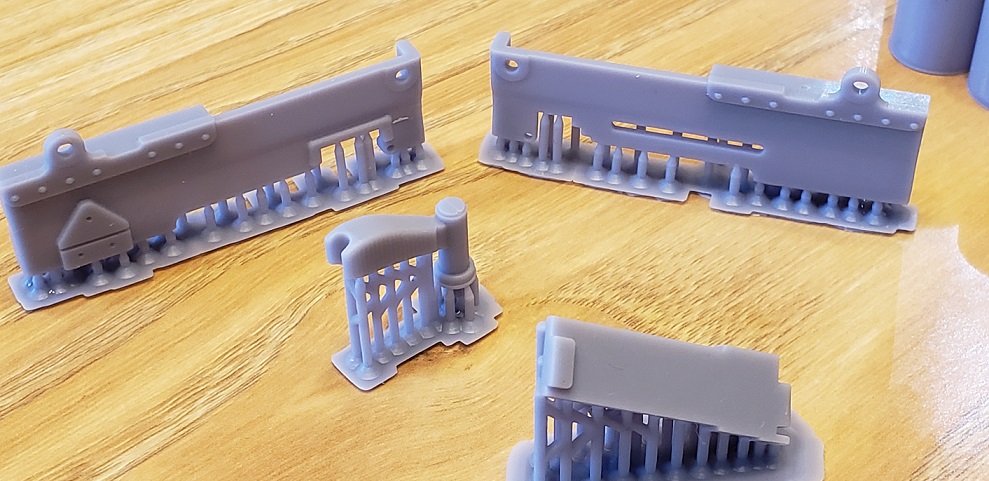
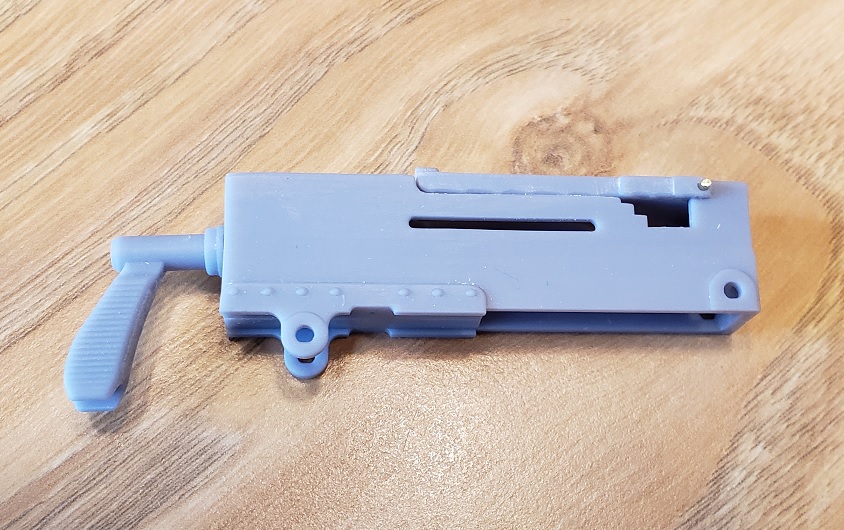
Assembled .30 cal body showing "whats possible". The parts fit together fairly well. The MG bodies are slightly warped but still serviceable. I didn't spend much time with part orientation, I just threw them in to print. I think they came out fairly well.
If you want to try version 2 of your rifling insert, I'd be happy to give it a go.
-Bob
Re: My Sherman - a 14 year project
Posted: Mon May 04, 2020 7:06 pm
by Vince Cutajar
Thanks Bob for that very interesting info. I can make another one with deeper grooves if you want.
Vince
Re: My Sherman - a 14 year project
Posted: Mon May 04, 2020 9:45 pm
by Adrian Harris
I'm going to have to get me one of those printers
What do you use for CAD software ?
I use TurboCAD for 2D stuff and Fusion 360 for 3D but always seem to run out of talent just as things are coming together

Adrian.
Re: My Sherman - a 14 year project
Posted: Tue May 05, 2020 5:49 pm
by Robert E Morey
Hi Adrian
I use Inventor for CAD. The grand daddy of Fusion 360. 360 is powerful, should get you there as well, its good software for price.
Vince I'd be willing to give another go at the rifling insert.
B
Re: My Sherman - a 14 year project
Posted: Tue May 05, 2020 5:58 pm
by Vince Cutajar
Bob
Sent you a new file via email.
Vince
Re: My Sherman - a 14 year project
Posted: Thu Jul 02, 2020 12:49 am
by Robert E Morey
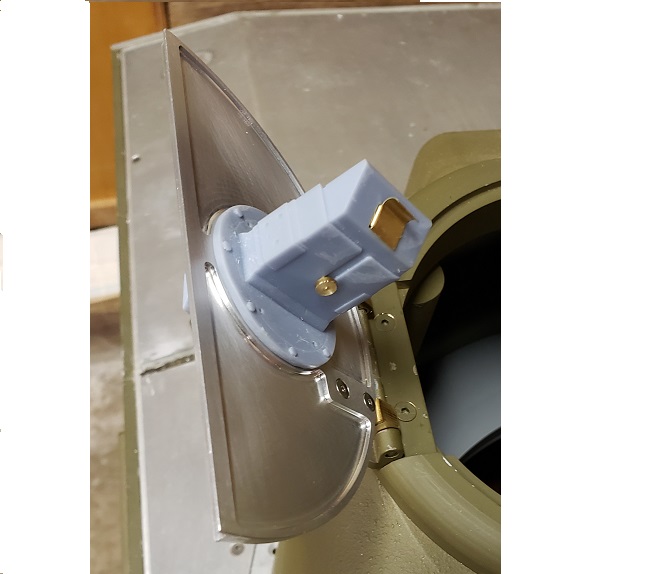
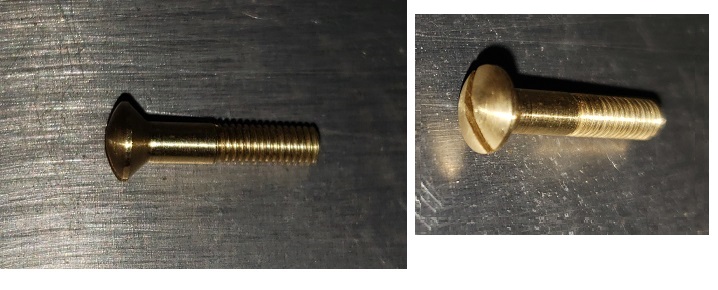
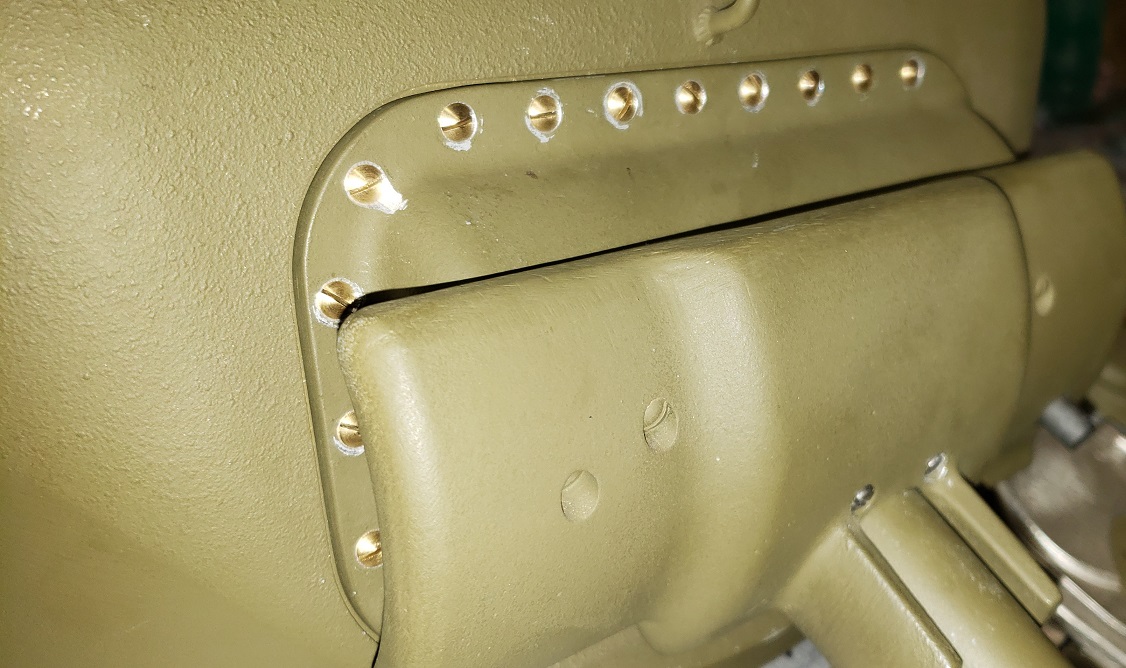
Couple new updates on the Sherman. Spent about a week making custom screws for the gun mantlet. Once I got them done I realized I could have used some round face but flat bottom head screw (gunsmith screw).

Instead I made them with the base 90 Deg. They look and work fine.
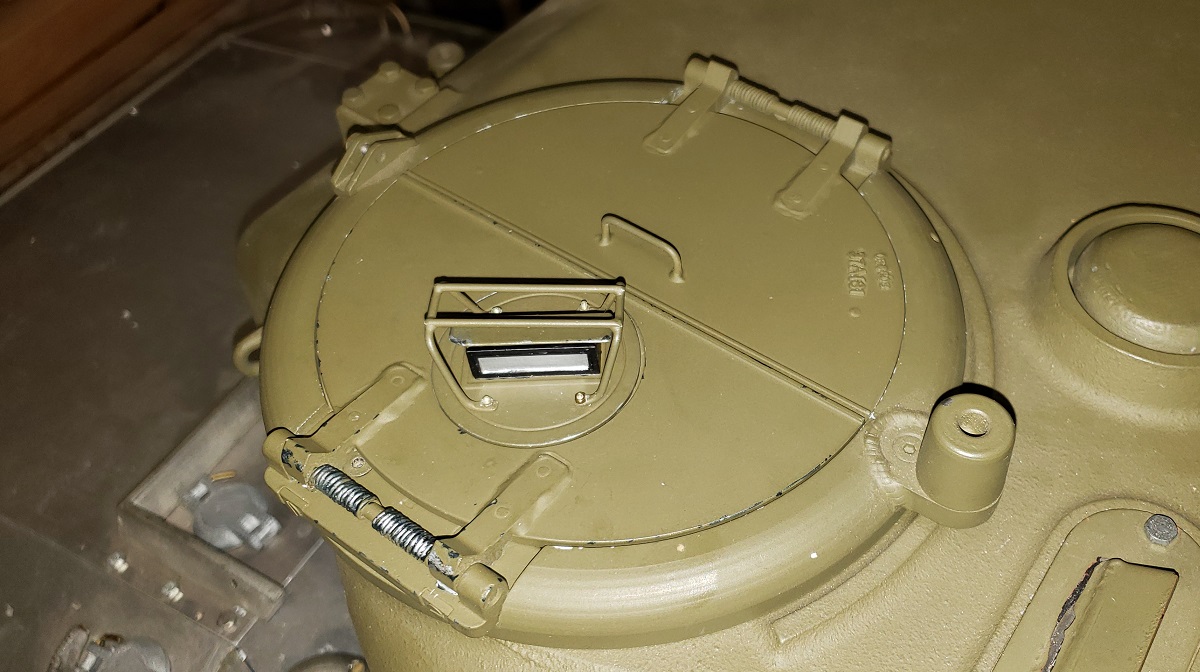
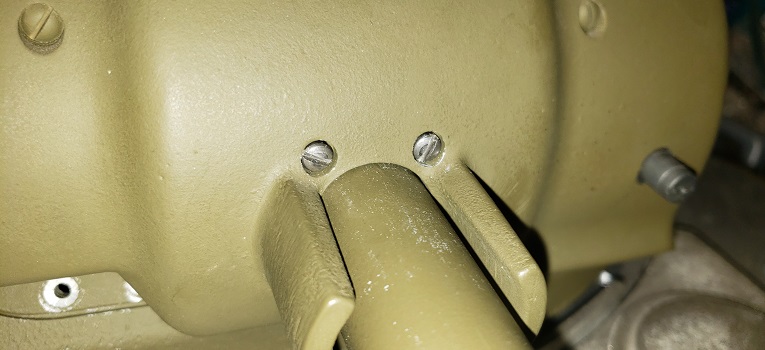
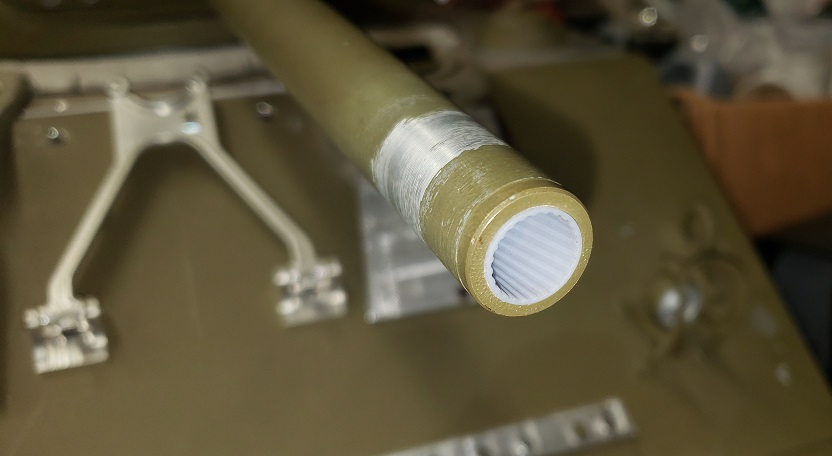
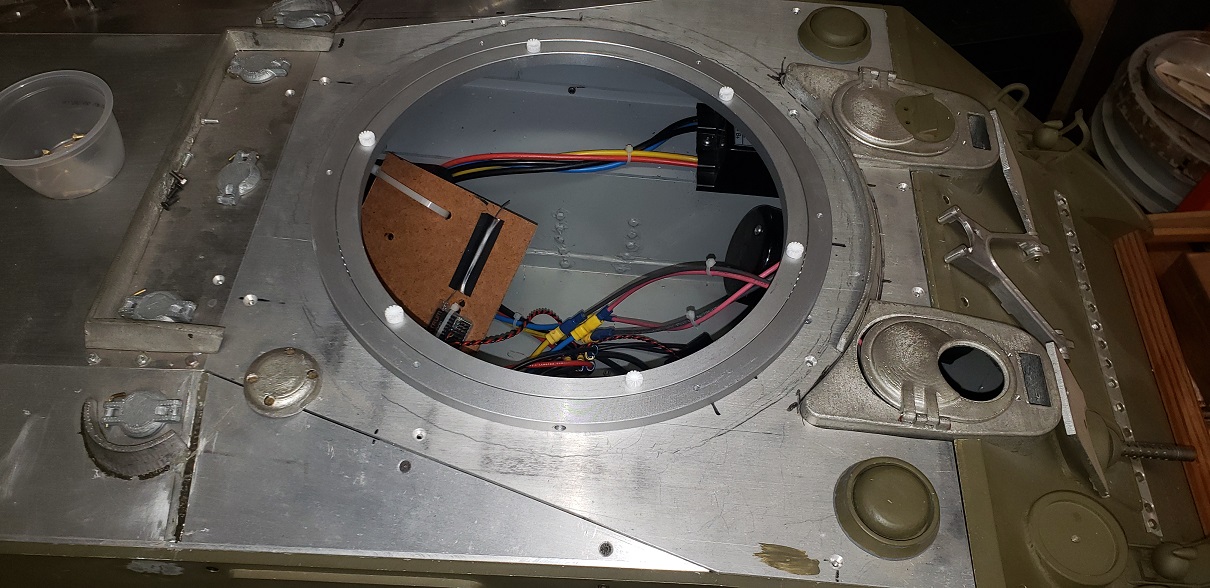
Vince I was able to use the printed rifling insert (version 2) - Thanks for your effort designing that. Made a couple new screws for attaching the gun shield - more scale. Lastly - fitting a lazy susan type bearing for the turret. Really smooth motion. The tooth gear will fit down inside the hull for the motor to engage.
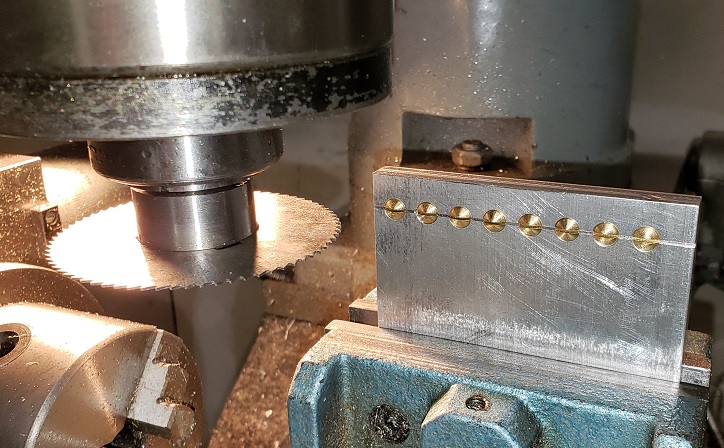
Slitting saw and fixture for screws:
Screws after week of machining. 90 deg head bottom, round face, M3 thread:
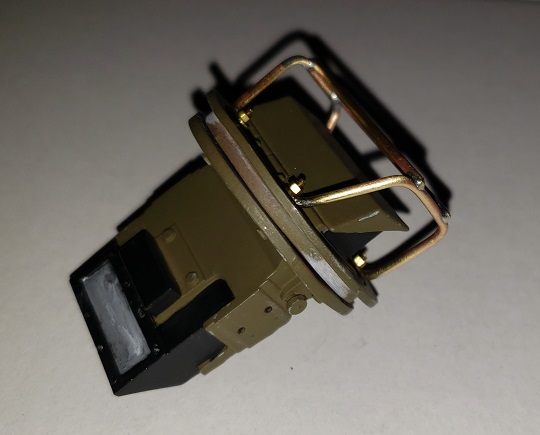
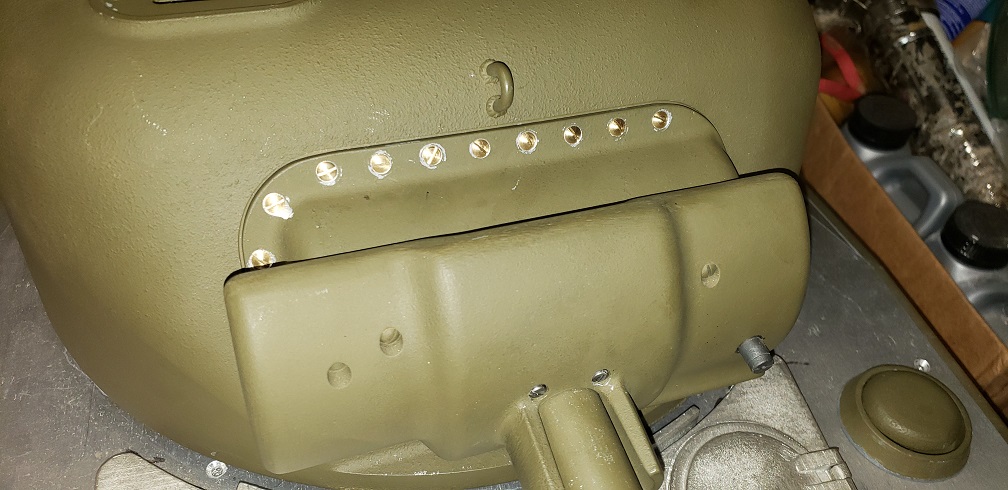
Screws fitted to mantel cover.
New attachment screws for attaching gun shield to barrel:
3D printed resin rifling. Designed by Vince C. Looks good.
Fitting lazy susan bearing to hull
All for now, till next time...
Bob
Re: My Sherman - a 14 year project
Posted: Thu Jul 02, 2020 1:09 am
by Robert Reid
Robert E Morey wrote: ↑Mon May 04, 2020 6:52 pm
Hi Vince,
I printed your Sherman rifling inert. It printed ok, except the rifling detail is barely visible. I would recommend exaggerating the rifling a bit. Perhaps twice as deep as you have it now. Maybe a little bit wider on each ridge as well. I think the rifling detail was right at the accuracy limits of the printer machine which is why its a bit blurred. You have to exaggerate fine detail like bolt heads, rivets, fine grooves etc.
Here is how it looks in the slicer. I printed your inserts vertically. I threw in a .30 MG which I've been designing based on the Dragon model, just to see how it would come out.
Here is close of MG handle showing grooves in handle:
Here is overall pix of your rifling insert:
Close up of the rifling insert:
The MG body and parts after printing:
Assembled .30 cal body showing "whats possible". The parts fit together fairly well. The MG bodies are slightly warped but still serviceable. I didn't spend much time with part orientation, I just threw them in to print. I think they came out fairly well.
If you want to try version 2 of your rifling insert, I'd be happy to give it a go.
-Bob
I am SOOOO glad that I am not the only one with plier marks on the top of my Testors Master Modeler bottles.
Until this moment, I thought I was totally alone in the world...
Cheers,
RPR