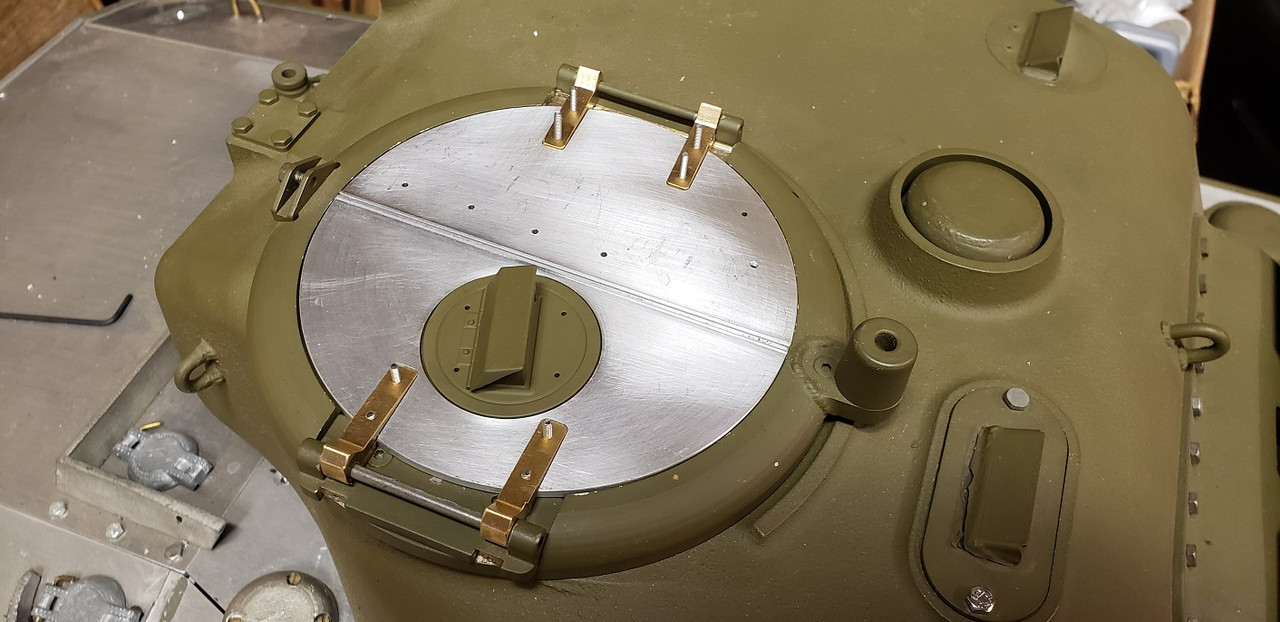
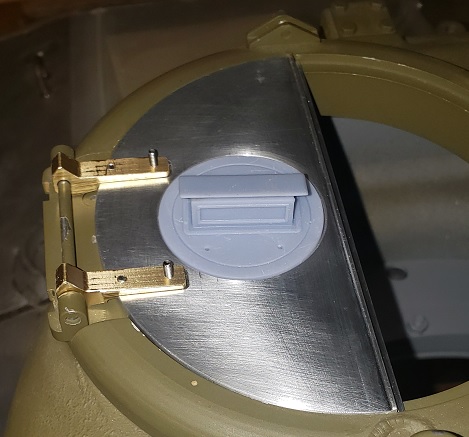
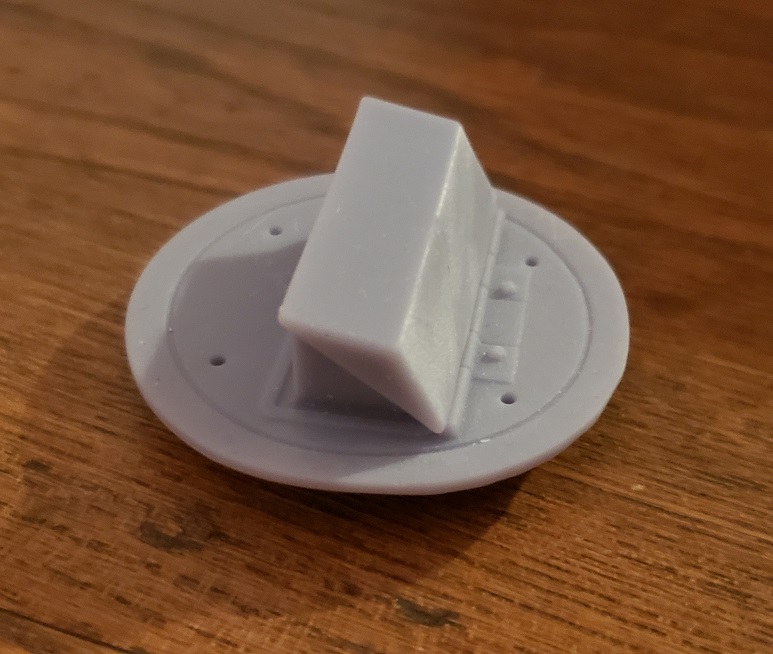
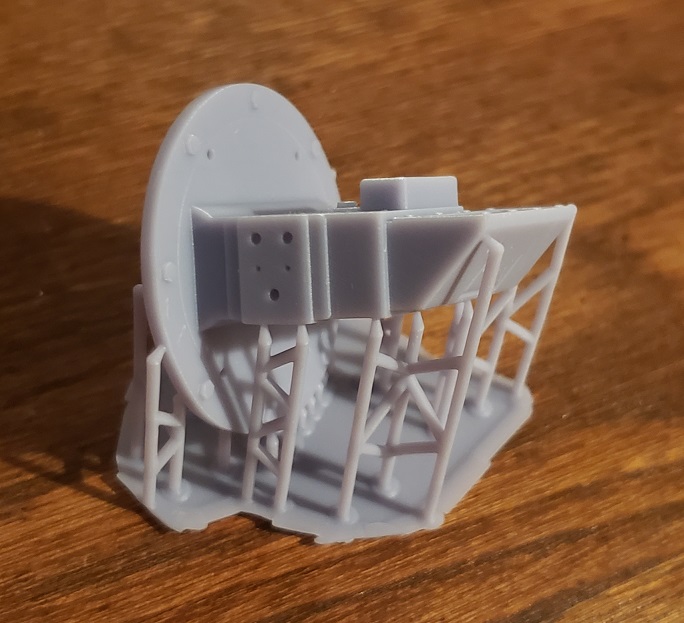
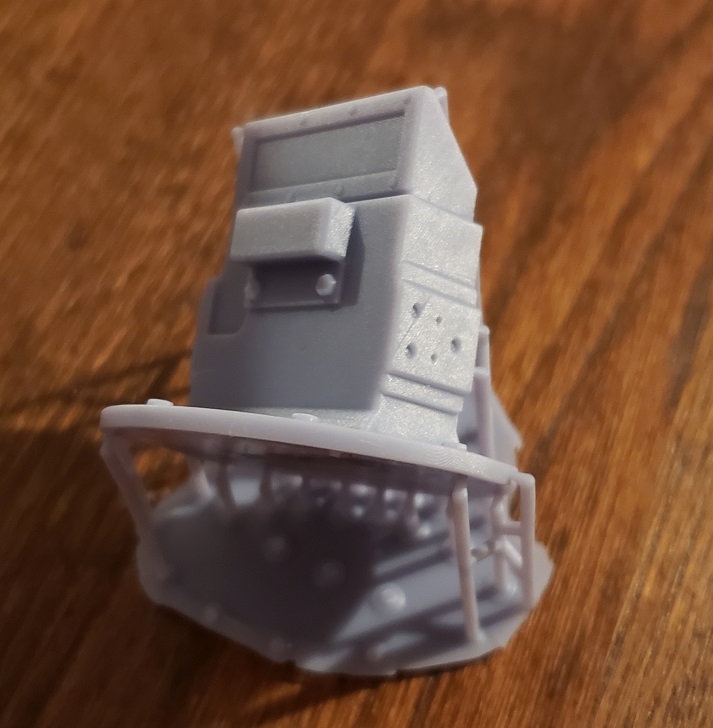
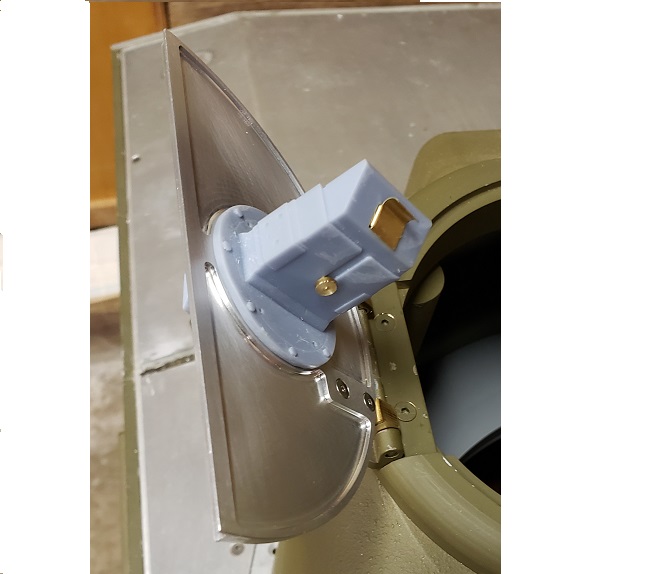
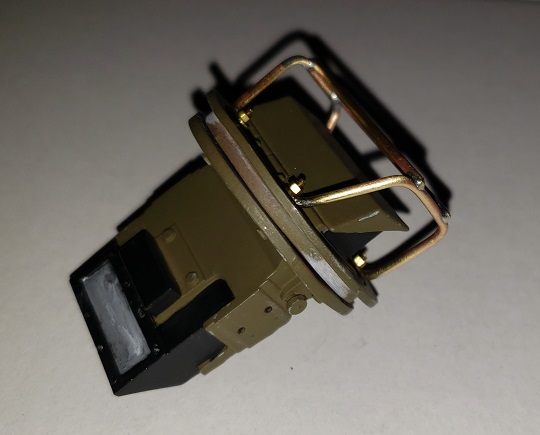
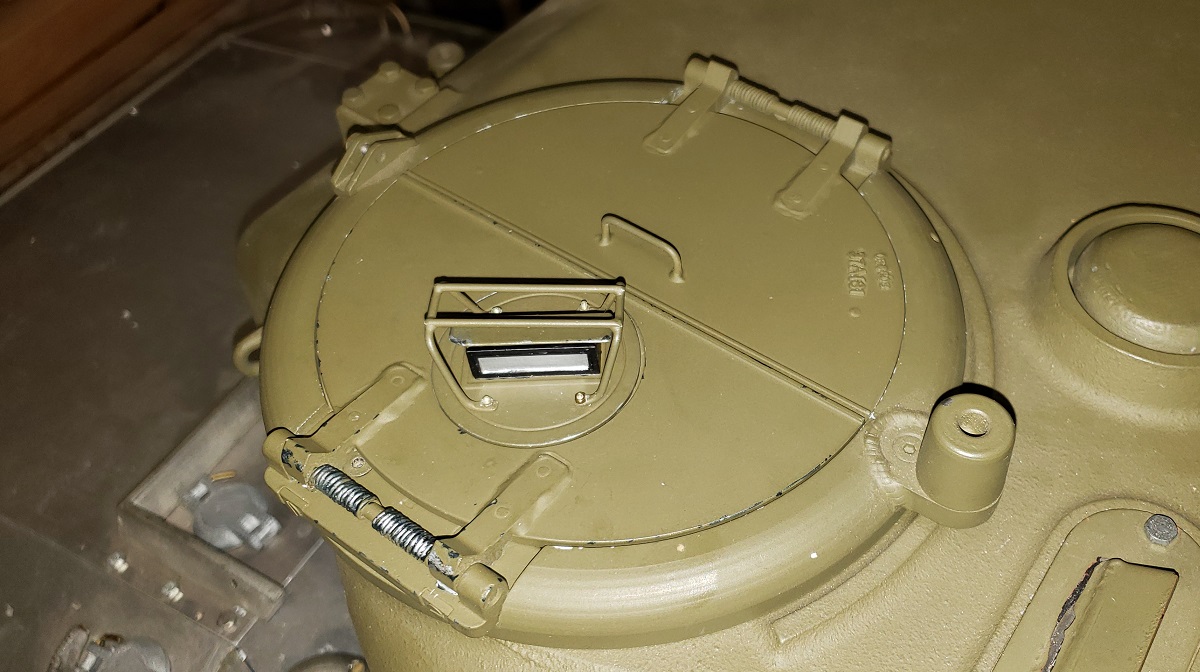
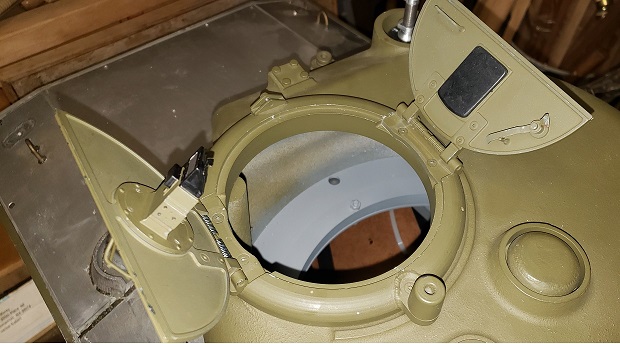
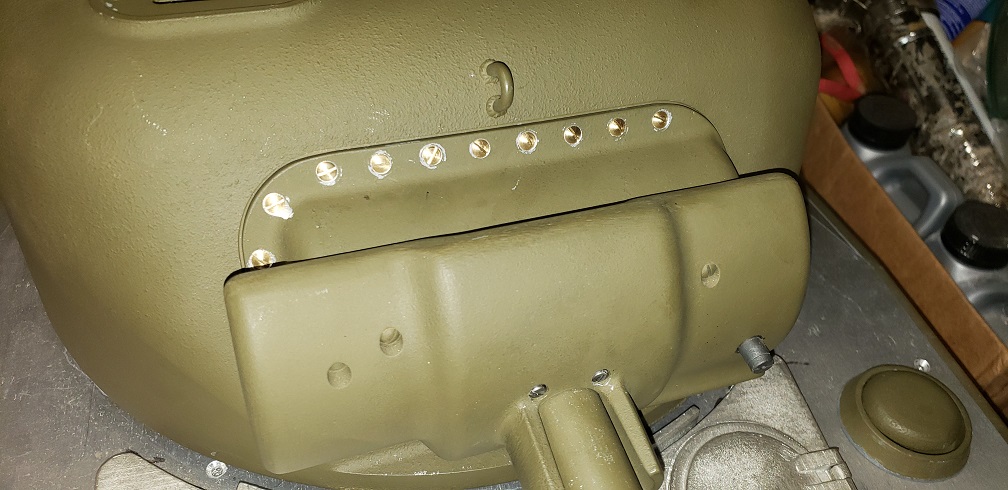
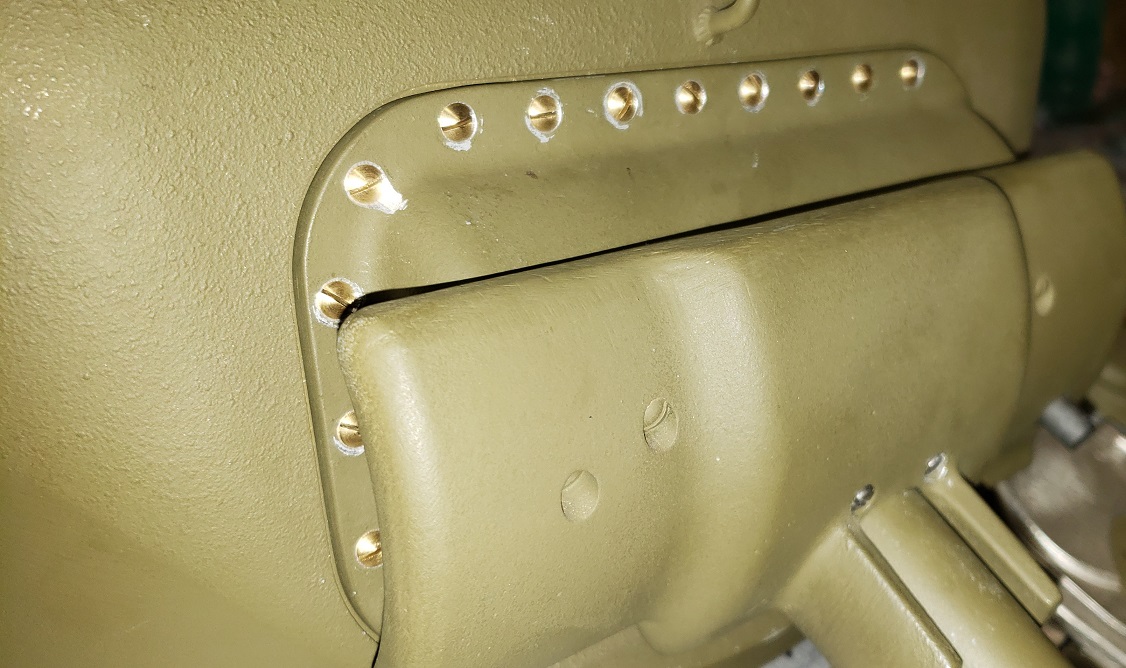
First up was some new commanders hatches from Alum. Along with some resin printed periscopes. Not 100% accurate but big improvement. Thanks for looking.
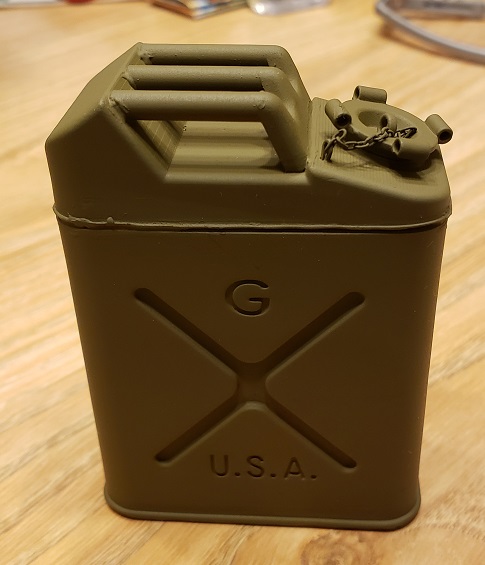
Printed some accessory gas cans...
Hopefully more soon. Happy building....stay safe everyone.
B

I am SOOOO glad that I am not the only one with plier marks on the top of my Testors Master Modeler bottles.Robert E Morey wrote: ↑Mon May 04, 2020 6:52 pmHi Vince,
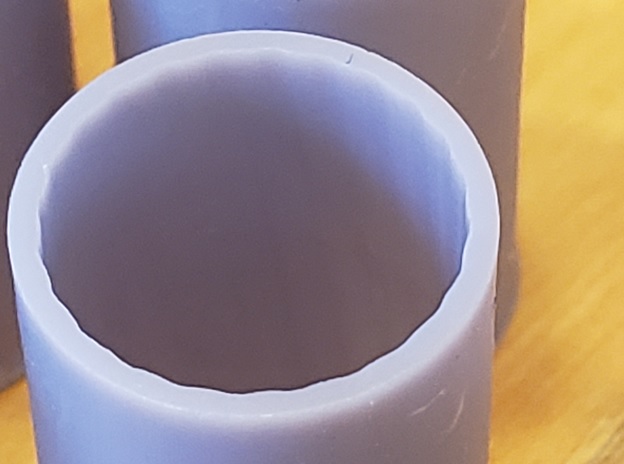
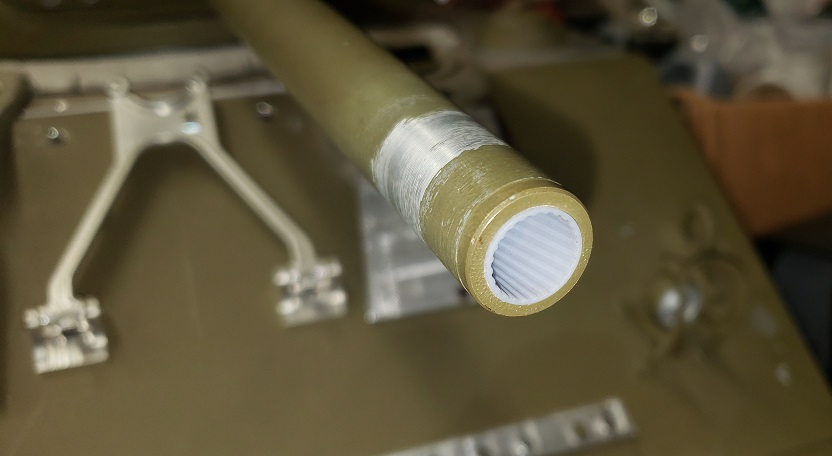
I printed your Sherman rifling inert. It printed ok, except the rifling detail is barely visible. I would recommend exaggerating the rifling a bit. Perhaps twice as deep as you have it now. Maybe a little bit wider on each ridge as well. I think the rifling detail was right at the accuracy limits of the printer machine which is why its a bit blurred. You have to exaggerate fine detail like bolt heads, rivets, fine grooves etc.
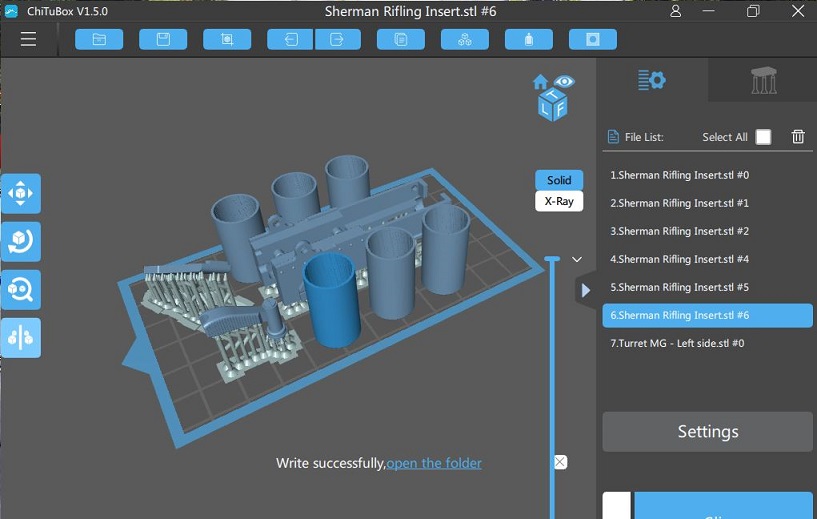
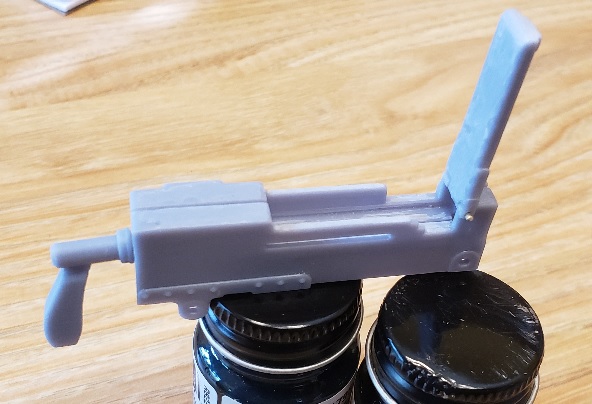
Here is how it looks in the slicer. I printed your inserts vertically. I threw in a .30 MG which I've been designing based on the Dragon model, just to see how it would come out.
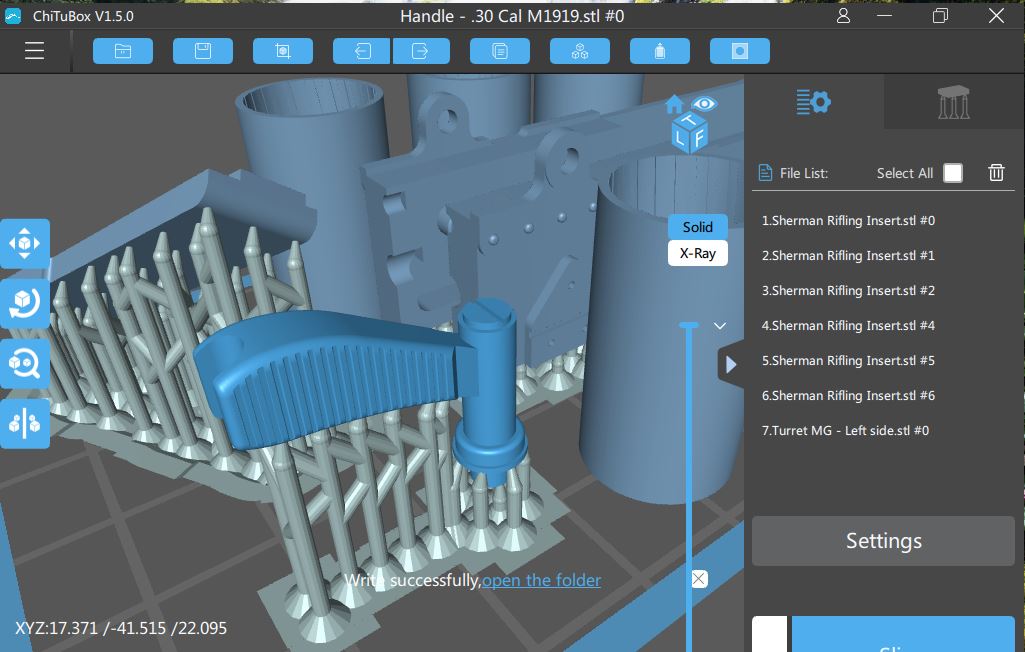
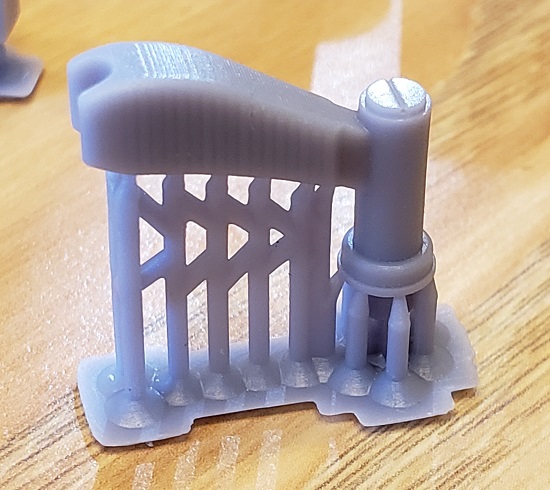
Here is close of MG handle showing grooves in handle:
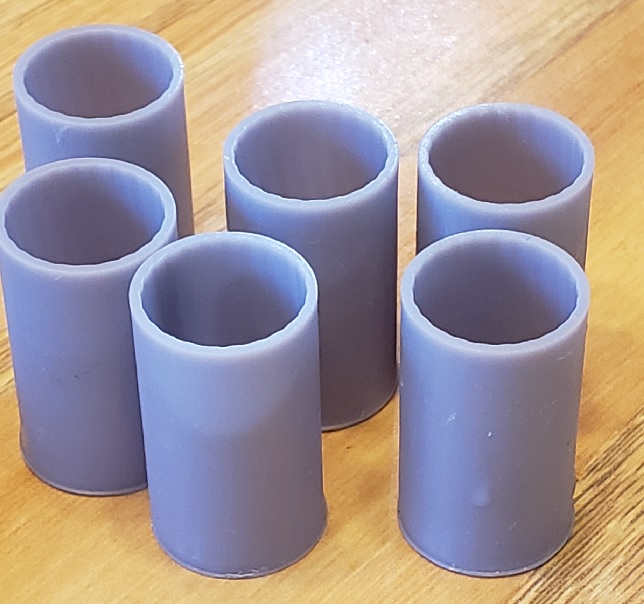
Here is overall pix of your rifling insert:
Close up of the rifling insert:
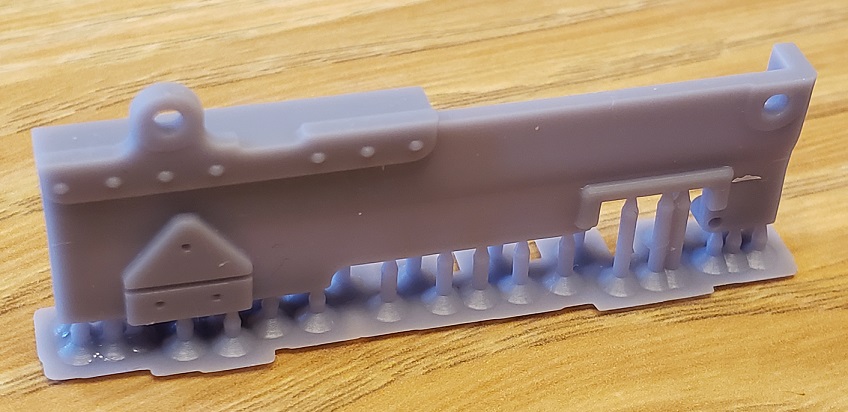
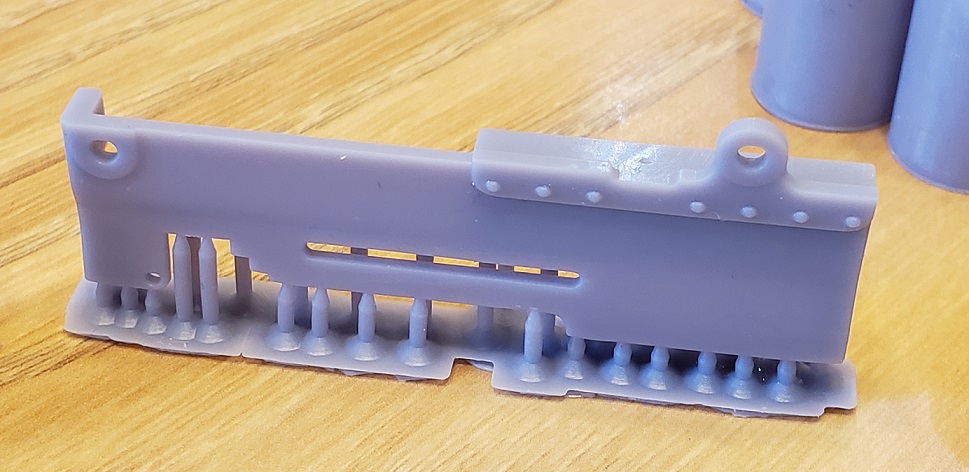
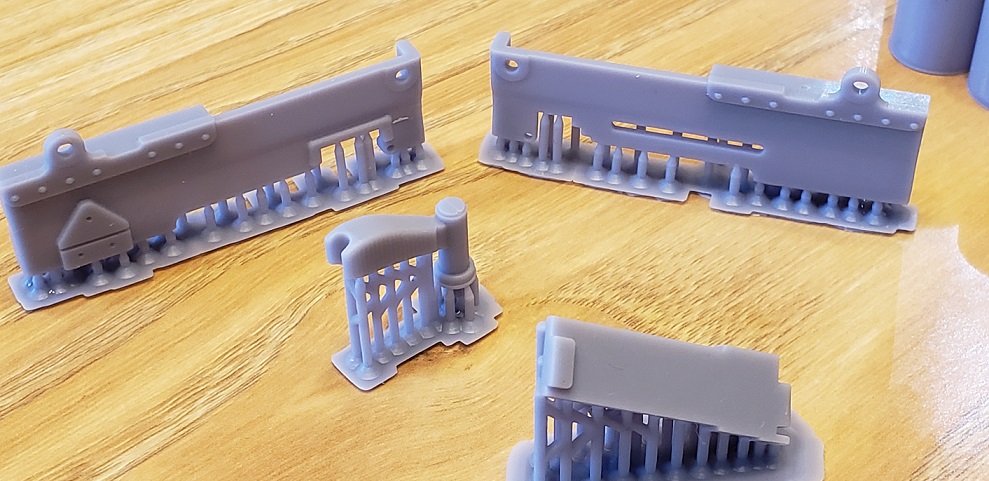
The MG body and parts after printing:
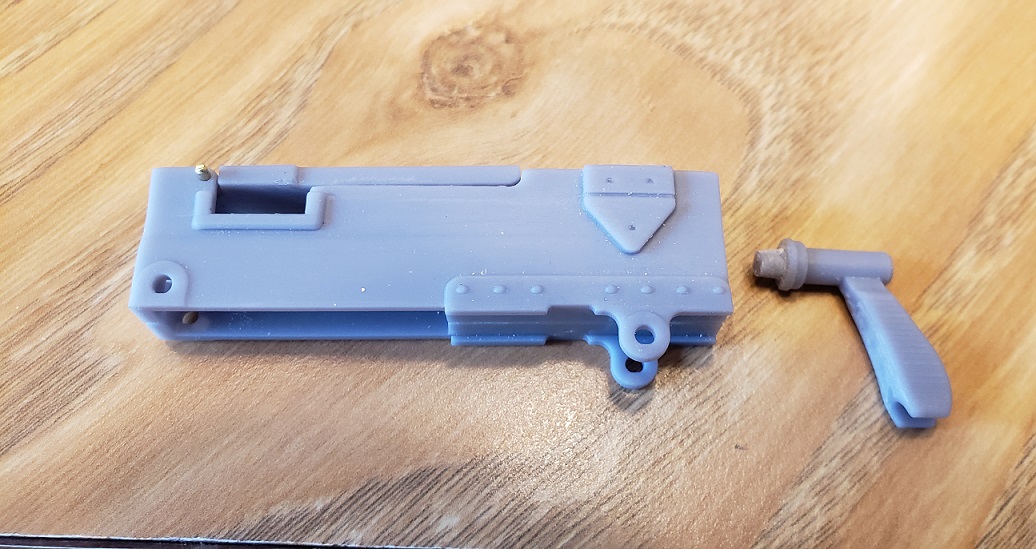
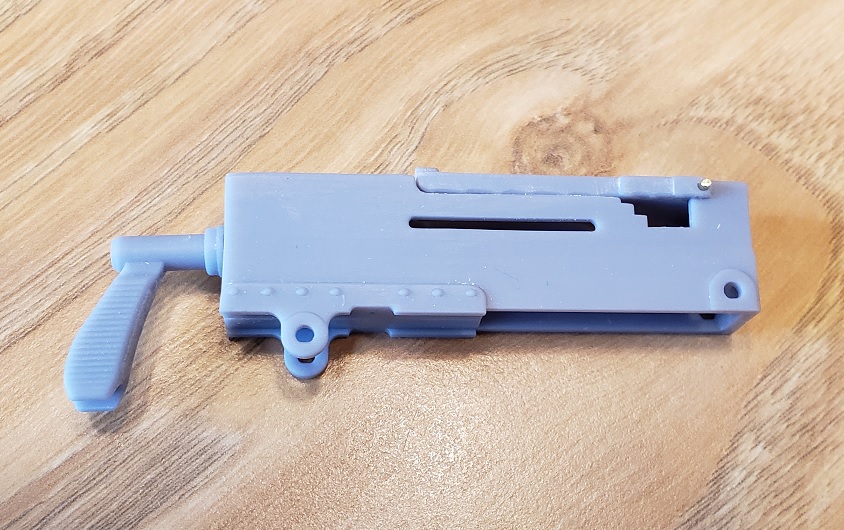
Assembled .30 cal body showing "whats possible". The parts fit together fairly well. The MG bodies are slightly warped but still serviceable. I didn't spend much time with part orientation, I just threw them in to print. I think they came out fairly well.
If you want to try version 2 of your rifling insert, I'd be happy to give it a go.
-Bob