Page 1 of 1
Pak 43/41 Build
Posted: Sun Sep 06, 2015 3:17 am
by Eric Ho
The Pak 43/41 arrived very soon after my order, so I decided to do a quick assembly to check the parts fit. Many thanks to the previous posts on the tips for the fitting procedures.
I found that I had to mill out a little of the aluminum on the aluminum/steel mating parts in addition to grinding down the countersunk bolt heads a little(CN0146/0144/0161/0149 - HPCR0.25-44, etc). I also had to enlarge the screw holes on CN0143 to get a M3 bolt to pass through. CN0140 also had to be reamed out a little (6mm, seemed undersized at 5.8/5.9mm) to fit CN0158.
For the first step, the wheels went together quite easily with a little grease and rubber mallet.
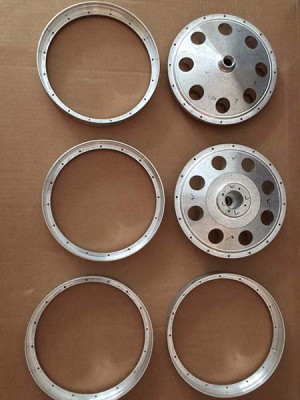
- Wheels
Re: Pak 43/41 Build
Posted: Sun Sep 06, 2015 3:25 am
by Eric Ho
The main barrel and breech are impressive when assembled. The neighbours would have called the police if they saw this:
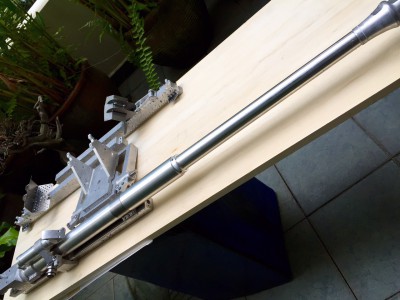
- Sniper!
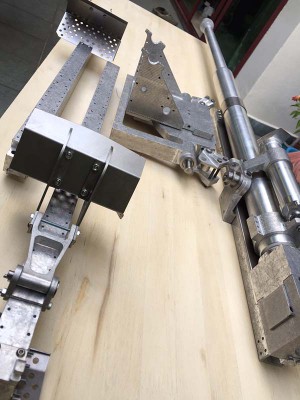
- It's a gun alright!
Re: Pak 43/41 Build
Posted: Sun Sep 06, 2015 3:34 am
by Eric Ho
I was very impressed with the polished look of the finished model on the box (look at those wheels!). Coupled with some recent difficulty and long lead time to get the appropriate aluminum primer/paints locally, I thought I would experiment a little with the finish, and attempt some anodizing, which could still be painted over eventually should I get back into the scale look.
I've always liked the polished anodized finishes of bicycle parts like Chris King, especially their 'Pewter' colour.
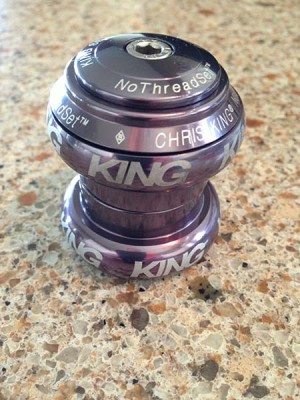
- Pewter
So I polished up some parts and sent it to the anodizers (it was a tough selection process as not many of them had the right colour dyes, and I wasn't sure how they would handle these). Different grade aluminums also anodize differently....
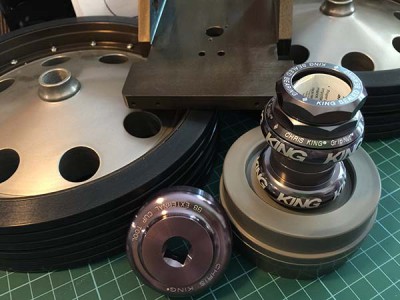
- Any colour you like
Re: Pak 43/41 Build
Posted: Sun Sep 06, 2015 3:48 am
by Eric Ho
The 'pewter' colour was close to the shiny gunmetal grey look I initially wanted. But the selection of colour options at the anodizers left me to pick a dark bronze instead. Even then, some of the parts such as the wheels, etc would pick up less of the colour, leaving it lighter than the rest.
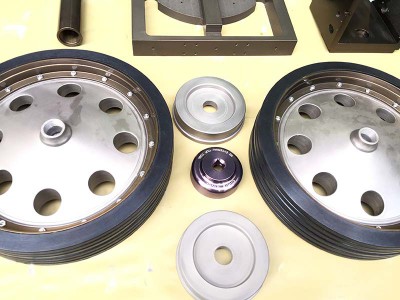
- one dye, all shades
Some parts did turn out nice and contrasted with the copper rivets well.
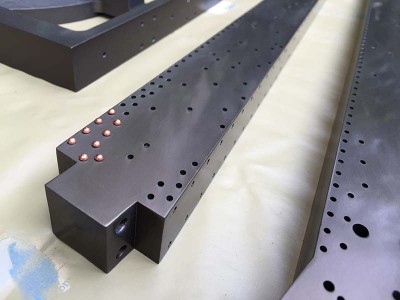
- A modified JPS livery
Re: Pak 43/41 Build
Posted: Sun Sep 06, 2015 8:35 am
by Eric Ho
There were one or 2 threaded areas that needed the threads cleaned out or just tapped a little deeper (Also on the wheel trailing arms). M8-M12 size taps needed, I didn't have all the right pitch taps, so time for some new hardware!
I didnt manage to catch this little guy pre ano...all the rest got rethreaded during the first pre ano trial assembly.
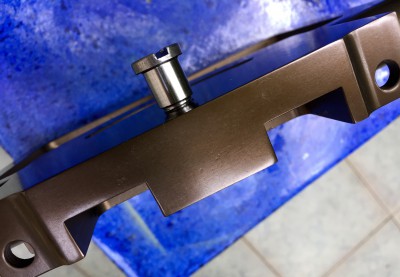
- Just a little deeper...
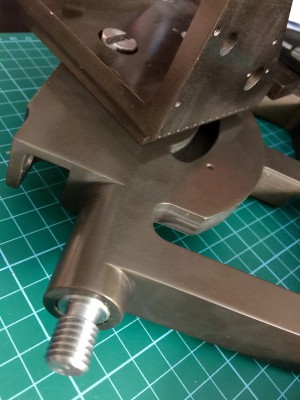
- Threads
Re: Pak 43/41 Build
Posted: Mon Sep 07, 2015 7:54 pm
by Robert E Morey
Looking great Eric, cant wait to get started on mine. The anodize is a good idea - I like Chris King fit and finish on their parts too! Keep up the great work - its going to be a beast. Are the rivets actually peened in place or glued? Are you going to paint over the anodize or leave it essentially bare metal? Either way it will make an excellent protection coating.
Best regards,
Bob
Re: Pak 43/41 Build
Posted: Tue Sep 08, 2015 1:23 pm
by Eric Ho
Putting together some subassemblies...
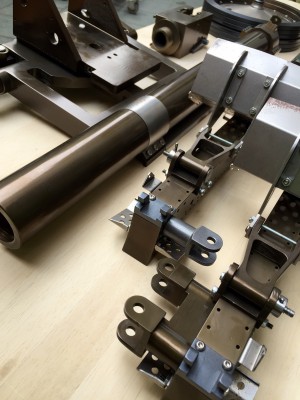
- Subassemblies
And also placing the traverse and elevation mechanisms in place,
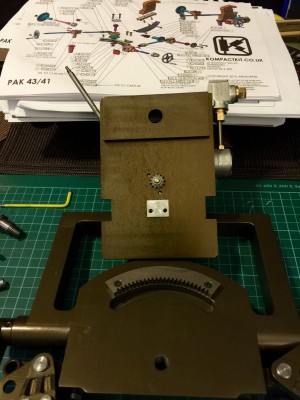
- Traverse
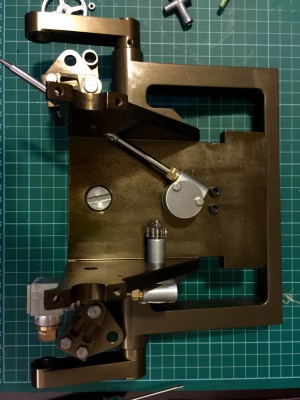
- Traverse fitted
Re: Pak 43/41 Build
Posted: Tue Sep 08, 2015 1:40 pm
by Eric Ho
Thanks Bob,
The rivets would be glued on as most of the holes are blind. The rivets fit loose, so a thick gap glue like silicone or even epoxy might be good.
I'll build it anodized first, and then think of a paint scheme to go over later. The steel parts rust almost immediately here in the tropics, so I might gun blue them in the meantime.
Robert E Morey wrote:Looking great Eric, cant wait to get started on mine. The anodize is a good idea - I like Chris King fit and finish on their parts too! Keep up the great work - its going to be a beast. Are the rivets actually peened in place or glued? Are you going to paint over the anodize or leave it essentially bare metal? Either way it will make an excellent protection coating.
Best regards,
Bob
Re: Pak 43/41 Build
Posted: Fri Sep 11, 2015 1:47 pm
by Eric Ho
Re: Pak 43/41 Build
Posted: Sat Sep 12, 2015 9:17 pm
by Robert E Morey
Eric,
That Pak is looking great. I'm liking the anodize more and more. Great contrast to the non-anodized parts. Keep up the great work.
best regards,
Bob
Re: Pak 43/41 Build
Posted: Sun Sep 13, 2015 4:03 am
by Eric Ho
Made a couple of mistakes along the way, had to disaseemble the barrel and carriage rail to fit in CN 229/230/232 as the holes are untapped and the nuts go inside the rail. This step shown on page 10 should be done at page 6.
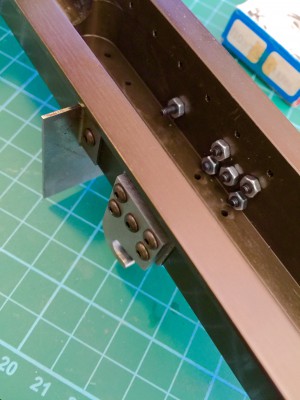
- CN229230232
Also had to cut an M5 Allen Key short to tighten the bolts holding CN140.
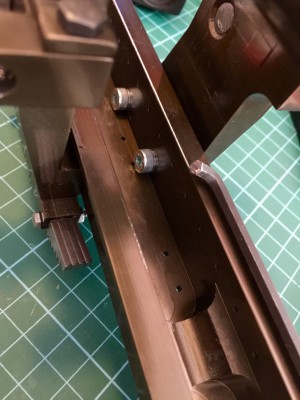
- Short Allen Key
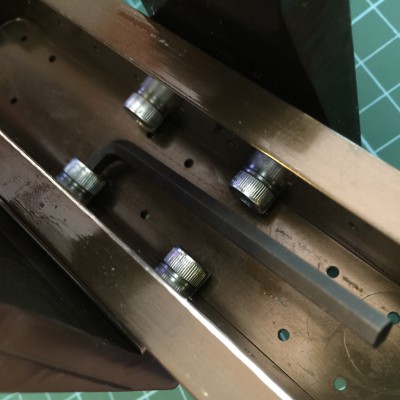
- Short allen key
Re: Pak 43/41 Build
Posted: Tue Sep 15, 2015 10:04 pm
by Ian Gregory
Eric Ho wrote:Thanks Bob,
The rivets would be glued on as most of the holes are blind. The rivets fit loose, so a thick gap glue like silicone or even epoxy might be good.
[/quote]
I used an industrial high strength anaerobic adhesive (ORAPI 316 I think). I used an industrial hypodermic syringe to fill each hole, before inserting the rivets in one session. The way this glue works is that it needs to be excluded from air for it to cure, which it does by filling all the space in the blind hole, the rest is displaced out, and should be wiped off with a clean cloth soon after, I set about 20 rivets then wiped down until clean. Within about 15 minutes nothing short of a drill will shift them.
Re: Pak 43/41 Build
Posted: Sun Sep 20, 2015 7:13 am
by Eric Ho
Re: Pak 43/41 Build
Posted: Tue Oct 20, 2015 9:01 am
by Eric Ho
Mostly in place, most rivets on (except some locations needing a trim). Elevation still a little sticky so sights and nearby areas left accessible for tweaking and adjustments. Suspension damper nuts changed out, waiting for square head bolts for the breech/barrel mount.
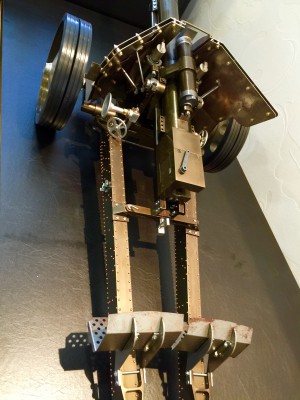
- Rivets on!
Will scrub out the rust on the steel areas eventually, and ponder on the paint job!