Page 1 of 3
re-building mid tiger
Posted: Mon Apr 21, 2008 6:39 pm
by simon_manning
Posted: Mon Apr 21, 2008 7:06 pm
by Tim Bowman
Simon
Awesome! Nice work.
Tim
Posted: Mon Apr 21, 2008 7:28 pm
by Jeffrey Goff
Hi Simon, great work, keep the pictures coming, I also have a part built Mid Tiger, bought second hand, waiting to be stripped and re-built, I would love to know the problems you encountered, especially with the suspension, and wheel bearings
regards
Jeff
Posted: Mon Apr 21, 2008 10:51 pm
by Dale jordan
Very nice Simon.. It's great to see some new work . Looks like you have some nice after market parts there , they realy make a big differance to the model . Simon what did you reset your suspension at. ?? Also did you make new wheel spacers . Paint job is top notch as well ... Dale
Posted: Mon Apr 21, 2008 11:17 pm
by simon_manning
Posted: Tue Apr 22, 2008 2:06 pm
by simon_manning
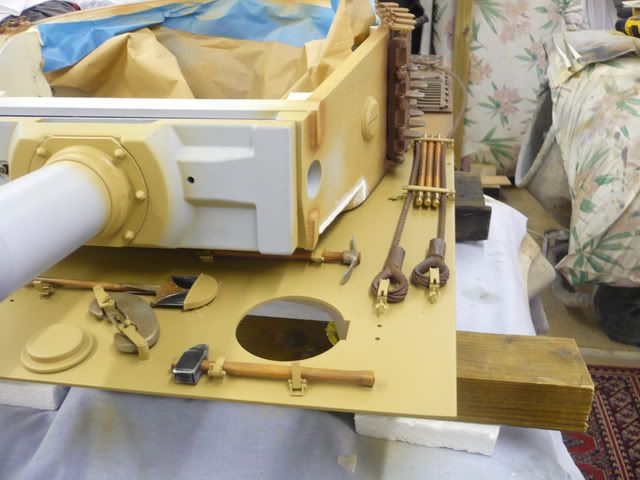
here is a labled diagram of some of the parts
if this doesnt fit on screen right-click and view image to see full sized
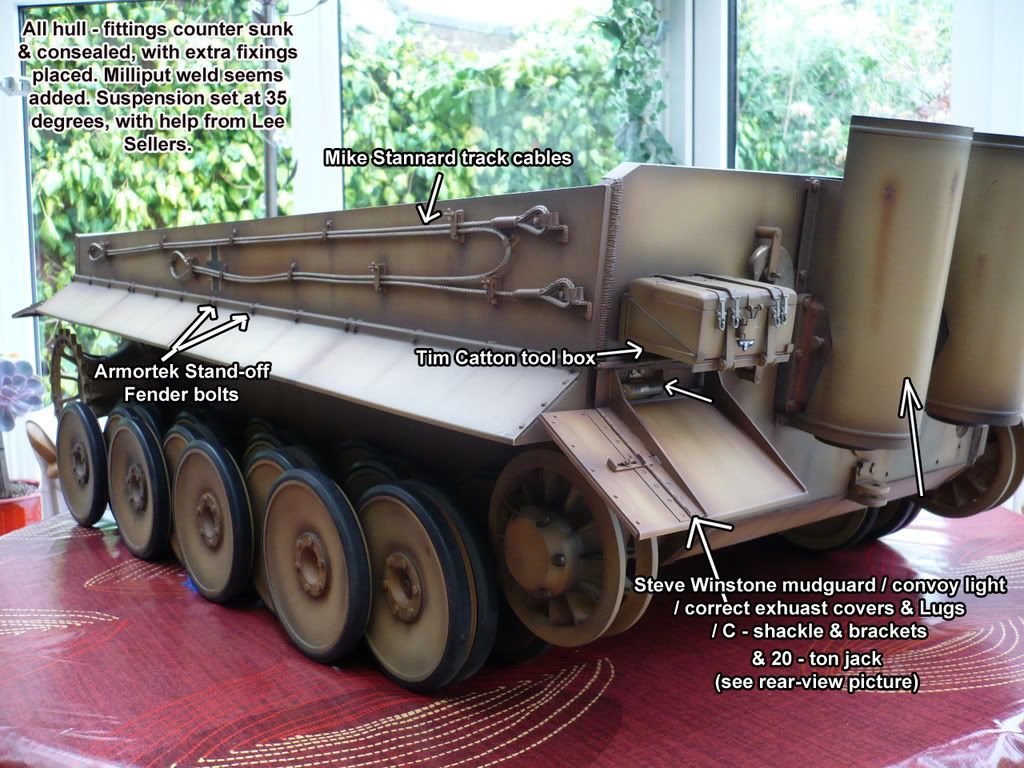
Im going to wait till i get the tank running and i have been informed that the wheel spacers sometimes bind on each other, but no-doubt driving will reveal this fault if it exists.
This is my first armortek model and it is a steep learning curve for a non-engineer. The upgrade parts suppliers are a must, and their knowledge is superb.
Posted: Tue Apr 22, 2008 4:59 pm
by Jim Slothower
Simon,
Looks great. Did you do the Paint? Excellent weathering. Keep the pics coming.
Jim
Posted: Tue Apr 22, 2008 10:02 pm
by Allan Richards
Simon,
I really impressive model, do keep the pics coming. I see this will be a top model with all the detail parts. I like the paint job and weathering its very well done.
Posted: Wed Apr 23, 2008 12:23 pm
by simon_manning
Thank you for your kind comments.
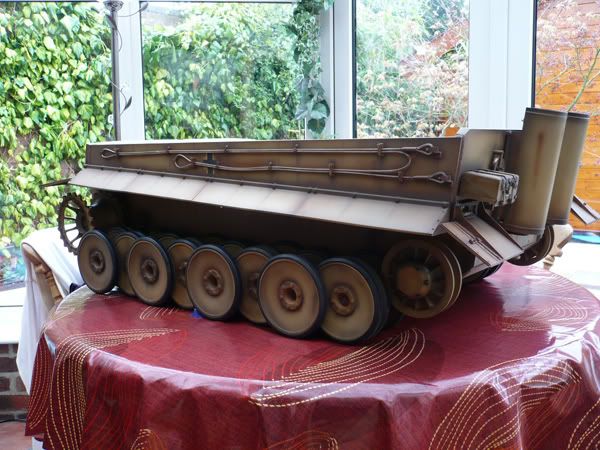
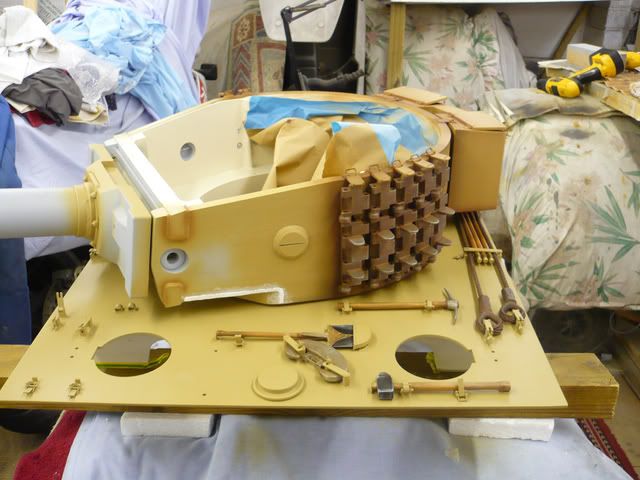
The tank had to be stripped down to bare metal and started again from scratch. Over half of the hull fasteners where either seized or snapped off, having been left outdoors in a shed for at least a year.
None of the torsion bars had flatts filed, and the wheels needed fileing on the back to stop them binding up.
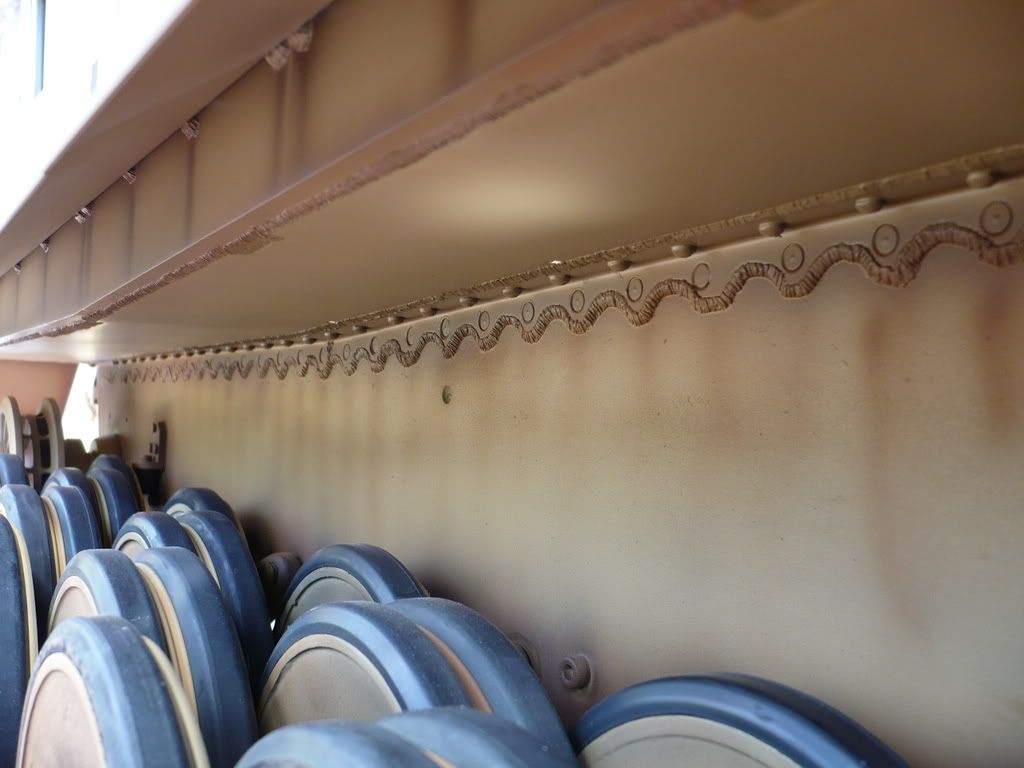
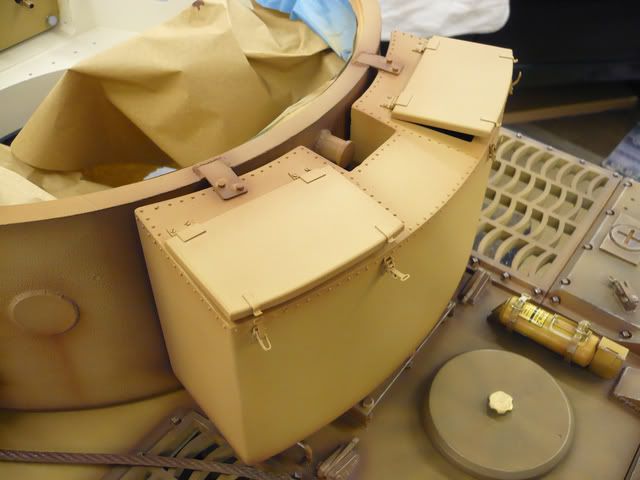
the most difficult job sofar was to make the pannier fillets look authentic. Fitting approximatly 70 round-head copper rivets and 70 flat head counter-sunk fixings either side. But on closer inspection after they had been fitted i still got it slightly wrong, nevermind

.
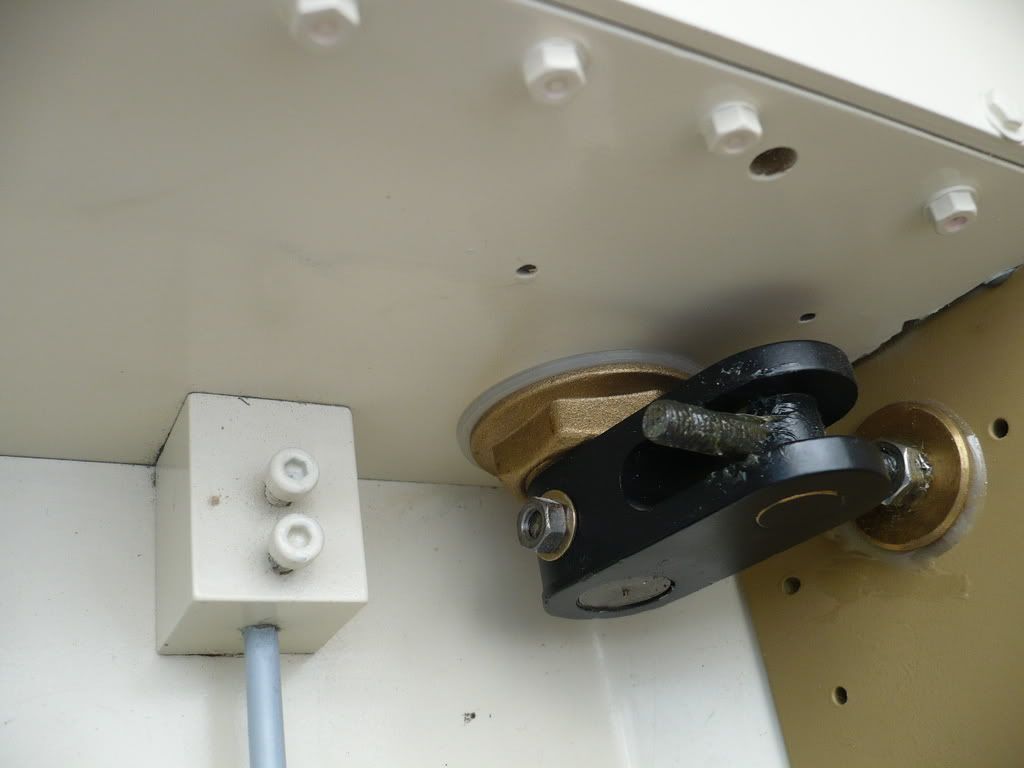
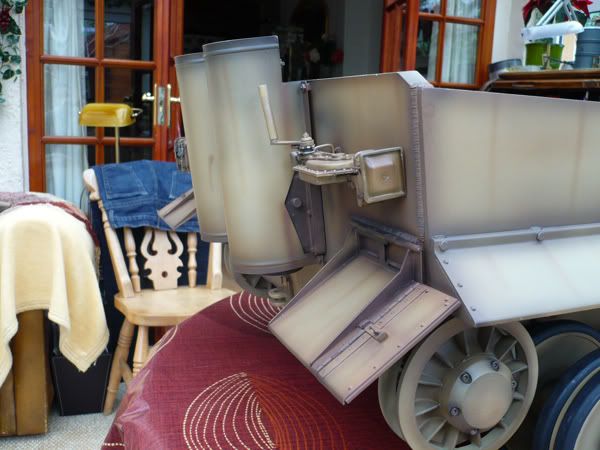
i found a nice pair of plumbing nuts from B&Q to hold the idler wheel in place, it has a nice large flange plus i used a nylon washer. it seems to fit perfect, see photo.

Posted: Thu Apr 24, 2008 12:18 pm
by Jim Slothower
Simon,
I bet that took awhile, nice detail.
Jim
Posted: Wed May 28, 2008 6:57 pm
by simon_manning
Posted: Wed May 28, 2008 8:20 pm
by David Pengelly
Stunning , absolutly stunning. well done that man
Posted: Sat May 31, 2008 10:51 pm
by Allan Richards
Simon,
You are doing some superb work on the Tiger and she will look amazing when she is finished.
I noticed that you are using the cap head screws to hold the torsion bars. You may wish to considers replacing tham with cup head grub screws as I have found these to hold a little better on the hard torsion bars. Also when you tighten them you do not damage the end of the thread which on the cap head makes them tight to remove.
rebuilding mid tiger
Posted: Sun Jun 01, 2008 10:47 am
by simon_manning
hello alan,
Thanks very much for your observation and tip! could you please send me a picture of the type of fixing you mean. im always keen to learn from a previous builder.
thanks again for looking, keep posting, regards simon manning.
Posted: Mon Jun 02, 2008 3:25 am
by Mike Kasputis
Simon,
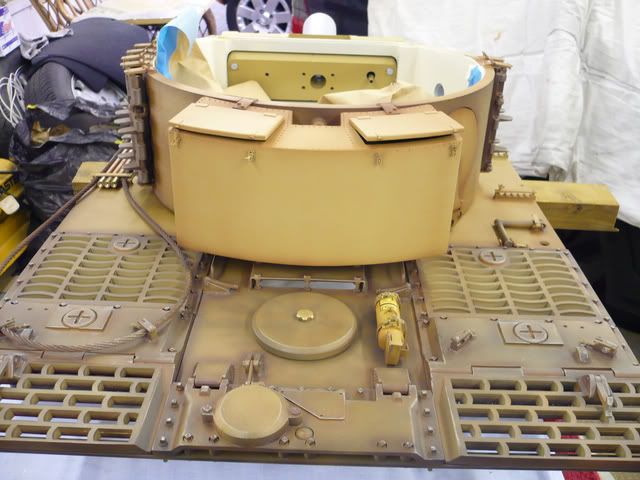
That is looking very good, alot of nice upgrades added and the paint job is looking good as well. I kind of hate to point this out but the angle on the top front part of the turret is not correct. Here is a picture showing what material(red area) to remove to fix this.
[img][img]
http://i35.photobucket.com/albums/d189/ ... turret.jpg[/img][/img]


 [/img]
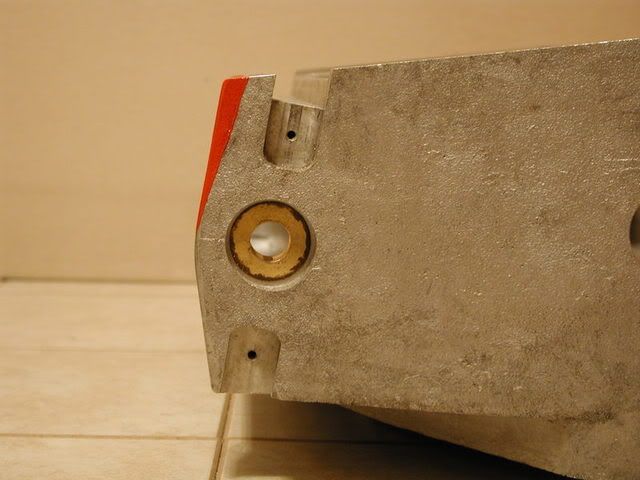