Page 1 of 1
M49 Ring Mount
Posted: Sat Apr 05, 2008 10:20 pm
by David Ward
I have put some photos of the pulpit I am constructing in my gallery. I have used the M49 ring from Armorpax which I can thoroughly recommend. I must also thank Tony Read for supplying photos of the real thing - I am sure they must have made it up as they went along!
David
Posted: Sun Apr 06, 2008 3:46 pm
by Ad Wouterse
Hello David,
Looking very good.
Can hardly wait to get started on my halftrack.
Keep us posted on your progress please

Posted: Tue Apr 08, 2008 1:37 pm
by Tony Read

Excellent bracketry there David!!! Getting it all to fit together so well must have caused one or two headaches!
I have to say that your halftrack is looking very, very fine indeed.
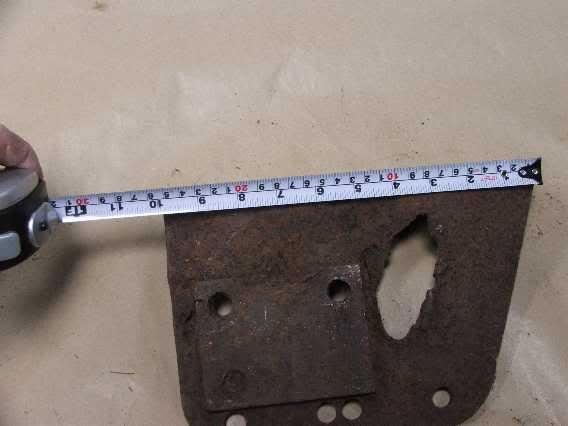
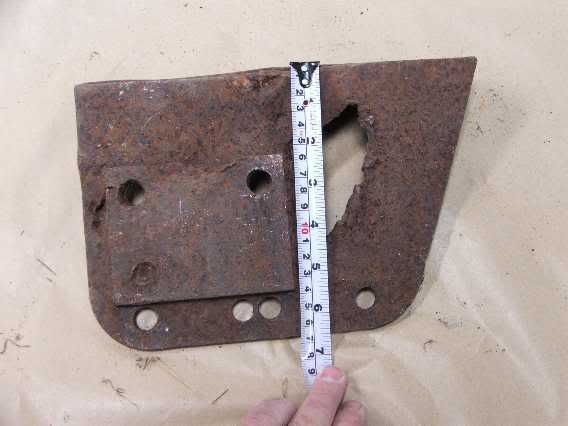
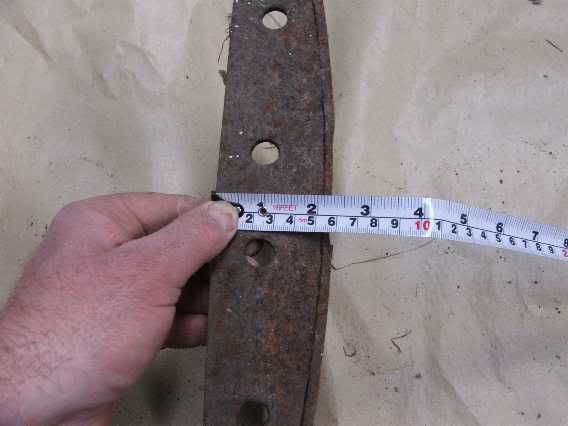
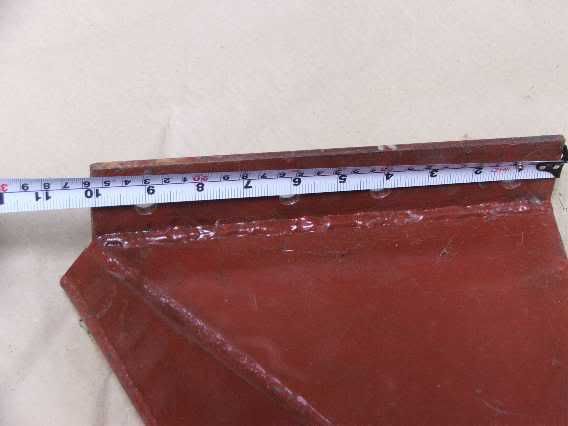
If others would like photos and measurements of the mount I'm more than happy to post them here.
Posted: Tue Apr 08, 2008 6:50 pm
by Ad Wouterse
Hello Tony,
If you could post the pics that David is referring to in this thread would be great. It would certainly help me with my M3

Posted: Wed Apr 09, 2008 7:33 pm
by Tony Read
No problem Ad!

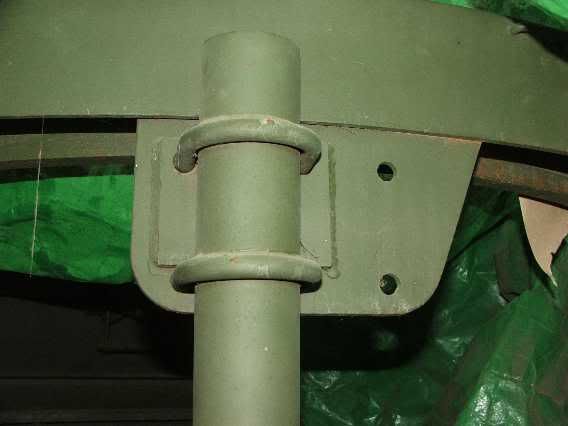
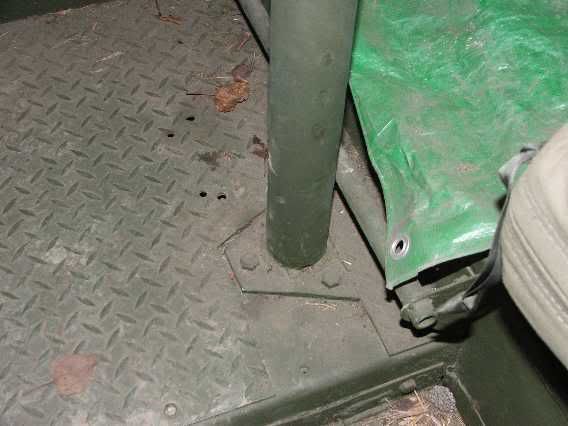
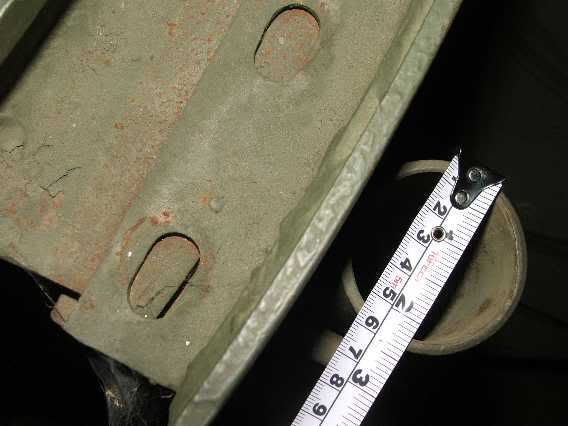
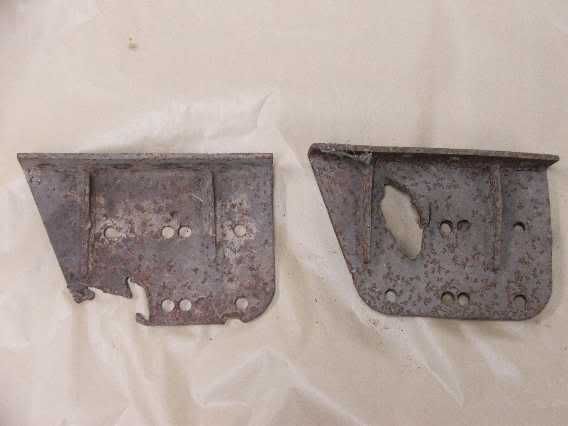
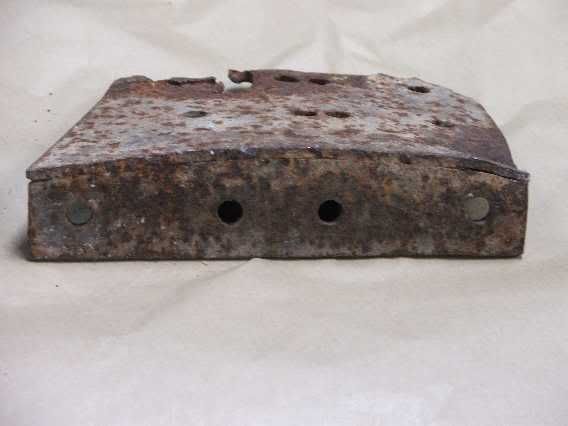
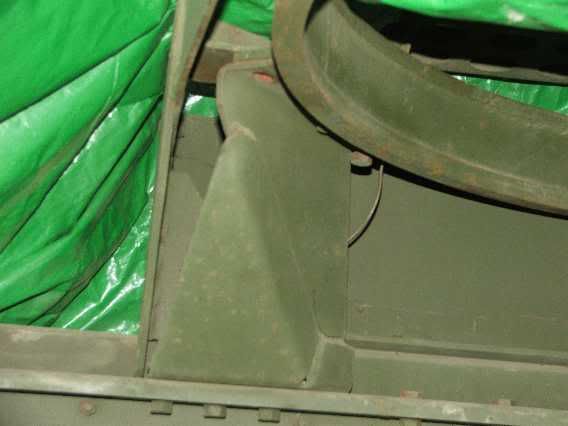
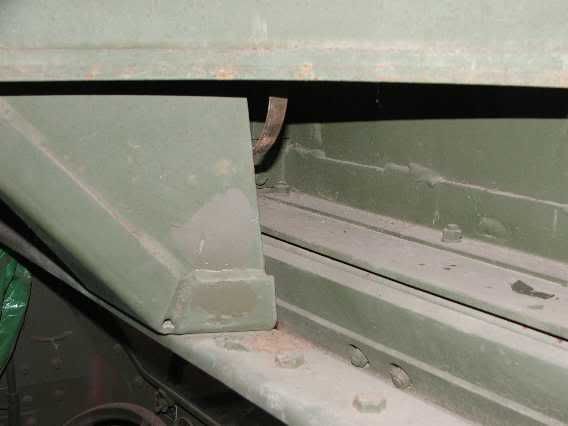
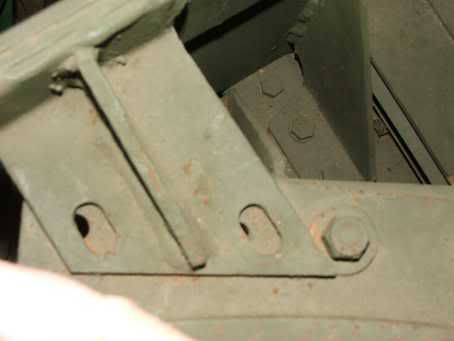
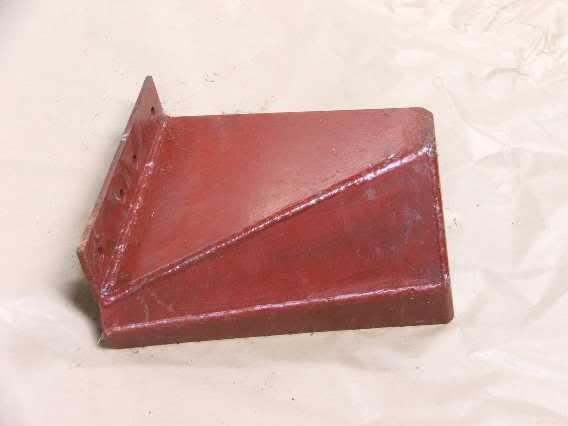
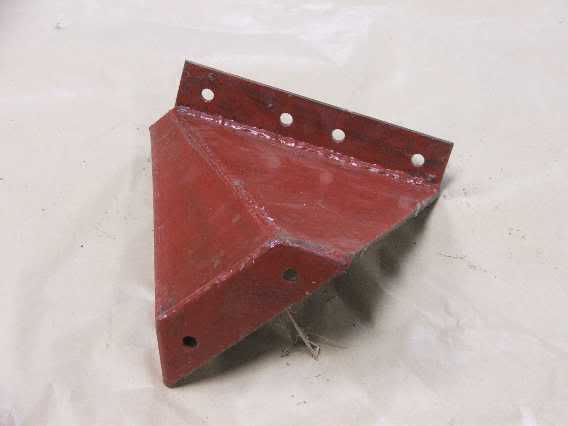
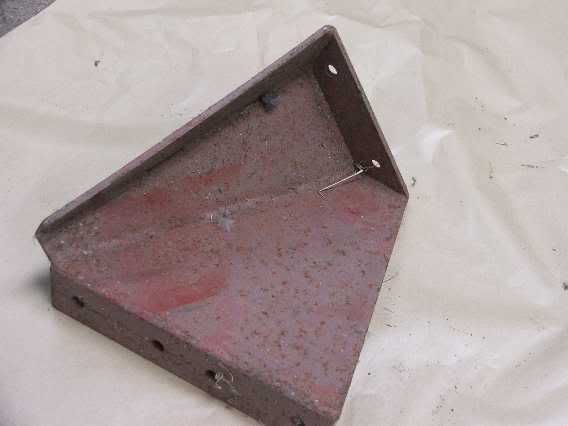
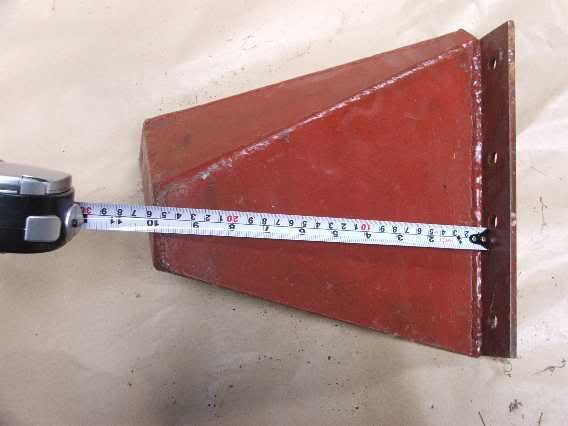
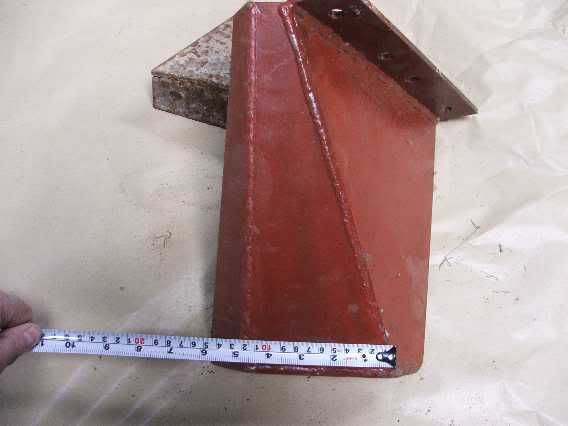
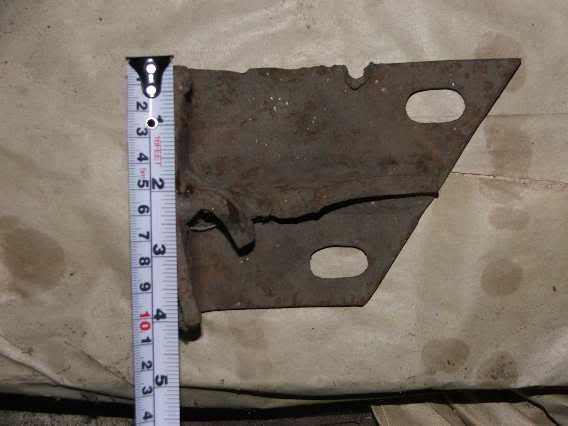
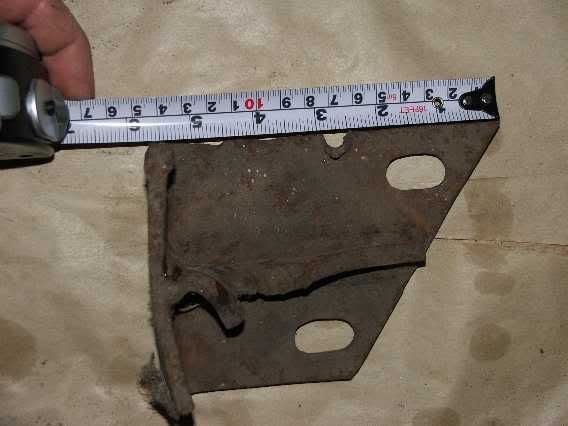
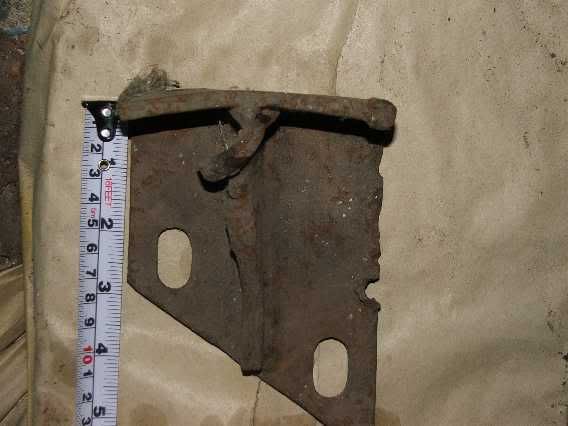
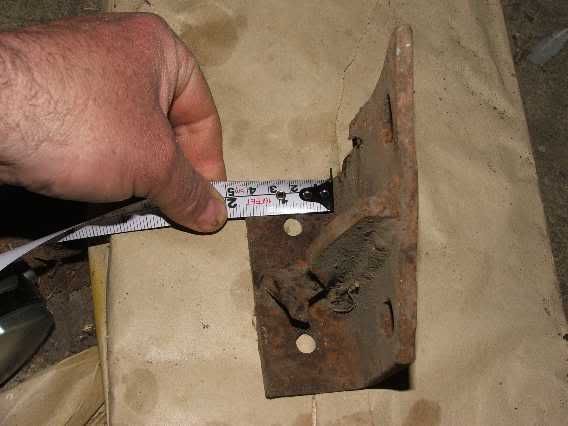
The M49 ring transfers the loads from the 50/30 cal direct onto the halftrack at 3 points about 120 deg apart via brackets. These brackets are located at the front corner over the commanders door, above the windscreen and at the rear supported by a pole.
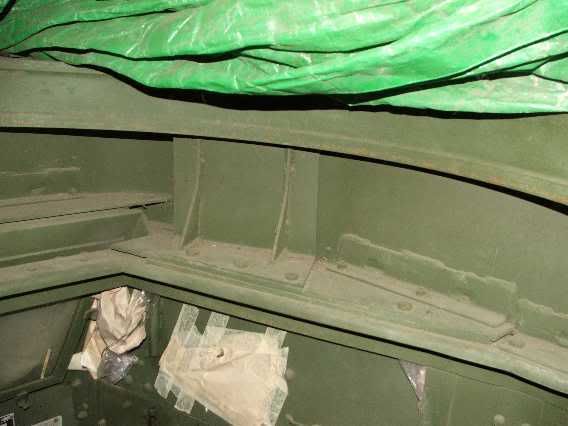
I'll start with one of the easy ones. This bracket is located over the commanders door.
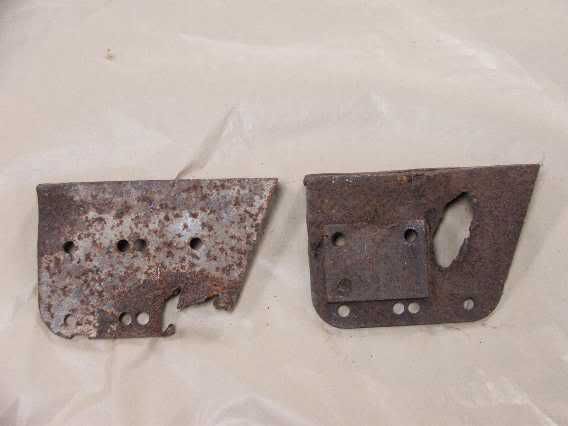
This shot shows the bracket in place, it also shows the angle sections used to connect the pulpit armour to the halftrack. The front angles are higher than the side to clear the windscreen. My angles are welded to the pulpit armour - I believe this is because a M3A1 upgrade 'kit' was fitted sometime during the war, this halftrack was originaly built by Autocar as a M3, the chassis being overstamped M3A1. Factory built M3A1's always seem to have bolted angles (slotted countersunk dome heads).
This particular bracket came off a range target - hence the damage!
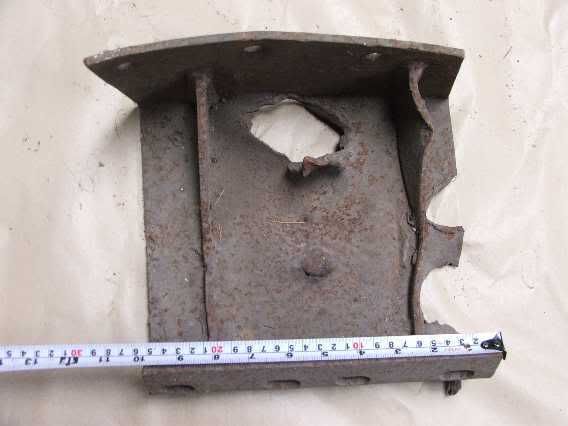

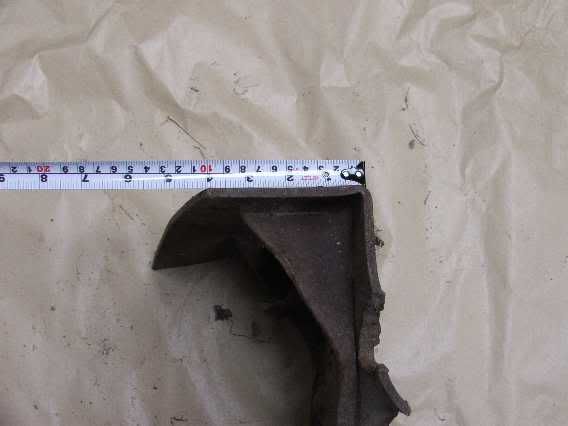
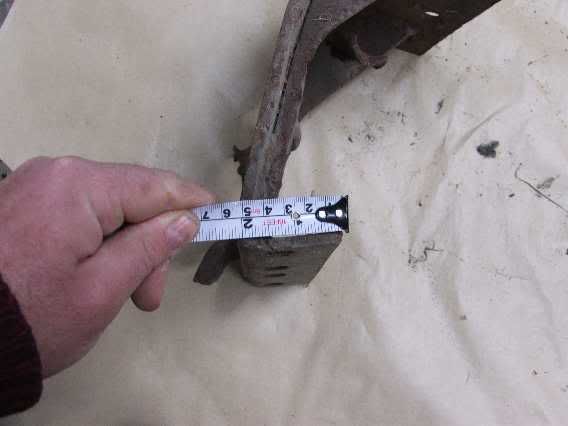
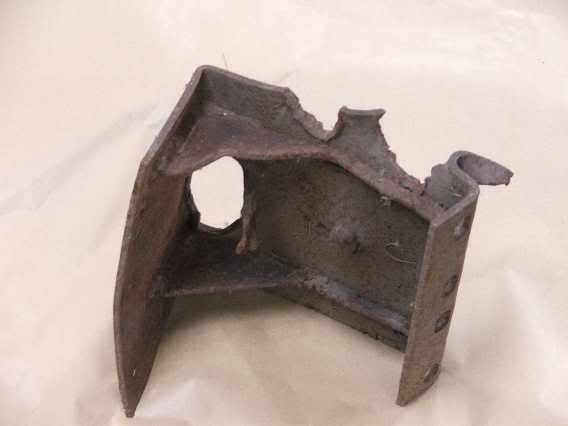
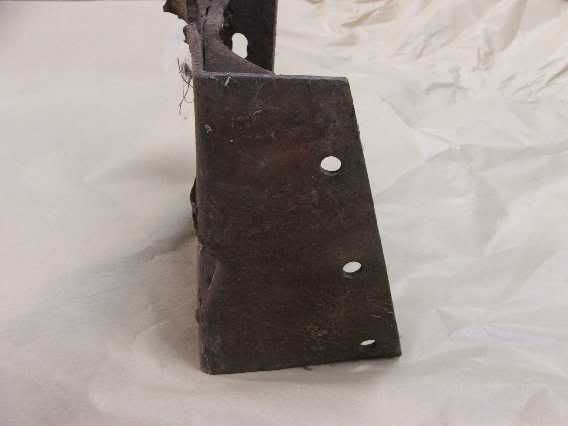
Hope this helps! I'll post pics of another bracket in the next day or two.
Posted: Thu Apr 10, 2008 10:47 am
by Ad Wouterse
Great pictures Tony

Thank you.
Looking forward to seeing more of those

Posted: Thu Apr 10, 2008 7:14 pm
by Tony Read
Posted: Sat Apr 12, 2008 9:28 am
by Tony Read
Posted: Sat Apr 12, 2008 8:31 pm
by Ad Wouterse
Tony,
Wow you really go for the details, don't you ?
Thanks for that.
Posted: Thu Apr 24, 2008 7:00 pm
by Tony Read
Posted: Fri Apr 25, 2008 11:43 am
by Ad Wouterse
but if anyone would like details of the armour then all you have to do is ask and it will be done!
Tony,
You don't know what you are getting yourself into

Posted: Fri Apr 25, 2008 12:33 pm
by Tony Read

Ad, If it helps people by putting the information out there then I don't mind.

If you look at the original brackets then at Davids model you can see what a first class job he has done. Well done that man!!!
Posted: Mon Apr 28, 2008 10:36 am
by Ad Wouterse
Hi Tony,
can see what a first class job he has done
I can only second that, awesome bit of scratchbuilding.
Posted: Mon Apr 28, 2008 11:01 am
by David Ward
Thank you for your comments.
David


