Page 1 of 1
Conrad's King Tiger
Posted: Wed Feb 23, 2011 10:13 am
by Conrad Sharp
Hi Guys, finally got around to starting my KT number 081. It's going to be a long process as I have a wife and kids who need to be out of the way so I can play and so far they haven't taken the hint

I put the hull together loosely yesterday after having put some etch paint on the aluminium and red primer on the steel some time ago, maybe I did it in the wrong order but I wanted to play with the spray paints!
Anyway, I noticed a few hurdles yesterday. to some of you guys they are bread and butter but I'm a computer man not a spanners man.
1. The screw hole in the front Glacis plate where the side pannier armour bolts on is M4 not M5 as stated in the manual. Should I drill and tap it to M5?
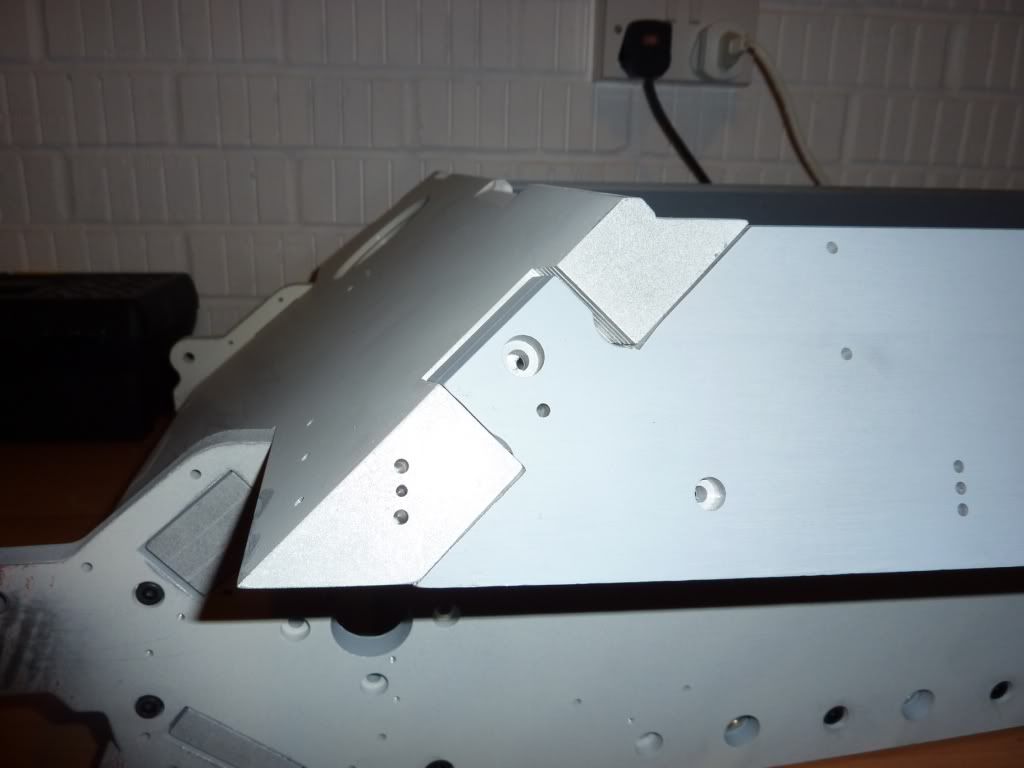
2. On the other side the same screw hole does not line up with the hole in the pannier armour, see photo, I guess I could push and pull things about a bit but it looks way off... what do you think?
[/b]
build so far:
Posted: Wed Feb 23, 2011 12:01 pm
by Adrian Harris
Hi Conrad - glad you've made a start on your KT.
That left hand hole alignment looks like it would improve if you lift the pannier side slightly - it looks too low in the photo - though I would guess you will have to open that hole out slightly as well.
I don't have a KT kit so it's probably best to wait for someone who has built this model before attacking anything with a file
Adrian.
Posted: Thu Feb 24, 2011 6:42 pm
by Conrad Sharp
On advice from Mark have kept the M4's. A bit of filing and and an enlargement of the bolt holes on the pannier side has sorted everything. I put a washer on the M4 and M5 screws just to make up for the reduced surface on the pannier screw holes.
All bolts tightened up and the interior sprayed with a spare can of Halfords Khaki. Its getting quite heavy now so I'll need to find a permanent work space for it...
Posted: Tue Mar 15, 2011 4:17 pm
by Conrad Sharp
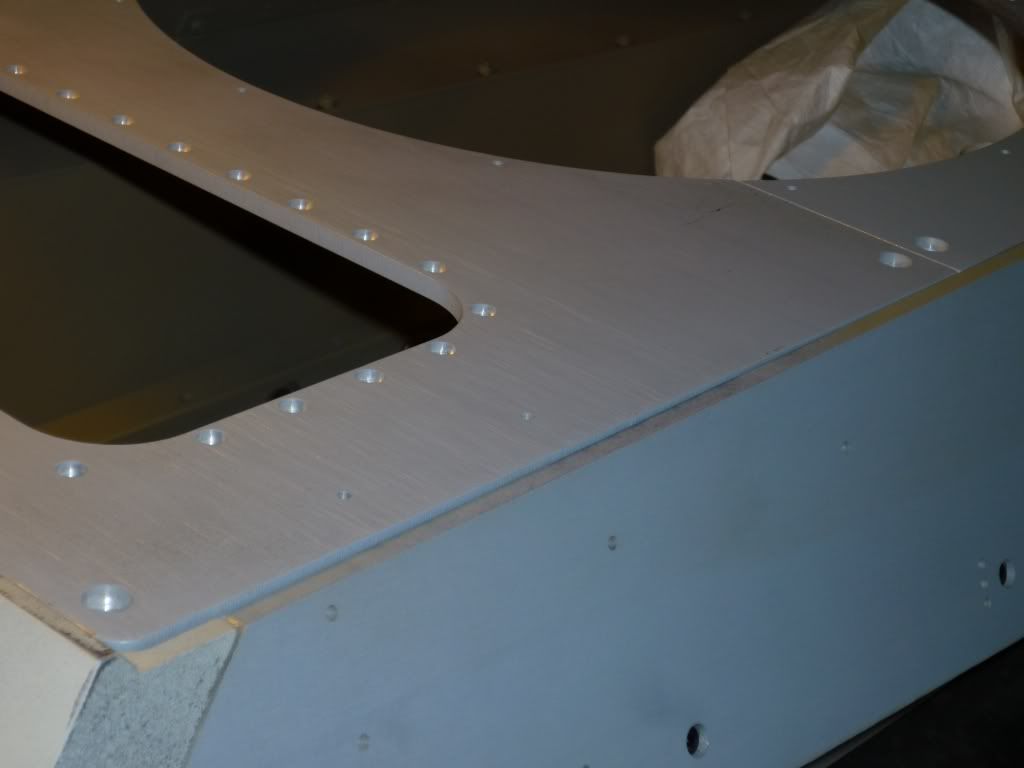
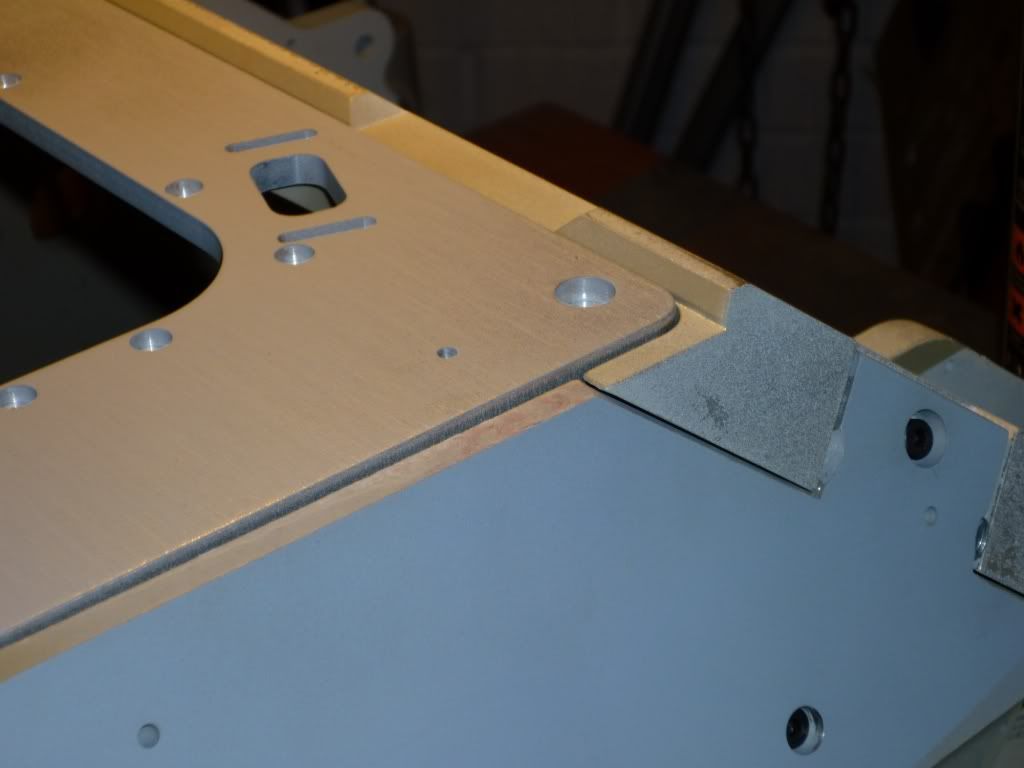
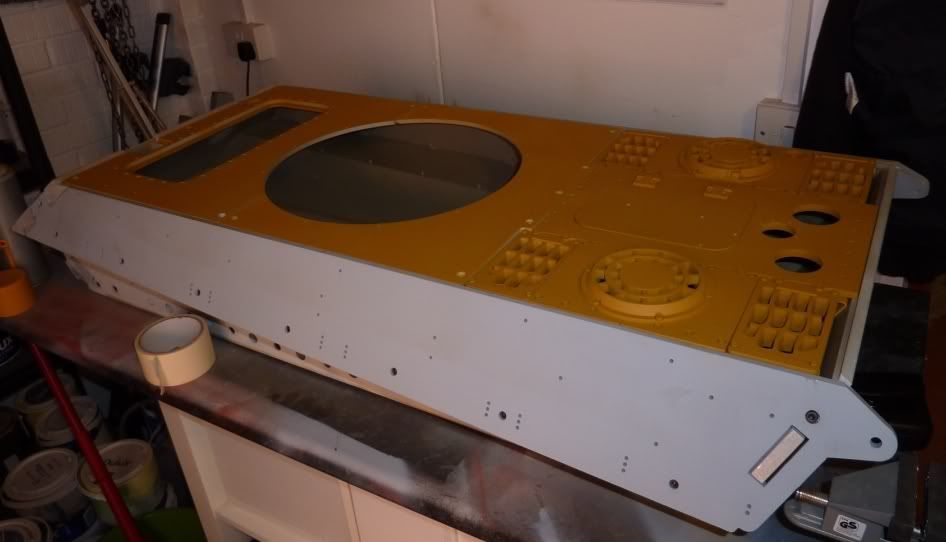
I know this is a problem others have had, but spent a lot of time getting my hull flush and now my front deck is sitting proud on both sides equally. See the pics below. I know some guys have milled their glacis plate but I don't have any heavy tools. Any suggestions? I guess i could just file part of the lower surface of the deck... but thats gonna be a hell of a job..
Posted: Tue Mar 15, 2011 10:19 pm
by simon_manning
hello conrad, get yourself a dremmel and some grinding tools to fit it, you will always use it and its handy to have, thats how i altered my kingtiger with the same problem. regards simon manning.
Posted: Wed Mar 16, 2011 7:14 pm
by Conrad Sharp
Good idea, I have always wanted one, the missus will choke on her tea again but sometimes you need to spend your way out of a problem
Posted: Mon Apr 04, 2011 9:41 pm
by leesellars
Hello Conrad
Im not too far from you so if you want any help or advice feel free to contact me.
Lee
Posted: Tue Apr 12, 2011 8:54 am
by Conrad Sharp
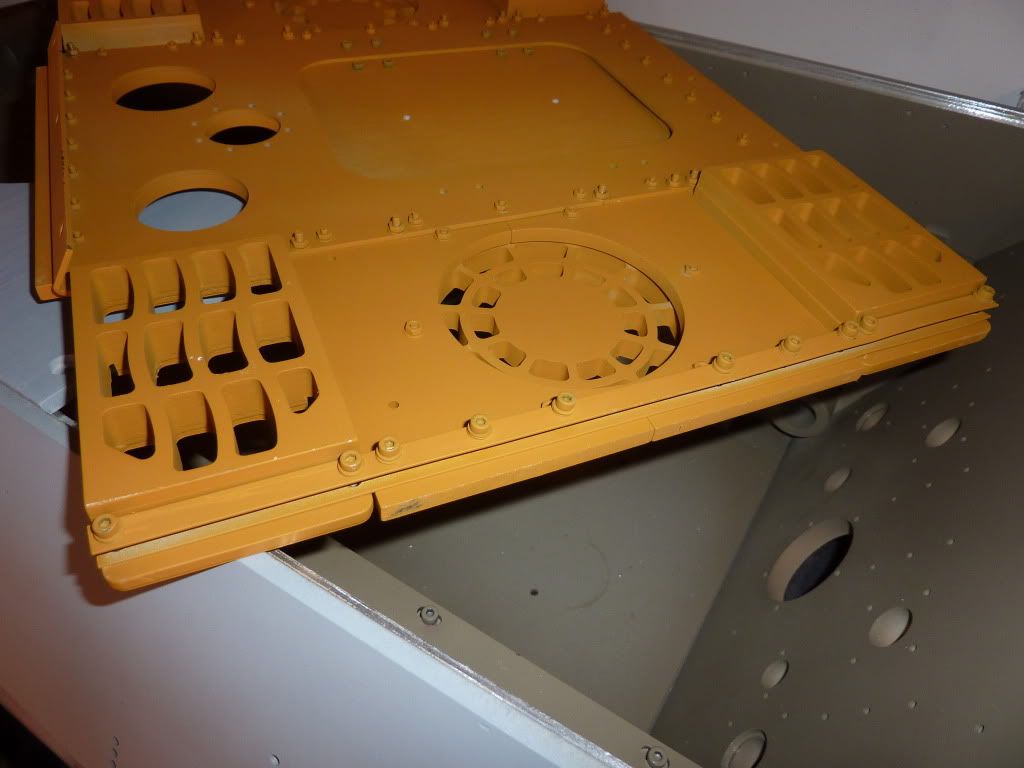
Some recent work, it's coming on slowly. Have implemented a well known mod to allow the rear deck to be removed easily, need to find a way of attaching the two little pieces you will see missing from the rear deck...
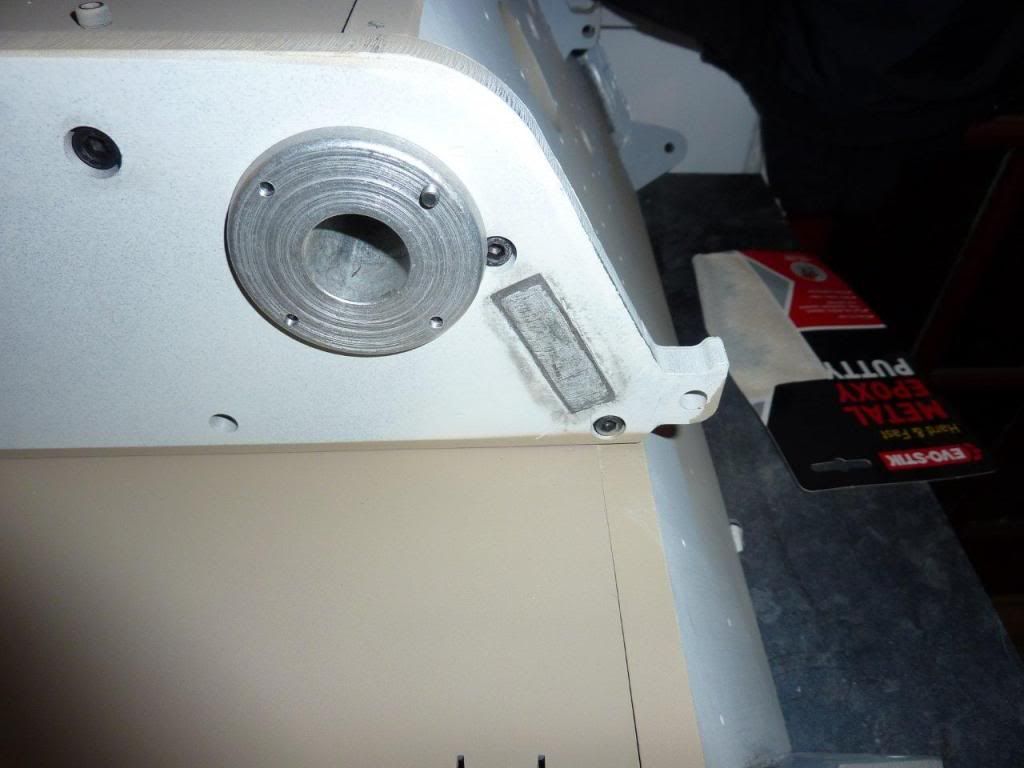
Have started filling the joints with epoxy putty, am using a fancy one with steel in it, once this is used up I'll do the welds over the top with Milliputt. See pics below. Sorry about pic quality but lighting wasn't great and I was too busy to re-take pics.
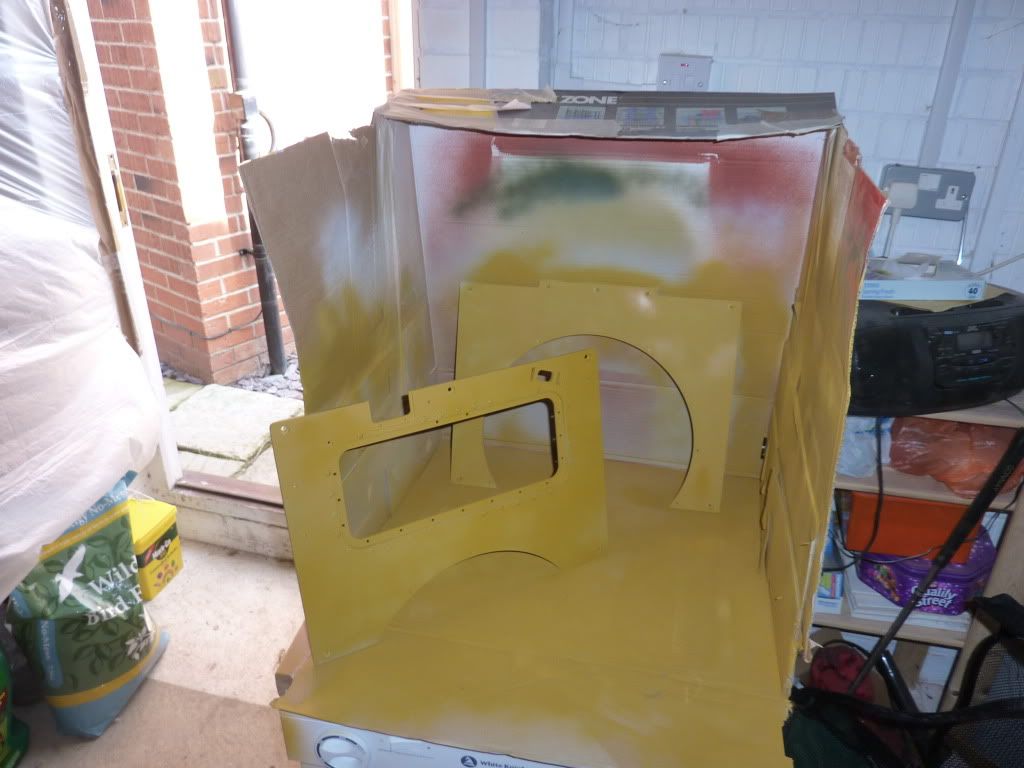
The makeshift spray shop! Wife hasn't noticed the primer on the tumble dryer yet!
The rear deck mod:
Filling in progress, only hitch I had with this epoxy putty was it was a quick drying type so by the time I had got started poking it into the gaps it was getting hard! Once I have done all the joints I'll add some fake welds.
Once I have finished all the filling I guess I will have to make a start on the supension and wheels..not looking forward to that...
Posted: Wed Apr 13, 2011 4:51 pm
by Tim Bowman
Hi Conrad
Welcome! and your Tiger II is coming along nicely.
"Wife hasn't noticed the primer on the tumble dryer yet! " 
Funny, it's a universal thing. If I had a dollar for everytime I have heard
"close the door when you paint!", I could afford another tank.

Maybe she's right, I'm not a good listener.

Keep up the great work Conrad and
take your time on the suspension.
Kind regards
Tim
Posted: Wed Apr 13, 2011 7:43 pm
by John Fitzsimons
Know how you feel about the wheels and suspension. Just finished my late Tiger 1 wheels recently. Have been putting off the suspension. I hate the technical stuff. Camo patern appliances could become popular. I have them too.
Re: Conrad's King Tiger
Posted: Fri Jul 06, 2018 1:45 pm
by Conrad Sharp
Hey guys, I've been away from the tank for a few years! We bought an old Farmhouse which I have spent 5 years extending and renovating, the kids have been growing up too with all the associated clubs, cubs, scouts etc etc (8 and 11 so they're still plenty of work!). The house is now pretty much done (well, its never totally done is it?!)
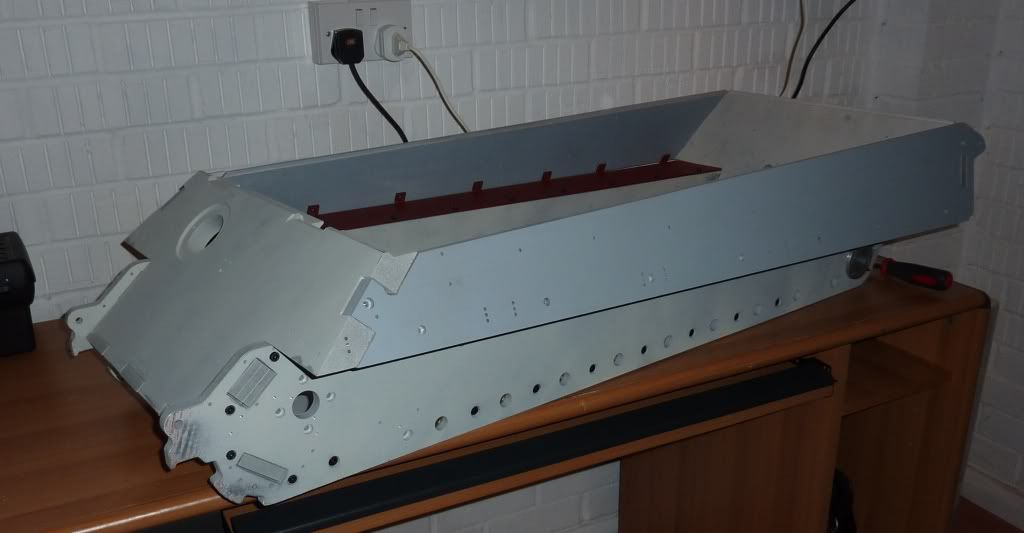
Works been busy too but now I've opened the 'Tank Barn' door up and my KT number 81 is sat there just as I left her, (looking like a barn find!) which is actually more advanced than I remembered. I've just take a couple of pics, see below. The tank seems fine after all these years.. not much corrosion, a bit around the suspension bearings, but nothing serious. I'm hoping all the electronics are fine too as they've been in a box in a barn with a sheet draped over them... could be costly!
Anyway I'm not going to worry about that yet. I've started where I left off which is the suspension. I've dry fitted the parts and ground the torsion bars at one end (mines the old 2009 kit). I've just bought a selection of Loctite (SF 7063 for cleaning the parts prior to adhesion), 638 for bonding the axles and suspension arms and 2400 for threadlocking the rest of the screws and fixings.
I know some people have drilled and put pins in the suspension arms, I dont have a pillar drill, so I'm not going to, I may go back later and drill and pin if I have to (father in law has a pillar drill but doesn't live near me).
Has anyone done a build without pinning the suspension arms? Did it work okay with just loctite?
Also, I'm going to make a jig to get the 35 degree angle correct for the grinding of the other end of the torsion bars...unless someone has a jig they have finished with and can give to me?
Re: Conrad's King Tiger
Posted: Fri Jul 06, 2018 2:38 pm
by Fabian Bekkers
Looks super a barnfind like that

i am stil busy with the hull after 2 years

every time there's something coming between so again my build is coming on hold.
Also must keep my wife happy doing some udder things in and round the house

Re: Conrad's King Tiger
Posted: Fri Jul 06, 2018 2:46 pm
by Conrad Sharp
Hi Fabian, glad its not just me that's been struggling a bit. My wife was glad I stopped playing on the computer but now I'm playing with the tank...I expect she wont be happy soon... so life continues!
Re: Conrad's King Tiger
Posted: Fri Jul 06, 2018 2:52 pm
by Vince Cutajar
Hi Conrad
I can't imagine how you resisted not touching your KT for seven years. Having said that, with a house move and kids of that age, your mind would be somewhere else (been there, done that).
Vince
Re: Conrad's King Tiger
Posted: Fri Jul 06, 2018 3:04 pm
by Conrad Sharp
Hi Vince, yup things were hectic! The house was the priority, or should that be the kids...I never forgot about it, especially how much money I invested in it and how I could have used that money on the house lol.
Glad I bought the tank back then because I couldn't afford it now for sure!
 i am stil busy with the hull after 2 years
  every time there's something coming between so again my build is coming on hold.