A Slight Deviation from Tanks and Armour
Posted: Fri Jan 07, 2011 6:41 pm
At War and Peace last year I saw a wooden propeller for sale which I really liked, but it was a little too expensive. Surfing the net showed that propellers were expensive so I decided to carve a 1:1 scale one myself.. I found a rough set of plans on the internet as a starter.
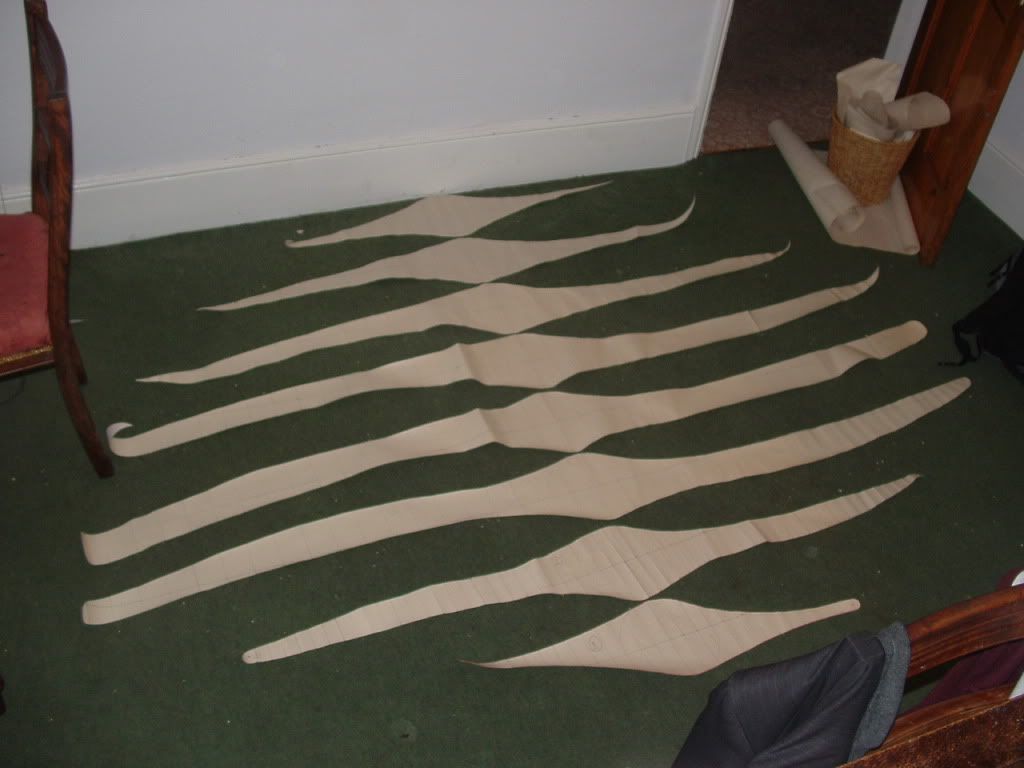
First you make a full set of templates out of old wall paper
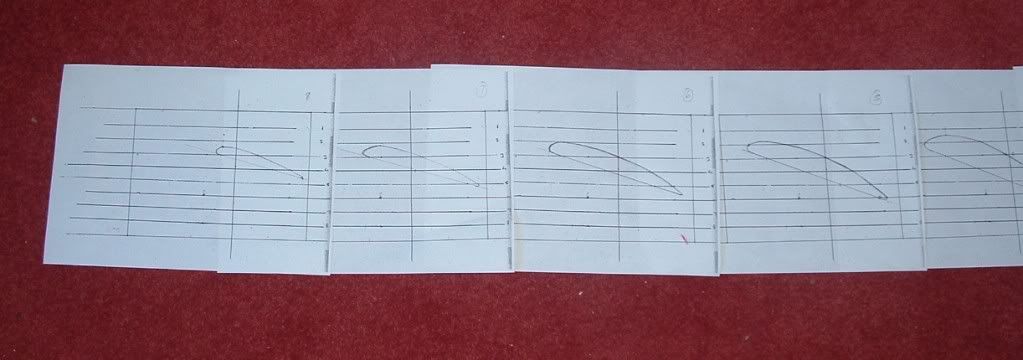
Then you cut out sections of the blade at various stations
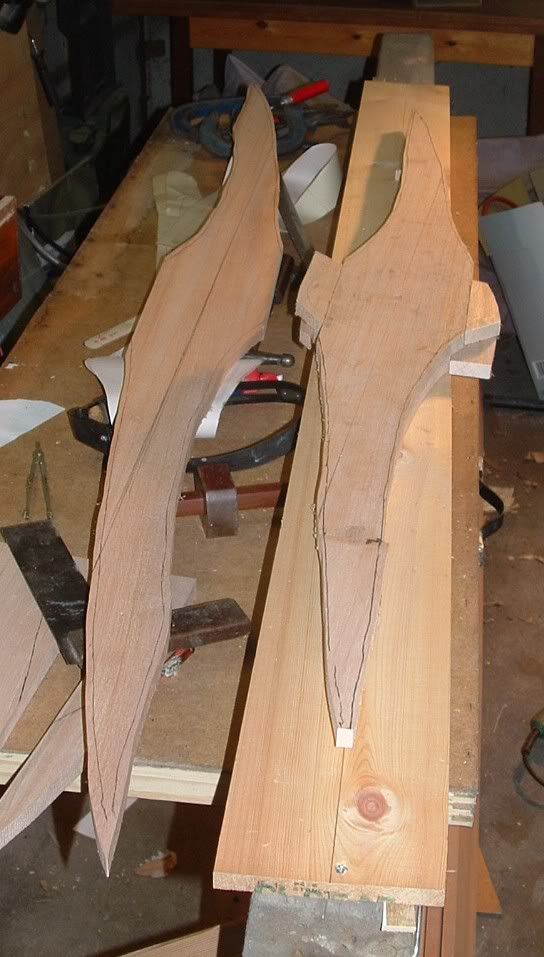
You cut out the sections with a band saw or jig saw
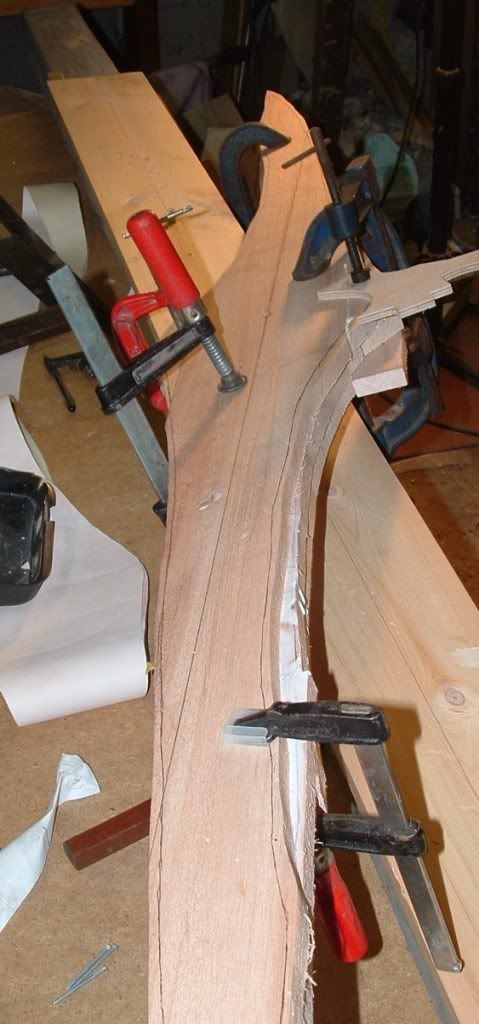
You stick the sections together
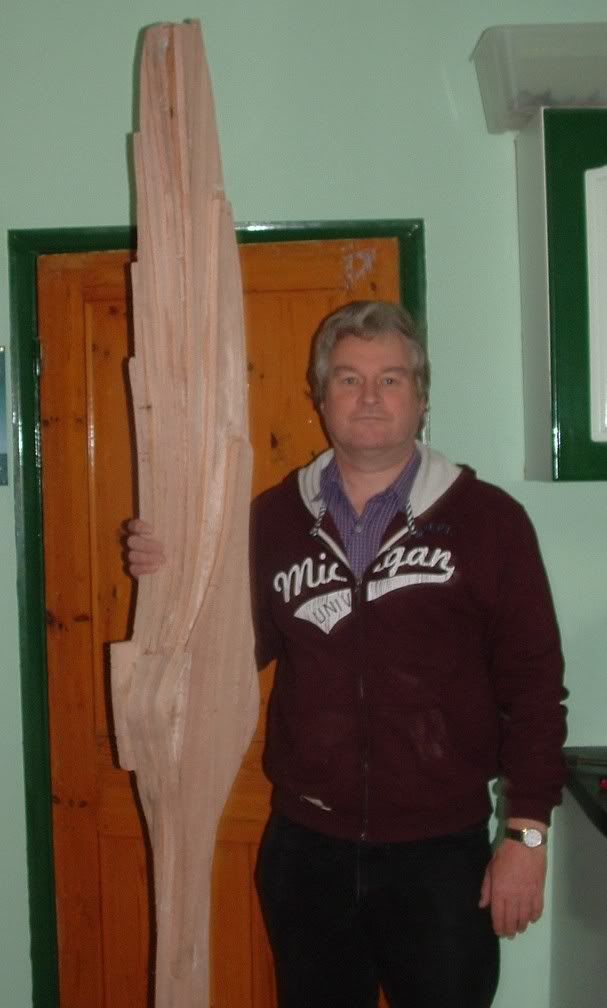
and you end up with a big block of wood shaped very roughly like a propeller - this thing is 96 inches tip to tip
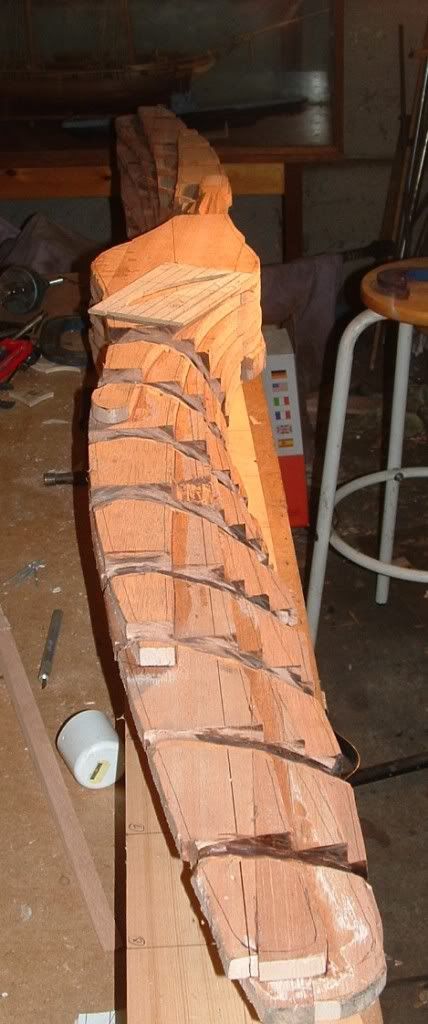
Using an angle grinder I cut the aerofoil sections at the various blade stations using the section templates as a guide.

You carve between the sections to get the blade shape. Getting the two blades identical is not easy.
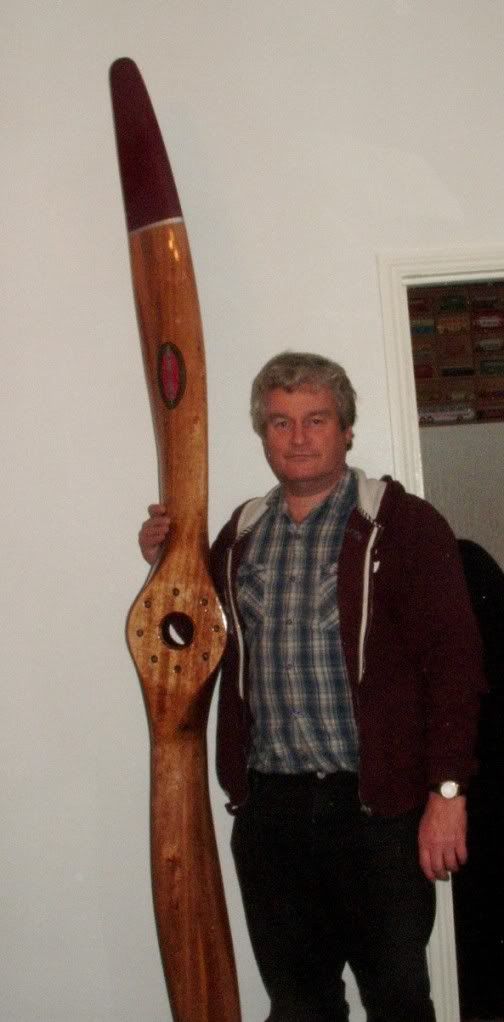
Finally after using a hole saw to cut out the centre bore and a drill for the eight bolt holes followed by lots of sanding, painting and varnishing you end up with a finished propeller.
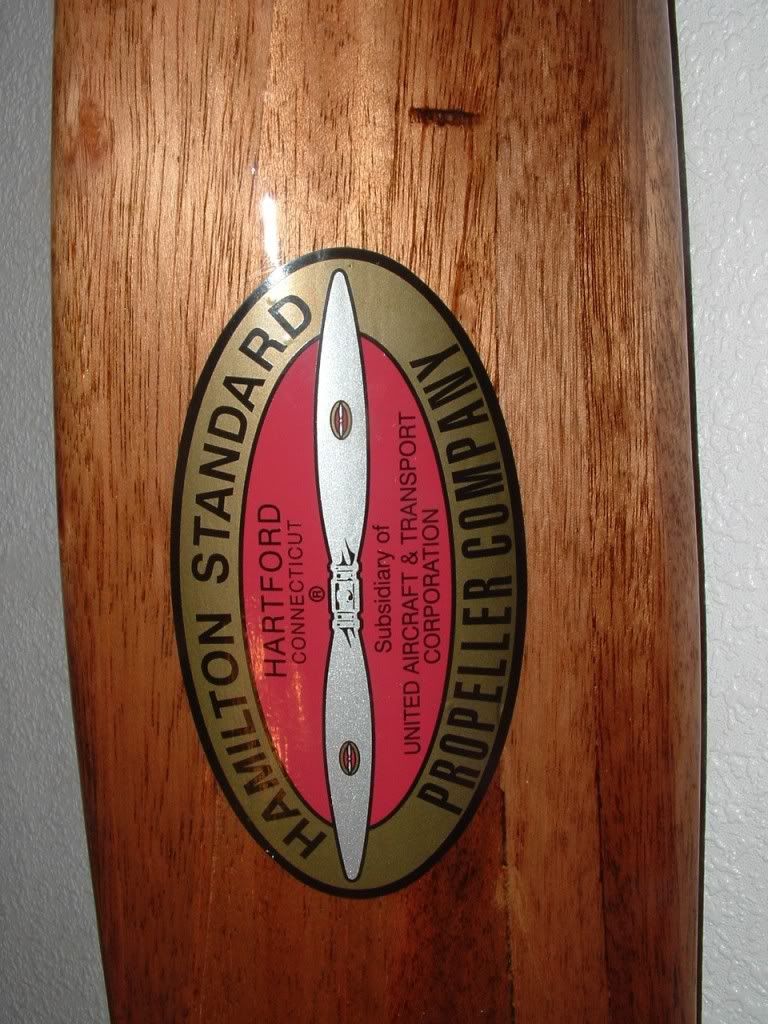
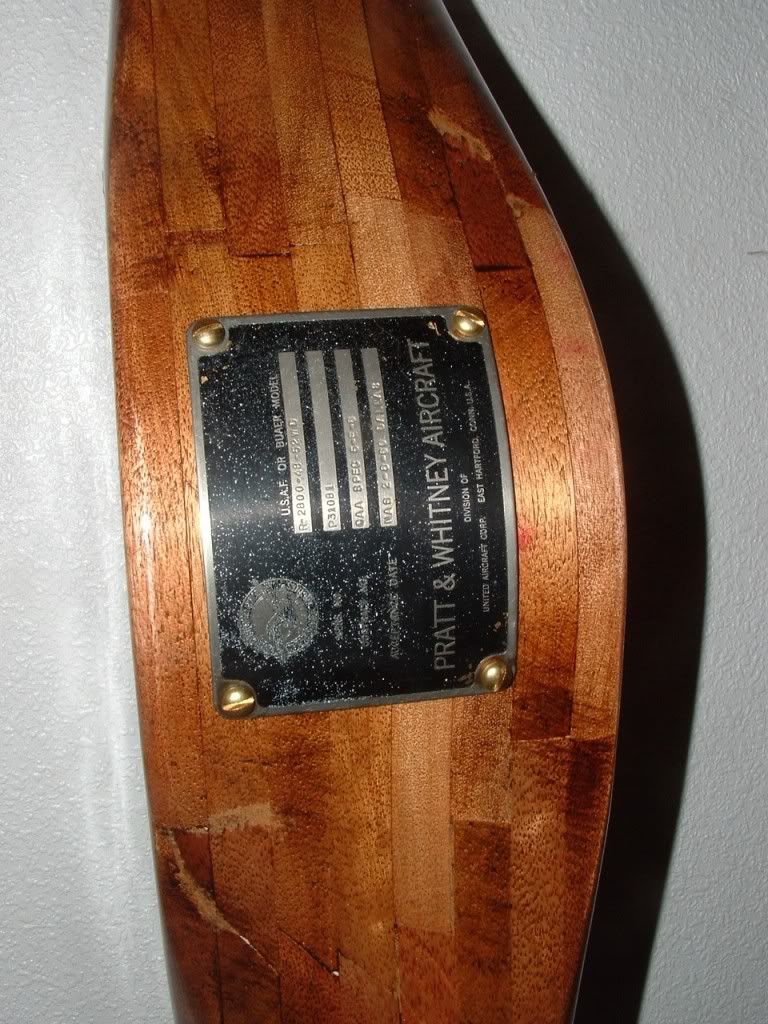
I added a data plate and genuine prop sticker I got from a museum in New Mexico.
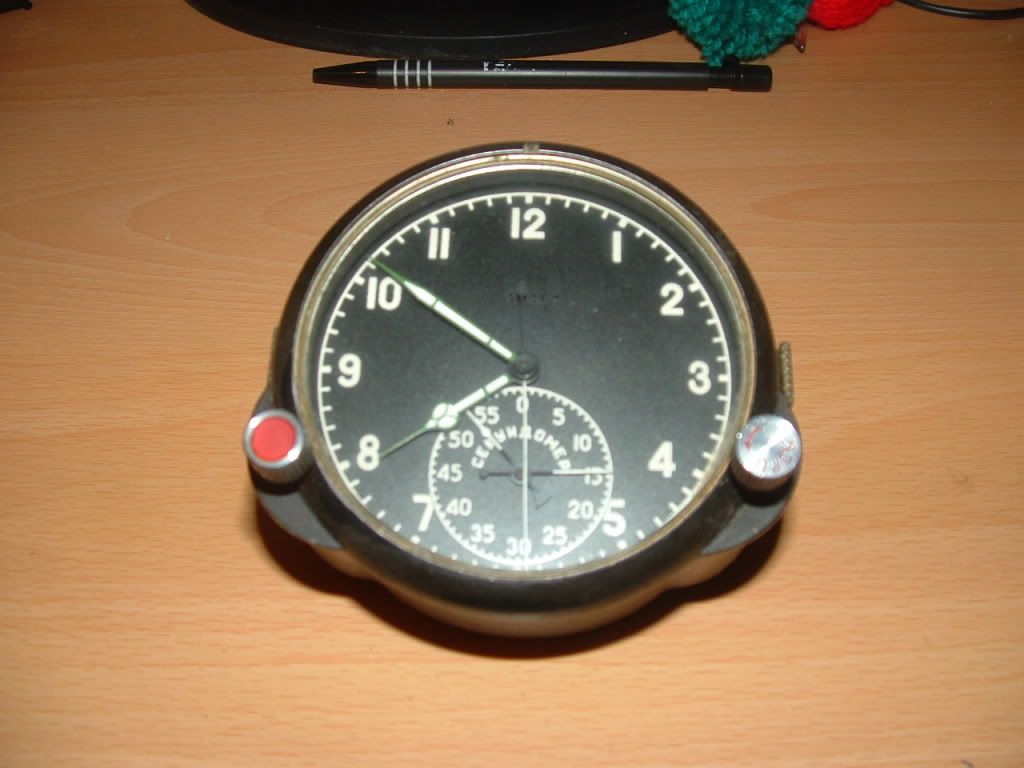
I also bought a Russian MIG 25 cockpit clock to fit in the hub.

First you make a full set of templates out of old wall paper

Then you cut out sections of the blade at various stations

You cut out the sections with a band saw or jig saw

You stick the sections together

and you end up with a big block of wood shaped very roughly like a propeller - this thing is 96 inches tip to tip

Using an angle grinder I cut the aerofoil sections at the various blade stations using the section templates as a guide.

You carve between the sections to get the blade shape. Getting the two blades identical is not easy.

Finally after using a hole saw to cut out the centre bore and a drill for the eight bolt holes followed by lots of sanding, painting and varnishing you end up with a finished propeller.

I added a data plate and genuine prop sticker I got from a museum in New Mexico.


I also bought a Russian MIG 25 cockpit clock to fit in the hub.