Bovington Tiger 1 Photos - Turret
Posted: Wed Nov 17, 2010 8:12 pm
Here we go again. My Turret photos of the Bovington Tiger 131. Again I’ve concentrated on the weld details, which are more intricate than I first thought.
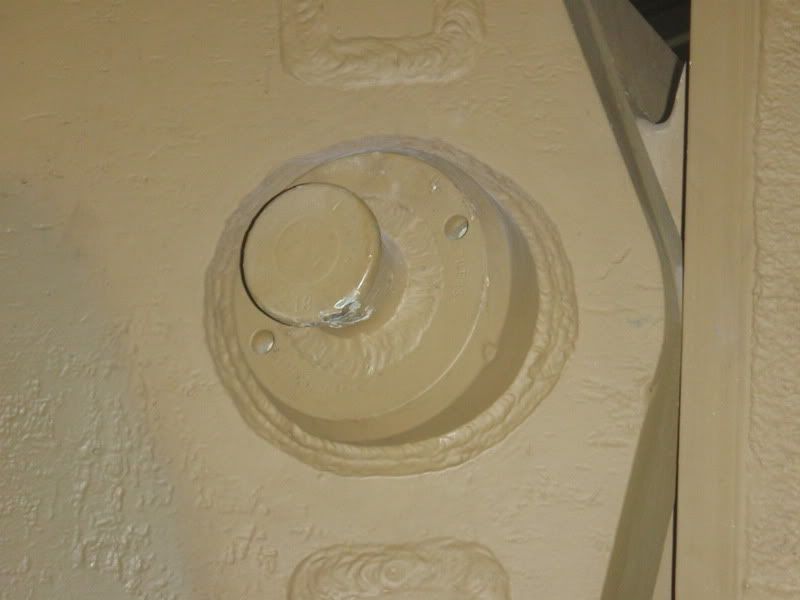
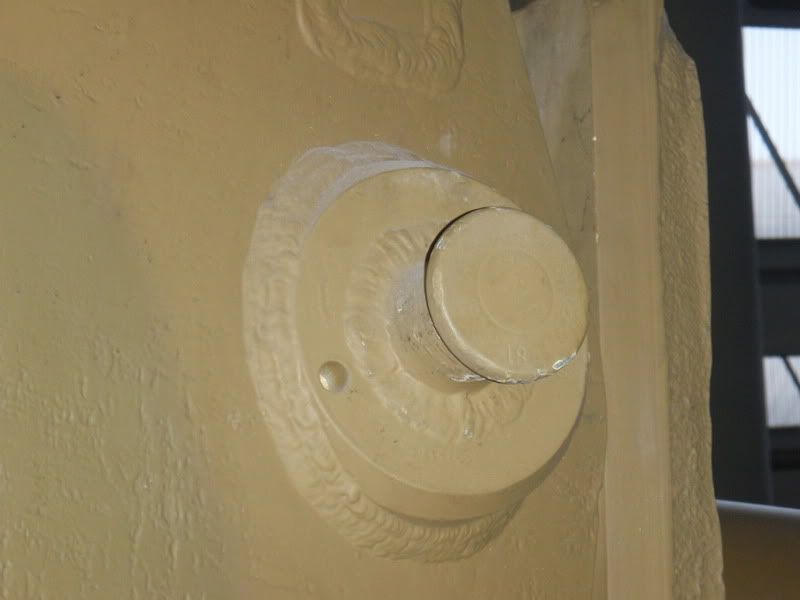
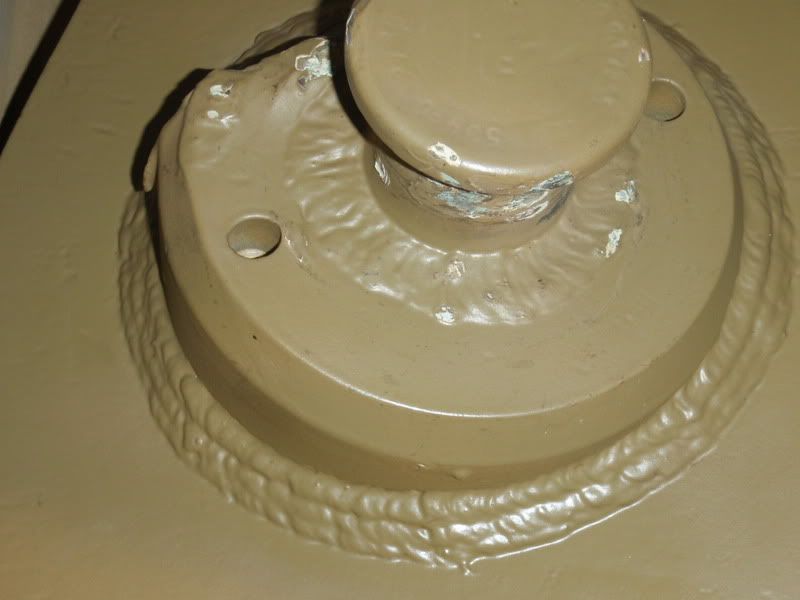
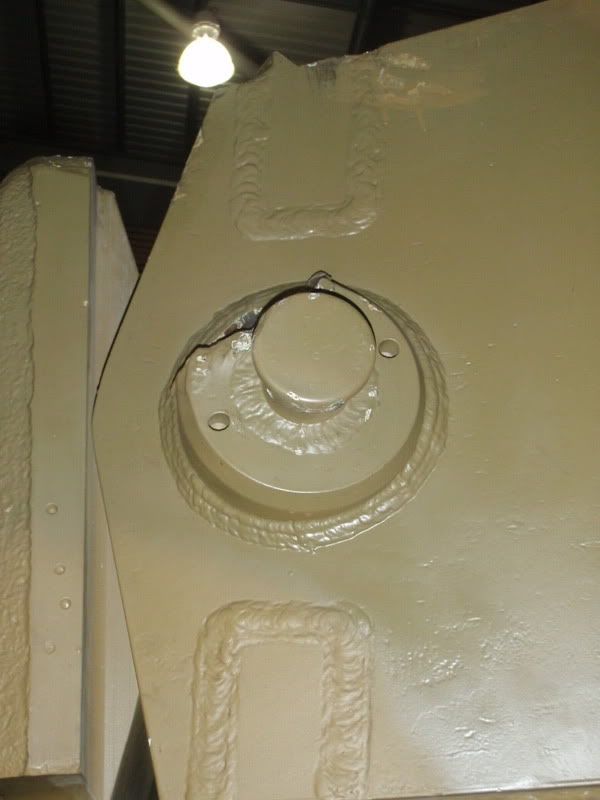
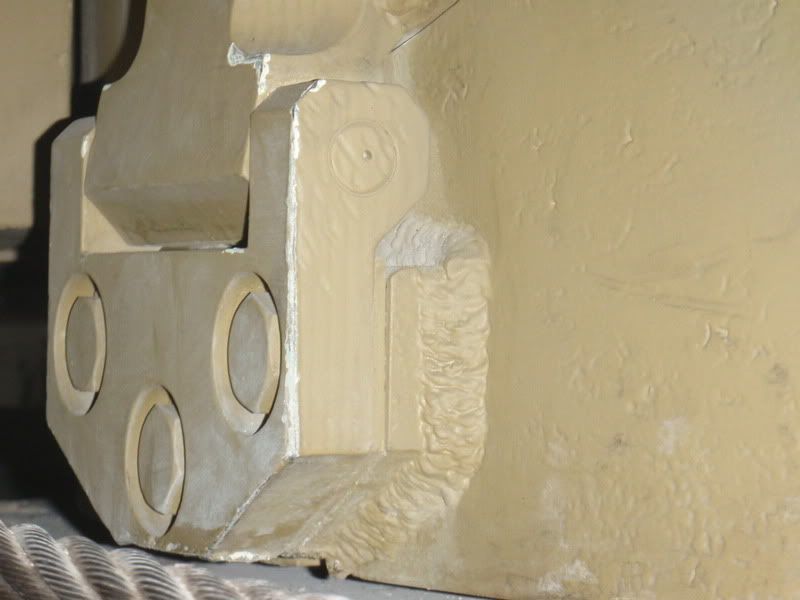
Here’s several close ups of the Turret Lifting Lugs that show you the welds.
Here’s a close up of the welds on the side of the Turret Wrap.

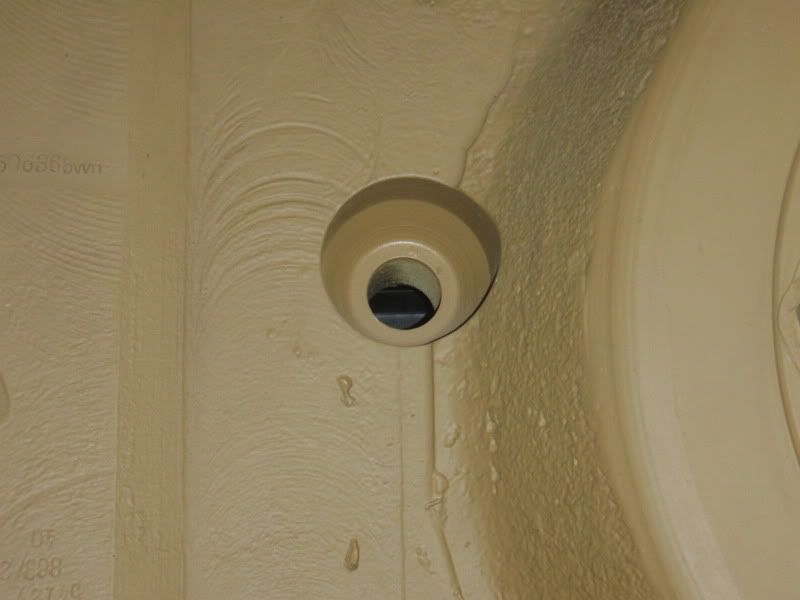
Here’s several close-ups of the welds around the Vision Port.
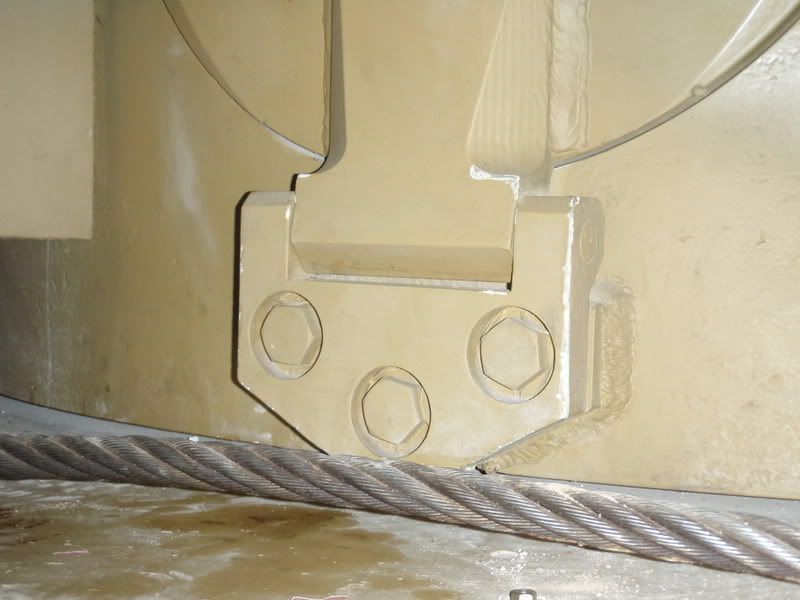
Close up of the Escape Hatch hinge.
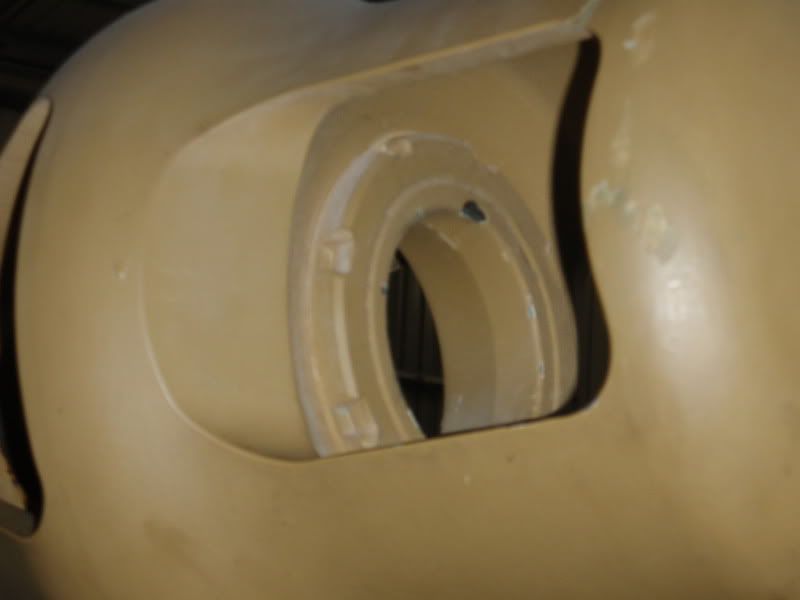
MG and binocular vision openings in the Gun Mantle
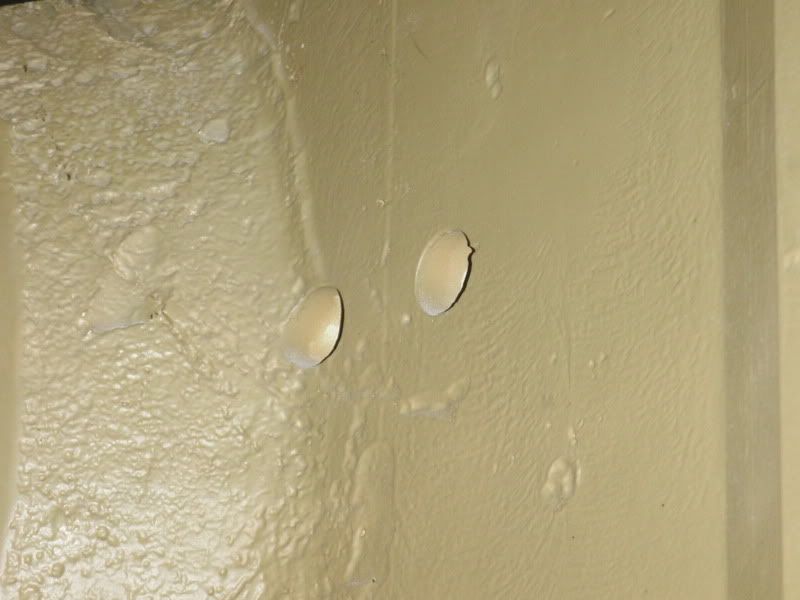

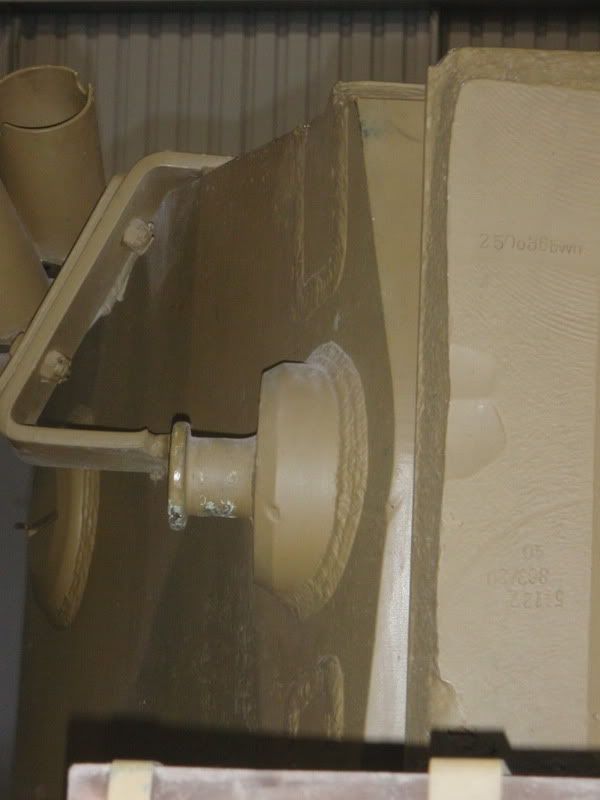
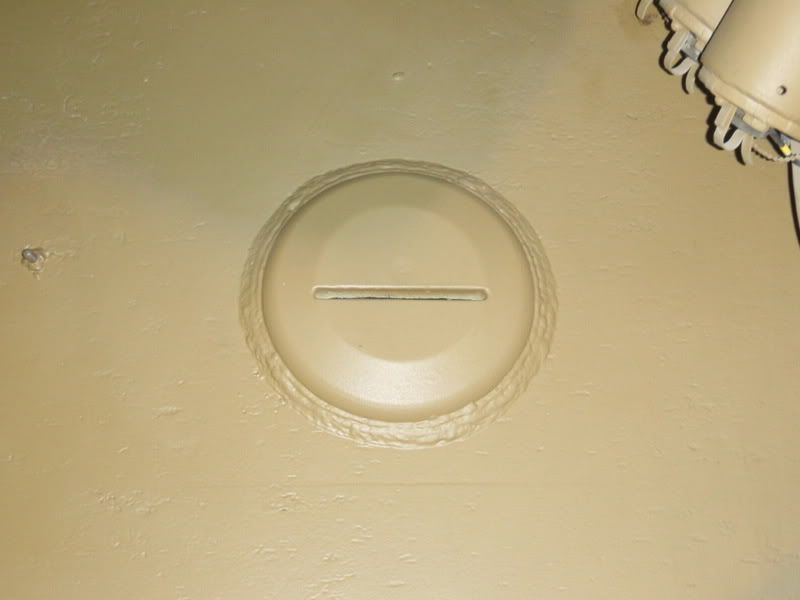
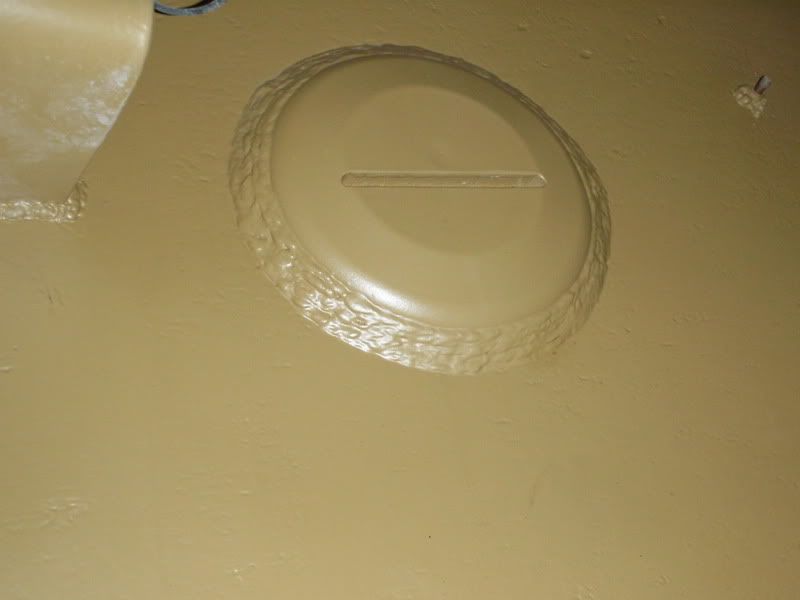
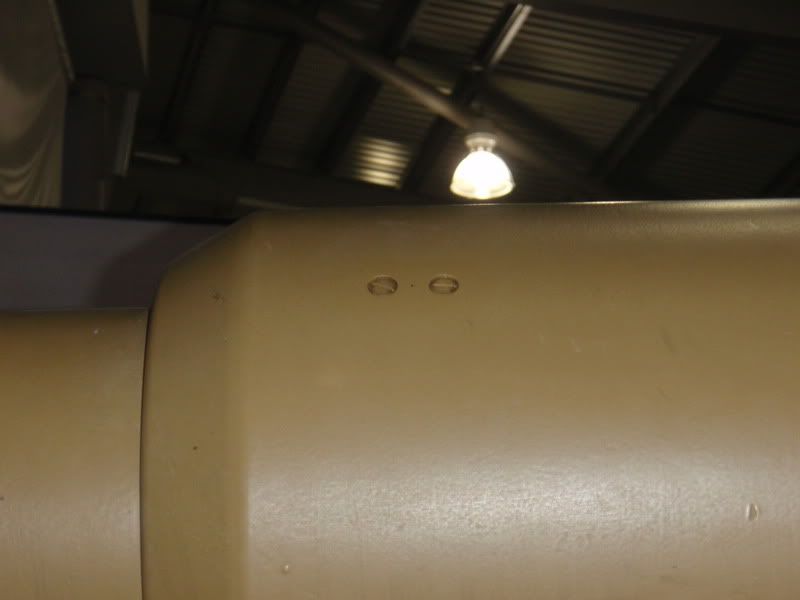
Early Pistol Port

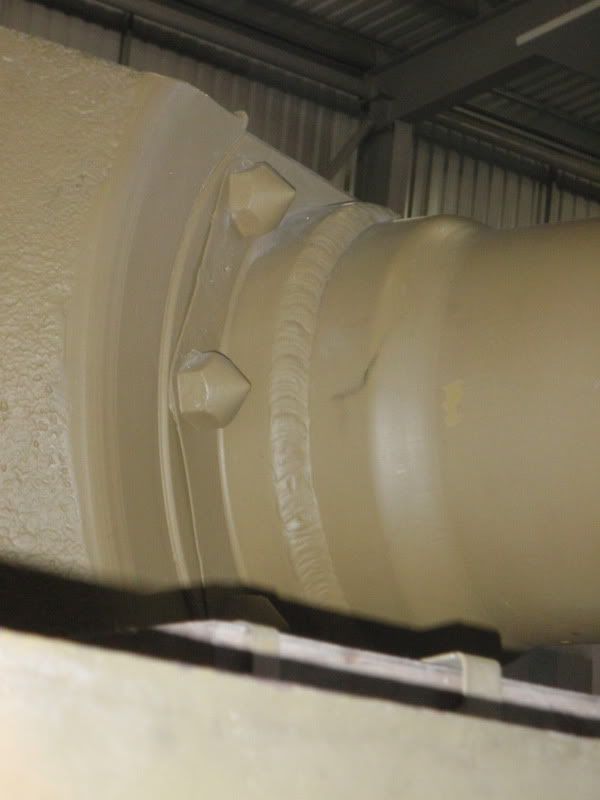
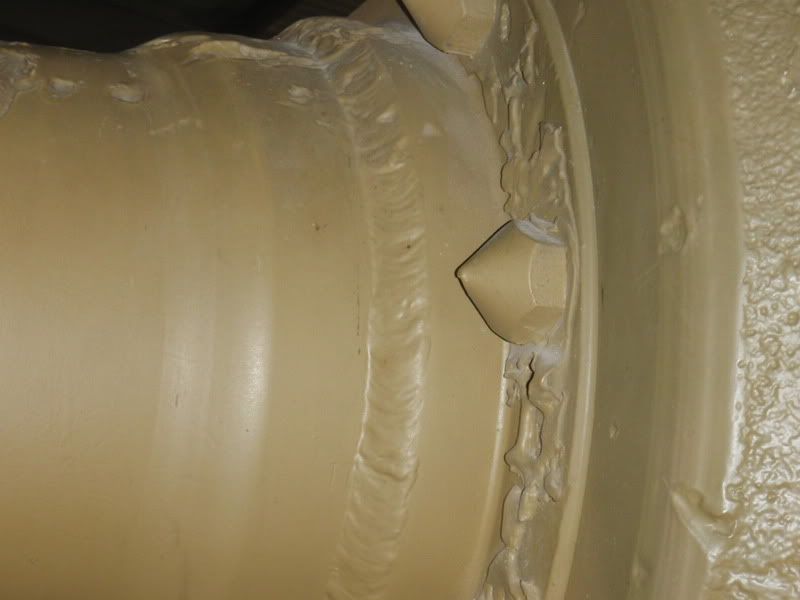
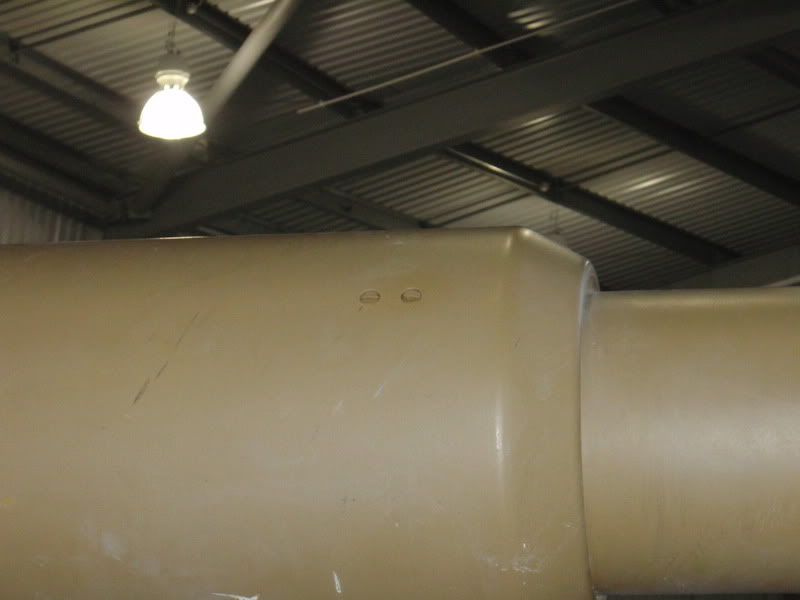
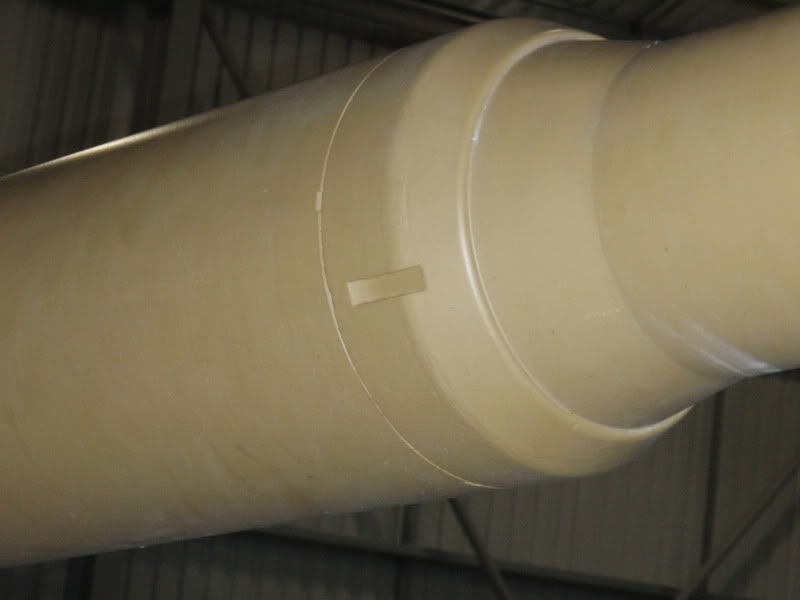
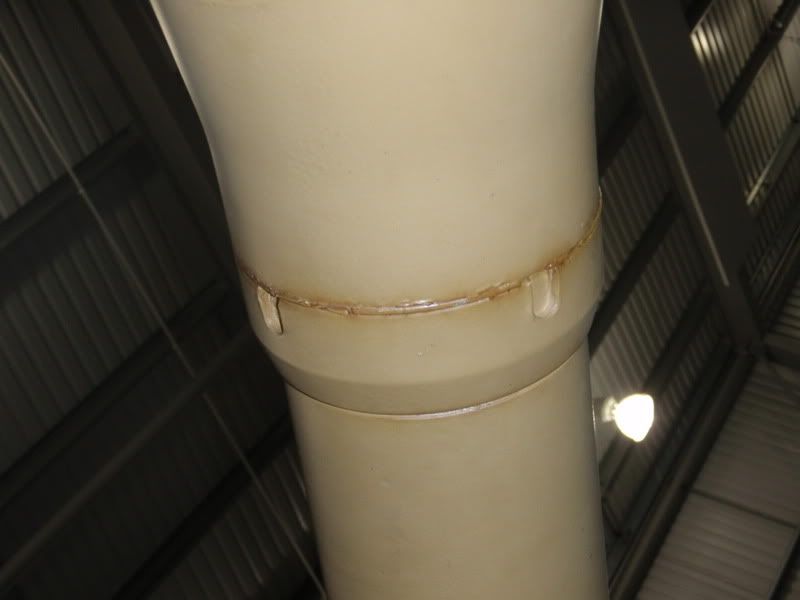
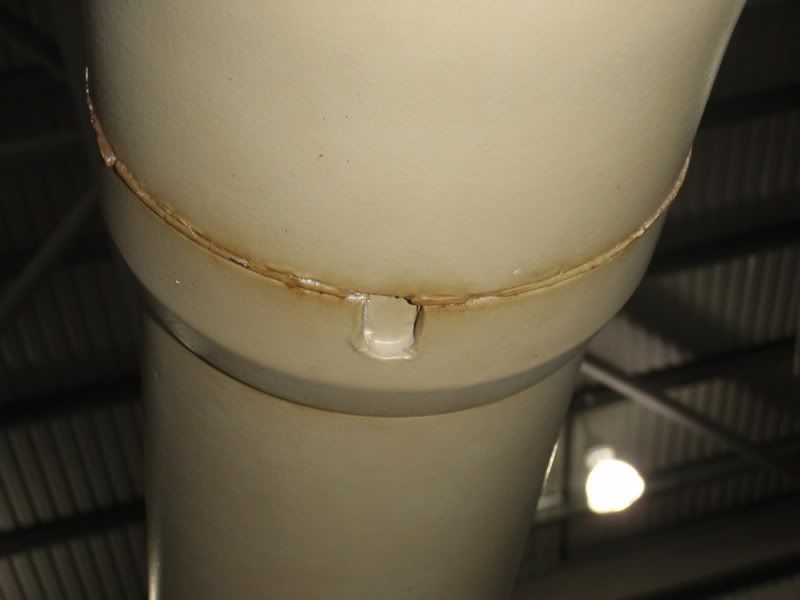
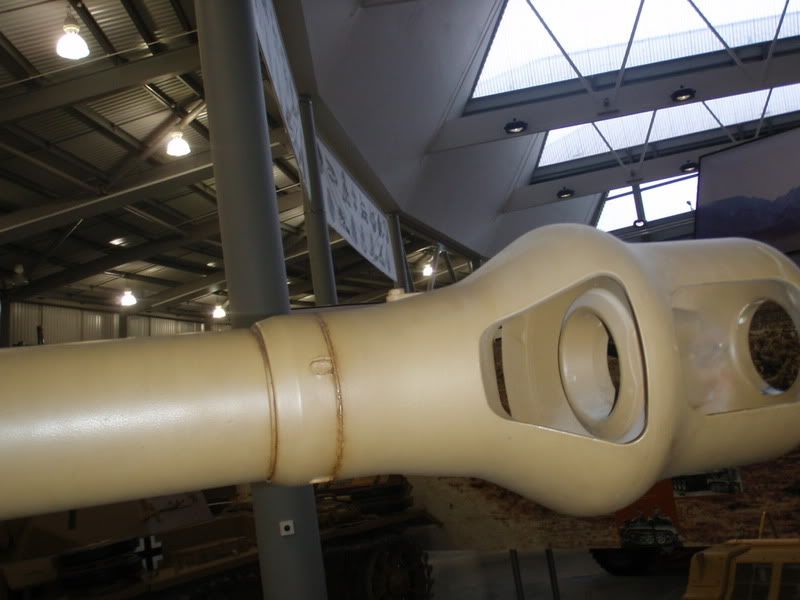
Details of the Barrel, including the welds to the Recoil Tube and Barrel Ring, the fixing screws that I assume holds the seal inside the Recoil Tube, slots cut into a collar along the length of the Barrel and the base of the Muzzle Break, and the details inside the Muzzle Break.
Here’s several close ups of the Turret Lifting Lugs that show you the welds.
Here’s a close up of the welds on the side of the Turret Wrap.
Here’s several close-ups of the welds around the Vision Port.
Close up of the Escape Hatch hinge.
MG and binocular vision openings in the Gun Mantle
Early Pistol Port
Details of the Barrel, including the welds to the Recoil Tube and Barrel Ring, the fixing screws that I assume holds the seal inside the Recoil Tube, slots cut into a collar along the length of the Barrel and the base of the Muzzle Break, and the details inside the Muzzle Break.