Page 1 of 2
Alfredo's Comet
Posted: Tue Oct 26, 2010 5:30 pm
by Alfredo Campanini
I am working slowly and I am arrived here

but .... for some language difficulties or perhaps because of age, I can not
understand at the end of page 22 of assembly instructions (pack 4) as I read: “ place a wheel (one of the wheels without the tab washer) on the inside face of each hub Y. Etc. etc
What it is, because I can not find anything like it in the packing list. What wheels? What hub Y ?
Sorry if it is a stupid question, regards
Posted: Tue Oct 26, 2010 6:00 pm
by David Skeldon
Hi,
Looking good ,but your bump stops are upside down.
David
Posted: Tue Oct 26, 2010 7:17 pm
by Adrian Harris
Hi Alfredo.
I think "hub y" is a misprint and simply means "hub" - part EF0304.
Does the picture on page 25 make this any easier to follow ?
Adrian.
Posted: Tue Oct 26, 2010 7:20 pm
by Armortek
Hi Alfredo
I am sorry for the confusion in the manual.
On page 22 please ignore the last sentances from the words:
.than the outside. Place a wheel..............................to..............Build up 18 wheels and hub sub assemblies.
these are from the King Tiger manual and have got in this manual by mistake.
Gill
Posted: Tue Oct 26, 2010 9:22 pm
by Alfredo Campanini
Hi friends
this forum is really helpful.
Thank you David, I understand perfectly: no problem to move them.
Gill and Adrian, it is clear for me now
Cheers
Posted: Sun Nov 14, 2010 4:06 pm
by Alfredo Campanini
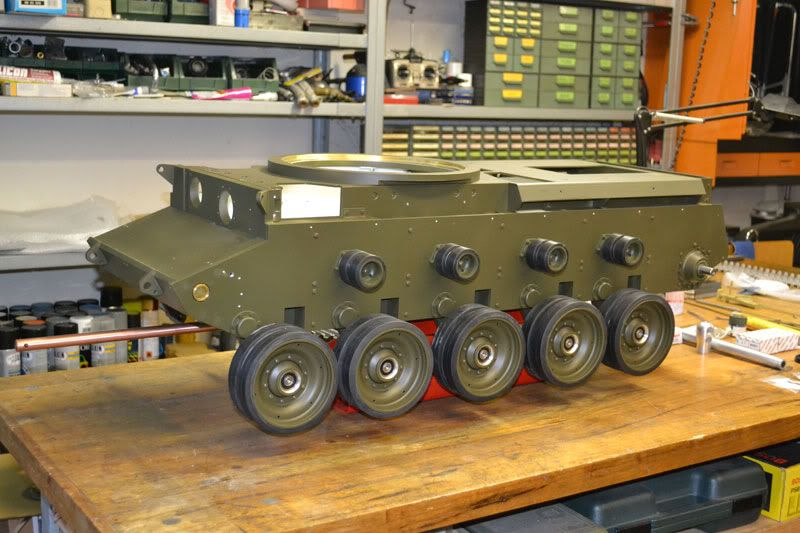
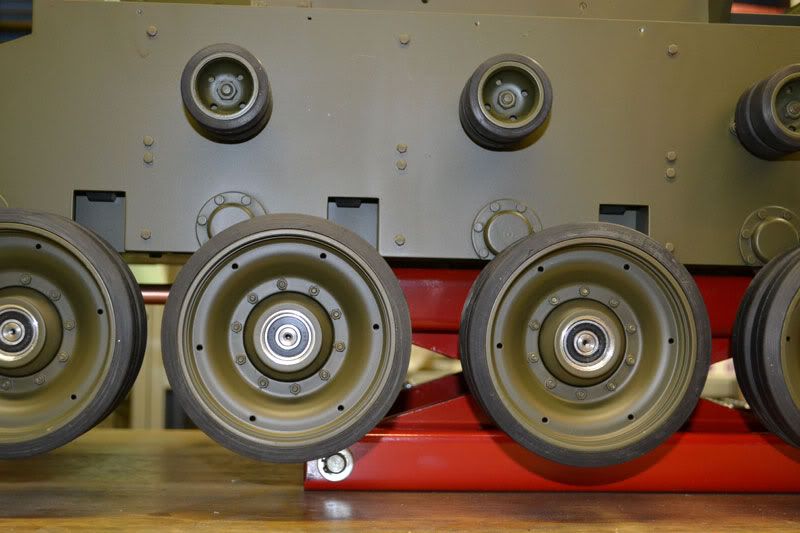
For the moment there is still nothing interesting to show, I am at
this point. The only change are the holes in the wheels and return rollers
Posted: Sun Nov 14, 2010 10:39 pm
by Pete Mallett
Super nice paint jon Alfredo, what are you using?
Pete
Posted: Mon Nov 15, 2010 10:49 am
by Alfredo Campanini
Hello Pete, thanks,
first a two-component epoxy primer, then the final paint in olive drab has been made with spray cans
Posted: Mon Nov 15, 2010 2:25 pm
by robert michael hilton
Lovely build Alfredo, I think you and I are building at about the same pace....nice and steady, with advice from the Forum. Your paint is similar in colour and finish to mine, I also use spray cans.
Keep up the good work Alfredo, .....Mick.
Posted: Mon Nov 15, 2010 4:47 pm
by Alfredo Campanini
You're right Mick,
I proceed slowly because the building should last all the winter.
I can not buy a model every 6 months
Cheers
Posted: Fri Jan 28, 2011 4:16 pm
by Alfredo Campanini
Hi all,
I am still alive; I finished installing the electronics and it seems that everything works: I wonder if it is better use one stick for each track or mix the two channels and use only the stick Right.
The sound works correctly on power, but remains idle and does not increase
with the engines: it is necessary to mix too? In wich way?
I have an Hitec Optic 6 but I think it's similar to the Futaba.
Thank you for help.
One Stick Driving
Posted: Fri Jan 28, 2011 5:03 pm
by phil fitzpatrick
Hi Alfredo
I prefer 2 stick driving myself but lots are using one stick.
If your radio is similar to the futaba go to
RADIO CONTROL OF TANKS in Armortek owners section
and Mark explains how.
Or if you see Futaba 7C posting first Adrian had put some links on that go straight there.
Cheers
Phil
Posted: Sat Jan 29, 2011 6:23 pm
by Alfredo Campanini
Thank You Phil, I have discovered that it was well explained in the in the instruction of sound kit.
Posted: Sat May 07, 2011 5:39 pm
by Alfredo Campanini
Hi all,
I am at the end of my work, absolutely normal.
Excuse my extreme ignorance: I would like to finish my Comet in the version after war, with the Fish tail Exhaust, please let me know if I can use the emblem (bull) and number (52 or 53), as I see in other beautiful models.
Also I can not figure out where to mount the transmission oil fillers.
Thanks for the help, regards
Posted: Sat May 07, 2011 9:02 pm
by Dave Dibb (Armorpax)
Hi Alfredo,
This should help with The Oil Filler positioning. They are handed, one each side.
Cheers
Dave
