I started my build during the winter and am just getting around to posting some pictures.
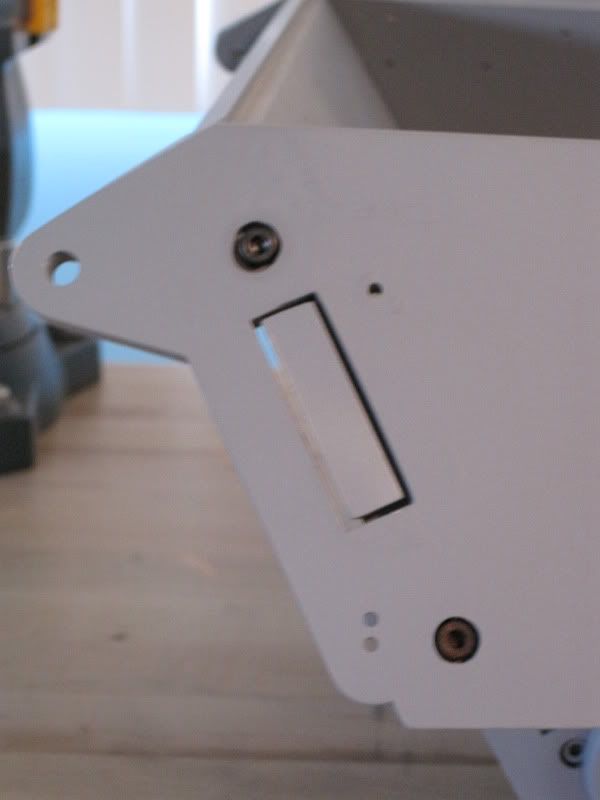
Here is the pannier floor switched from steel to alluminum:
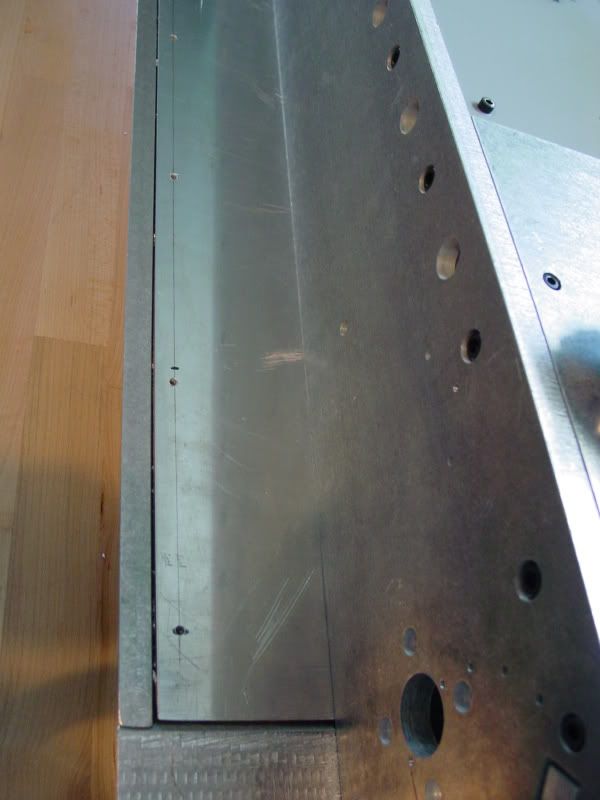
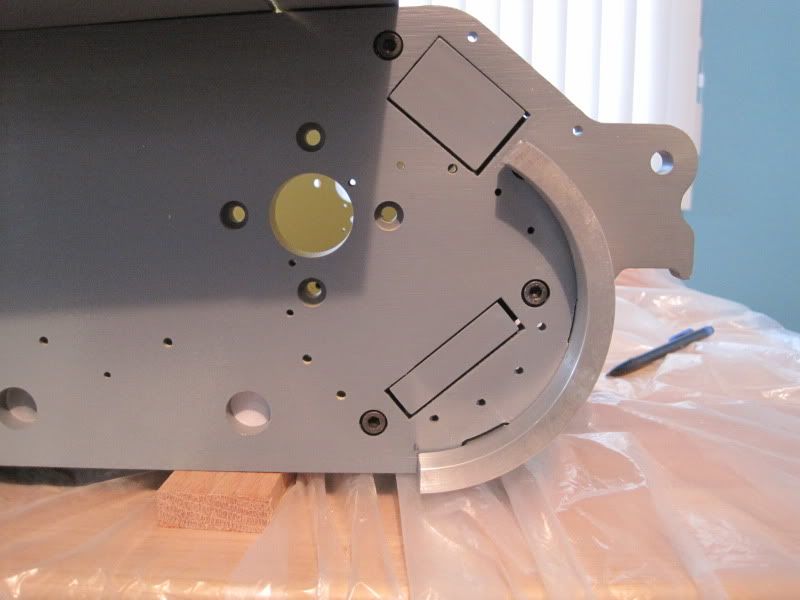
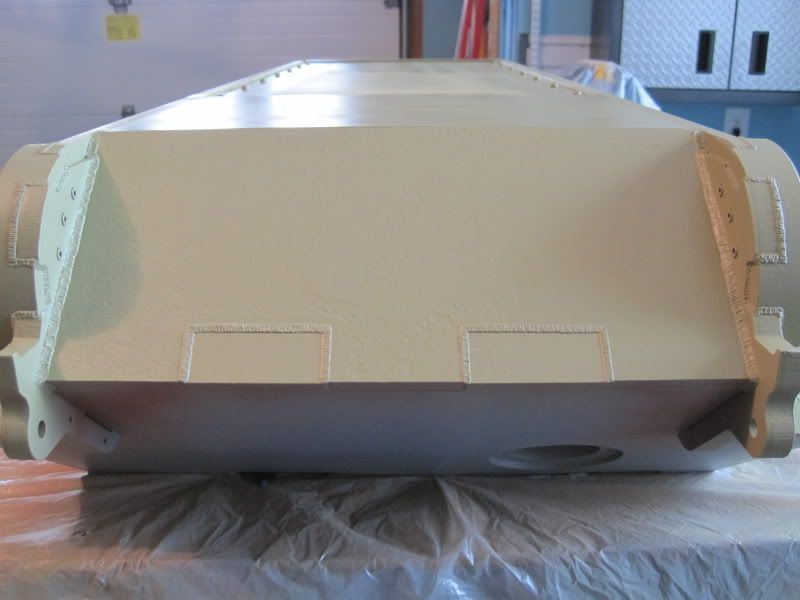
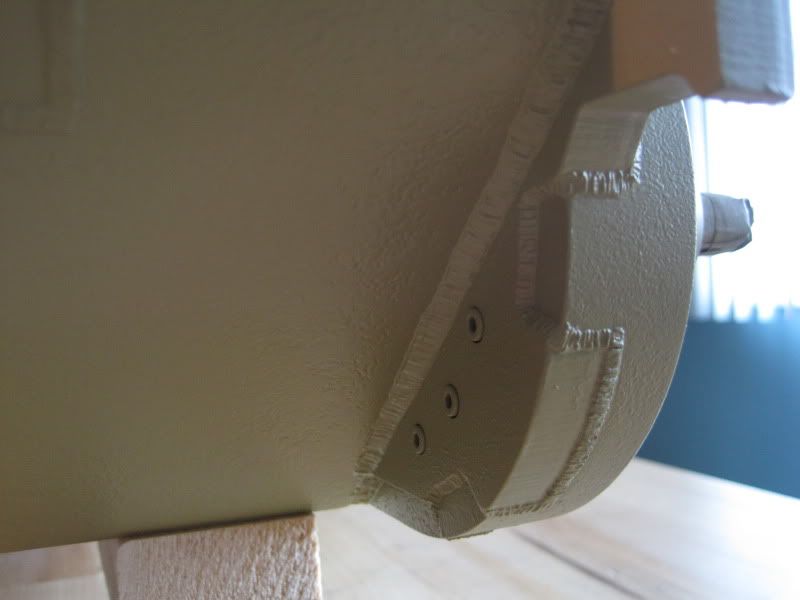
Here are some extra details I milled into the hull sides:
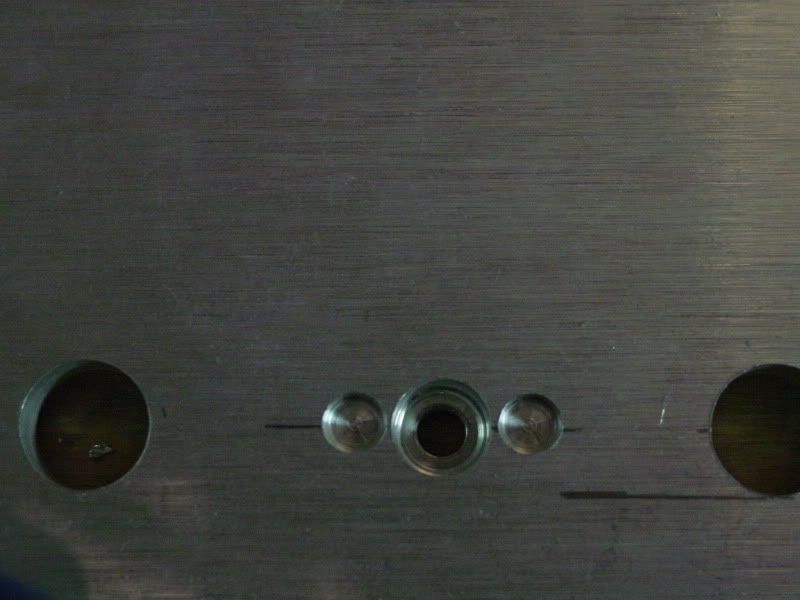
Here is a extra bolt on the rear of the upper hull:
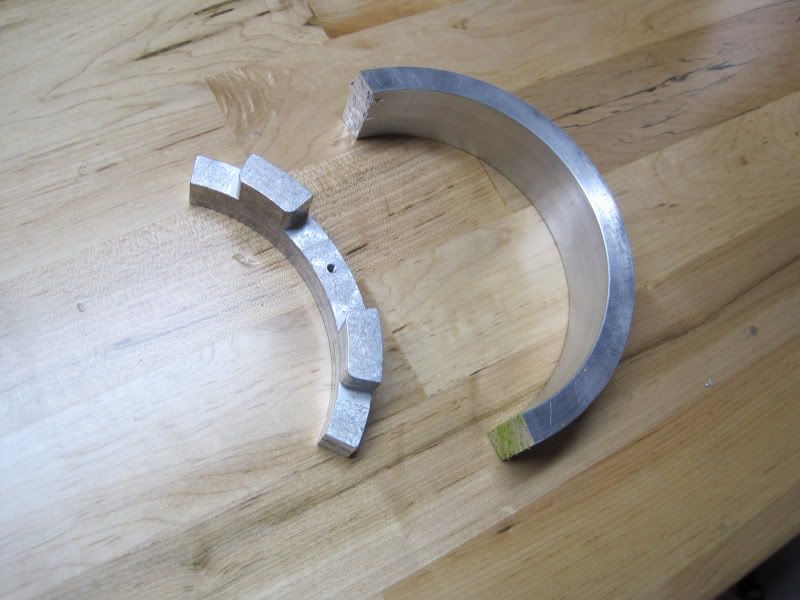
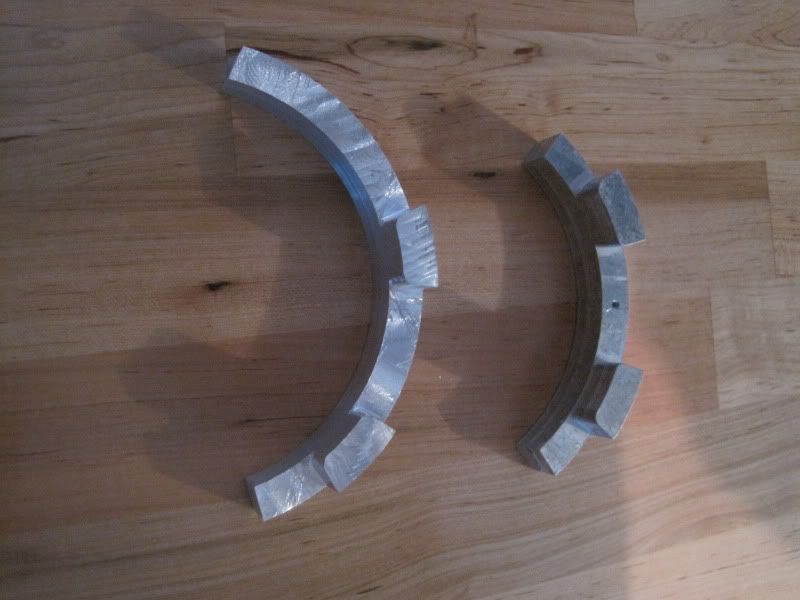
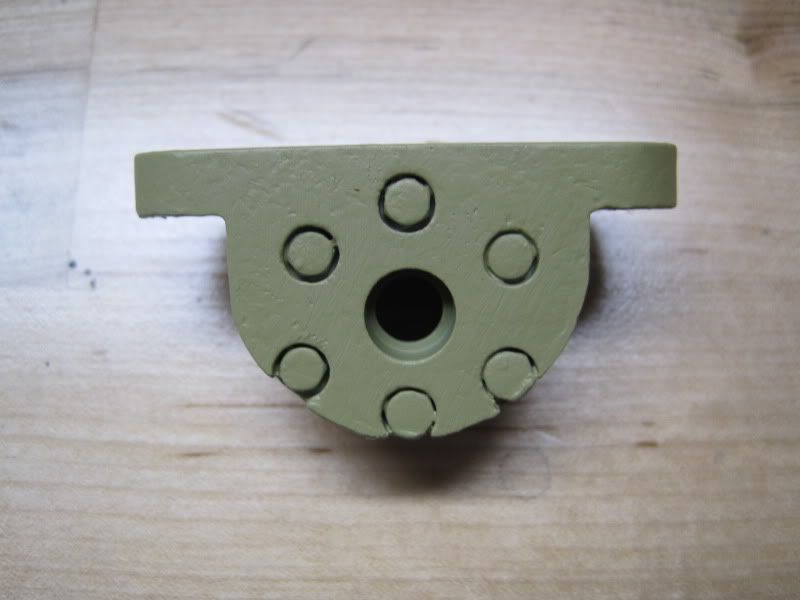
Here are the armor guards I made up(original on left)
I'll try to post more pictures in a few days.
Joe
Posted: Mon Aug 02, 2010 11:42 pm
by Brian Leach
Joe,
I like the attention to detail!
I look forward to further posts
Brian
Posted: Tue Aug 03, 2010 8:58 am
by Sven Strobbe
Joe
That's a very beautifull thing you do there withe the real look of the Torsion Bars...
Regards
Sven
Posted: Tue Aug 03, 2010 9:49 am
by simon_manning
looking good joe, the torsion bar detail is a nice extra, keep the photos coming, regards simon manning.
Posted: Tue Aug 03, 2010 11:52 pm
by Joe Calandro
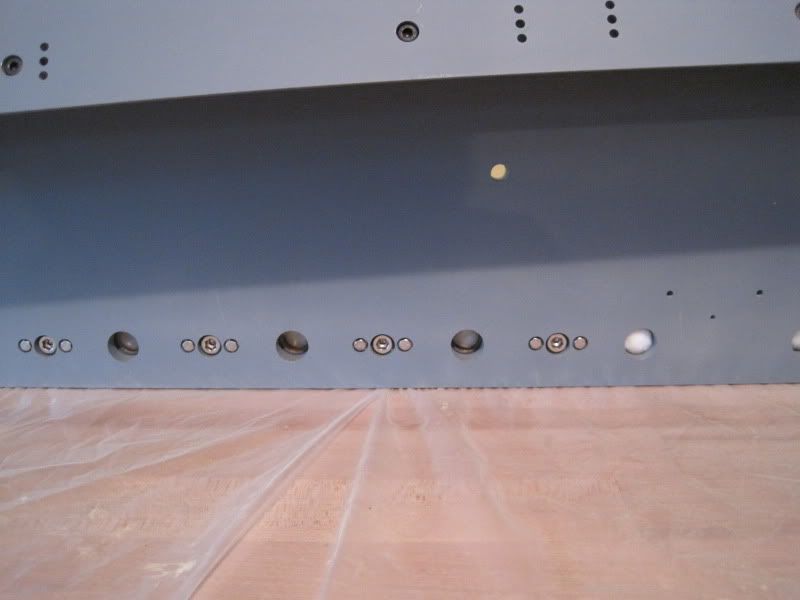
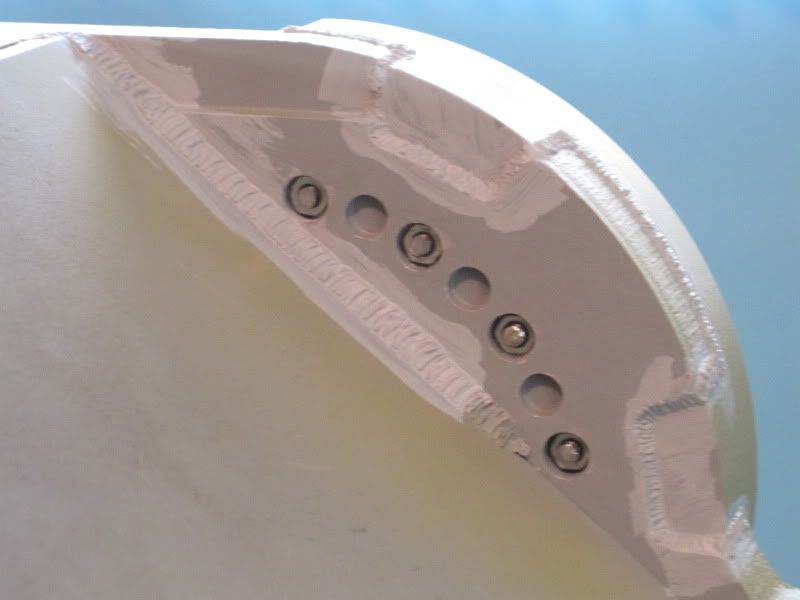
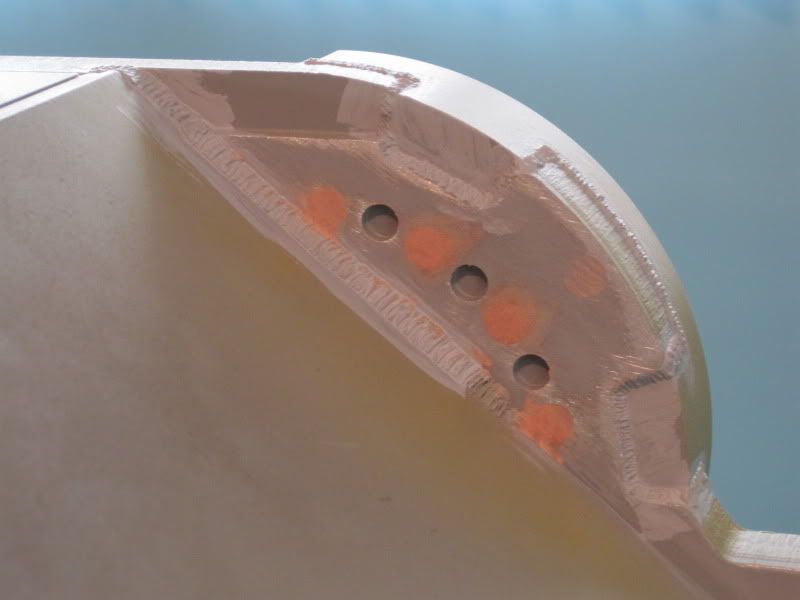
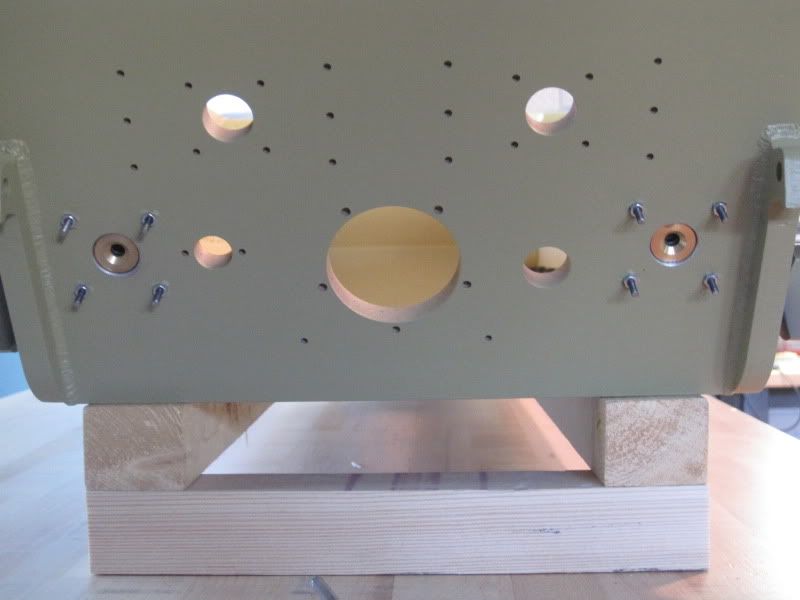
Here is the work I did behind the front armor segment.
I milled holes for the fake bolts and recessed the bolt holes for the front drive case
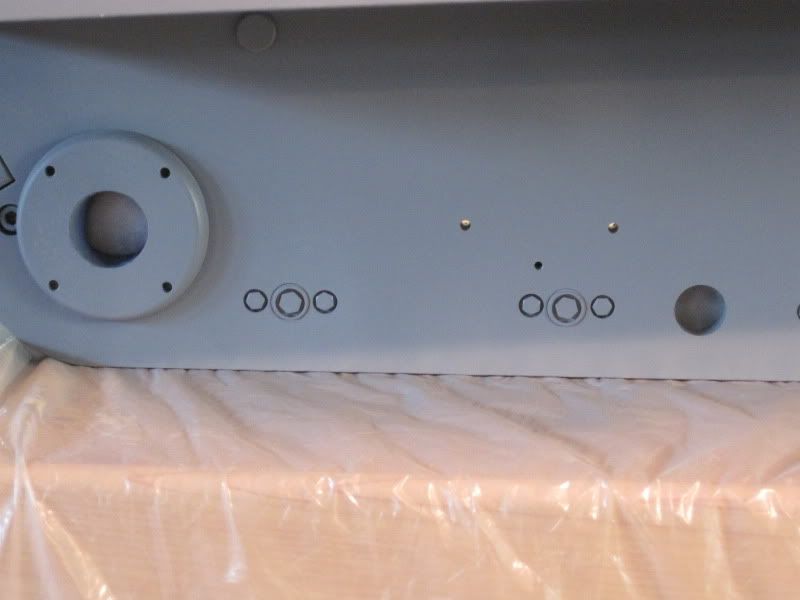
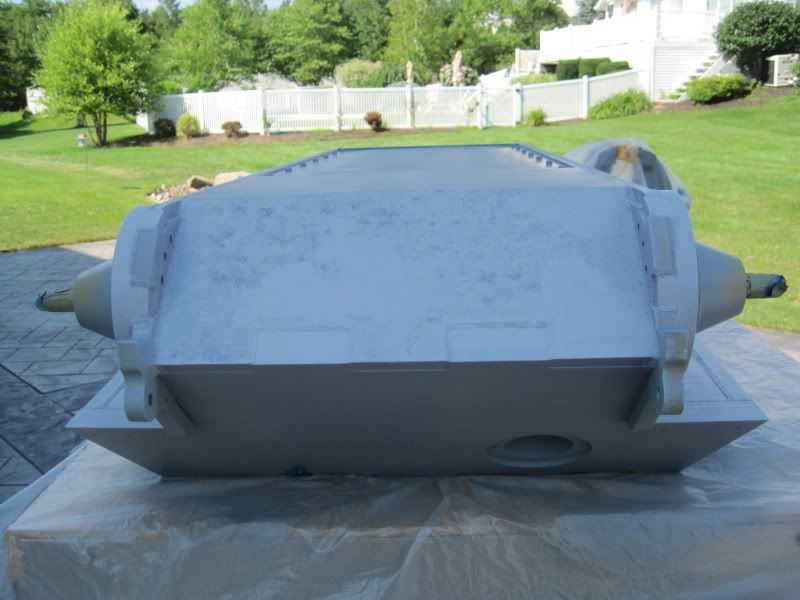
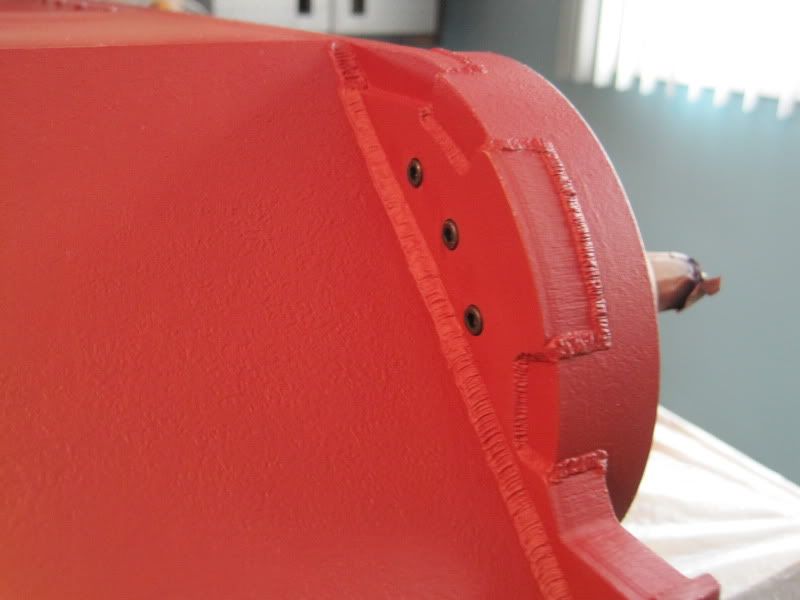
Next I added texture and finished the the welds and painted with red primer:
Here is the finished lower front hull plate with base coat of paint:
Thats about as far as I have gone on my build so far. Will post more pictures as I go along. (found out its not as hard to post pictures as I thought)
Joe
Posted: Wed Aug 04, 2010 3:57 am
by Phil Markham
Hi Joe,
Great job so far, can't wait to see how your build developes. What did you use to texture the hull of the tank?
Phil
Posted: Wed Aug 04, 2010 8:28 am
by Antony Rowley
Hi Joe,
Superb detail and I think your surface texture is about the best I've seen
Keep up the good work and well done so far
Thanks Antony
Posted: Wed Aug 04, 2010 10:30 pm
by Joe Calandro
Hi Phil,
I just used Mr Surfacer 500 and stippled it on. Then I primed it and sanded it. It was easier to see the texture after priming so you could control the amount you wanted to sand off. You can then go back and add more if needed. I've gotten most of my ideas from all the other great builders on the forum.
Joe
Posted: Tue Sep 28, 2010 11:09 pm
by Joe Calandro
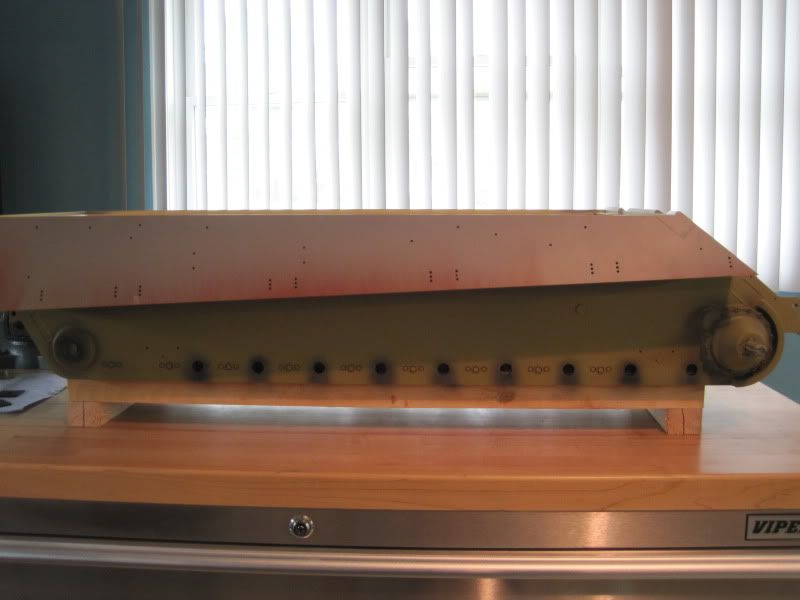
Got a little more done on the hull. Started to add some weathering on the lower hull sides.
[/img]
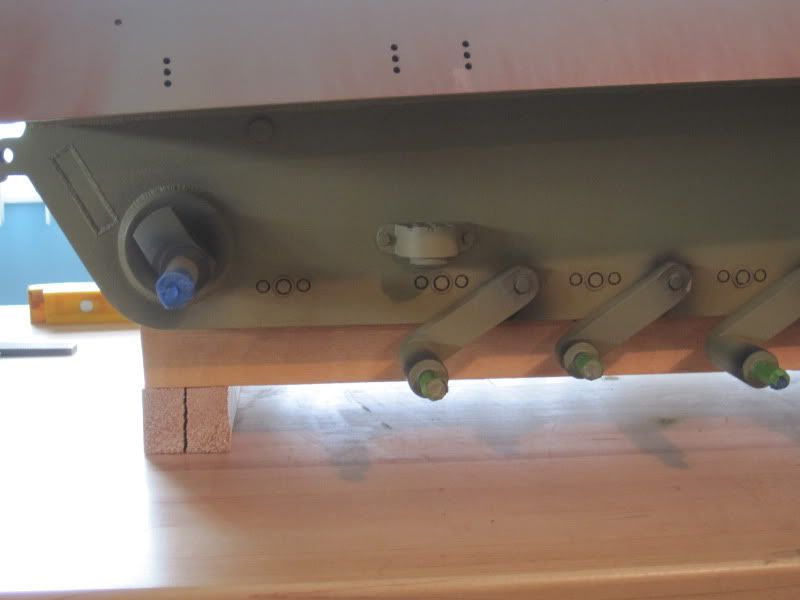
Here I have installed the track adjusters.
Used Richie's idea for track adjusters.
[/img]
Hoping to get suspension arms in soon.
Joe
Posted: Wed Sep 29, 2010 7:16 am
by Dale jordan
Nice workmanship Joe ..Looks like you are enjoying your build . Plus finishing off each stage as you go is a good idea !! Bet you can't wait to get the tracks on ... Dale
Posted: Sat Feb 05, 2011 11:57 pm
by Joe Calandro
It has been a while since I have done anything with the Tank. It has been too cold to work on in the garage, so I've been working on my crew members. This is my first attempt at programming them just to make sure everything works . I'll refine it when they are installed in the tank.
Joe
Posted: Sun Feb 06, 2011 12:16 am
by Adrian Harris
Love the figures Joe - I wonder what the joke was, they both seemed to enjoy it
Adrian.
Posted: Sun Feb 06, 2011 2:41 am
by John Fitzsimons
great figures. Can you recomend a supplier? I would like to get some of these when I finish. Super King tiger
Posted: Thu Apr 28, 2011 11:34 pm
by Joe Calandro
Started to work on KT again. Got the bump stops done and have started the wheels.
Modified on left , original on right.[/img]
[/img]
[/img]
The wheels have 1/2 inch 7ba bolts and 7ba nuts. I then milled bolts down to proper height.
Only 35 more to go.
Joe
Posted: Sat Jul 16, 2011 11:50 pm
by Joe Calandro
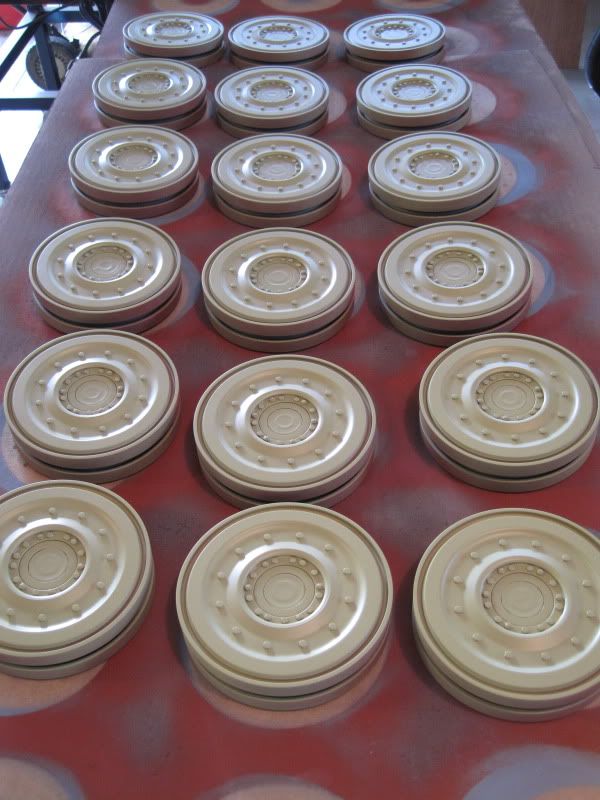
Got more work done on KT.
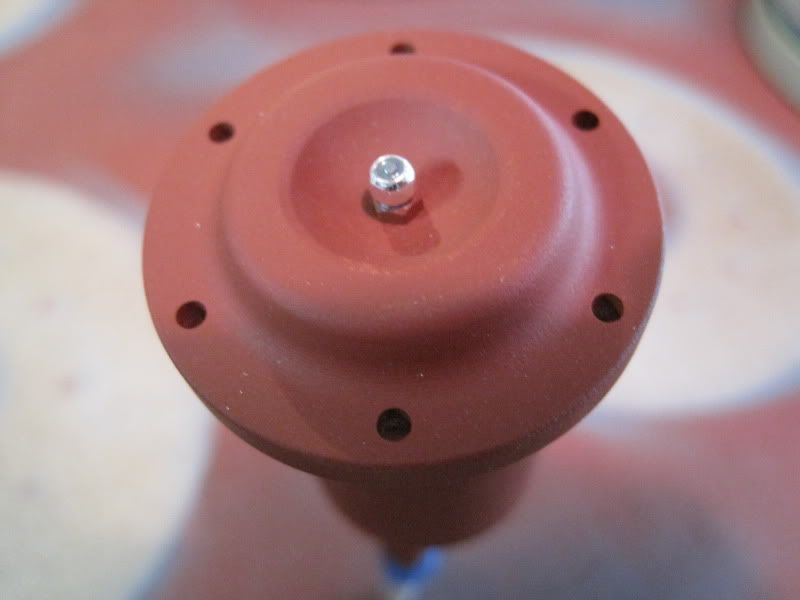
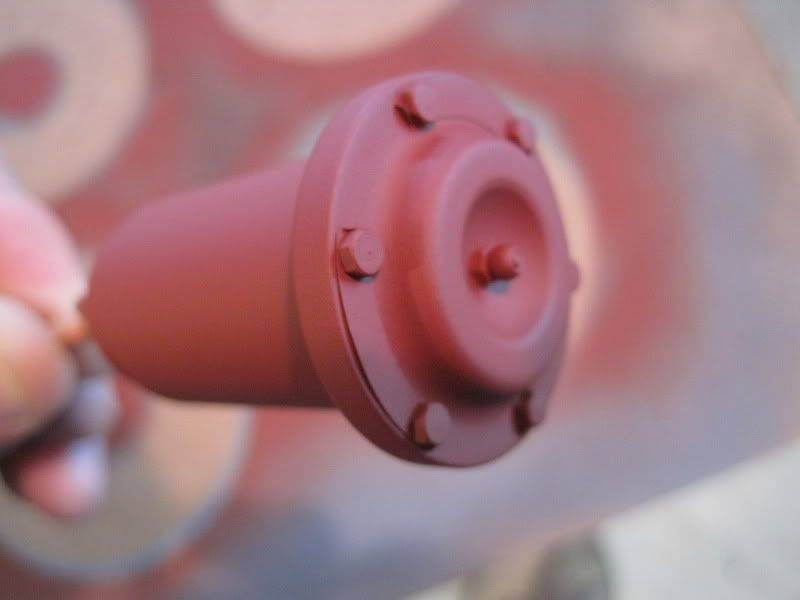
Here are the wheels all painted up, need to start weathering them.
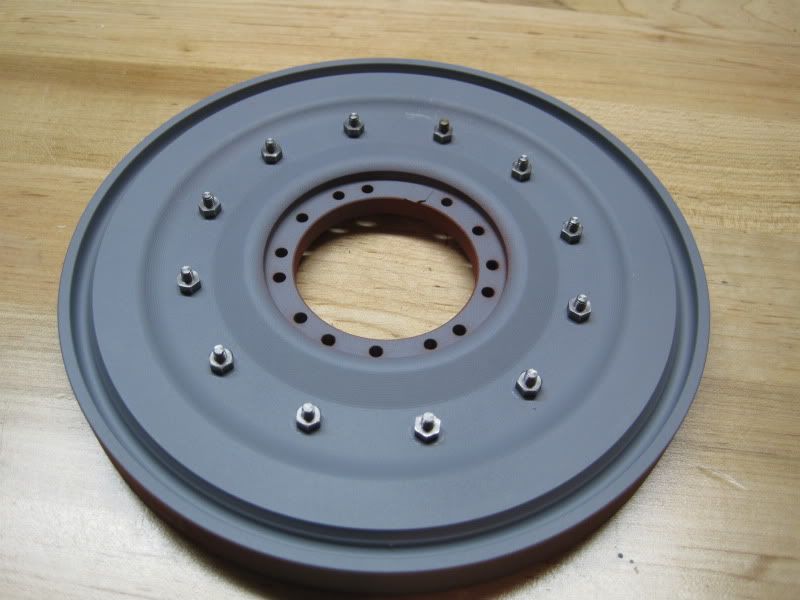
I used a 10ba nut and bolt with a small bead to represent the center fitting (not perfect but simple and dosn't look too bad).
I then tapped the holes with 8ba threads and used 8ba bolts with smaller heads.
I liked the look of it without the nuts on the back.
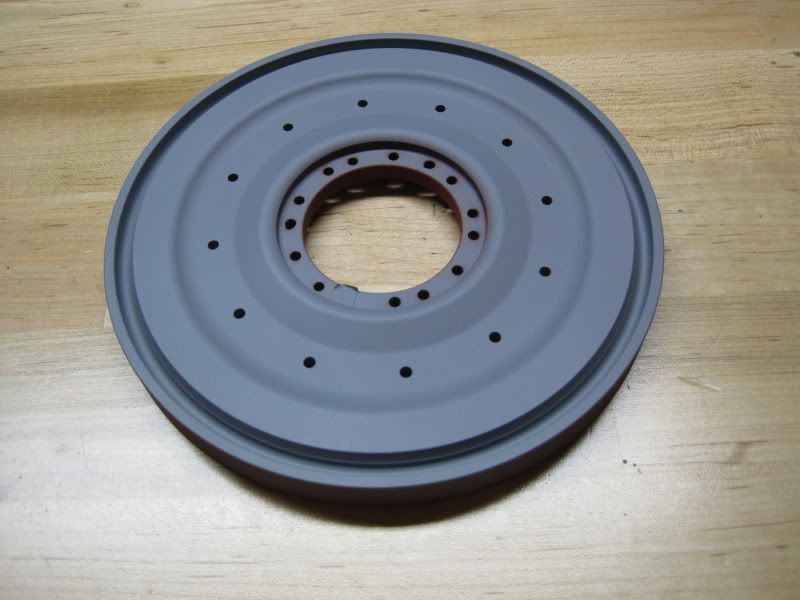
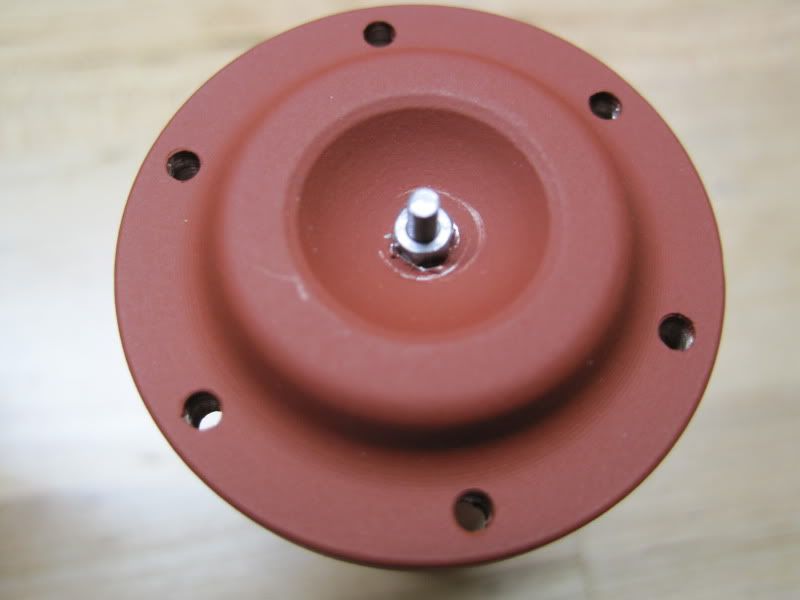
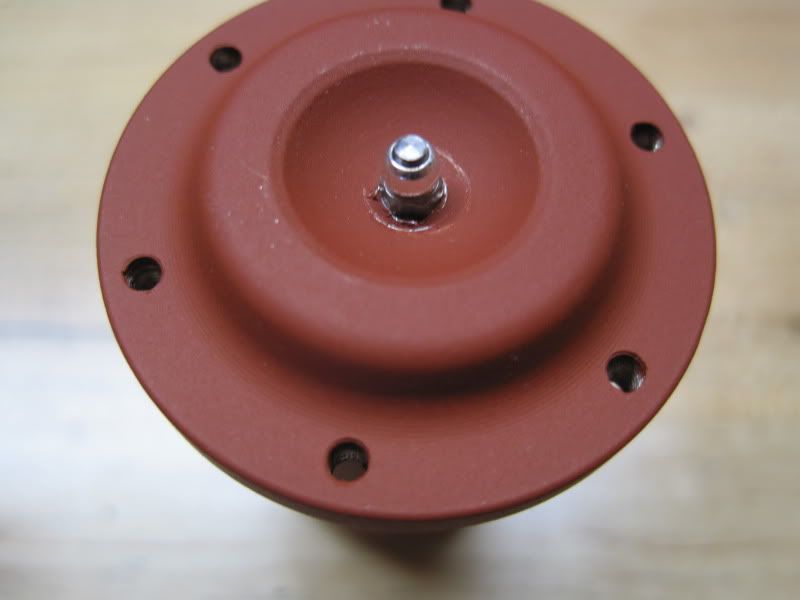
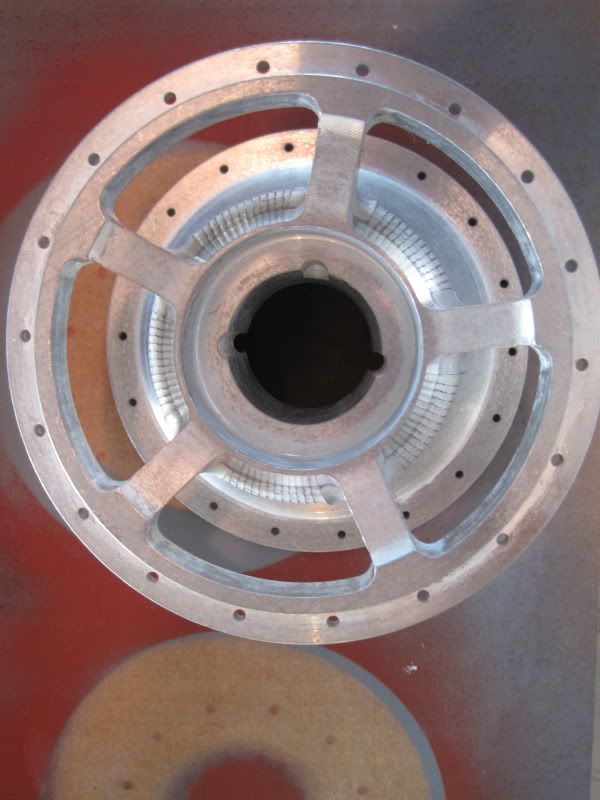
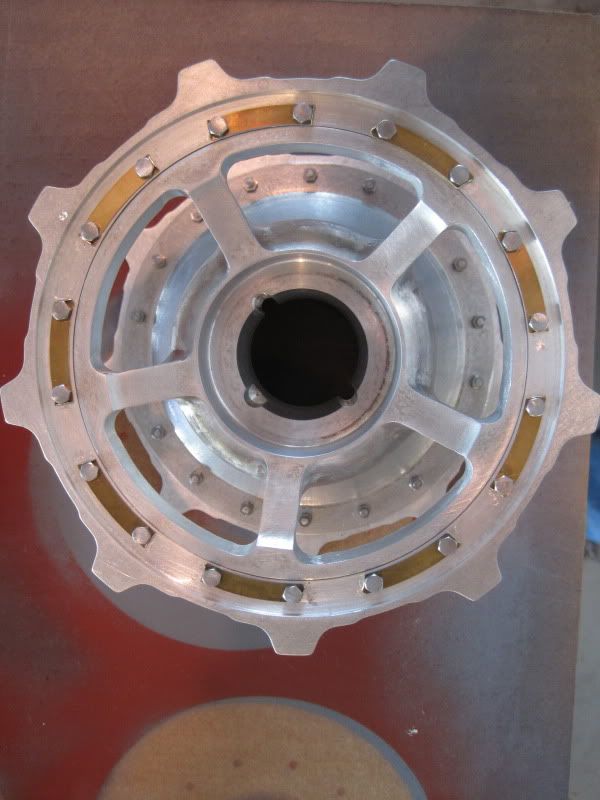
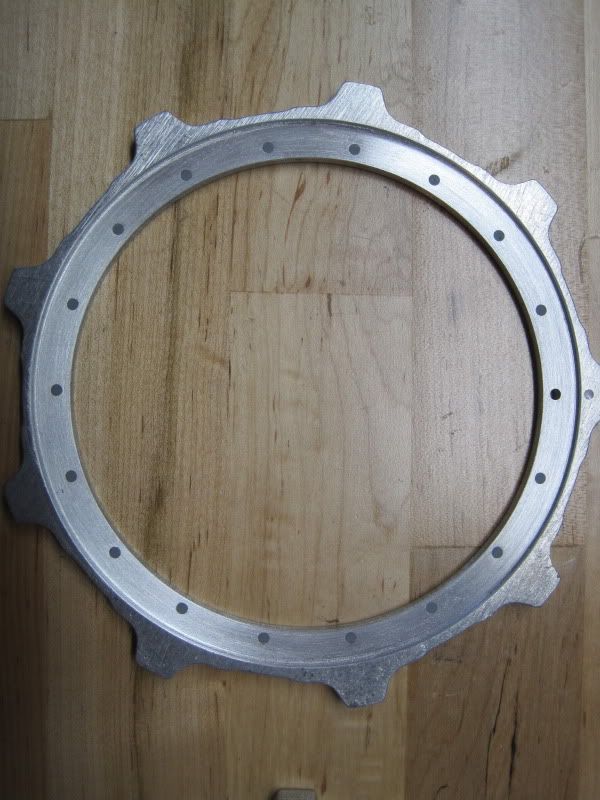
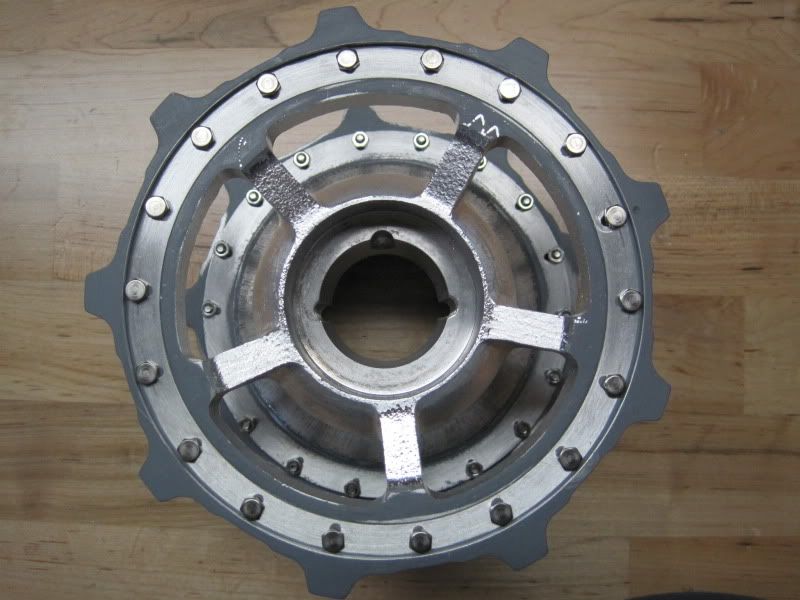
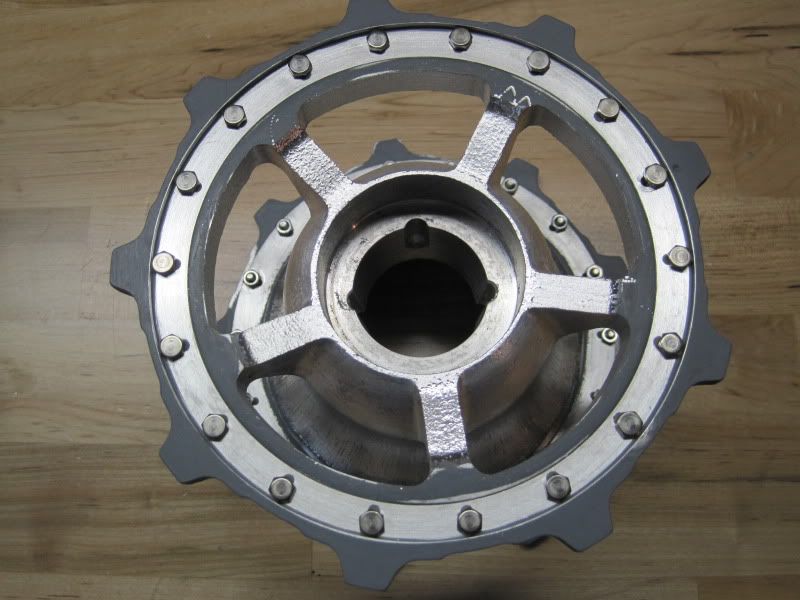
On to the drive sprocket. I sanded the milling lines out and then textured it with a dremmel.
I then built the drive sprocket but deceided to try to move bolts outward. Here is before and after pictures.
Thats all for now. I need to practice my weathering skills before I attempt it on the wheels (still trying to figure out Simon's sponge weathering).