Page 1 of 3
Panzer 111 L
Posted: Fri Mar 12, 2010 6:10 pm
by phil fitzpatrick
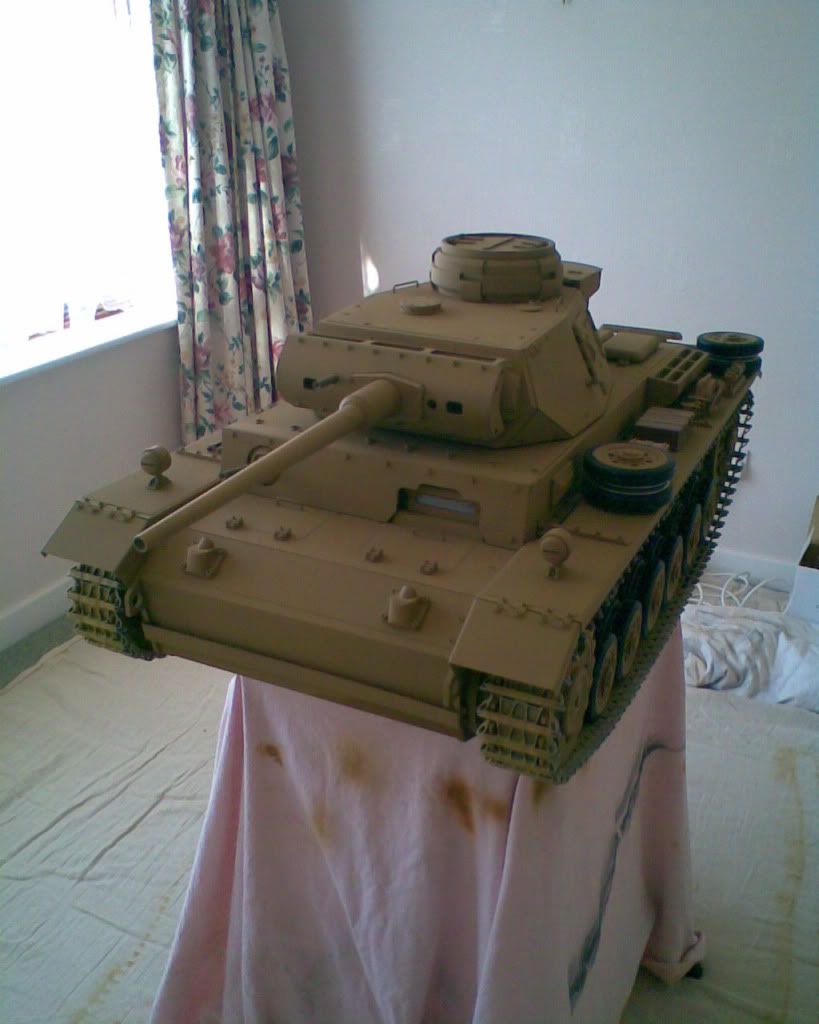
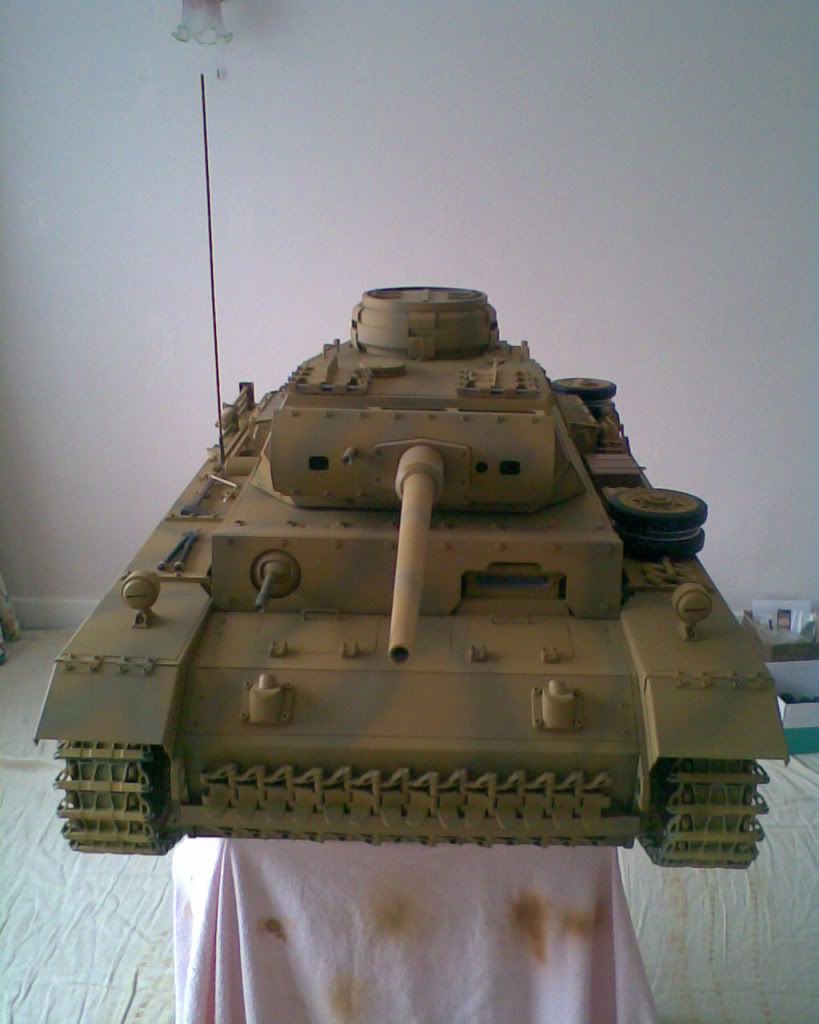
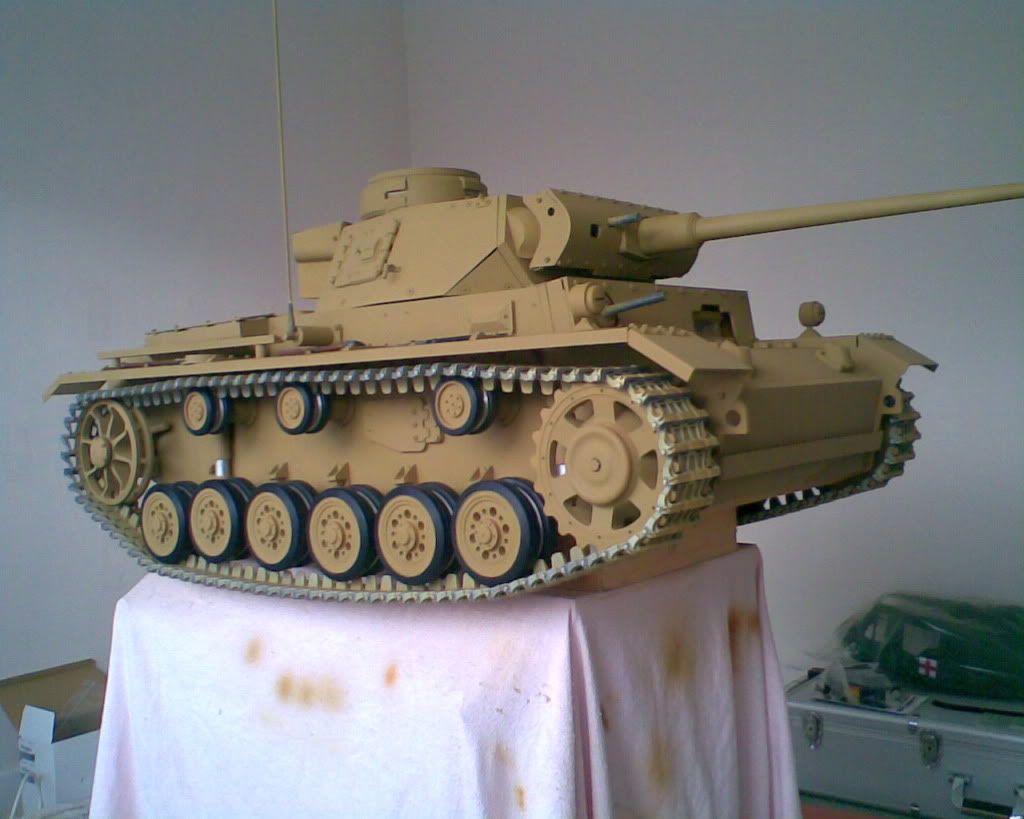
My first Armortek Tank Panzer 111 L
Not finished(are they ever)some more details yet
All built with hand tools,you notice the lack of workshop,too cold in the garage,once it became too heavy and too cold,it was down B & Q for a £12.50 little work bench and into the spare bed room.
Just had to do the paintwork a little at a time by air brush with the windows open.
Everything works and runs fine on the bench with the tracks eitherside of the table,but I have to wait a week now before my son can give me a lift off with it.
I didnt do any build pictures,I spent more time learning on the forum topics from the experienced guys following their great work.
Which included following the guy who put the turret escape hatch doors on the wrong way then changed them round next time I looked.
Yes my learning curve has been steeper than the north face of the Ieger.

Thanks to first Dunc then Adrian advice I've now learnt how to get pictures on the Forum.
It was much easier with photobucket than when I was trying it out with picturetrail.
Someone on the forum said once you have bought one armortek tank you are doomed to wanting more.
So I've had 5 extra goes on the euro lottery for tonight.
More to follow.
Regards to all and thanks to all I have been helped by on the forum
Phil
panzer 111 L
Posted: Fri Mar 12, 2010 7:56 pm
by Nick Farrugia
hi phil
good looking tank when do you think you will take it out
for its trial run.ibet it wont be long
best wishes
nick
Panzer 111 L
Posted: Fri Mar 12, 2010 8:27 pm
by phil fitzpatrick
Hi Nick
Thanks
After next weekend when I get a lift down off my bench with the tank I hope to take it outside.
Ive bought myself a small hydraulic table that drops down to 350mm,so I can drive it back on and off to add a lot more detail to the tank.
I've only just discovered Milliput off the forum(I'm a bit slow) so I'll have a go at doing some welds.
All the best
Phil
panzer 111 L
Posted: Fri Mar 12, 2010 8:48 pm
by Nick Farrugia
hi phil
like you the panzer 111 is my first tank kit.i havent taken any build
pics either but wish i had now.but like you i have learnt a lot from some of the other builders on this forum, i think your right they are never quite finished.
best wishes nick
Posted: Fri Mar 12, 2010 9:28 pm
by martin pitcairn
Phil thats a nice looking Pz III, well done.
Posted: Sat Mar 13, 2010 10:17 am
by Derek Attree
Hi Phil
Thats a nice PzIII with some nice detail touches.
I know what you mean about the cold.
Not touched the stug for weeks.
Derek
Posted: Sat Mar 13, 2010 6:54 pm
by Adrian Harris
I love the camouflage - is that based on the Bovington Tiger scheme

Adrian.
panzer 111 L
Posted: Sat Mar 13, 2010 8:08 pm
by Nick Farrugia
hi phil
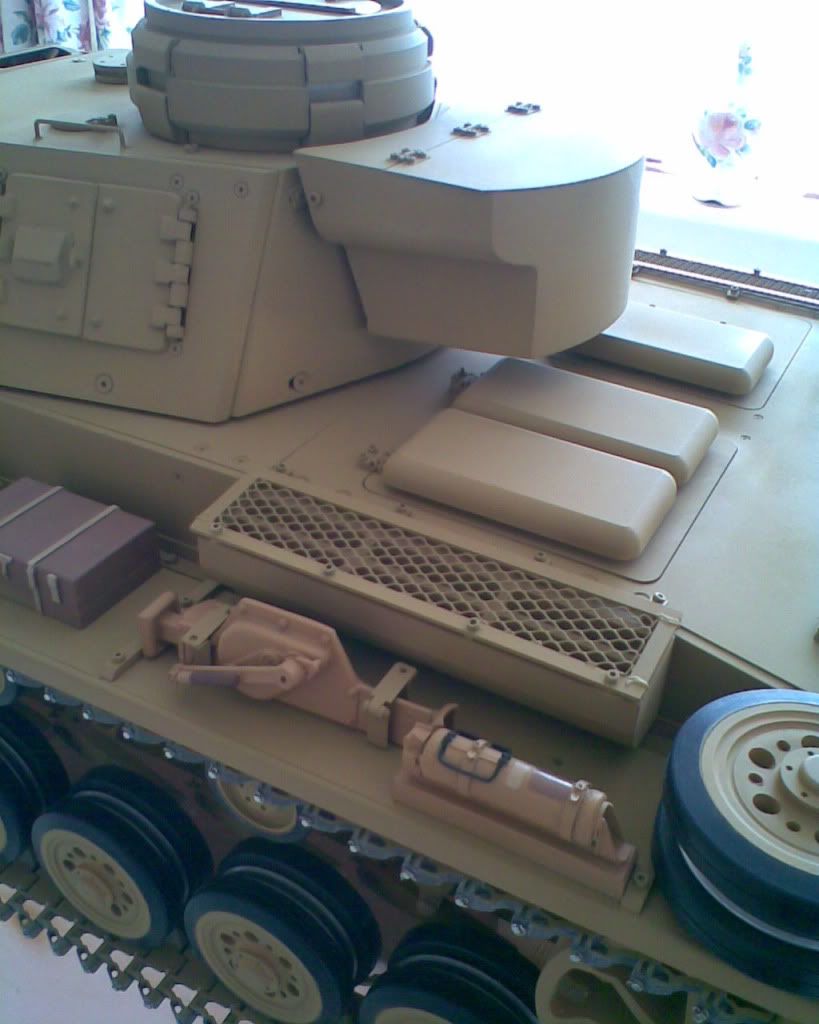
just looking at your panzer again and noticed the rack for what ithink is the barrel cleaning rod ,very nice did you make them yourself
good looking tank
best wishes nick
Panzer 111 L re camaoflage
Posted: Sat Mar 13, 2010 8:29 pm
by phil fitzpatrick
Hi Adrian
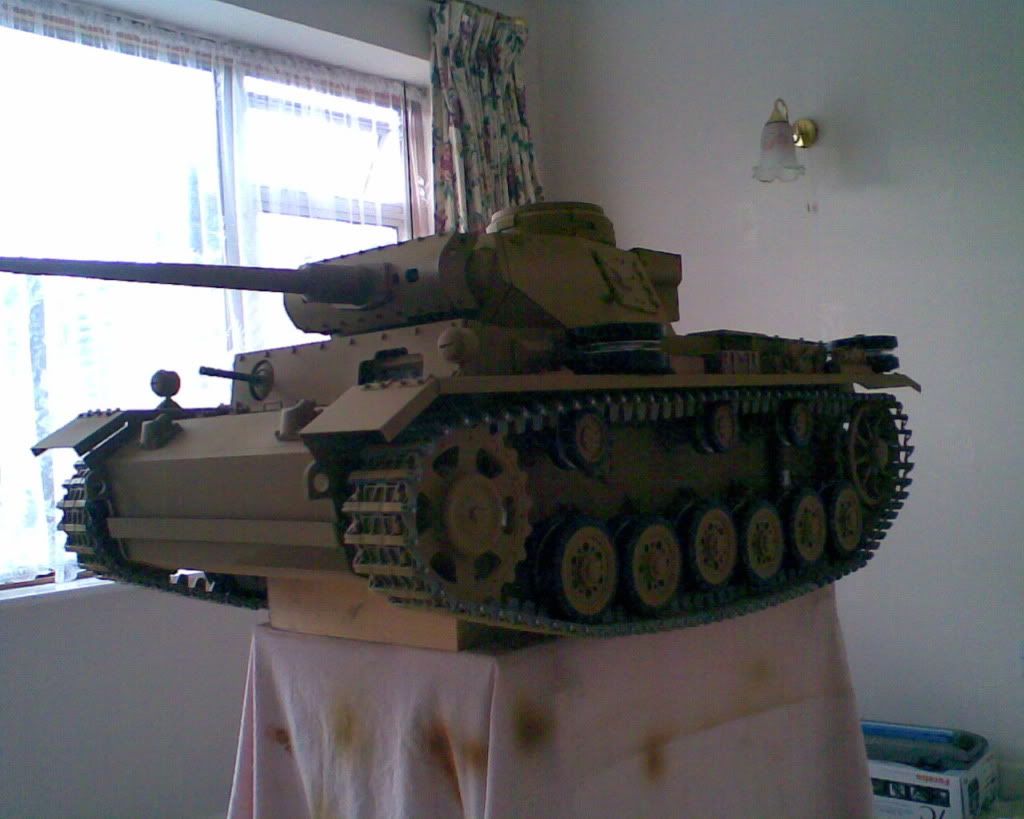
I chose to model my Panzer 111 L on the Ausf L's that served with the 10th Panzer division at Kasserine Pass from one of my books Osprey publishing"M3 Medium Tank vs Panzer 111 Kasserine Pass 1943.
The Panzer regement 7 tanks were painted Grunbraun Ral 8000 and 20%Graugrun Ral 7008.
Interestingly it also said some of the tanks were just coated on top of the original dark grey with old engine oil and then had sand thrown at it.
I wasnt going to go that far though.
Not building it in a spare bedroom anyway.
I used Lifecolour's Acrylic range by air brush
Aswell as my first tank it was also my first with an air brush,so I havent got the weathered look mine is fresh off the boat at Tobruck on its way to join the Division at Kasserine pass,thats my story any way.
I had two dvd's ,"detailing German Armor" and " Realistic armor finishing techniques,and in one of them the guy recommended a very thin coat of Johnsons Klear,a hard setting multi-surface wax which sets hard and you can still paint over it with all your weathring detail with Acrylics.
I think he said the paint were not a dead flat mat but slightly semi mat,and it sprays from the air brush without thinning,I think he said it was acylic based aswell,and it just dries and doesnt need any buffing.
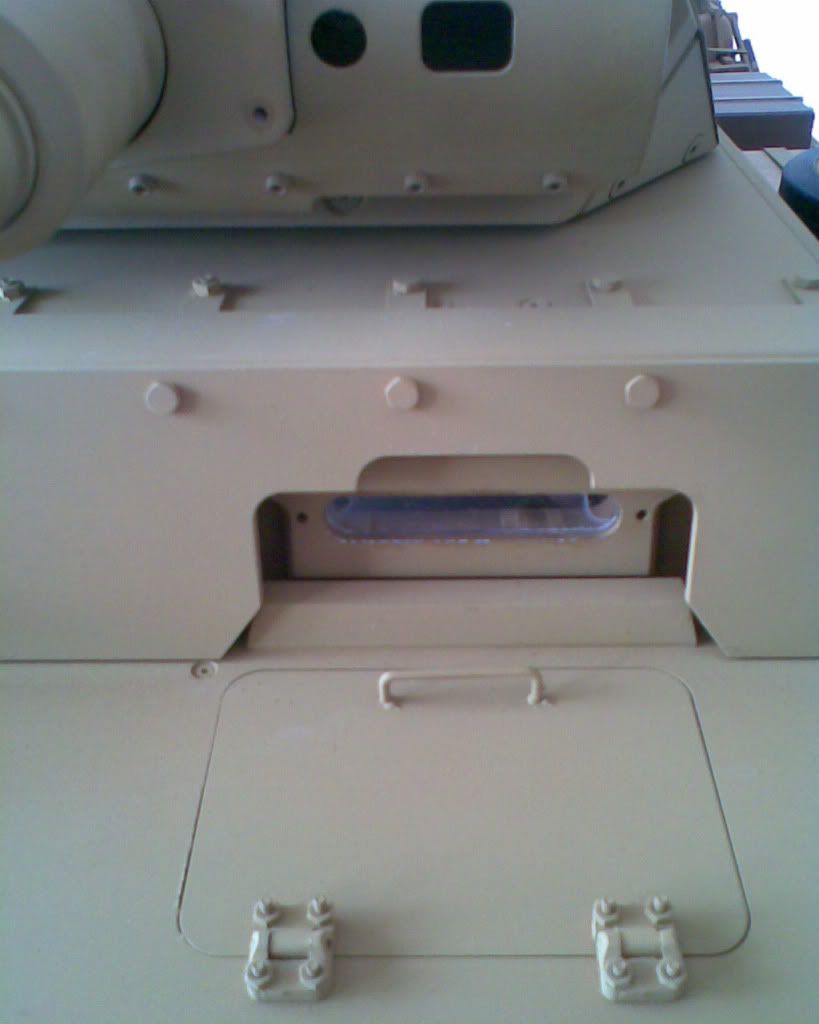
It seems to have given some protection and I can still add more detail like when Clive's pistol ports come and of course the Panzer Kompany and tank number,Regement insignia on the equipment bin and beamed cross to go on and I might have a go at the milliput welds.
Oops Sorry I've gone on a bit hear
Cheers
Phil
Posted: Sat Mar 13, 2010 10:03 pm
by Adrian Harris
> and then had sand thrown at it.
Pebble dashed tanks

It's good to have a particular tank or regiment on which to focus. I'm planning an Ausf N to support my Tunisian Early Tiger.
Johnson's Klear gets a lot of mentions on modelling forums and sites as a cover before adding decals.
Adrian.
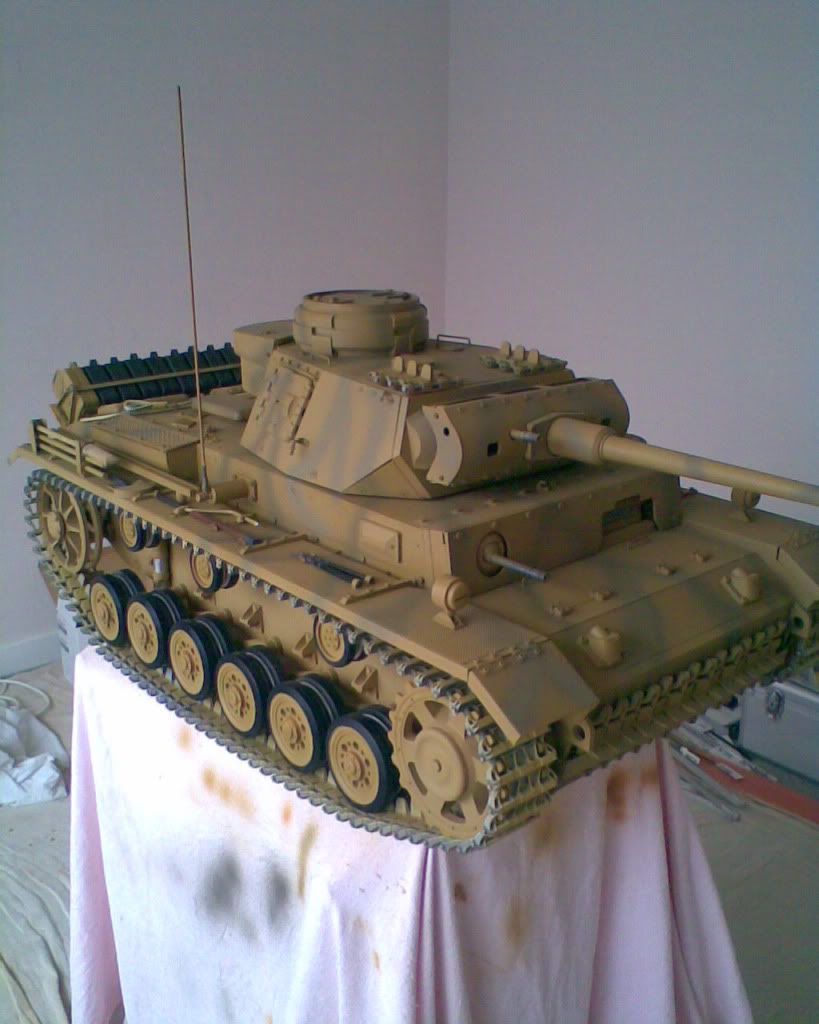
Panzer 111 L Barrel cleaning rods
Posted: Sat Mar 13, 2010 10:26 pm
by phil fitzpatrick
Hi Nick
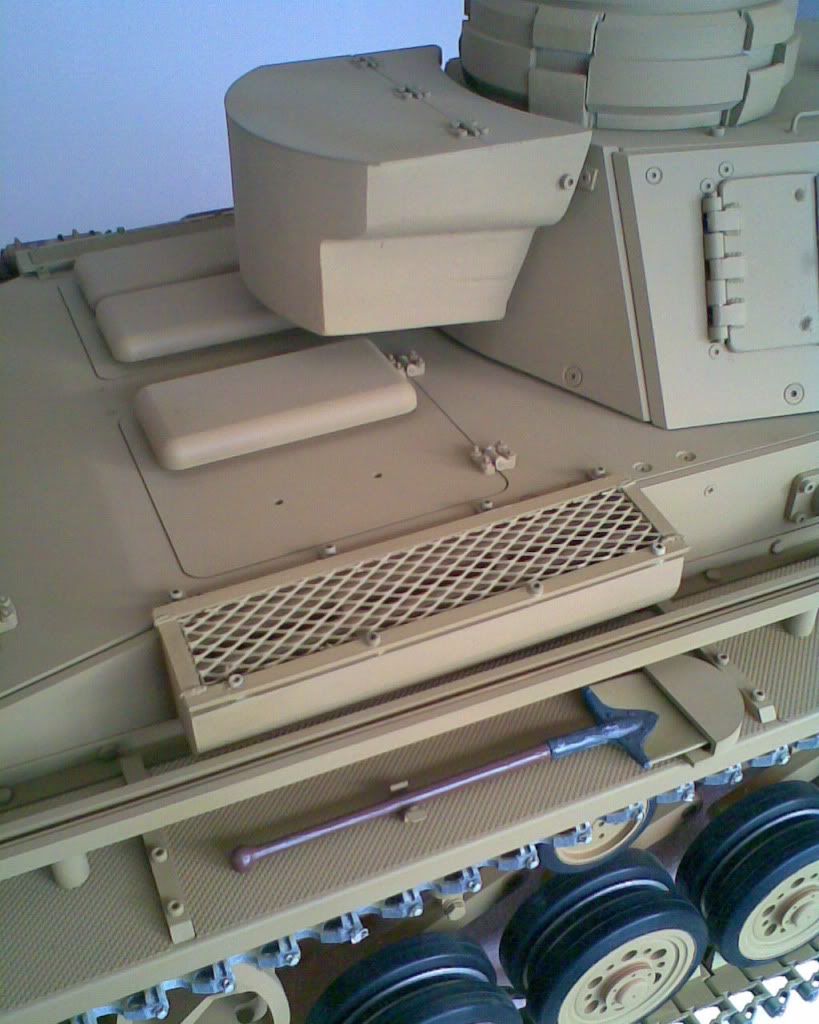
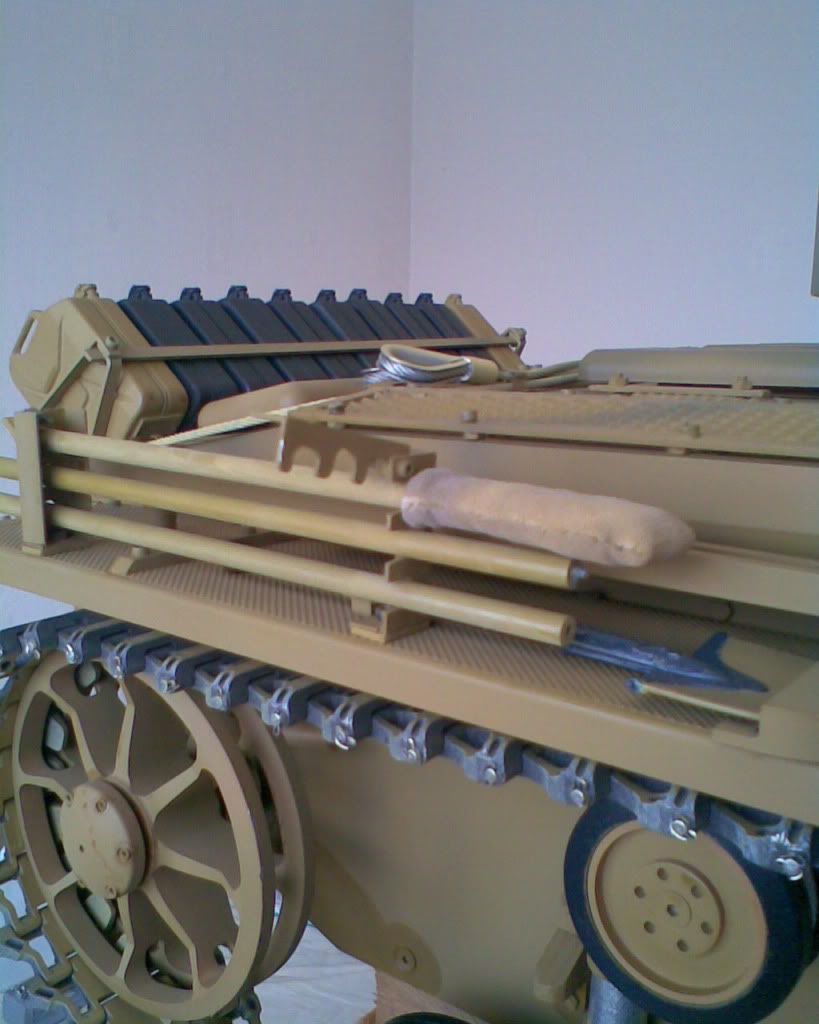
Yes I made them myself,I spotted them in the Panzer Tracts 3-3 book page 86 on a Panzer Ausf N.
only two rods because of the shorter cannon.
Judged the sizes from the photo's and drawings and three rods were made out of 6mm alum rod,with the threaded end of some 2.5mm cap heads tapped in to them so they screwed together.
The wadding for the leading rod was a strip cut from some old sergical stockings from when I had my knees replaced.
Epoxy to the end and rolled round to fit nice in the barrel then epoxy to hold the end.
The bag was cut and sown from the same matterial and sprayed inside and out and it ended up two shades of Ral 8000 so looked quite good.
The end of the bag was rolled over and sown and because the material is stretchy it looks like its tied up or got elastic in it.
The rod brackets were made from 15mm x 10mm alum angle mad into a channel with the front hinging up.
The fiddly bit was drilling and filling the elongated holes to fold together and hold the individual rods.
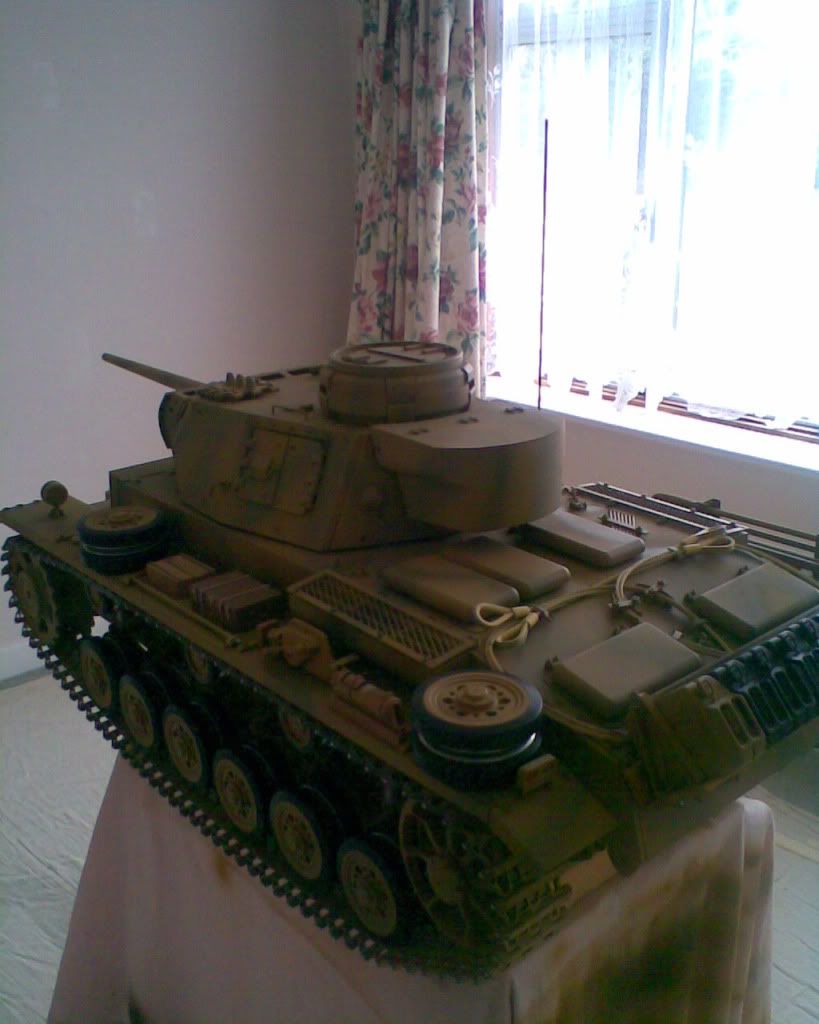
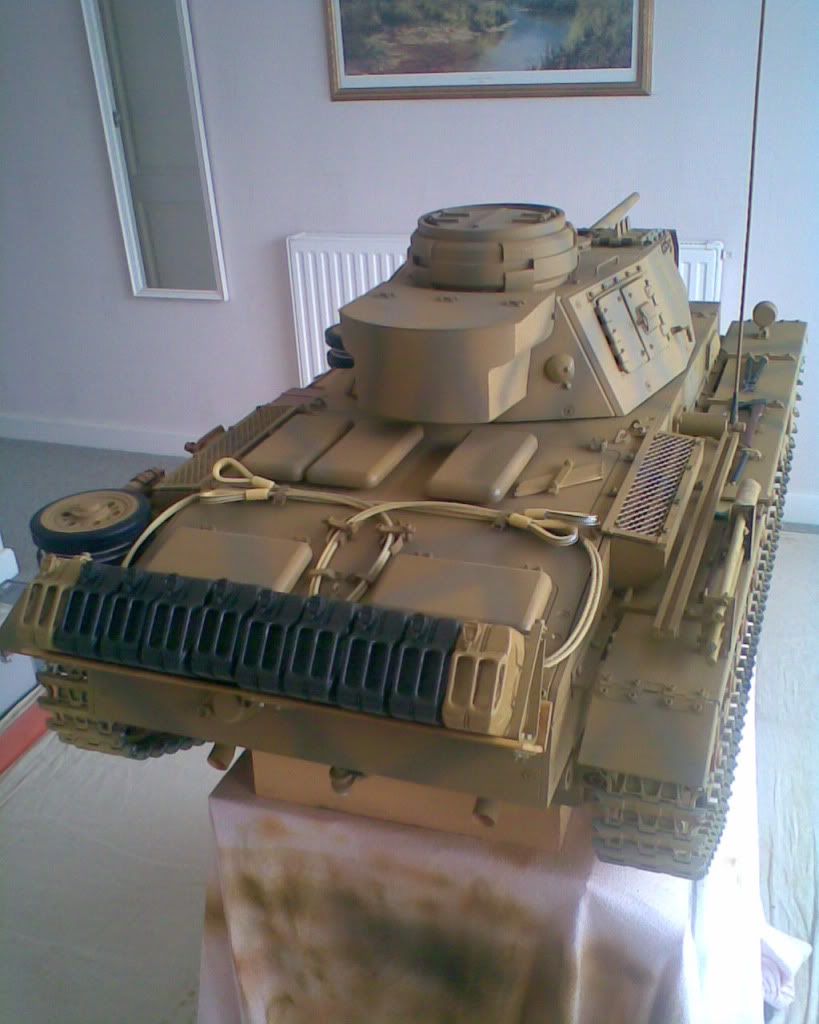
I based my jerry can rack on the same photo in the Panzer Tracts book.
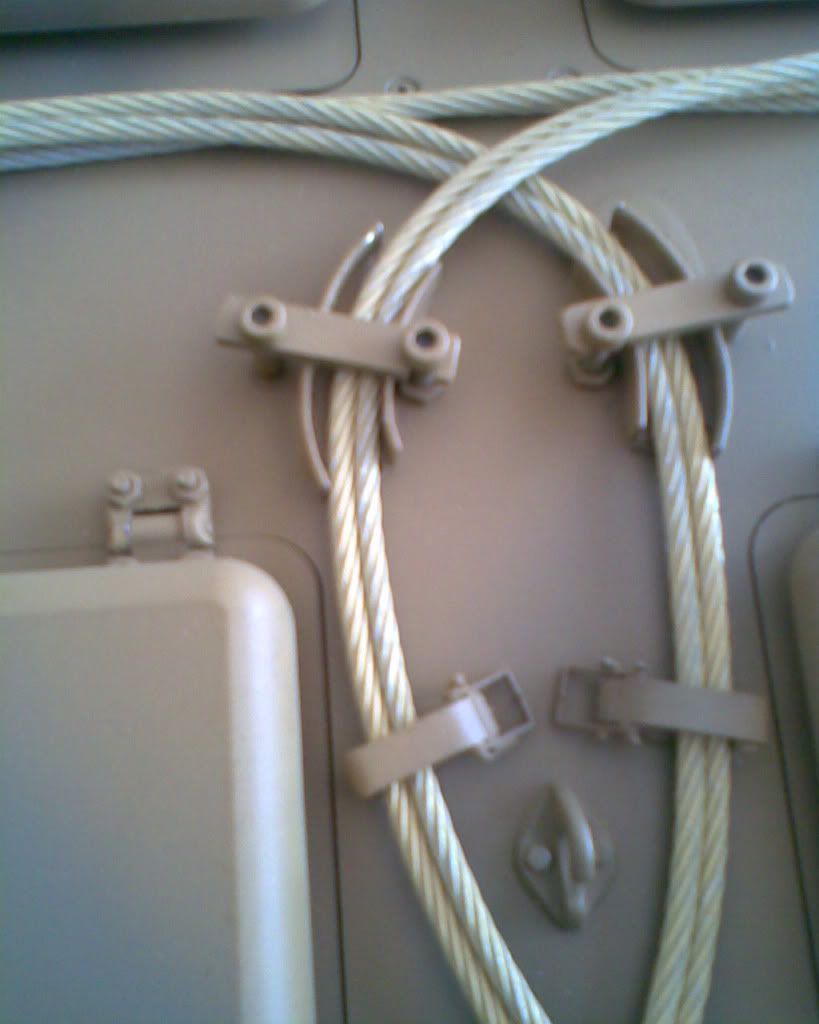
I made the "S" hooks,crow bar,engine crank handle,Turret door rain guards were made from the spare brass sheet from the running boards,as was some of the smaller cable guides on the rear.
The banana channels for the cables was fiddly,made out of 6mm channel sawn down the length and little V's cut in so the ang bits would bend then epoxy to som shaped flat.
The other tool clamps and parts are armor pax.
Regards
Phil
Panzer 111 L Barrel cleaning rods
Posted: Sat Mar 13, 2010 10:28 pm
by phil fitzpatrick
Hi Nick
Yes I made them myself,I spotted them in the Panzer Tracts 3-3 book page 86 on a Panzer Ausf N.
only two rods because of the shorter cannon.
Judged the sizes from the photo's and drawings and three rods were made out of 6mm alum rod,with the threaded end of some 2.5mm cap heads tapped in to them so they screwed together.
The wadding for the leading rod was a strip cut from some old sergical stockings from when I had my knees replaced.
Epoxy to the end and rolled round to fit nice in the barrel then epoxy to hold the end.
The bag was cut and sown from the same matterial and sprayed inside and out and it ended up two shades of Ral 8000 so looked quite good.
The end of the bag was rolled over and sown and because the material is stretchy it looks like its tied up or got elastic in it.
The rod brackets were made from 15mm x 10mm alum angle mad into a channel with the front hinging up.
The fiddly bit was drilling and filling the elongated holes to fold together and hold the individual rods.
I based my jerry can rack on the same photo in the Panzer Tracts book.
I made the "S" hooks,crow bar,engine crank handle,Turret door rain guards were made from the spare brass sheet from the running boards,as was some of the smaller cable guides on the rear.
The banana channels for the cables was fiddly,made out of 6mm channel sawn down the length and little V's cut in so the ang bits would bend then epoxy to som shaped flat.
The other tool clamps and parts are armor pax.
Regards
Phil
Panzer 111 L Barrel cleaning rods
Posted: Sun Mar 14, 2010 12:37 pm
by phil fitzpatrick
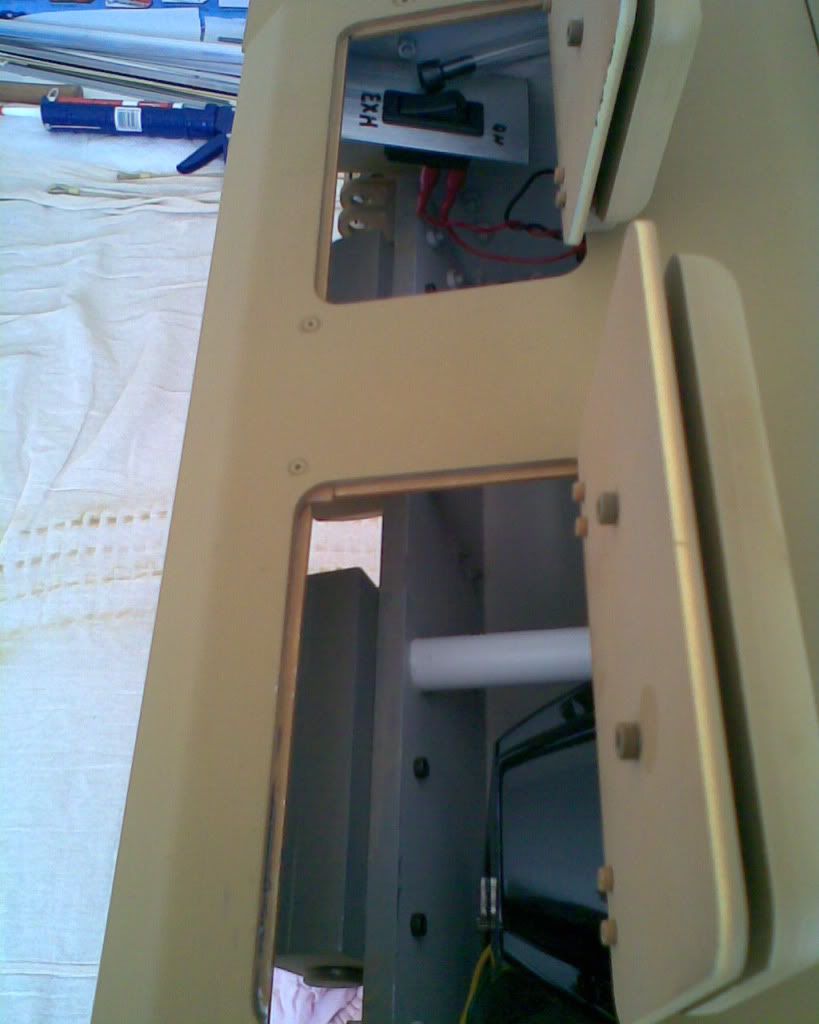
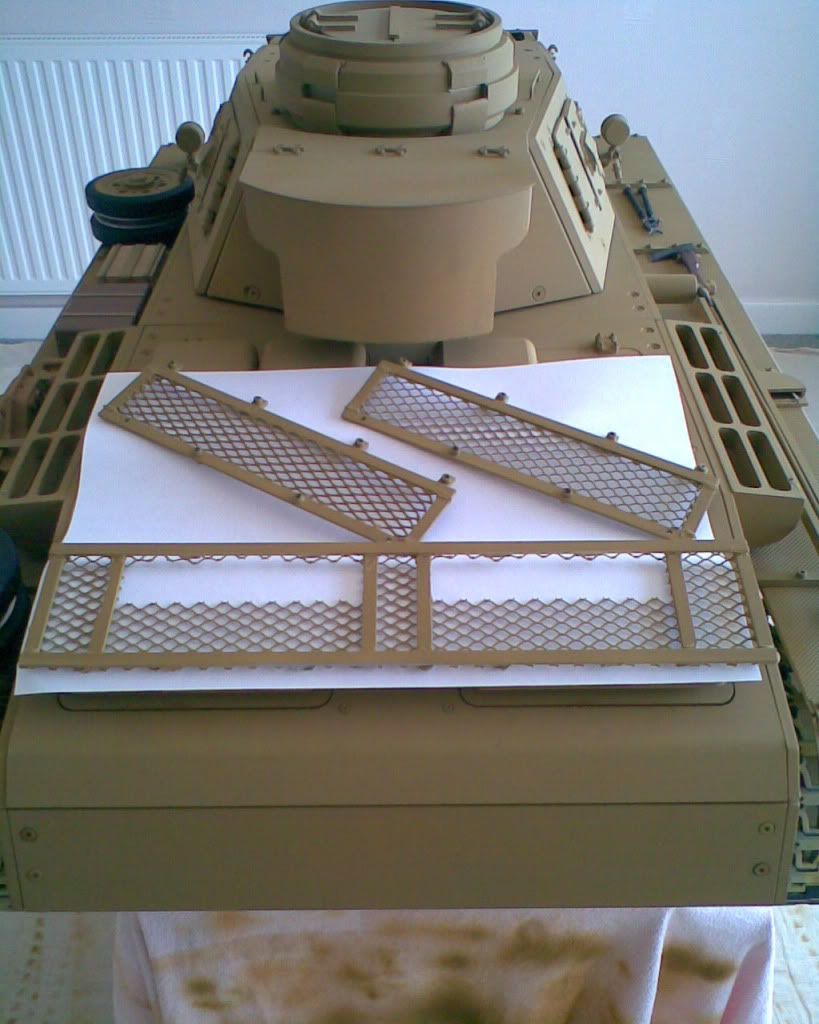
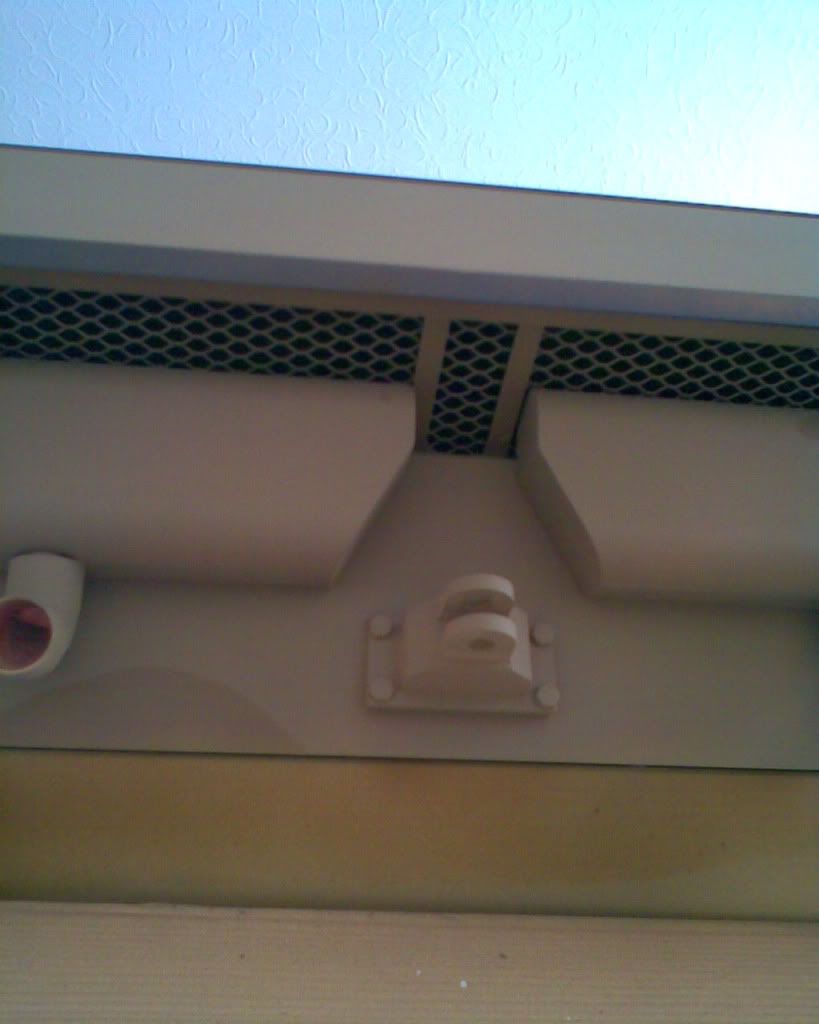
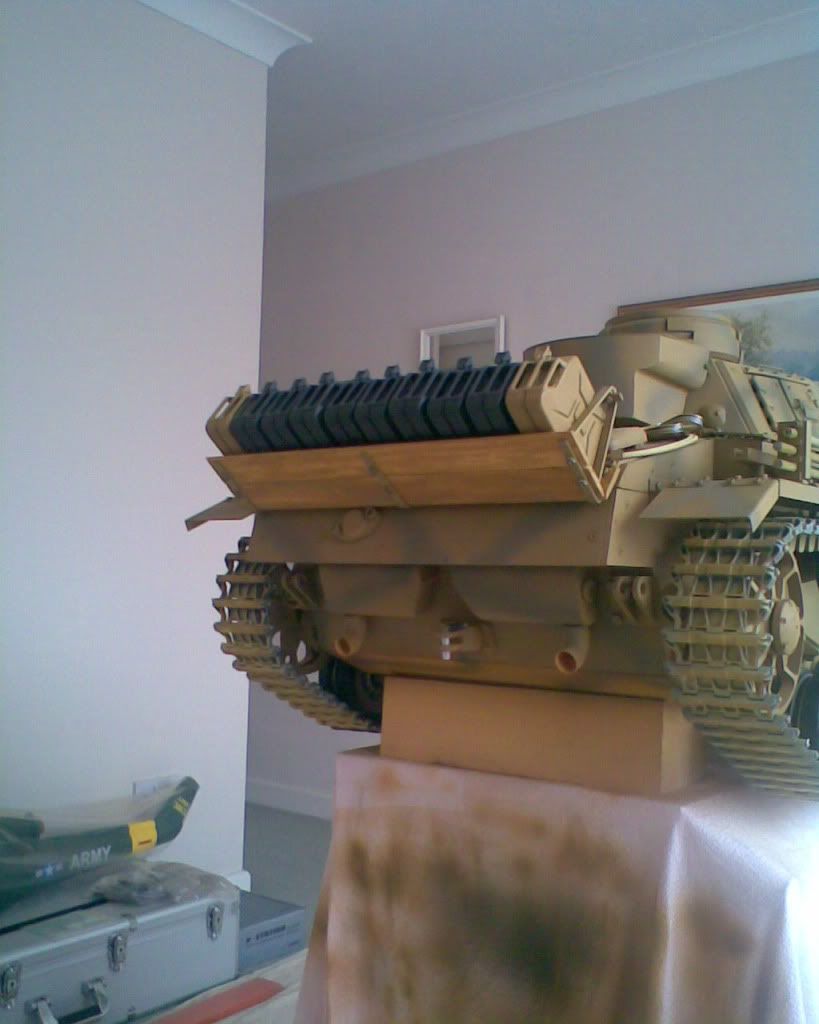
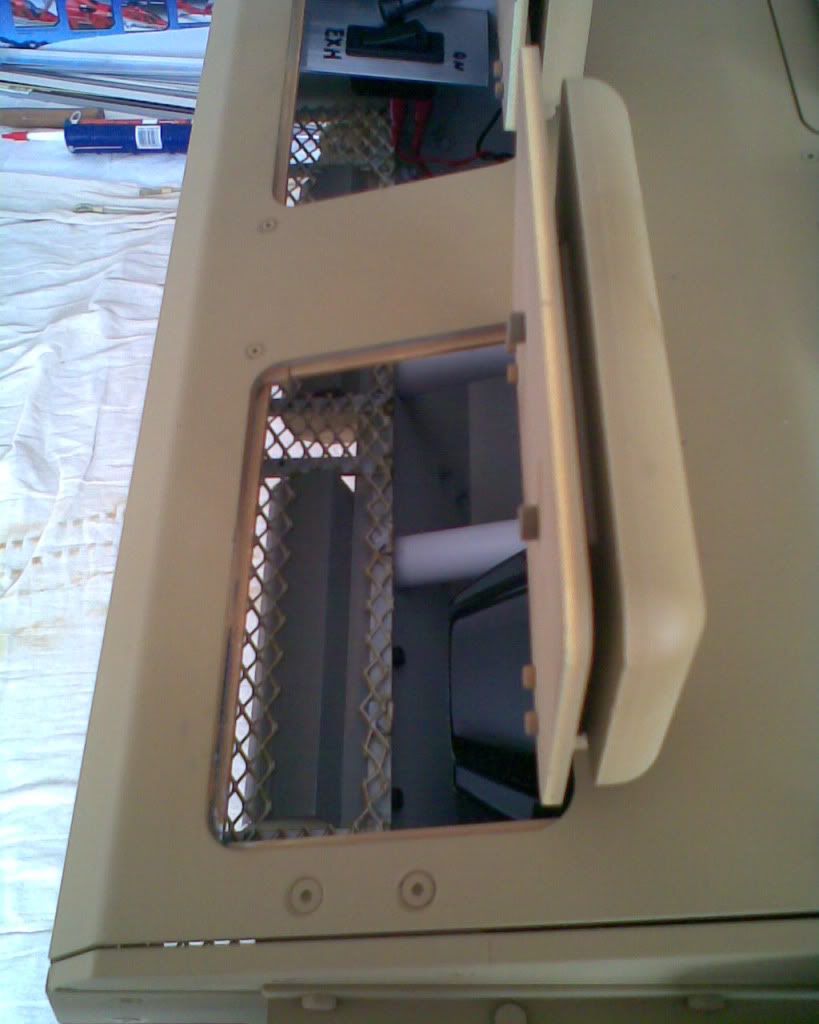
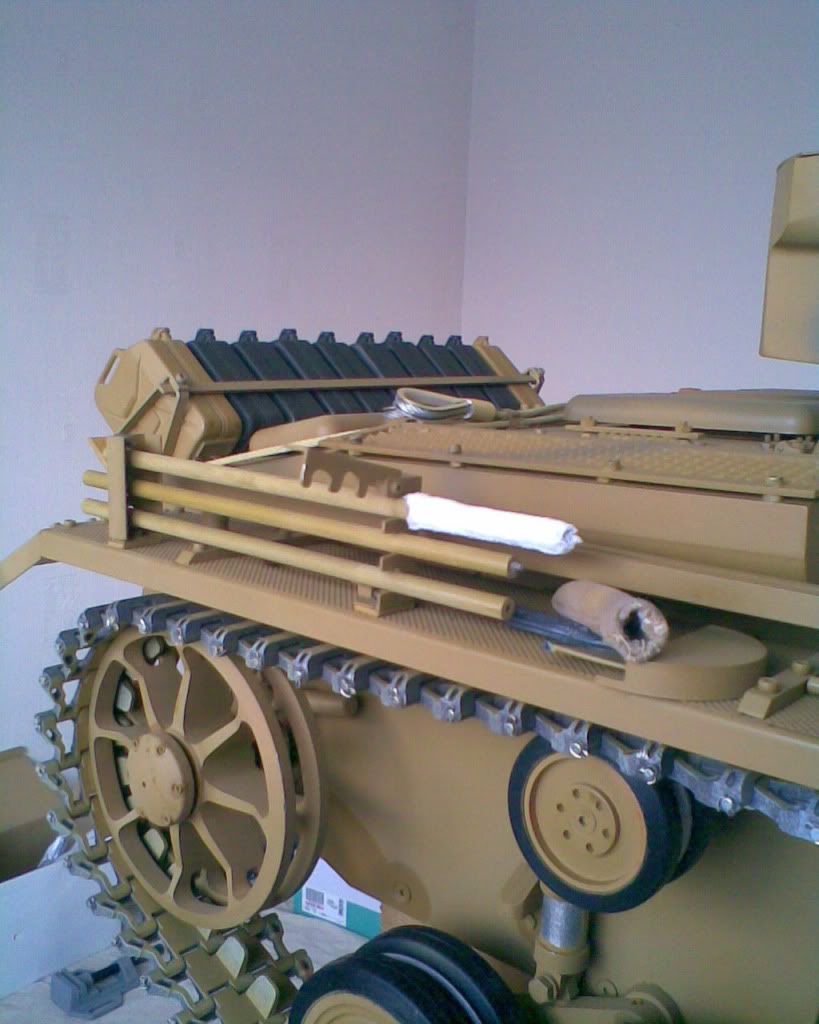
My Panzer 111 Rods and rack
Nick I've took some closer pictures of my barrel rods and the rack showing the one side open and the bag off.
Cheers
Phil
pz rods and rack
Posted: Sun Mar 14, 2010 5:25 pm
by Nick Farrugia
hello phil
that looks great i might have ago at making one myself .the more you lookthe more details you notice thanks for taking the pictures could you try and explain how you put pictures on the forum.ive got on to photo bucket and put pictures up but thats it dont know what to do next
all the best
nick
RE Photobucket
Posted: Mon Mar 15, 2010 5:50 pm
by phil fitzpatrick
Thanks Nick
Just done a topic in the Armortek owners section
called
Photobucket for the copmputer challenged like "Moi"
Cheers Phil