Page 7 of 12
Posted: Mon Mar 30, 2009 11:29 pm
by Brian Leach
You re an inspiation!
-Brian
Posted: Thu Apr 02, 2009 3:41 am
by Robert E Morey
Aw shucks guys, you make me

Thanks for the kind comments.
Haven't gotten to do much lately though. Work is crazy.
Did receive some of Tim Bowmans excellent track links, so hoping to get those added soon.
Happy tanking guys,
Bob
Posted: Sun Apr 12, 2009 3:19 am
by Robert E Morey
Posted: Sun Apr 12, 2009 9:29 am
by Kent Wiik
Very, very nice Tim!
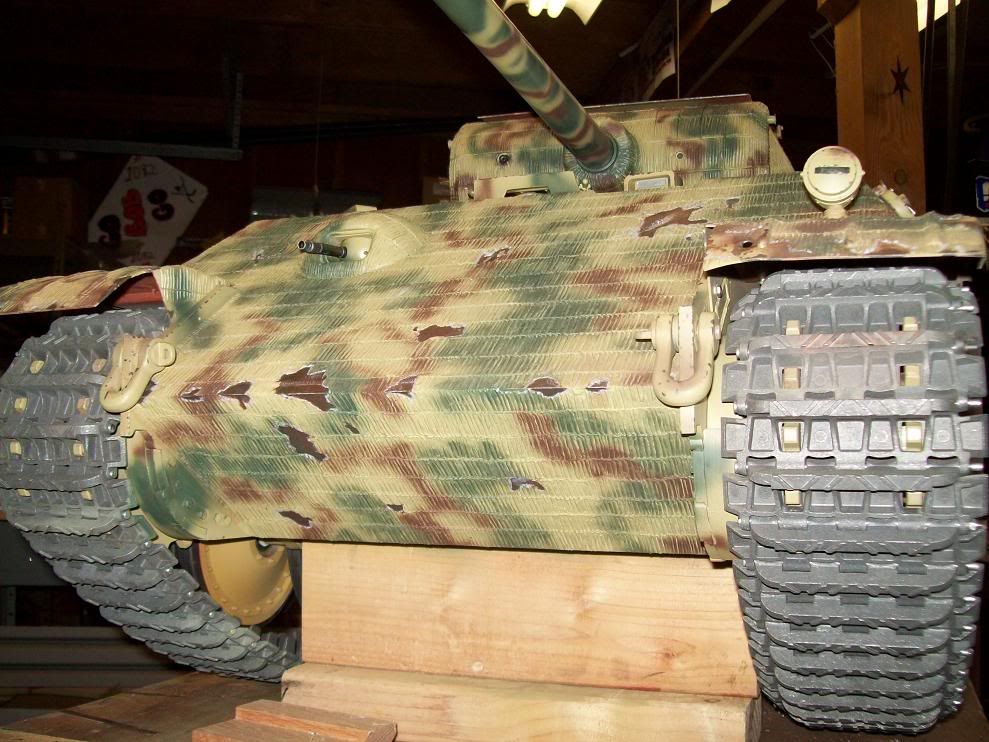
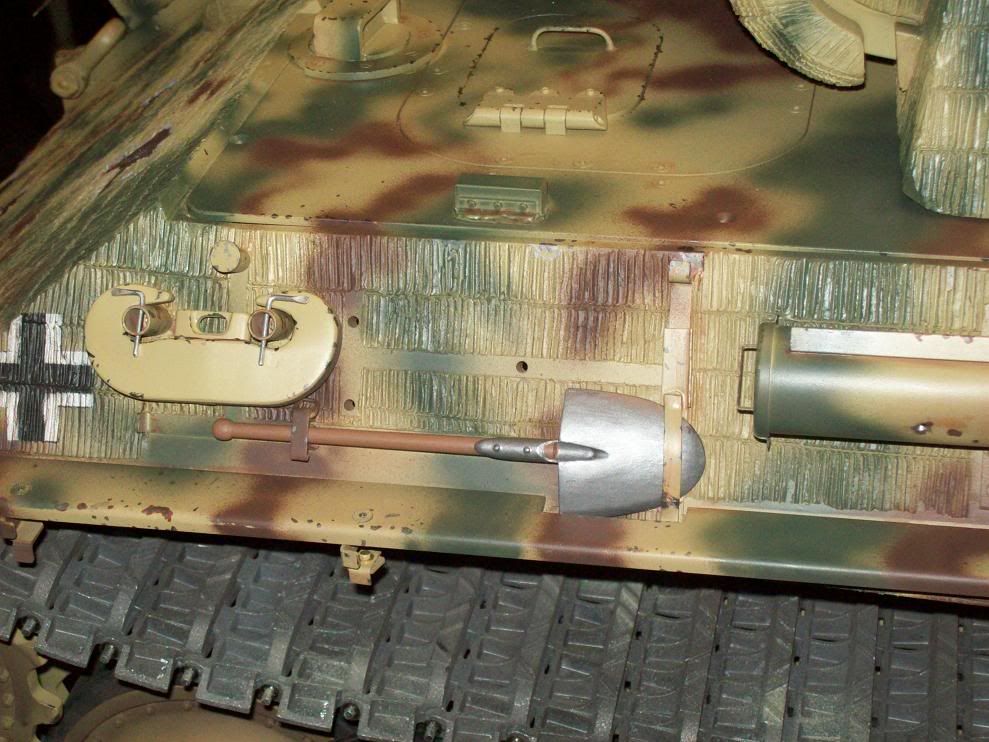
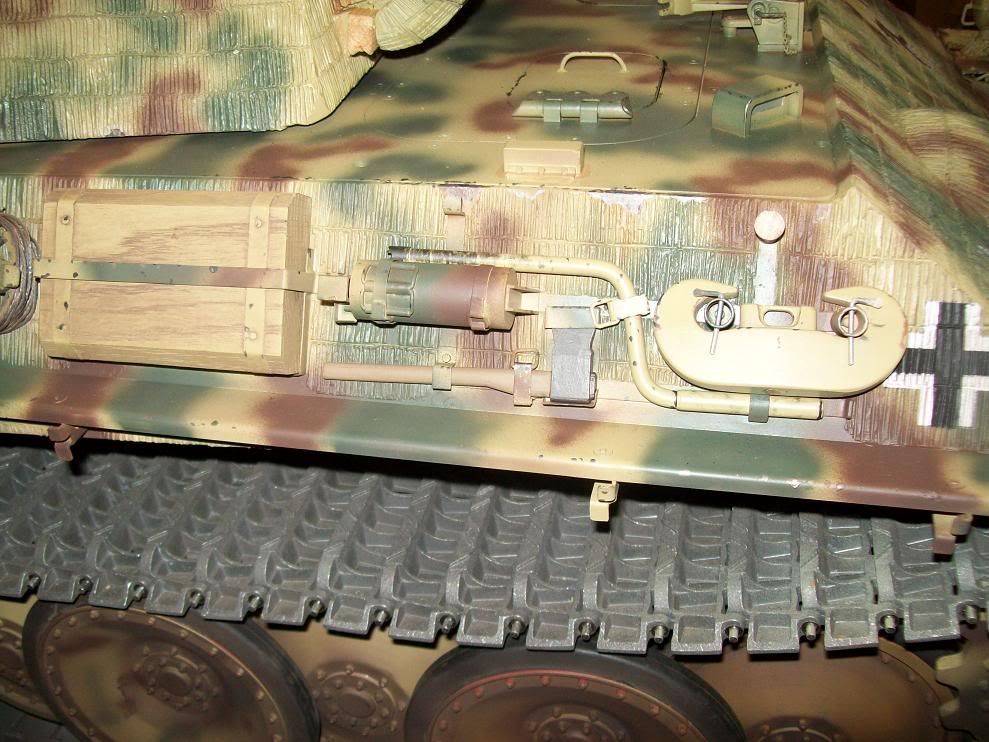
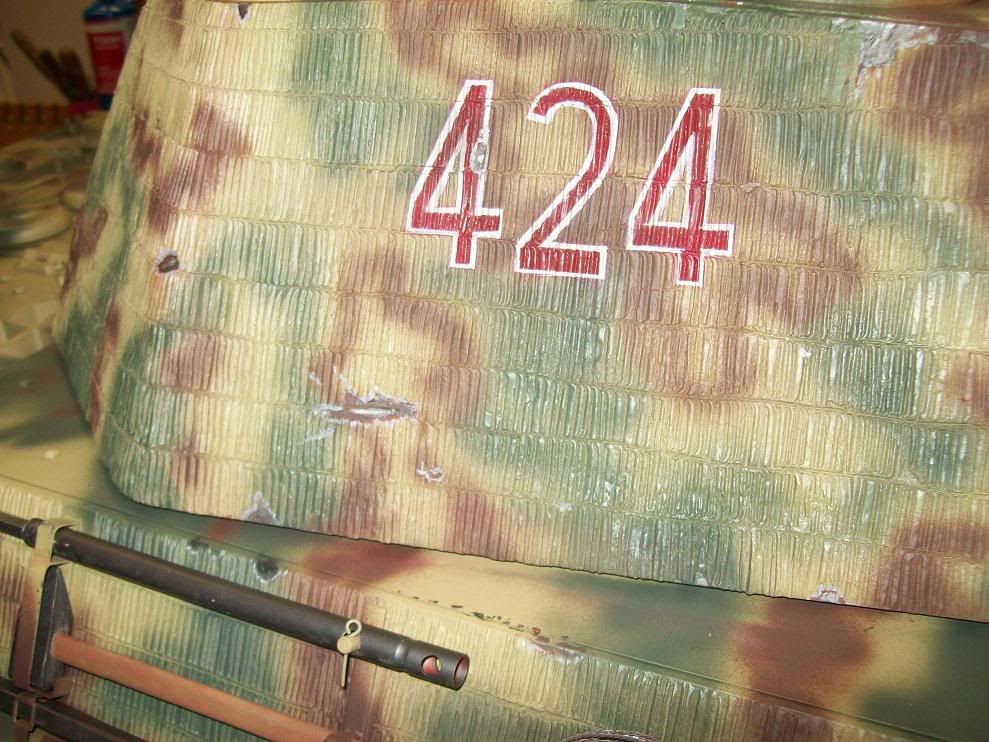
When I saw the first photo my impression was "wow, an unknown 1.1 Panther never seen before" until I saw the wood under the tank.
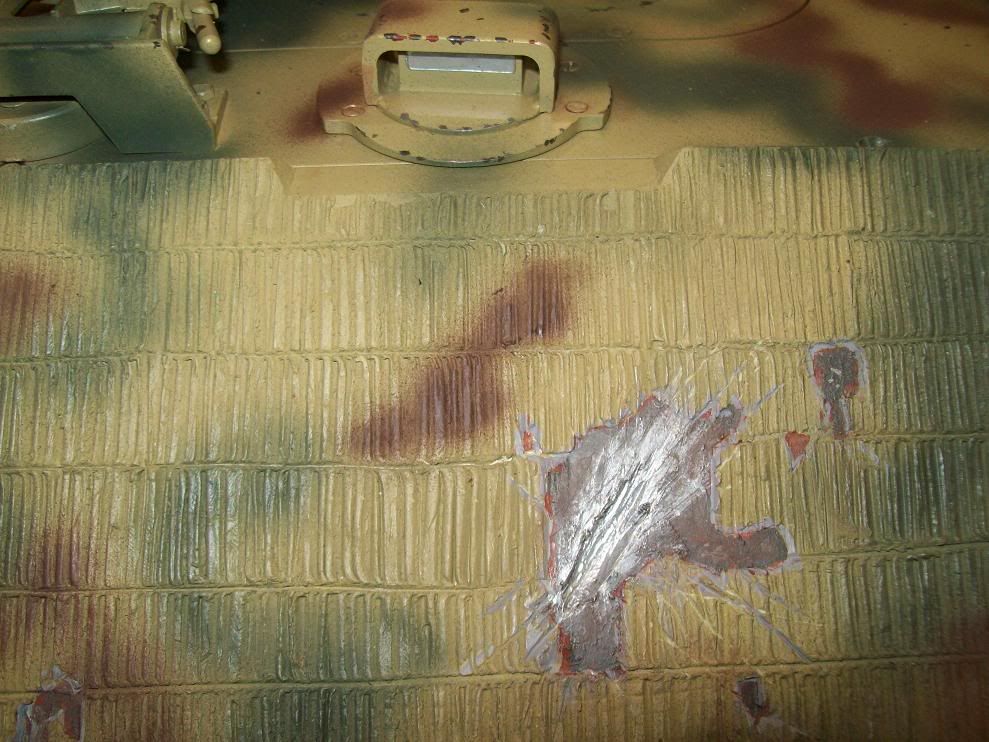
Nice touch with the outlined hits - oh how I admire you guys skills in painting. I myself am a waste of space in that part of the hobby
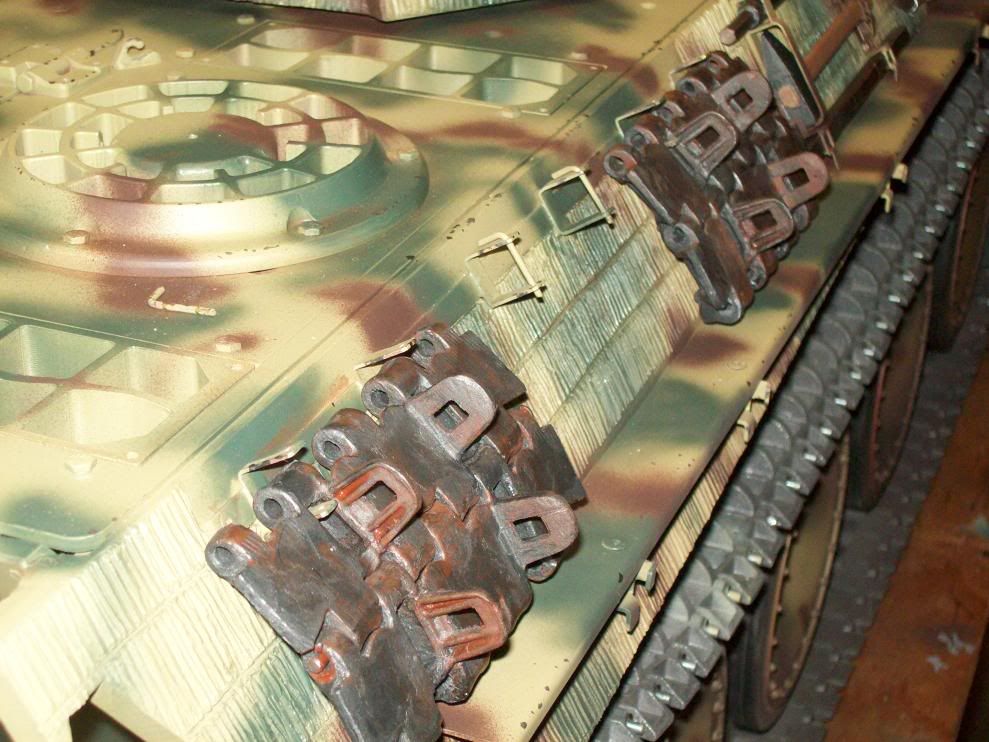
Those hanging tracklinks of Bob with their accurate guidehorns looks so much better then the kit ones.
Cheers
Kent
Posted: Sun Apr 26, 2009 6:48 pm
by Robert E Morey
Posted: Tue Apr 28, 2009 6:33 am
by Robert E Morey
Posted: Tue Apr 28, 2009 8:13 am
by Kent Wiik
Very, very nice!

/Kent
Posted: Tue Apr 28, 2009 4:27 pm
by Jim Slothower
Bob,
Your workmanship is incredible. I hope to be home on leave in a few weeks, unless they cancel it again

if I do get home I would love to come by and have a look at one of the models assembled. Would you mind? I have never seen one assembled and mine is still in the boxes.
Jim
Posted: Thu Apr 30, 2009 1:54 am
by Robert E Morey
Jim,
Thank you for your kind remarks. Yes ping me when you return on leave I would be glad to show you the Panther. Kind regards,
Bob
Posted: Thu May 07, 2009 11:33 am
by Fabrice Le Roux
Hi Bob,
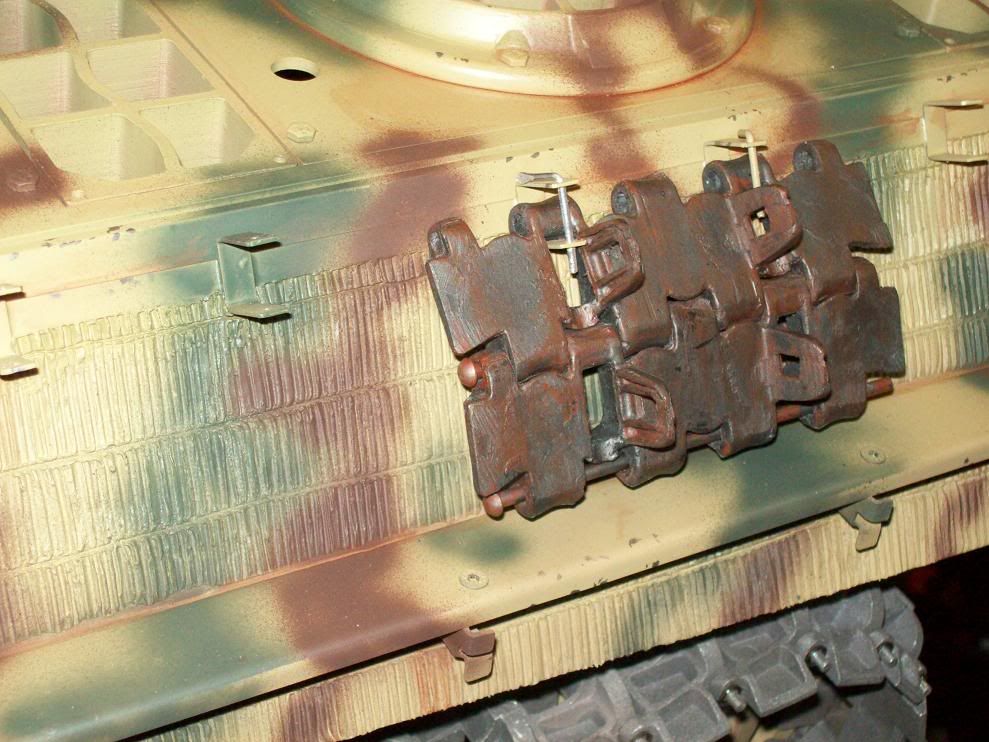
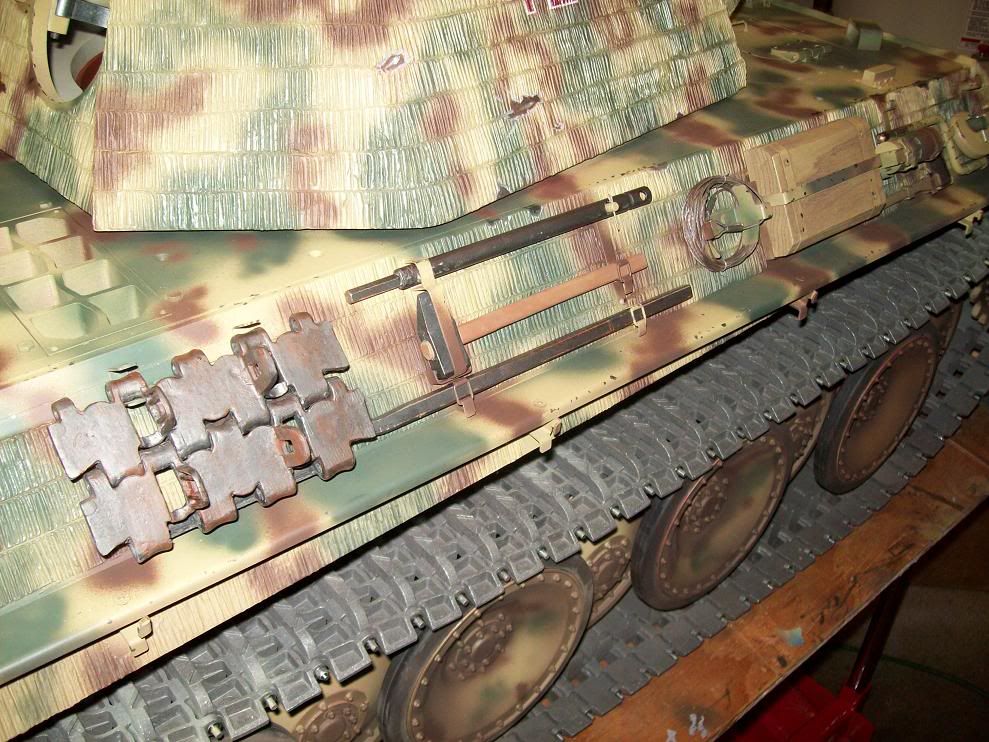
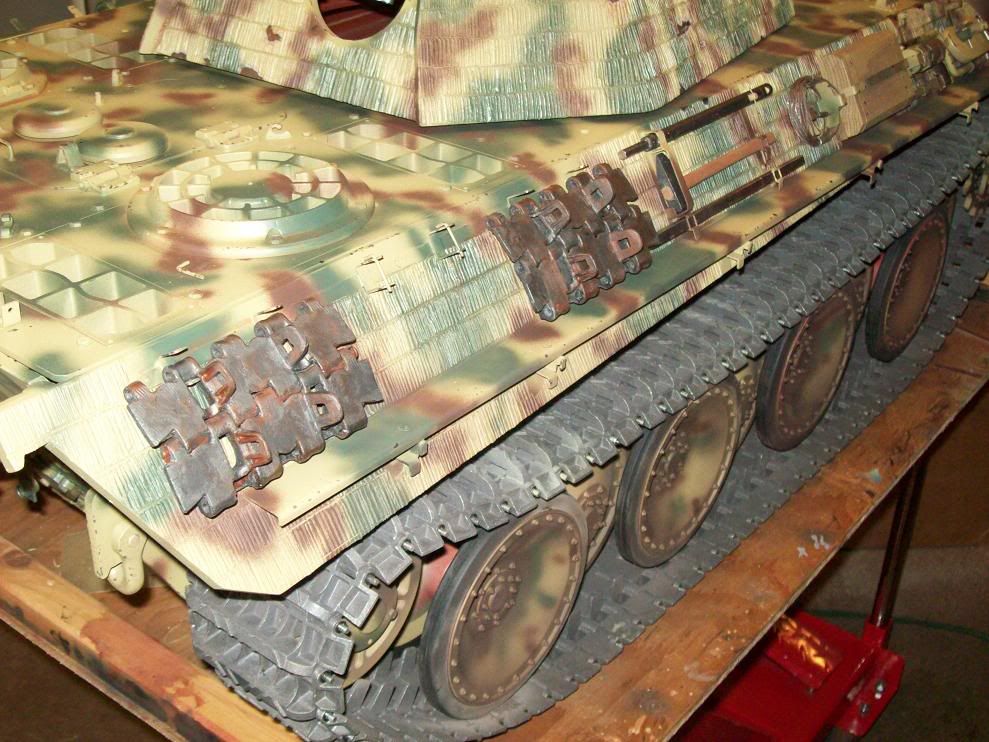
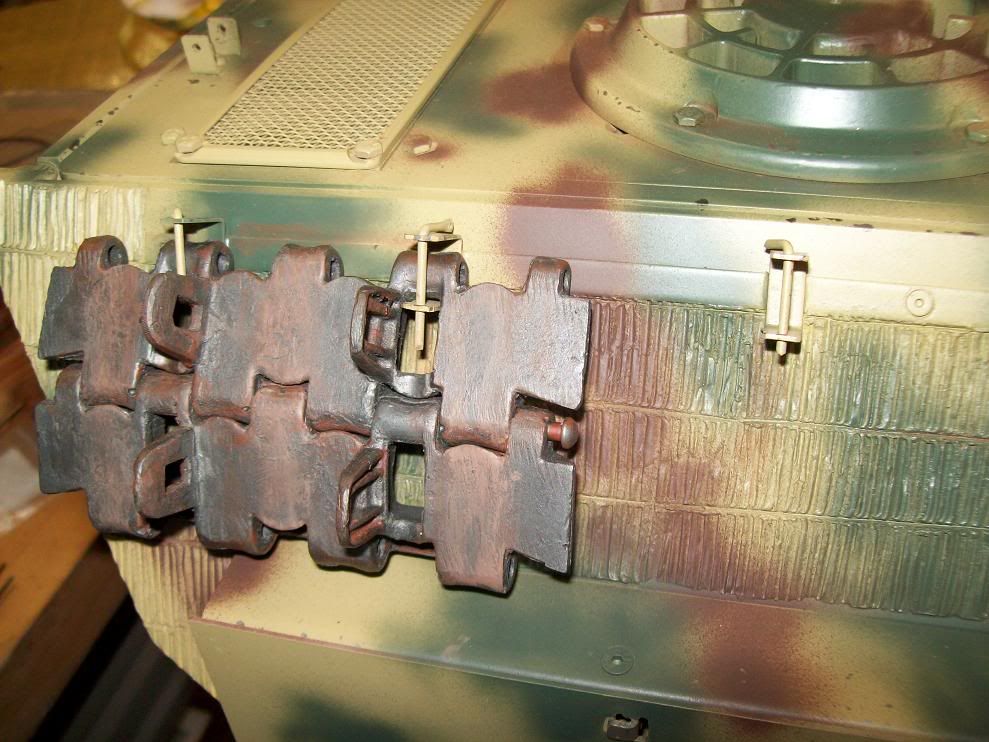
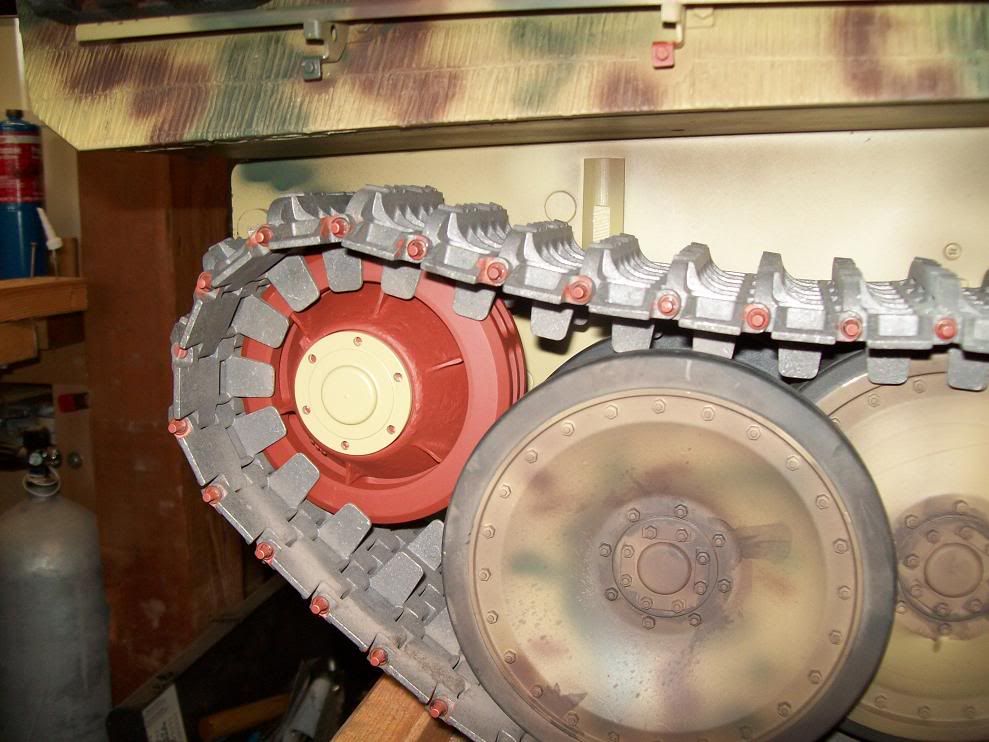
Just a small point of detail next time you take the tracks off. They are mounted the wrong way round. The tread bar should be nearest the ground when viewed from the front of the vehicle.
If you look at the design of each track link this makes sense as the supporting webs sweep up slightly to support the tread bar against rearward slippage as the vehicle rolls over the track.
Some museum vehicles have one or both tracks mounted the wrong way. Check out wartime photos.
However JagdPanthers very often had them mounted the other way round. I suspect, but have no proof yet, that this was to allow the JP to rapidly reverse out of ambush positions without slippage!
Great model. Kudos.
cheers Fabrice
Posted: Thu May 07, 2009 11:47 am
by Kent Wiik
Well spotted Fabrice!
But the thing is that Armortek Panther tracklinks has the chevrons made up side down...

And as the chevrons are quite eye catching mounting the tracks up side down is a way to have the chevrons correct.
That is what Bob and some others (including me) have/will do as making new chevrons is way too complicated.
Good observation regarding the JagdPanther. However the Armortek JagdPantherlinks is the same as the Pantherlinks so sadly no end of that problem.
Cheer¨s
Kent
Posted: Thu May 07, 2009 1:00 pm
by Fabrice Le Roux
Ah! Quite right. The Devil is in the detail, Kent.
But....having got out Tim's very nice resin tracks and my GRP (from the banks of the Volga!) Panther tracks and put them side by side with the Armortek's, I still feel the small error in the cleat orientation does not justify the much larger, visual, error of mounting the entire track the wrong way round.
The cleats will get worn away and weathered soon enough on running models.
At the end of the day, this just comes down to a subjective and aesthetic decision.

I just hope Mark can indulge us with a new "corrected" casting when he next does a Panther/JagdPanther production run!
cheers, Fabrice
Posted: Sun May 17, 2009 6:14 pm
by Robert E Morey
Kent, Fabrice.
Thanks for the observation on the tracks. I will try reversing them so the the cleats point the right way. Hopefully this will not have negative results when running the tank.
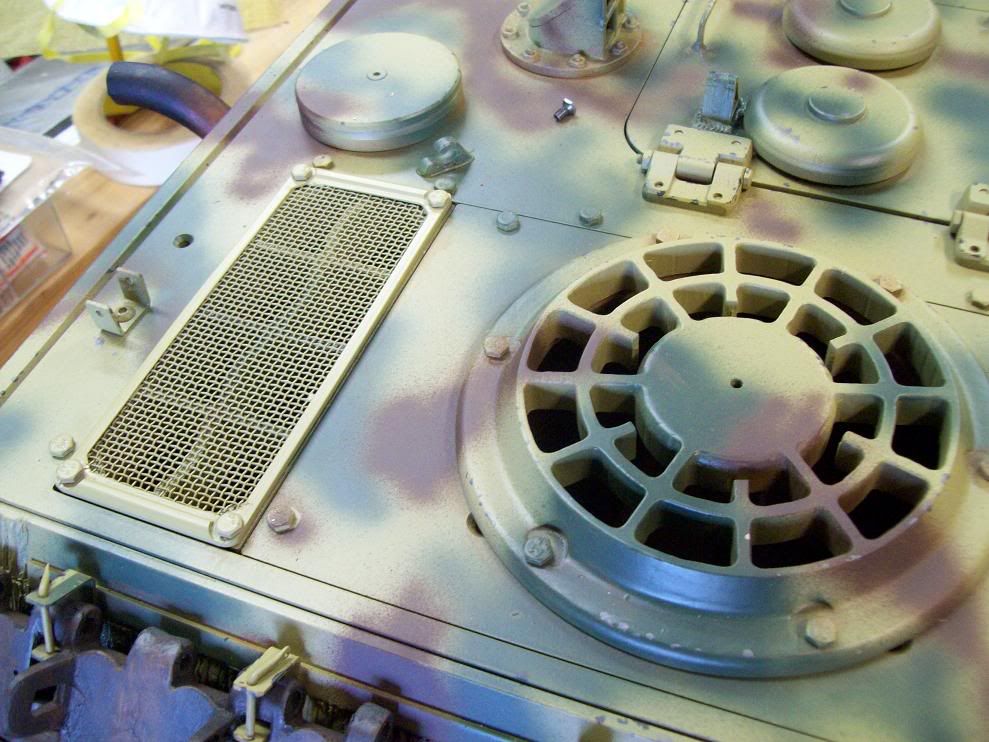
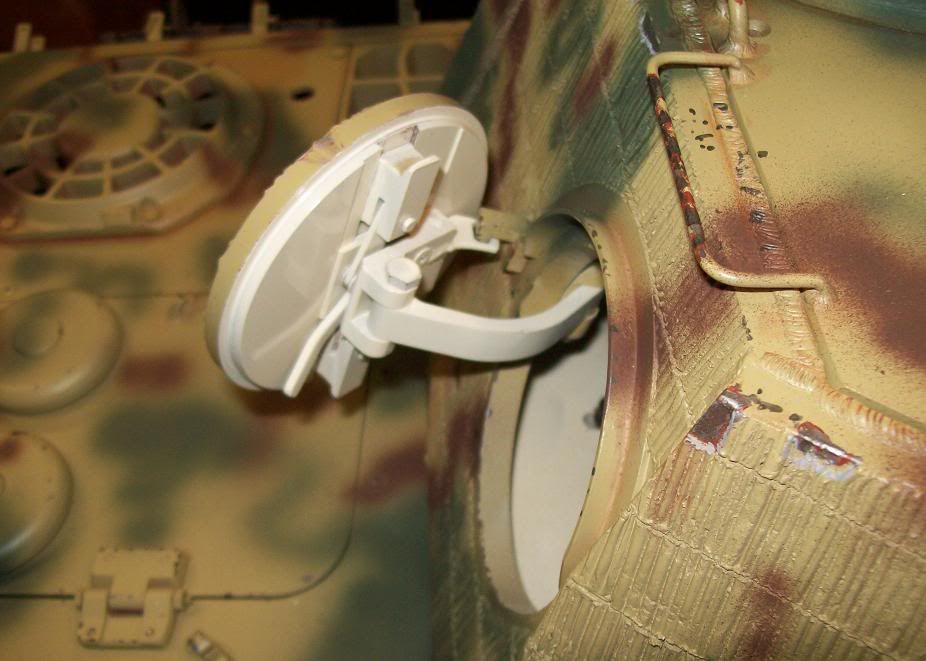
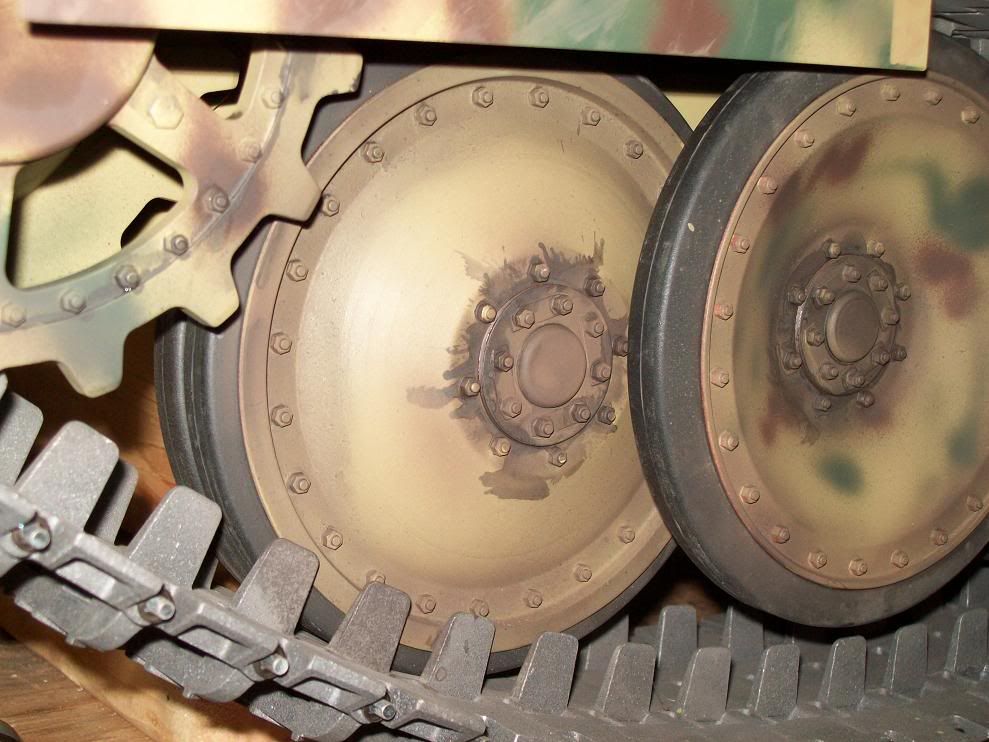
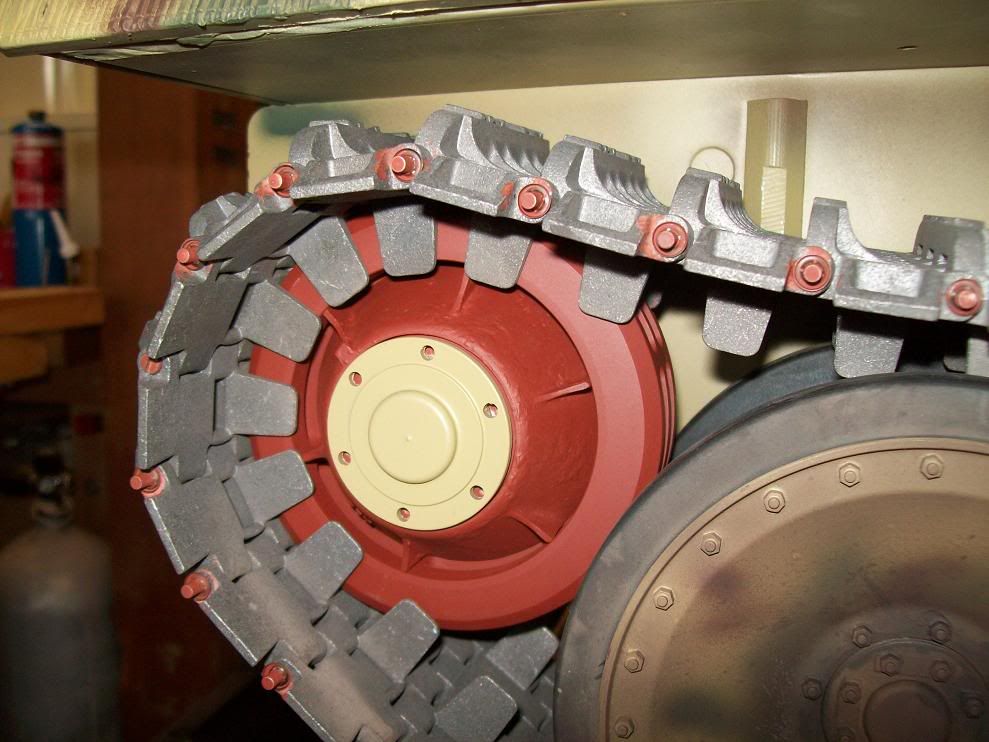
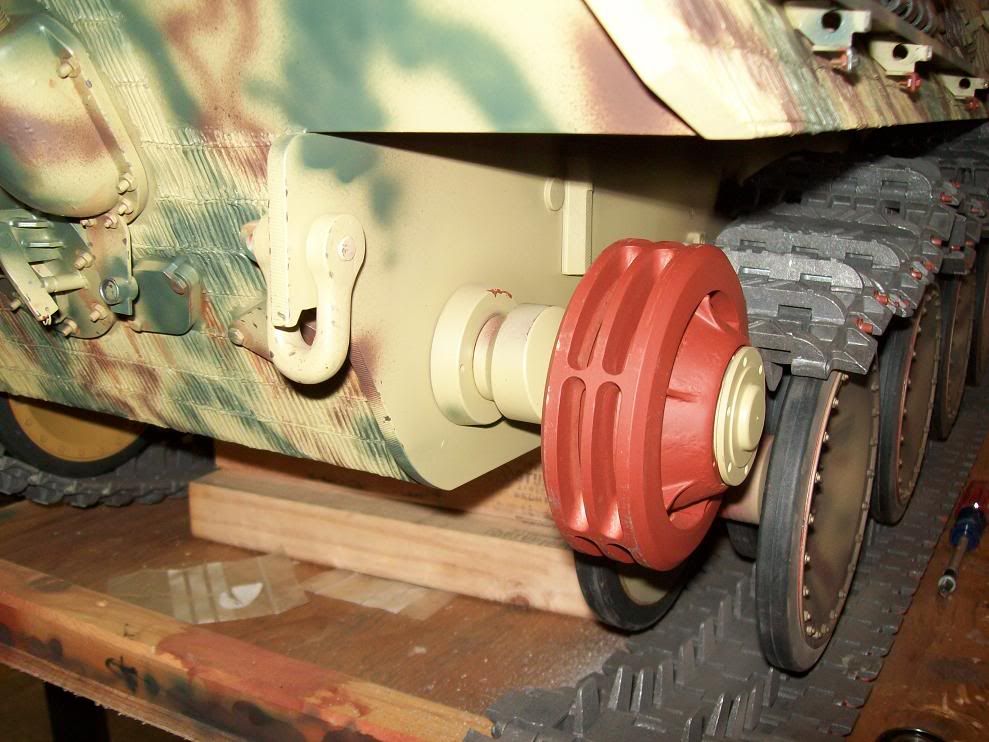
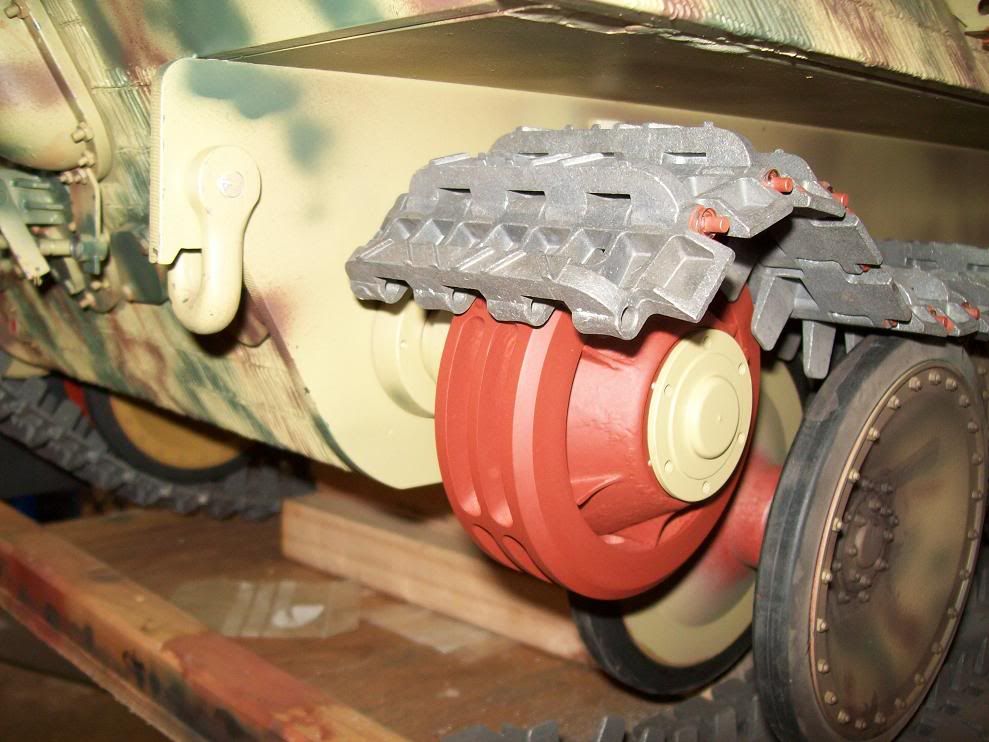
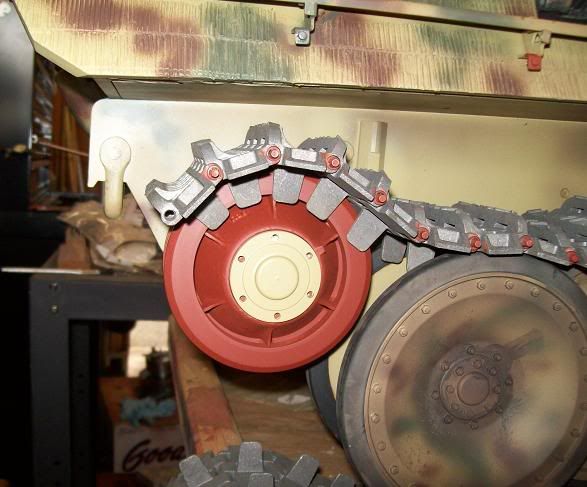
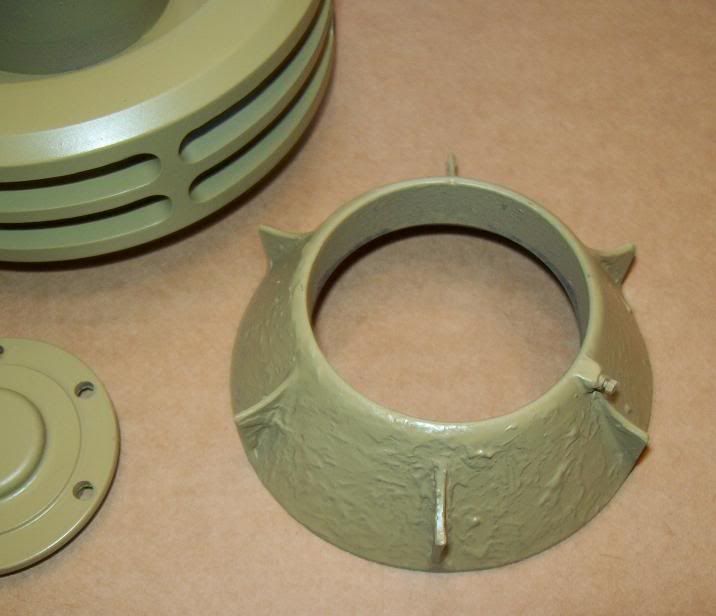
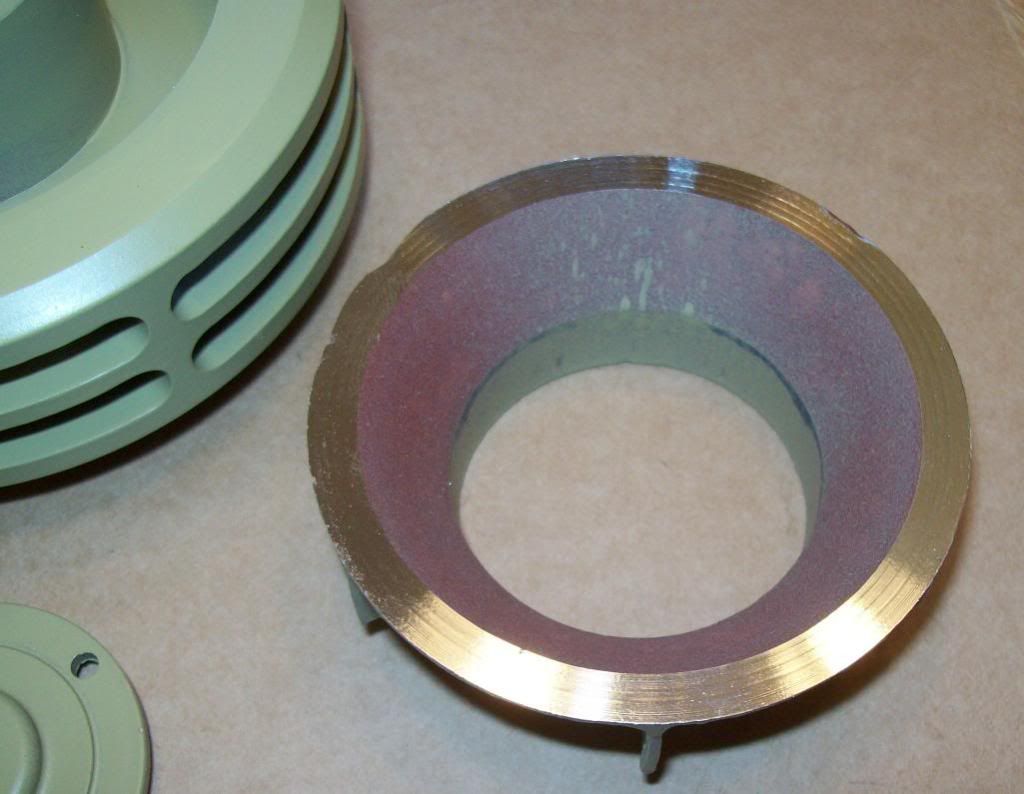
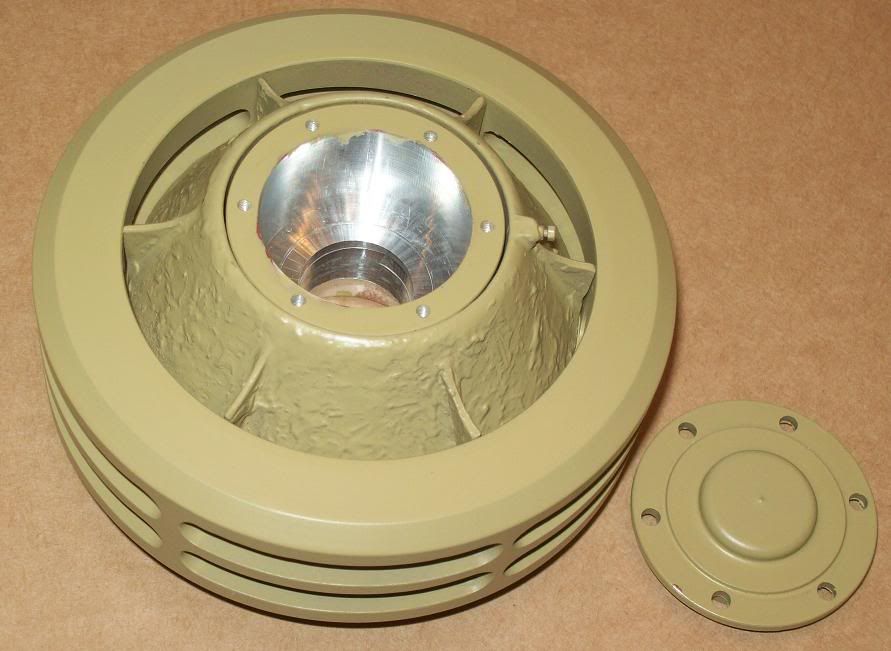
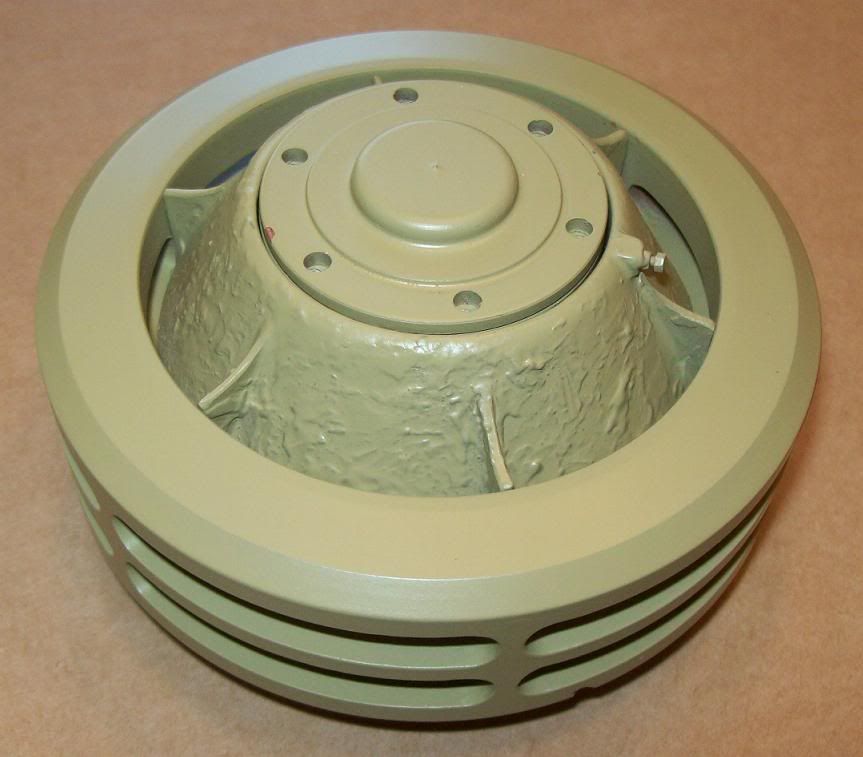
Here are some pix of the idler with a cast white metal insert. I slathered the insert with epoxy to give it a more rough appearance. The production inserts will have slightly thicker fins/ribs. This insert was made using Tim Bowmans resin mold. The mold is excellent for resin, but as it turns out not so good for casting metal. Most of the metal inserts I attempted to cast in this mold had defects from trapped air bubbles in the thin rib/fin sections. So I made a new mold for casting metal inserts. Hopefully I will have some photos of the results soon.
I machined the back side of the metal insert to relieve the weight some. This appears to work well. The insert is then bonded to the machined wheel using rubber cement.
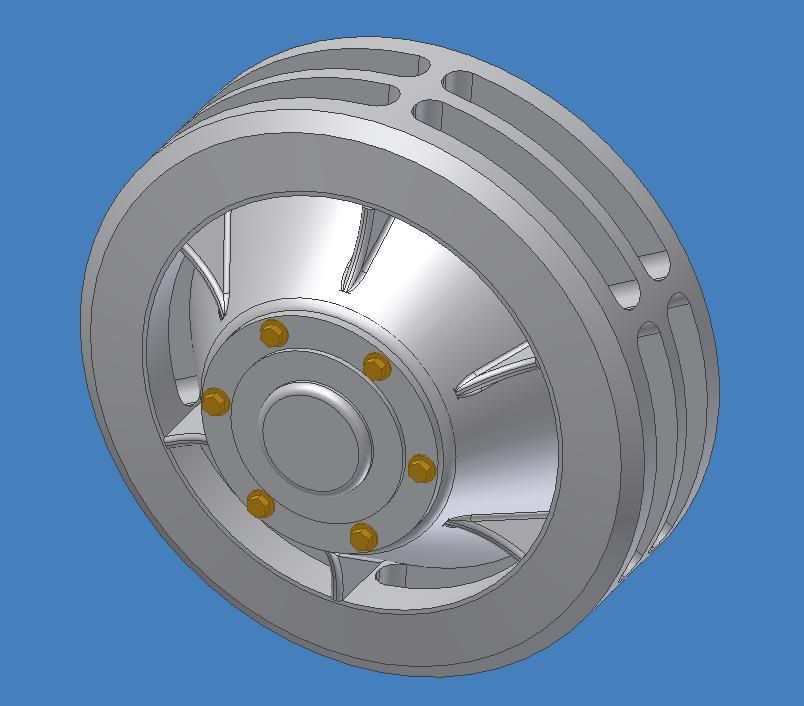
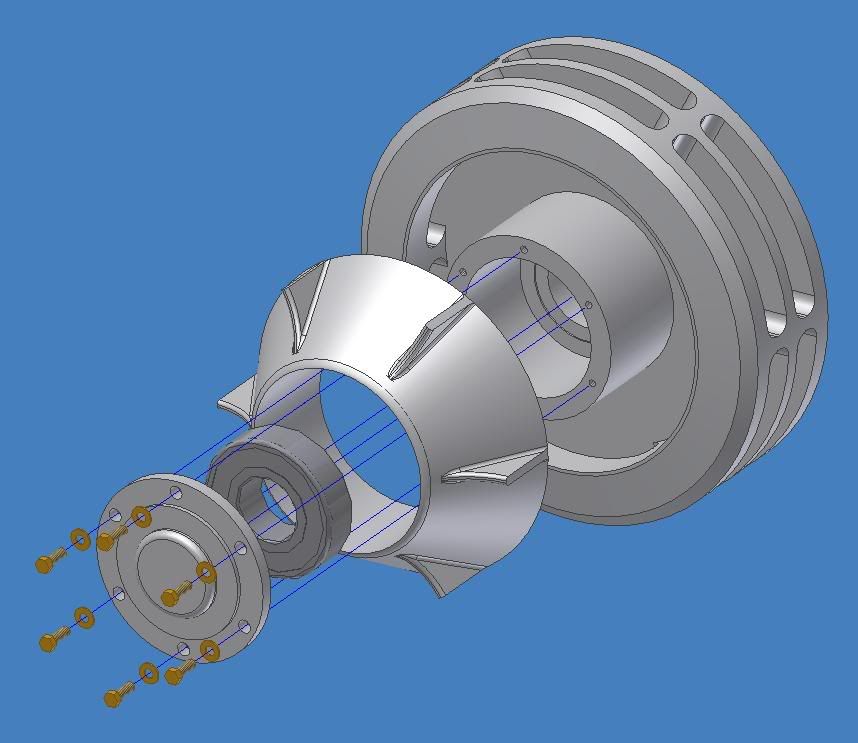
I included some photos of the CAD models just for fun.
Posted: Sun May 17, 2009 8:03 pm
by Jeffrey Goff
Hi Robert, great detail in the idler, and I like the metal insert idea,
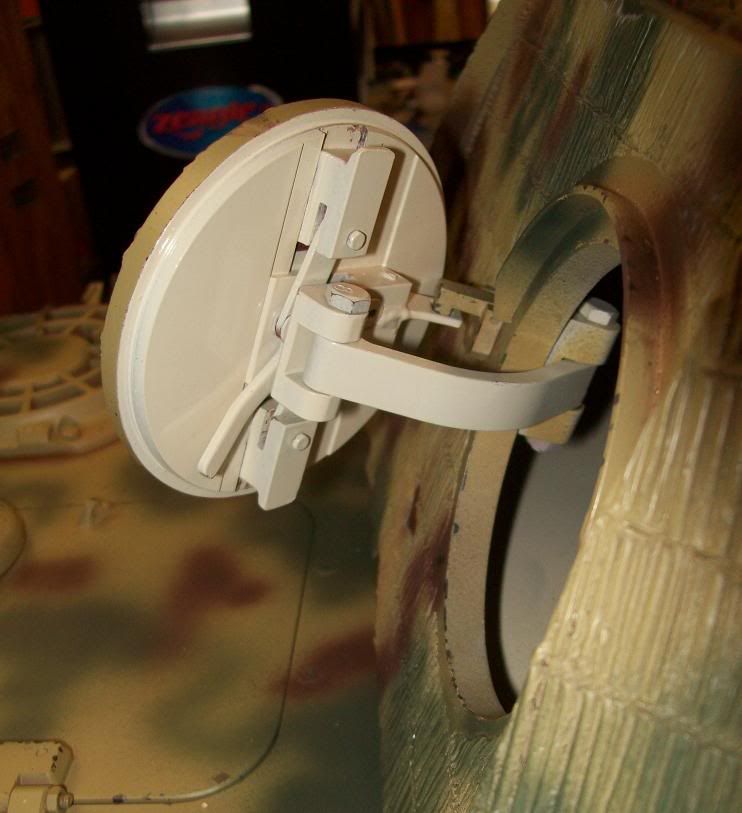
I have had to cast the armoured visors this weekend, and used a product from the states,
(Delftâ„¢ Clay Casting System)
it uses two alloy rings, you fill the bottom one with a re-usable clay, then press in the item you want to copy, then place on the top ring and fill will clay, the rings pull apart and when the item is removed you have a cavity to cast into, I have used this stuff up to 1100 degrees, casting silver & brass; the visors I made by melting the hard alloy used on the hubcaps and other bits I did not use, it melts about 750degrees
regards
Jeff
Posted: Mon May 18, 2009 11:38 pm
by Robert E Morey
Jeff,
Interesting concept-Casting in clay. Does this company have a website? I'd like to see more information about that process. For small one off parts it sounds like a good way to go.
How do you melt the brass you have cast?
Thanks for the information,
Bob