Page 7 of 11
Posted: Thu Jul 15, 2010 3:47 am
by Tim Bowman
Very nice David!
Tim
Posted: Thu Jul 15, 2010 4:12 am
by David Da Costa
Thanks Tim
Posted: Sun Jul 25, 2010 10:21 pm
by David Da Costa
Today was a big milestone, my Panzer III rolled on it's tracks for the first time!
Ok, I was pushing it

, but I wanted to make sure all the running gear was operating smoothly before I installed the motors and I am happy to say everything seemed very smooth. I even rolled it over a few obstacles to make sure the suspension worked okay and all was fine.
The hull is getting near being finished, I have now installed the great tool boxes made by Steve Winston along with his jacking blocks over the s-shackles.
I am wainting for the stencils to arrive from Armorpax so I can add the markings and then some weathering/ fadings etc.
Next job is to start on the turret along with installing the electronics etc.
David


Posted: Sun Jul 25, 2010 10:25 pm
by Brian Leach
David,
That looks really good, esp the tracks and the exhaust!
Thank you for shareing,
Brian
Posted: Sun Jul 25, 2010 10:33 pm
by David Da Costa
Thanks Brian!
I actually think the exhaust is a bit over done, so I will be toning it down a little.
David
Posted: Fri Jul 30, 2010 7:28 pm
by David Da Costa
I have spent the last week working on constructing the turret.
It takes a lot of work (and patience) to get it all fitting together.
Next step is to fill the bolt holes, etch prime then work on the surface finish and welds.
David

pz111
Posted: Fri Jul 30, 2010 8:15 pm
by Nick Farrugia
Hi david
the hull of your tank looks very good ,very realistic carnt wait to see the turret coming on willyou be making the top of the turret lift up for ease of access. I wish i had ,or will you fix it in place for realism.I found the turret to be quit cramped ,having the top lift up would make thing s a lot easier .
great build good to see it.
all the best
nick
Posted: Fri Jul 30, 2010 9:08 pm
by David Da Costa
Hi Nick,
No it will be fixed for realism, I will just have to deal with the cramped space.
Regards
David
Posted: Sat Aug 07, 2010 2:20 am
by David Da Costa
I have been working on the left side of the turret and have the door almost done and added some texture to the turret side.
I also played around with a bit of weathering on the door inside.


David
Posted: Sat Aug 07, 2010 6:21 am
by Paul Morris
Hi David.
Your Panzer 111 is really starting to look the part

I really like the chips on the inside of the doors, I like to add chipped paintwork as well after reading your blog I am looking forward to seeing the rest of your tank.
Good stuff.
Regards Paul

Posted: Sat Aug 07, 2010 3:11 pm
by Brian Leach
David,
Really nice job.
I hesitate to say this though. I hope you don't muind.
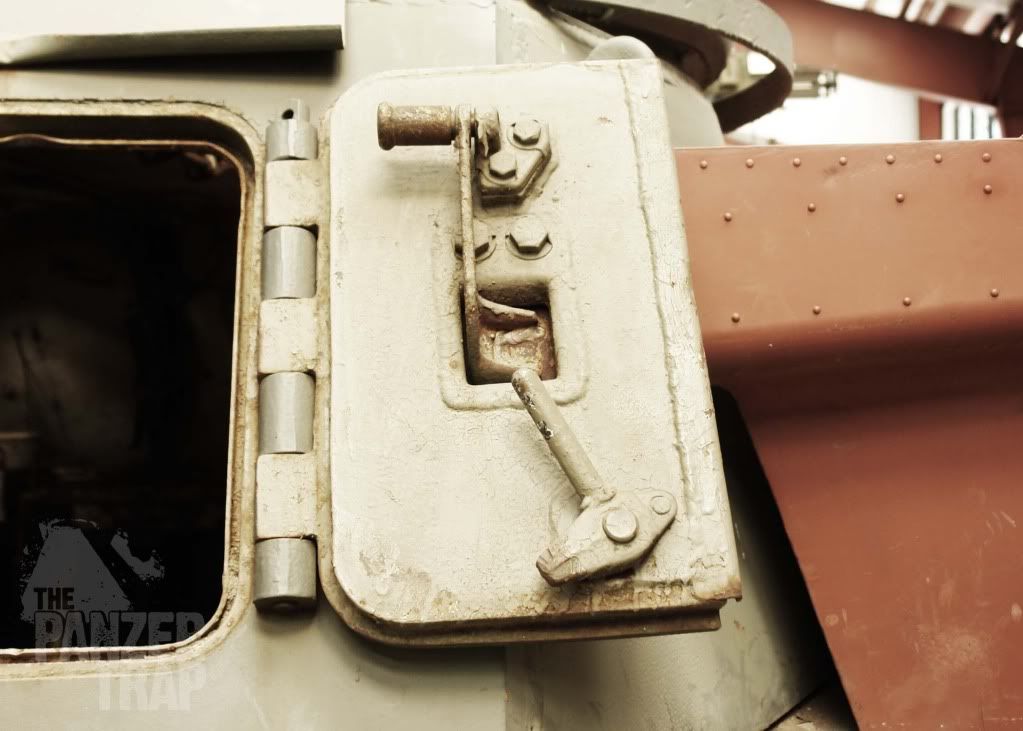
I was looking at some photos and saw that the turret door hinges are cast into the door, not welded on. I am traveling and was not able to check out my books or many photos. So there mat be variations for all I know.
Martin Pitcairn sent me this photo this week.

The interior of the door really "pops".
Thanks for sharing
Brian
Posted: Sat Aug 07, 2010 4:36 pm
by David Da Costa
Thanks Paul.
Thank Brian as well.
No problem, constructive criticism is always welcome.
I think you are right about the welds on the hinges, I will check a few other sources to make sure that it is something that is not unique to the Bovington PIII.
It looks like we all need to remove the welds as they come cast into the Armorpax doors.
Best Regards
David
Posted: Sat Aug 07, 2010 5:52 pm
by David Da Costa
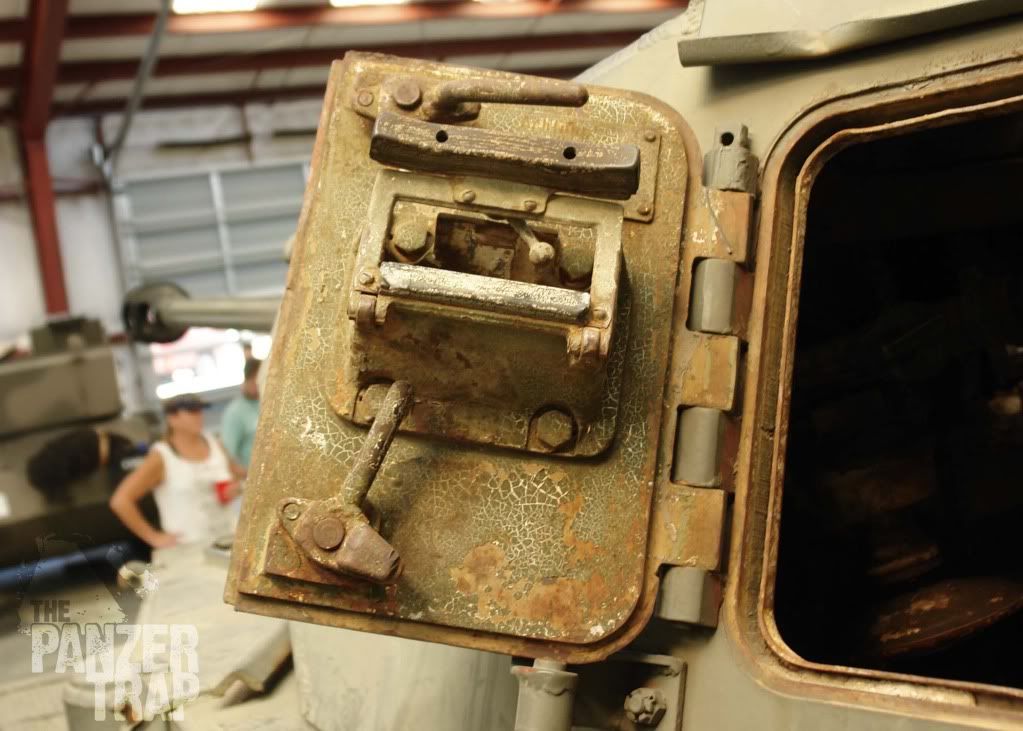
Well it looks like at least some PIII turret side hatch hinges were welded as can be seen in this picture.

I also found drawings in Actung Panzer showing welds.
So the question is, are the cast in hinges on the Bovington PIII a post war add on maybe?
Anyone else with any information?
Regards
David
Posted: Sat Aug 07, 2010 6:26 pm
by Tim Bowman
Hi David
Your door interior looks fantastic!
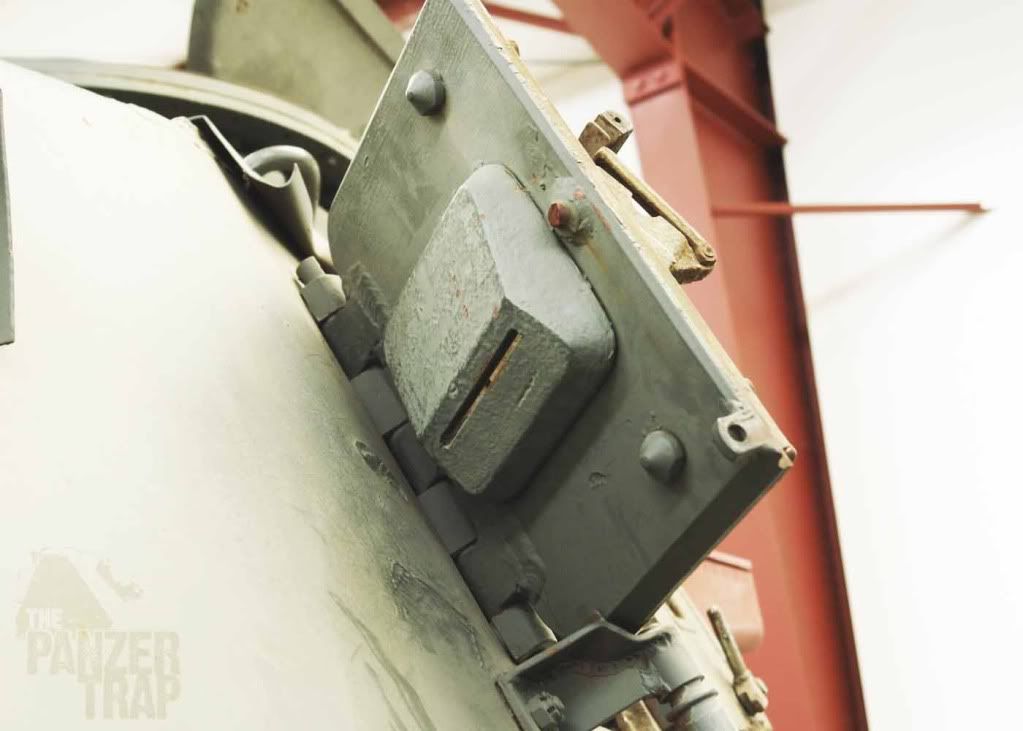
I think you are safe with the welds. I'm assuming they were produced both ways during the war. Although a Panzer IV, I believe the doors were the same and here is another example of welded hinges on a real Ausf J.

and some others that might be useful


Keep up the great work. Looking forward to your next post
Kind regards
Tim
Posted: Sat Aug 07, 2010 8:23 pm
by David Da Costa
thanks Tim.
What I did notice on your first image is that there is no weld around the outside of the vision port. So that's another thing to check out.
Regards
David


