Page 6 of 29
Posted: Thu Oct 14, 2010 2:48 pm
by John Davie
Yes Mick, I don't believe its an issue. To get it totally flush it would have meant using the 'normal' procedure of machining a slight recess in the thread at the end corner where it meets the wider part of the hubcap, but there is so little thread anyway that I decided it may be detrimental and wasn't worth the effort.
John.
Posted: Fri Oct 15, 2010 5:05 pm
by robert michael hilton
Hope you do not mind a futher question, I am assembling the return rollers.
Reference; the roller shaft, the end cap and the fastener.
When the fastener is screwed home....there is a mm or two 'play' between the end cap, roller shaft end and the M4 x 10 fastener, where it screws into the roller shaft inner end......is this correct.....mick
Posted: Fri Oct 15, 2010 5:43 pm
by John Davie
Mick,
I believe the main criteria here is that the rollers turn freely with minimal play. When I assembled mine with the bearings in place with loctite retainer the shafts spun freely, however as I tightened the fastener/endcap the shaft started to tighten as the inner part of the bearing was being nipped up. I overcame this by fitting a small washer between the shaft and the endcap and this resolved the issue.
John.
Posted: Fri Oct 15, 2010 9:22 pm
by robert michael hilton
Thanks John, I think I am getting paranoid, I just do not want to make a mistake with this tank build....there is so much to learn, very enjoyable....mick
Return Rollers
Posted: Sat Oct 16, 2010 10:50 am
by Paul Fairlamb
Gentlemen,
Just to add a new dimension to this issue. When assembling this unit I noticed that the inner bore of the roller is smaller than the outside diameter of the inner ball race so on tightening up the fastener/end cap the inner races nipped the roller.
As enlargement drilling of aluminium is notoriously difficult without the proper tools, I opened either end of the hole out with a counter sink bit for a mm. This ensured the inner races did not bind.
However as not all the rollers were exactly the same I did also have to revert on one occasion to a washer/shim as John has done because the overall pressure on the bearings when the fastener/end cap were tightened caused slight binding.
Paul
Return Rollers
Posted: Sat Oct 16, 2010 11:45 am
by phil fitzpatrick
Hi Guys
I shimmed all of my return roller shafts at the rear end inside the roller
house,and eased the return roller bores gently with a round file so they pushed on,then the nuts tightened up with just the minimal amount of play.
Its great when you find there is all these routes to Rome.
I had to shim up my ratchet and hanger and there was a bit of fidlling
with a file to line up my ratchet teeth with the tension plates and give
some movement.
Cheers
Phil
Painted Parts fo assembly
Posted: Sat Oct 16, 2010 11:49 am
by phil fitzpatrick
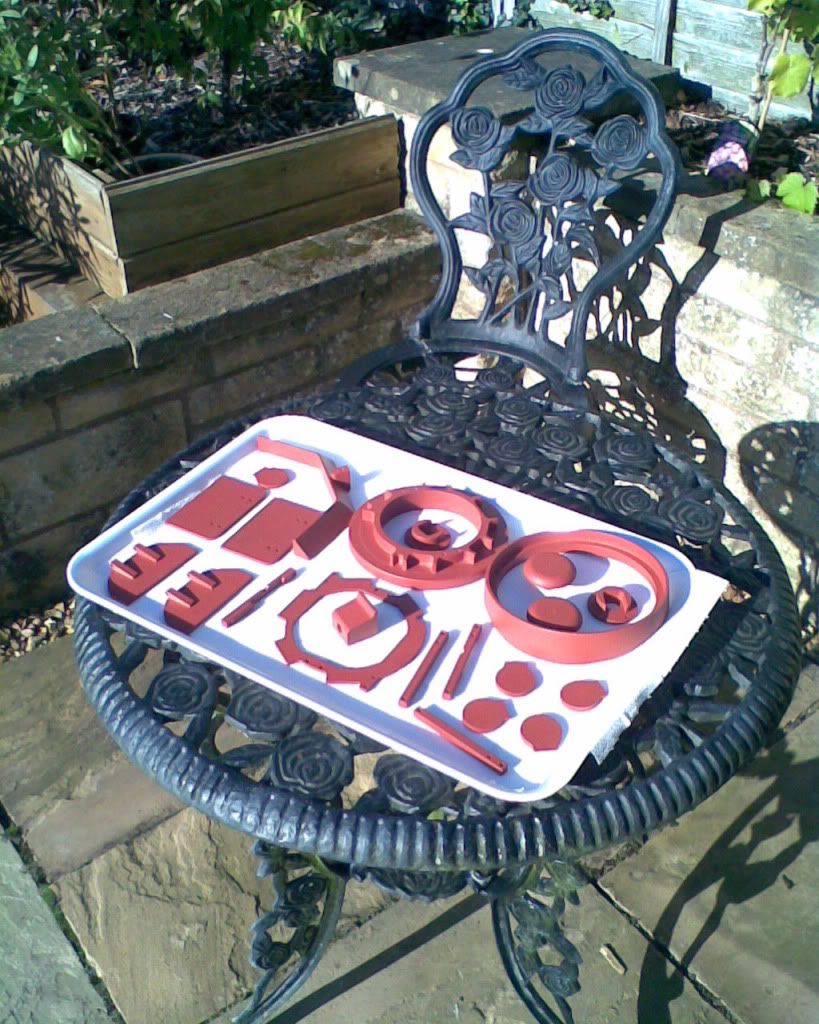
My primed and undercoated parts are building up,so running out of space
to walk.
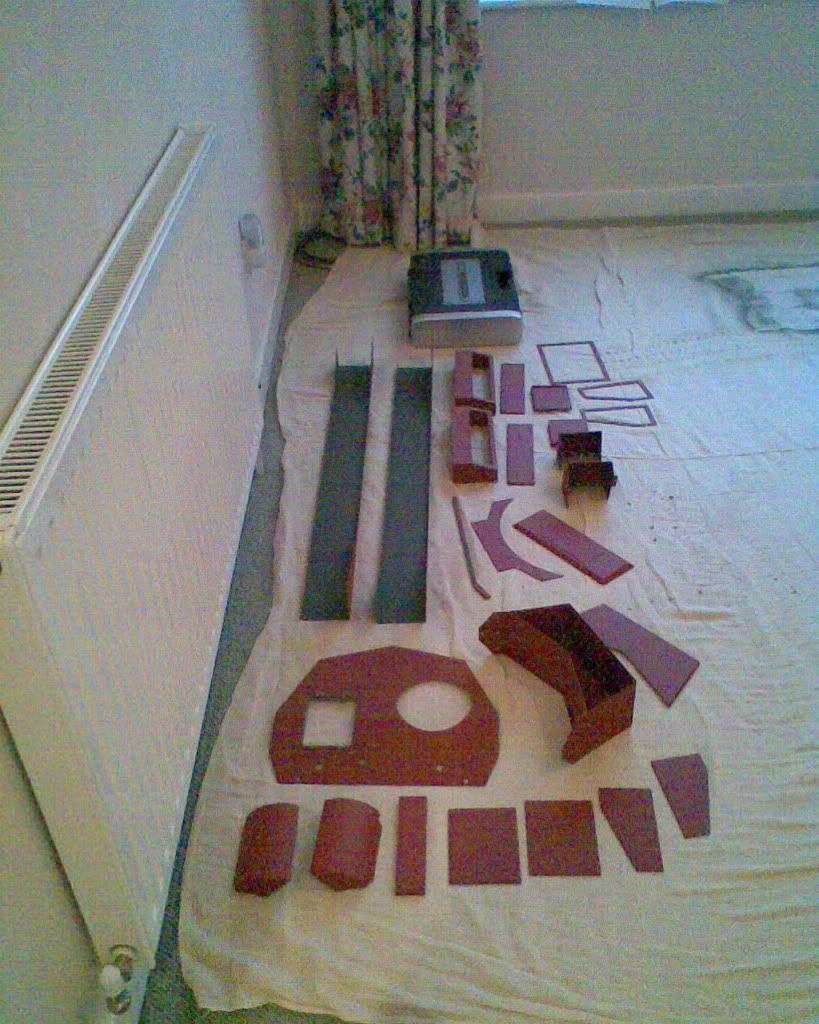
Turret Parts ready to fit.
Sprocket Armor Plate
Posted: Sat Oct 16, 2010 12:27 pm
by phil fitzpatrick
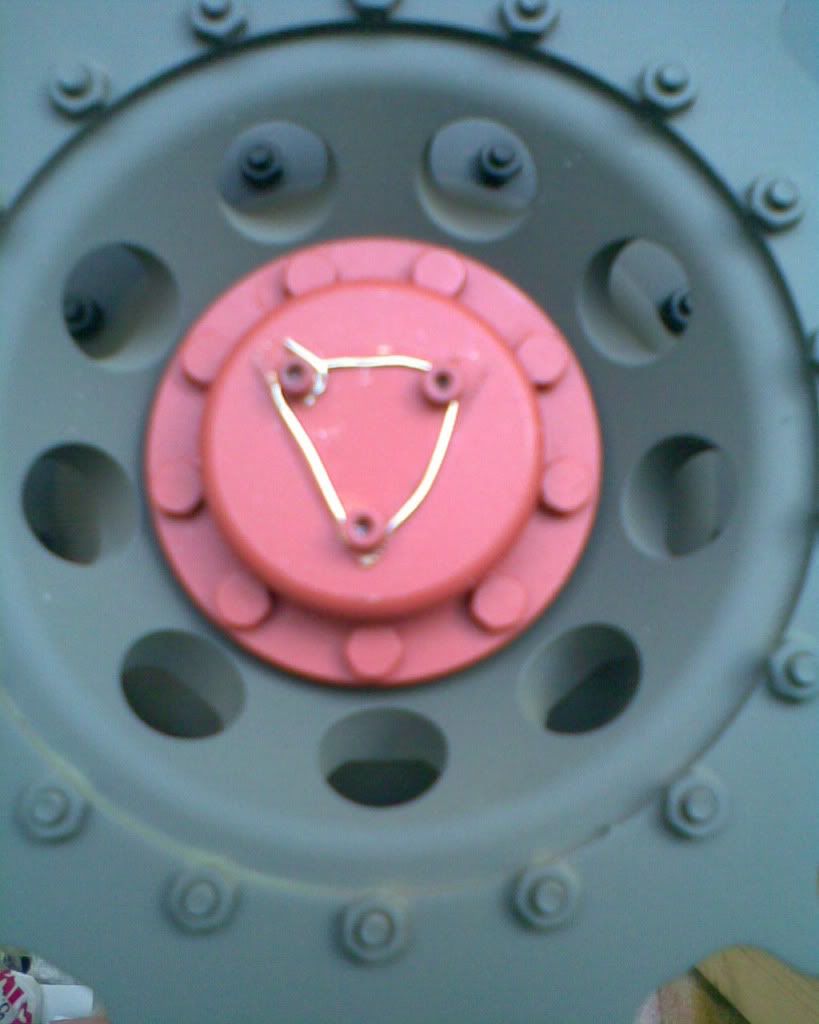
It was a Devil of a job drilling the heads of six screws for the security
wiring of the Armor plate bolts to the sprocket
Posted: Sat Oct 16, 2010 1:29 pm
by robert michael hilton
Thanks for the replies on the return rollers...I have tried a M4 x 8 but this locked hard against the bearing and would have pulled the bearing from it's seating....so I will go with the general advice and use a washer/shim....thanks again, mick
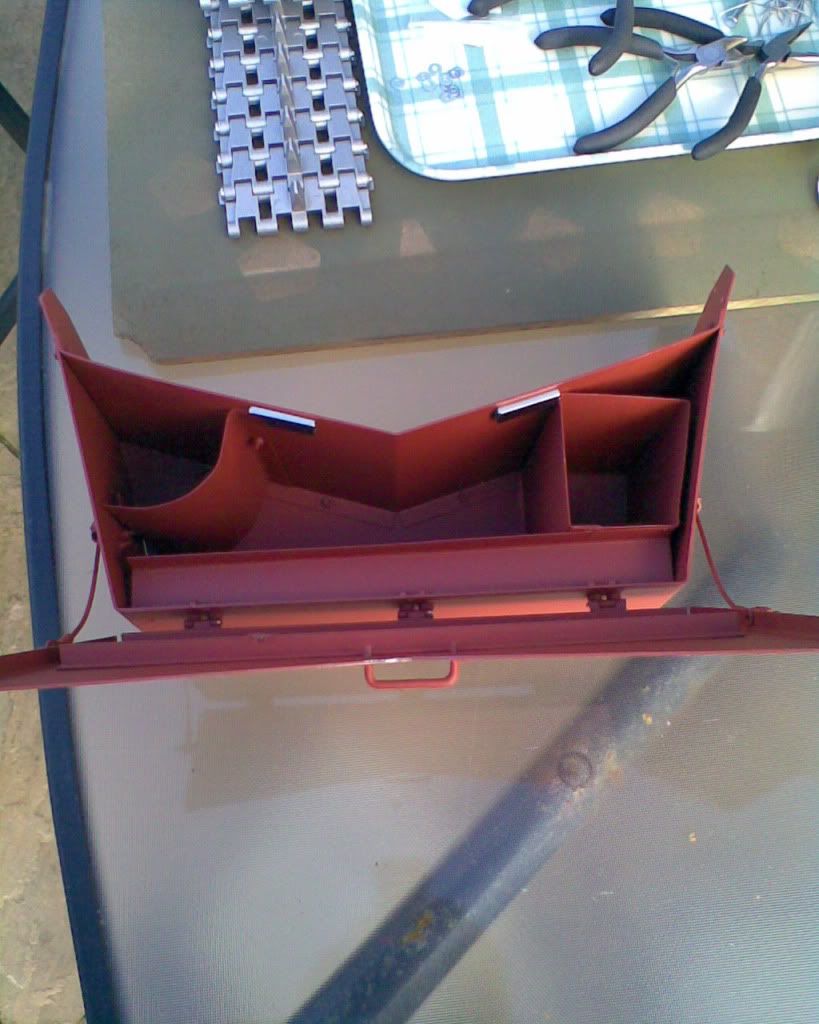
Comet Panier Details
Posted: Sat Oct 16, 2010 3:04 pm
by phil fitzpatrick
I decided to Hinge my Panier Lid,make the cable stay for the Lid and fit
out the interior.
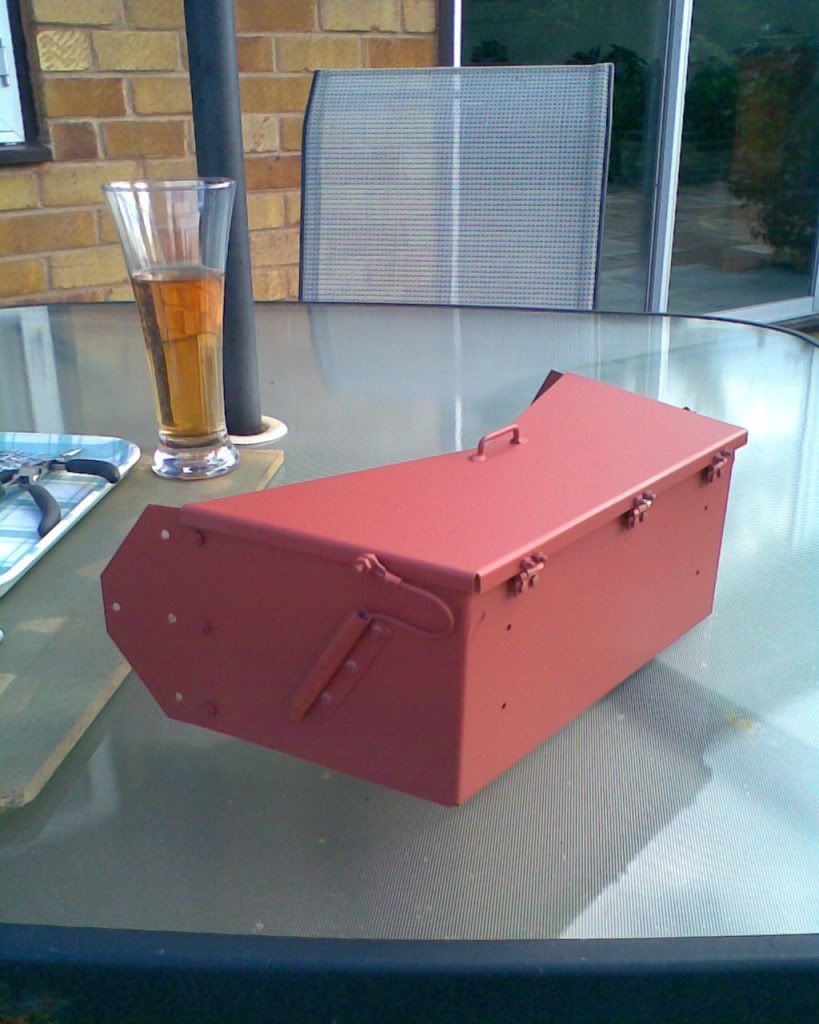
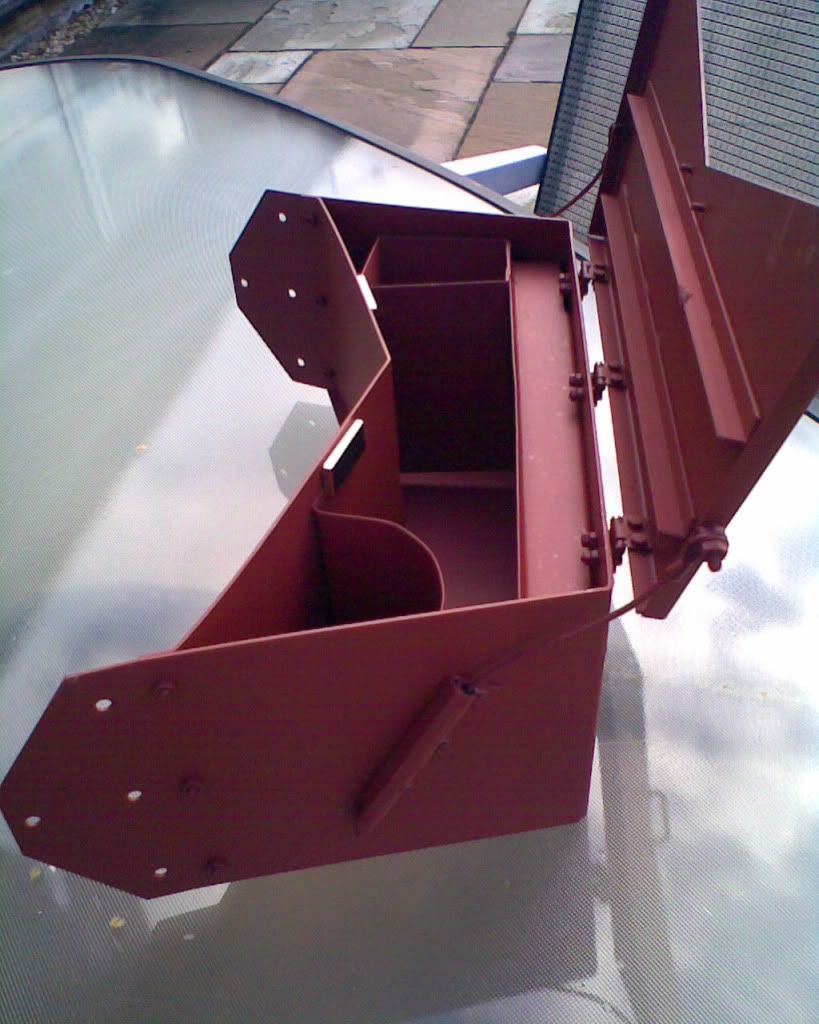

Those magnets are really strong little brutes,so I had to be quick to
position the magnets after using the Locktite 480 on them so they didnt
keep jumping up at the Lid.
Posted: Sat Oct 16, 2010 6:17 pm
by martin pitcairn
phil, i am realy enjoying your build. it's nice to see something other than the normal tanks being built and you seem to be making a great job of it. i realy like the panier build great detail.
Posted: Sat Oct 16, 2010 7:24 pm
by phil fitzpatrick
Thanks Martin
The Comet is a lovely Tank to build.
I bought the two books that the guys recommended.
Armor Photo Gallery,British Cruiser Tank A34 by Dick Taylor and Chris
Hughes
The Comet 1 Handbook Chief Inspector of fighting vehicles,which are all
printed and bound to order,but well worth the money.
The Panier details I got from the Armor Photo Galery Book.
It Shows a pair of webbing straps each side of the Panier,which I hope to make.
I found a site that did little bags of Webbing Buckles,but I cant find it again now,and I will have to keep looking for some webbing to make the straps out of.
Cheers
Phil
Posted: Sun Oct 17, 2010 7:46 am
by Derek Attree
Hi Phil
Dave Dibb does webbing buckles at armorpax
Nice job on your Comet.
Hope to get mine soon.
Derek
Posted: Sun Oct 17, 2010 8:14 am
by Dave Dibb (Armorpax)
Hi Phil,
There are 8 small tie downs in the white metal parts for these straps. For webbing I use cotton tape which I get from a local sewing shop, it comes in different widths and once painted it looks the part.
Best regards,
Dave
Webbing Buckles
Posted: Sun Oct 17, 2010 9:49 am
by phil fitzpatrick
Hi Derek Thanks for the tip.
Hope you enjoy your build when your Comet comes.
Thanks David for responding to Dereks post.
I must admit I had spotted the tie downs in the Armortek Manual,then
forgot them.
Derek said that he thought you might have the 4 buckles on your Webb
site but I cant get on it this morning for some reason,just comes up
with a message cant connect.
I have some scrap brass that I saved from your German Tool Clamp set
for the Panzer 111 that I was going to fiddle with otherwise.
The smalles I could find on the webb is 12mm,which is too big.
Cheers
Phil