A34 COMET
-
John Davie
- Posts: 114
- Joined: Wed Jan 13, 2010 8:55 am
- Location: Ampthill, Bedfordshire
- Been liked: 15 times
Yes Mick, I don't believe its an issue. To get it totally flush it would have meant using the 'normal' procedure of machining a slight recess in the thread at the end corner where it meets the wider part of the hubcap, but there is so little thread anyway that I decided it may be detrimental and wasn't worth the effort.
John.
John.
-
robert michael hilton
- Posts: 377
- Joined: Sat Apr 03, 2010 3:23 pm
- Location: Welshpool, Powys
Hope you do not mind a futher question, I am assembling the return rollers.
Reference; the roller shaft, the end cap and the fastener.
When the fastener is screwed home....there is a mm or two 'play' between the end cap, roller shaft end and the M4 x 10 fastener, where it screws into the roller shaft inner end......is this correct.....mick
Reference; the roller shaft, the end cap and the fastener.
When the fastener is screwed home....there is a mm or two 'play' between the end cap, roller shaft end and the M4 x 10 fastener, where it screws into the roller shaft inner end......is this correct.....mick
-
John Davie
- Posts: 114
- Joined: Wed Jan 13, 2010 8:55 am
- Location: Ampthill, Bedfordshire
- Been liked: 15 times
Mick,
I believe the main criteria here is that the rollers turn freely with minimal play. When I assembled mine with the bearings in place with loctite retainer the shafts spun freely, however as I tightened the fastener/endcap the shaft started to tighten as the inner part of the bearing was being nipped up. I overcame this by fitting a small washer between the shaft and the endcap and this resolved the issue.
John.
-
robert michael hilton
- Posts: 377
- Joined: Sat Apr 03, 2010 3:23 pm
- Location: Welshpool, Powys
-
Paul Fairlamb
Return Rollers
Gentlemen,
Just to add a new dimension to this issue. When assembling this unit I noticed that the inner bore of the roller is smaller than the outside diameter of the inner ball race so on tightening up the fastener/end cap the inner races nipped the roller.
As enlargement drilling of aluminium is notoriously difficult without the proper tools, I opened either end of the hole out with a counter sink bit for a mm. This ensured the inner races did not bind.
However as not all the rollers were exactly the same I did also have to revert on one occasion to a washer/shim as John has done because the overall pressure on the bearings when the fastener/end cap were tightened caused slight binding.
Paul
-
phil fitzpatrick
- Posts: 2020
- Joined: Sat Dec 12, 2009 3:38 pm
- Location: Sambourne uk
- Been liked: 223 times
Return Rollers
Hi Guys
I shimmed all of my return roller shafts at the rear end inside the roller
house,and eased the return roller bores gently with a round file so they pushed on,then the nuts tightened up with just the minimal amount of play.
Its great when you find there is all these routes to Rome.
I had to shim up my ratchet and hanger and there was a bit of fidlling
with a file to line up my ratchet teeth with the tension plates and give
some movement.
Cheers
Phil
-
phil fitzpatrick
- Posts: 2020
- Joined: Sat Dec 12, 2009 3:38 pm
- Location: Sambourne uk
- Been liked: 223 times
Painted Parts fo assembly
My primed and undercoated parts are building up,so running out of space
to walk.
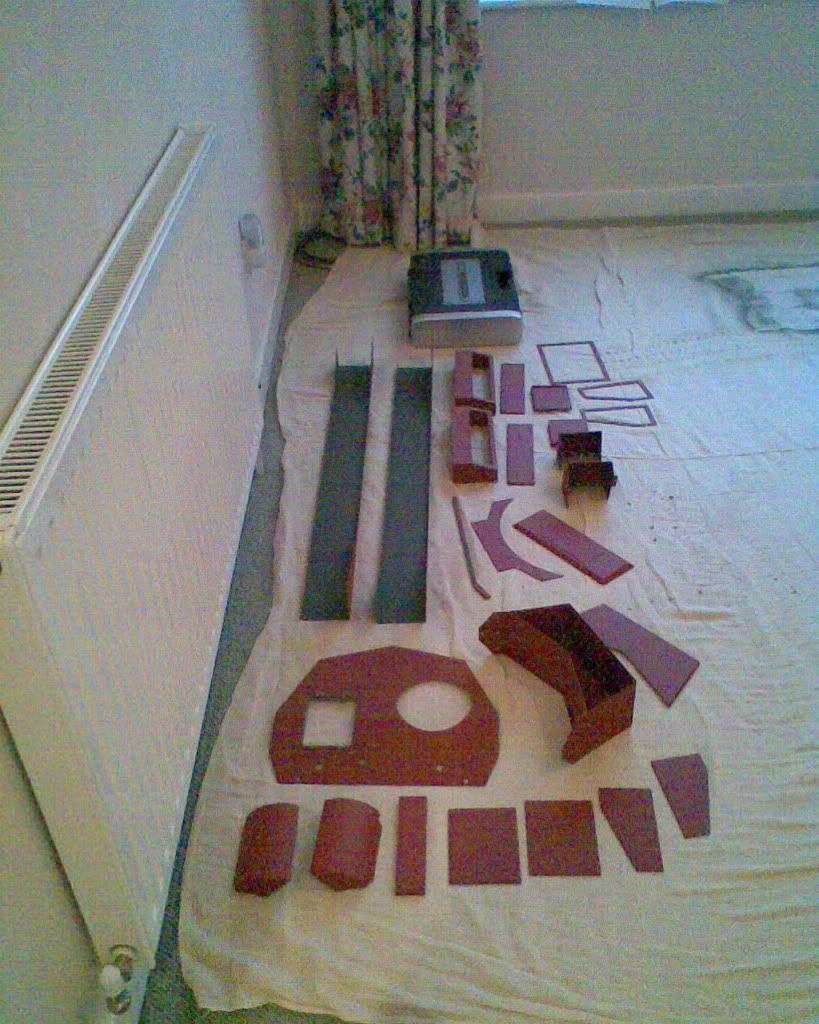
Turret Parts ready to fit.
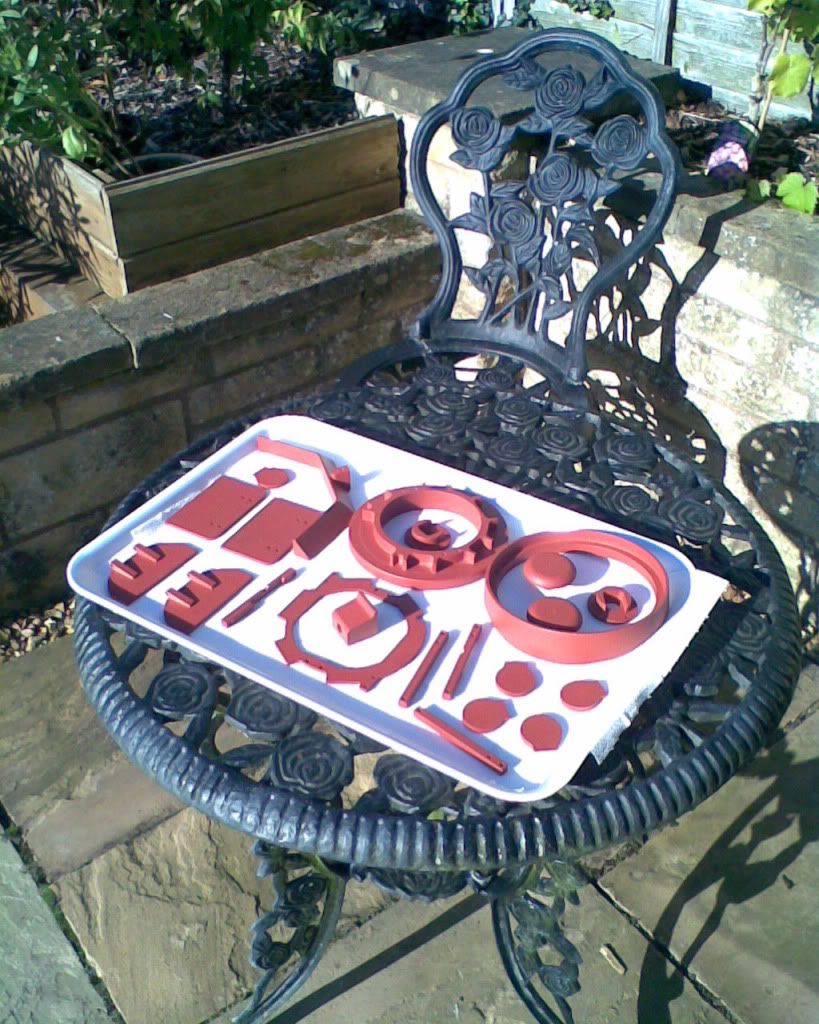
to walk.

Turret Parts ready to fit.

-
phil fitzpatrick
- Posts: 2020
- Joined: Sat Dec 12, 2009 3:38 pm
- Location: Sambourne uk
- Been liked: 223 times
Sprocket Armor Plate
It was a Devil of a job drilling the heads of six screws for the security
wiring of the Armor plate bolts to the sprocket
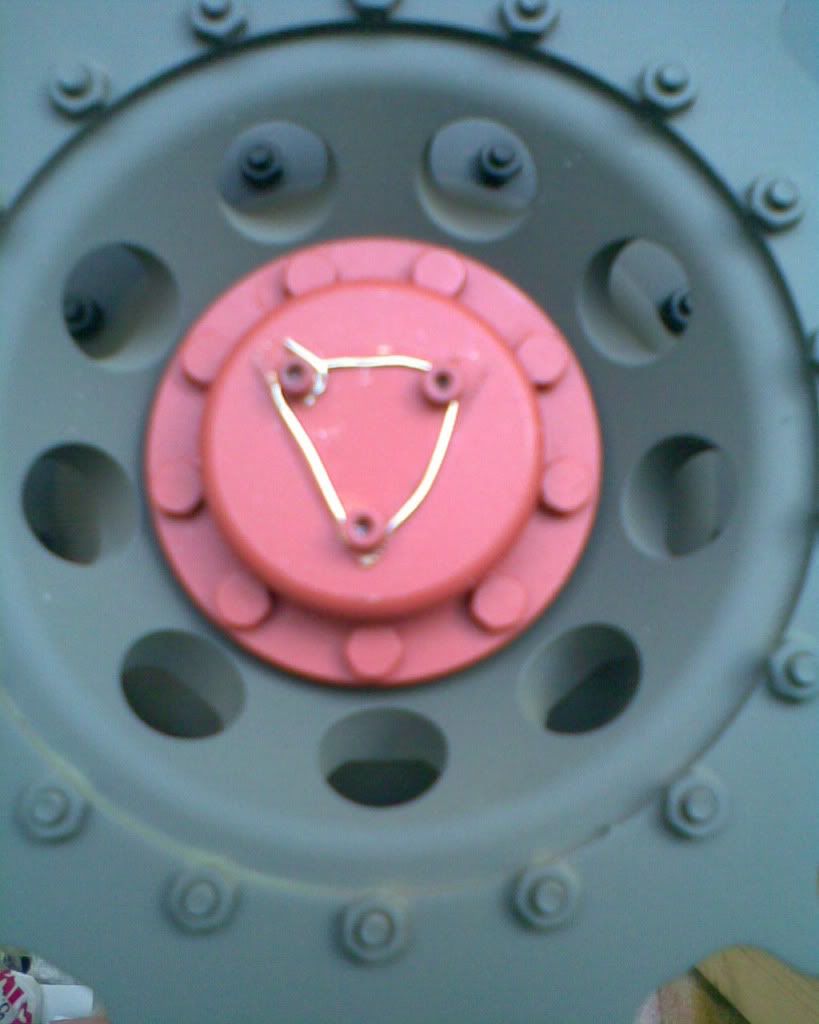
wiring of the Armor plate bolts to the sprocket

-
robert michael hilton
- Posts: 377
- Joined: Sat Apr 03, 2010 3:23 pm
- Location: Welshpool, Powys
-
phil fitzpatrick
- Posts: 2020
- Joined: Sat Dec 12, 2009 3:38 pm
- Location: Sambourne uk
- Been liked: 223 times
Comet Panier Details
I decided to Hinge my Panier Lid,make the cable stay for the Lid and fit
out the interior.
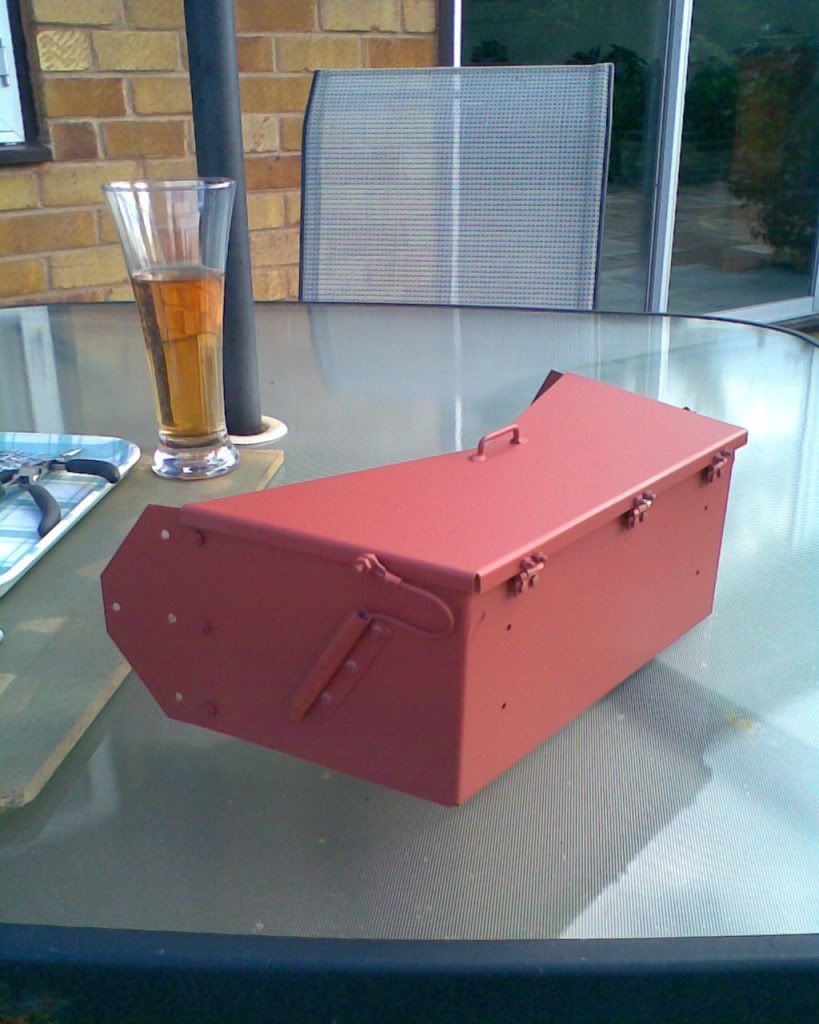
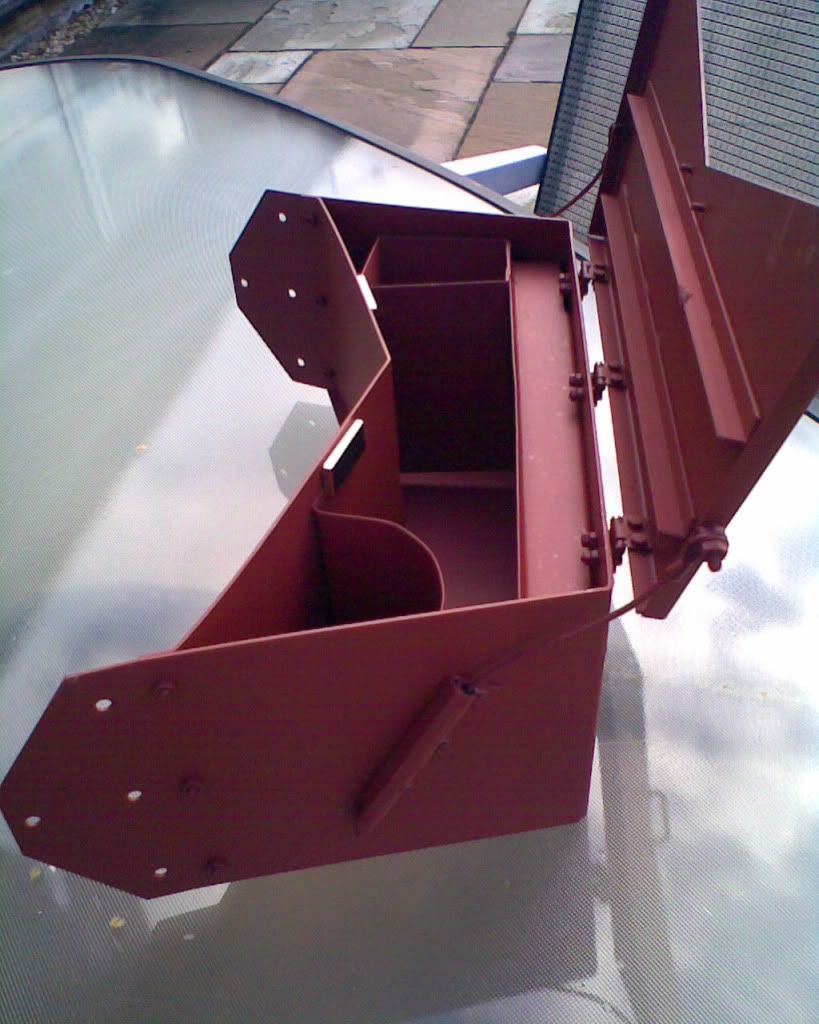
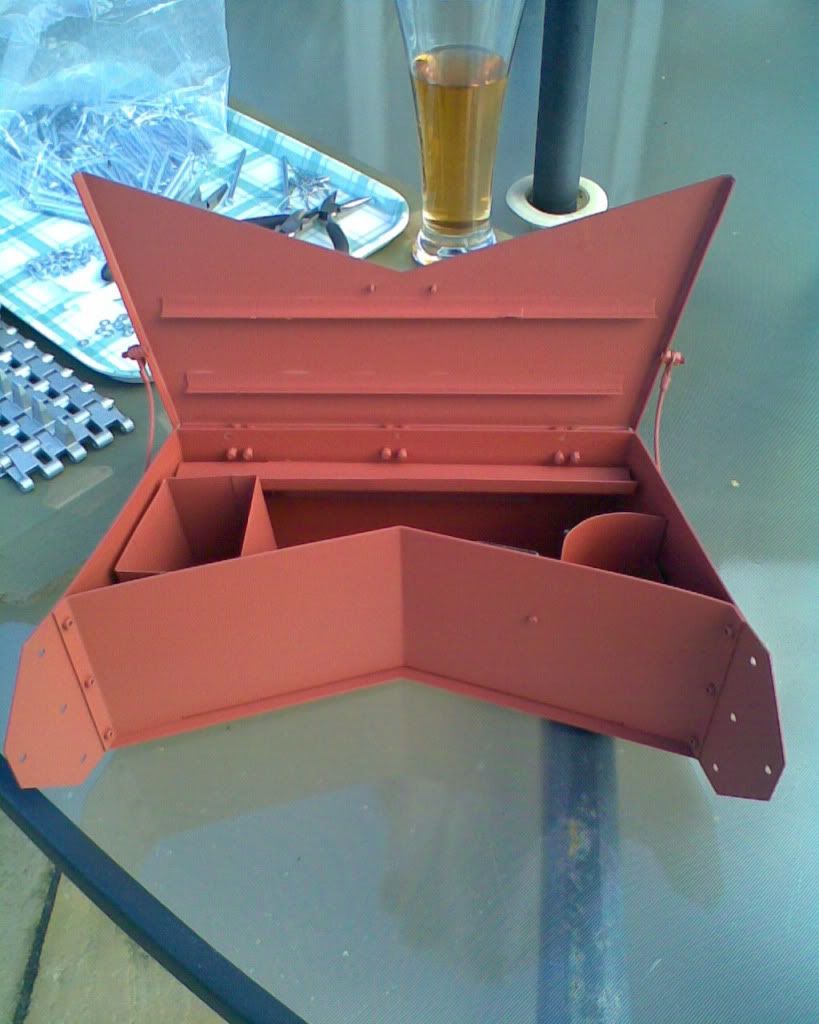
Those magnets are really strong little brutes,so I had to be quick to
position the magnets after using the Locktite 480 on them so they didnt
keep jumping up at the Lid.
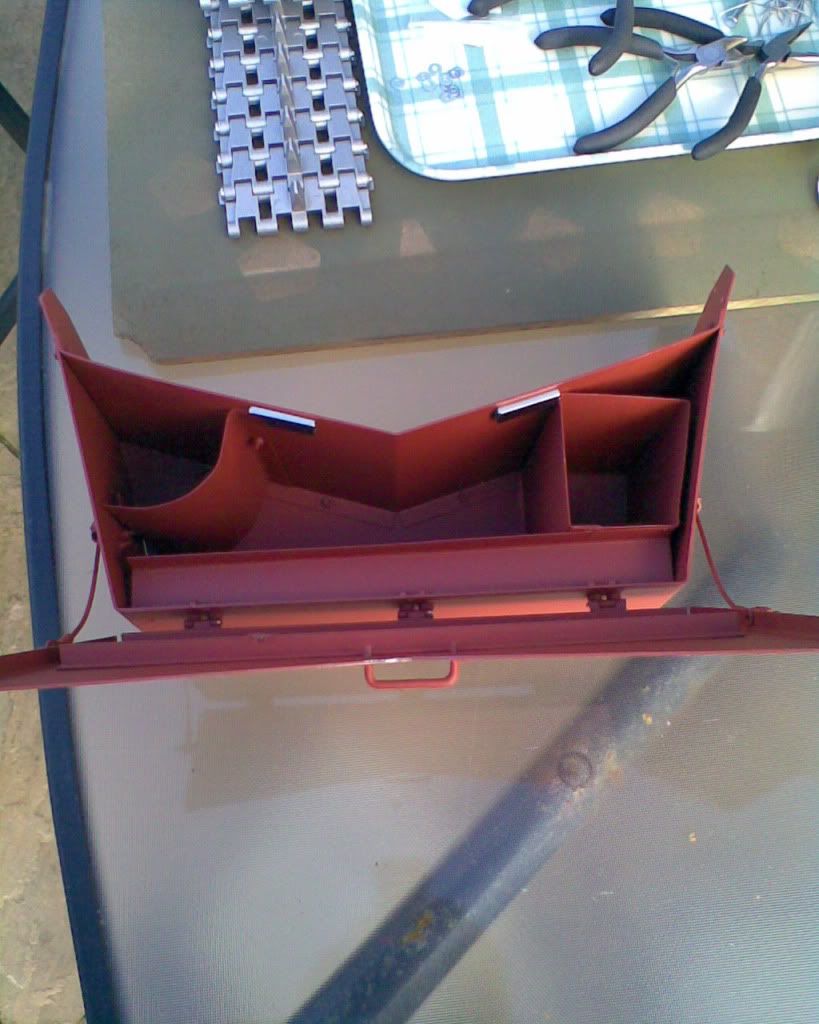
out the interior.


Those magnets are really strong little brutes,so I had to be quick to
position the magnets after using the Locktite 480 on them so they didnt
keep jumping up at the Lid.

-
martin pitcairn
- Posts: 172
- Joined: Thu Jul 12, 2007 5:53 pm
- Has liked: 793 times
- Been liked: 8 times
-
phil fitzpatrick
- Posts: 2020
- Joined: Sat Dec 12, 2009 3:38 pm
- Location: Sambourne uk
- Been liked: 223 times
Thanks Martin
The Comet is a lovely Tank to build.
I bought the two books that the guys recommended.
Armor Photo Gallery,British Cruiser Tank A34 by Dick Taylor and Chris
Hughes
The Comet 1 Handbook Chief Inspector of fighting vehicles,which are all
printed and bound to order,but well worth the money.
The Panier details I got from the Armor Photo Galery Book.
It Shows a pair of webbing straps each side of the Panier,which I hope to make.
I found a site that did little bags of Webbing Buckles,but I cant find it again now,and I will have to keep looking for some webbing to make the straps out of.
Cheers
Phil
-
Derek Attree
- Posts: 1307
- Joined: Thu Jul 12, 2007 12:44 pm
- Location: london
- Has liked: 219 times
- Been liked: 200 times
-
Dave Dibb (Armorpax)
- Posts: 1158
- Joined: Thu Jul 12, 2007 6:03 pm
- Location: Hampshire
- Has liked: 116 times
- Been liked: 1106 times
- Contact:
Hi Phil,
There are 8 small tie downs in the white metal parts for these straps. For webbing I use cotton tape which I get from a local sewing shop, it comes in different widths and once painted it looks the part.
Best regards,
Dave
There are 8 small tie downs in the white metal parts for these straps. For webbing I use cotton tape which I get from a local sewing shop, it comes in different widths and once painted it looks the part.
Best regards,
Dave
www.armorpax.net
There used to be a nice banner here till Photobucket lost everything.............................
There used to be a nice banner here till Photobucket lost everything.............................
-
phil fitzpatrick
- Posts: 2020
- Joined: Sat Dec 12, 2009 3:38 pm
- Location: Sambourne uk
- Been liked: 223 times
Webbing Buckles
Hi Derek Thanks for the tip.
Hope you enjoy your build when your Comet comes.
Thanks David for responding to Dereks post.
I must admit I had spotted the tie downs in the Armortek Manual,then
forgot them.
Derek said that he thought you might have the 4 buckles on your Webb
site but I cant get on it this morning for some reason,just comes up
with a message cant connect.
I have some scrap brass that I saved from your German Tool Clamp set
for the Panzer 111 that I was going to fiddle with otherwise.
The smalles I could find on the webb is 12mm,which is too big.
Cheers
Phil
