Page 5 of 8
Re: The life and times of No 28.
Posted: Sat Nov 25, 2023 12:37 pm
by Charles A Stewart
Hi Folks,
just a quicky, an early xmas pressy

arrived for S1 (no.28):-
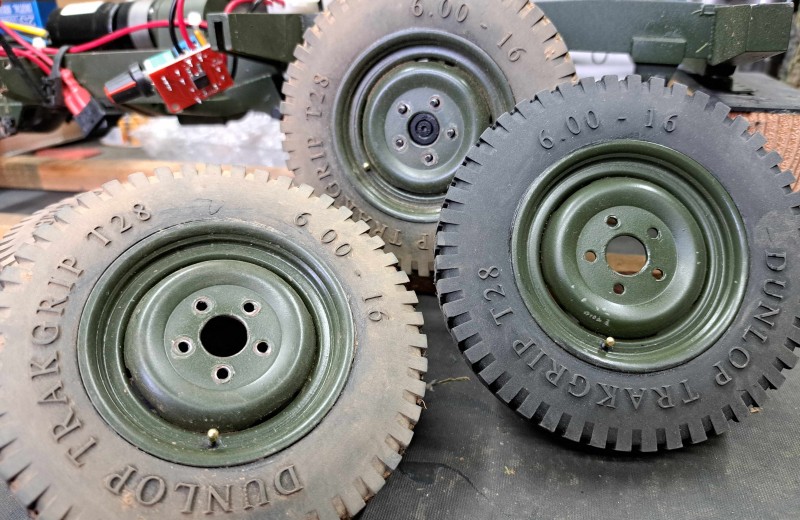
- General view, they are tiny.
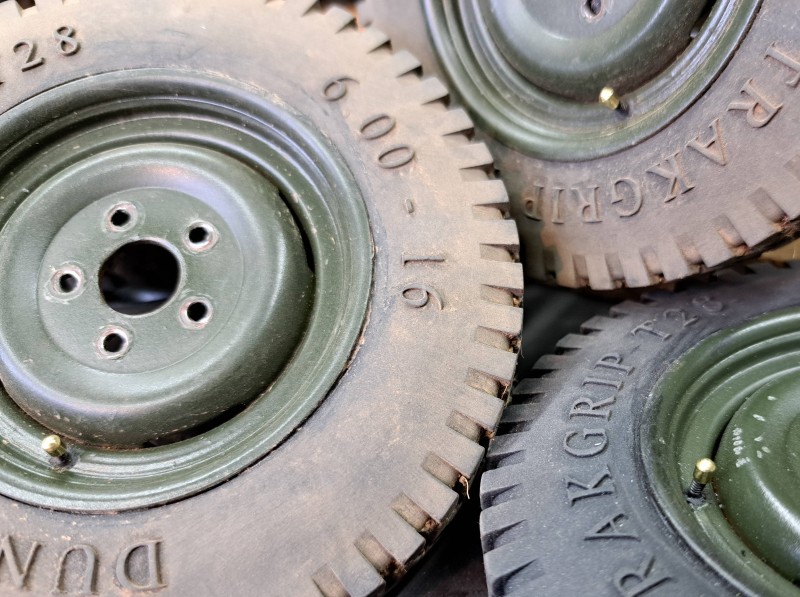
- Closer look
As John pointed out a bit of something sticky to hold them on and many thanks David.
Perishing chilly up here today, take care.
Charles
Re: The life and times of No 28.
Posted: Wed Dec 06, 2023 12:02 pm
by Charles A Stewart
Morning all.
Couldn't resist a look at this essential reading material regarding our subject. True some of you may have read it already.
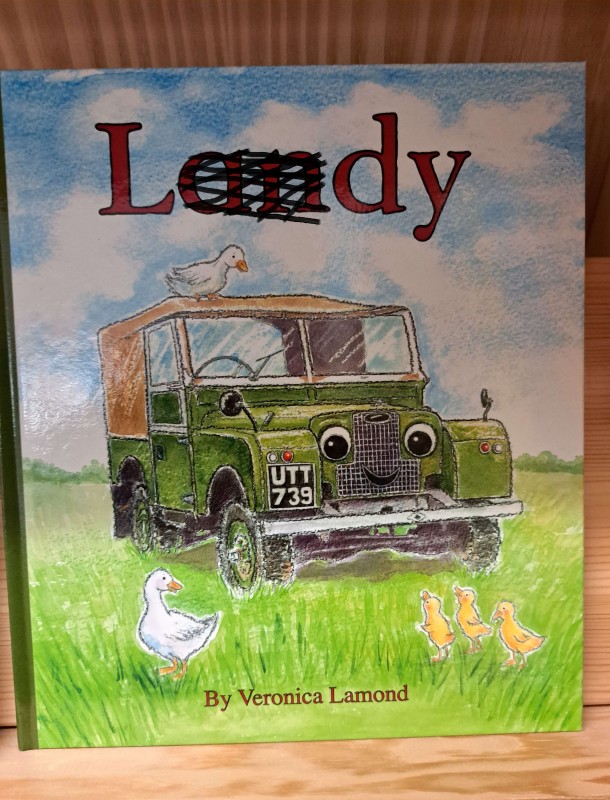
- Censor has been at it. It should, of course read S1!!
Have fun.
Charles
Re: The life and times of No 28.
Posted: Wed Dec 06, 2023 7:22 pm
by John Clarke
Re: The life and times of No 28.
Posted: Thu Mar 28, 2024 7:46 pm
by Charles A Stewart
Evening folks.
You're in for a right riveting do here.
Just mucking about this afternoon with some lovely EKP (am I allowed to product place)slotless screws, 9BA would be ideal but filed down some 8BA instead, matches M2 better thread wise. 10BA to loose on the hole for my liking.
:
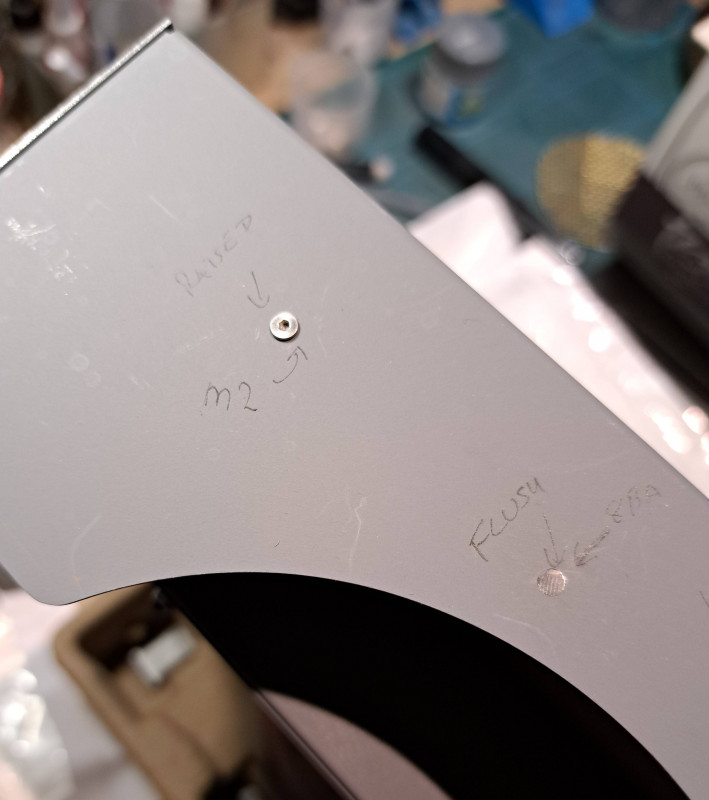
- Filed down 8BA rivet screw replaces the m2.
I could have CSK the hole as is but metal tends to become too thin, spot welding, an option for those thus versed in the art could work too.
Wish you all a good Easter break, take care.
Charles
Some rear end work.
Posted: Sun Apr 07, 2024 4:10 pm
by Charles A Stewart
Hi all.
Lovely to see other S1's appearing and with useful tips too, I will certainly be using some of them in my build. However, over the weekend and after the arrival of more EKP screws:-
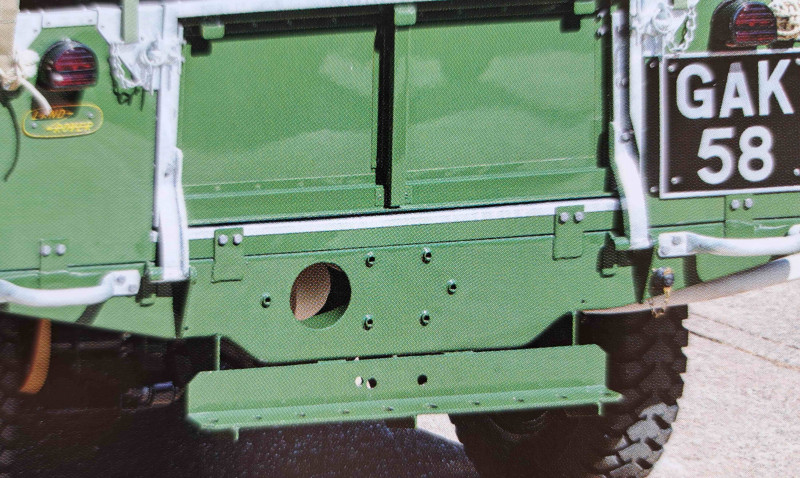
- The aim or objective of this exercise, the "tabs" connecting the rear body to the chassis.
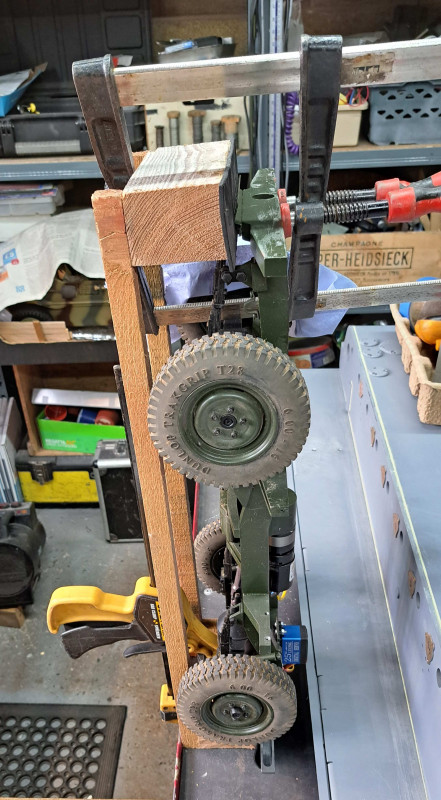
- Method or madness, it helped, honest (though I did bend the towing hitch, too focused). Top tip, take it off first if going down this road.
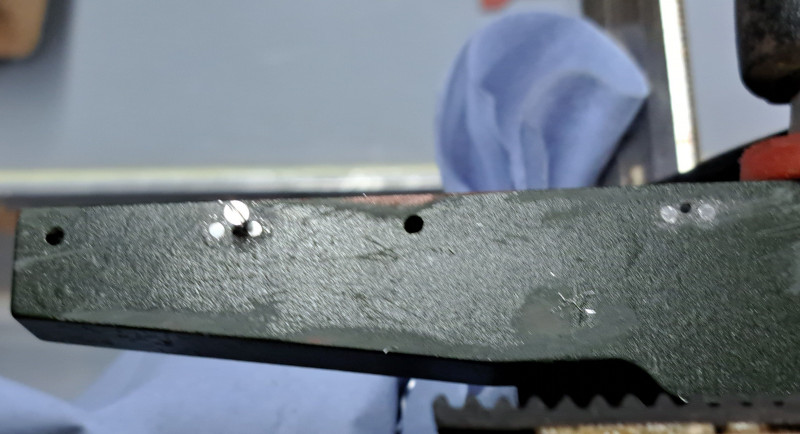
- Some old holes filled and new ones drilled and tapped, or maybe its me that's tapped.
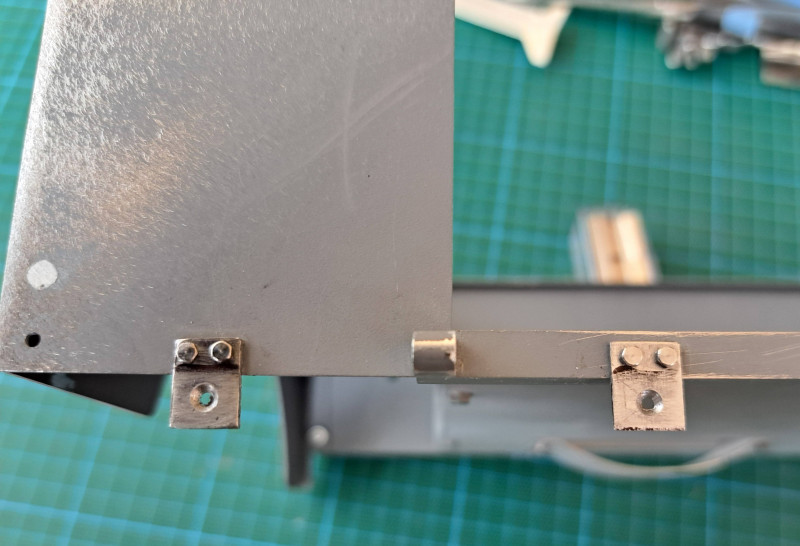
- New plates with CSK, ready for new screws.
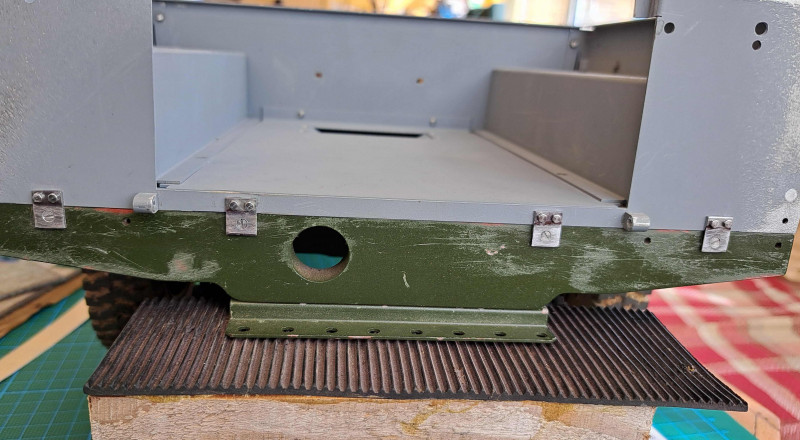
- And finally, all together, just needs some filler/repaint. Note the re-straightened tow hitch.
There we go, next up will be looking at the front end and hiding those CSK screws.
Have fun.
Charles
Re: The life and times of No 28.
Posted: Sun Apr 07, 2024 5:06 pm
by mick whittingham
They look really neat Charles.
I do like to do those details that lift the kit model to something a bit more special.
I agree, it's great to see other people's builds and gather ideas for your own model.
Keep on posting your work guys, there are more series 1s out there somewhere.
Re: The life and times of No 28.
Posted: Fri Apr 19, 2024 7:28 pm
by Charles A Stewart
Good evening all.
A bit chilly and wet this week when not actually at work, then It was dry, typical

Still, smaller tasks I can do in the house and I can get away with mean some progress is made. In this case the S1 bonnet (alright, hood for the good 'ole US of A), replaced the hinges and windscreen thingies which enabled the use smaller hex bolts.
"Mission Creep", love the phrase, it happens all the time round here. In this case simulated rivets


!!
I had to stop just now as the sun is that low and bright it was blinding, not complaining at tall mind. Hope to add more over the weekend, maybe.
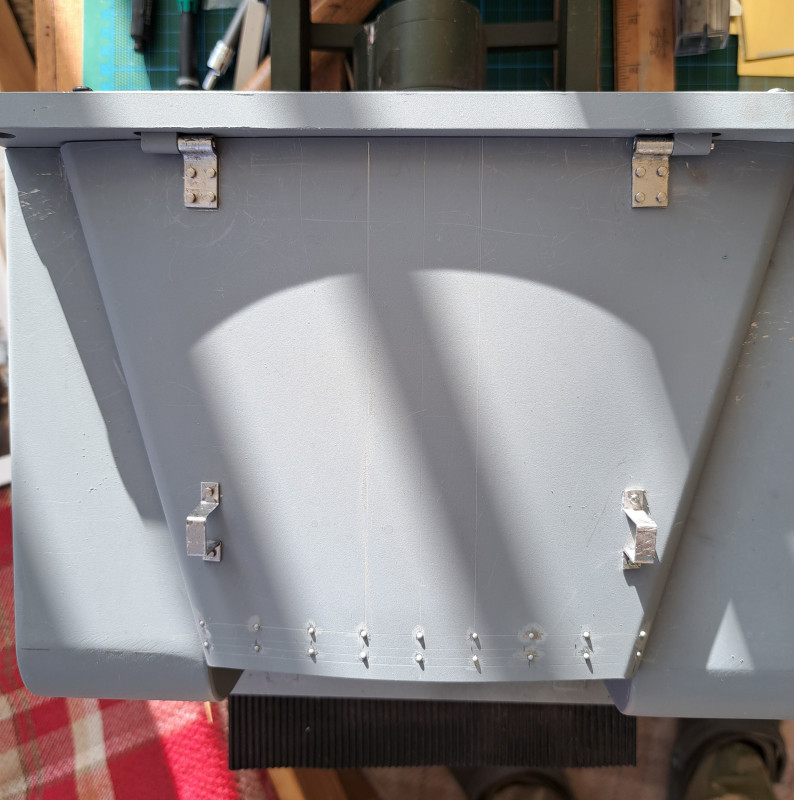
- Swapped the M2/2.5 with 10BA (sml head(12ba))
With luck I can clean all this up and paint it and fit it at the end of the build, a plan possibly.
Have a good weekend.
Charles
Re: The life and times of No 28.
Posted: Thu Apr 25, 2024 9:50 pm
by Charles A Stewart
Hi folks.
Had an afternoon spare today. So decide to complete the task of gluing on the rest of the placky rivets to No 28's bonnet (hood to those across the water).
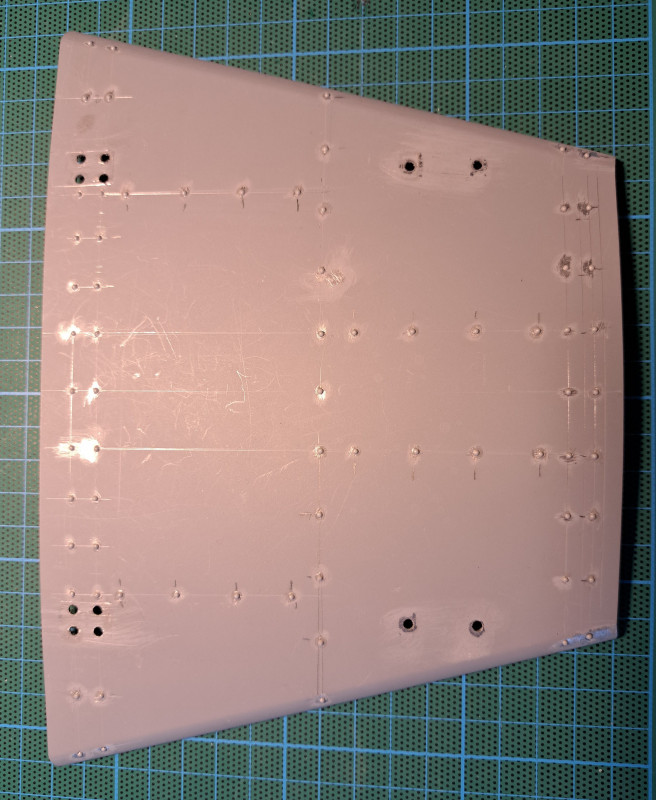
- To the rivet counters, numbers match but not necessarily in the right place. Some compromise was required.
Although I could dill out all the holes and put in metal rivets(probably wreck the bonnet), I would love to see if someone could replicate the underside of the bonnet(hood). That would be interesting.
Take care.
Charles
Re: The life and times of No 28.
Posted: Sat Apr 27, 2024 2:42 pm
by Vince Cutajar
What's the purpose of all those rivets? Must be holding something on the other side.
Vince
Re: The life and times of No 28.
Posted: Sat Apr 27, 2024 4:46 pm
by Charles A Stewart
Here you go Vince.
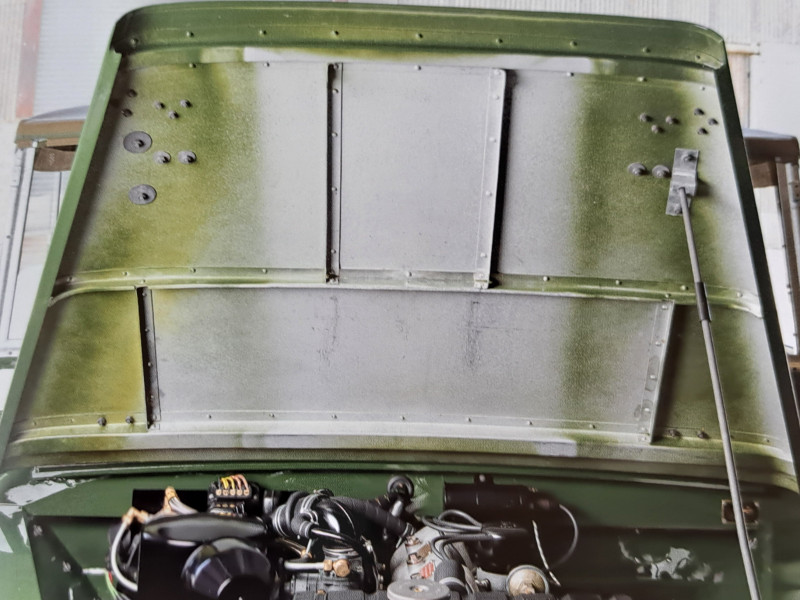
- Frame work under the bonnet.
Nuts and bolts I can do. But riveting and bending "L" sections are beyond me. As I have said I will be pleased to watch those that can.
Take care.
Chrales
Re: The life and times of No 28.
Posted: Sat Apr 27, 2024 6:23 pm
by Vince Cutajar
I see. Stiffeners for the bonnet.
I don't know what size L section would be appropriate but there a various sizes in brass here:
https://knupfer.info/shop/index.php/pro ... ing-l.html
https://maccmodels.co.uk/product-catego ... gle-cz121/
Thin section brass should not be that difficult to bend to shape. The only difficulty you might encounter is with the existing glued in rivets especially if they are not flush to the bonnet.
Or, I can make you a drawing of the L section profile, print it with a filament 3D printer, and bend it to shape with a little heat.
Vince
Re: The life and times of No 28.
Posted: Sun Apr 28, 2024 7:10 pm
by Charles A Stewart
Good evening all.
Vince I like your idea, maybe a 3D printed frame/stiffener simply glued in place or the component parts printed and sanded/profiled to fit.
The only fly in the ointment are the forward and rear cross bits are an inverted "top hat" section.
As the area under the bonnet(hood for the USA) houses all the electronics, space is tight. So I will stick(pardon the pun) to add on rivets. That is not to say this topic can't be revisited in the future, there are after all better modellers than me out there


Take care all.
Charles
Re: The life and times of No 28.
Posted: Sun May 26, 2024 2:05 pm
by Charles A Stewart
Hi Folks.
Not a lot to report but work continues on the front end and I am happy with the result, so far. Unfortunately my first attempt to replicate the later front end using slightly thinner metal meant it bent

The second attempt, the one shown here is the same thinner metal, but bolted to the kits front end. It is therefore much more rigid when handling the front section as a unit off the chassis.
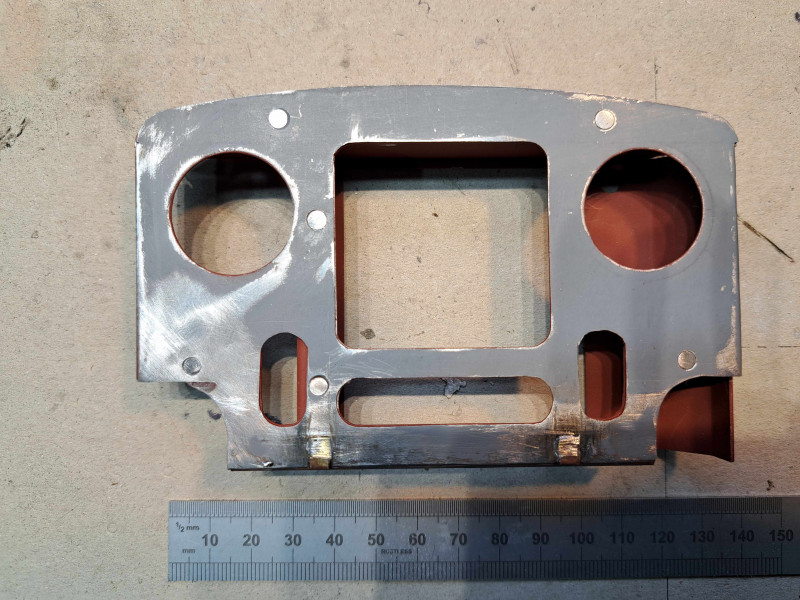
- After mating with the kits front end, I added 2x extra srcews.
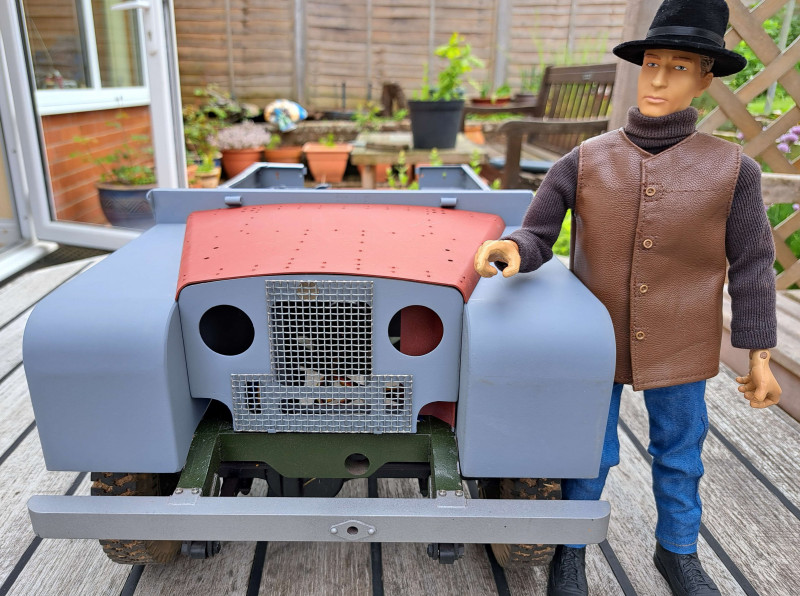
- Primed and fitted, (Chappie needs a pipe & a mug of something)
Please note the 'T' grill is only dry fitted with a magnet and does fit centrally. Though, be aware, I found my kit part ET0304 to be slightly off centre(1.5mm) when I used it as a template.
Take care.
Charles
Re: The life and times of No 28.
Posted: Tue Jun 04, 2024 4:52 pm
by Charles A Stewart
Evening Folks.
Hope all is well with everyone.
Had a couple of hours free this afternoon, rain stopped play, shed painting really.
So here we have a couple of Armopax bonnet catches reworked to look S1 (ish):-
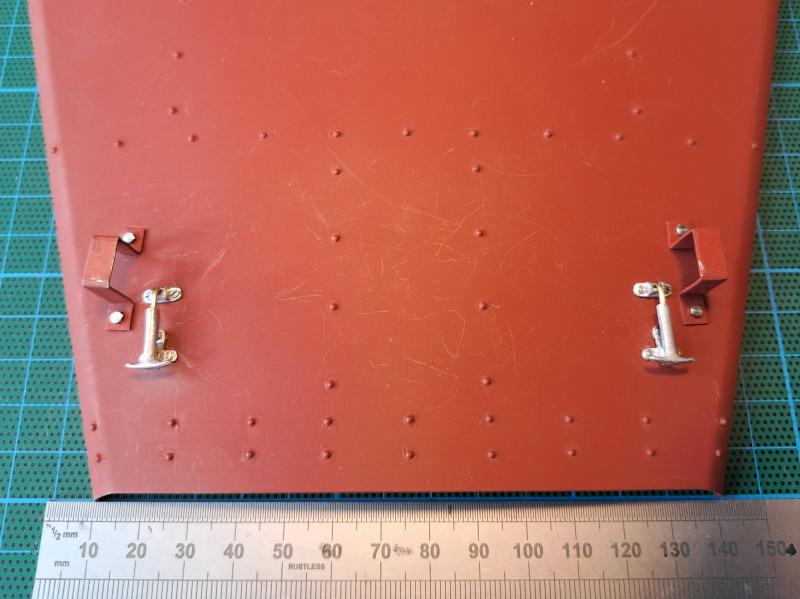
- Re worked Armopax catches.
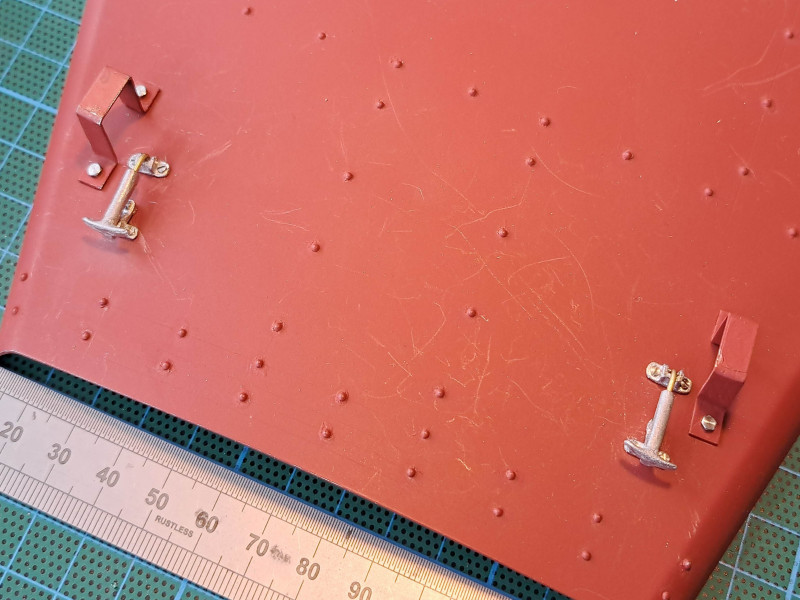
- Note the use of slotted pan, the 14BA head hex bolts were a bit too tall.
Bonnet catches next when time permits.
Cheers
Charles
Re: The life and times of No 28.
Posted: Tue Jun 04, 2024 5:55 pm
by mick whittingham
Looking good, very good. The rivets look fantastic.
There's a lot of work going in to just one component of this kit.
Your attention to detail is a treat to watch.
Mick
 arrived for S1 (no.28):-