Page 5 of 31
Posted: Sun Mar 06, 2011 3:59 pm
by Tim Bowman
Hi John
Looking very nice. Well done.
Best regards
Tim
Posted: Sun Mar 06, 2011 11:22 pm
by John Fitzsimons
Thanks Bob, thanks Tim,
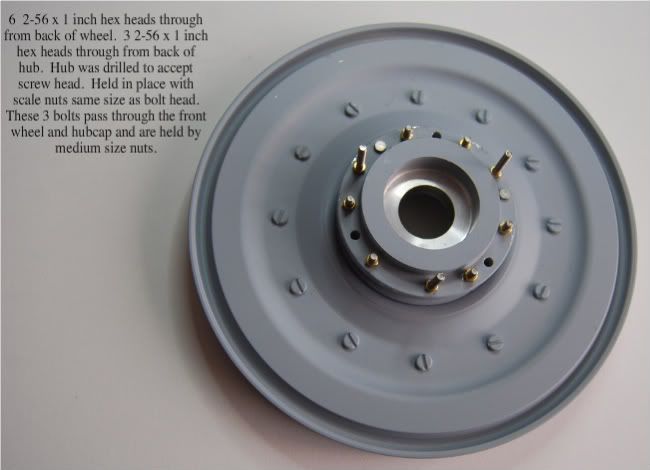
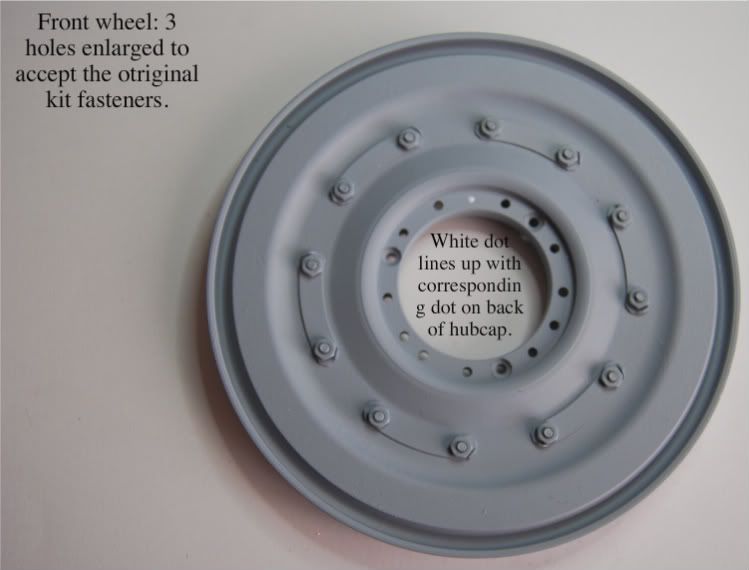
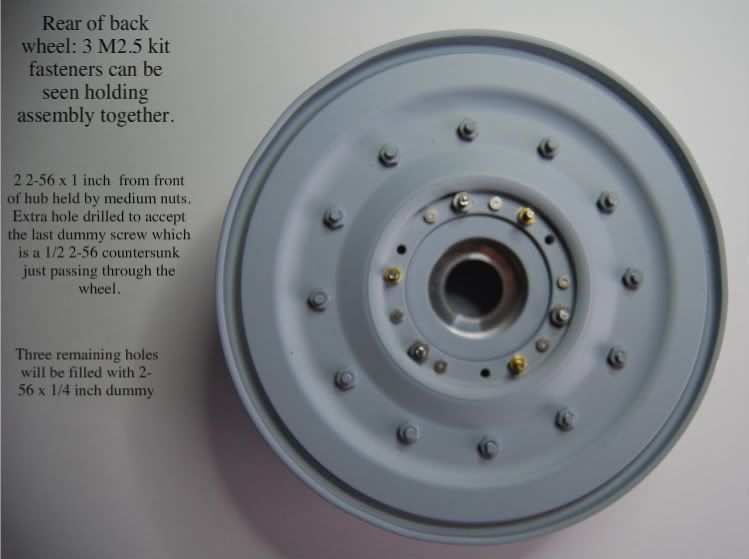
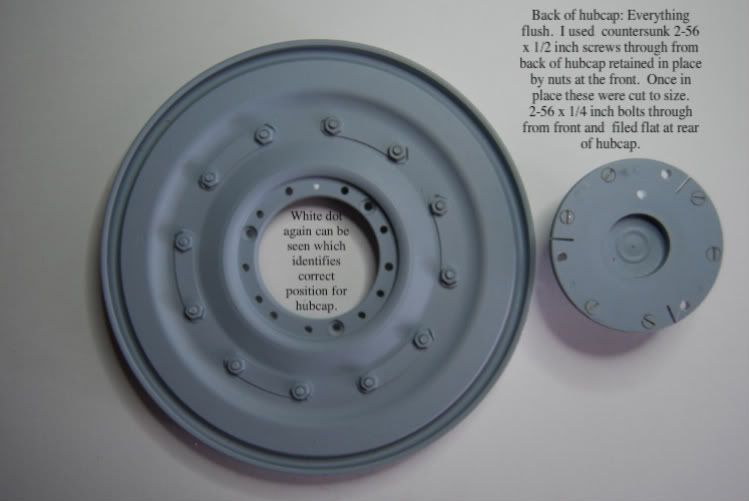
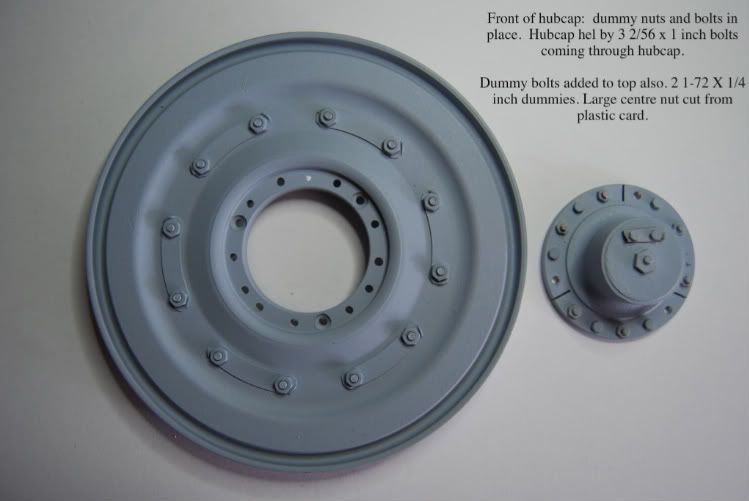
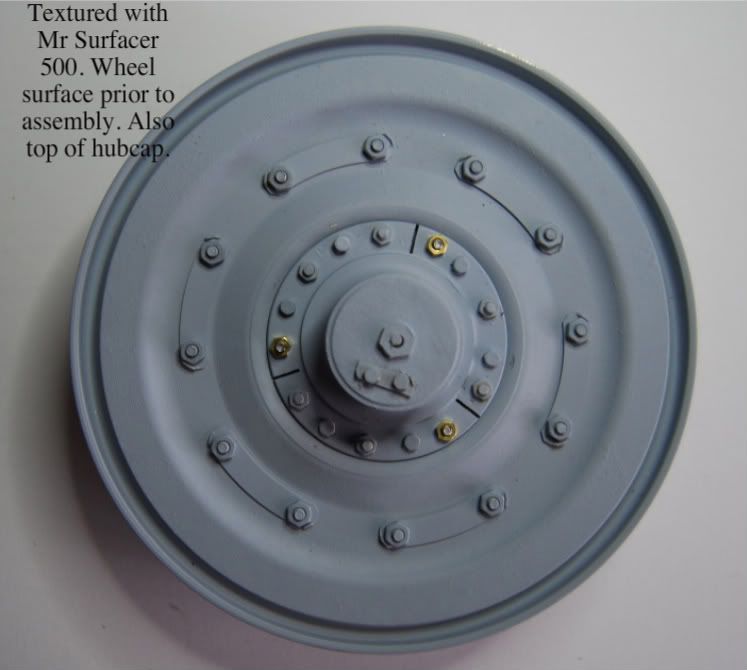
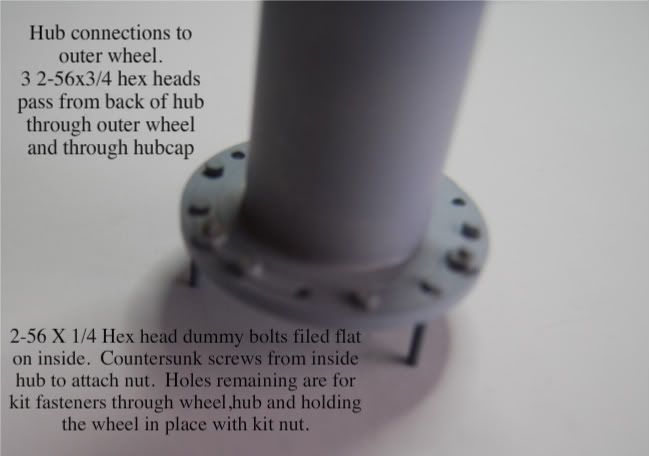
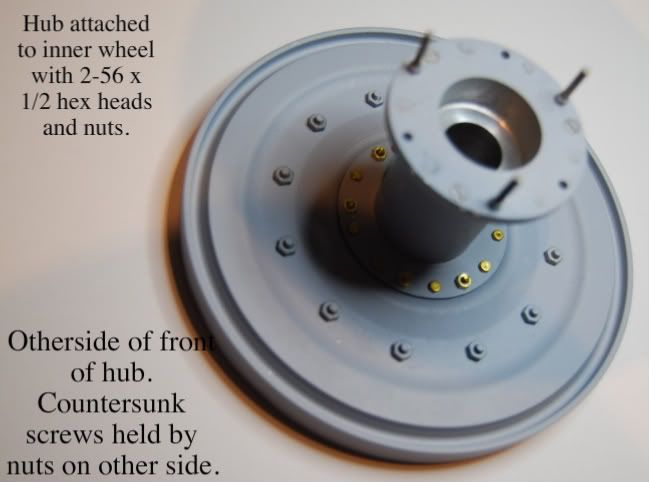
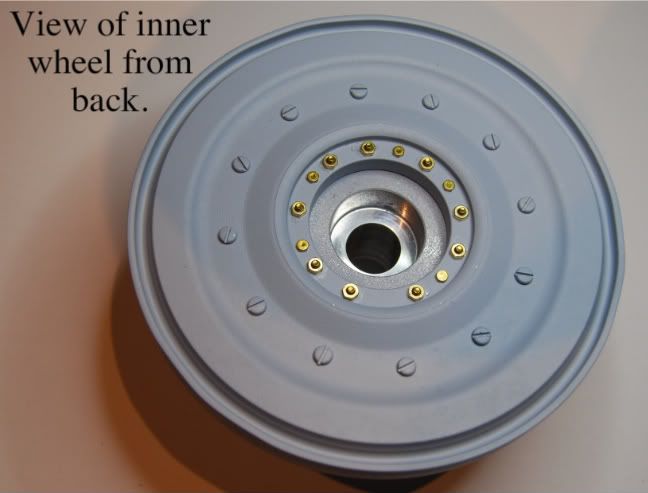
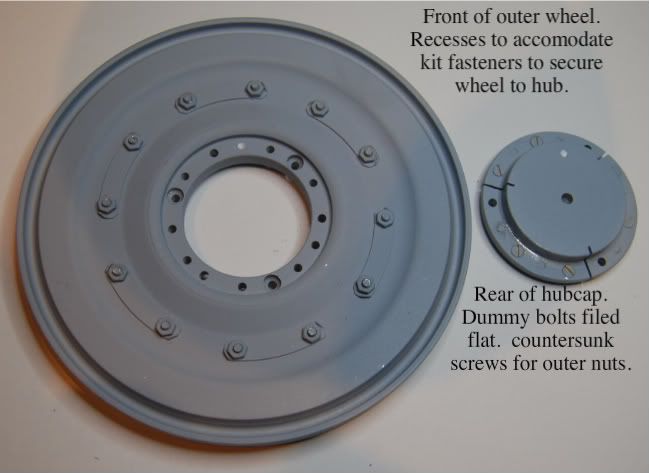
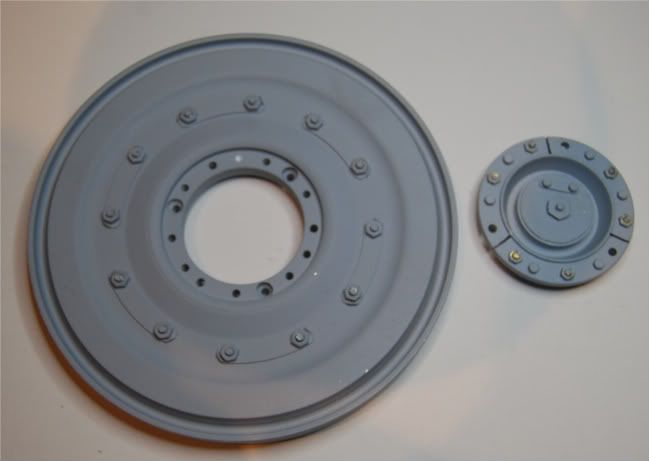
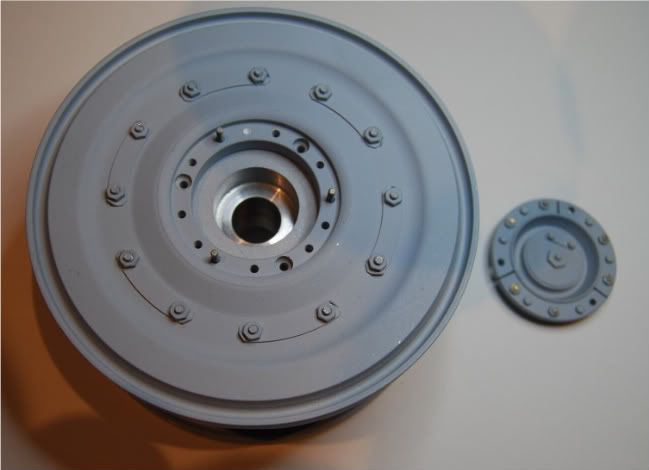
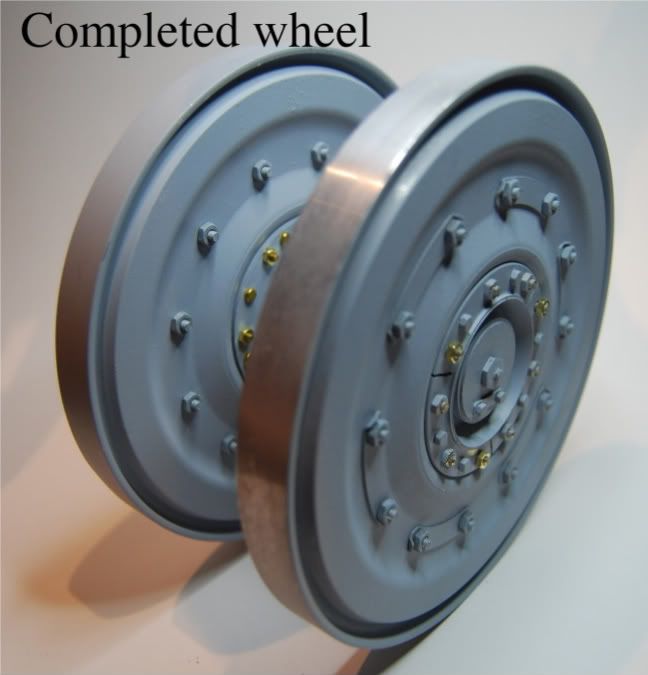
Tim, doing some work on my wheels at the moment. Have the front hubcaps finished. I can see in your wheels you use 3 kit fasteners to secure the front wheel and 3 brass screws through from the hub through to the hub cap. I'm complete to this point. Is it just these 6 fasteners to attach hub to front wheel and rest of the holes in the wheel blank? I will connect the back wheel to the hub with scale brass fasteners. No dummys there.
I'm going to try the gusset detail on the pannier floor. No problem following your drawing. Just have to find a way to cut the aluminium strips with basic tools. Should be fun.
Posted: Sun Mar 06, 2011 11:52 pm
by Tim Bowman
Hi again John
Yes, three countersunk fasteners hold the center hub to the rear and front wheel. The three brass screws facing forwards are for the hub cap. the rest on the hub cap are non functioning. This way it's only three to undo when removing a wheel. We have Steve Norris to thank for this method.

Keep up the great work.
Tim
Posted: Mon Mar 07, 2011 9:00 am
by John Fitzsimons
Thanks Tim and Steve for this fix. My first 8 hubcaps are finished and look a lot better than stock version. I liked the idea of easy hubcaps removal from the start. I'm copying Steve's lowered deck also. Copying Kent's rolled steel. I must try to come up with something of my own.
Thanks everybody for posting on the forum.
Posted: Sat Mar 19, 2011 10:28 pm
by John Fitzsimons
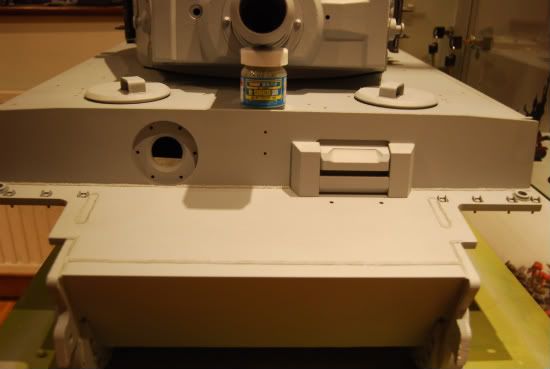
I have fitted the gusset detail to the underside of the pannier floor. Thanks Tim for posting the dimensions. This was quite time consuming with basic hand tools and my Dremel but I'm glad I gave it a try. Lots more practice on welds.
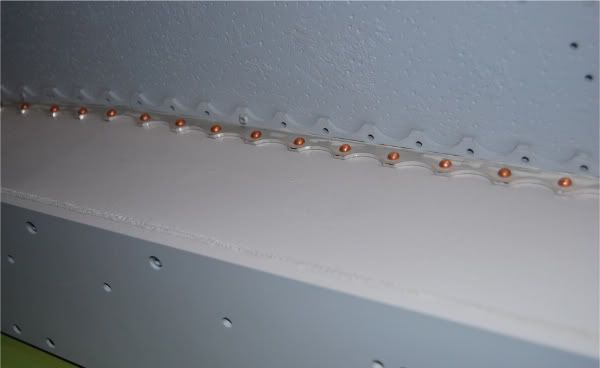
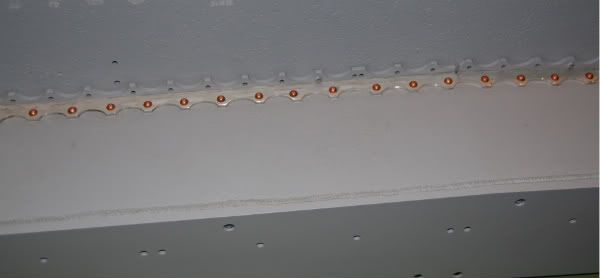
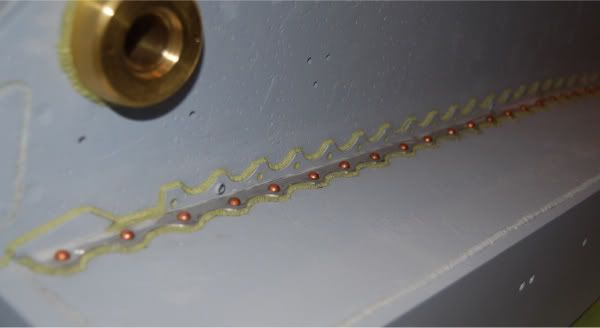
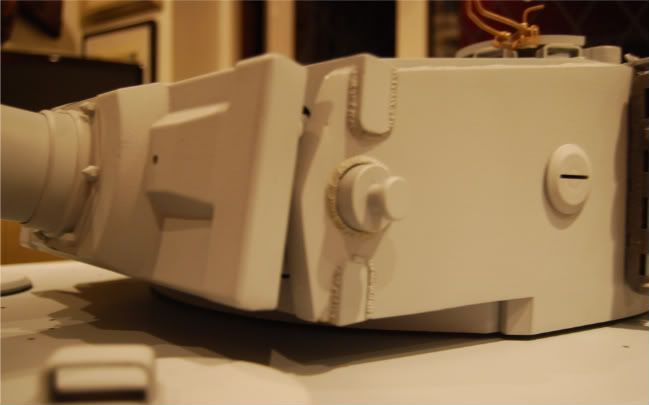
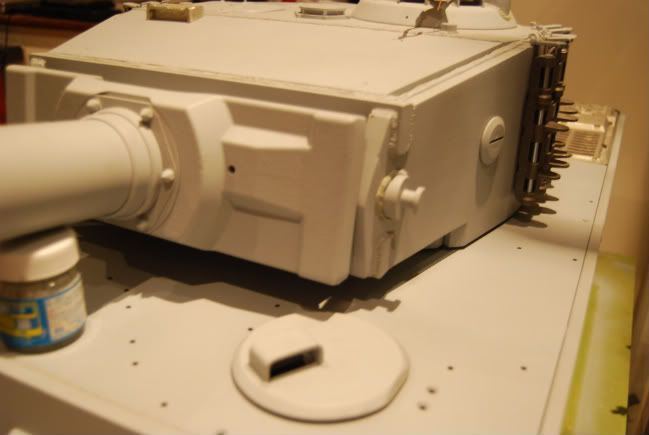
Now I will get back to my turret and fix that turret wrap. Gill sent me a piece of aluminium bar which I will cut and grind into place and attach with some countersunk bolts.
Posted: Sun Mar 20, 2011 3:36 pm
by John Fitzsimons
Posted: Mon Mar 21, 2011 3:47 am
by Tim Bowman
Nice job John.

Wheel looks very nice!
Keep up the great work.
Kindest regards
Tim
Posted: Mon Mar 21, 2011 6:02 pm
by simon_manning
well done john for posting this detail, i have a set to alter at some stage, keep the updates coming, regards simon manning.
Posted: Mon Mar 21, 2011 6:52 pm
by John Fitzsimons
Thanks Tim and Simon.
Simon, I can let you know how many of each fastener and size used if you need details and also supplier details. I ended up ordering too many and some that were not suitable. The excess might come in handy for a future project.
I'm just finishing the outer wheels at the moment. Great work on your Panther. Hope I can pick up some painting ideas there.
Posted: Sun Mar 27, 2011 8:38 am
by Phil Woollard
I think the same about my misses and she's in her 50's
Posted: Mon Mar 28, 2011 3:13 am
by Robert E Morey
John,
Excellent details to the hull. Really nice Tutorial on wheels. Your turret repair looks perfect. Going to be an excellent Tiger. The first
Tiger build in Ireland?
regards,Bob
Posted: Mon Mar 28, 2011 9:11 am
by John Fitzsimons
Thanks Bob for the nice comments. Actually I don't think it's the first. There are a few Armortek owners in Ireland. I think at least one Tiger.
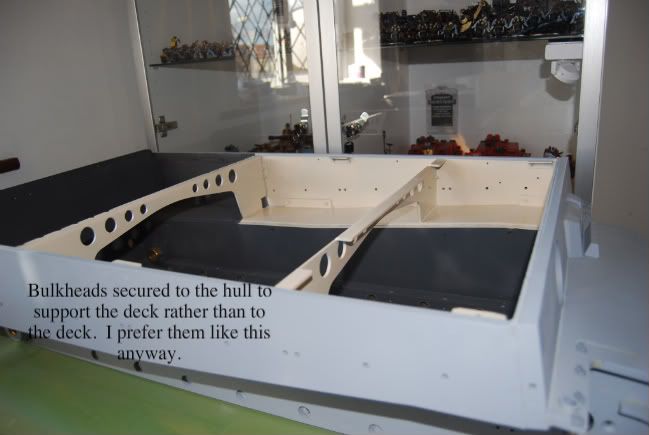
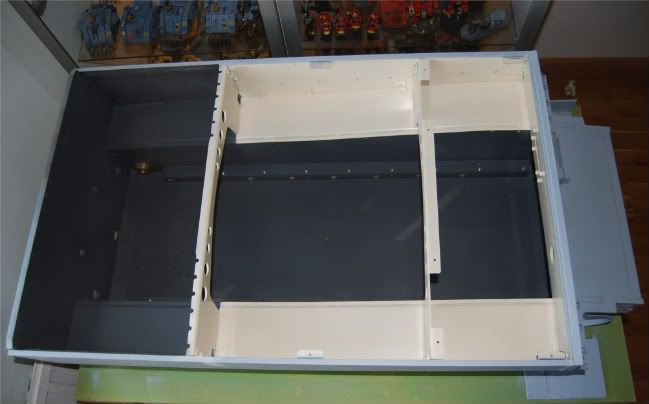
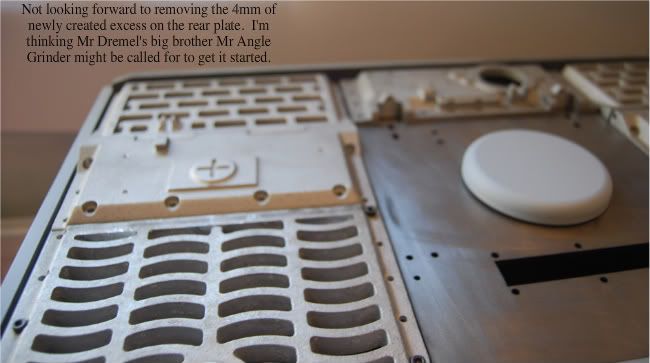
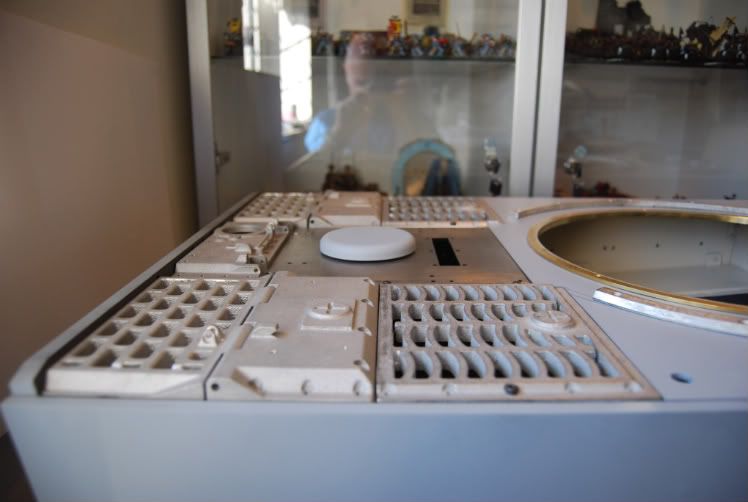
I started lowering the rear deck. Thought I had it done and it was easy then realised I fitted the shelf at the wrong height. Had to start again. Not looking forward to grinding down the rear armour plate.
Posted: Sun Apr 03, 2011 5:51 pm
by John Fitzsimons


