Page 5 of 8
Posted: Sat Oct 23, 2010 10:24 pm
by Dave Dibb (Armorpax)
Posted: Sat Oct 23, 2010 10:39 pm
by Paul Morris
Hi fellas.
Wether or not you are into allied armor or not this has got to be the most detailed and most impressive model ever to have graced our forum, the attention to detail is second to none and a great credit to Dave.
Well done mate bravo keep going.
Cheers Paul

Posted: Sun Oct 24, 2010 12:02 am
by Robert E Morey
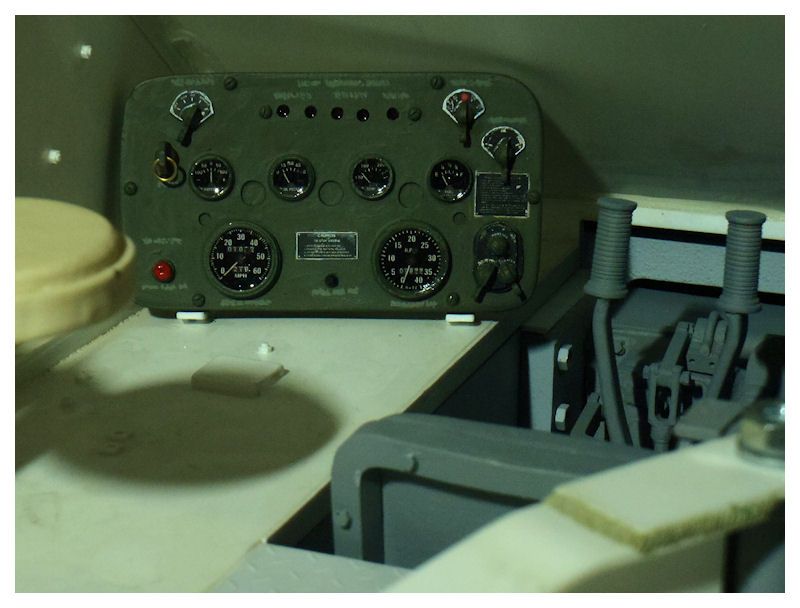
I agree with Paul. That is outstanding detail. A true marvel and credit to Dave's talent. The instrument panel is amazing and looks like the real thing, I expect to see the needle moving on the speedometer when tank is under power! Fantastic.
Bob
Posted: Sun Oct 24, 2010 4:51 pm
by Allan Richards
I've got to agree, a superbly detailed model. Surely that "dash is real? I can't wait to see it finished and running.
Posted: Sun Oct 24, 2010 9:09 pm
by Dave Dibb (Armorpax)
Hi All,
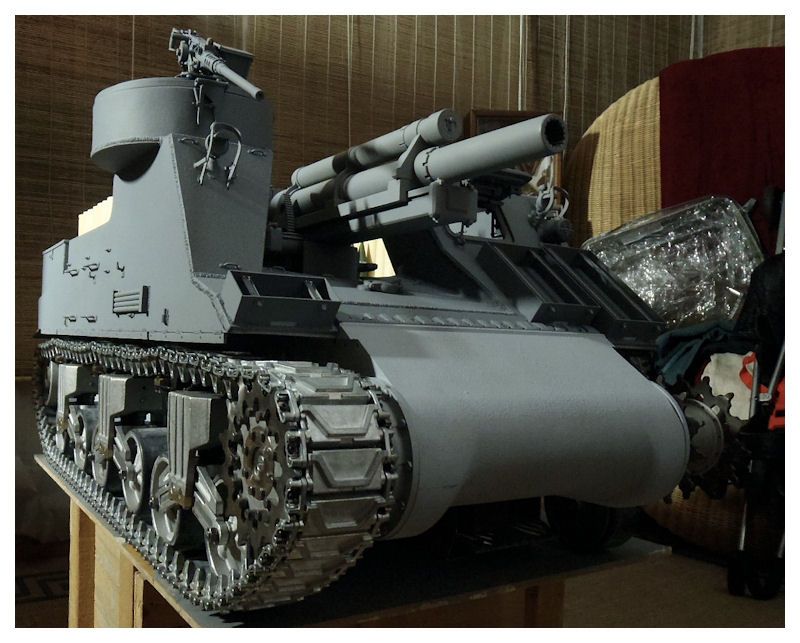
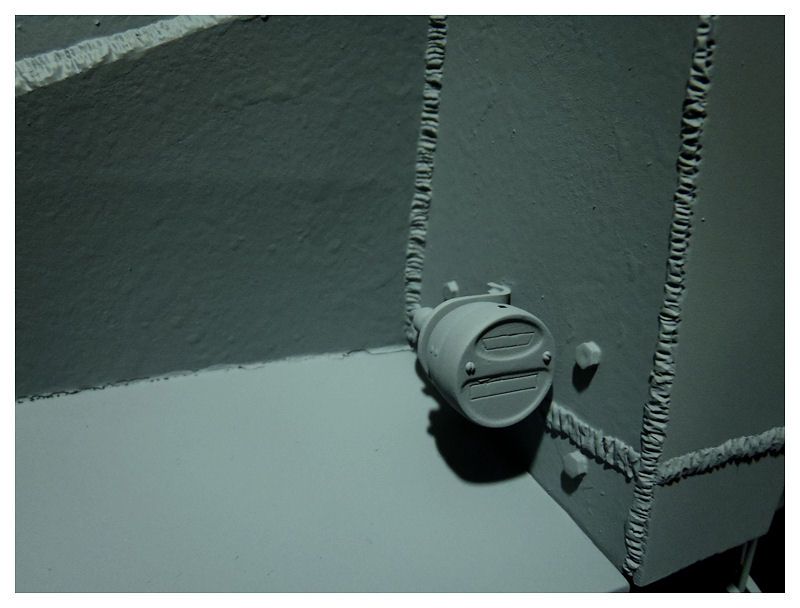
Welds added and right hand sponson primed. Paternity leave is over so back to the realities of earning a living tomorrow, probably won't get much more done now until the weekend.
Cheers
Dave


Posted: Sun Oct 31, 2010 8:20 pm
by Dave Dibb (Armorpax)
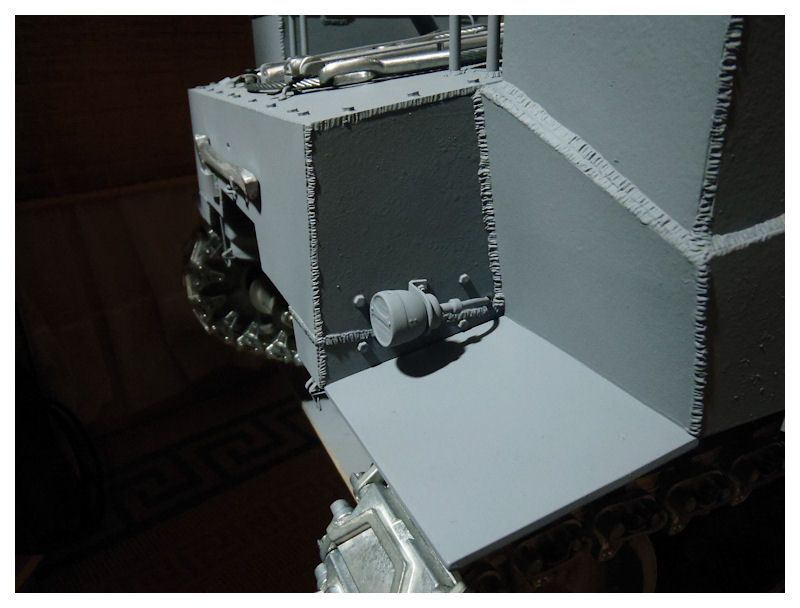
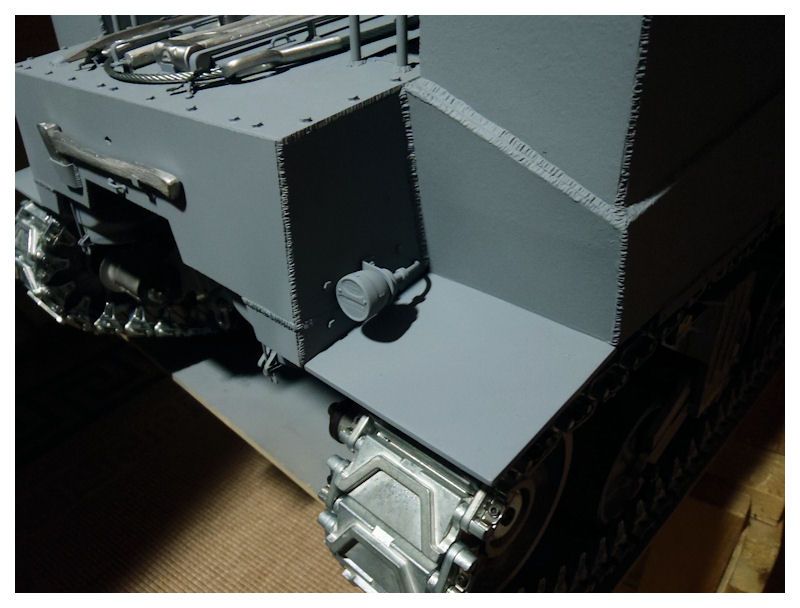
Hi All,
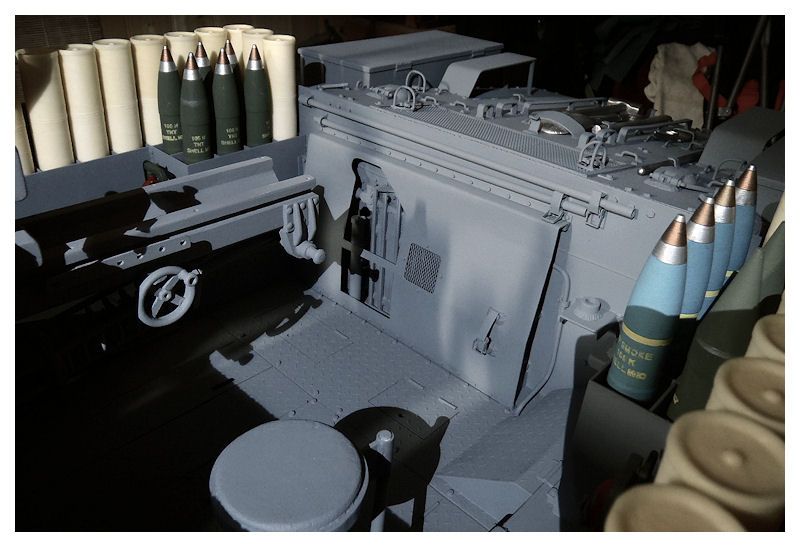
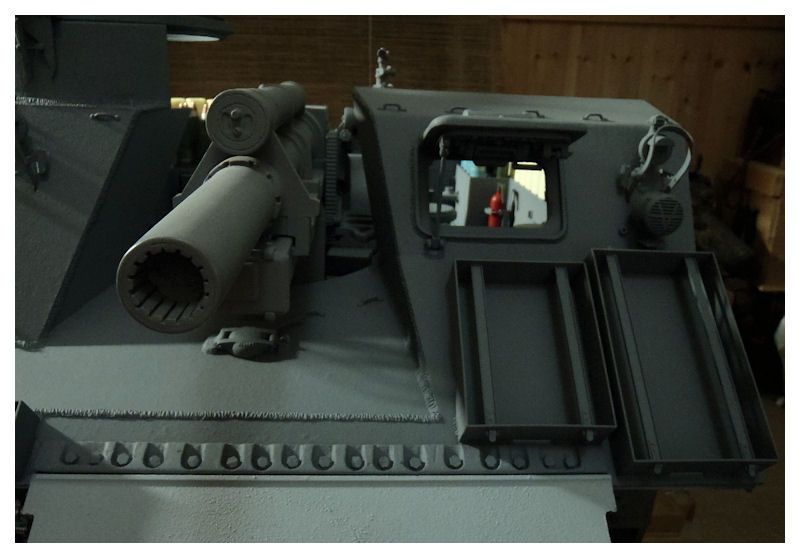
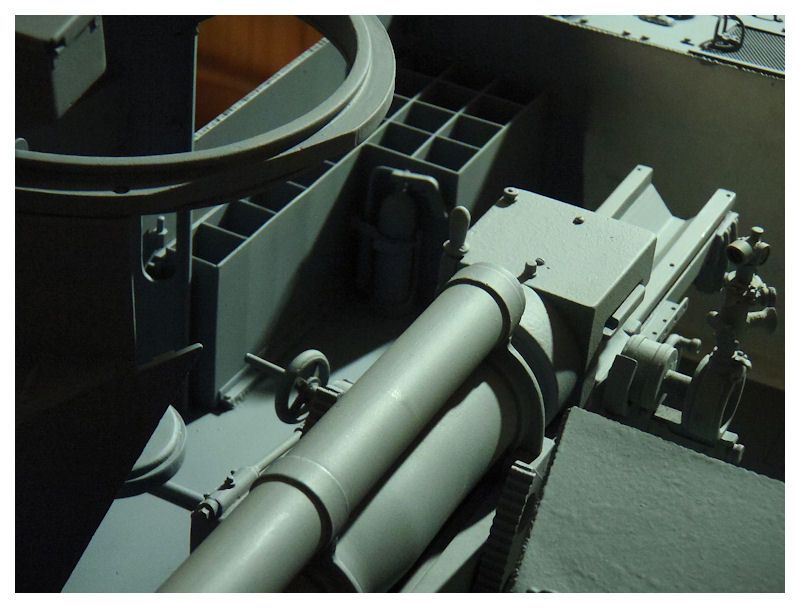
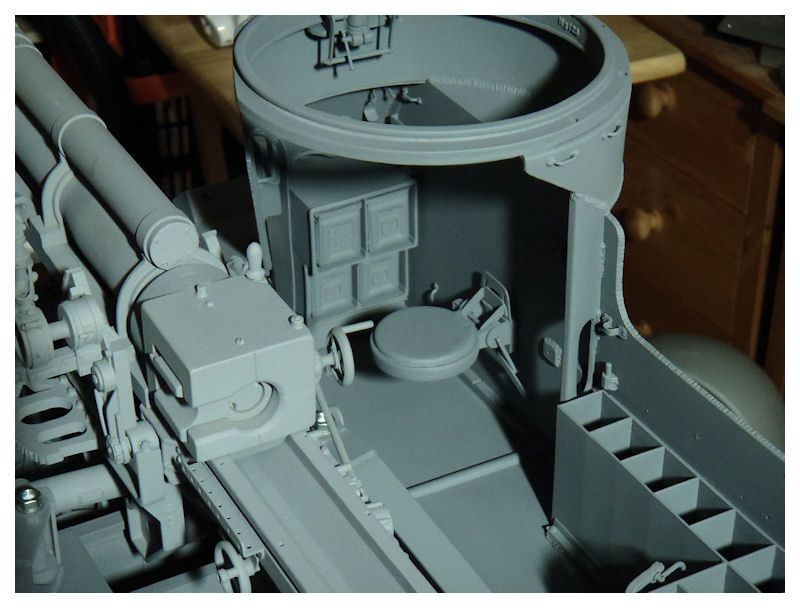
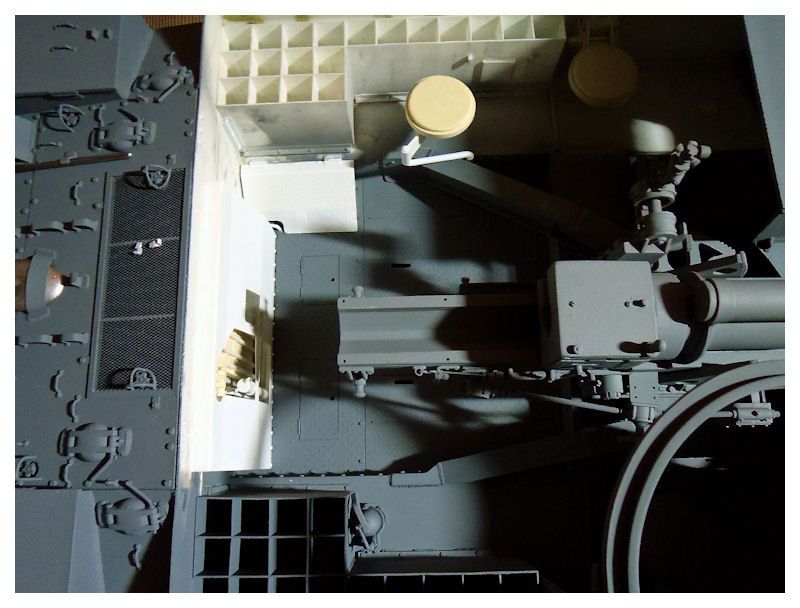
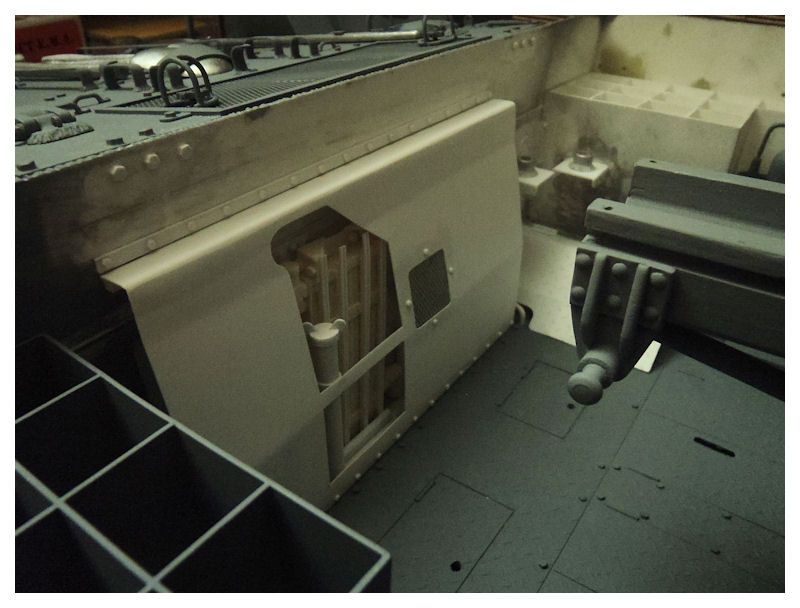
Got most of the rear bulkhead detail done. Oil Cooler is another piece from East Coast Armory.
Best regards
Dave

Posted: Mon Nov 01, 2010 11:07 pm
by Dave Dibb (Armorpax)
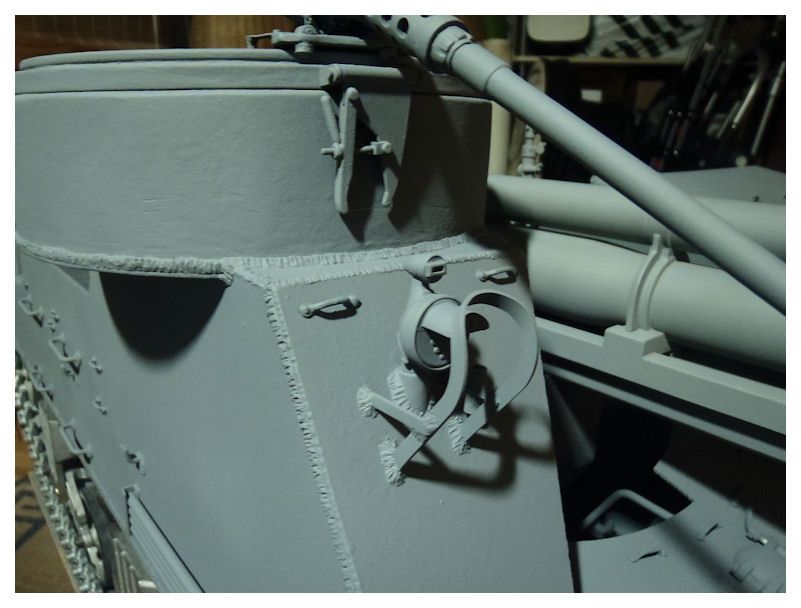
Hi All,
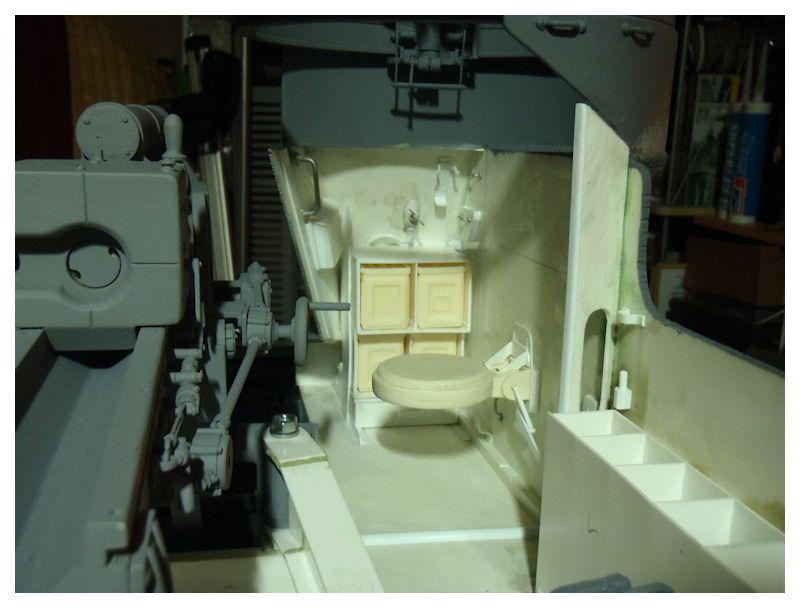
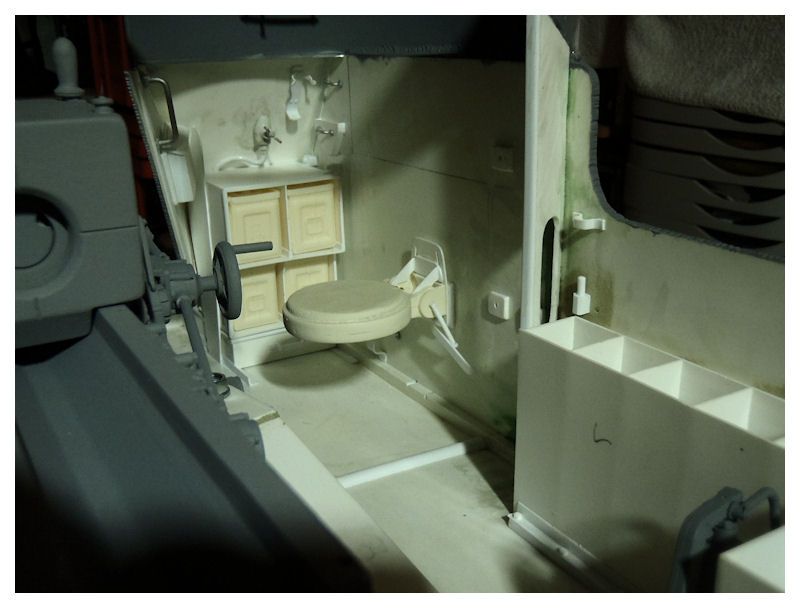
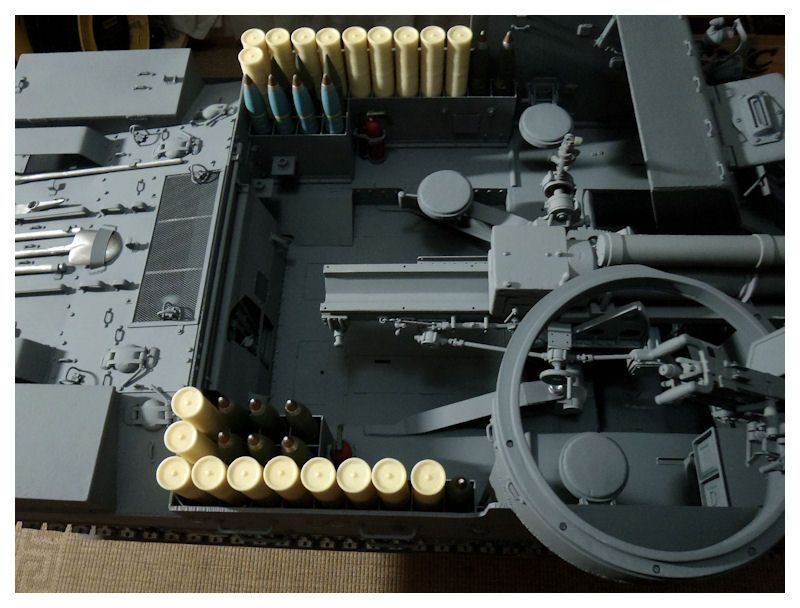
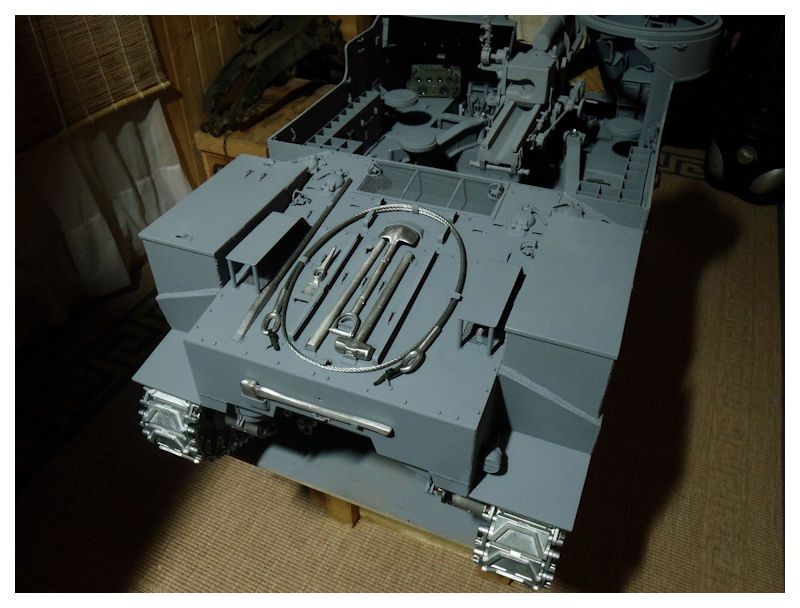
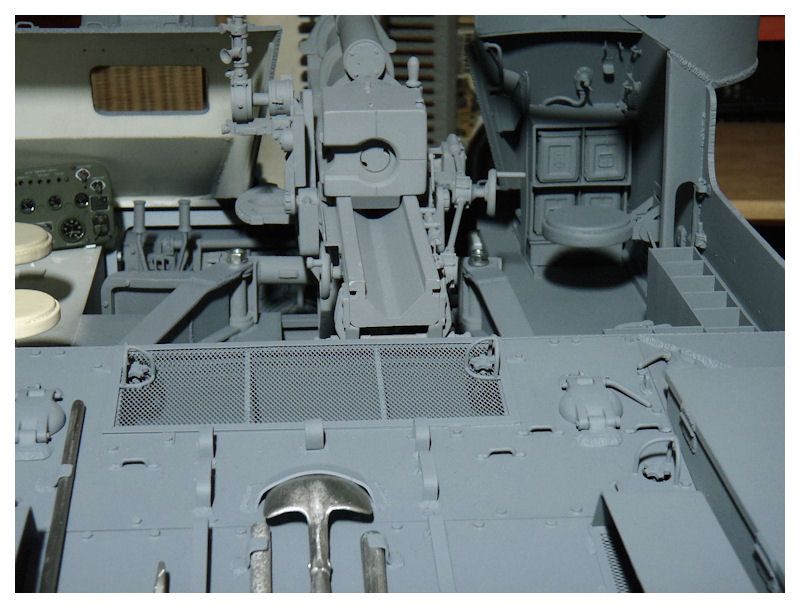
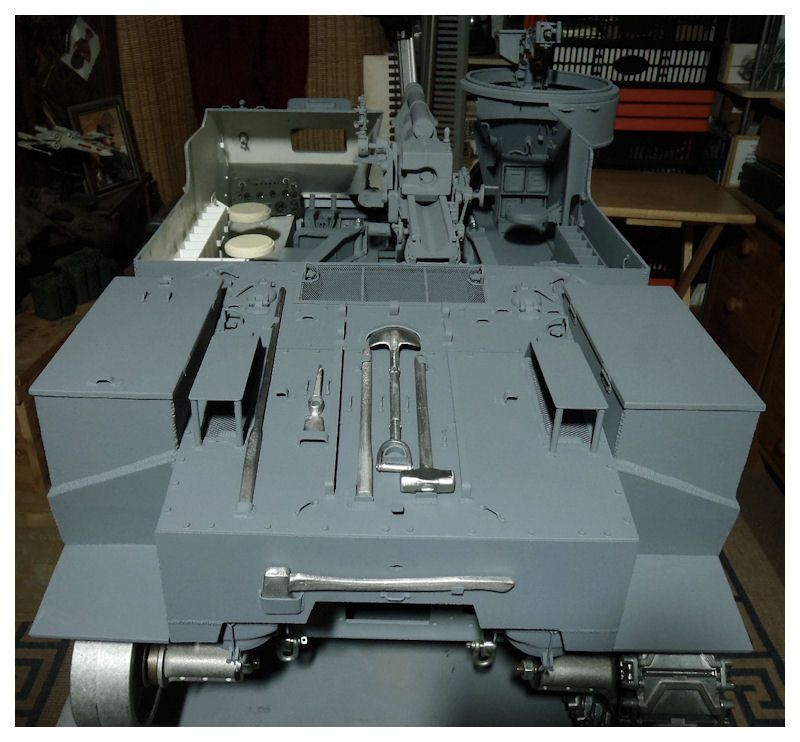
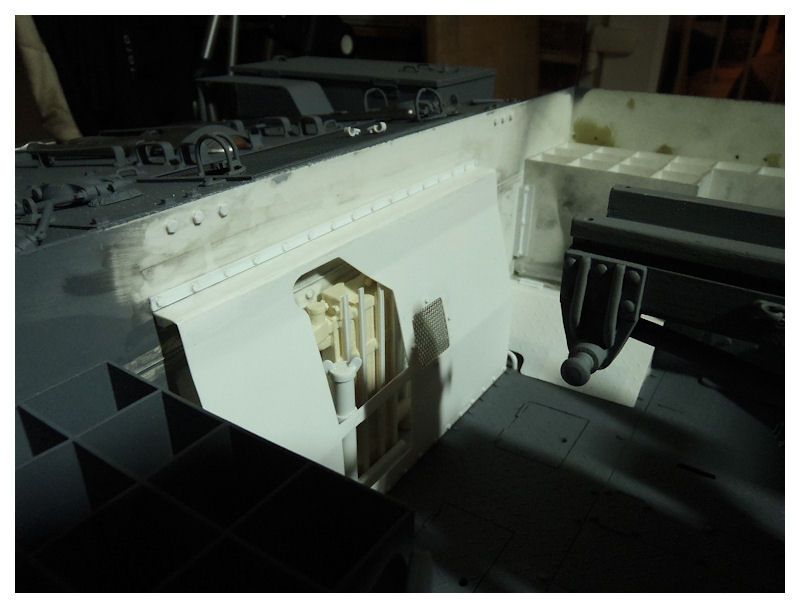
Brackets for the barrel brush and extractor fitted to rear wall and stowage bin and I've started on the drivers side wall.
Cheers
Dave

Posted: Sat Nov 06, 2010 5:20 pm
by Dave Dibb (Armorpax)
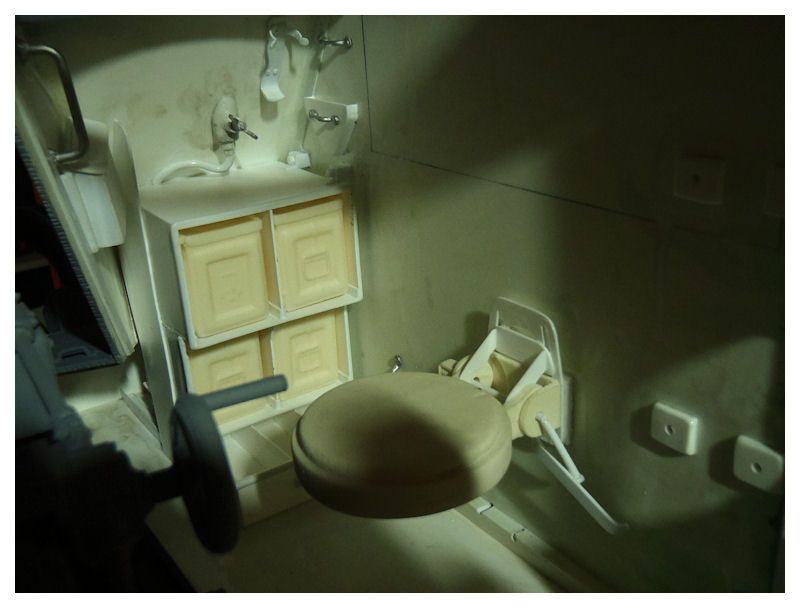
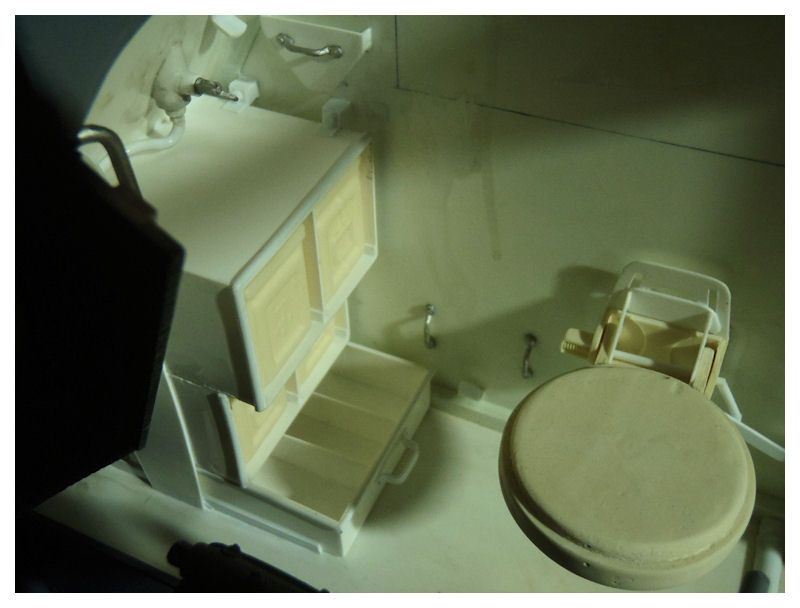
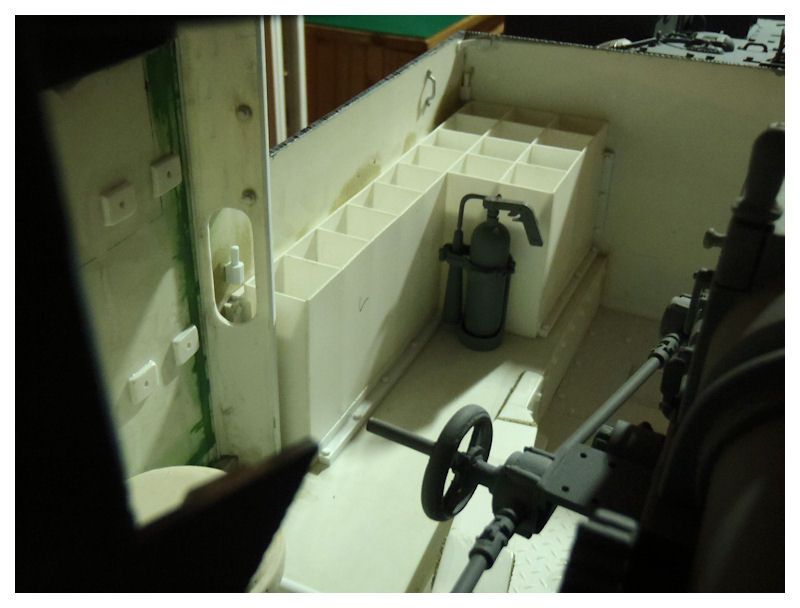
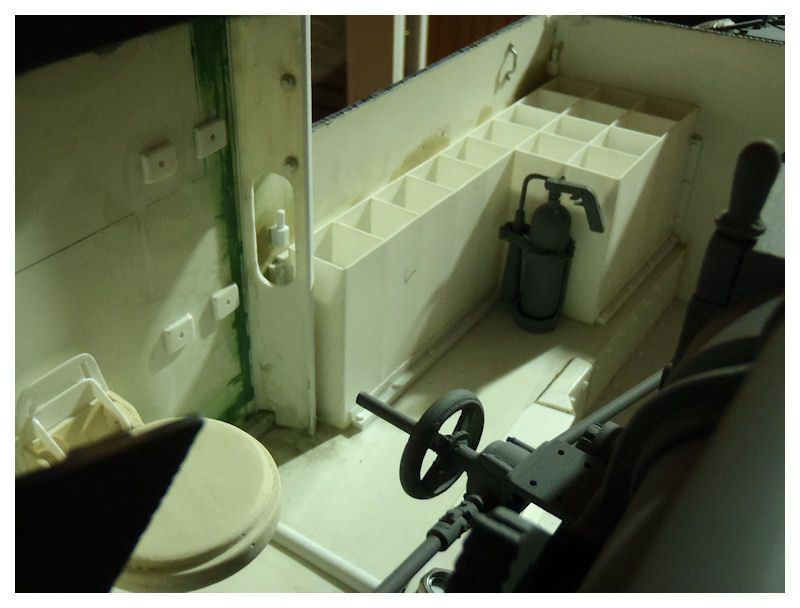
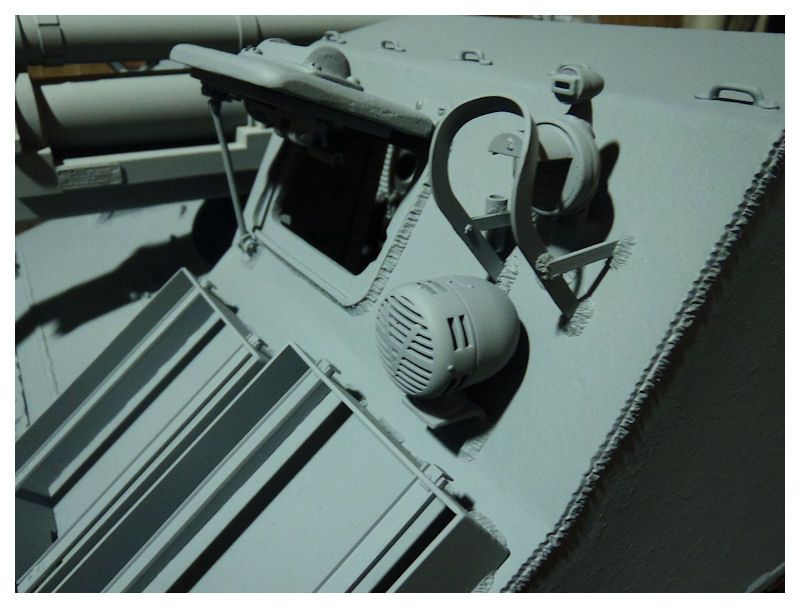
Hi All,
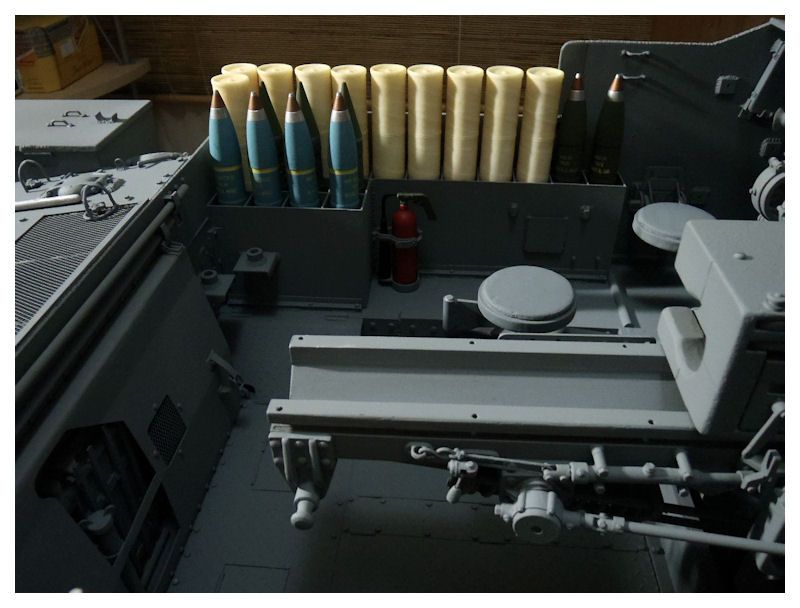
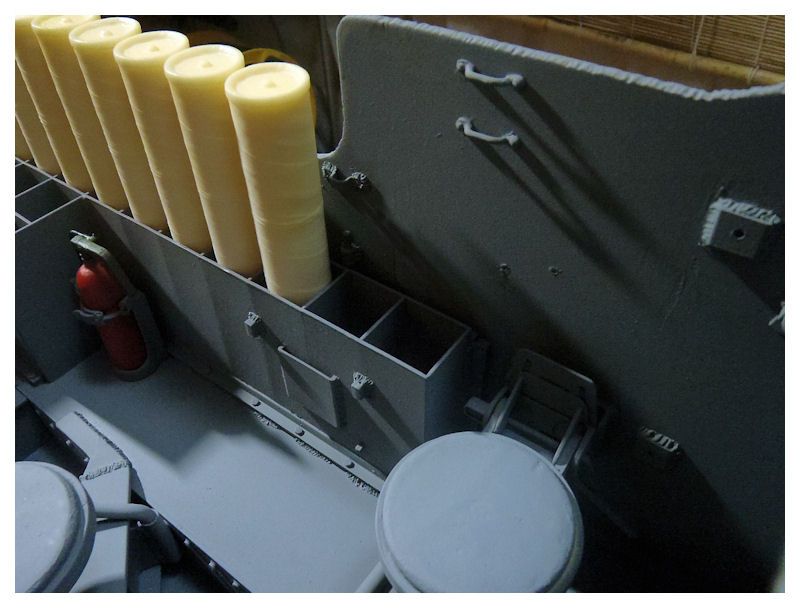
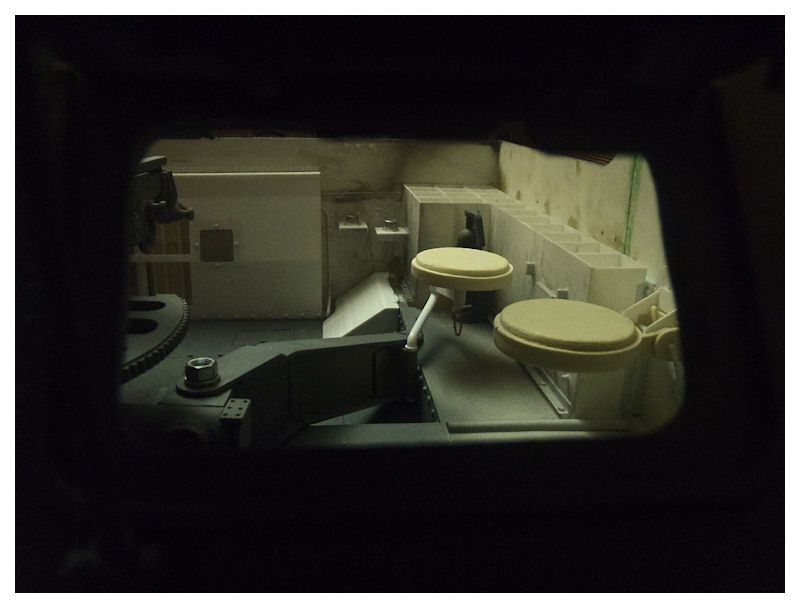
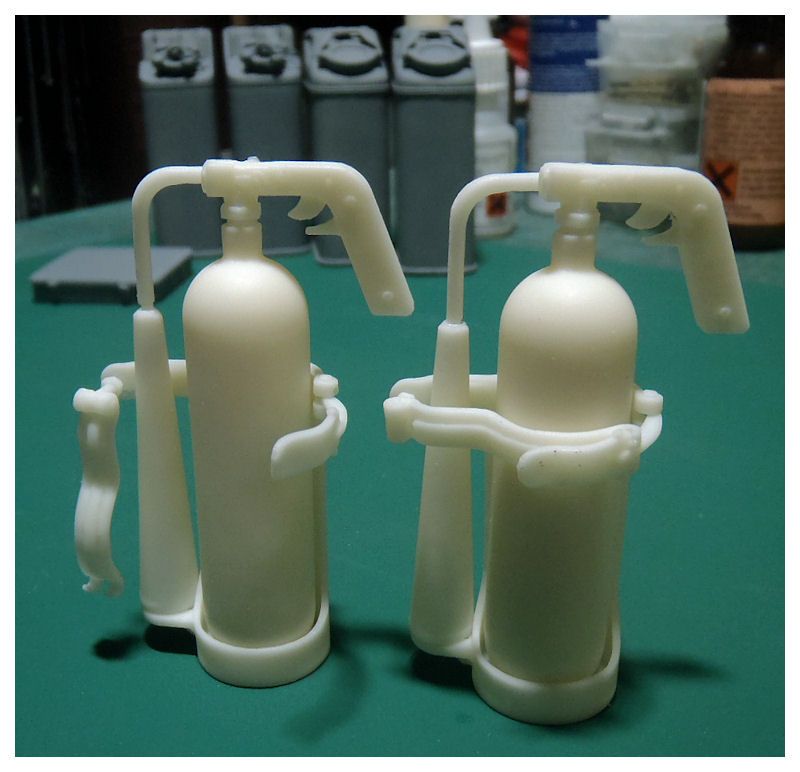
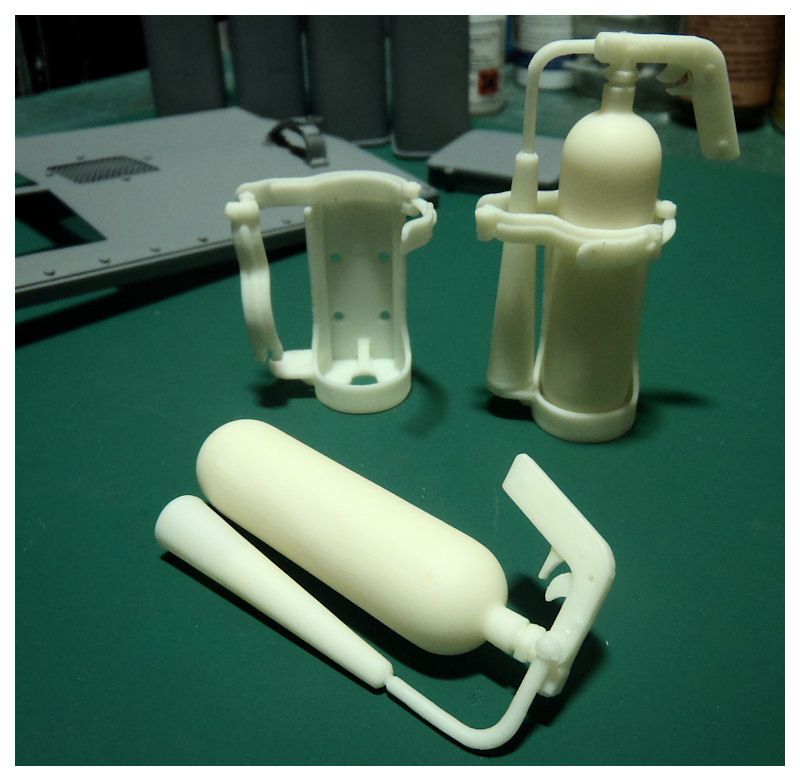
Got the moulds made and cast the fire extinguishers and brackets, will get these mounted tomorrow and hopefully finish the interior around the drivers position. If so just the gun shield to do and the upperworks will be done.
Best regards
Dave


Posted: Sat Nov 06, 2010 5:32 pm
by leesellars
Hello Dave
Lovely work Dave

Lee
Posted: Sat Nov 06, 2010 10:35 pm
by simon_manning
this build is amazing dave, the detail is superb, i have a look every time, regards simon manning.
Posted: Sun Nov 07, 2010 10:46 pm
by Dave Dibb (Armorpax)
Posted: Fri Nov 12, 2010 8:52 pm
by Alex Easten
One word mate,
STUNNING!
Keep up the fantastic work!
Alex
Posted: Sat Nov 20, 2010 10:18 pm
by Dave Dibb (Armorpax)
Posted: Sun Nov 21, 2010 4:41 pm
by Ad Wouterse
Hi Dave,
So many details

, I start to feel a bit dizzy

Posted: Sun Nov 21, 2010 8:27 pm
by Robert E Morey
Dave,
Gorgeous work. I am at a loss for words. Like Ad, so many details its mind boggling that one is looking at a model. Incredible. Kind regards,
Bob