Early Panther Ausf G Idler Wheel

Forum for discussion relating to the Panther
Tim Bowman
Posts: 1762
Joined: Fri Jul 13, 2007 4:53 am
Location: Northern California
Been liked: 177 times
Contact:

Post by Tim Bowman »

Hi Kent

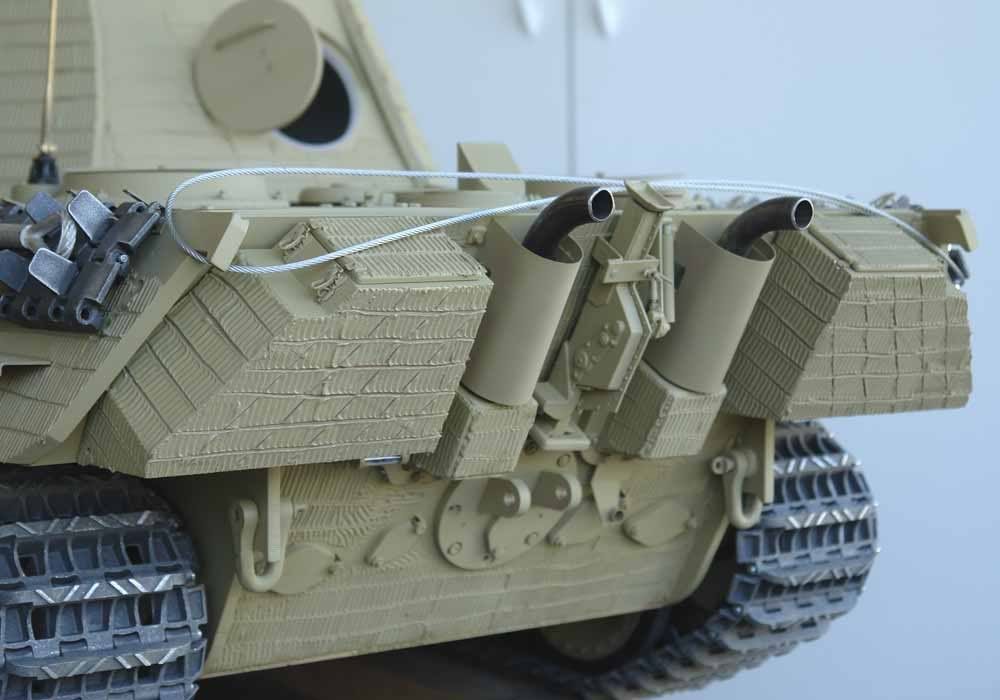
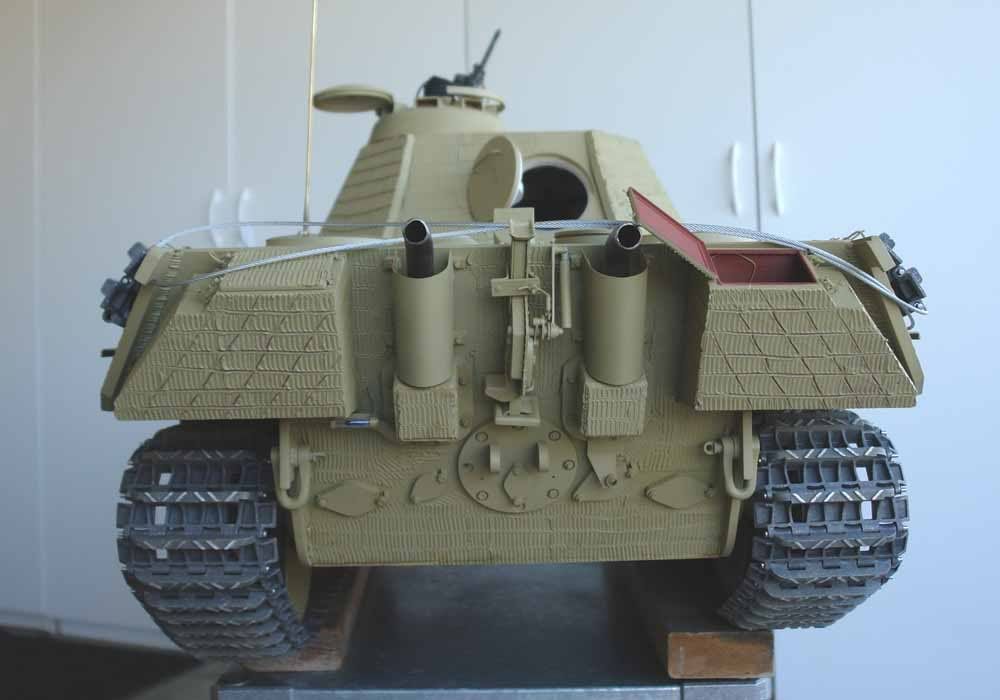
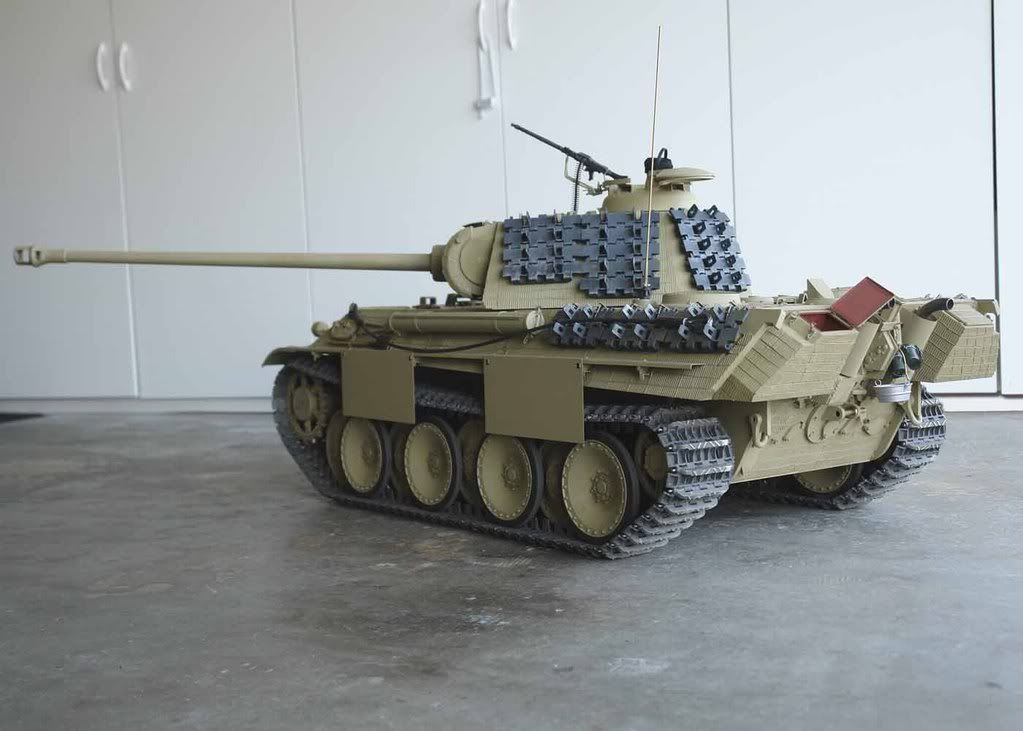
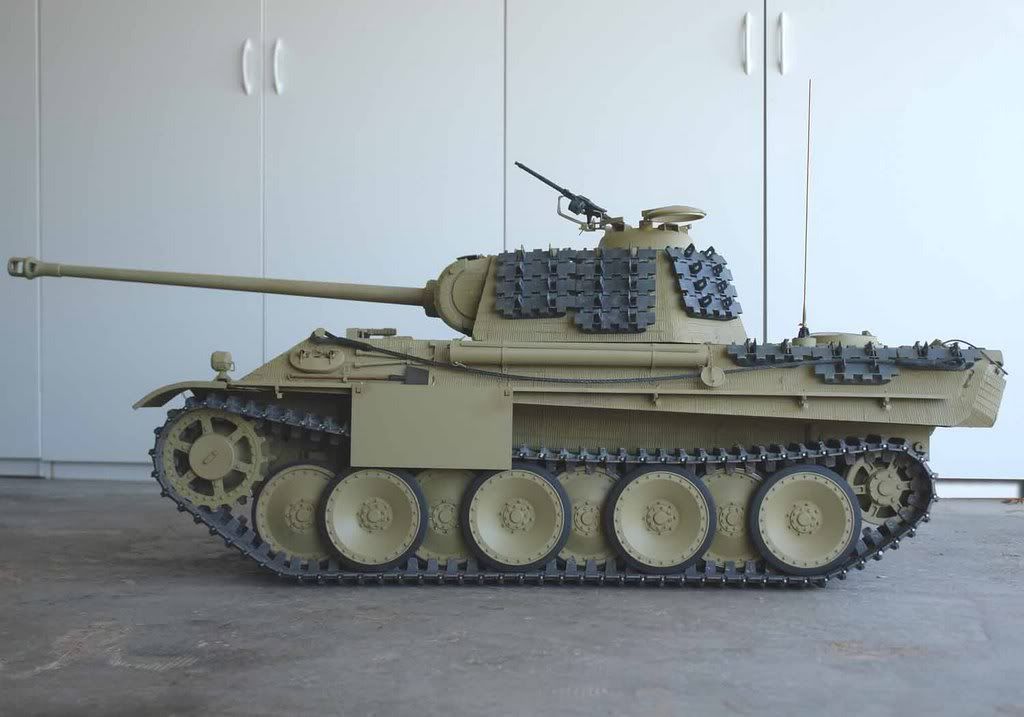
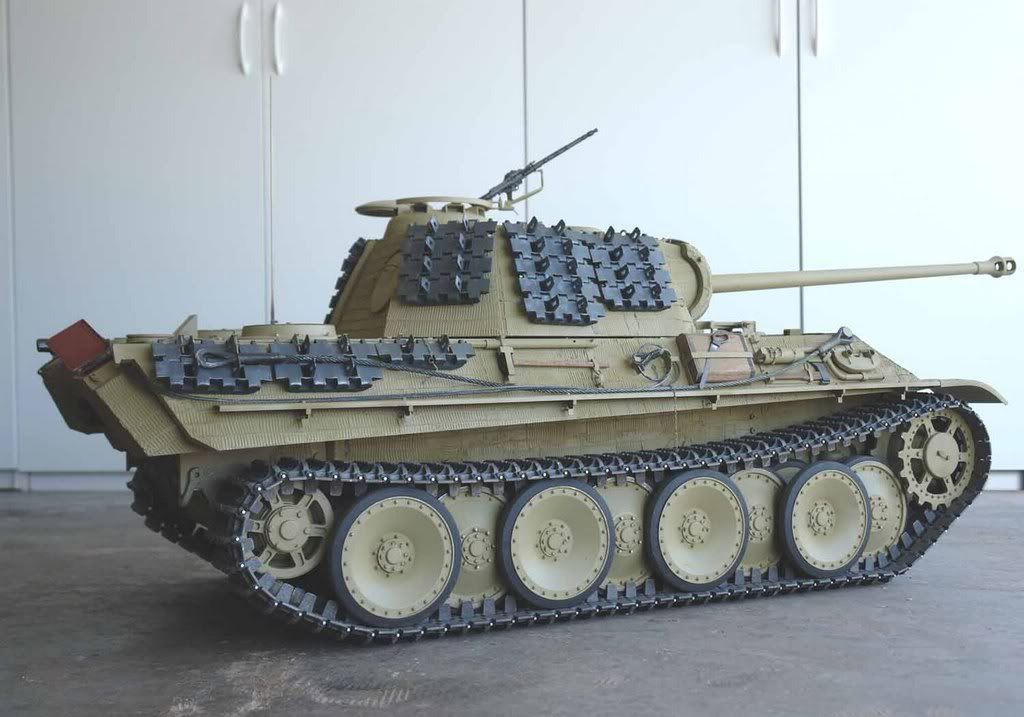
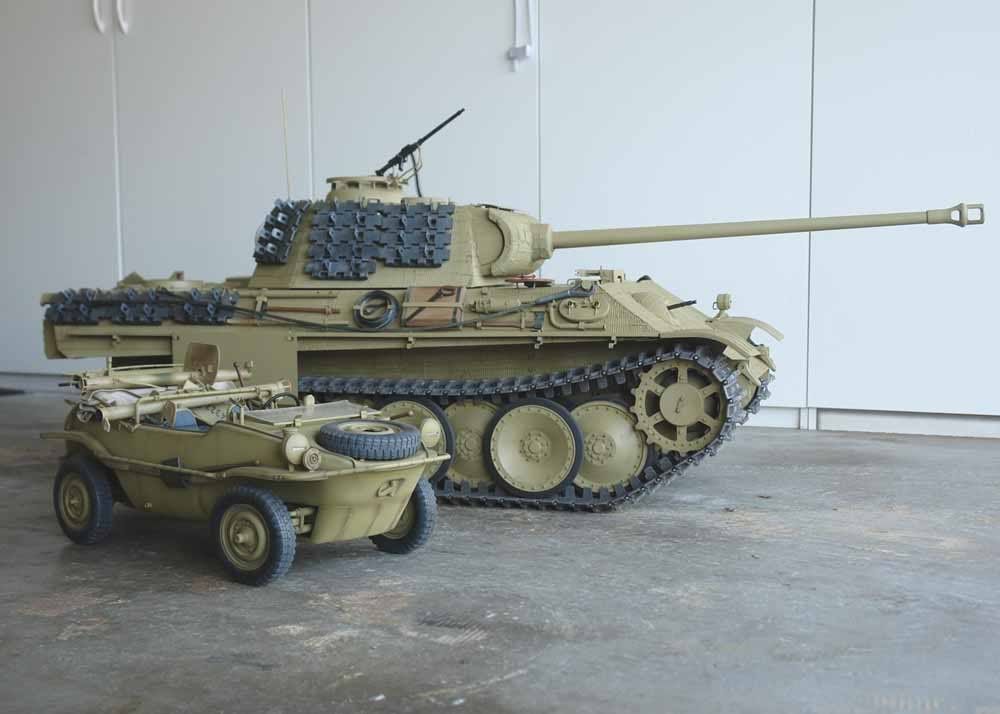
First set for my Panther I will be doing SLA's to see how they look. These should be ready this week. I will probably keep the welded exhaust guards on mine but will pursue making some cast ones just for kicks.(these will more then likely be machined)

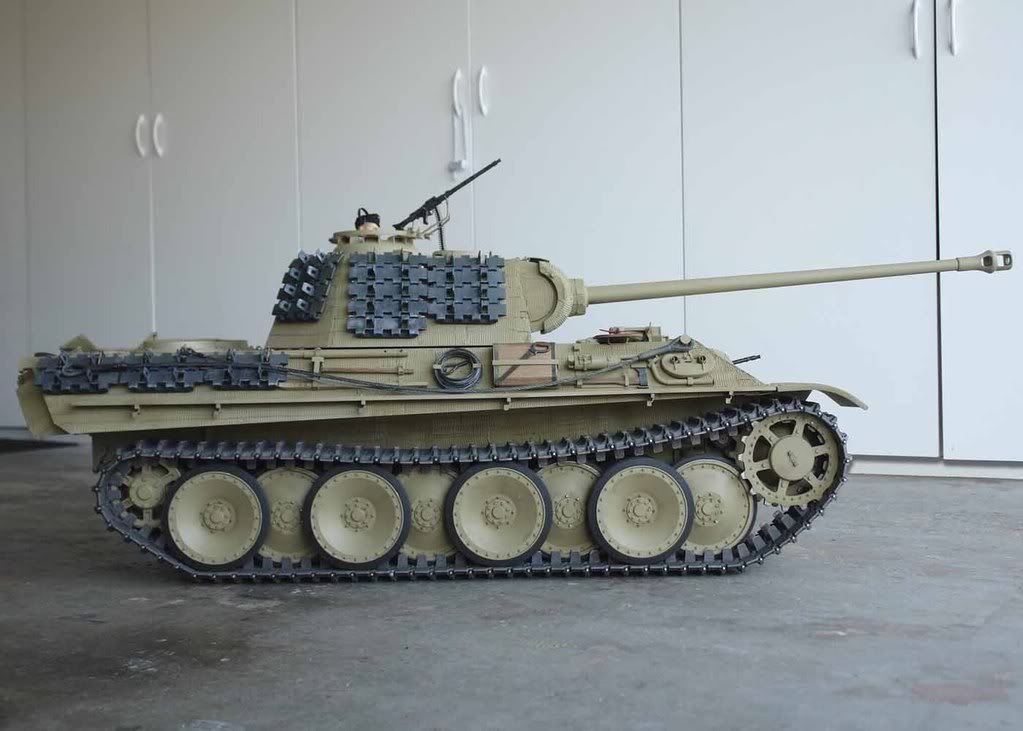
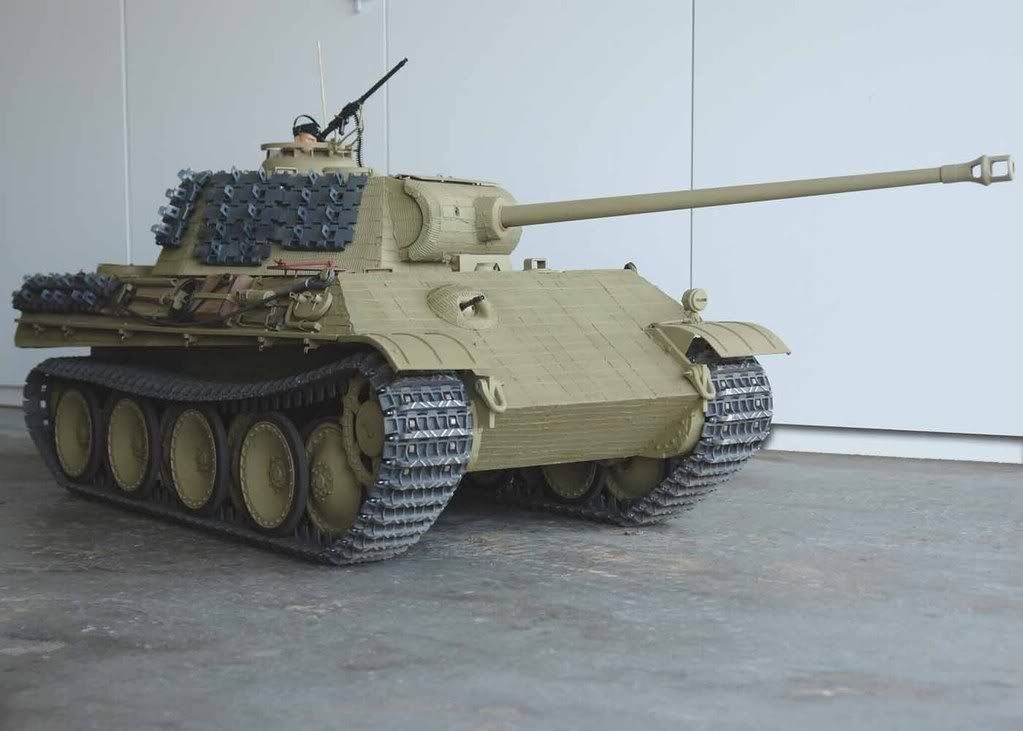
I'm trying to represent an early July production model that made it to Caen just in time to retreat to Falaise. :lol:

Hi Bob

Thanks. I guess my speedy work is based on two main factors.

1-Impatience
2- My wife said I have to get the Panther done before taking delivery on my late Tiger I :lol:

just kidding. It's mostly #1. I'll try to get more photos up in a week or two.

Panther on

Tim

User avatar
Robert E Morey
Posts: 2349
Joined: Wed Jul 18, 2007 12:59 am
Location: Seattle, WA USA
Has liked: 161 times
Been liked: 830 times

Post by Robert E Morey »

Tim,
Not thats a good wife. Allows you to get another expensive toy, so long as you finish the first.

David Sams
Posts: 2
Joined: Sat Sep 29, 2007 3:02 am

Post by David Sams »

You did such a wonderful job on your outside paste job on your tank what did you use as Zimmermit on your tank. Thanks Dave Sams

Tim Bowman
Posts: 1762
Joined: Fri Jul 13, 2007 4:53 am
Location: Northern California
Been liked: 177 times
Contact:

Post by Tim Bowman »

Hi David,

I used Joint Compound. You'll find a more detailed answer on page three of this thread and there's a photo of the product.

It's not nearly as durable as a two-part expoxy putty or Milliput but so far I am quite satisfied with it.

Tim

Tim Bowman
Posts: 1762
Joined: Fri Jul 13, 2007 4:53 am
Location: Northern California
Been liked: 177 times
Contact:

Post by Tim Bowman »

Hi all,

Slow progress but I got the boxes mounted finally. I think the only thing left on the rear is the engine access hatch detail and a armor guard for convoy light's wire penetration.

Regards

Tim

Image

Image
Last edited by Tim Bowman on Wed Nov 28, 2007 11:21 pm, edited 2 times in total.

Tim Bowman
Posts: 1762
Joined: Fri Jul 13, 2007 4:53 am
Location: Northern California
Been liked: 177 times
Contact:

Post by Tim Bowman »

Well, I figured I'd just keep this thread going.

Progress pictures. Not much new but making progress, and pictures are always fun anyways. I re-worked all suspension, redid the zimmerit on the the front glacias. Modified my spare tracks(not completed yet) put hangars on the turret. Loaders hatch is next.

Early style idler(not in these photos) is being machined.

Image

Image

Image

Image

Image

Image

Image
Last edited by Tim Bowman on Mon Feb 18, 2008 12:25 am, edited 4 times in total.

Dale jordan
Posts: 1456
Joined: Fri Jul 13, 2007 1:10 am
Location: Port Macquarie Australia
Been liked: 514 times
Contact:

Post by Dale jordan »

Amazing workmanship Tim . That's the best Panther so far . How about a photo of her sitting under load !! So we can see how the suspension looks?? Dale.

Kent Wiik

Post by Kent Wiik »

Yes Tim, Dale is right that is the finest 1/6th rc Panther in the world (so far :wink: )
Thanks for posting as your work is a huge inspiration for us other that is nor so far in to our build :oops:
Has now one of your photos as background pick on my computer screen.

Those holes in the spare track guide horns make a huge improvement.
What more will you add to them? The real links had a lot of curves, holes and dug outs not within the kit ones.
Add a drawing how they looked like as inspiration for all to give it a try.
Sad thing that this will has to be done to more then one spare track link... :shock:
Image

Keep up the good work!
Cant wait to see her with the early idler.
/ Kent

Tim Bowman
Posts: 1762
Joined: Fri Jul 13, 2007 4:53 am
Location: Northern California
Been liked: 177 times
Contact:

Post by Tim Bowman »

Dale,

Thanks for the kind comment. I'll get her on the ground and take some more pictures. Just what this thread needs, more pictures from me! :lol: The last set of pictures of the rear boxes I posted were on the tracks..albeit on the stand but I'll put some nice "on the ground" ones up ASAP.

Kent,

Thanks. But I am sure there already have been, and will be, plenty that just blow mine away. I can think of several off the top of my head.
:wink:
As far as the tracks go, I plan on adding the concave areas around the holes on the outside guides as best I can. I think that will help too as far as visually bringing it up to scale. Thanks for the excellent drawing, that will be a help and yes it is quite tedious work doing each one. But then, what else am I gonna do till I can save up for my Tiger.
:)

Also, you'll be glad to know I folded the locking tabs on my hub cap bolts. Much better!

Tim

chris fry
Posts: 264
Joined: Tue Jul 24, 2007 1:21 pm
Location: southampton
Been liked: 525 times

Post by chris fry »

hello tim,
just started to mod my track links, mainly the slot in the wheel guide lugs, how did you do yours, mine i just drilled and filed the square but doing this you are left with a shiney edge, dont really want to paint the tracks as they look great allready, whats your thoughts.

thanks, chris.

Allan Richards
Posts: 743
Joined: Thu Jul 12, 2007 10:34 am
Location: Kent
Been liked: 10 times

Post by Allan Richards »

All,

I can appreciate the added detail in modifying the strored track links but it seems a costly way to do it by cutting links that could be spares for the tracks. Over the years I've broken a few on my Tiger and had to use these spare links. In fact most of the mounted spare track is now made up from the old broken links. Perhaps it would be worth speaking to Dave Dibbly to see if he could make superdetailed white metal links if enough of you got together to make it worth his while.
Allan Richards

Derek Attree
Posts: 1307
Joined: Thu Jul 12, 2007 12:44 pm
Location: london
Has liked: 219 times
Been liked: 200 times

Post by Derek Attree »

Hi Guys
Resin would work as spares as well

Derek
we must stop making stupid predictions

Tim Bowman
Posts: 1762
Joined: Fri Jul 13, 2007 4:53 am
Location: Northern California
Been liked: 177 times
Contact:

Post by Tim Bowman »

Chris,

For my spares, I made a simple mold of five separate links, cast a whole bunch and modified the urethane dupes. This way, as Allan says, I still have my functional spares.

The ones in the above photos I did a quickie paint job so they resembled(somewhat) the nice finish of the Armortek ones. I'm not sure how I will treat them when I camo. I think it is awesome you are modifying the actual aluminum links! If its just the guide hole that is shiney, I think you can paint it to match the rest of the track without too much trouble, leaving the rest unpainted. It'd be nice to have the functional tracks detailed as well.

Some of us over here have also discussed catsing detailed white metal links.

kind regards

Tim

Kent Wiik

Post by Kent Wiik »

One rainy day this summer I decided to take a brake from the sprocket conversion seen in another thread and gave one of the track links some attention :oops:

After 3 hour of hard labour I and my friend Dremel had enough and this is what we had accomplished...

Image
Still a lot of work left to get the guide horns decent - and I gave up :shock:

Did got hold of some links from that other Mark selling the Russian alternative in this hobby and as a matter of fact they was s bit better to use as a start as they had holes already in their guide horns.
This is how they turned out after 3 hours of work, and now not only Dremel but some JB weld had to be used here - and I gave up... :shock:
Image

This will take to much time to do as I need at least 9 links - time that can be used on better things.
I would welcome is some vendor came up with accurate links and is willing to send my original Panther track link to be used to get all measurements if the drawing above is not enough.
I think there is a market for such links, I am quite certain of it :!:

Cheers
Kent

chris fry
Posts: 264
Joined: Tue Jul 24, 2007 1:21 pm
Location: southampton
Been liked: 525 times

Post by chris fry »

hello again Tim,
thanks for the reply, yes i am modifying the aluminum links and its very time consuming, but worth it in the end i hope, will try just painting the filed areas if i can find a good enough colour match, the only thing that concerns me is the strength loss as these lugs take a big load when turning the tank on its axis, time will tell,

cheers, chris.

Post Reply