Page 4 of 31
Posted: Fri Feb 11, 2011 10:14 pm
by John Fitzsimons
Thanks Kent. Are those dimensions from 1:1 scale tiger in mm? Perfect.
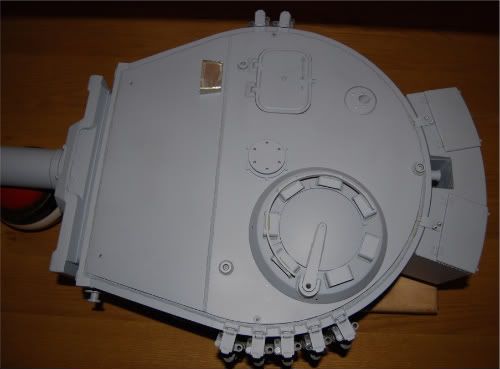
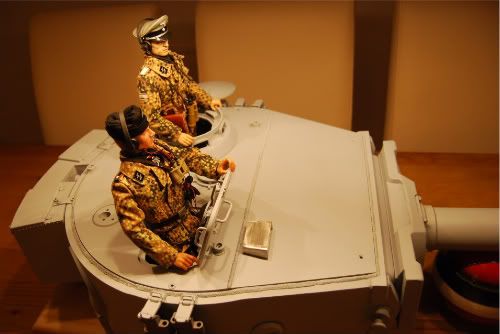
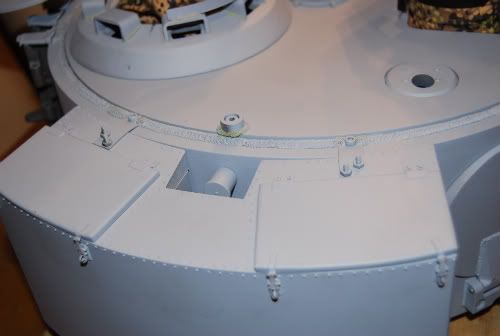
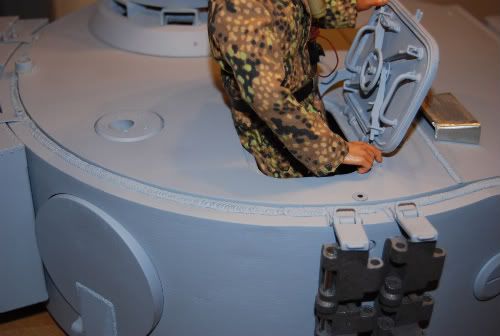
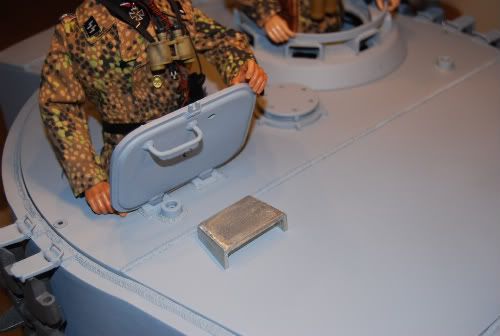
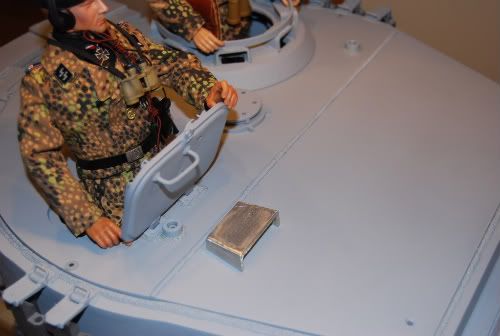
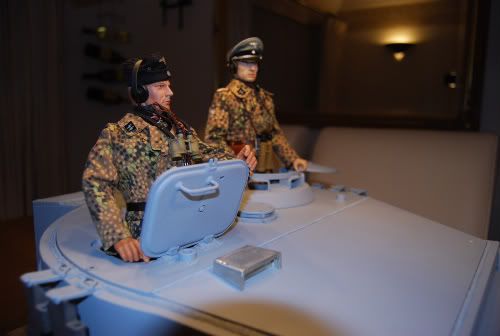
Have added most of the turret weld lines. Thinking now of detailing for the cupola. I have the new loaders hatch lowered flush with the turret top. Then I will add texture to the turret roof. I was reading your method on adding rolled steel effect. Am I right in saying that It should be primed first prior to adding the texture?
You have a nice weekend also.
Posted: Fri Feb 11, 2011 10:44 pm
by Kent Wiik
Hi John,
Yes, all of David’s measuring is in 1:1.
And yes I always primed first before texturing just to make sure the texture bound to the metal surface of our Armortek kits.
Kind regards
Kent
Posted: Fri Feb 11, 2011 11:06 pm
by John Fitzsimons
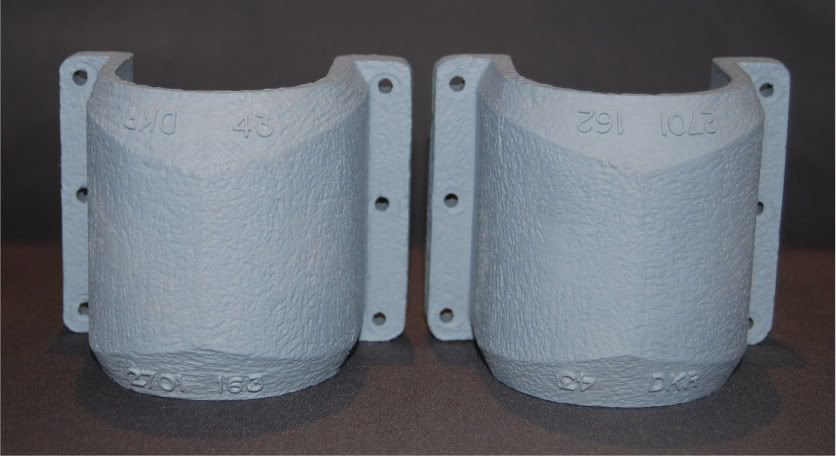
Thanks Kent. With regard to Late Tiger 1 Zimmerit, I found an interesting article in one of my Tiger books (Osprey modelling the Tiger 1) on the subject of the difference between turret and hull Zimmerit. The article was about 1/35 scale. Scaling up would give a 23mm width for hull pattern and 35mm for turret. Deeper ridges on the turret and when zimmerit cured rub with sandpaper to create a flatter surface to ridges.
Posted: Sun Feb 20, 2011 9:19 pm
by John Fitzsimons
Posted: Mon Feb 21, 2011 1:35 am
by Mike Kasputis
Looks good so far.
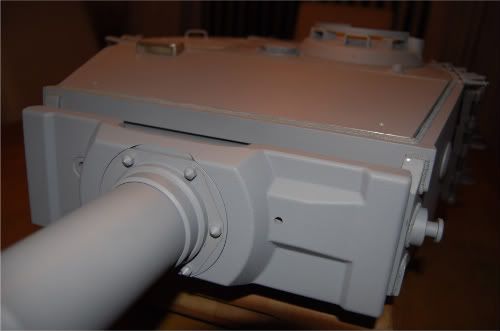
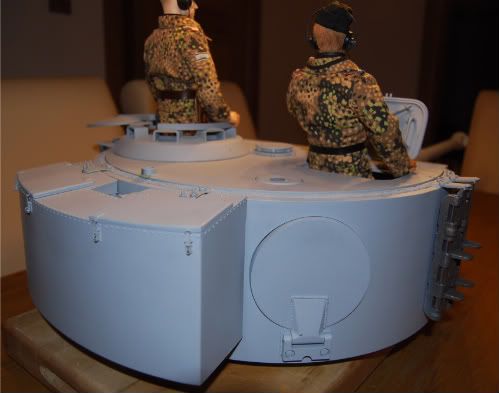
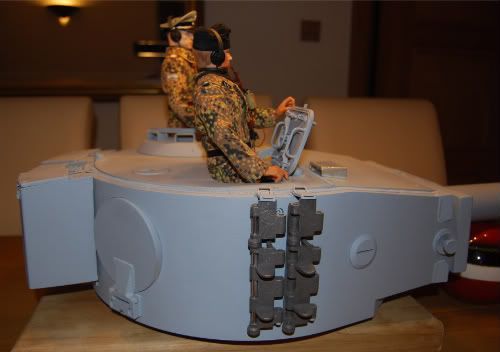
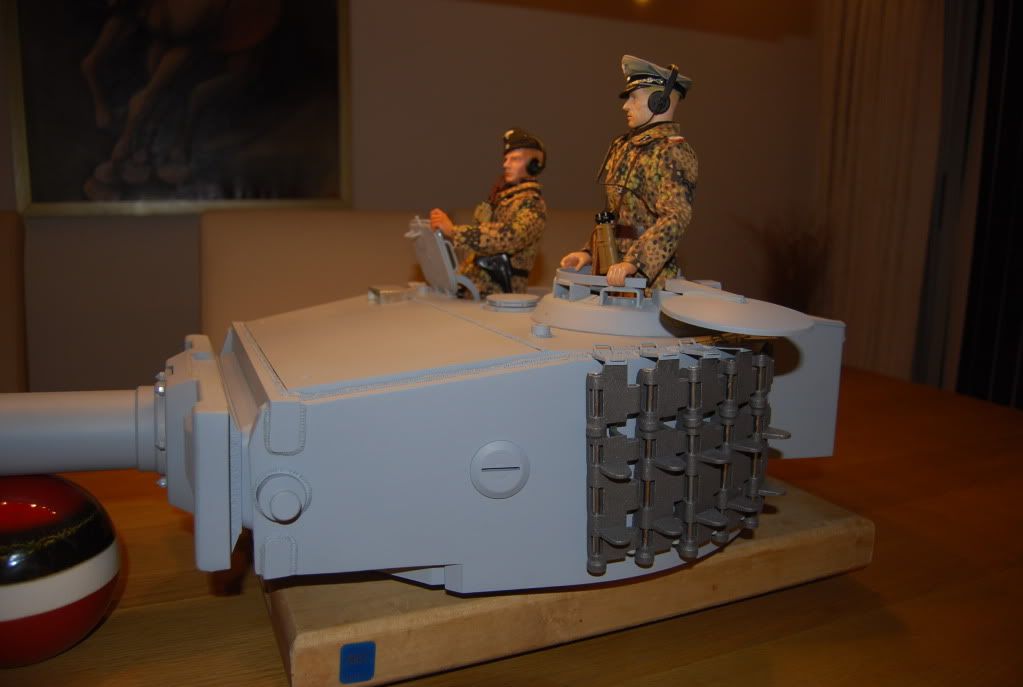
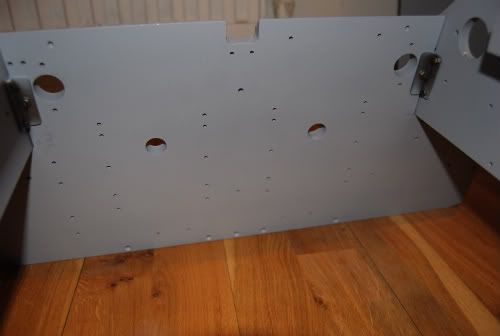
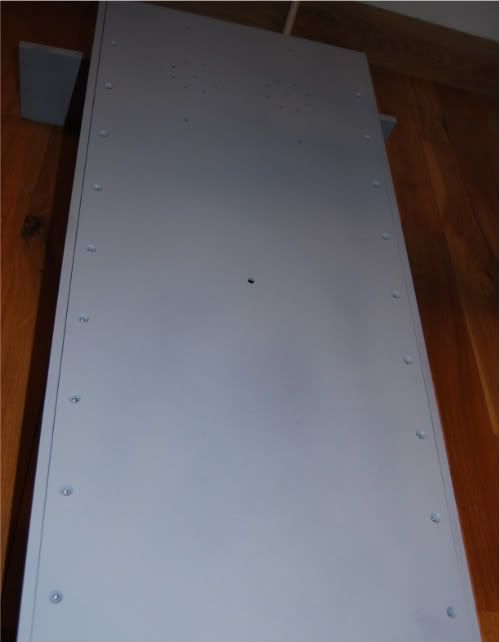
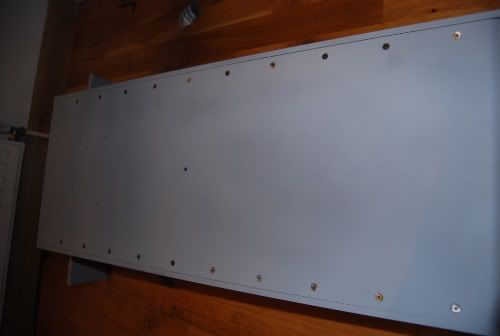
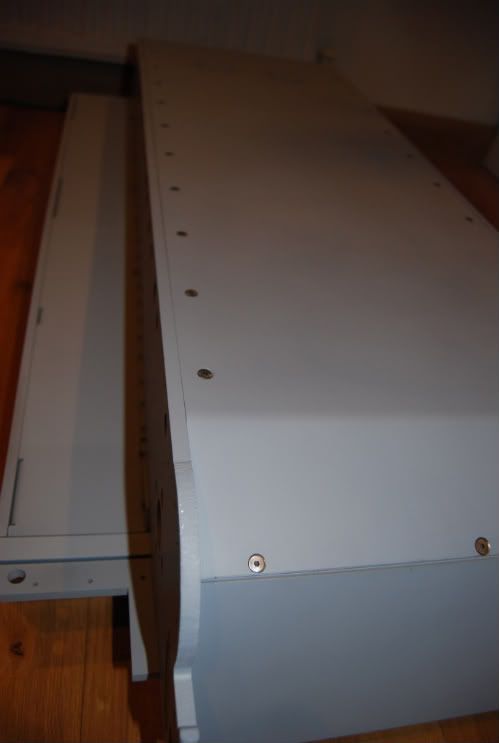
I have to ask, what happened to the left side front of your turret?
Posted: Mon Feb 21, 2011 8:27 am
by John Fitzsimons
Hi Mike, left side front. don't know what you mean exactly? Have I missed something. Do you mean where the turret front joins with the wrap?
Posted: Tue Feb 22, 2011 2:45 am
by Mike Kasputis
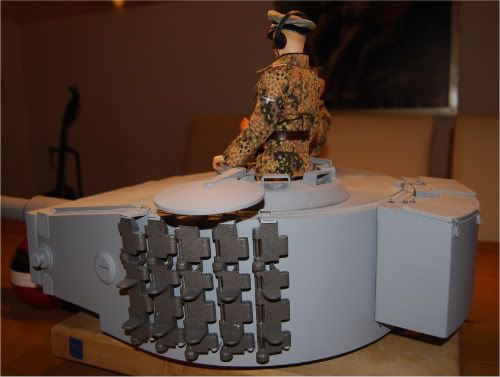
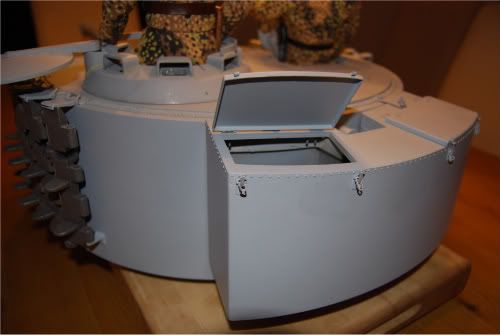
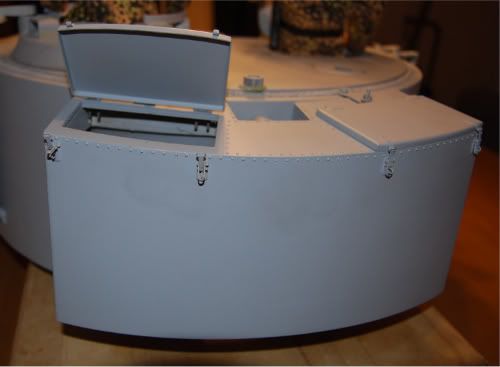
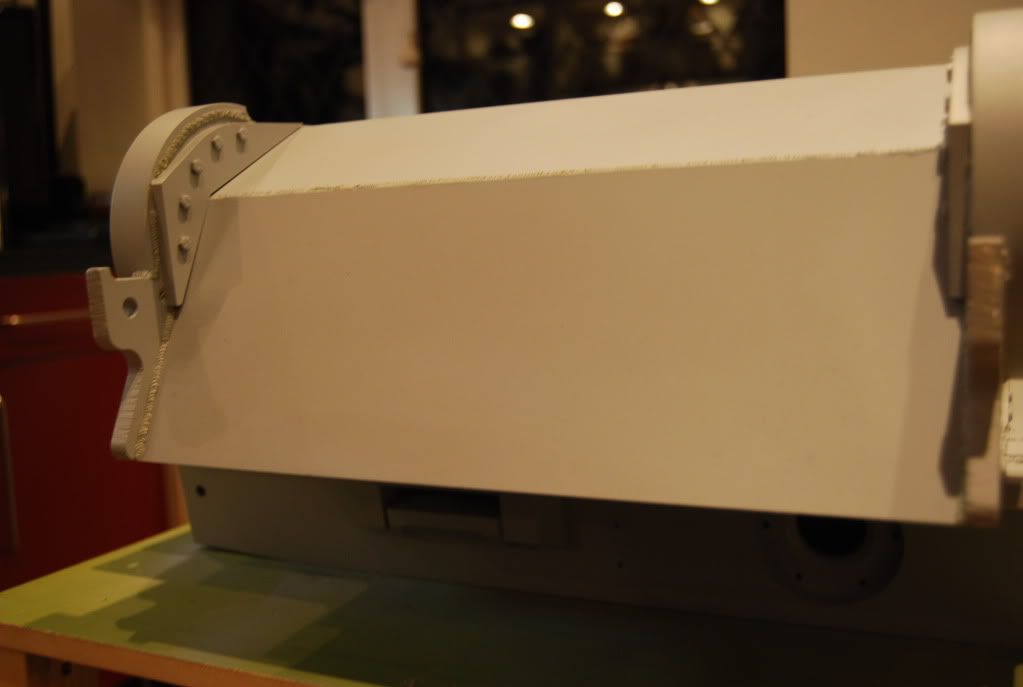
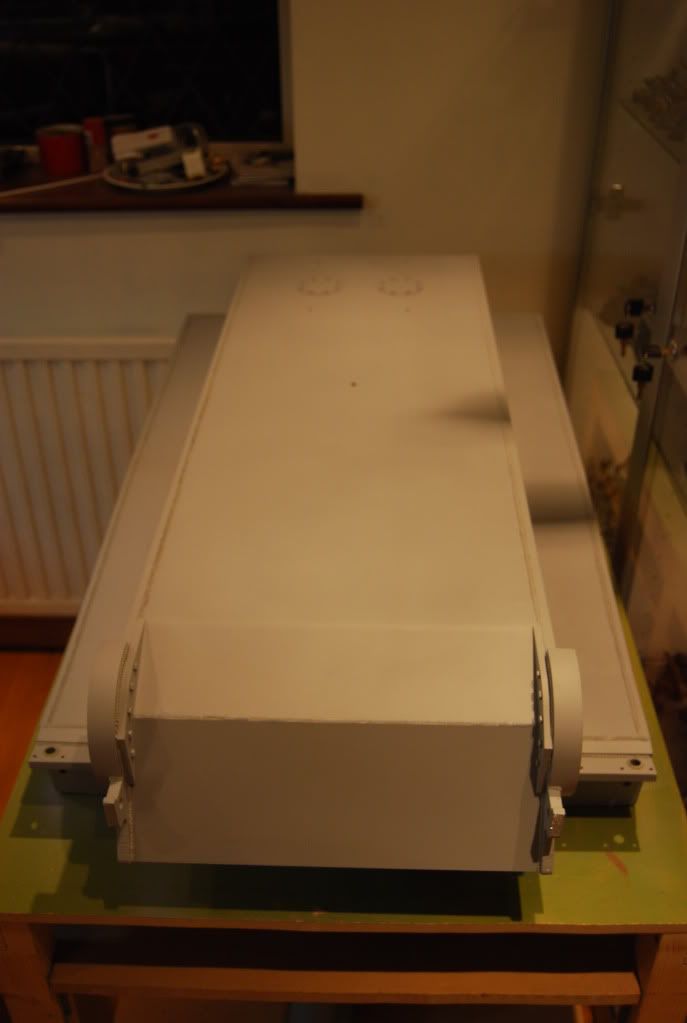
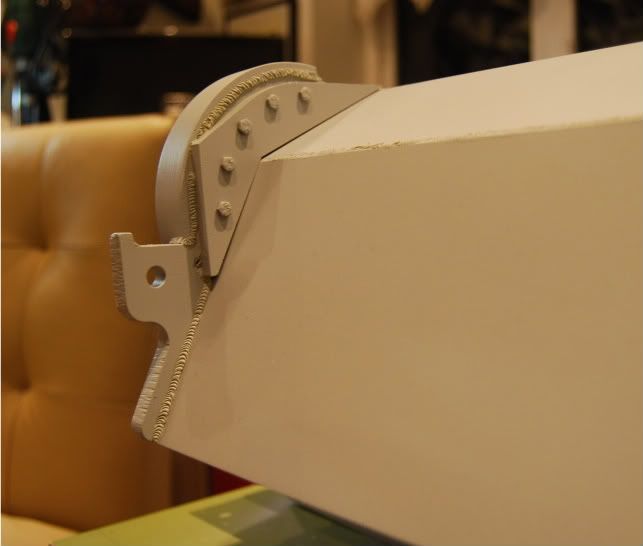
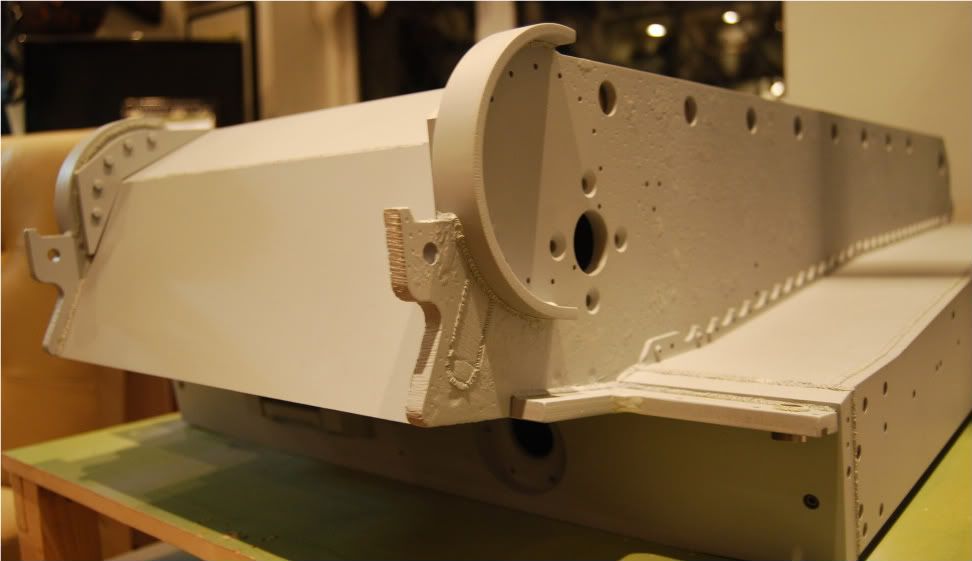
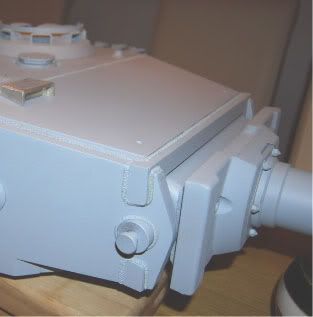
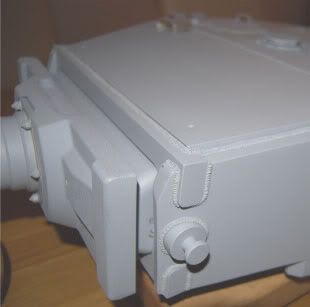
Here is a comparison of your right and left sides. The right side is good but the left side is flat, should look like the right side.
Posted: Tue Feb 22, 2011 8:39 am
by John Fitzsimons
Hi Mike,
Thats the way my turret wrap came. Didn't cut it. I did not know much about the late tiger so assumed this was just one of the differences between late and early tigers. Maybe one of the late Tiger experts could confirm is the kit was wrong.
Thanks for mentioning it Mike.
If the wrap is machined incorrectly I would prefer to just add a piece of aluminium and get my friend Mr Dremel to help with reshaping. I will check the pictures in my instruction manual later.
Posted: Tue Feb 22, 2011 10:50 am
by Steve Norris
Hi John.
It looks like the turret wrap has been cut to short !
To repair this i would surgest finding some suitable material and profiling it to the correct shape the attaching it by CSK screws into the front edge. Finnally fill and blend to get a good finish.
Regards
Steve
Posted: Tue Feb 22, 2011 11:36 am
by John Fitzsimons
Well spotted Mike. Thanks for bringing it to my attention.
Steve, thats exactly my plan and it should work well. I have asked Gill to send me a couple of offcuts of suitable thickness aluminium as she has my sprocket wheel there anyway for some additional machining.
I' sure even some real tigers were made with monday morning heads. Once complete nobody will ever know.
John
Posted: Wed Feb 23, 2011 1:50 am
by Tim Bowman
Hi John,
Greate job on your turret. The recessed loaders hatch looks very nice. Sorry about the short-sided wrap. Sounds like you have it all sorted though.
Keep the posts and photos coming. Watching with interest.
Kind regards
Tim
Posted: Thu Feb 24, 2011 2:47 am
by John Fitzsimons
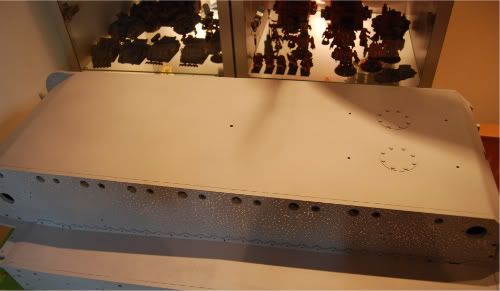
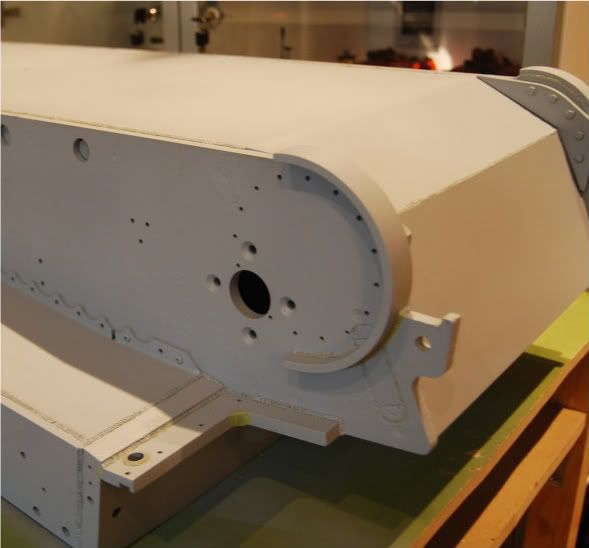
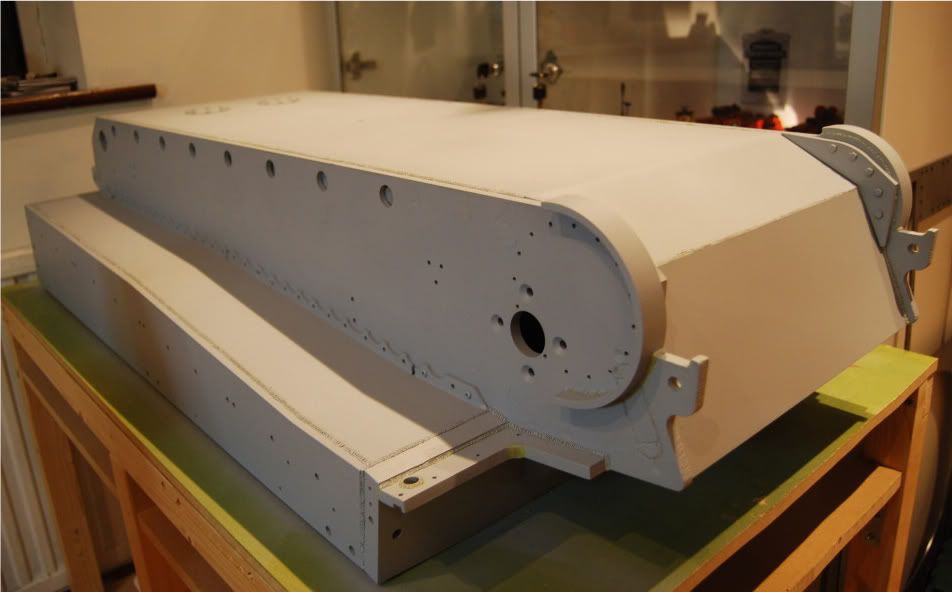
Now that I have my copy of the Modeler's guide to the Tiger Tank I can research things a bit better. First thing I notice is that The Loaders hatch is not the correct hatch for the June 44 version with the weld line across the turret roof. I can live with this though as I like both. Plus the escape hatch hinge needs slight modification. When I get the wrap situation sorted out I will get back to the turret. Gill is looking after it for me.
Posted: Fri Mar 04, 2011 1:00 am
by John Fitzsimons
Posted: Sat Mar 05, 2011 7:27 pm
by Robert E Morey
John,
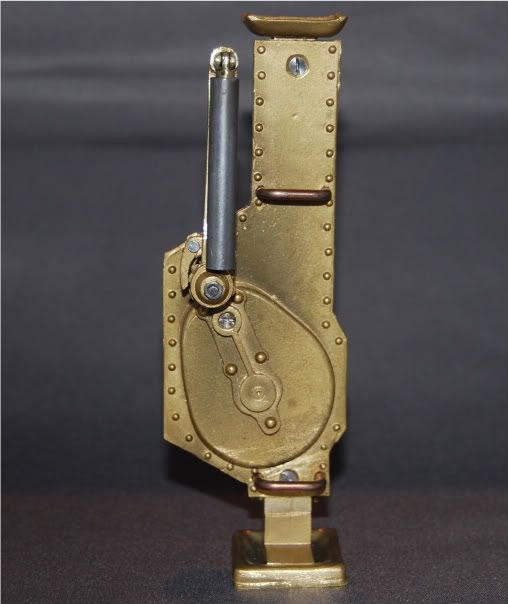
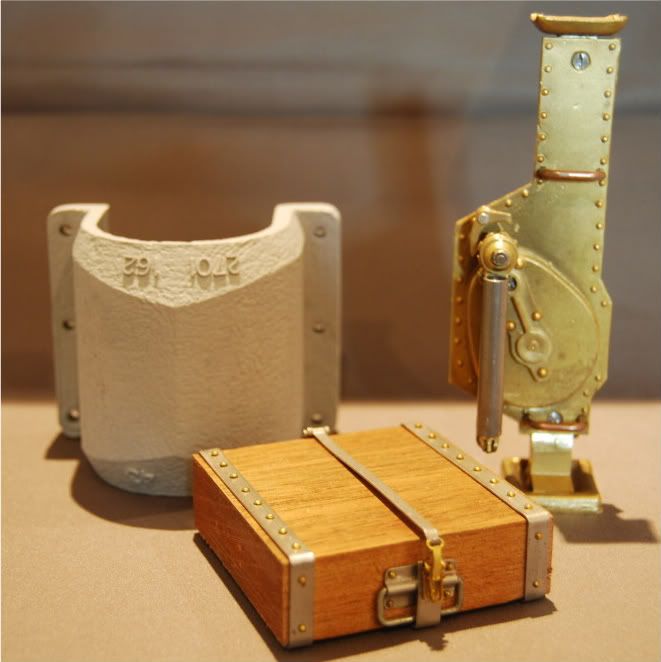
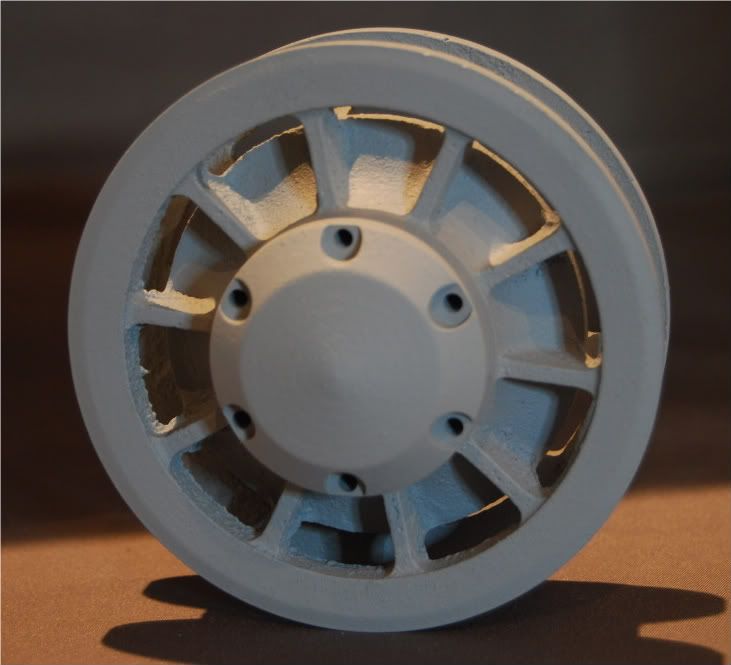
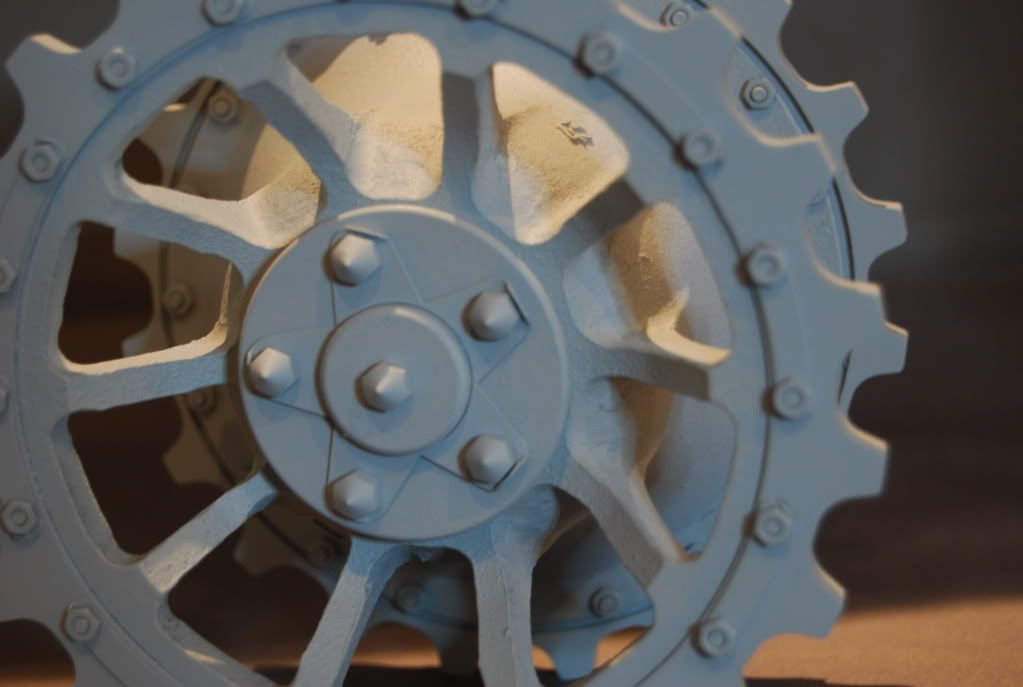
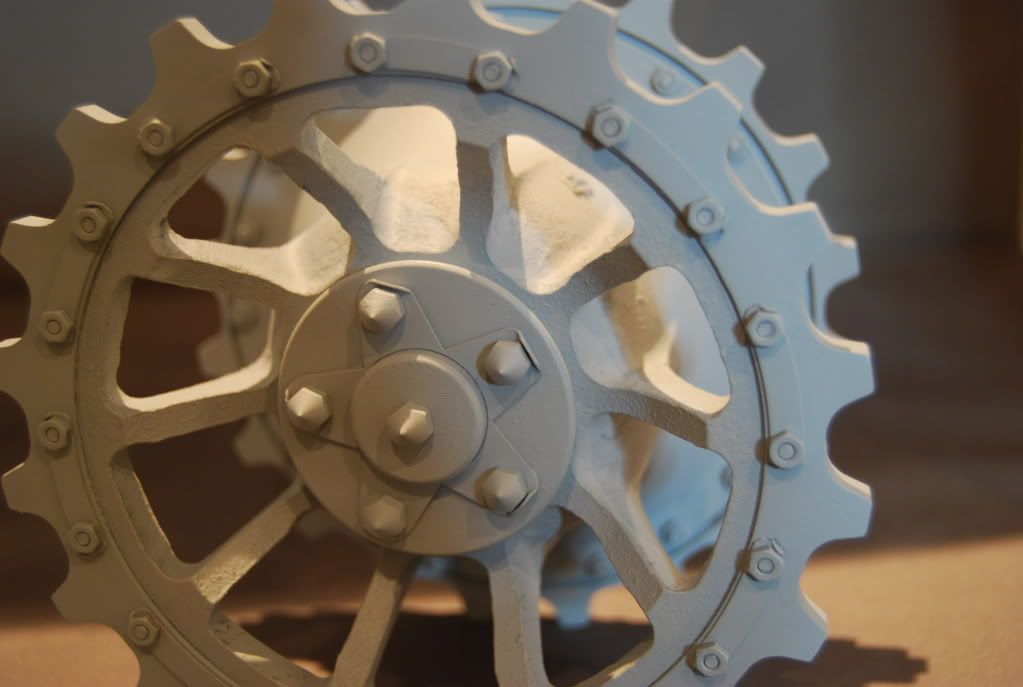
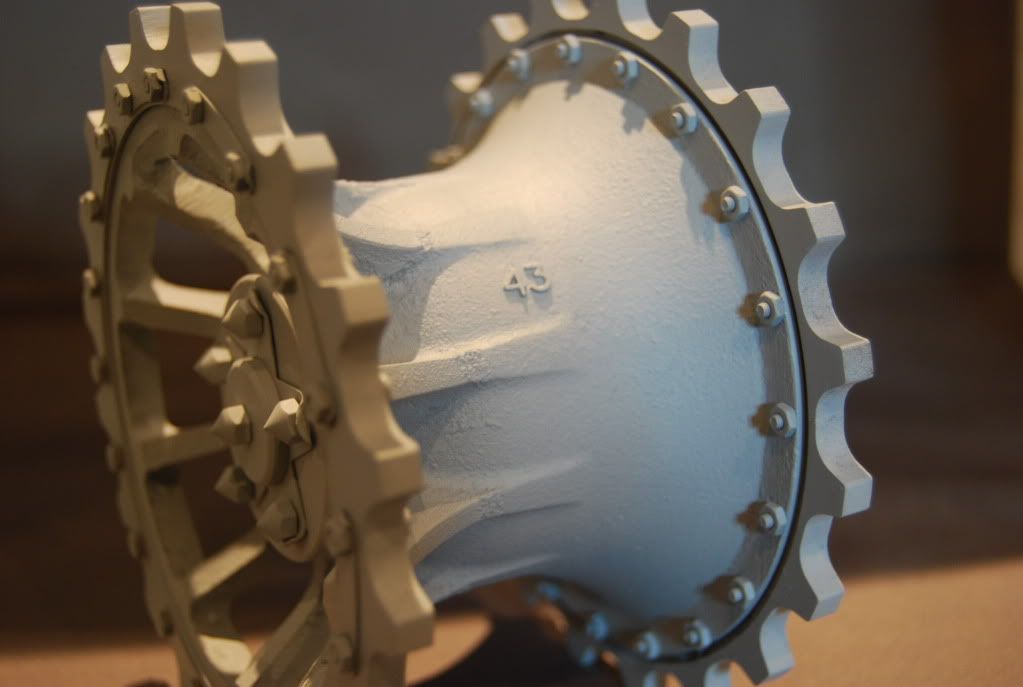
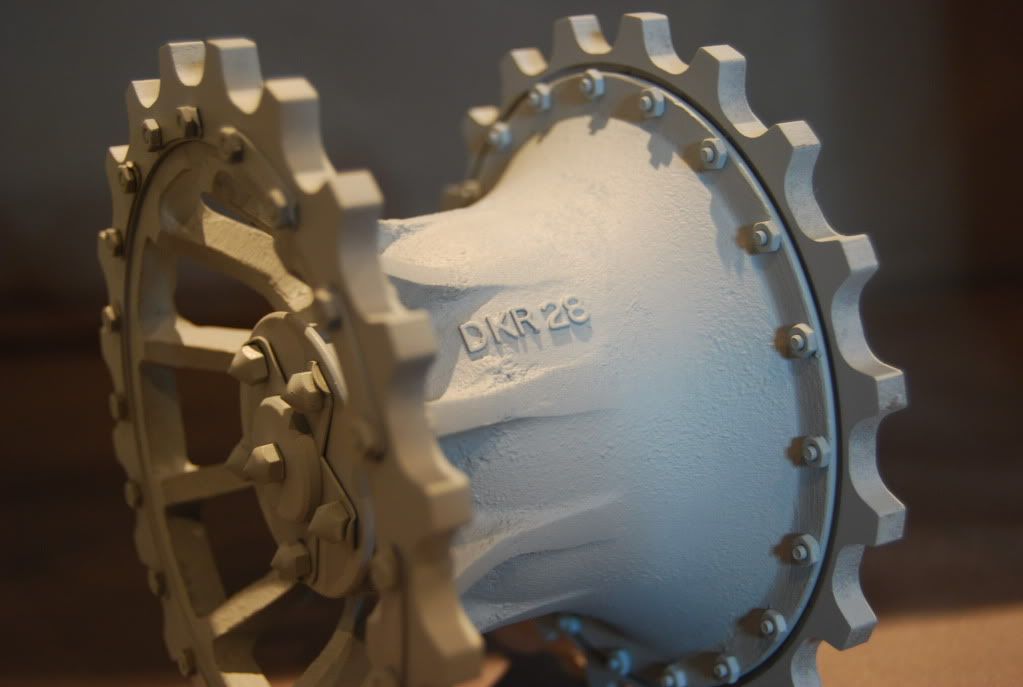
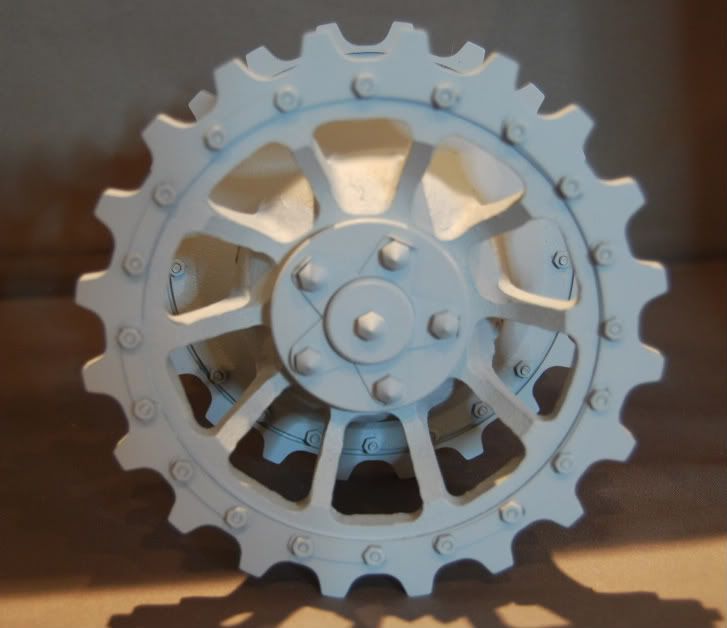
Great looking details added to the hull. Your work on the sprockets looks great. This be be a fantastic looking Tiger. Keep us posted on your progress.
Bob

