Page 4 of 17
Posted: Wed Mar 18, 2009 10:58 pm
by Allan Richards
This is looking really great, I can see how the compound angles would be a challenge but you've got the roof togther really well.
Posted: Thu Mar 19, 2009 3:10 am
by Robert E Morey
Derek,
The roof plates are fitting together well. Perhaps some thin 1mm thick joining plates underneith the seams for additional stiffness. I think you are almost there. Looking great.

Posted: Tue Mar 24, 2009 8:42 pm
by Derek Attree
Hi Guys
Well the roof has taken much longer than I thought it would

But the extra effort has been worth it.

So here are the pictures.
All the bits to make the roof.
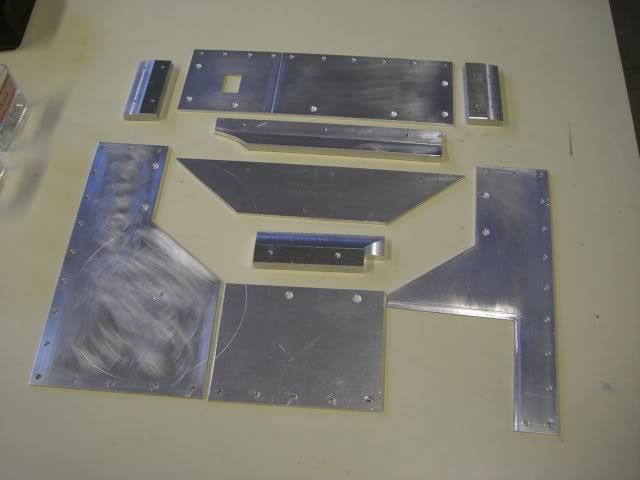
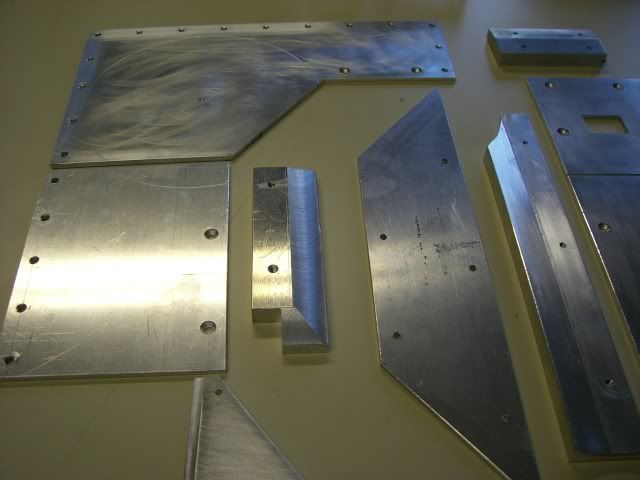
here you can see the angles on the joiner parts.
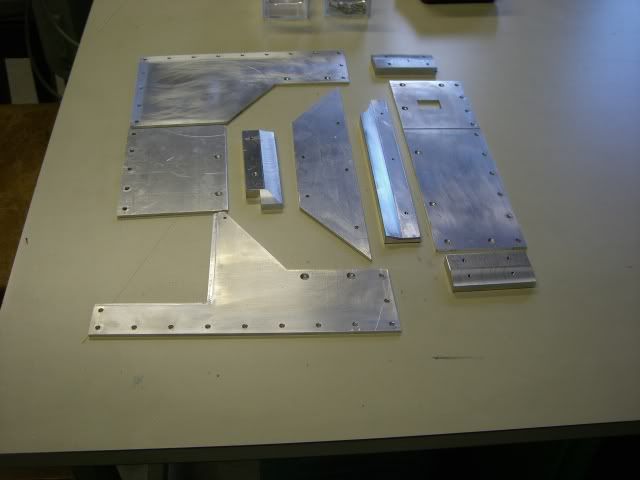
In Close up.
Machineing the holes with a boring head on the mill (not a lot of fun it was a bit bouncy)
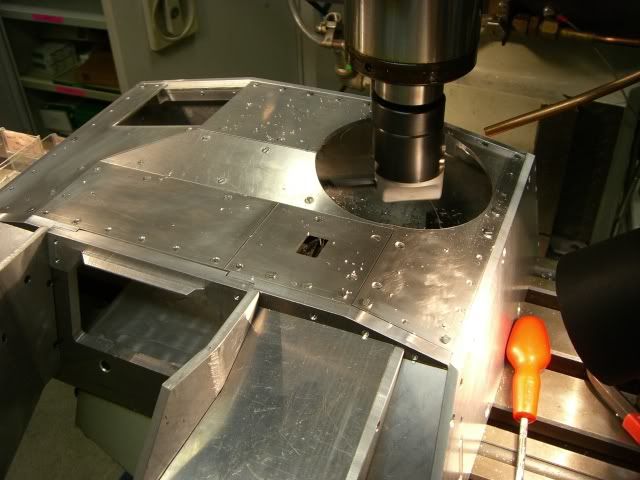
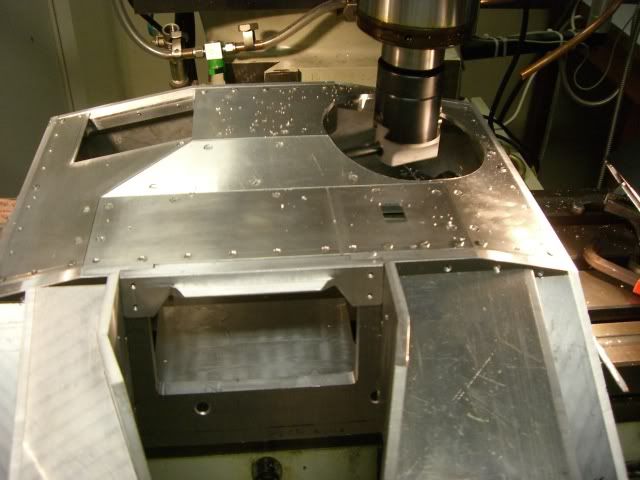
The whole thing is very solid and I would like to thank Dale
for his imput in going this route with the roof .
I am well pleased with the result

The screws round the edges will be hex head like the real thing.
but I used csk just while machineing the hole. The screws that
are on the joiners like the others in the sides and back will be filled
with good old P38 before painting.
The next job is the coupler mounting tube.
A nice little turning job.
Regards
Derek
Posted: Tue Mar 24, 2009 9:46 pm
by Dale jordan
Derek this is spot on !!! This is the look that I would be after I . Can we have a photo underneath the roof to see the brackets .... Dale
Posted: Tue Mar 24, 2009 10:06 pm
by Tim Bowman
Outstanding Derek! First class work. Definitely looks like your efforts will be well worth it.

Boy I wish I had one.

Tim
Posted: Wed Mar 25, 2009 2:45 am
by Robert E Morey
Wow that it really cool Derek. Your model will be one of a kind! Great job.
Posted: Wed Mar 25, 2009 7:33 am
by Derek Attree
Hi Guys
Dale These are the pictures of the inner brackets in place.
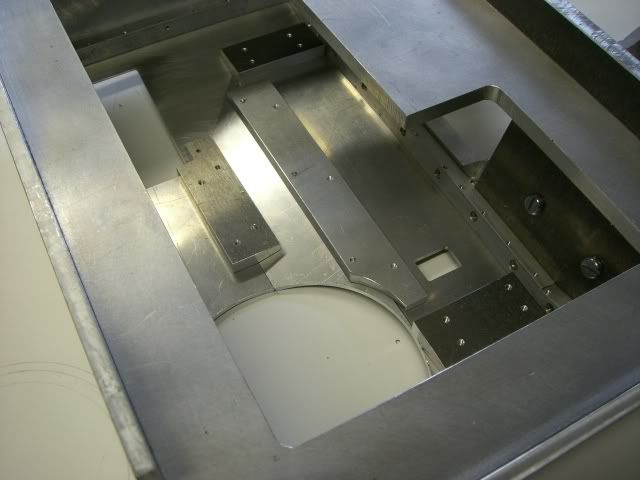
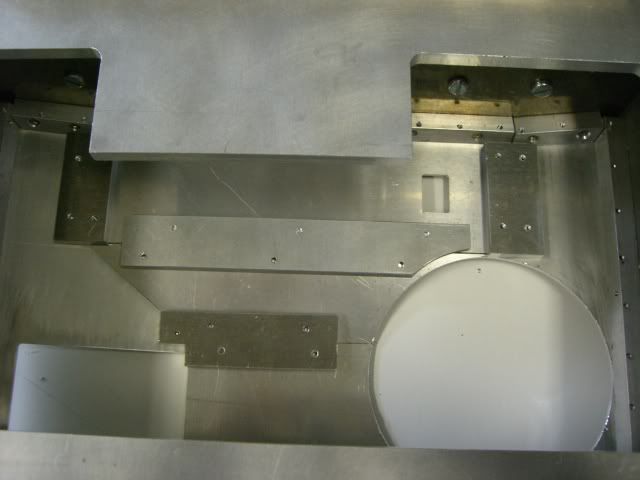
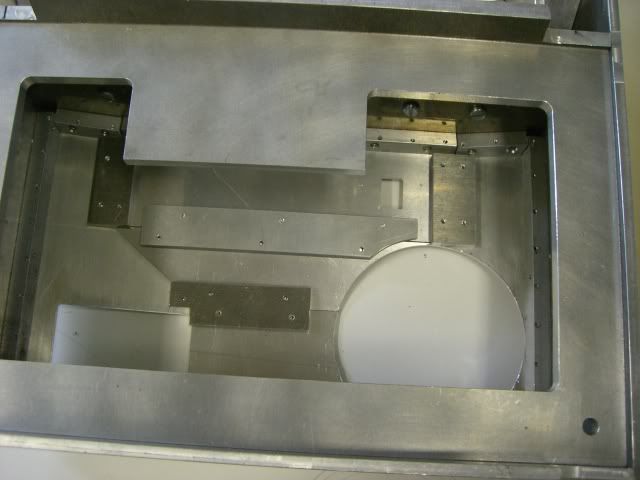
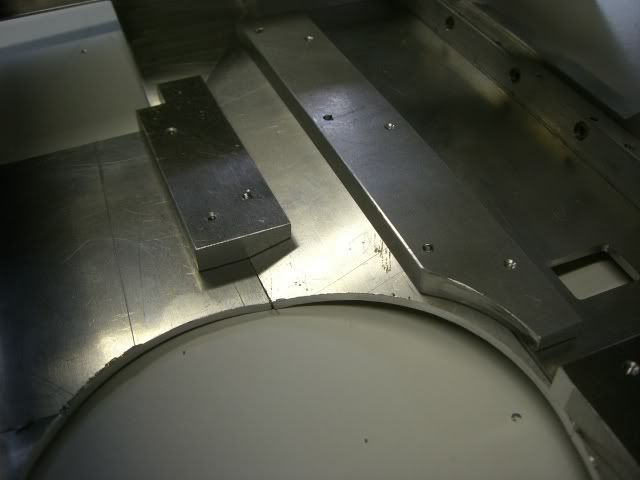
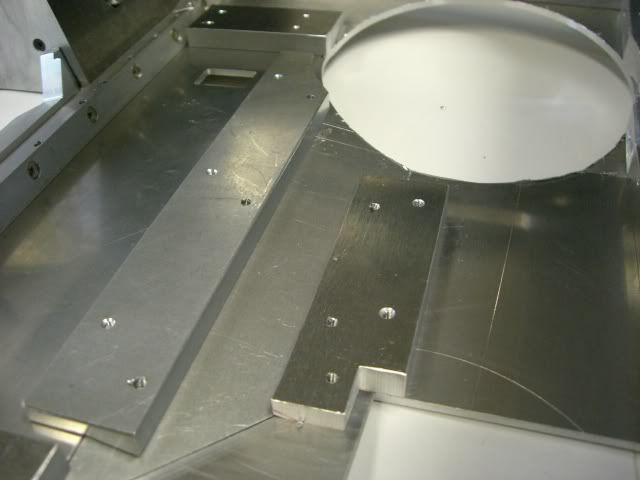
Tim and Bob thanks for the support.
I am really pleased with the new roof. It was worth making it again.
Derek

Posted: Thu Mar 26, 2009 3:37 am
by Robert E Morey
Derek,
No problem on the support, these kind of projects inspire me. The fighting compartment looks hell for stout with the brackets underneith. You're doing a first class job.
Bob
Posted: Thu Mar 26, 2009 7:33 am
by Derek Attree
Hi Bob
Thanks It does seem nice and solid.
I am now working on the tube to mount the coupler and I
have also done a bit more on the gun mount tube and mantlet.
That is to take Dave Dibb's (Armorpax) very nice barrel and
muzzel break.
Weight could become and issue and I am going to weigh all the parts
of the PZIII turret and the mounting box at the weekend to see how the
stug unit shapes up.
If nessasary I will lighten some parts so not to overload the chassis.
Derek
Posted: Thu Mar 26, 2009 8:35 pm
by Derek Attree
Hi Guys
I have been doing some more work on the gun and Mantlet.
Here are some pictures.
First up mantlet and recoil tube.
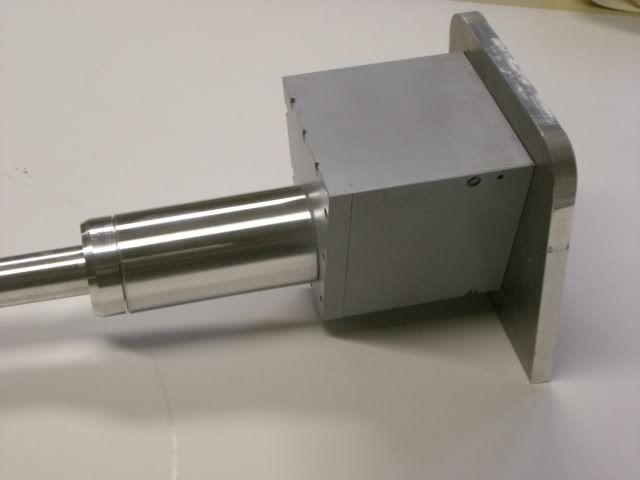
Dave Dibbs barrel.
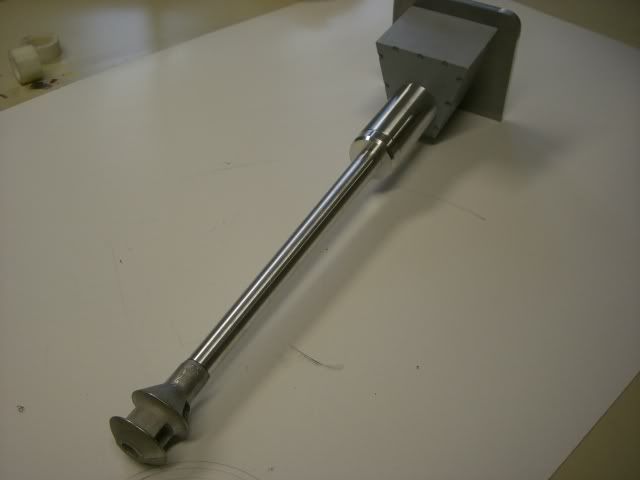
Dave Dibbs Muzzel break
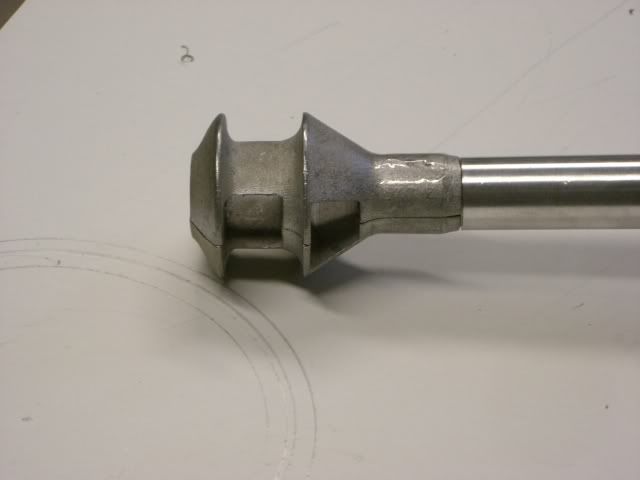
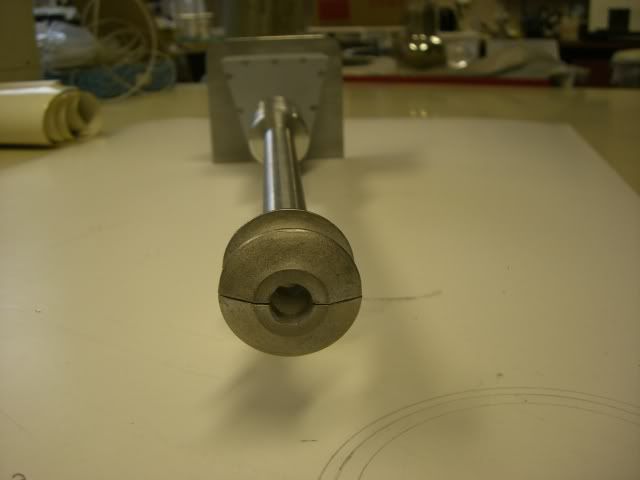
The muzzel is only together with sticky tape still lots to do
with detail on mantlet and recoil tube.
Derek
Posted: Fri Mar 27, 2009 8:11 pm
by Allan Richards
Derek,
The Stug is looking great, there is a lot of engineering in that roof. Does your mill have a back gear to get very slow speeds for cutting the large hole?
Posted: Fri Mar 27, 2009 9:57 pm
by Derek Attree
Hi Allan
Yes the Mill is a bridgport clone that I have in my small shop at work .
It has full range of speeds (vairyspeed) from 60 rpm to 2600 rpm the low speeds less than 500 rpm are with a back gear.
I have today finnished mounting the coupler tube and I should post the pictures over the weekend.
To me that has really bought the stug to life.
I am also starting the slide cover for the scope hole in the
front of the roof.
Derek
Posted: Sat Mar 28, 2009 1:34 pm
by Derek Attree
Hi Guys
More Pictures showing the front armour plates and the coupler tube that
I machined.
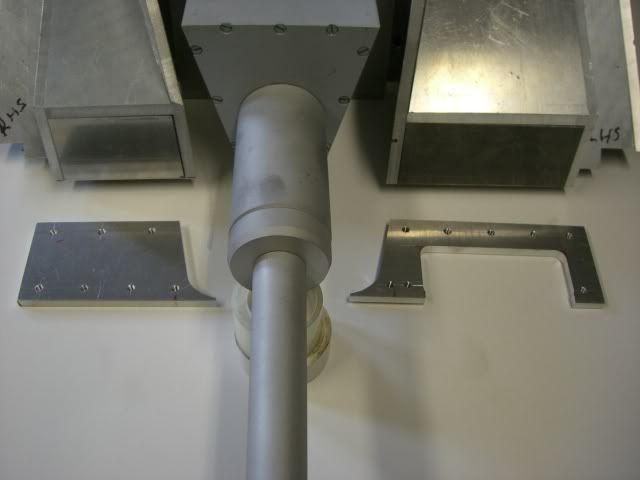
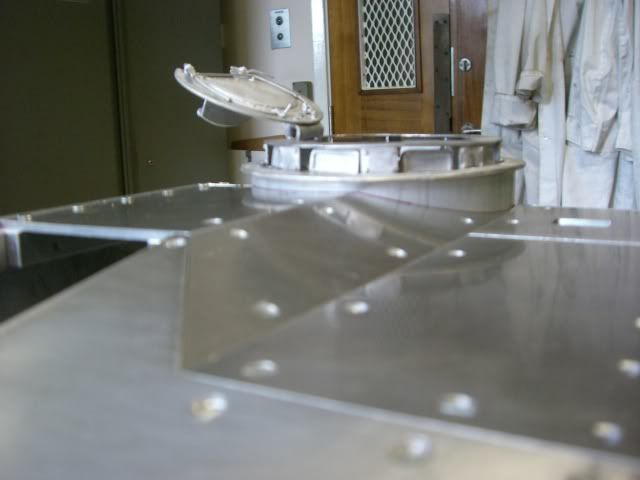
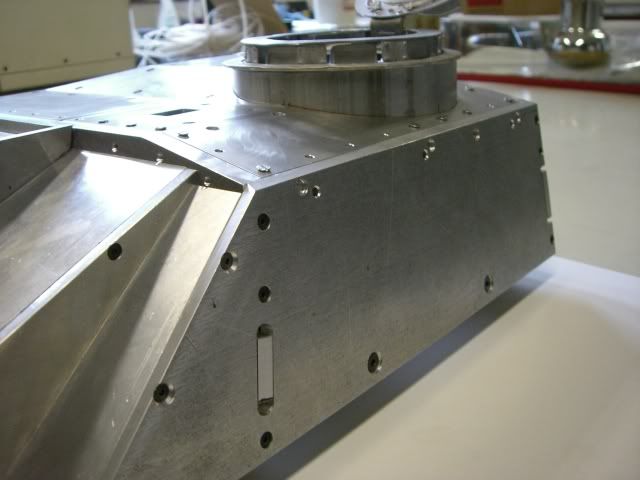
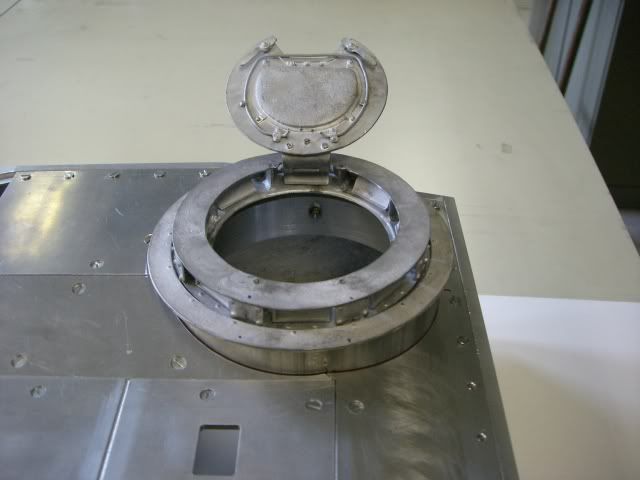
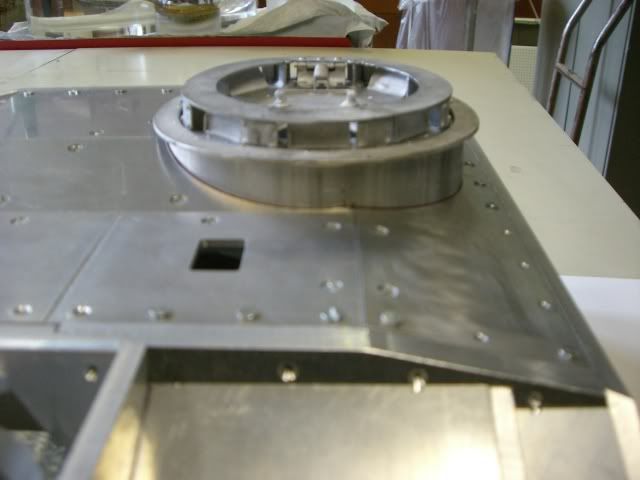
There you go guys the coupler is from Dave Dibbs and is a realy nice bit of kit I think its realy strting to look the part now.
Derek
Posted: Sat Mar 28, 2009 2:44 pm
by Tim Bowman
Excellent Derek! I enjoy every post and every photo of your project!

Dave's cupola really finishes off the fighting compartment. I can only imagine how good this will look as you add the smaller detailing. You will have a one of a kind masterpiece.
Keep up the great work.
kind regards
Tim
Posted: Sat Mar 28, 2009 7:44 pm
by Dale jordan
Beautiful workmanship Derek .. I would be real happy to have that sitting on my workbench ..Dale


