Late Production Tiger Project
-
- Posts: 1762
- Joined: Fri Jul 13, 2007 4:53 am
- Location: Northern California
- Been liked: 177 times
- Contact:
FAKELITE
Thanks John. Me too
Hi everyone
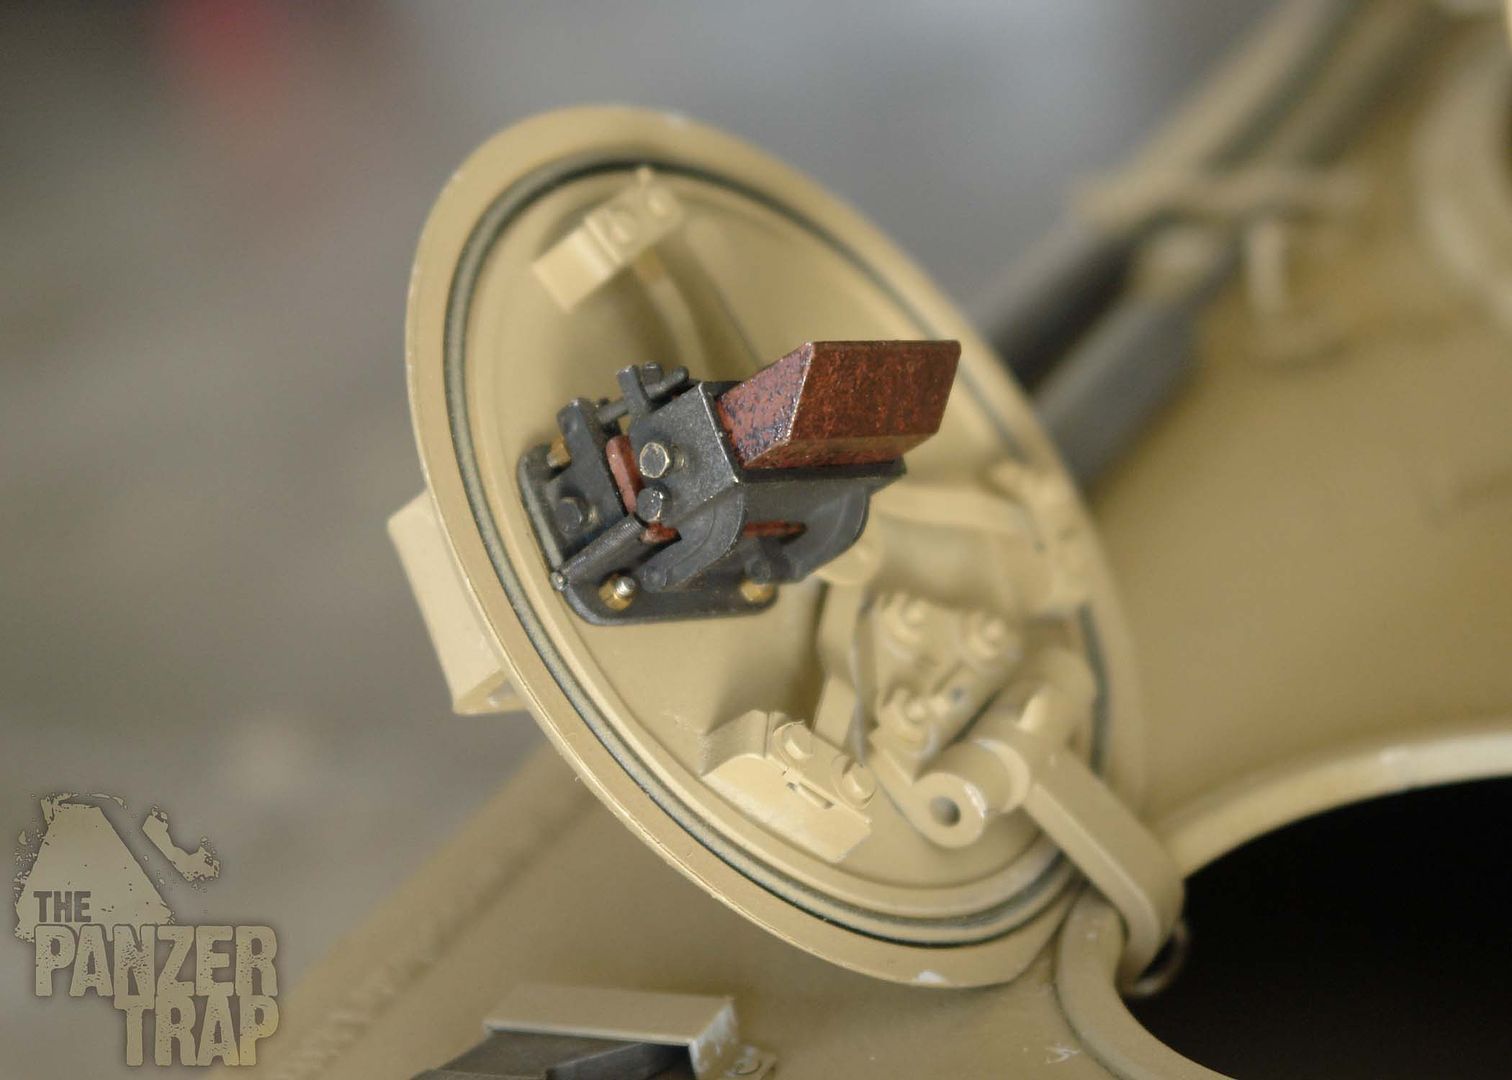
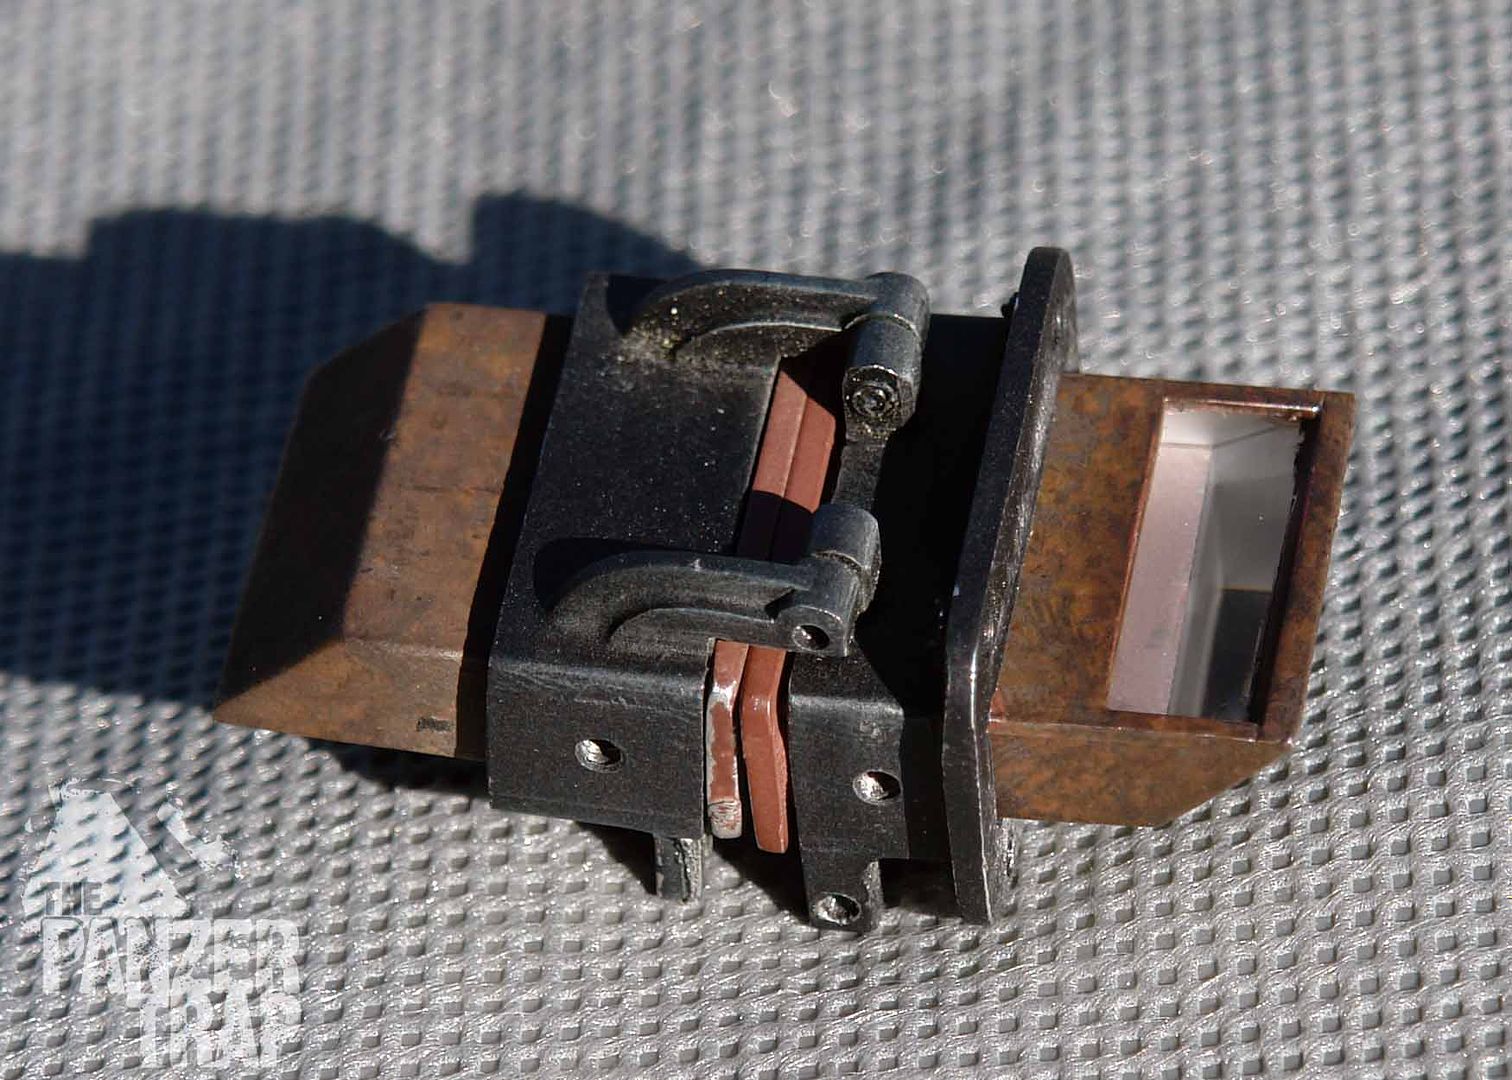
Here is the step by step of the fakelite paintwork I do on my periscope housings. I'm posting the beginning steps again so it's all here in one place.
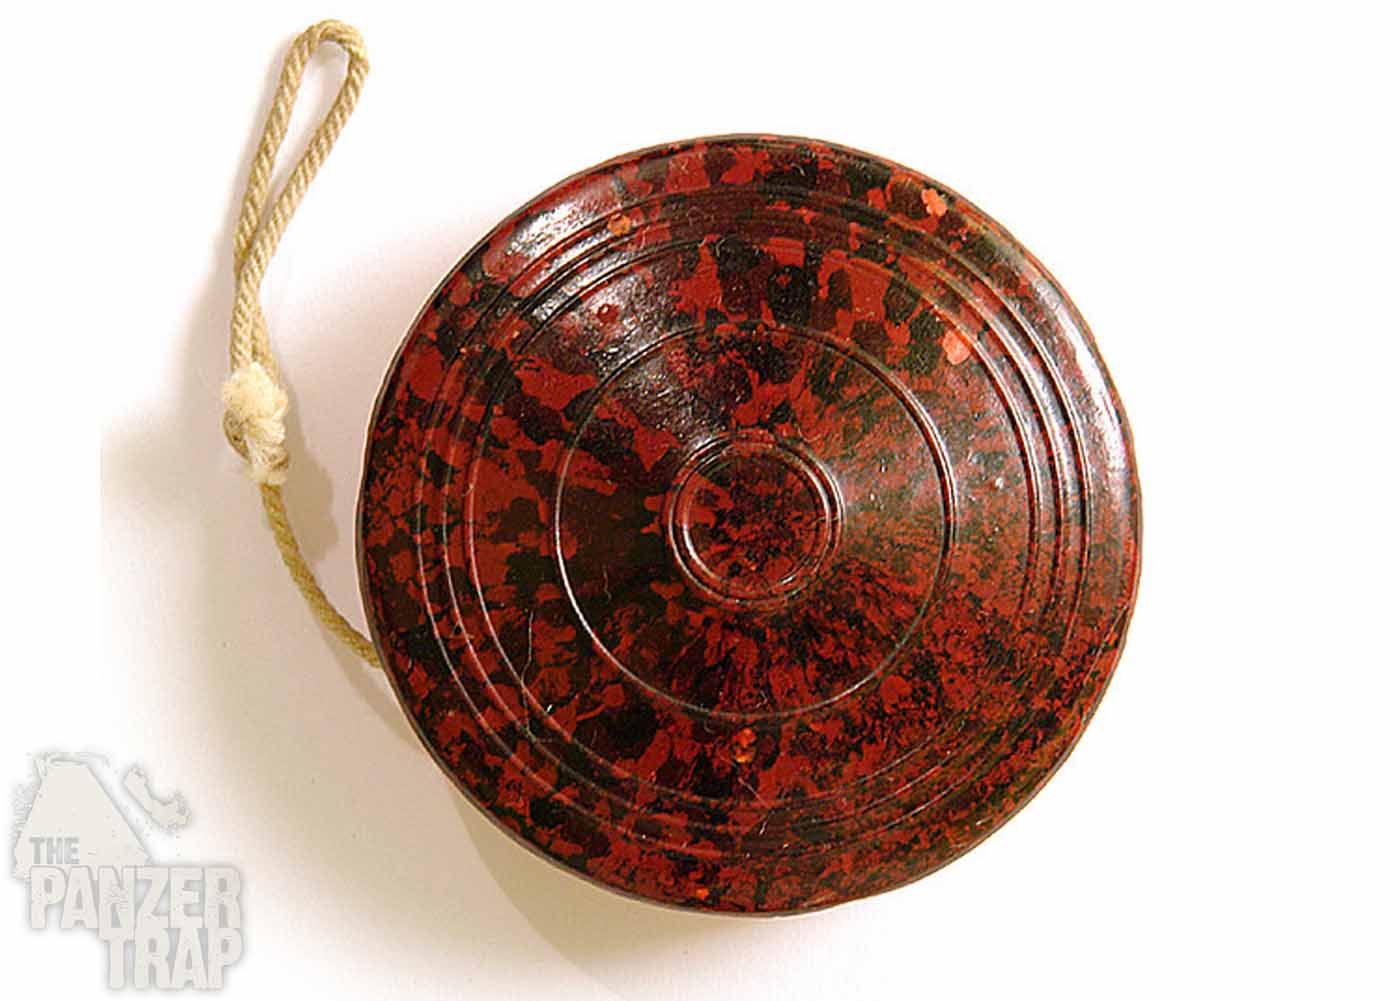
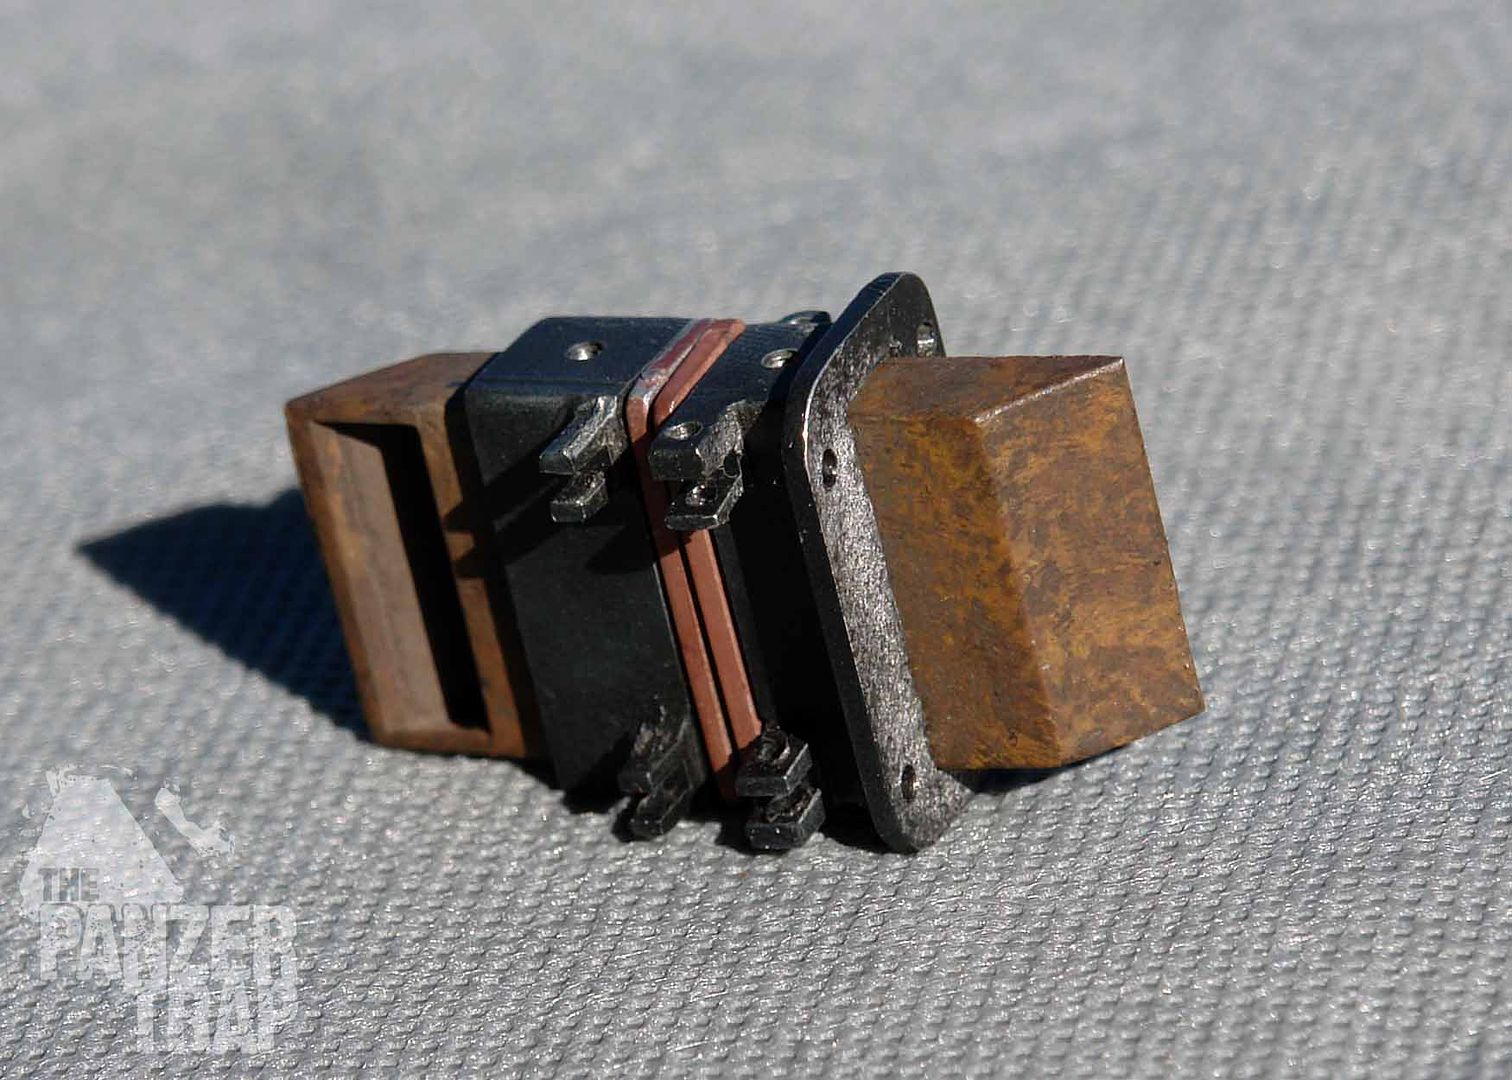
First a short bit about 1940s bakelite. It came in many, many different colorations, patterns and amount and size of flecks.
Some sample images of actual backelite.
German Field Phone
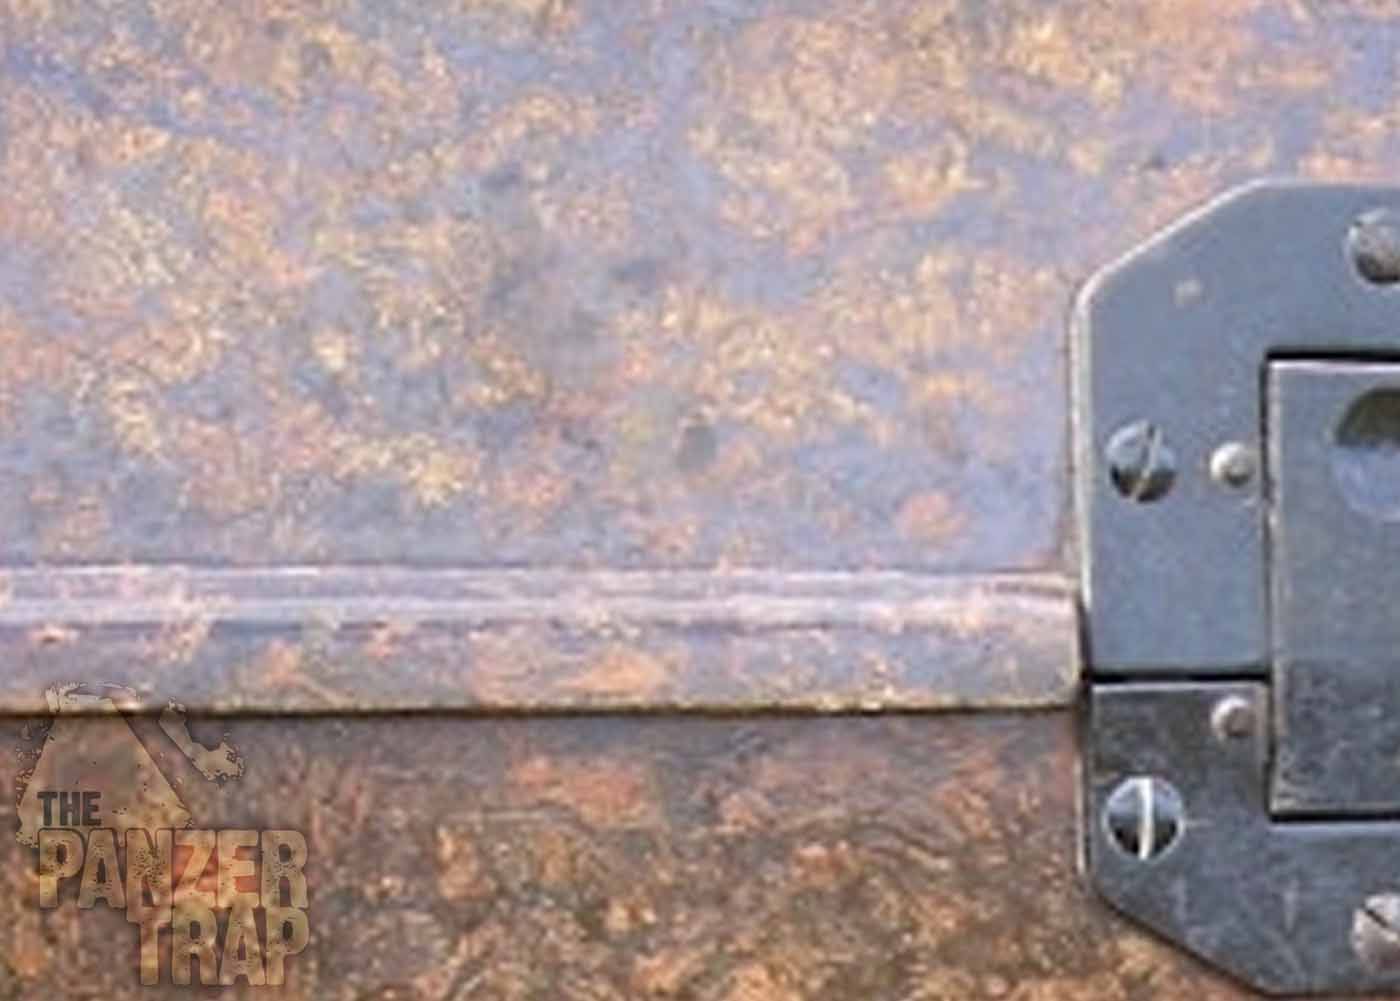
note the two different colors on the same phone case
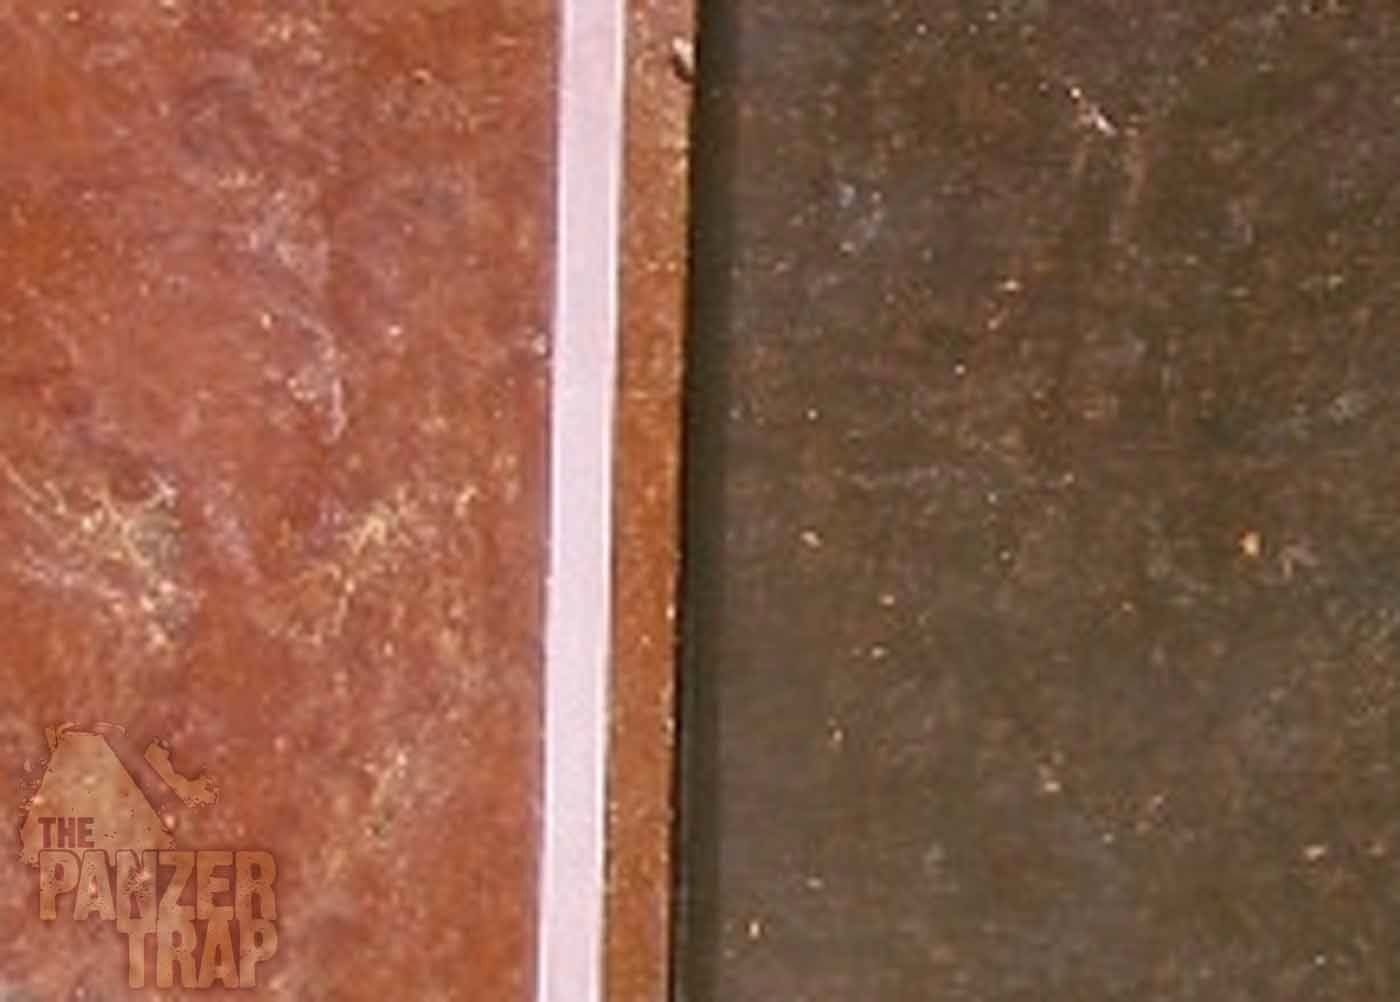
Other samples
German Periscope Housing(photos courtesy of my friend Kent Wiik)
Were there black ones?
Installed in a Panther cupola
I use only flat colors of Model Masters but brand is not important. Use the one you are comfortable with. Also, actual bakelite varies greatly in coloration and color mottling pattern so there is plenty of room for artistic license and more ore less colors depending on what you like. Overall color can vary from lots of red/orange to a very dark brown. I have seen varied coloring even in the same cupola.(granted it was restored).
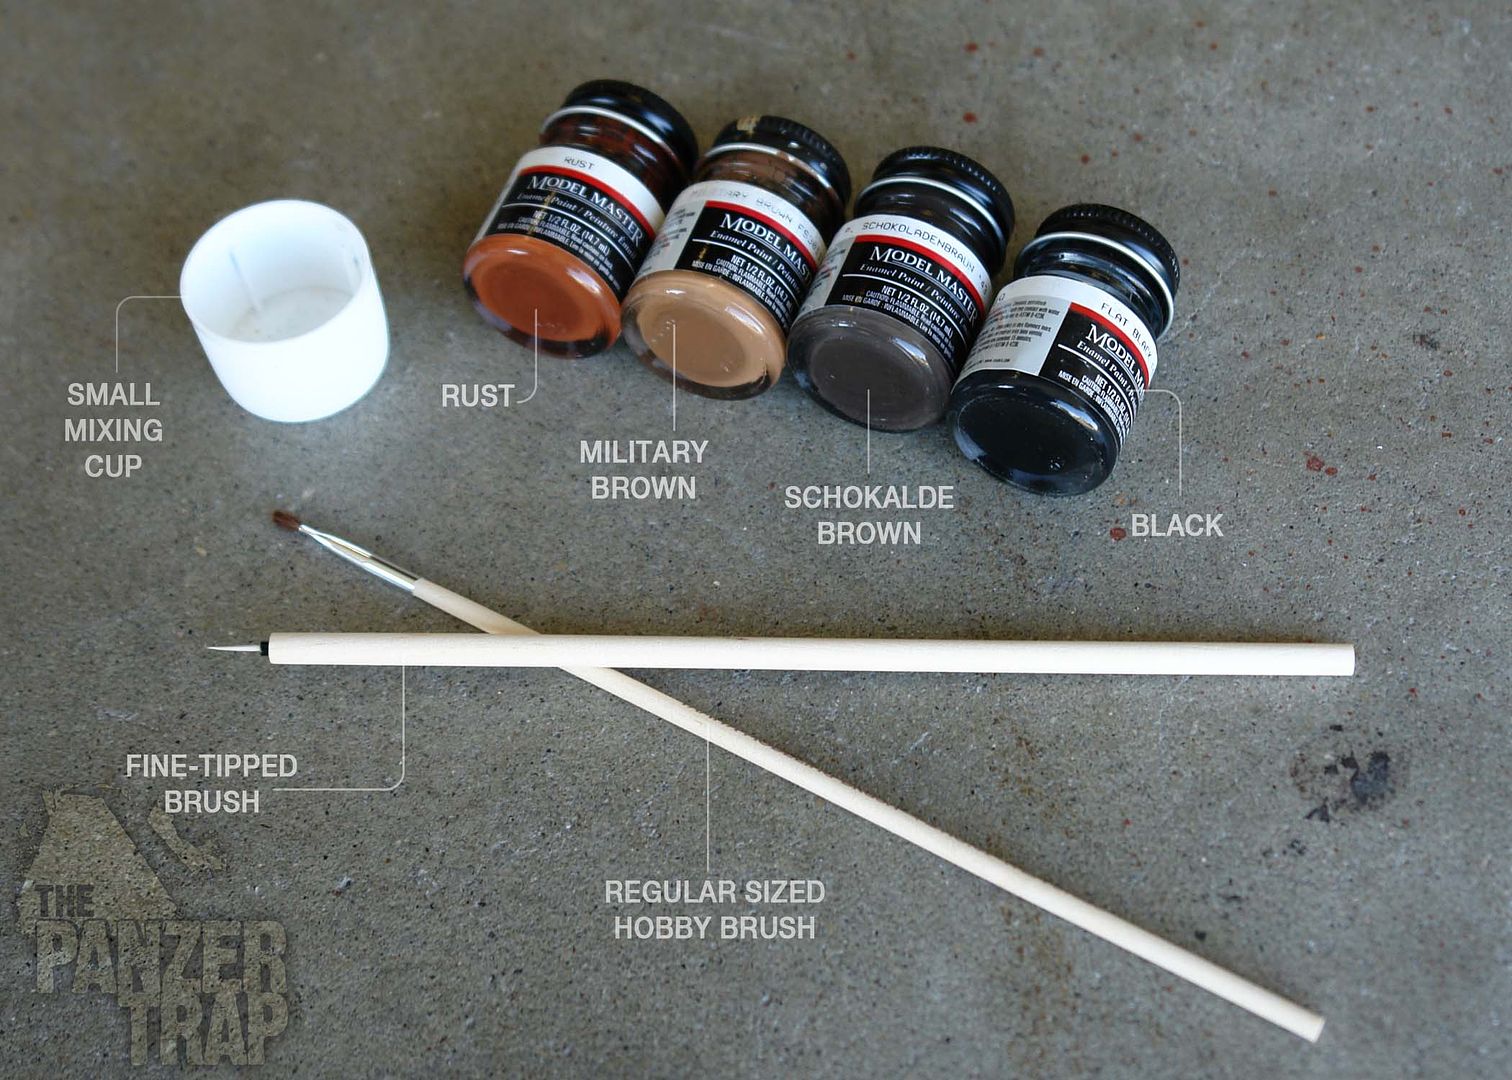
Tools used
- Red Primer
- Rust colored paint
- Light Brown colored paint
- Dark Brown colored paint
- Black colored paint
- Fine tipped brush
- Medium sized brush
- Small mixing cup
- Thinner
- Small piece cut from a sponge (I prefer the synthetic, yellow ones used for drywall work that can be purchased at a hardware store for about a dollar.)
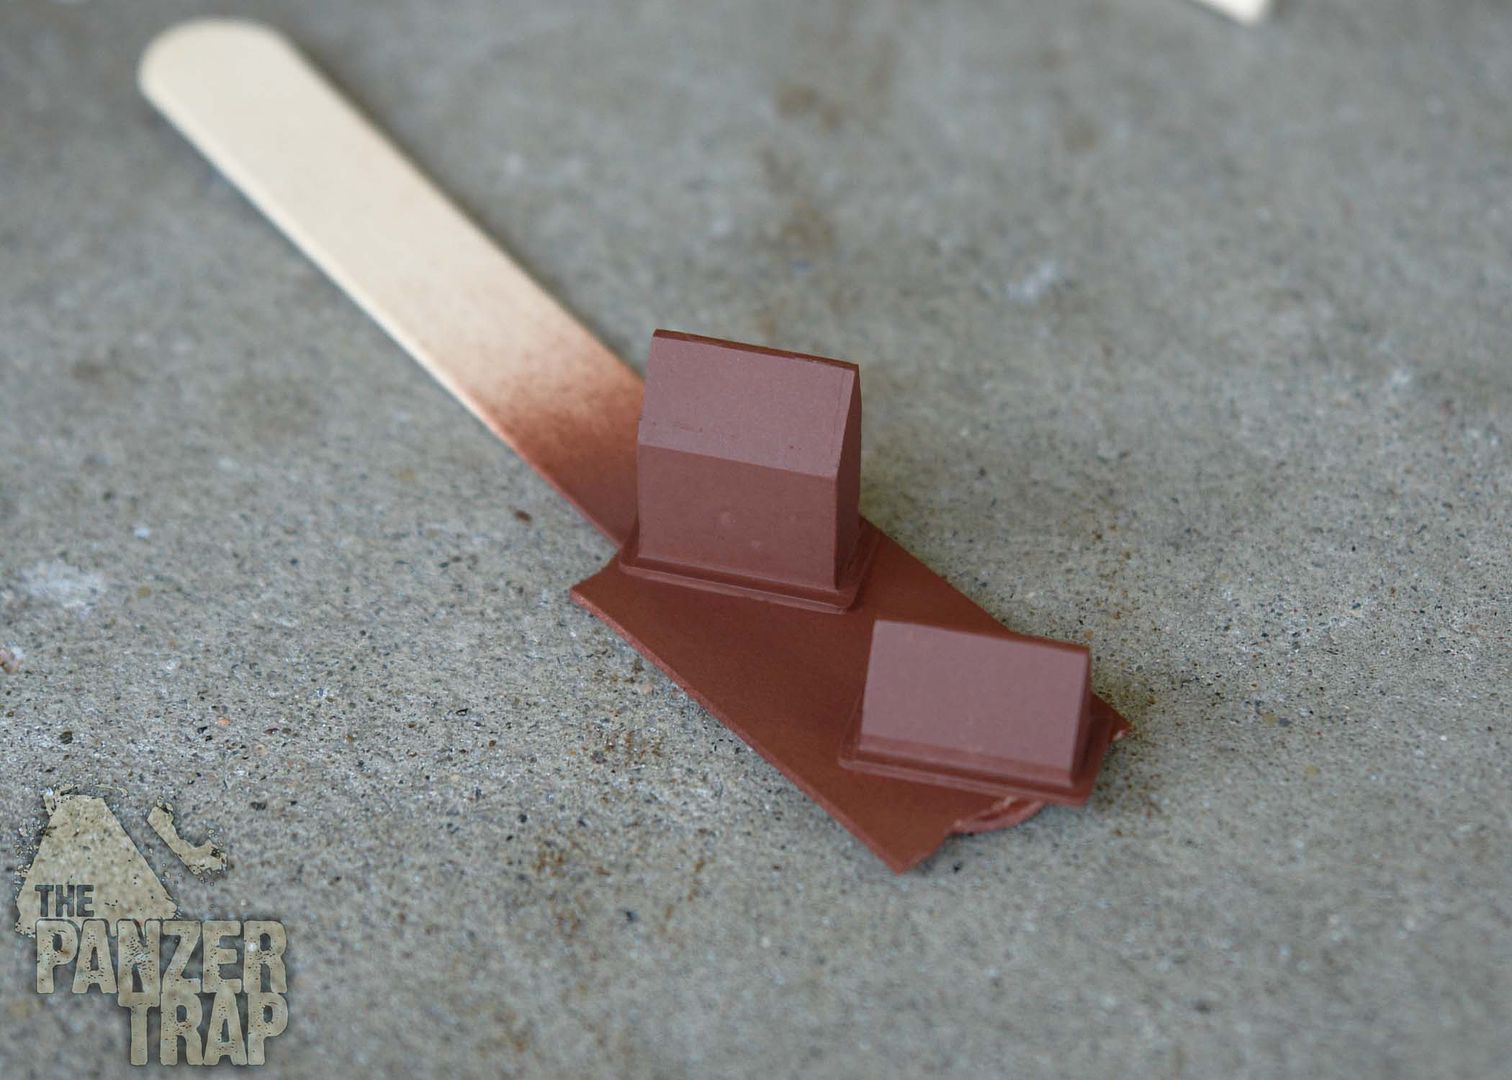
Step One
Paint the scope housings with your favorite red primer and let dry
Step Two
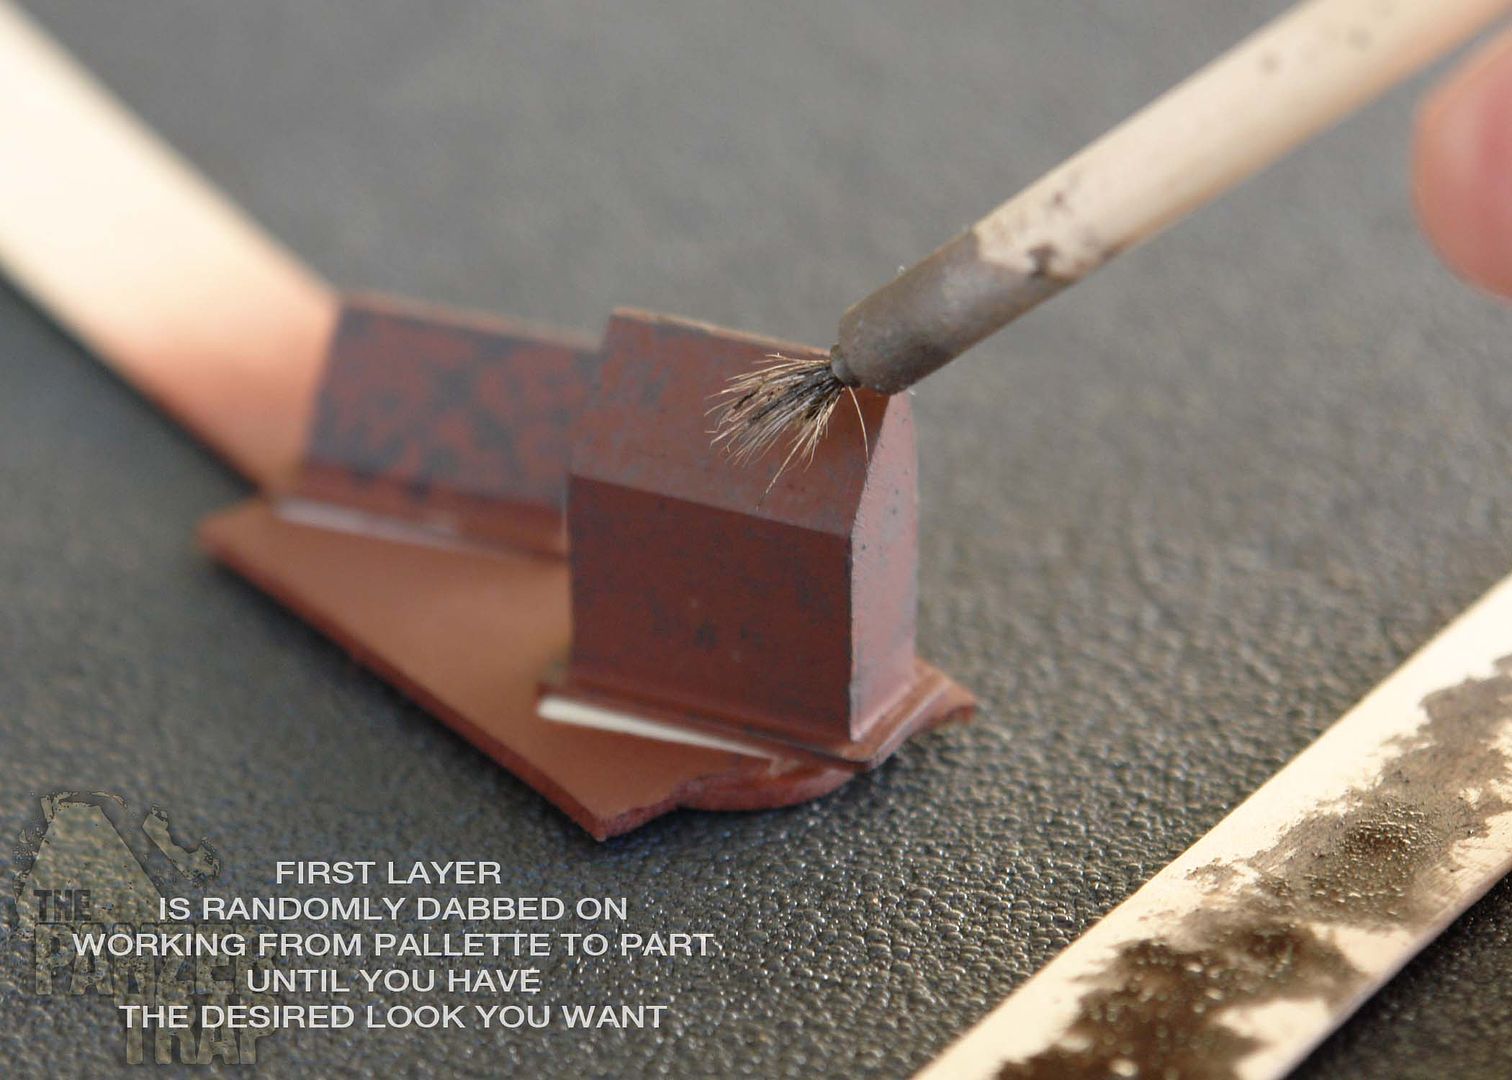
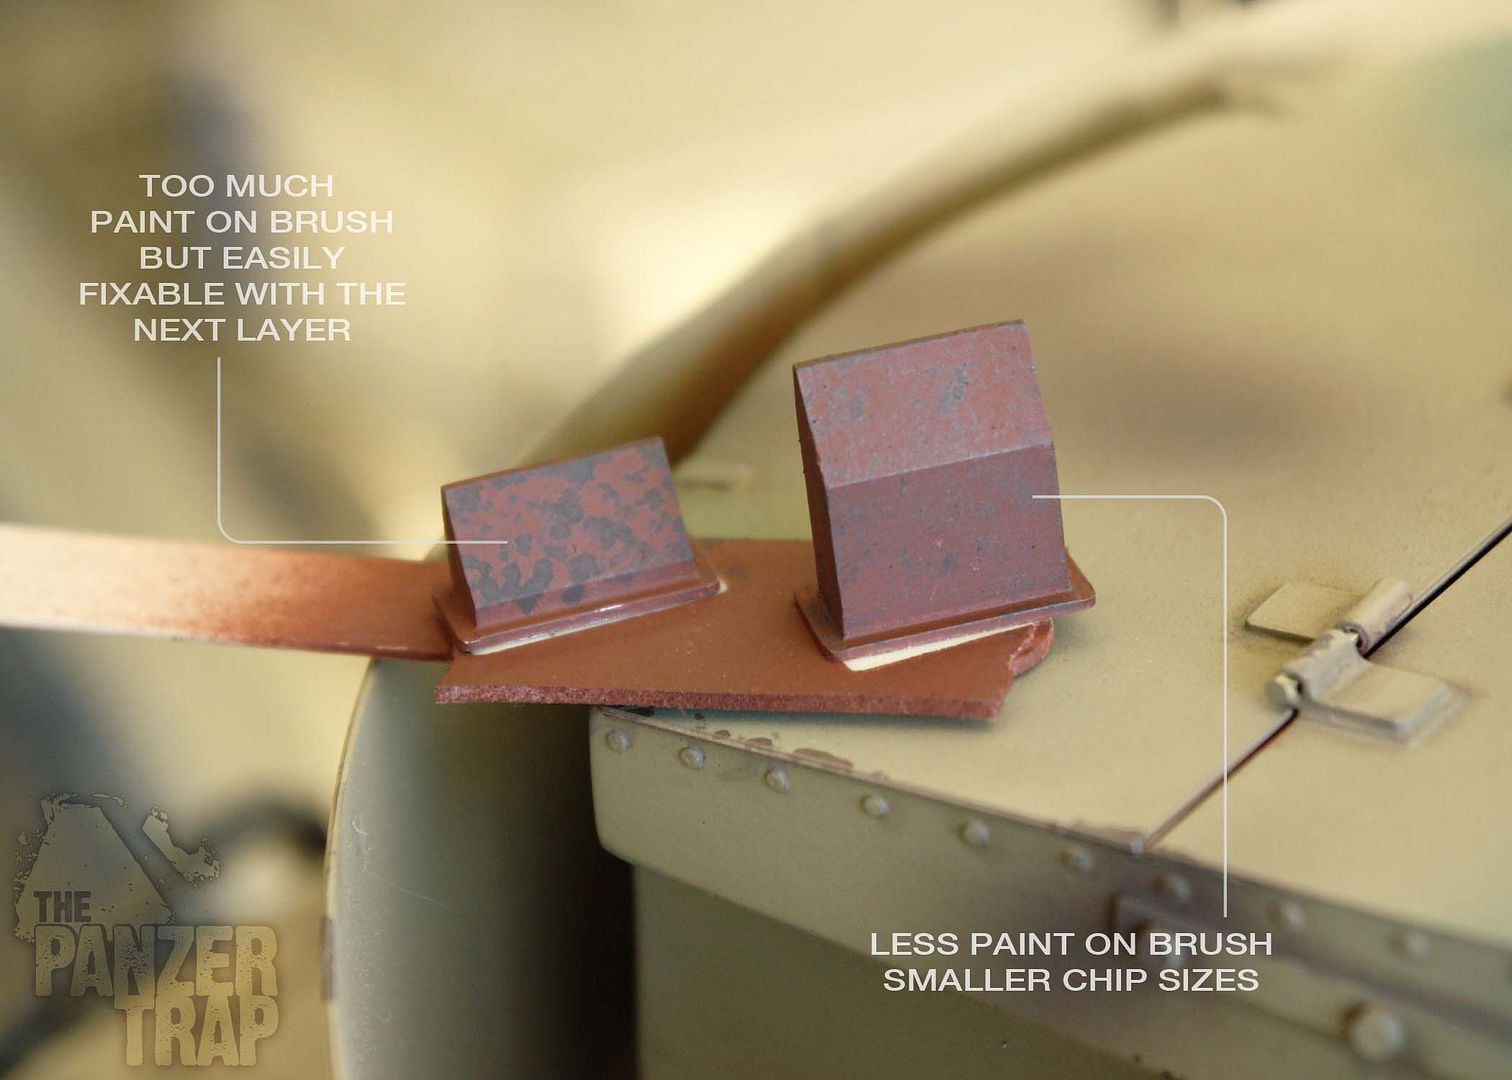
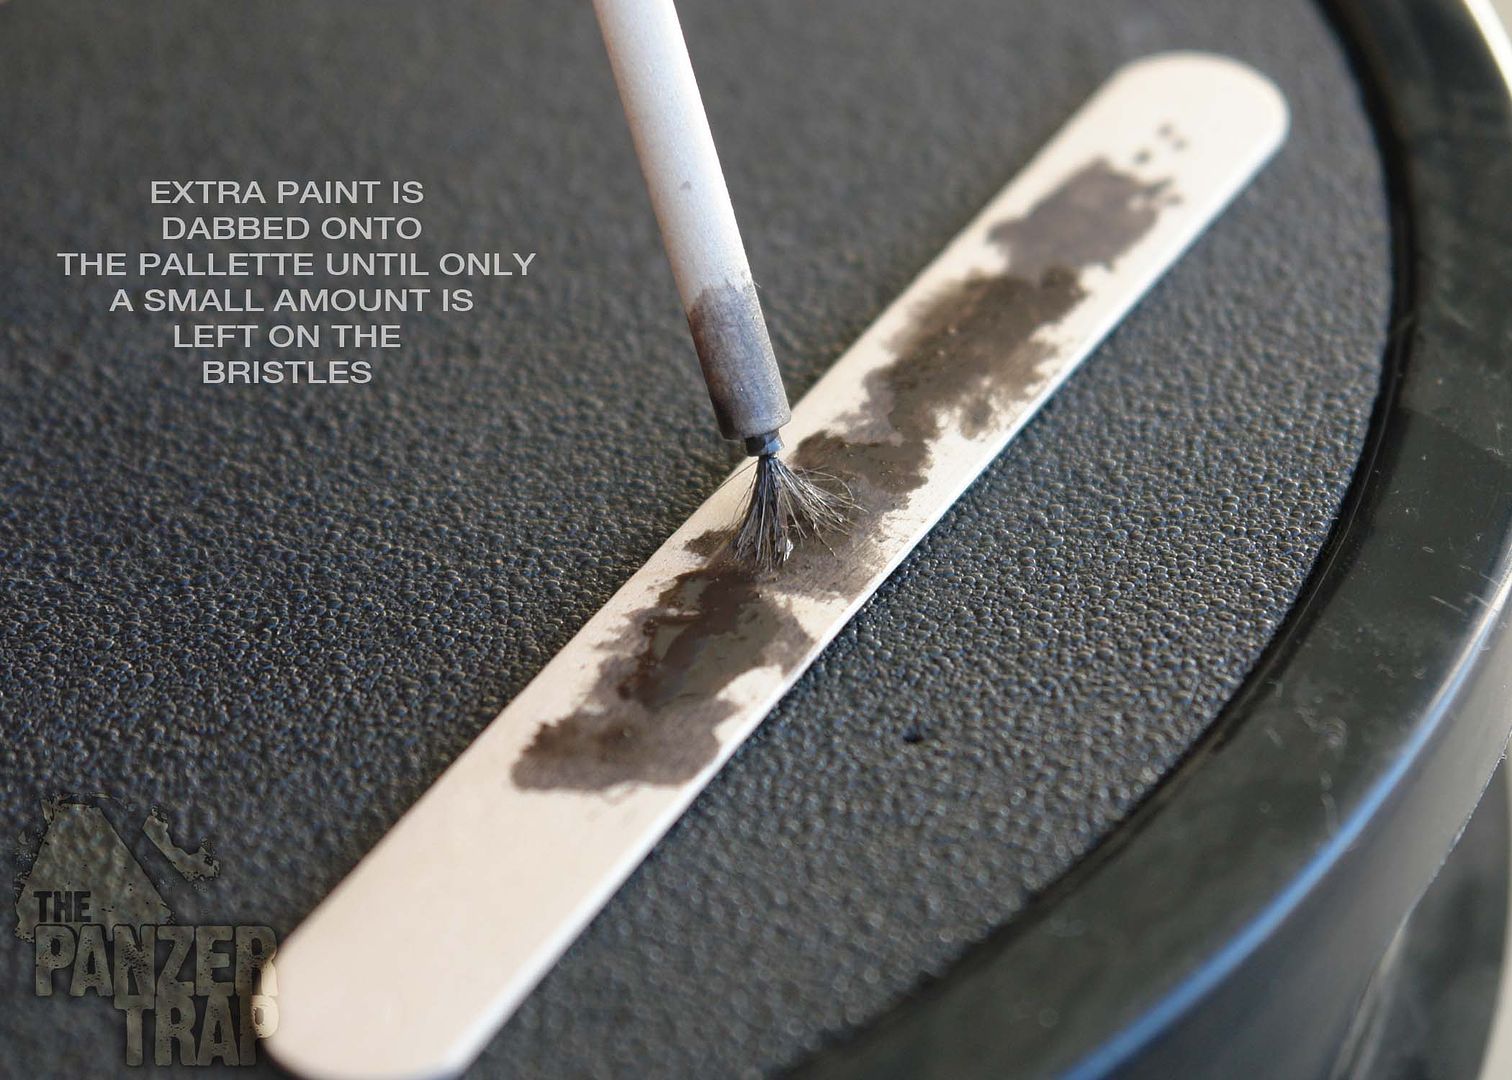
Using a small brush, smash the bristles so they are fanned out. I start with the darker color first but it's not really important. Make sure the paint is thinned quite a bit so it doesn't build up too much on the part.
Using a popsicle stick as my pallet, I dab the brush on it to unload excess paint from the brush
Step Three
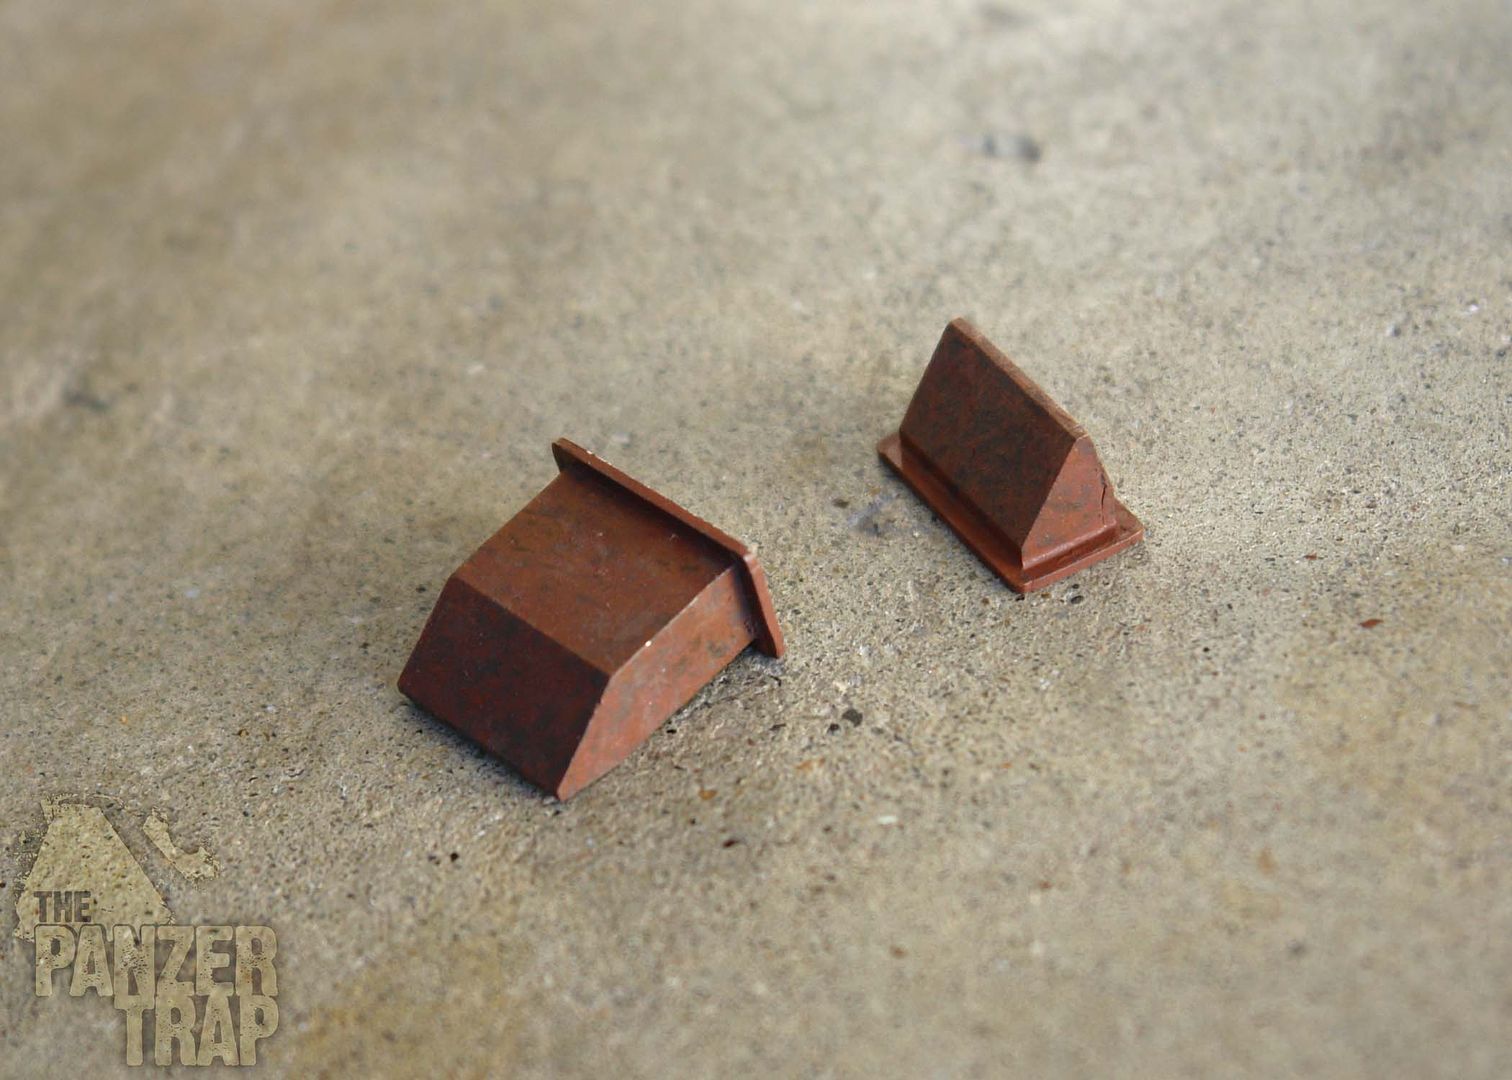
Once the dark layer is randomly applied, do the same with a rust color dabbing over you last speckles as well as the other areas. Bakelite has a layered look to it so working randomly over the top of each layer you just painted, achieves this look .
Step Four
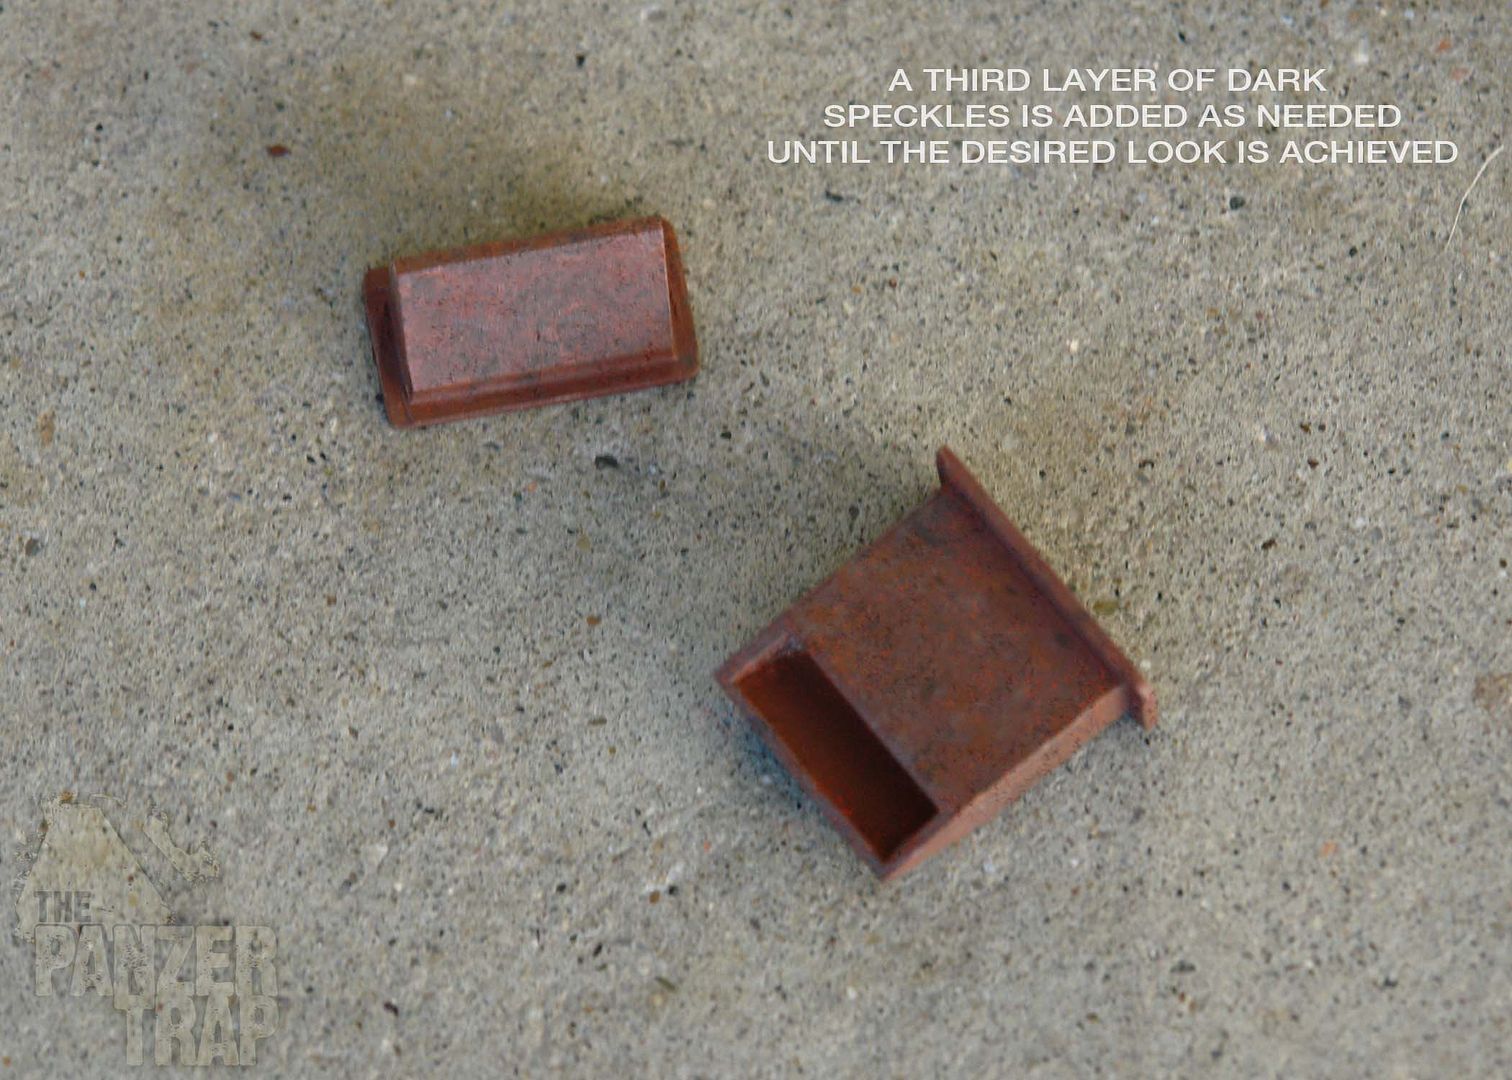
Now using both colors as needed until you have the look you want.
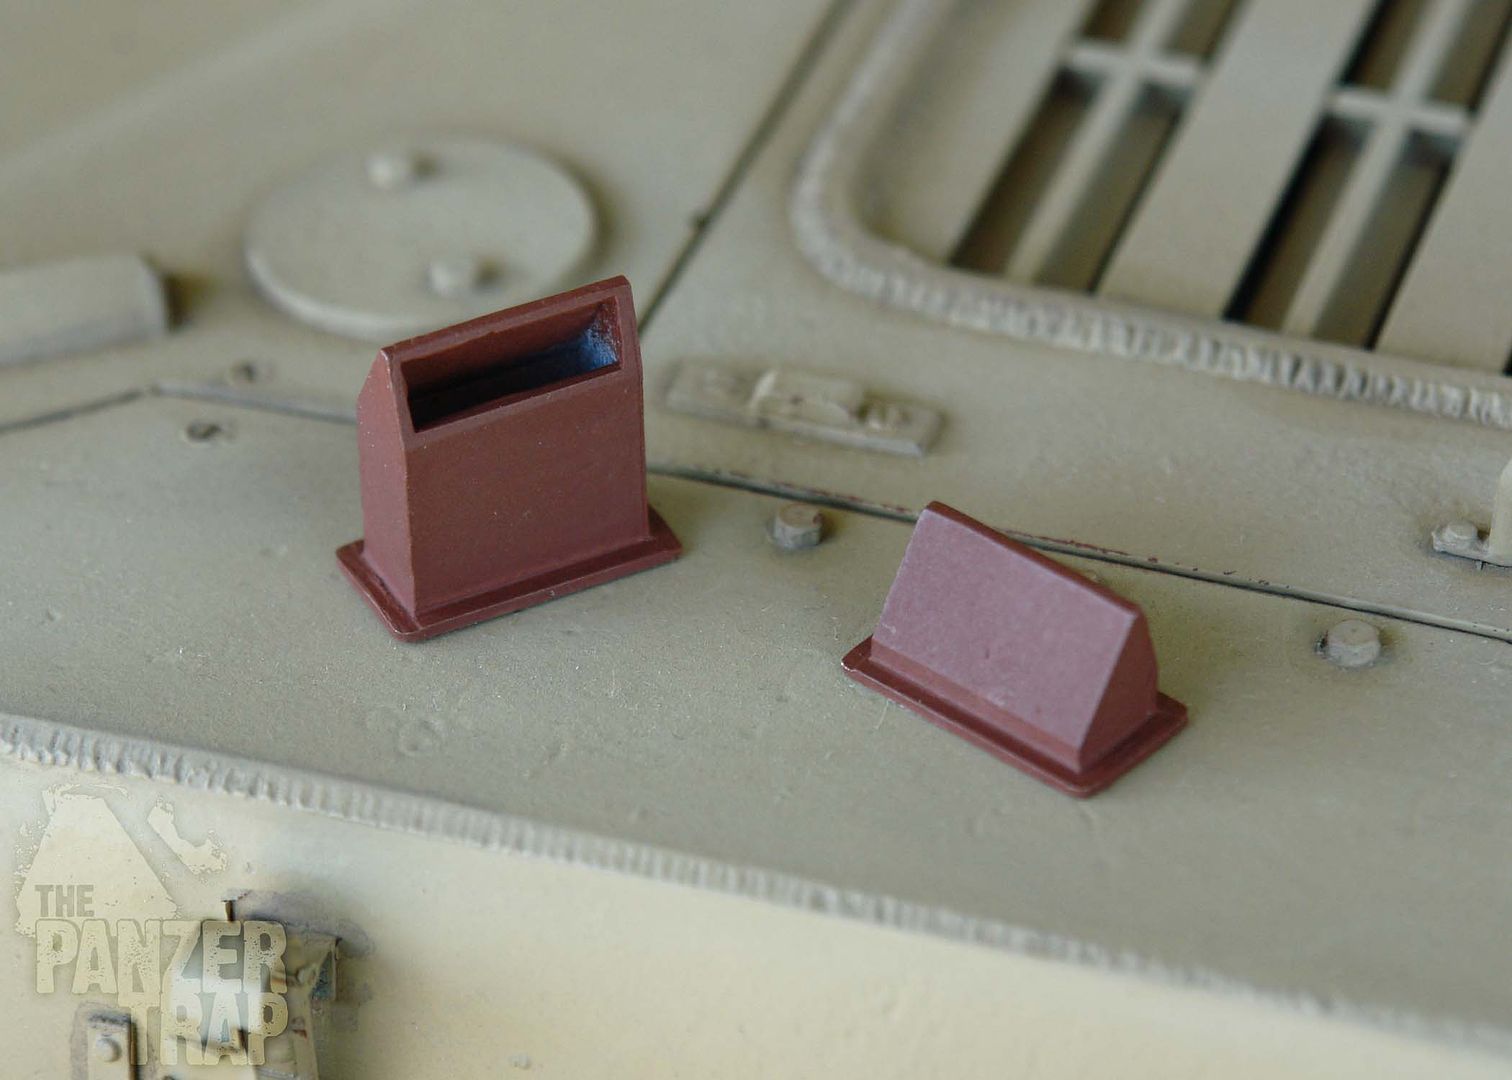
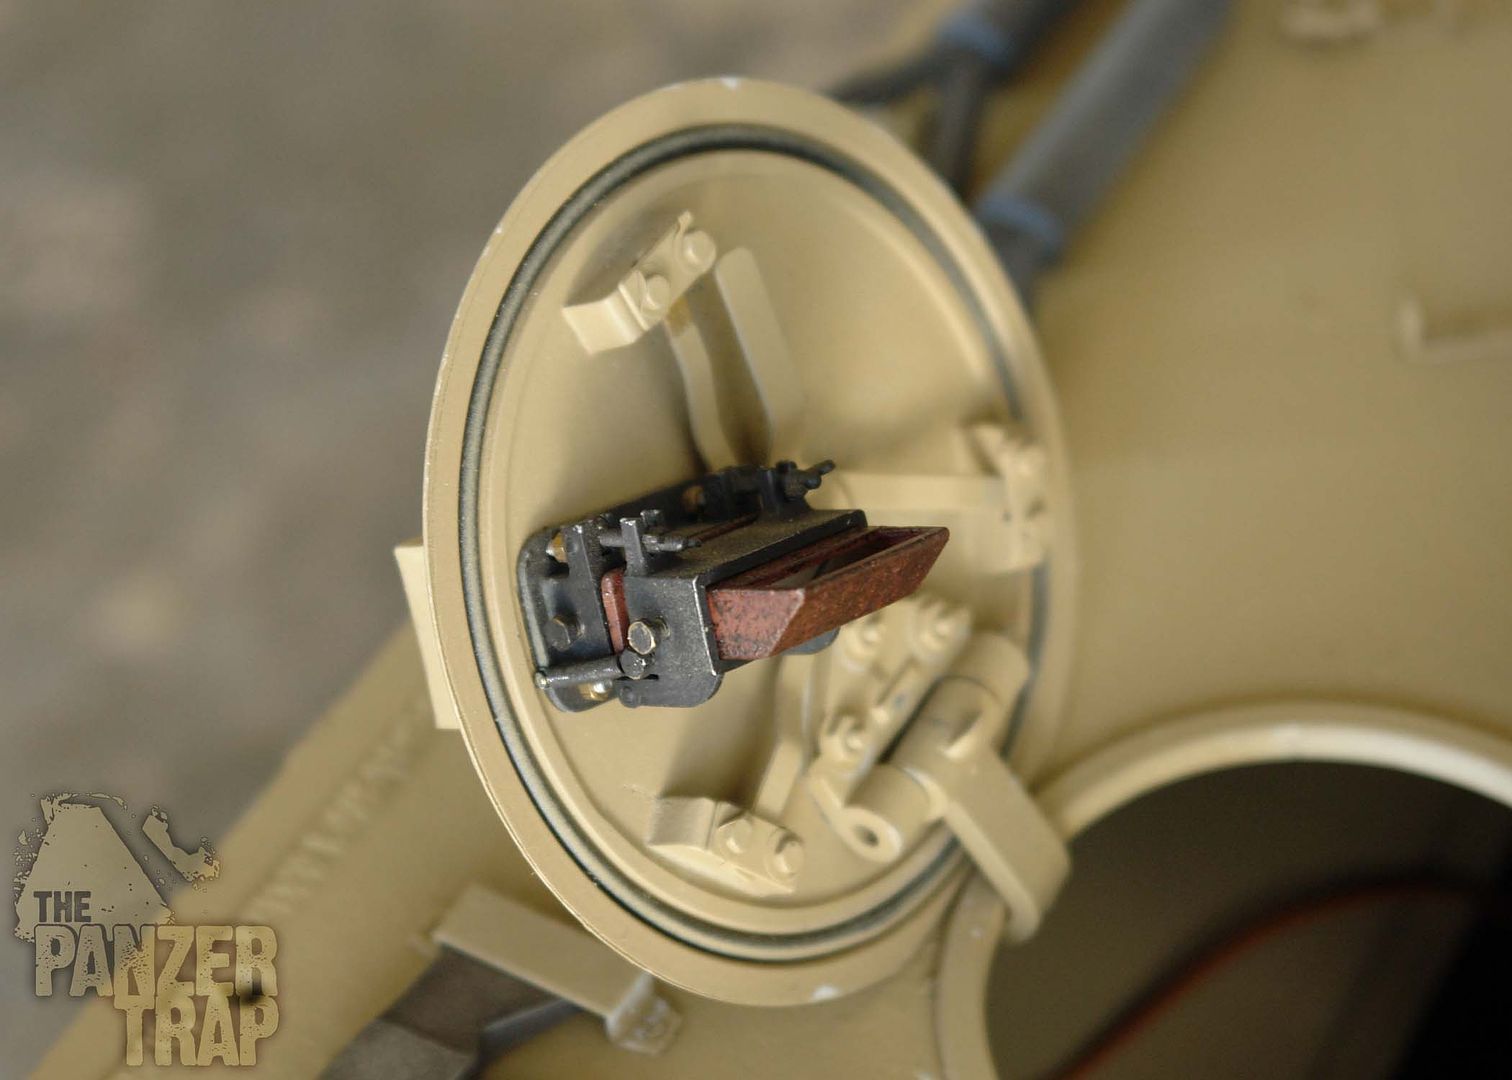
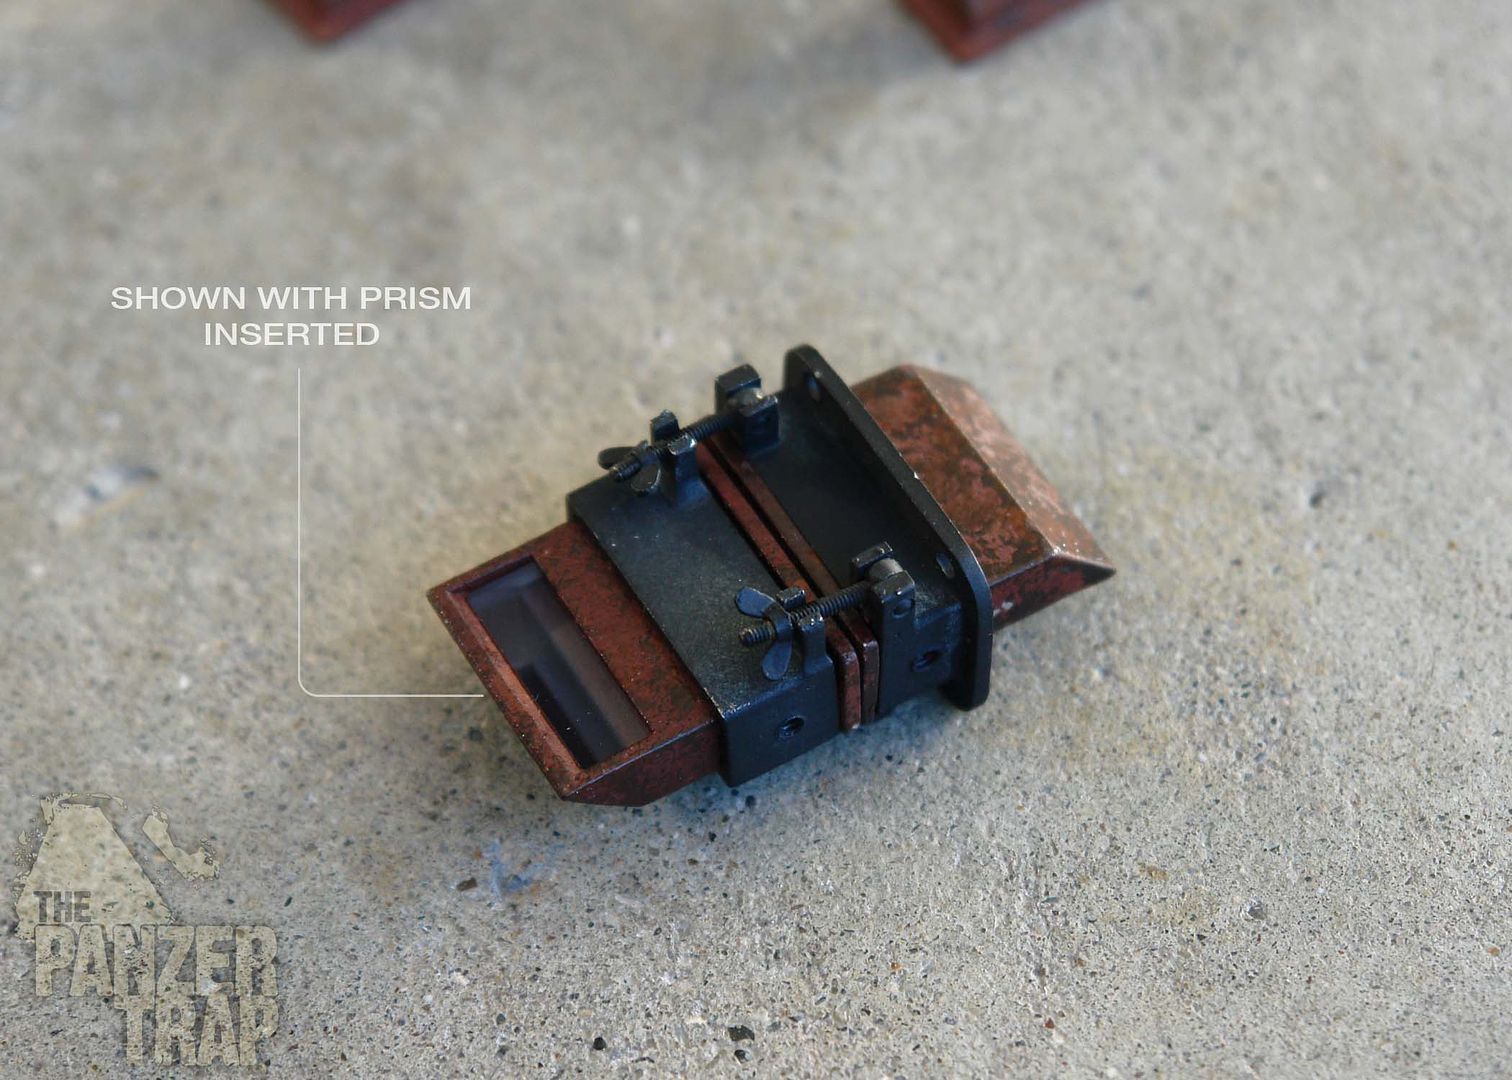
Inserted into a housing bracket
Installed on the Tiger
Panther housings dome a few years ago
Could we just paint periscopes black? Yes. But where's the fun in that. I prefer the reddish colors to contrast the other parts of the panzer but colors can easily be adjusted to suit your own preference. The scopes shown above Mike Stannard's excellent prism housings.
Hope this is useful and/or entertaining.
Have fun!
Tim
Hi everyone
Here is the step by step of the fakelite paintwork I do on my periscope housings. I'm posting the beginning steps again so it's all here in one place.
First a short bit about 1940s bakelite. It came in many, many different colorations, patterns and amount and size of flecks.
Some sample images of actual backelite.
German Field Phone
note the two different colors on the same phone case
Other samples
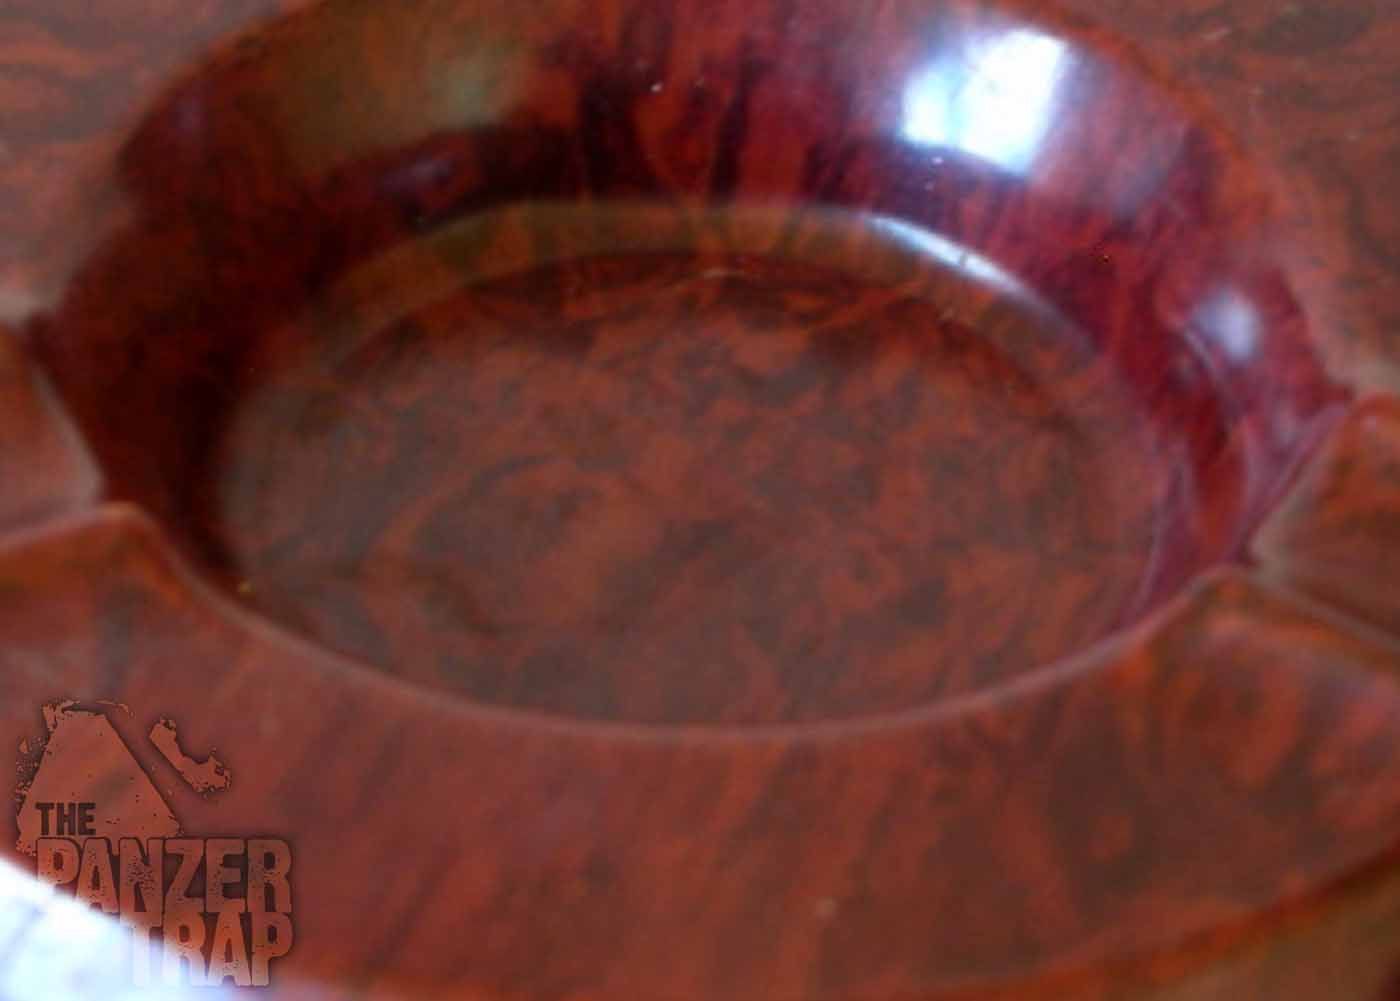
German Periscope Housing(photos courtesy of my friend Kent Wiik)
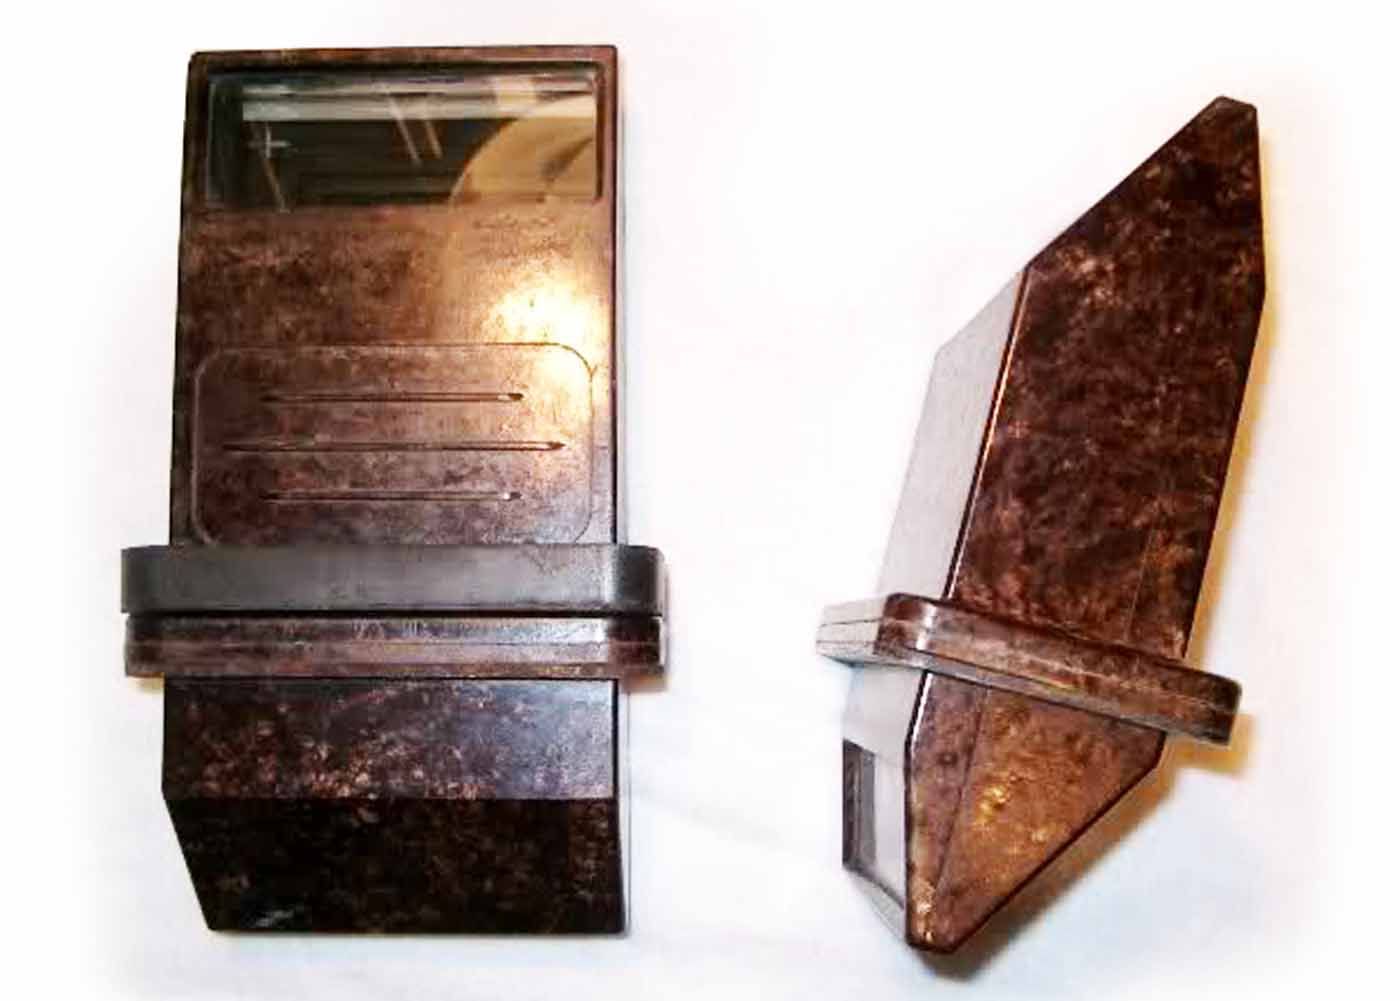
Were there black ones?
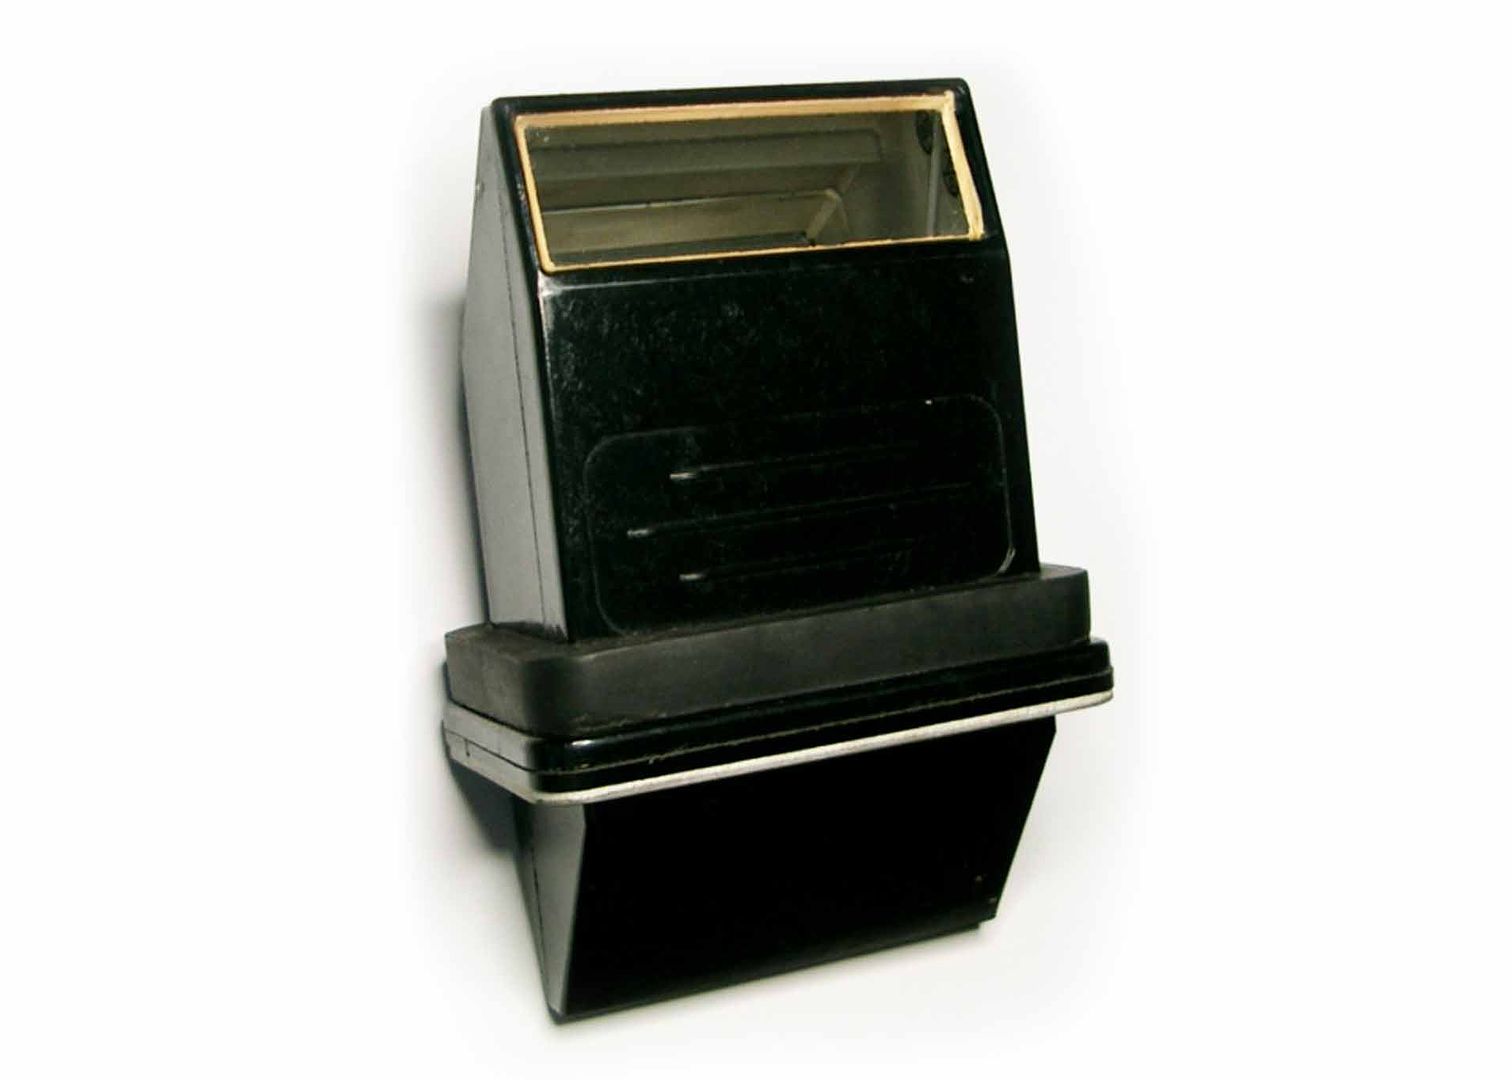
Installed in a Panther cupola
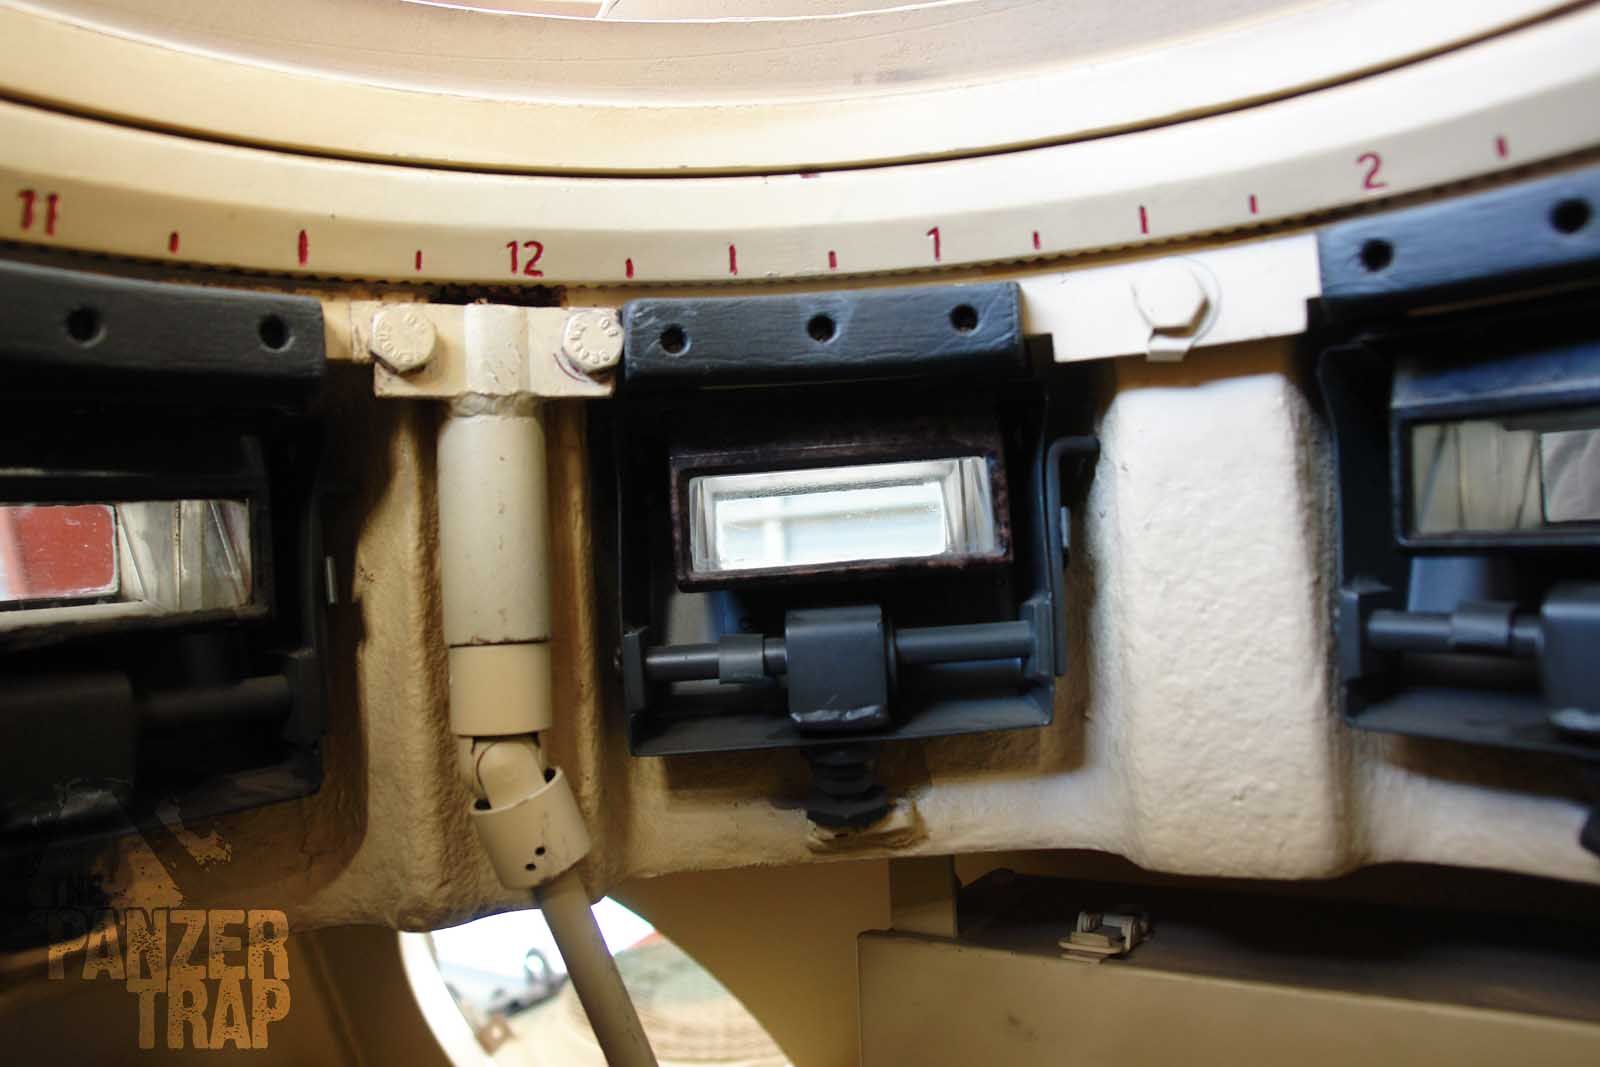
I use only flat colors of Model Masters but brand is not important. Use the one you are comfortable with. Also, actual bakelite varies greatly in coloration and color mottling pattern so there is plenty of room for artistic license and more ore less colors depending on what you like. Overall color can vary from lots of red/orange to a very dark brown. I have seen varied coloring even in the same cupola.(granted it was restored).
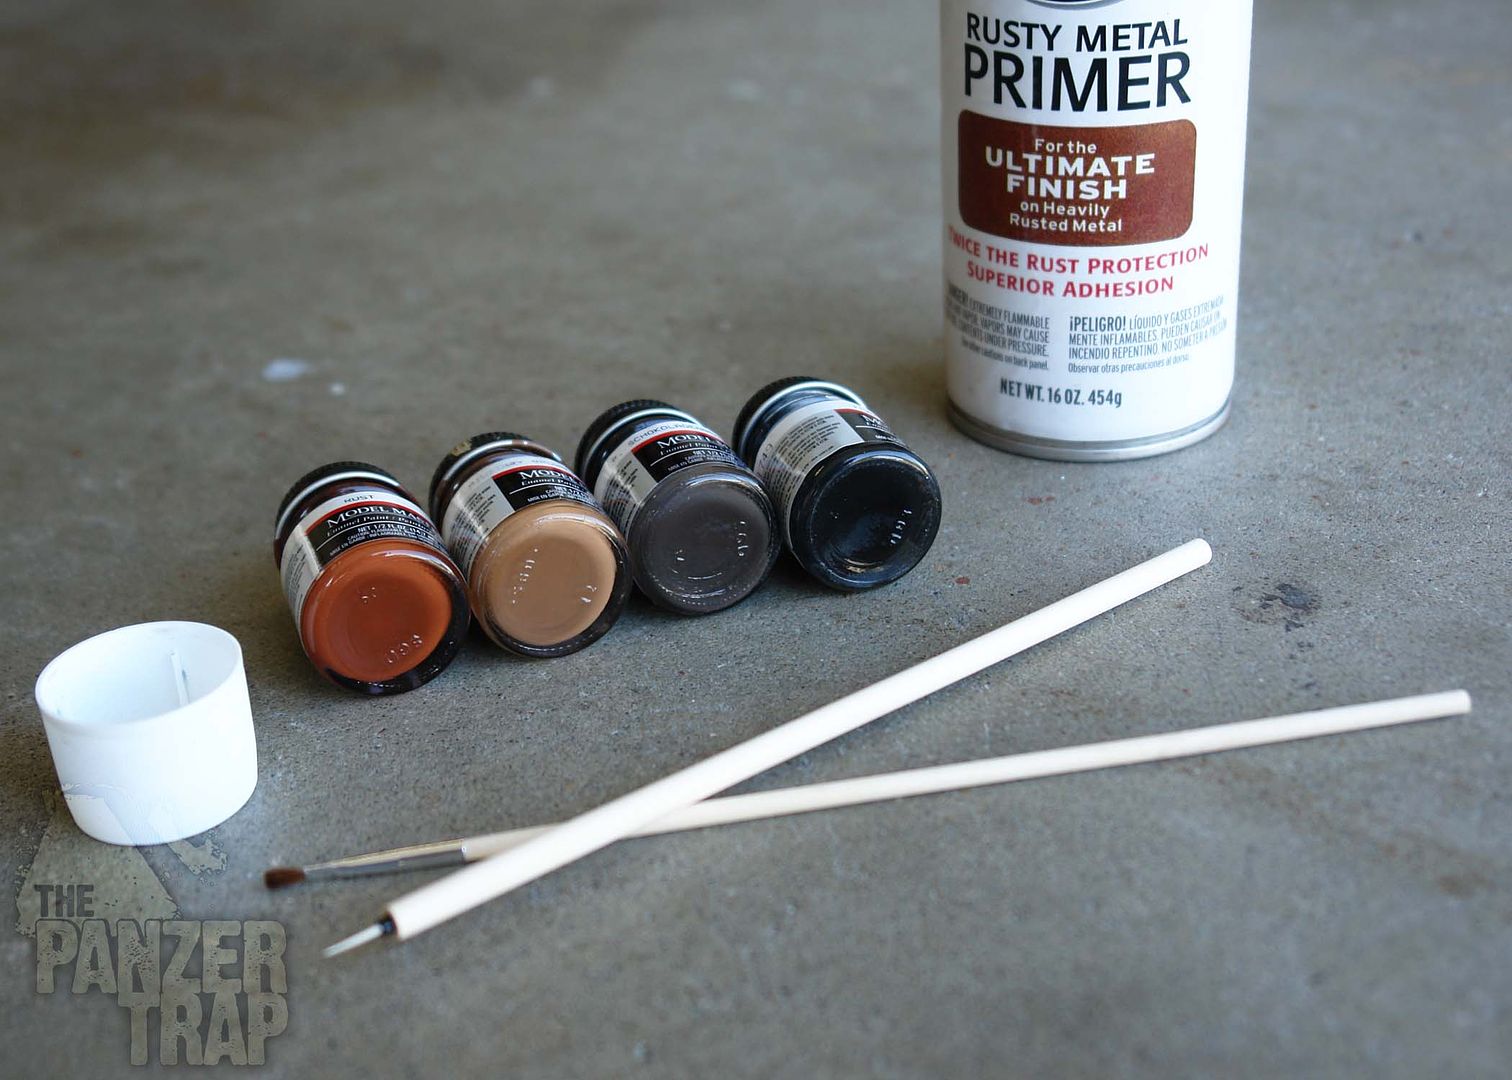
Tools used
- Red Primer
- Rust colored paint
- Light Brown colored paint
- Dark Brown colored paint
- Black colored paint
- Fine tipped brush
- Medium sized brush
- Small mixing cup
- Thinner
- Small piece cut from a sponge (I prefer the synthetic, yellow ones used for drywall work that can be purchased at a hardware store for about a dollar.)
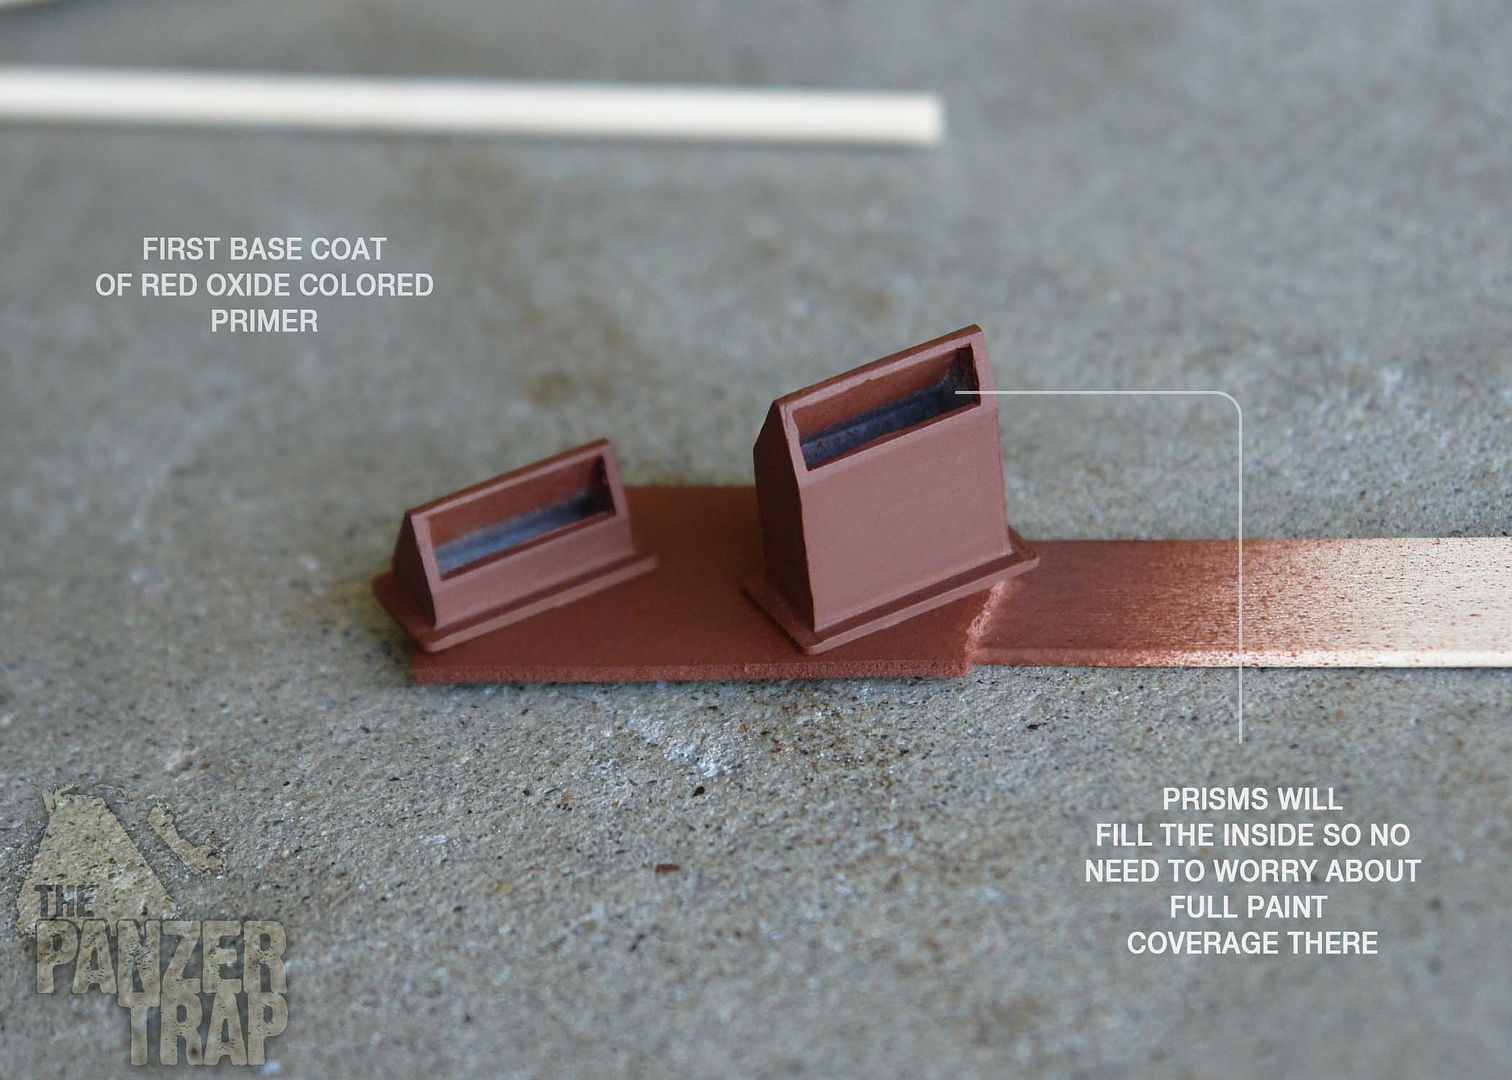
Step One
Paint the scope housings with your favorite red primer and let dry
Step Two
Using a small brush, smash the bristles so they are fanned out. I start with the darker color first but it's not really important. Make sure the paint is thinned quite a bit so it doesn't build up too much on the part.
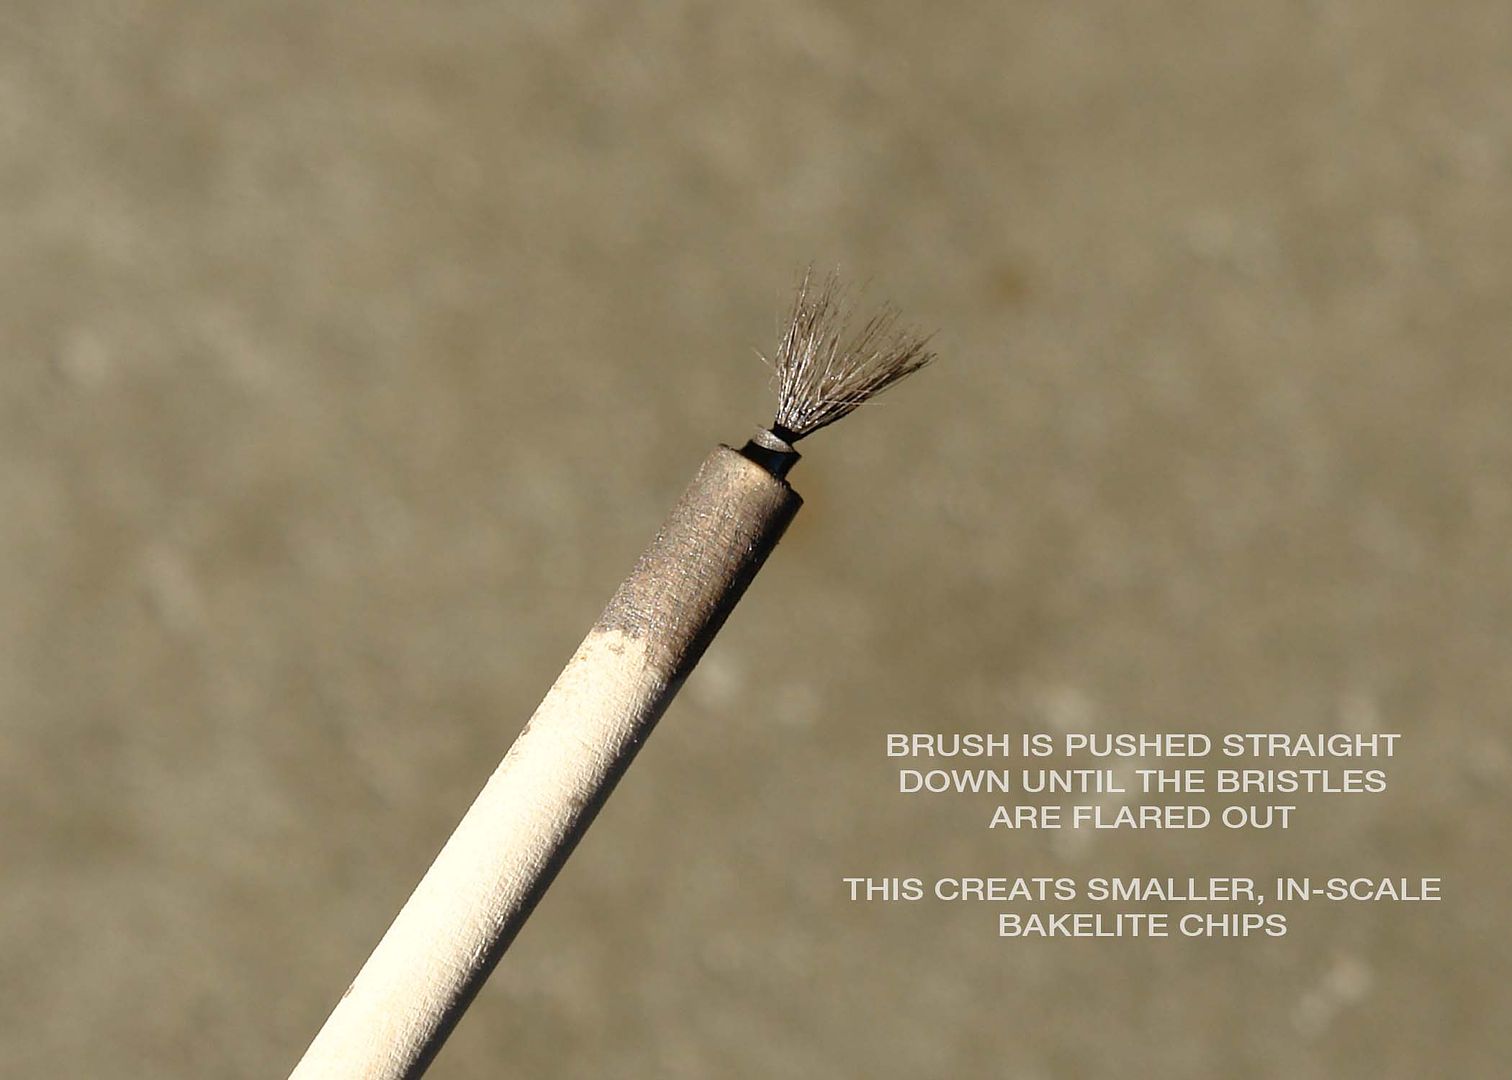
Using a popsicle stick as my pallet, I dab the brush on it to unload excess paint from the brush
Step Three
Once the dark layer is randomly applied, do the same with a rust color dabbing over you last speckles as well as the other areas. Bakelite has a layered look to it so working randomly over the top of each layer you just painted, achieves this look .
Step Four
Now using both colors as needed until you have the look you want.
Inserted into a housing bracket
Installed on the Tiger
Panther housings dome a few years ago
Could we just paint periscopes black? Yes. But where's the fun in that. I prefer the reddish colors to contrast the other parts of the panzer but colors can easily be adjusted to suit your own preference. The scopes shown above Mike Stannard's excellent prism housings.
Hope this is useful and/or entertaining.
Have fun!
Tim
"So long as one isn't carrying one's head under one's arm, things aren't too bad." – Erwin Rommel
-
- Posts: 2020
- Joined: Sat Dec 12, 2009 3:38 pm
- Location: Sambourne uk
- Been liked: 223 times
Re: Late Production Tiger Project
Great looking parts and finishing Tim
Thanks for taking the time to share your skills with us
Cheers
Phil
Thanks for taking the time to share your skills with us
Cheers
Phil
-
- Posts: 1762
- Joined: Fri Jul 13, 2007 4:53 am
- Location: Northern California
- Been liked: 177 times
- Contact:
Re: Late Production Tiger Project
Hi Phil and Rocky, glad it may be of some use.
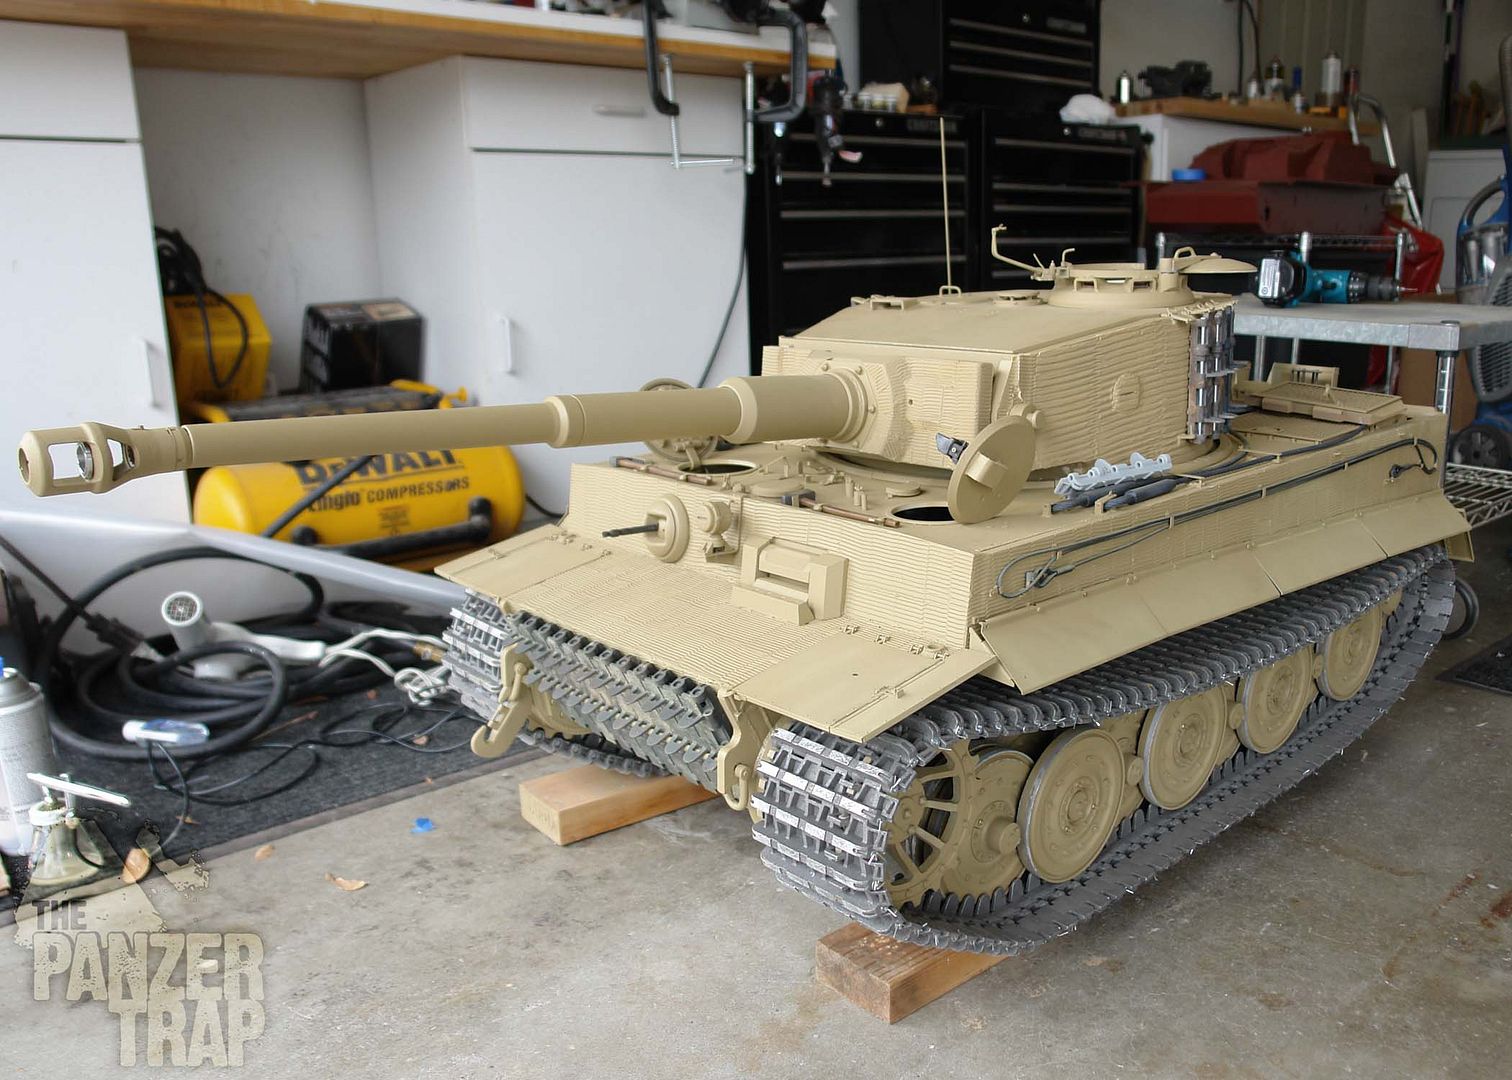
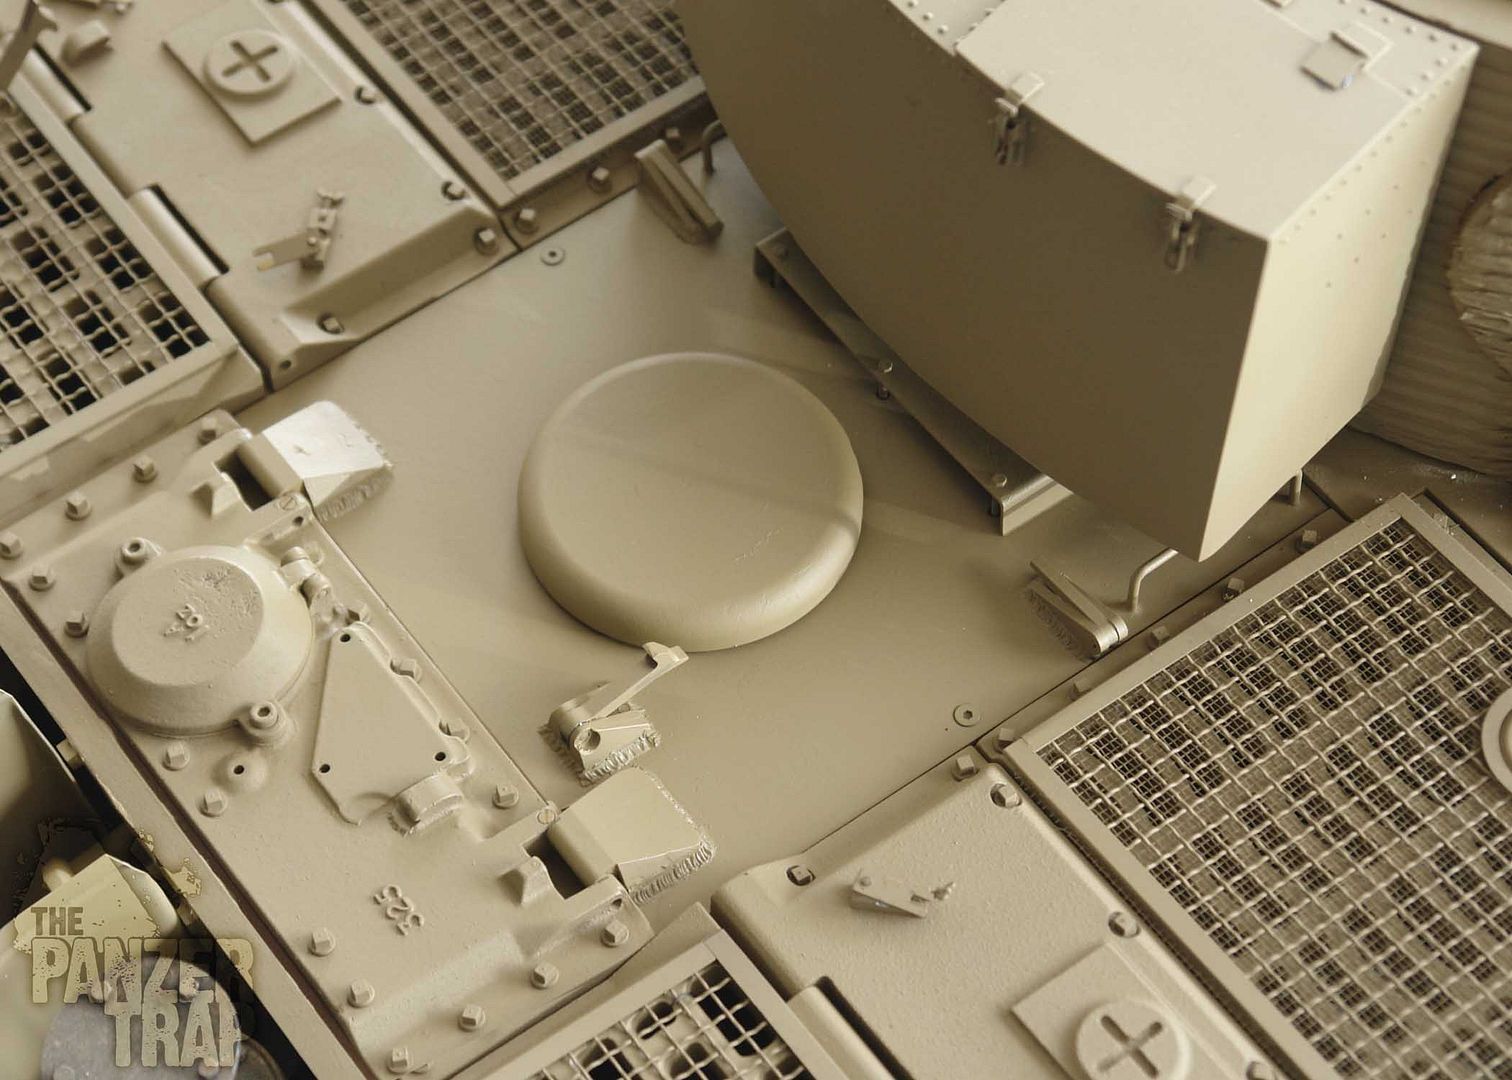
Finally found some time to do something on the Tiger. Up on the stand and onto the painting side of the shop. Still need to finish the welds on the turret roof deck and finish the engine hatch before I start painting.
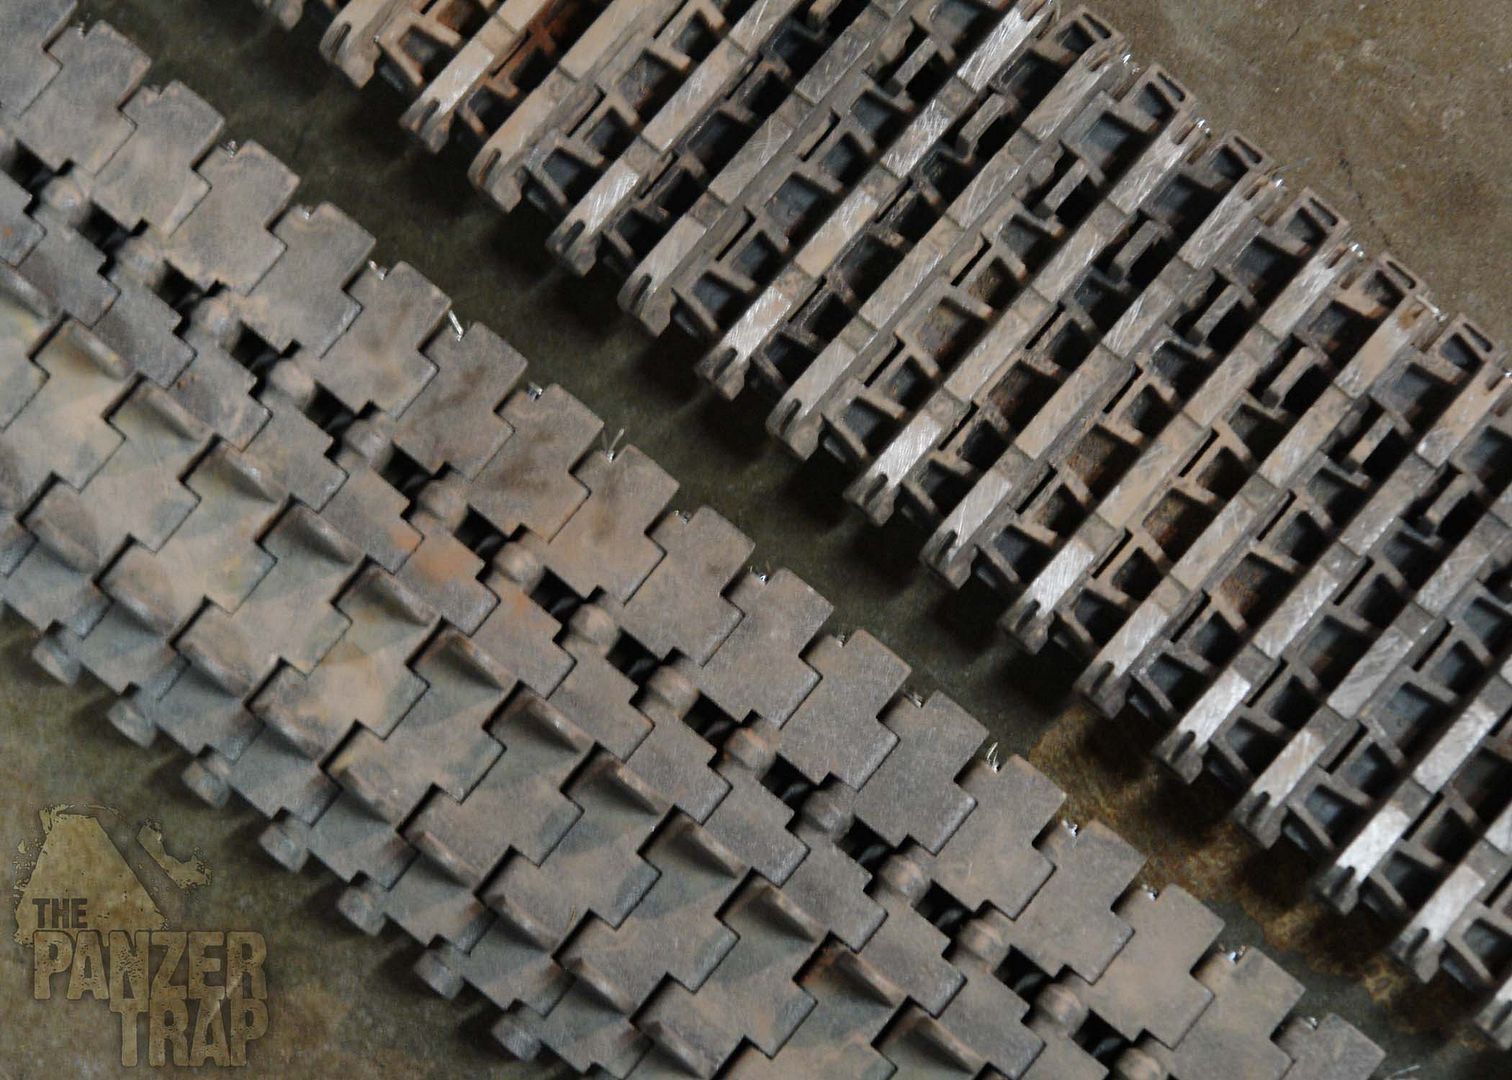
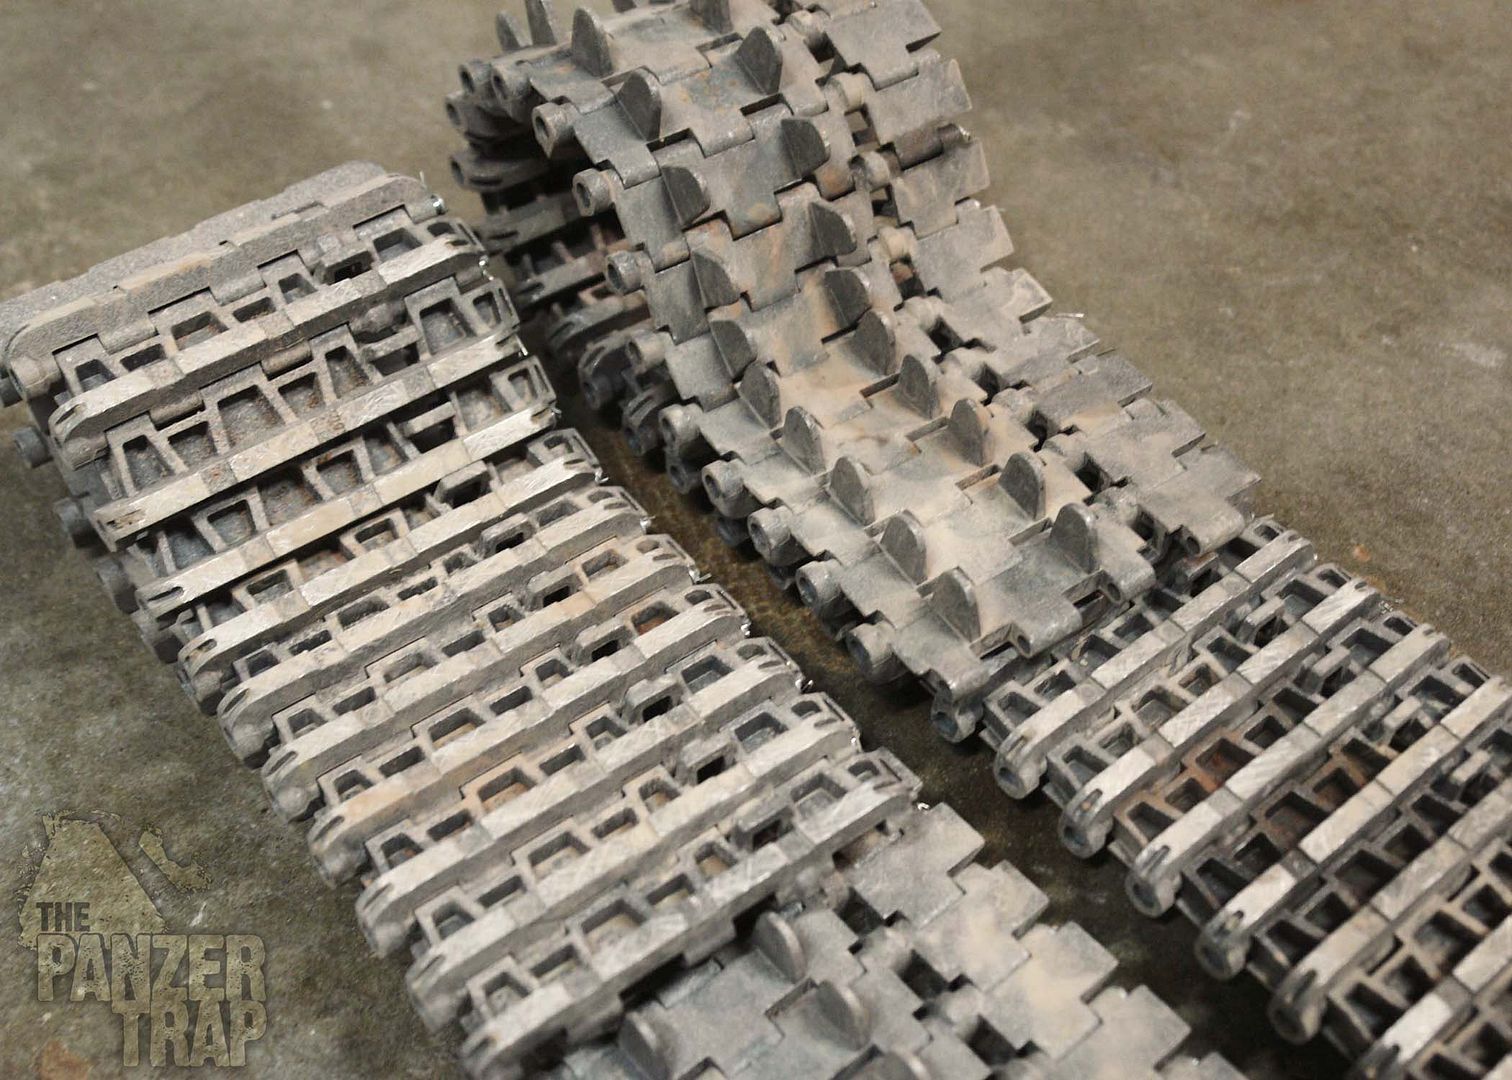
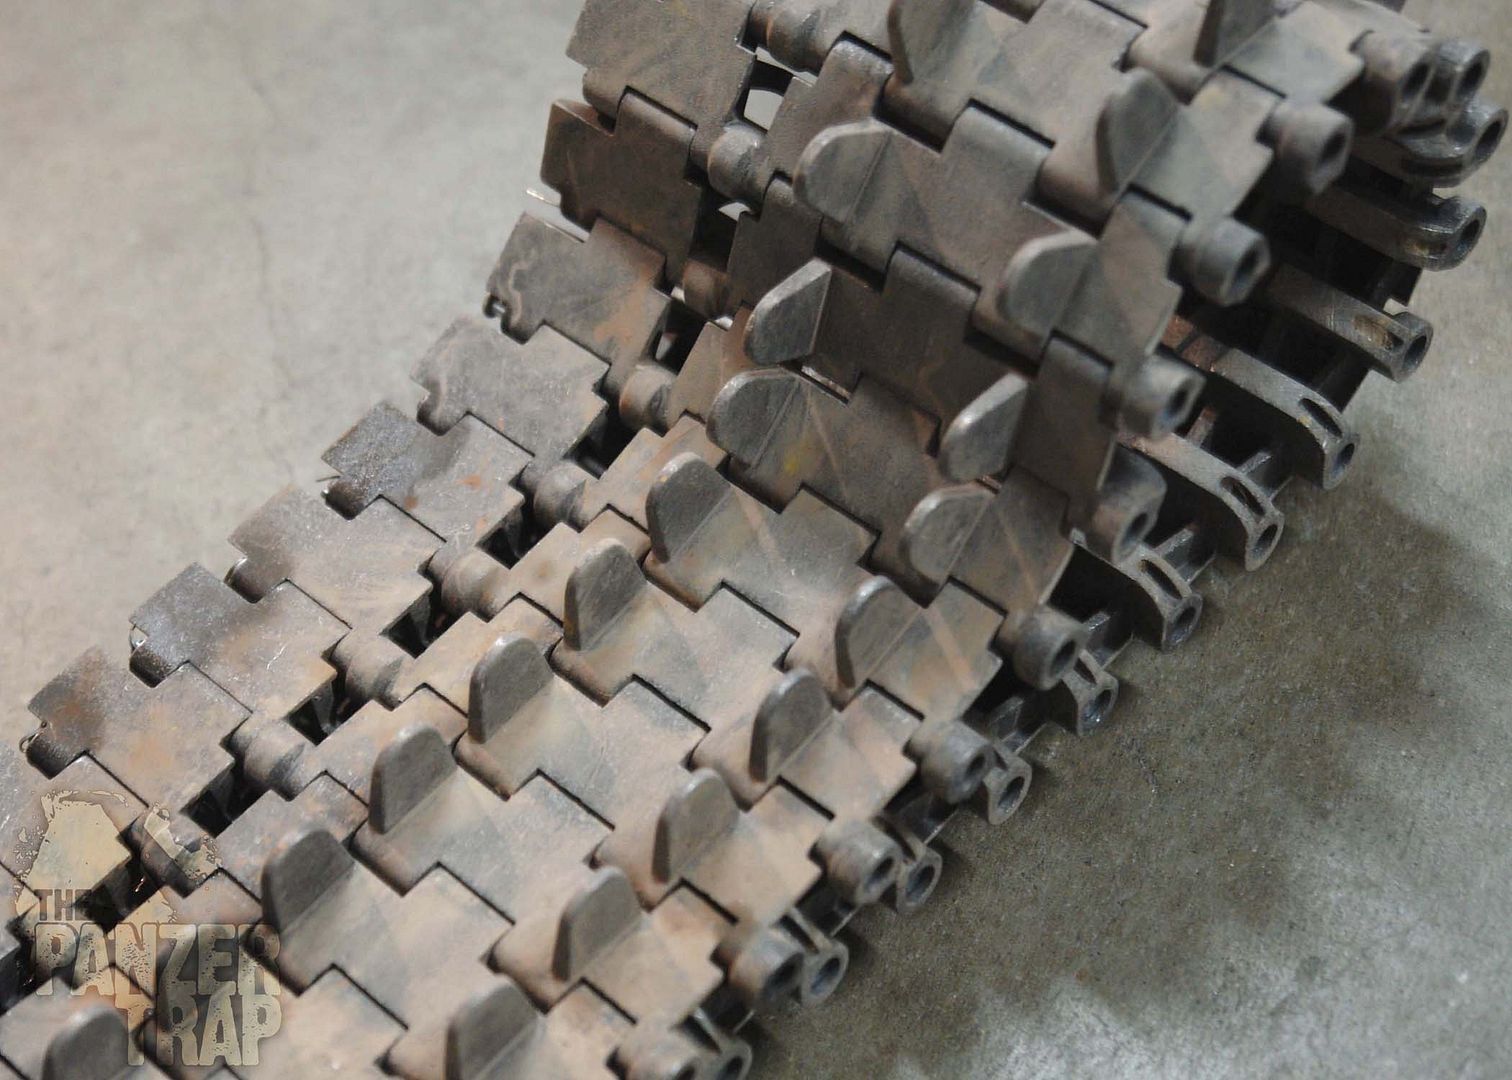
Tiger's track links get their first layer of weathering.
Tim
Finally found some time to do something on the Tiger. Up on the stand and onto the painting side of the shop. Still need to finish the welds on the turret roof deck and finish the engine hatch before I start painting.
Tiger's track links get their first layer of weathering.
Tim
"So long as one isn't carrying one's head under one's arm, things aren't too bad." – Erwin Rommel
-
- Posts: 1762
- Joined: Fri Jul 13, 2007 4:53 am
- Location: Northern California
- Been liked: 177 times
- Contact:
Re: Late Production Tiger Project
So much for "finished by Christmas" haha
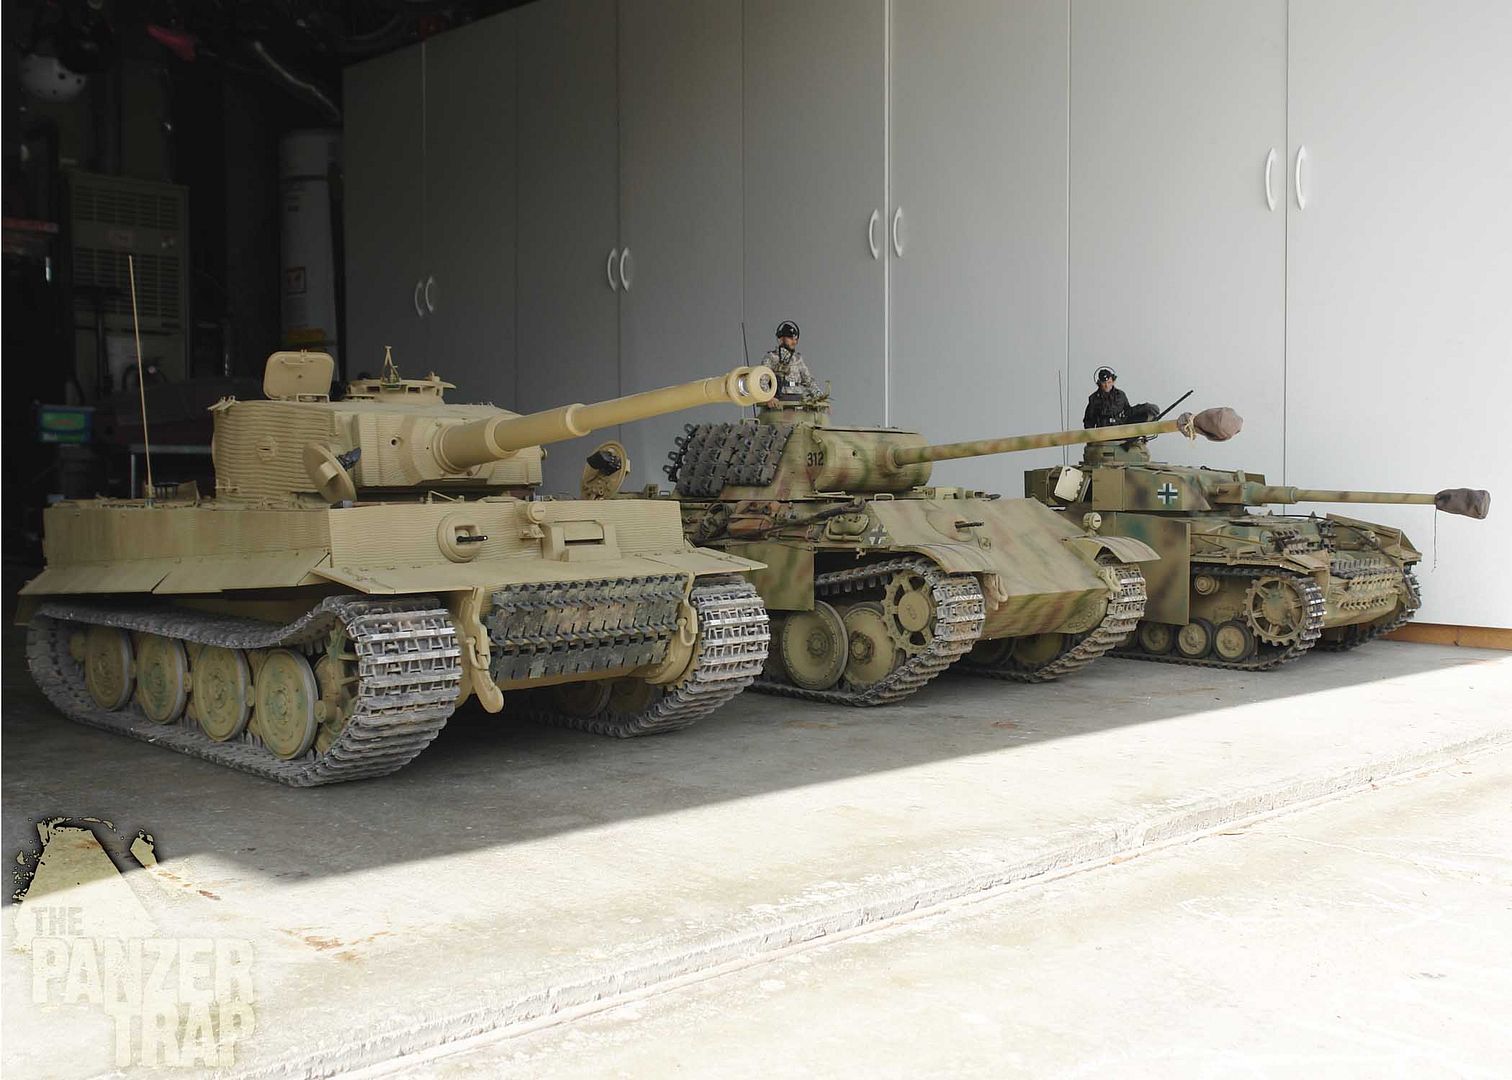
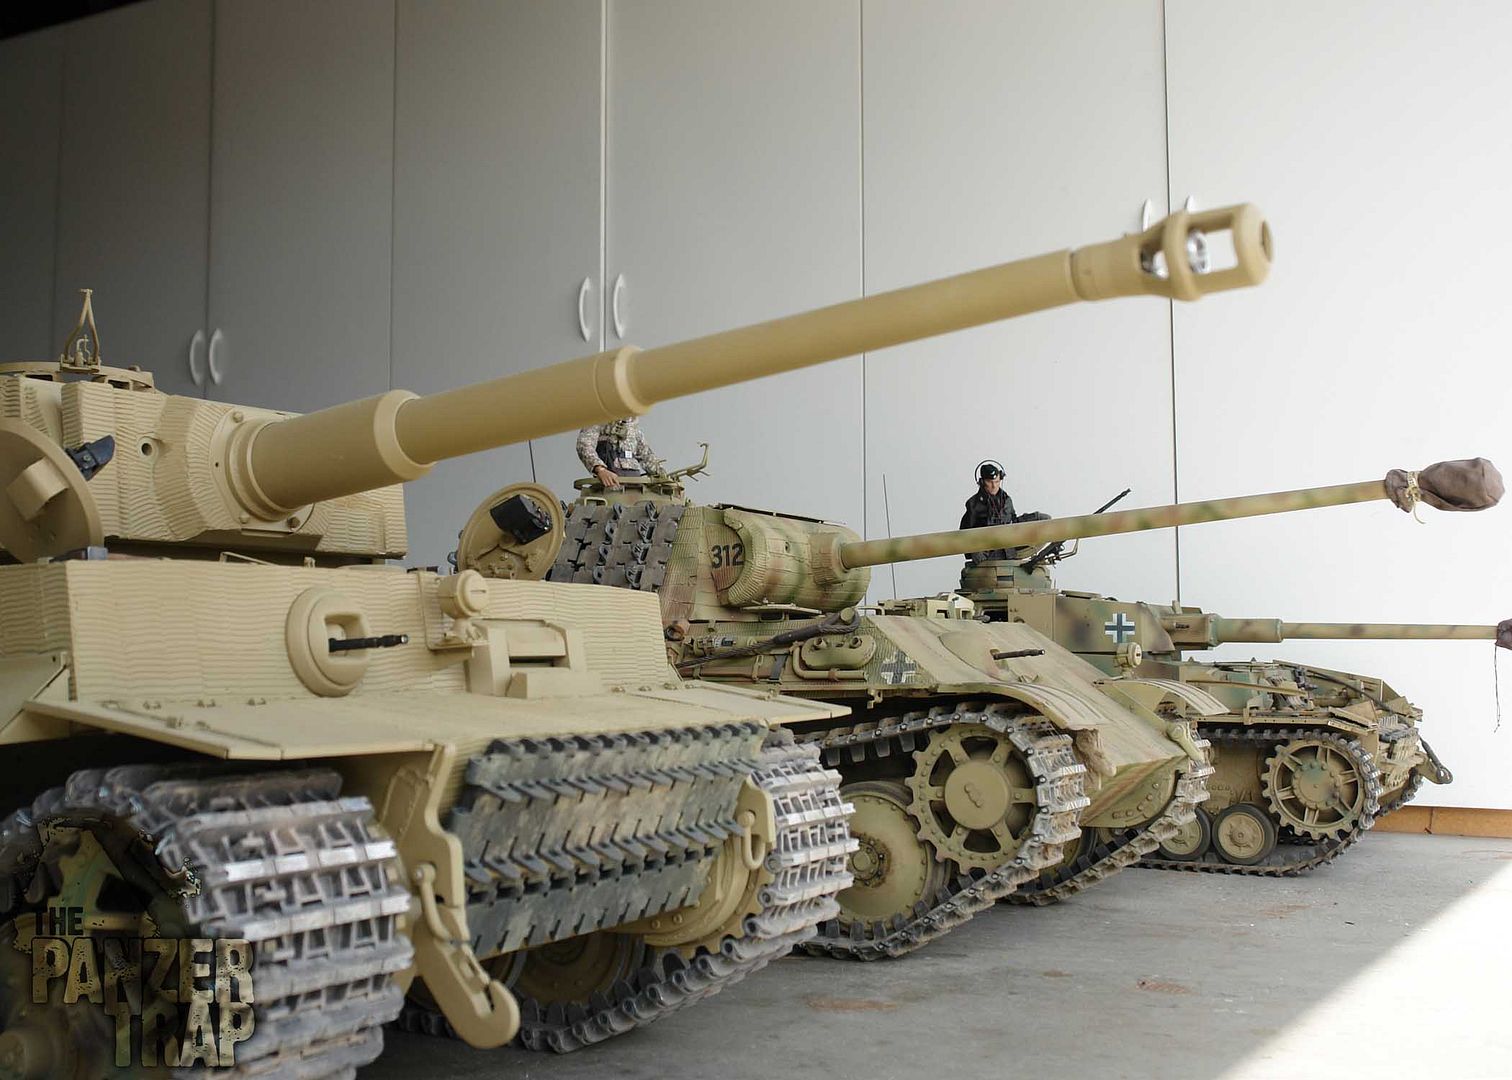
Completed the engine hatch......finally. Work has been 'crazy' busy lately. Also wired on the mesh covers.
Panzer IV, V and VI
Tim
Completed the engine hatch......finally. Work has been 'crazy' busy lately. Also wired on the mesh covers.
Panzer IV, V and VI
Tim
"So long as one isn't carrying one's head under one's arm, things aren't too bad." – Erwin Rommel
-
- Posts: 292
- Joined: Fri Jun 03, 2011 2:49 pm
- Location: North Staffordshire
- Has liked: 257 times
- Been liked: 147 times
Re: Late Production Tiger Project
Hi Tim
Worth the wait, either this Christmas or the next one!
What a line up, don't know how my Firefly would cope, if confronted by your trio!
Best regards
John Wiggins
Worth the wait, either this Christmas or the next one!
What a line up, don't know how my Firefly would cope, if confronted by your trio!
Best regards
John Wiggins
-
- Posts: 2024
- Joined: Fri Nov 02, 2007 8:51 pm
- Location: new forest,hampshire,u.k.
- Been liked: 1633 times
Re: Late Production Tiger Project
a trio of beauty's, lots of hours and lots of effort, regards simon.
-
- Posts: 1816
- Joined: Tue Dec 14, 2010 3:11 pm
- Location: IRELAND,Dublin/Meath
- Has liked: 5 times
- Been liked: 629 times
- Contact:
Re: Late Production Tiger Project
Looks like you are planning an invasion.
If interested in any parts used in my builds contact me at johnfitzsimons@msn.com for a price list.
http://www.armortek.co.uk/Forum3b/viewt ... f=4&t=4770
https://youtube.com/@16rctankworkshop-y ... TlMwTalnX5
http://www.armortek.co.uk/Forum3b/viewt ... f=4&t=4770
https://youtube.com/@16rctankworkshop-y ... TlMwTalnX5
-
- Posts: 2020
- Joined: Sat Dec 12, 2009 3:38 pm
- Location: Sambourne uk
- Been liked: 223 times
Re: Late Production Tiger Project
Excellent workmanship Tim
The three look awsum together.
There are several Tiger postings that when followed together turn
into a great source of reference for others to learn from and follow.
Cheers
Phil
The three look awsum together.
There are several Tiger postings that when followed together turn
into a great source of reference for others to learn from and follow.
Cheers
Phil
-
- Posts: 1762
- Joined: Fri Jul 13, 2007 4:53 am
- Location: Northern California
- Been liked: 177 times
- Contact:
Re: Late Production Tiger Project
Thanks everyone for the kind comments.
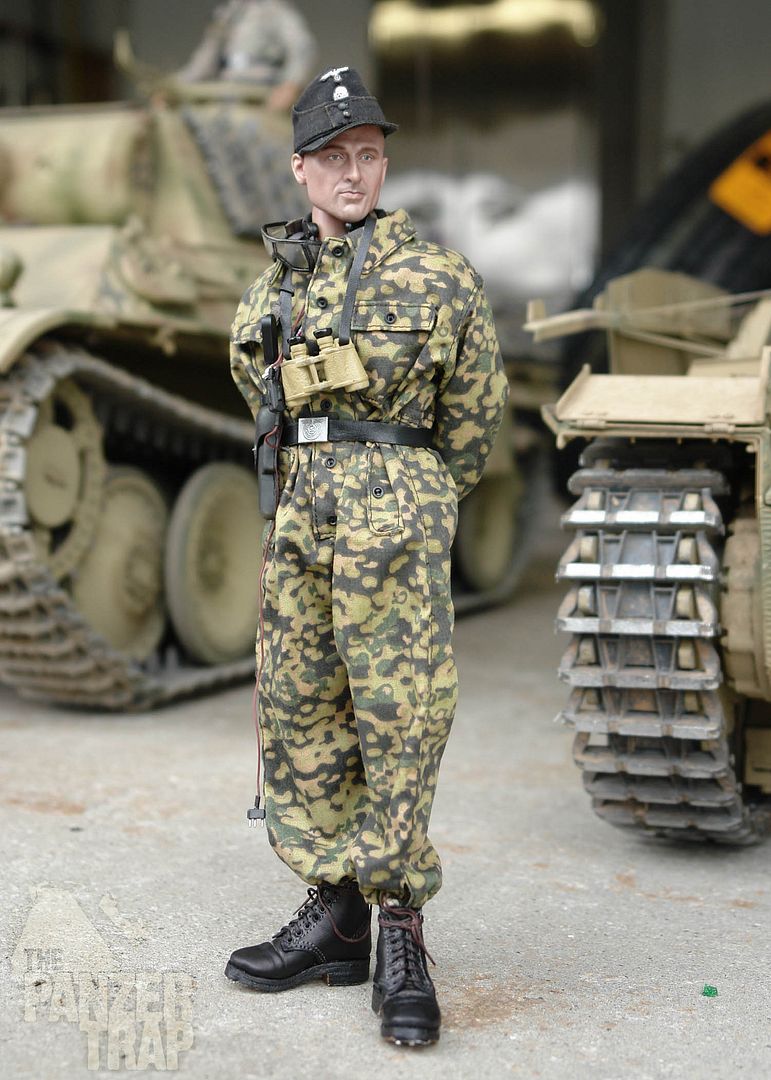
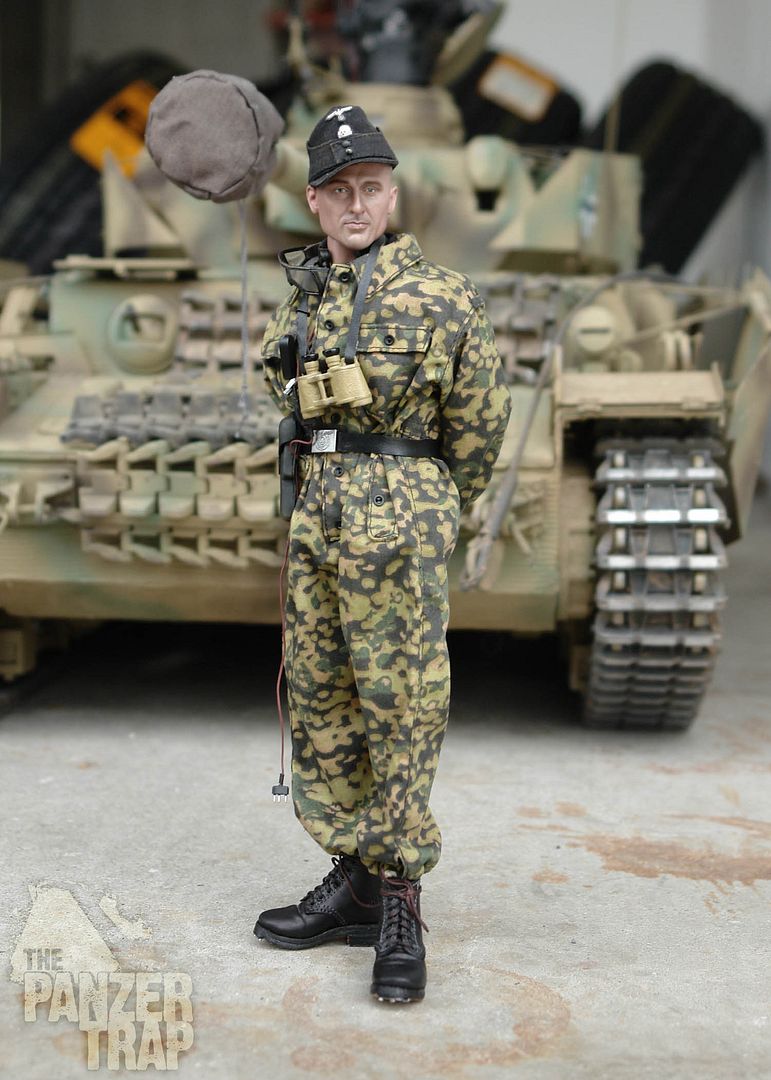
Another attempt at a Normandy panzer commander. Have not weathered him yet.
tim
Another attempt at a Normandy panzer commander. Have not weathered him yet.
tim
"So long as one isn't carrying one's head under one's arm, things aren't too bad." – Erwin Rommel
-
- Posts: 61
- Joined: Thu Jul 12, 2007 2:58 pm
- Location: Netherlands
Re: Late Production Tiger Project
Hi Tim
Your commander already looks nice.
GREAT WORK !!!!!
Best regards,
Chris
Your commander already looks nice.
GREAT WORK !!!!!
Best regards,
Chris
groetjes uit Holland
-
- Posts: 1762
- Joined: Fri Jul 13, 2007 4:53 am
- Location: Northern California
- Been liked: 177 times
- Contact:
Re: Late Production Tiger Project
Hi Chris ....thanks
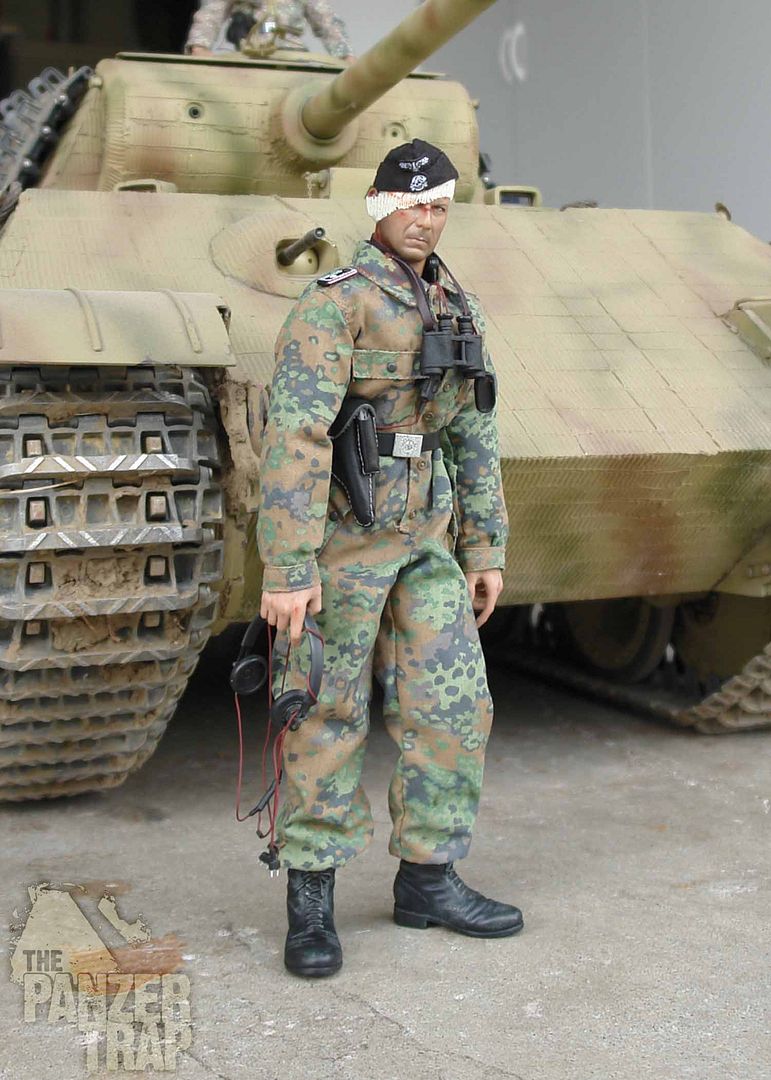
Here's another Normandy Panzer commander I'm working on. Trying to get the right uniform and head sculpt together before I commit to weathering one of these guys. Both Brandt and my Panzer IV commander will be in leathers but its fun to play around with other uniforms I have here for a new Panther commander.
This guy didn't button up fast enough during an engagement with Canadians around Caen.
Tim
"So long as one isn't carrying one's head under one's arm, things aren't too bad." – Erwin Rommel
-
- Posts: 1816
- Joined: Tue Dec 14, 2010 3:11 pm
- Location: IRELAND,Dublin/Meath
- Has liked: 5 times
- Been liked: 629 times
- Contact:
Re: Late Production Tiger Project
Great looking figures as usual. Where do you get the hats. They sit really well. I am let down with the quality of the ones I have. Interested in how you go about weathering the figures also.
If interested in any parts used in my builds contact me at johnfitzsimons@msn.com for a price list.
http://www.armortek.co.uk/Forum3b/viewt ... f=4&t=4770
https://youtube.com/@16rctankworkshop-y ... TlMwTalnX5
http://www.armortek.co.uk/Forum3b/viewt ... f=4&t=4770
https://youtube.com/@16rctankworkshop-y ... TlMwTalnX5
-
- Posts: 1762
- Joined: Fri Jul 13, 2007 4:53 am
- Location: Northern California
- Been liked: 177 times
- Contact:
Re: Late Production Tiger Project
Hi John
I get the side caps from a supplier here in the U.S. Their cut is much more accurate then DML versions. Hope to work some more on the Tiger next week.
http://www.battlegeartoys.com
best regards
Tim
I get the side caps from a supplier here in the U.S. Their cut is much more accurate then DML versions. Hope to work some more on the Tiger next week.
http://www.battlegeartoys.com
best regards
Tim
"So long as one isn't carrying one's head under one's arm, things aren't too bad." – Erwin Rommel
- Robert E Morey
- Posts: 2295
- Joined: Wed Jul 18, 2007 12:59 am
- Location: Seattle, WA USA
- Has liked: 123 times
- Been liked: 754 times
Re: Late Production Tiger Project
Tim,
Fantastic line up of tanks! Your figures are amazing, esp the head sculpts. They are the most realistic faces I've seen on 1/6 figures. I like the uniform on the Feb 08 figure, very unique pattern. I can't help but wonder how you get 1/6 figures to look so alive - or full size humans shrunk to fit? The wounded dude looks like he has a score to settle with somebody. I agree the cap fit and "tilt" is perfect. Great work, you keep us all inspired.
Best regards,
Bob