Page 3 of 12
Posted: Sat Sep 20, 2008 4:06 pm
by Tim Bowman
Hi Bob
Super work! As always. That metal technique really looks like bare metal.

Tim
Posted: Sun Sep 28, 2008 9:35 pm
by Robert E Morey
Posted: Tue Sep 30, 2008 3:52 pm
by Tim Bowman
Hi Bob
Sweet !
Battered but still very much in the fight.
Tim
Posted: Sun Oct 12, 2008 4:20 am
by Robert E Morey
Posted: Sun Oct 12, 2008 9:04 am
by Adrian Harris
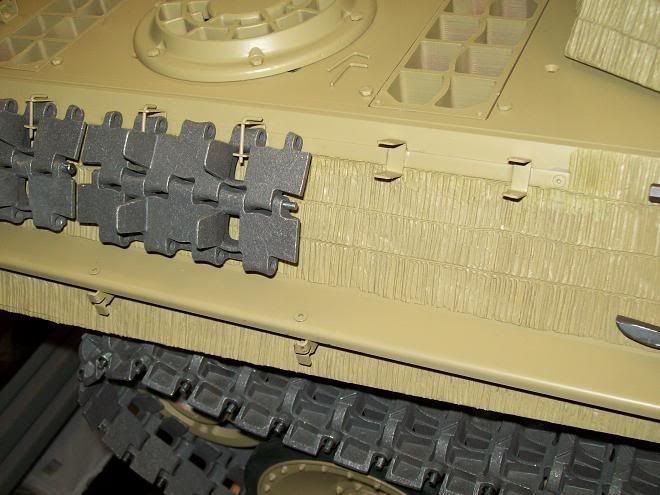
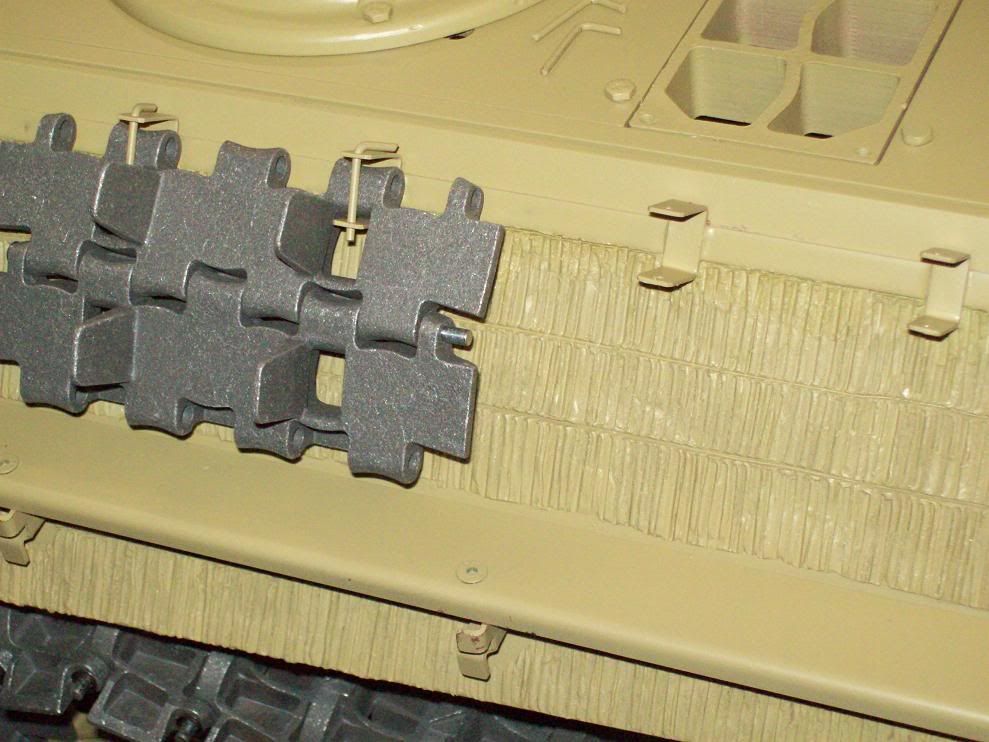
Nice rack

(It's not often you get to say that without the risk of a slap

)
Adrian.
Posted: Sun Oct 12, 2008 5:44 pm
by Robert E Morey
Ha ha Adrian

You're right! Thanks!
Posted: Sun Oct 12, 2008 7:15 pm
by Allan Richards
Nice work altogether - really nice work!
Posted: Wed Nov 12, 2008 4:36 am
by Robert E Morey
Posted: Wed Nov 12, 2008 8:18 am
by Adrian Harris
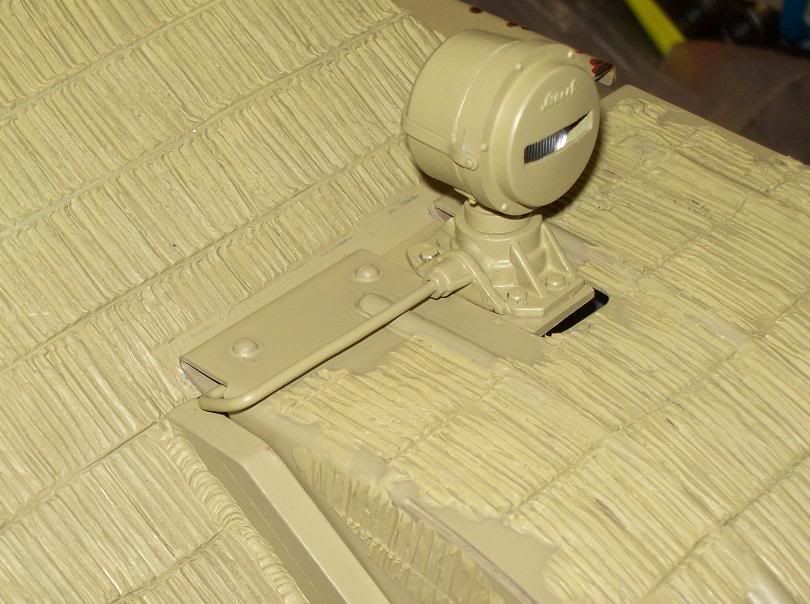
Excellent looking details Bob.
Some of those photos really could be of a 1:1 Panther
Adrian.
Posted: Thu Nov 13, 2008 3:26 am
by Robert E Morey
Thanks Adrian, I'm getting better with the camera up close. Some things look great from a distance, then at 8 megapixel magnification don't always look that great.

I've got a ways to go before my Panther is as detailed as Tim Bowman's though. That model is a masterpiece of detail. Its good Tim set the bar high a long time ago - gives us all something to strive for.
Bob
Posted: Thu Nov 13, 2008 9:42 am
by Kent Wiik
Excellent work Bob!
Yours and Tim’s work in progress postings are a pleasure to watch and when posted a source of pleasure and enjoy for me and I am sure a lot of others - thanks!
Your Panther looks awesome and I think you have got the "super detailing bug" now
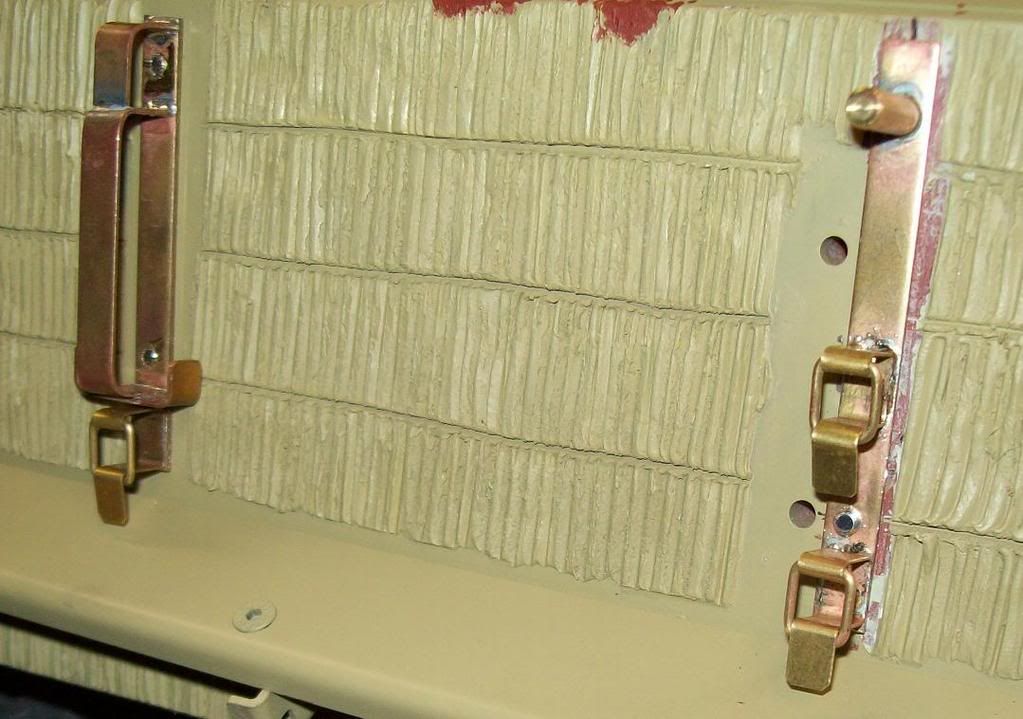
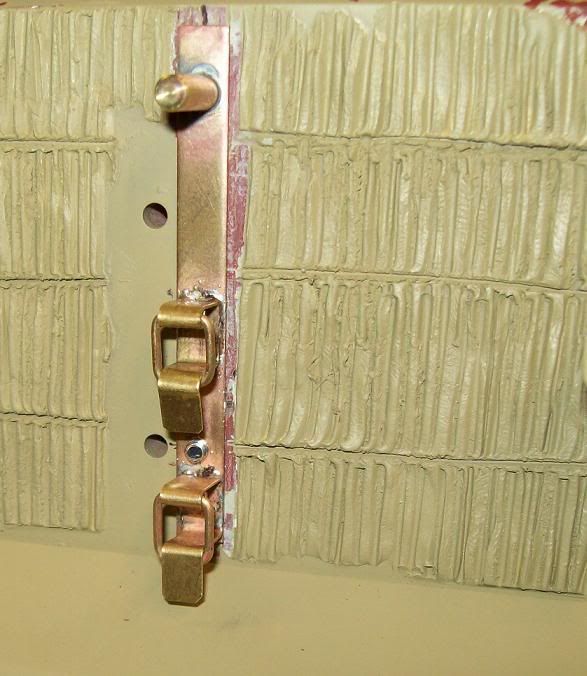
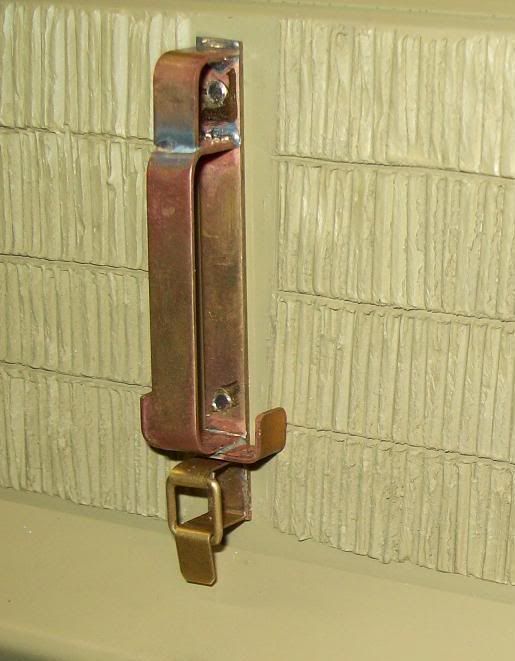
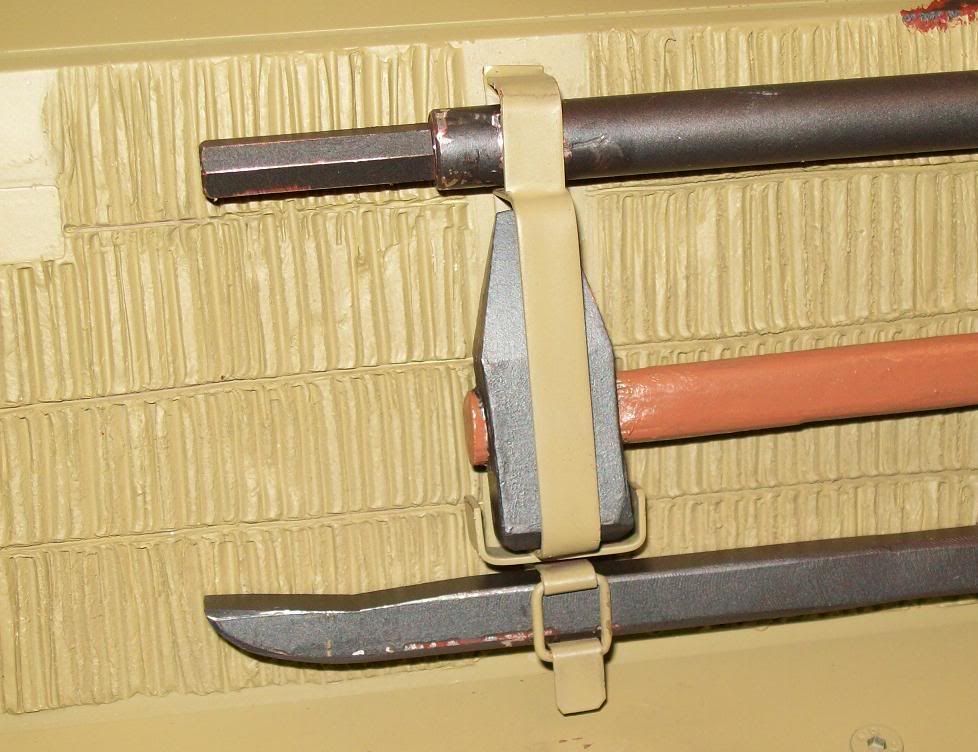
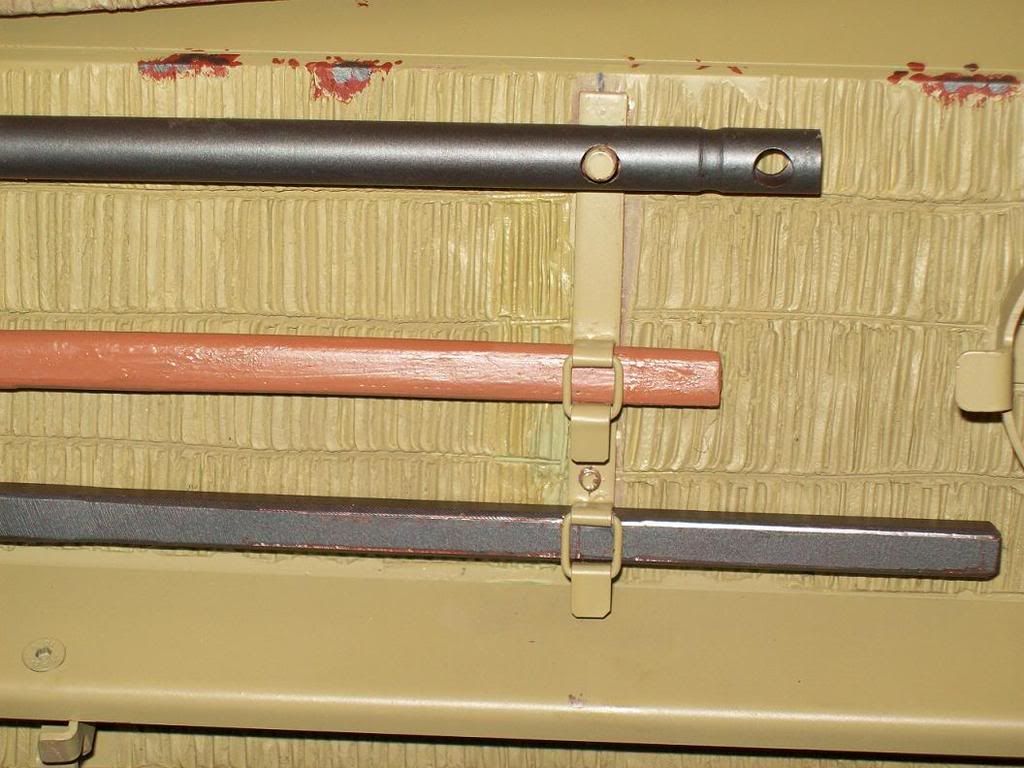
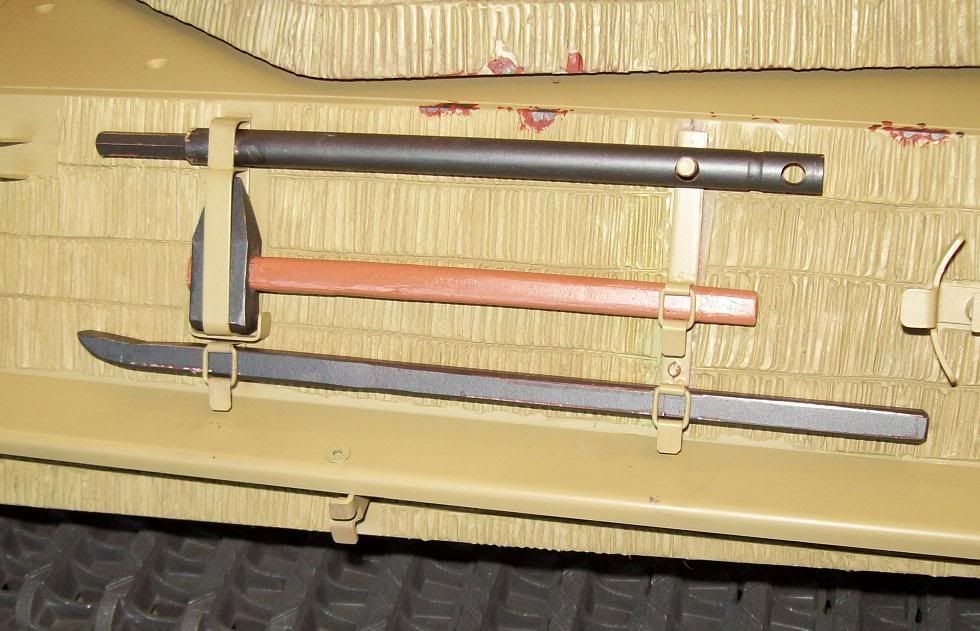
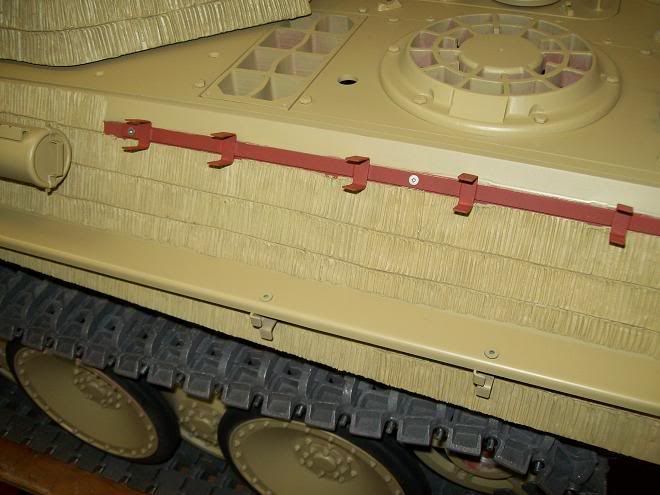
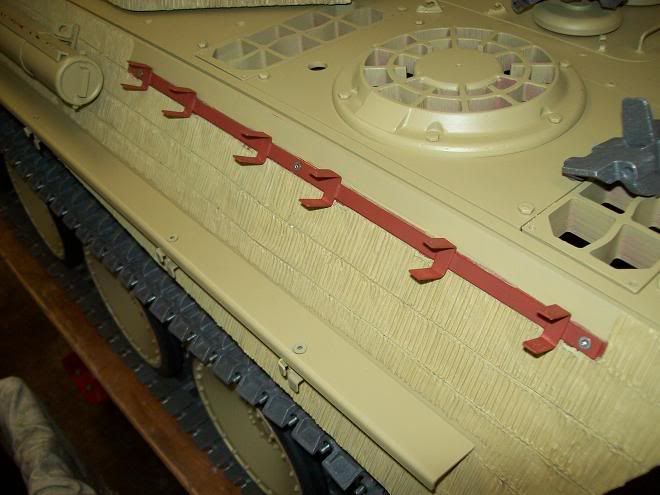
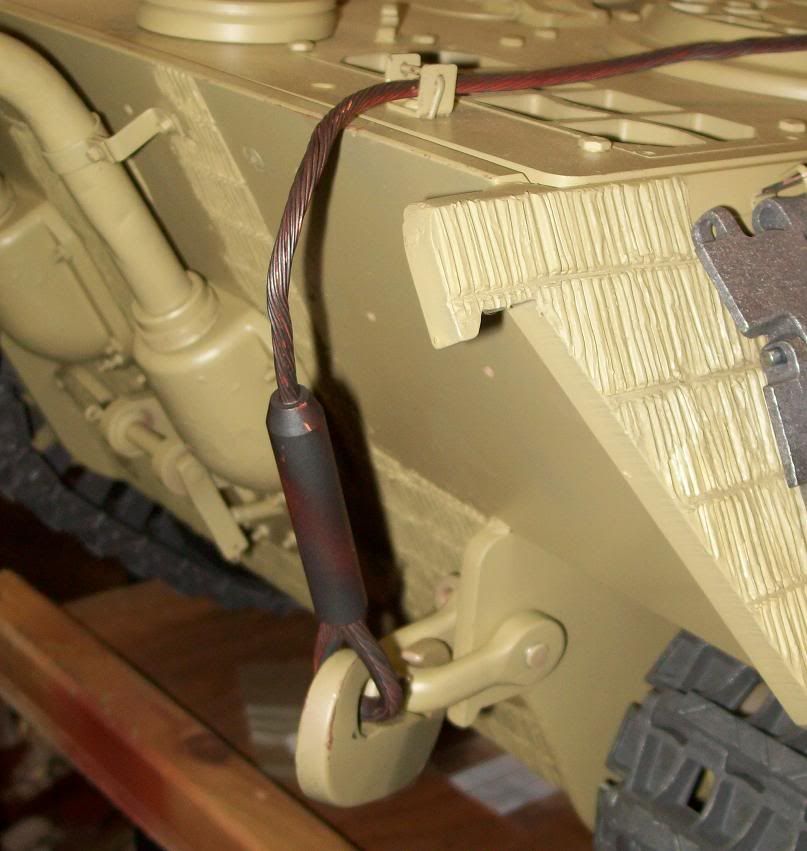
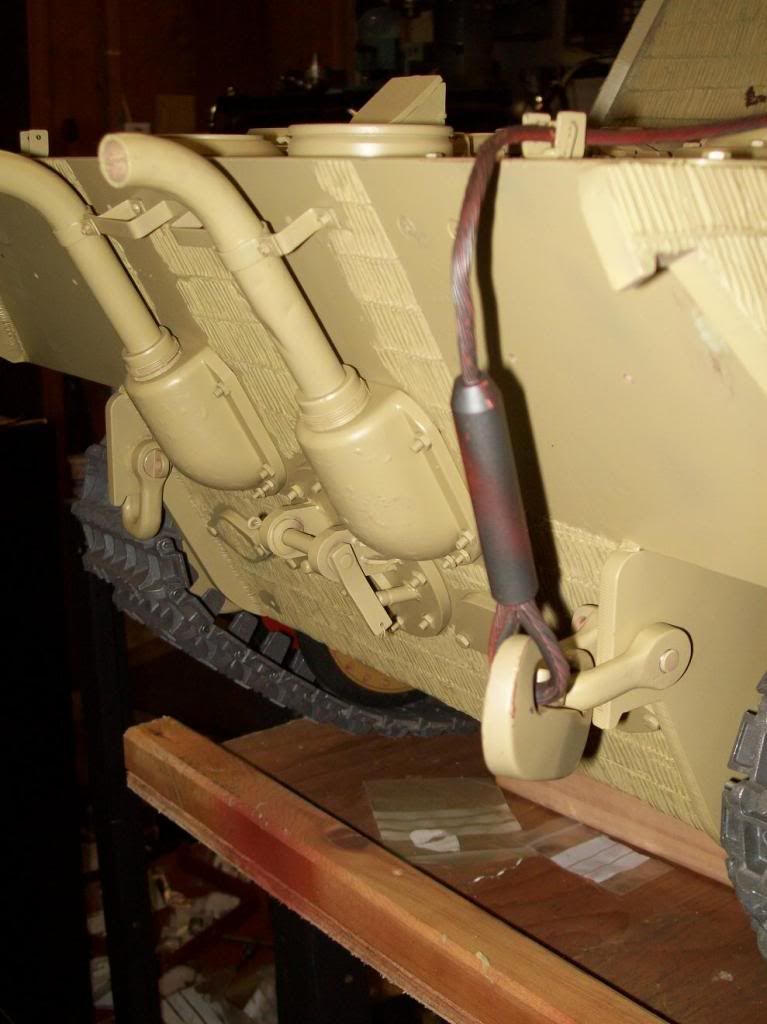
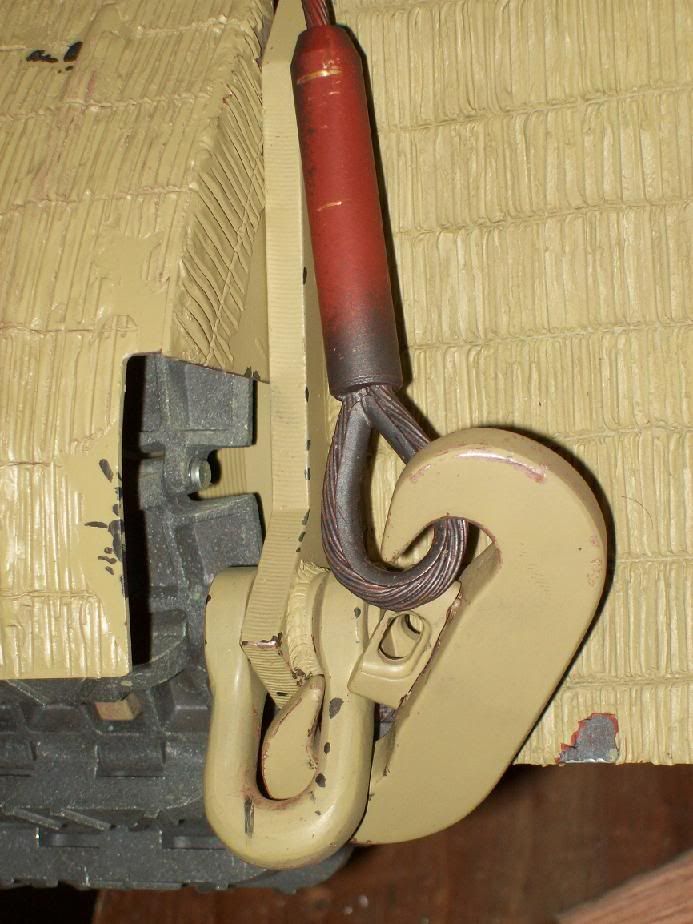
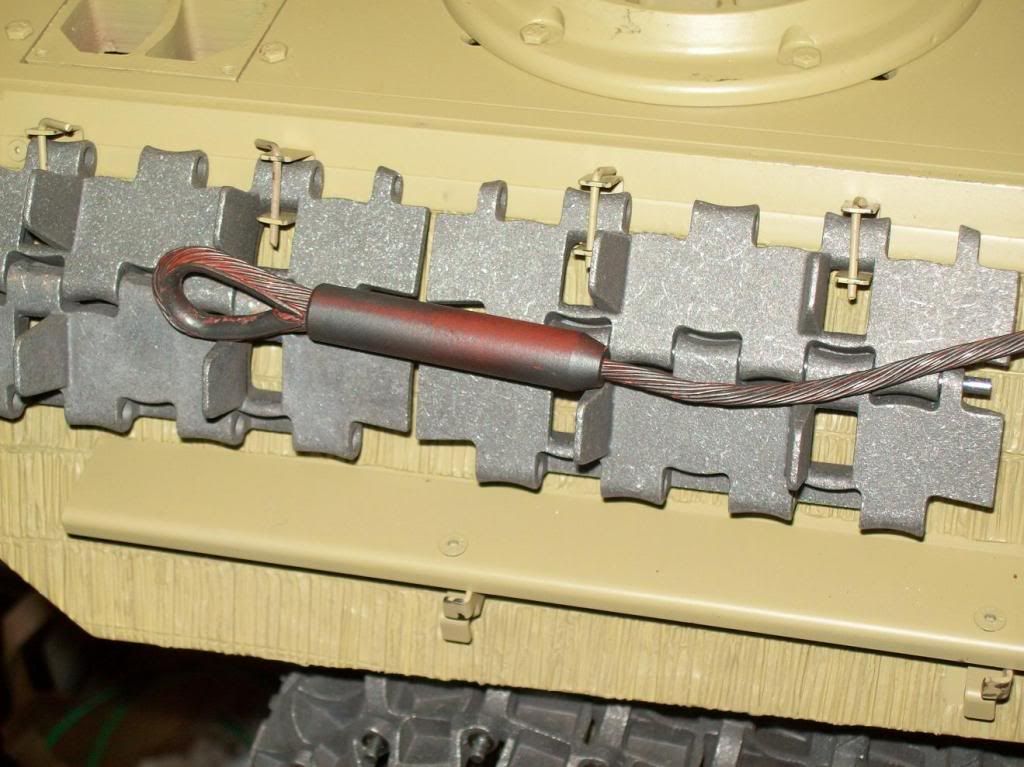
Those tow cables when painted and weathered will look spot on the real thing as your C- and U-hooks do.
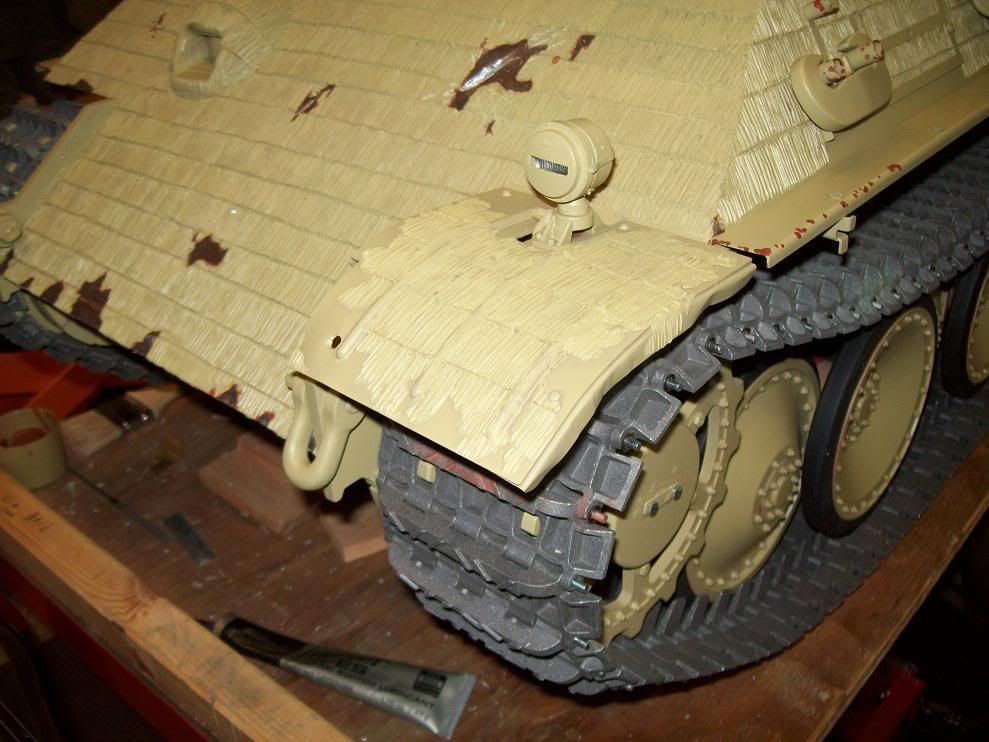
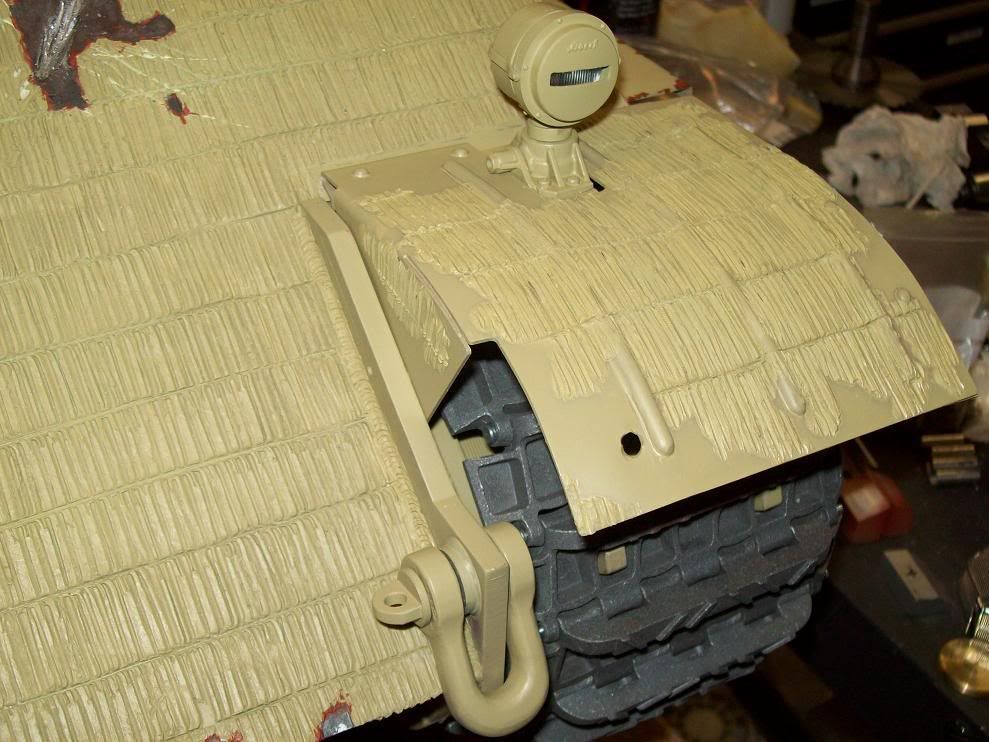
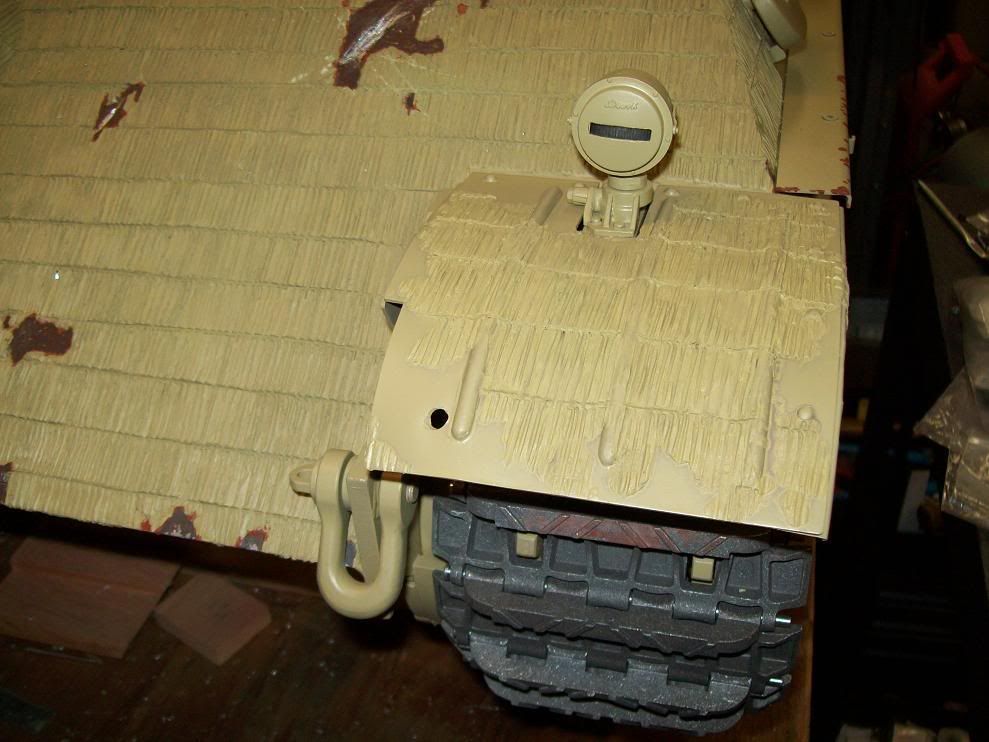
Noticed one thing at the rear that confirms my assumption regarding the lift boss for the U-hook.
It is placed to high and to far inwards compare with the real Panthers, and therefore the C-hook can’t work properly.
I have changed their position on my own Panther - did so before I assemble the hull as it was quite an easy conversion doing it that way.
Will post photos later.
Keep up the good work
Kent
Posted: Fri Nov 28, 2008 9:24 pm
by Robert E Morey
Posted: Sat Nov 29, 2008 12:35 pm
by Derek Attree
Hi Bob
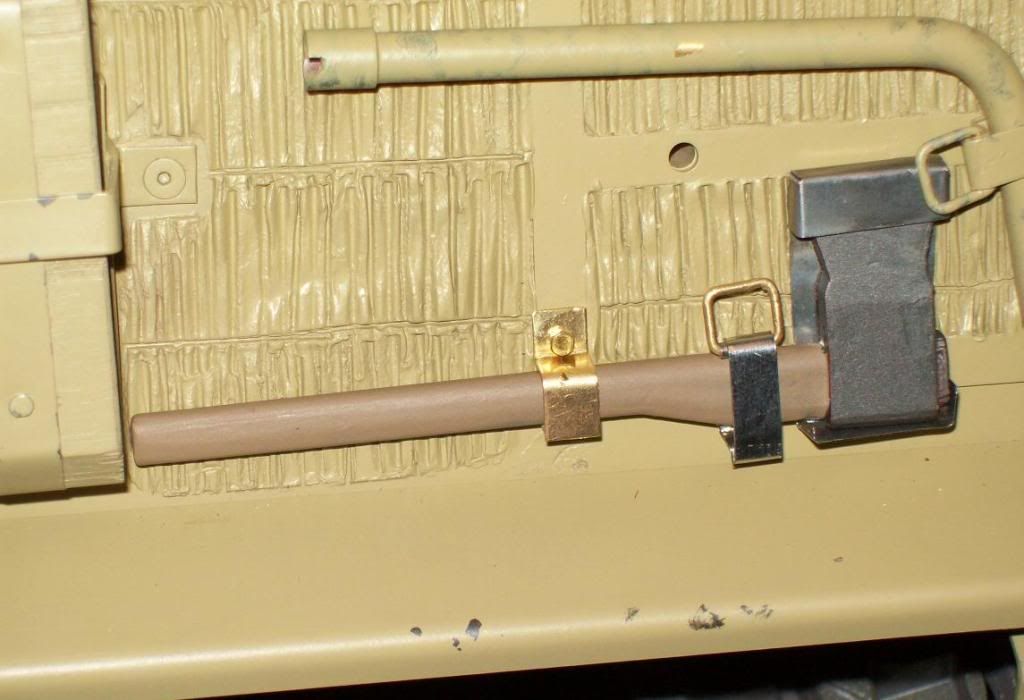
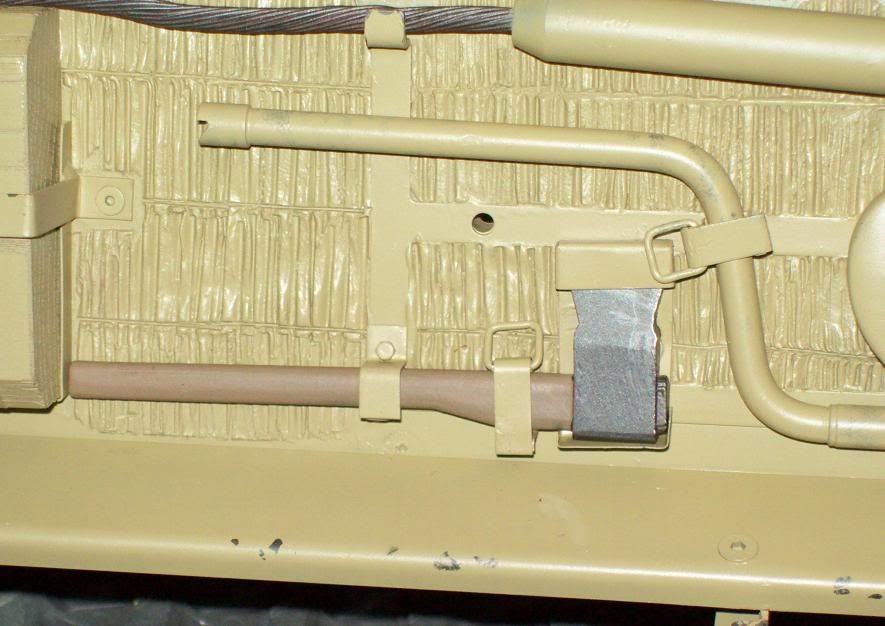
That is a great extingusher.
Derek
Posted: Sat Nov 29, 2008 2:17 pm
by Kent Wiik
Nice one Bob!
Knowing how small it is in 1:6 that is almost a work of a goldsmith.
Kent
Posted: Sat Nov 29, 2008 4:19 pm
by Allan Richards
Excellent fire extinguisher, I can see that it must have been quite a fiddle to solder together. Altoether a superb addition to your tank.