Rocky's Tiger
-
Dale jordan
- Posts: 1428
- Joined: Fri Jul 13, 2007 1:10 am
- Location: Port Macquarie Australia
- Been liked: 429 times
- Contact:
Re: Rocky's Tiger
Good job Rocky . Mike where are your photos of your mid tiger1 build ? I'm doing the same machine as yours , but I've lost your photos ...Dale
-
John Fitzsimons
- Posts: 1816
- Joined: Tue Dec 14, 2010 3:11 pm
- Location: IRELAND,Dublin/Meath
- Has liked: 5 times
- Been liked: 629 times
- Contact:
Re: Rocky's Tiger
Hi rocky, I was intending to use 3-48 hex heads for the idler caps. Interested to know what others recommend.
If interested in any parts used in my builds contact me at johnfitzsimons@msn.com for a price list.
http://www.armortek.co.uk/Forum3b/viewt ... f=4&t=4770
https://youtube.com/@16rctankworkshop-y ... TlMwTalnX5
http://www.armortek.co.uk/Forum3b/viewt ... f=4&t=4770
https://youtube.com/@16rctankworkshop-y ... TlMwTalnX5
-
Rocky Sembritzky
Re: Rocky's Tiger
I noticed something while comparing parts from the early Tiger to the mid Tiger. The center armor cover sizes are different.....
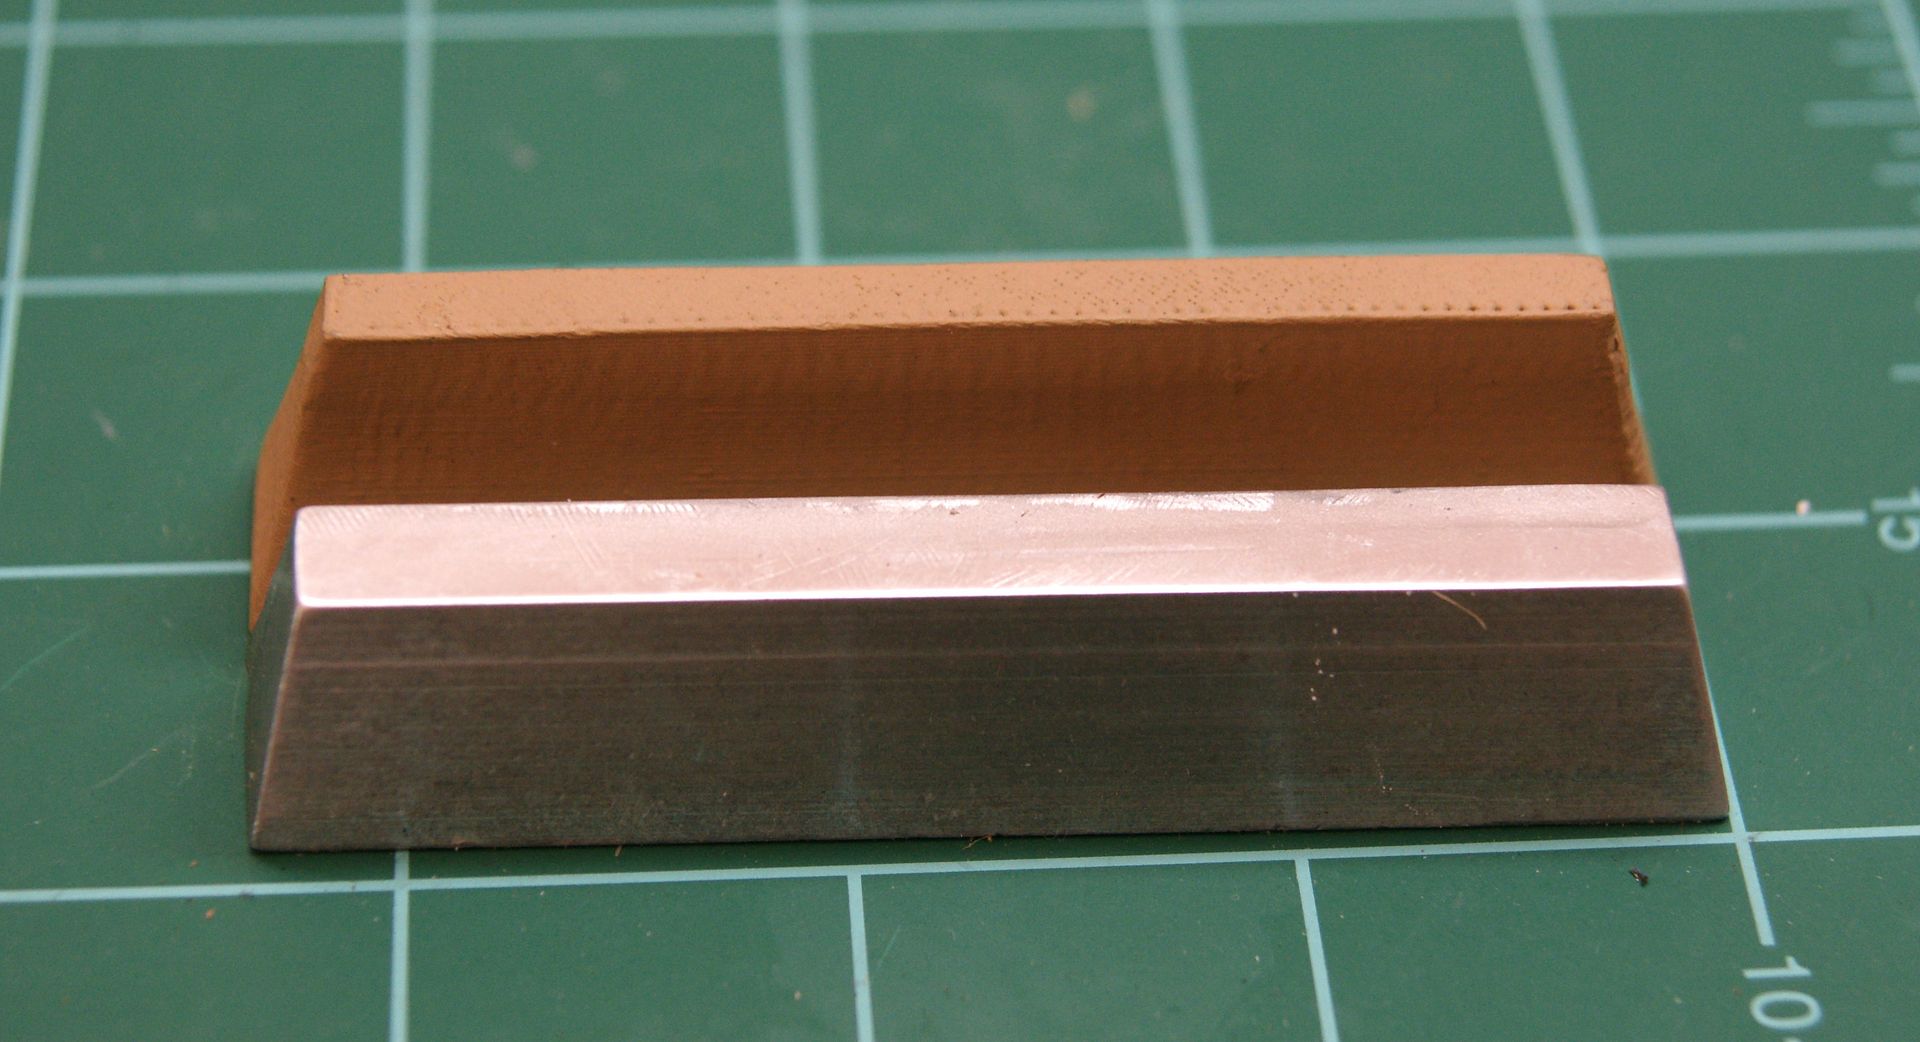
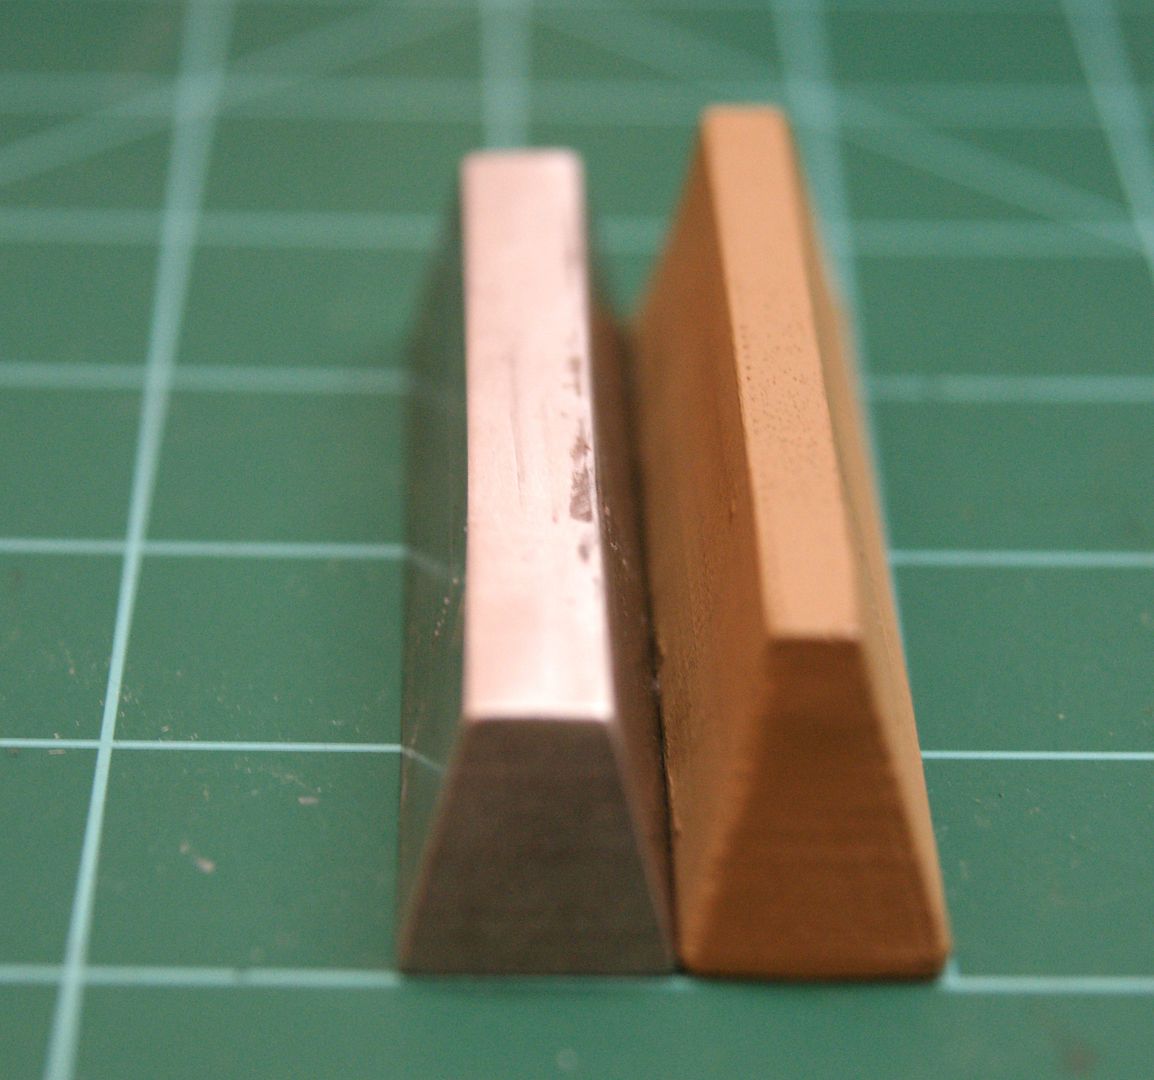
I checked my reference books, but I could not find any information regarding the size or if there was a change made to the cover.
Any help would be greatly appreciated.
Rocky


I checked my reference books, but I could not find any information regarding the size or if there was a change made to the cover.
Any help would be greatly appreciated.
Rocky
-
Rocky Sembritzky
Re: Rocky's Tiger
In the words of Pink Floyd, is anybody out there?
I tried my hand regarding the "weld" process and I am not that happy with it. However, I practiced on a spot that would not be easily seen unless you lay on your back.
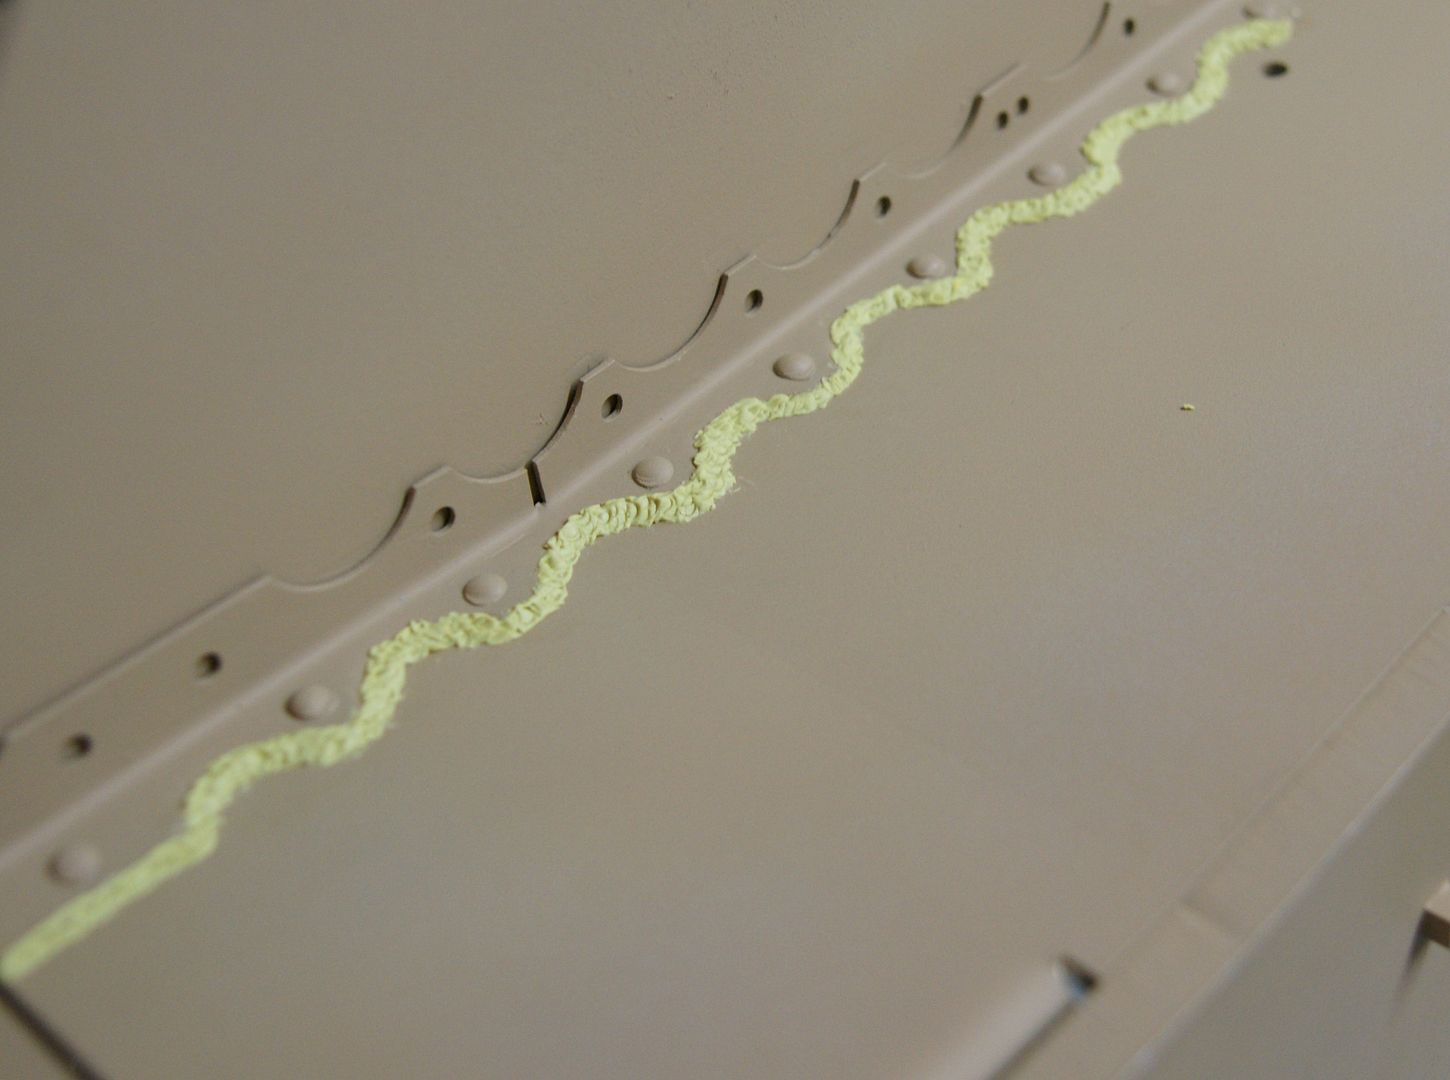
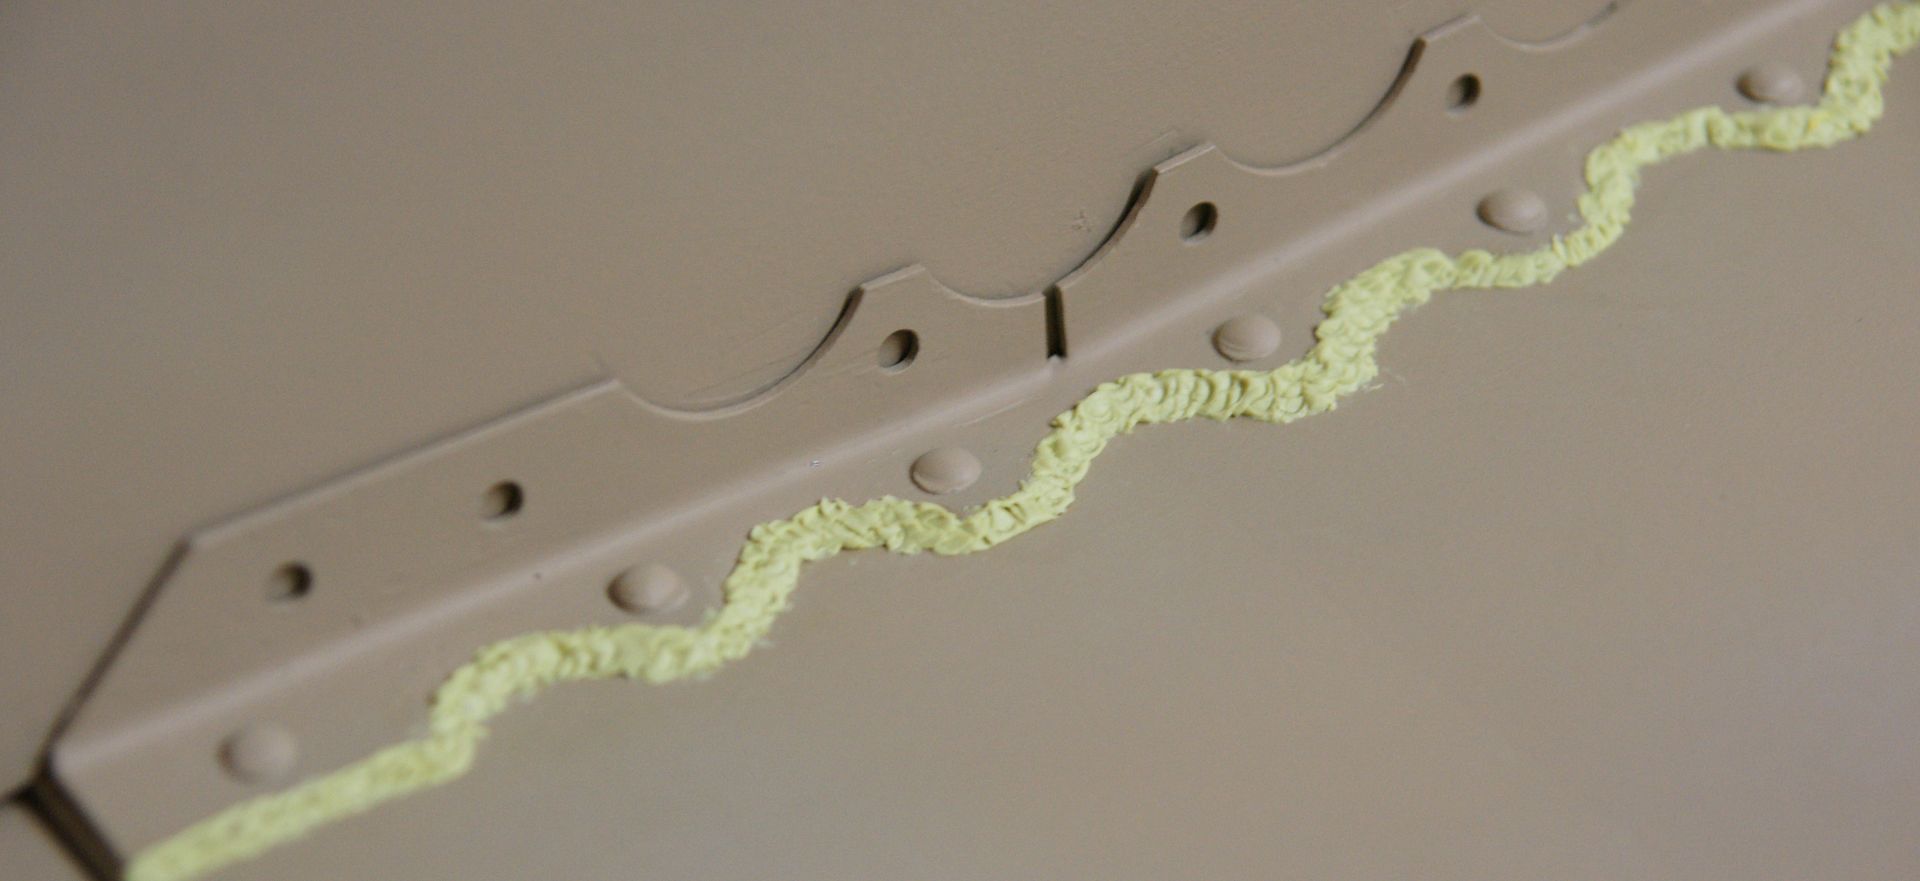
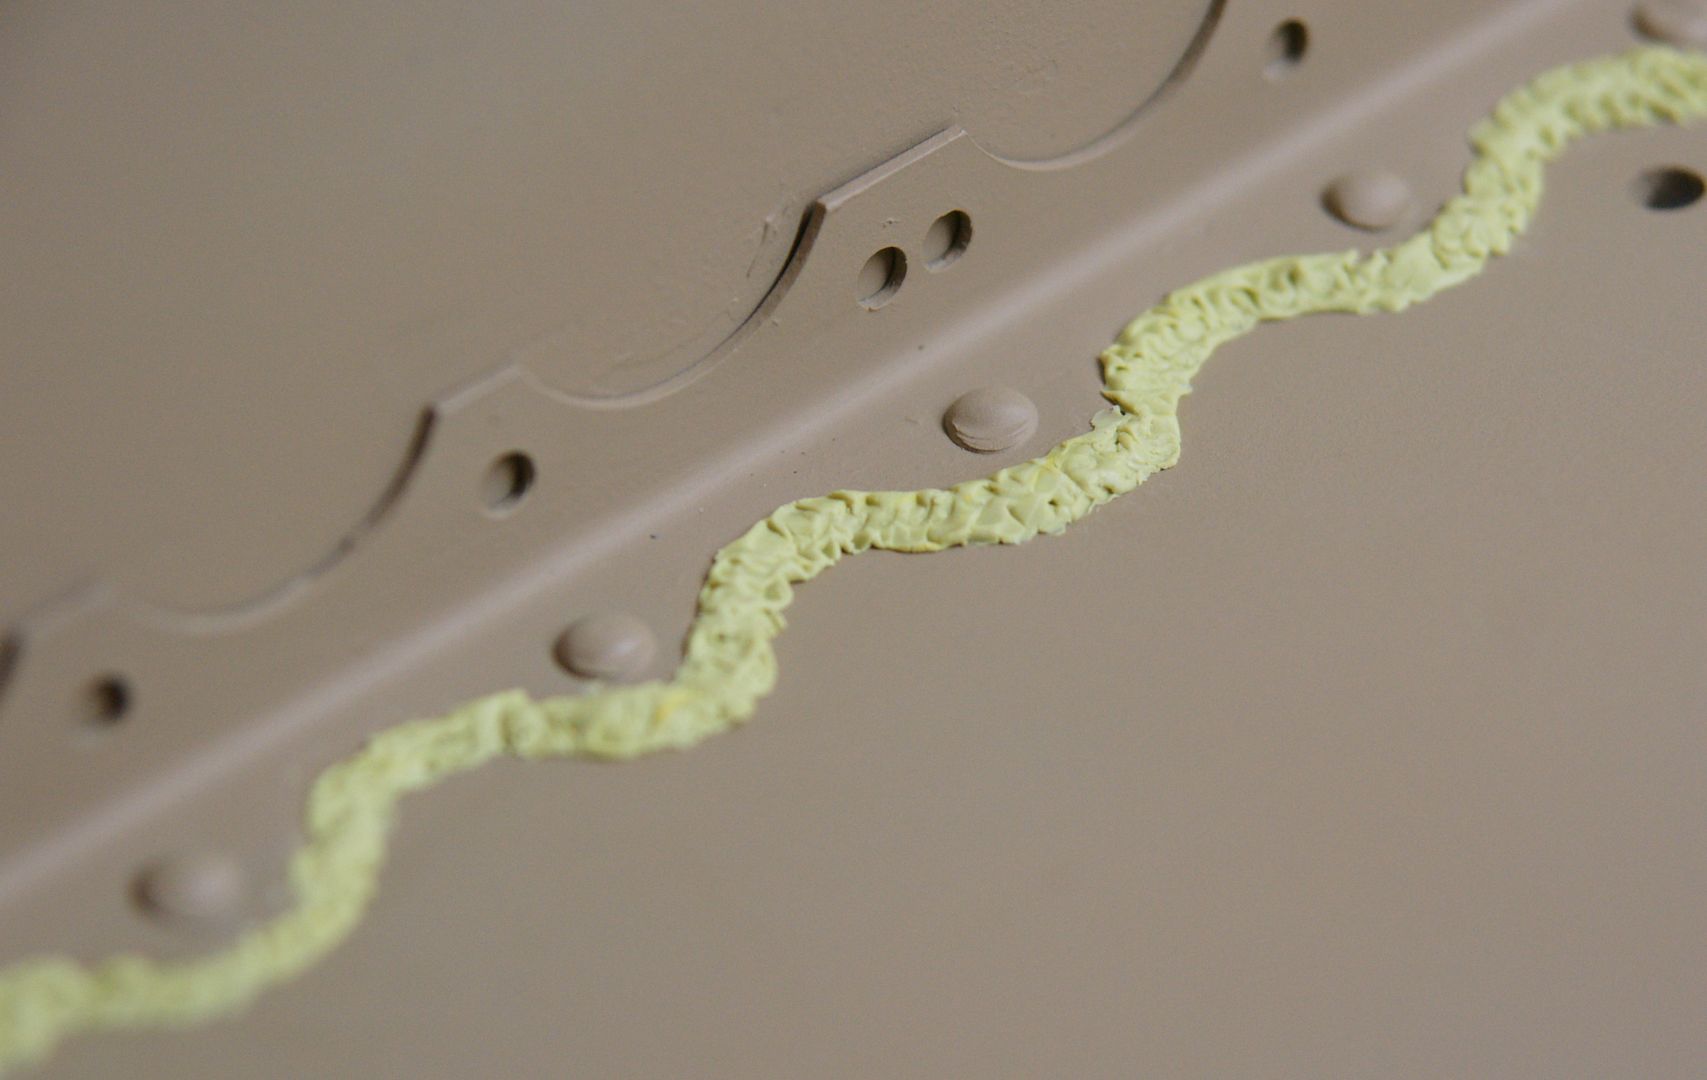
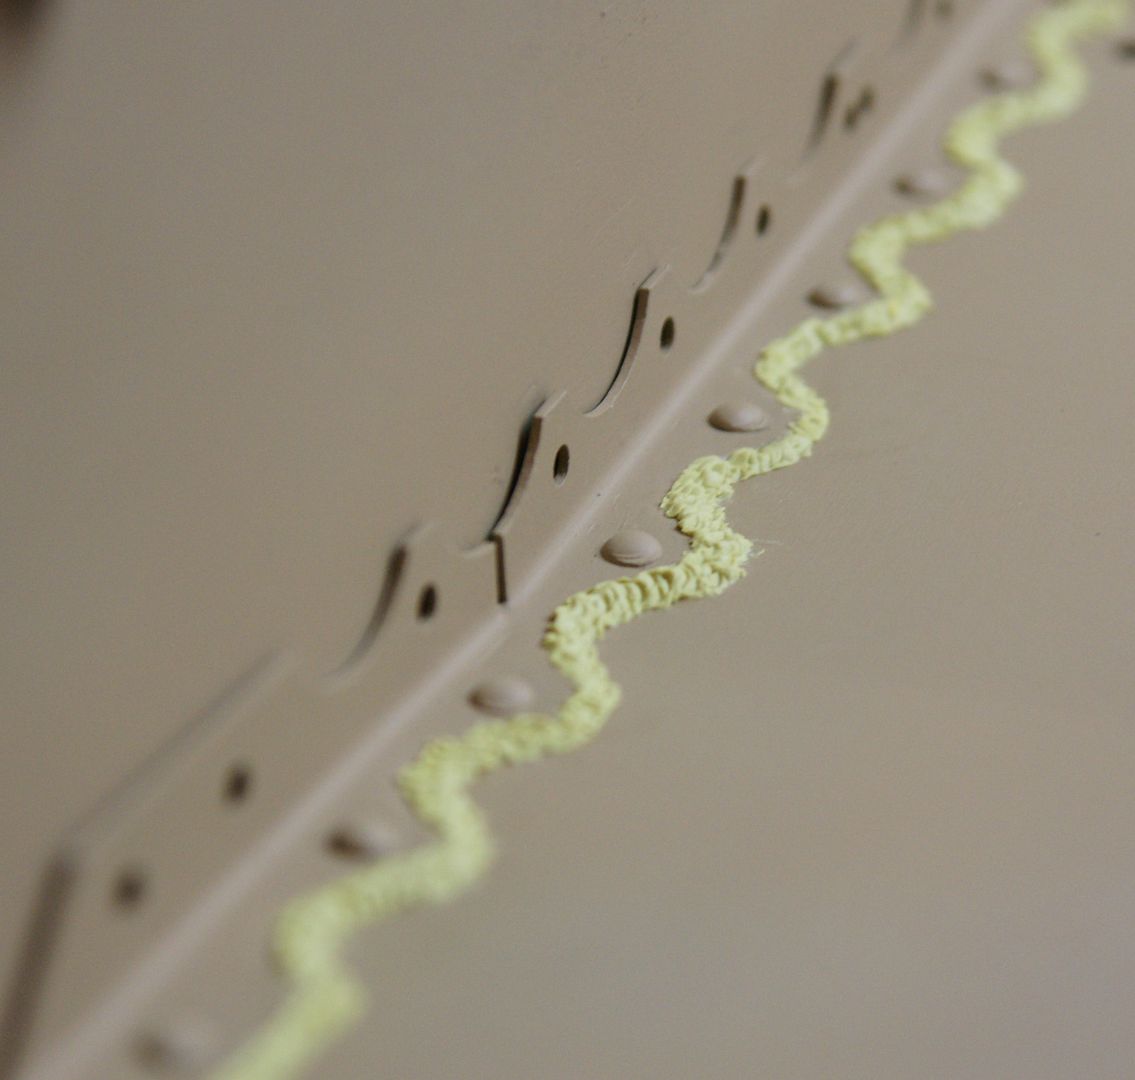
I will try again tomorrow.
I tried my hand regarding the "weld" process and I am not that happy with it. However, I practiced on a spot that would not be easily seen unless you lay on your back.


I will try again tomorrow.
-
Tim Bowman
- Posts: 1762
- Joined: Fri Jul 13, 2007 4:53 am
- Location: Northern California
- Been liked: 177 times
- Contact:
Re: Rocky's Tiger
Hi Rocky
I can't help you with the vision port block since I thought they were all the same.
As far as the welds go, I'm not sure what you are using but it looks like a 2-part putty? When I do welds in an area that has a 90 degree corner, I use a small flat head screw driver and do a clean scrape along the weld (smashing it into the corner as I go) first to remove any excess material. Once you have it as a clean 45 degree, come back and add your weld bead texture. If there is still some excess pushed up along the sides, simply scrape it away with a straight edge razor and clean up as necessary.
I use epoxy-putty and have some water on hand for your tools and fingers.
Hope that helps
best regards
Tim
"So long as one isn't carrying one's head under one's arm, things aren't too bad." – Erwin Rommel
-
Rocky Sembritzky
Re: Rocky's Tiger
Tim,Tim Bowman wrote:Hi Rocky
I can't help you with the vision port block since I thought they were all the same.
As far as the welds go, I'm not sure what you are using but it looks like a 2-part putty? When I do welds in an area that has a 90 degree corner, I use a small flat head screw driver and do a clean scrape along the weld (smashing it into the corner as I go) first to remove any excess material. Once you have it as a clean 45 degree, come back and add your weld bead texture. If there is still some excess pushed up along the sides, simply scrape it away with a straight edge razor and clean up as necessary.
I use epoxy-putty and have some water on hand for your tools and fingers.
Hope that helps
best regards
Tim
Many thanks for the reply and the advice!
I am using Milliput along with scotch! That may be my problem?
Rocky
-
leesellars
- Posts: 934
- Joined: Thu Jul 12, 2007 11:19 am
- Location: Nottingham
- Has liked: 2 times
- Been liked: 15 times
Re: Rocky's Tiger
Hello rocky
As Tim says use some water when you are doing the welds and not the scotch
Lee
As Tim says use some water when you are doing the welds and not the scotch
Lee
Last edited by leesellars on Sun Oct 23, 2011 9:48 am, edited 1 time in total.
http://www.Facebook.com/newthorpemodels
Dont hit me so early in the morning with those negative waves.
Listen carefully i shall say this only once.
If its not broke dont fix it.
Ich Hatt Einen Kameraden
Dont hit me so early in the morning with those negative waves.
Listen carefully i shall say this only once.
If its not broke dont fix it.
Ich Hatt Einen Kameraden
-
Christoffer Ahlfors
- Posts: 683
- Joined: Sun Feb 14, 2010 5:19 pm
- Location: Stockholm, Sweden
- Has liked: 704 times
- Been liked: 306 times
Re: Rocky's Tiger
Hi Rocky!

Check some prototype photos. Many of the welds were quite irregular:
http://vincesgallery.smugmug.com/Histor ... 4161_4yU6W
Regarding the driver's protective bar, I have been looking for a drawing. I know I have seen one somewhere and finally found it:
http://tiger1.info/EN/DriversPortProtector.html
Hope this helps!
Cheers,
/Chris
That sounds like two-part to me!Rocky Sembritzky wrote: I am using Milliput along with scotch!
Rocky
Check some prototype photos. Many of the welds were quite irregular:
http://vincesgallery.smugmug.com/Histor ... 4161_4yU6W
Regarding the driver's protective bar, I have been looking for a drawing. I know I have seen one somewhere and finally found it:
http://tiger1.info/EN/DriversPortProtector.html
Hope this helps!
Cheers,
/Chris
A little too much is about right...
-
Ken Molchanow
- Posts: 39
- Joined: Wed Apr 14, 2010 8:04 am
- Location: Southern New Jersey
- Been liked: 21 times
Re: Rocky's Tiger
Rocky:
Check this link.
http://www.bigscalemodels.com/tips/tips ... leweld.pdf
I saw this artical before I started the welds on my T-1, it helped alot.
Check this link.
http://www.bigscalemodels.com/tips/tips ... leweld.pdf
I saw this artical before I started the welds on my T-1, it helped alot.
Regards,
Ken
"You can lead a horse to water but a pencil must be lead".
Soupy Sales
2010 Mid-Tiger Nr. 045
Ken
"You can lead a horse to water but a pencil must be lead".
Soupy Sales
2010 Mid-Tiger Nr. 045
- Adrian Harris
- Posts: 5060
- Joined: Thu Jul 12, 2007 10:46 pm
- Location: Berkshire (UK)
- Has liked: 1365 times
- Been liked: 1564 times
Re: Rocky's Tiger
That's an excellent article Ken - many thanks for posting the link 
The tool he makes looks surprisingly like a leather punch, though I don't think they go small enough to be useful for us
Adrian.
The tool he makes looks surprisingly like a leather punch, though I don't think they go small enough to be useful for us
Adrian.
Contact me at sales@armortekaddict.uk for details of my smoker fan control module
-
Tim Bowman
- Posts: 1762
- Joined: Fri Jul 13, 2007 4:53 am
- Location: Northern California
- Been liked: 177 times
- Contact:
Re: Rocky's Tiger
HI Adrian
I just take sections of brass tubing and hit it on the belt sander.
Happy welding
Tim
I just take sections of brass tubing and hit it on the belt sander.
Happy welding
Tim
"So long as one isn't carrying one's head under one's arm, things aren't too bad." – Erwin Rommel
-
Rocky Sembritzky
Re: Rocky's Tiger
Lee, Chris & Ken,
Many thanks for the links and information!
The original armor cover for the driver is too tall and I will correct that very soon, thank you Chris.
I used the scale converter App on my iPad, comparing the 1/25 Tamiya Tiger kit and the drawings, Armortek is very close.
Now, on to the welds and the new tool, thanks Ken!
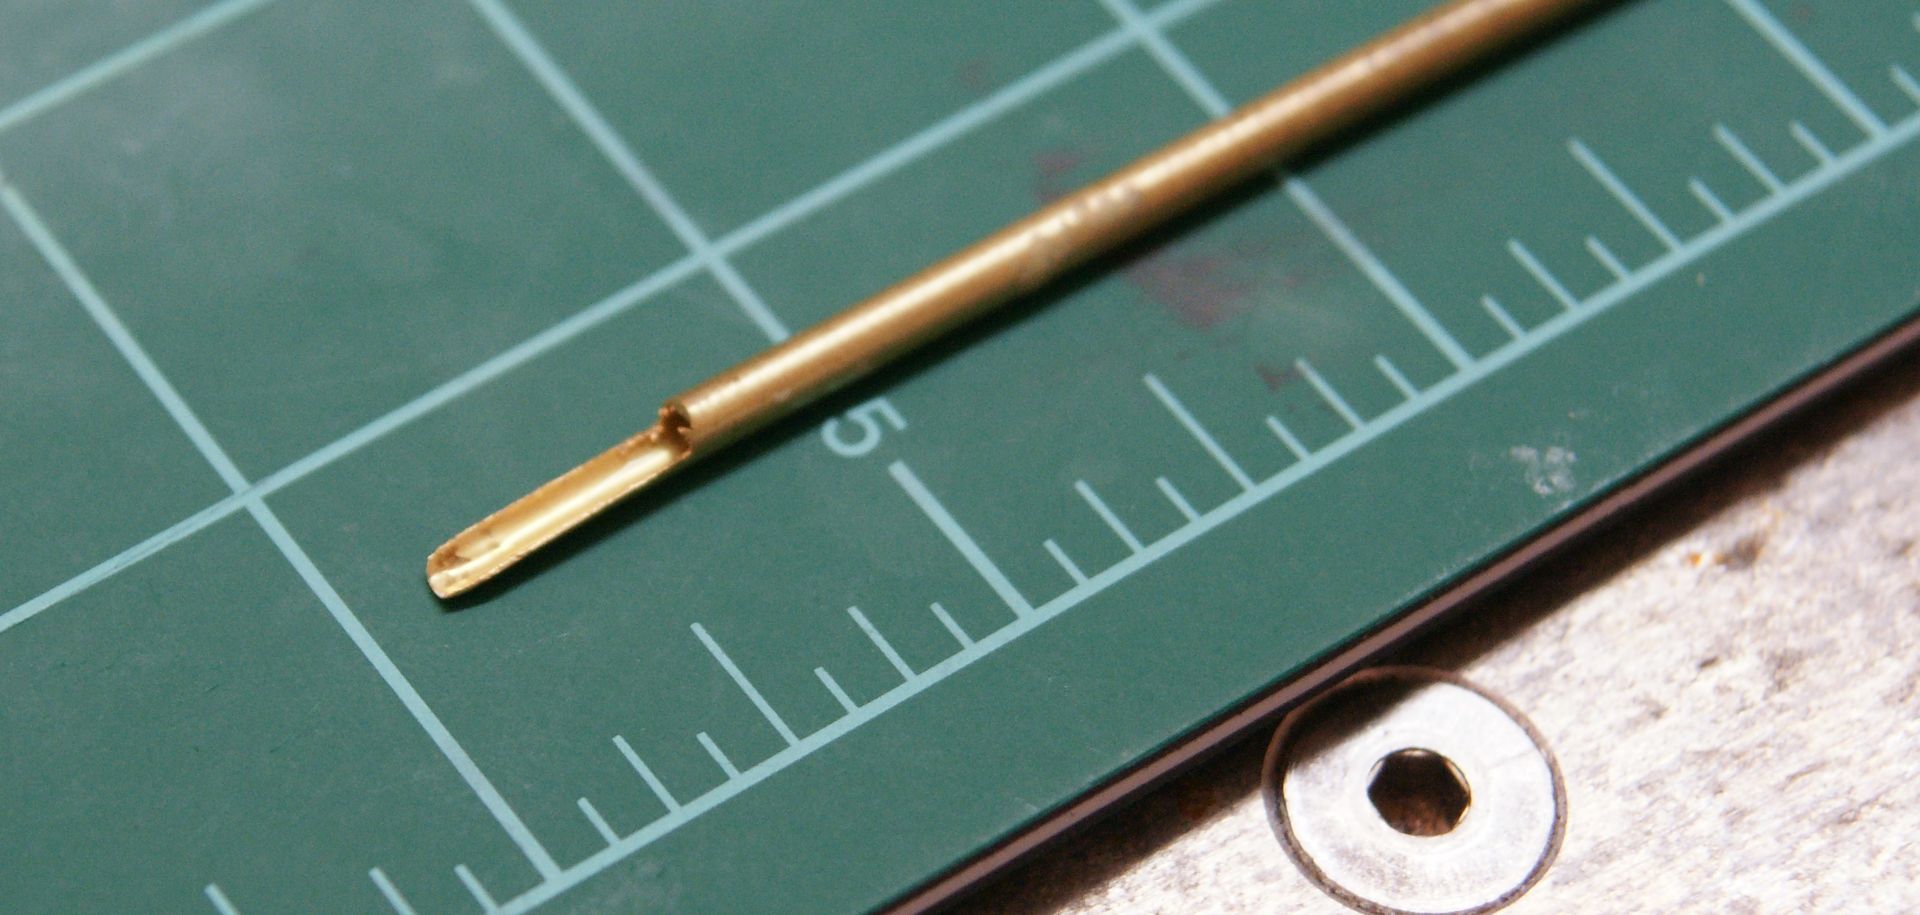
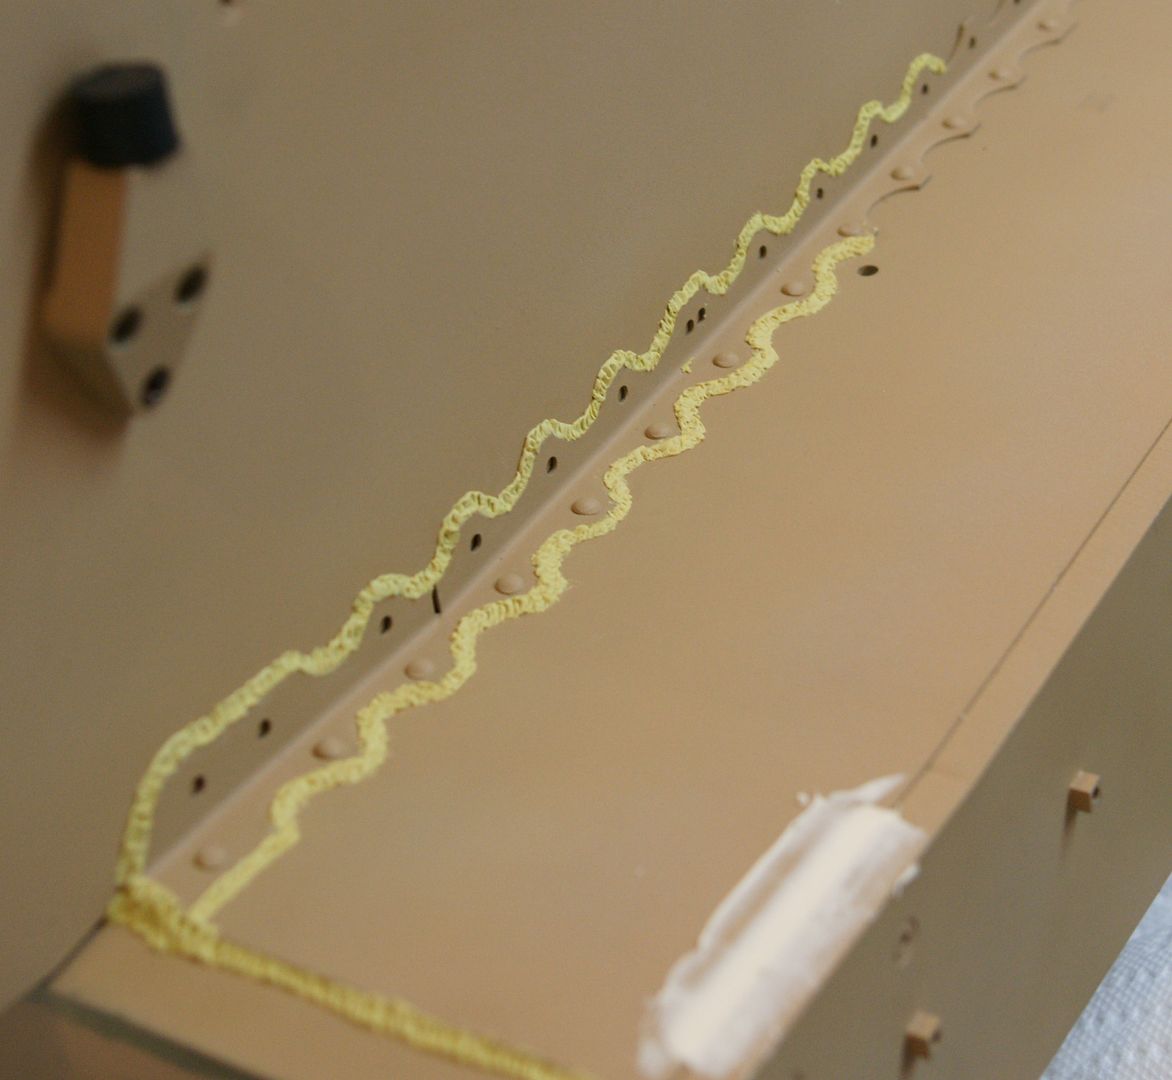
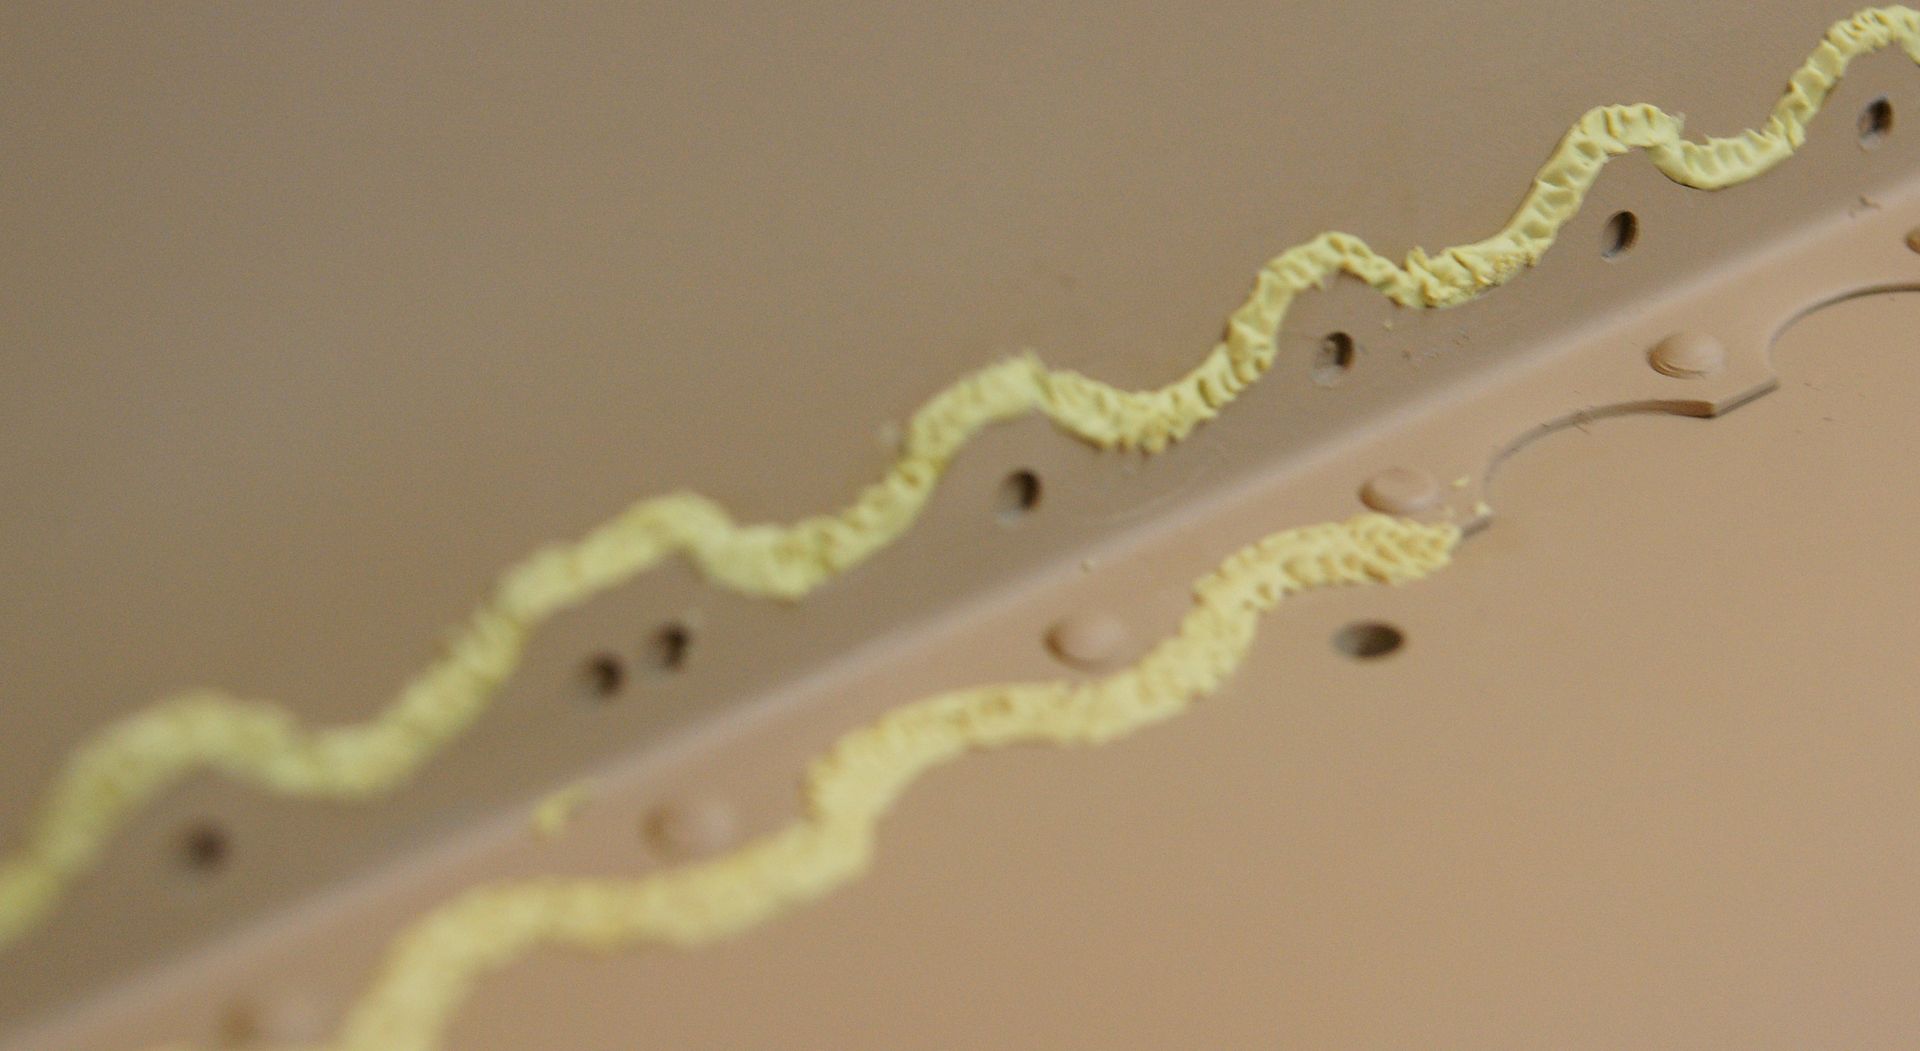
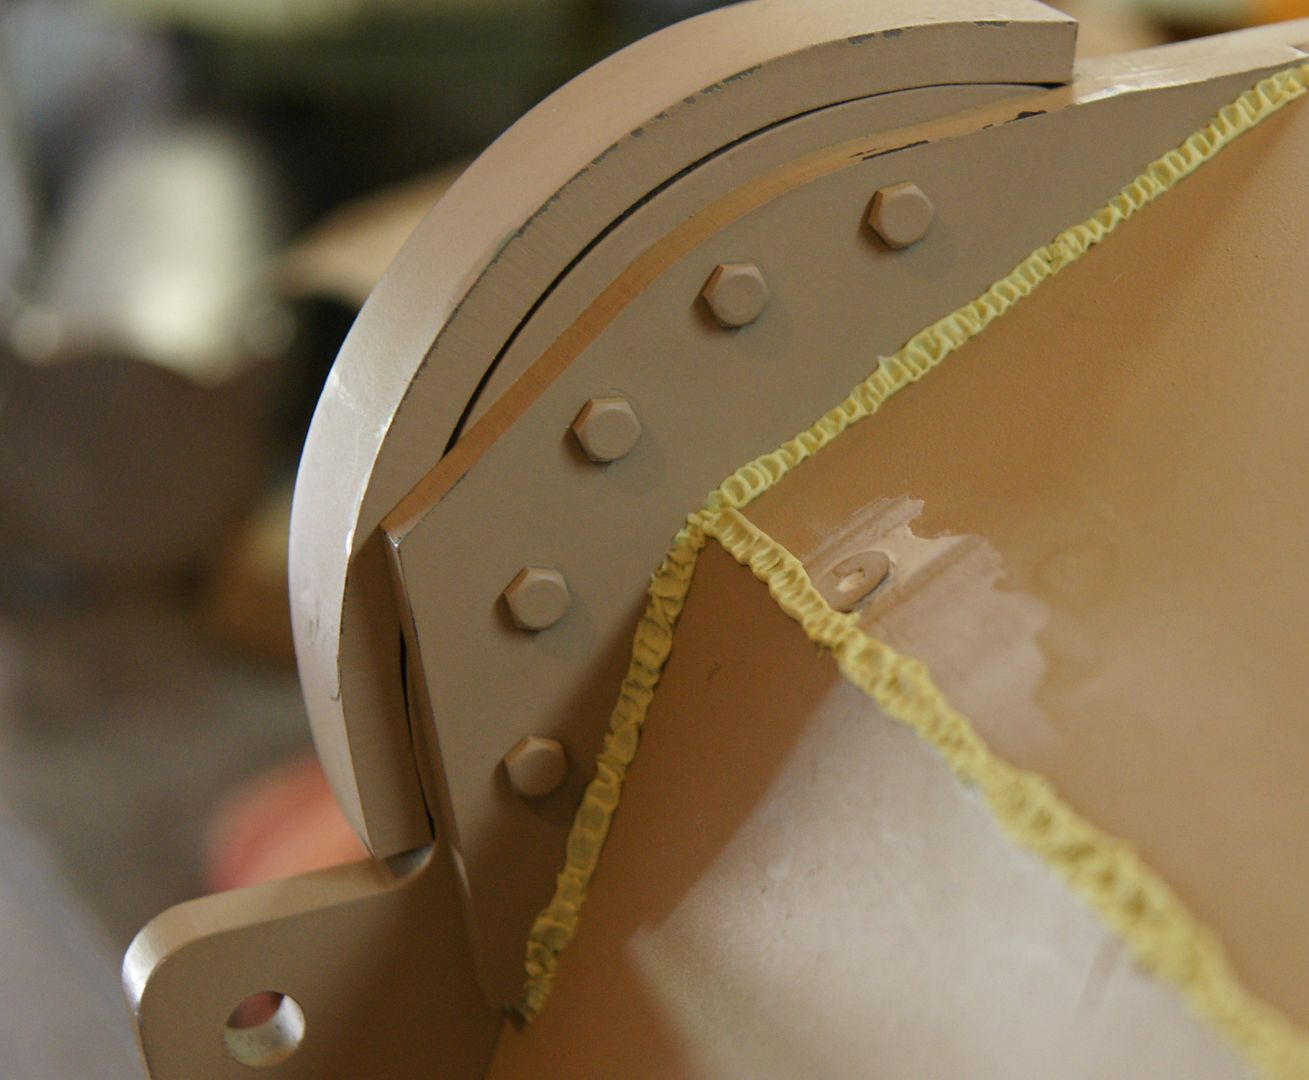
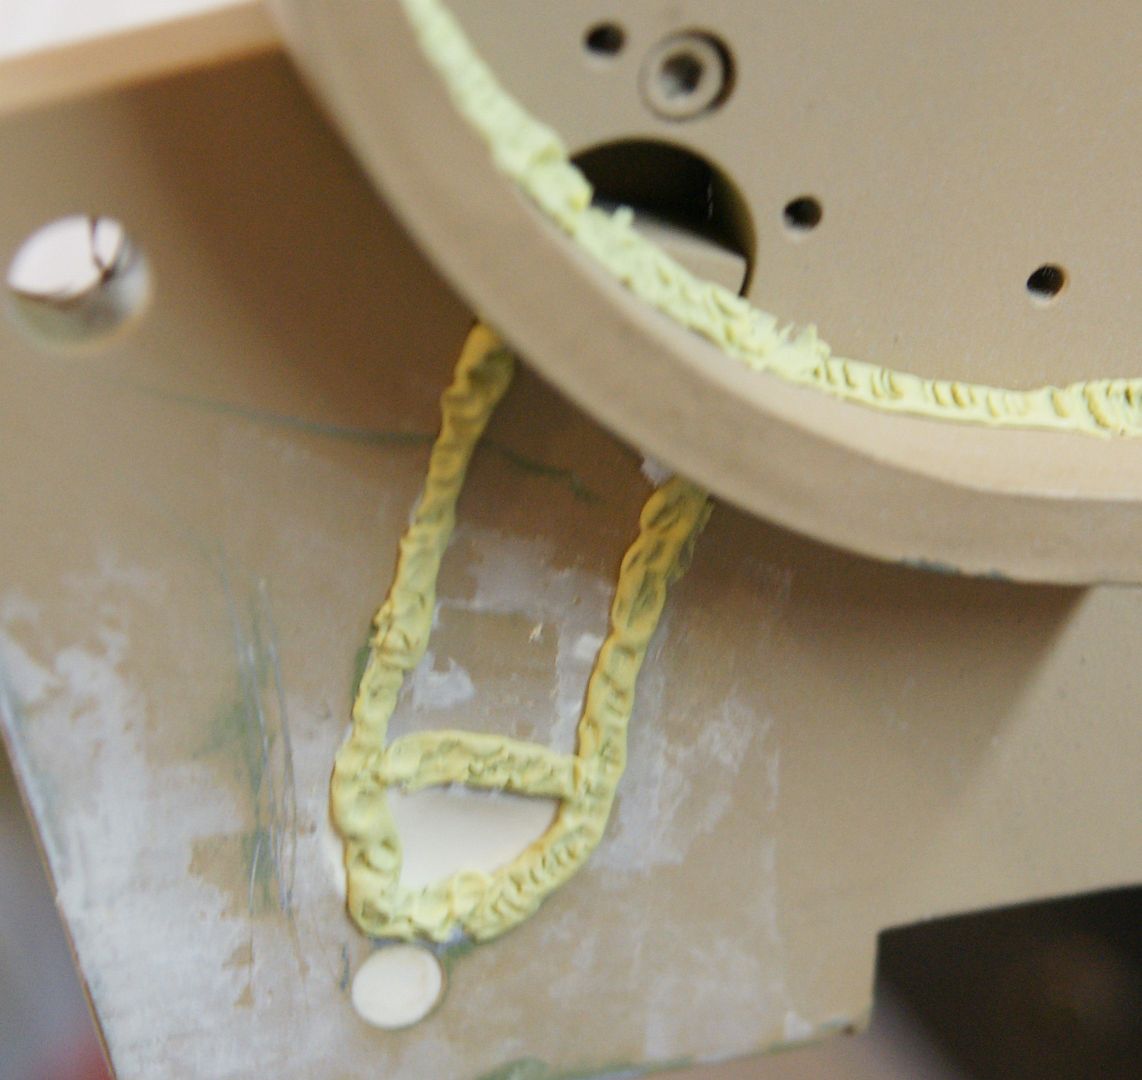
It may not be pretty, but I am having fun!
Cheers!
Rocky
Many thanks for the links and information!
The original armor cover for the driver is too tall and I will correct that very soon, thank you Chris.
I used the scale converter App on my iPad, comparing the 1/25 Tamiya Tiger kit and the drawings, Armortek is very close.
Now, on to the welds and the new tool, thanks Ken!


It may not be pretty, but I am having fun!
Cheers!
Rocky
-
Rocky Sembritzky
Re: Rocky's Tiger
I received the bump stops from Steve and they are outstanding and so are the castle nuts!
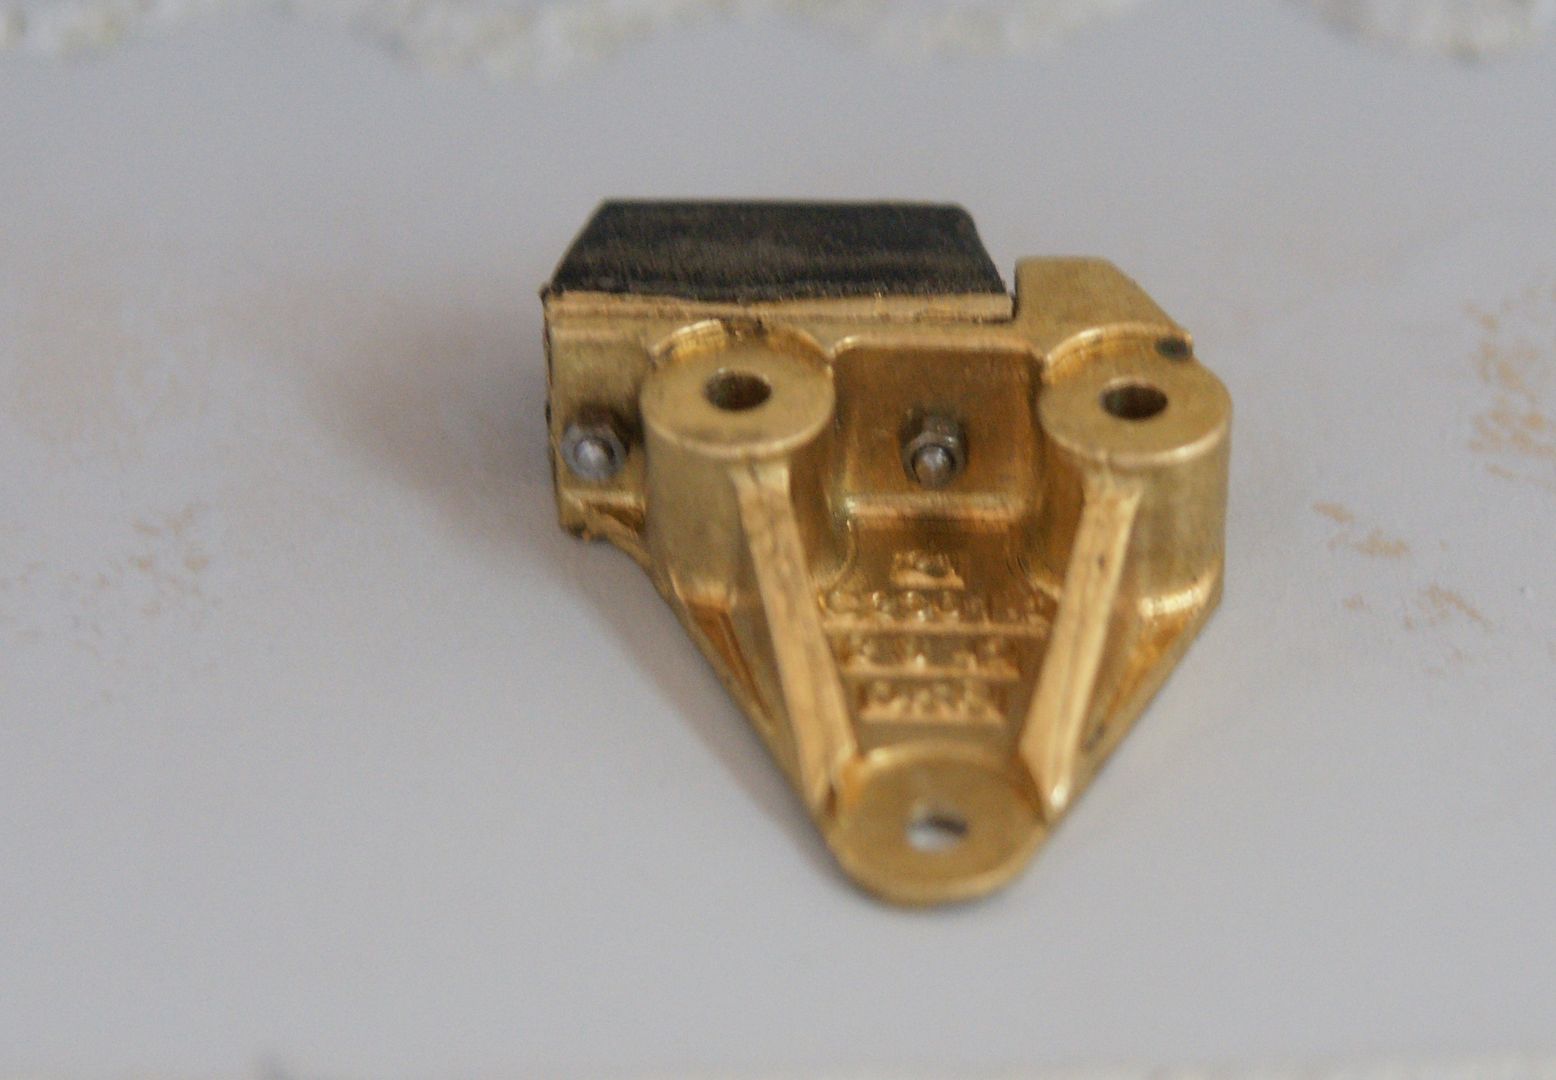
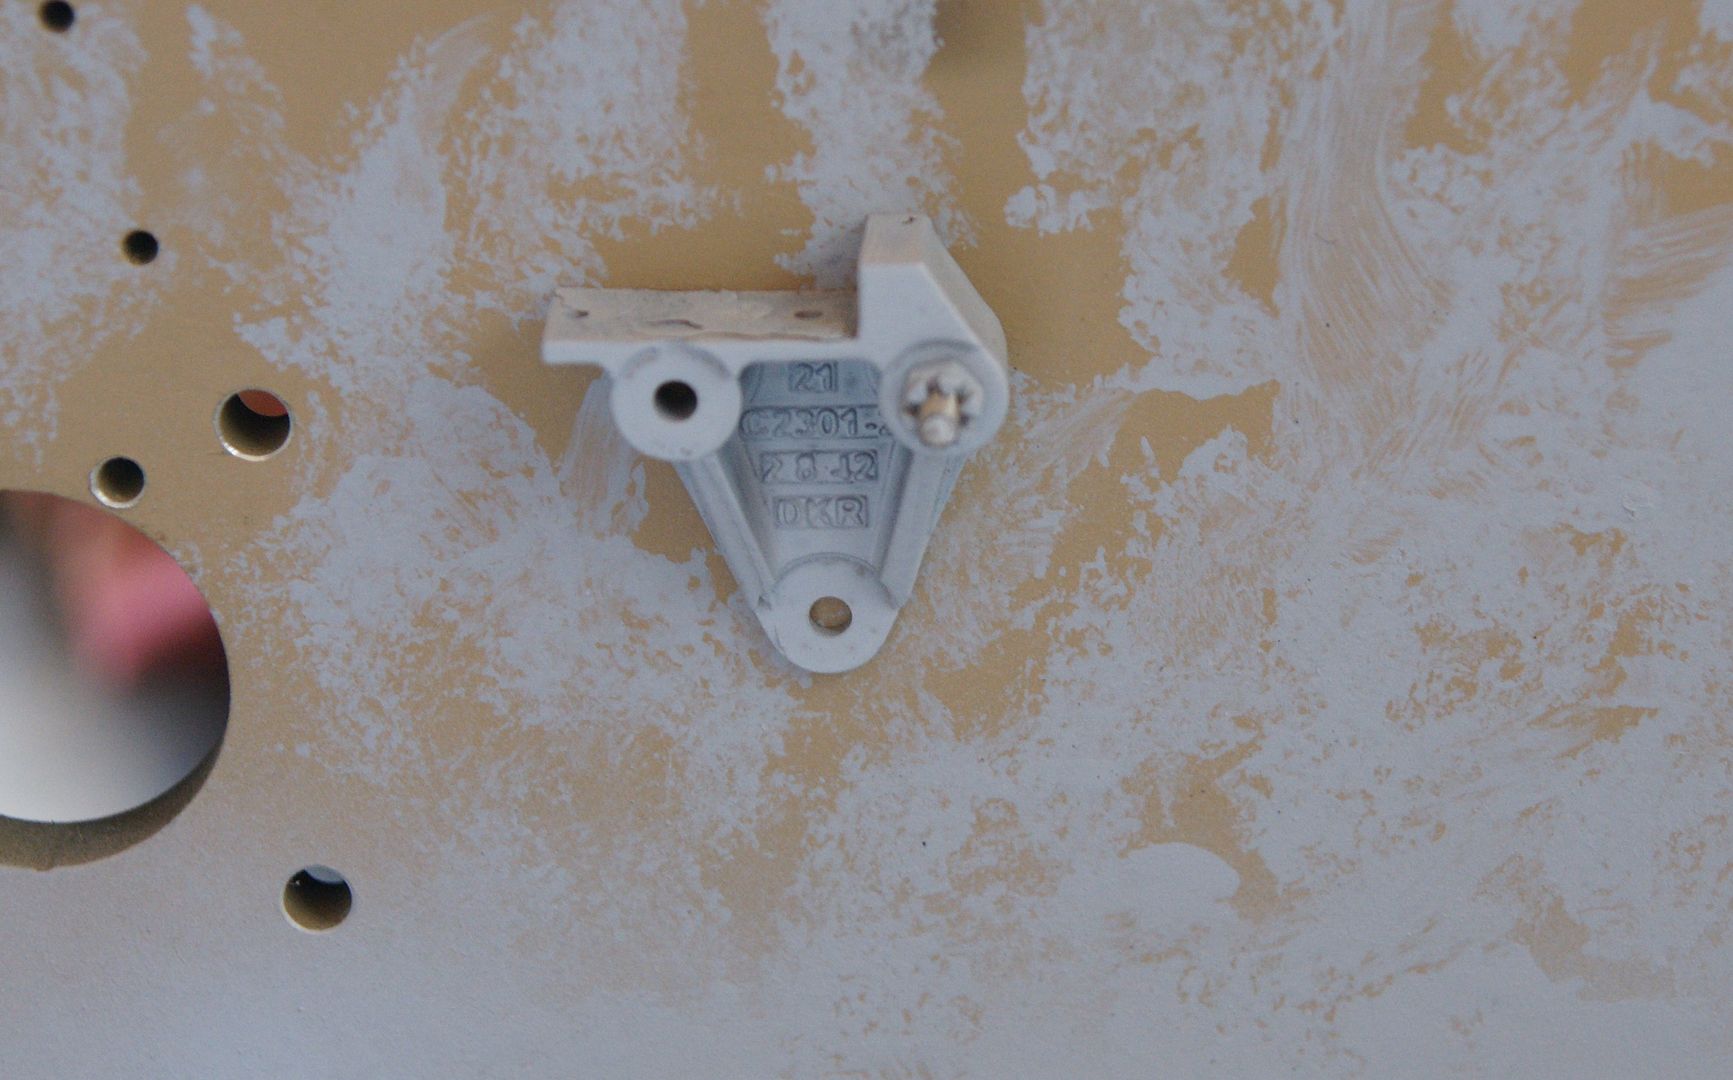
My only question is do you use one of the existing three mounting holes or remount using new holes?
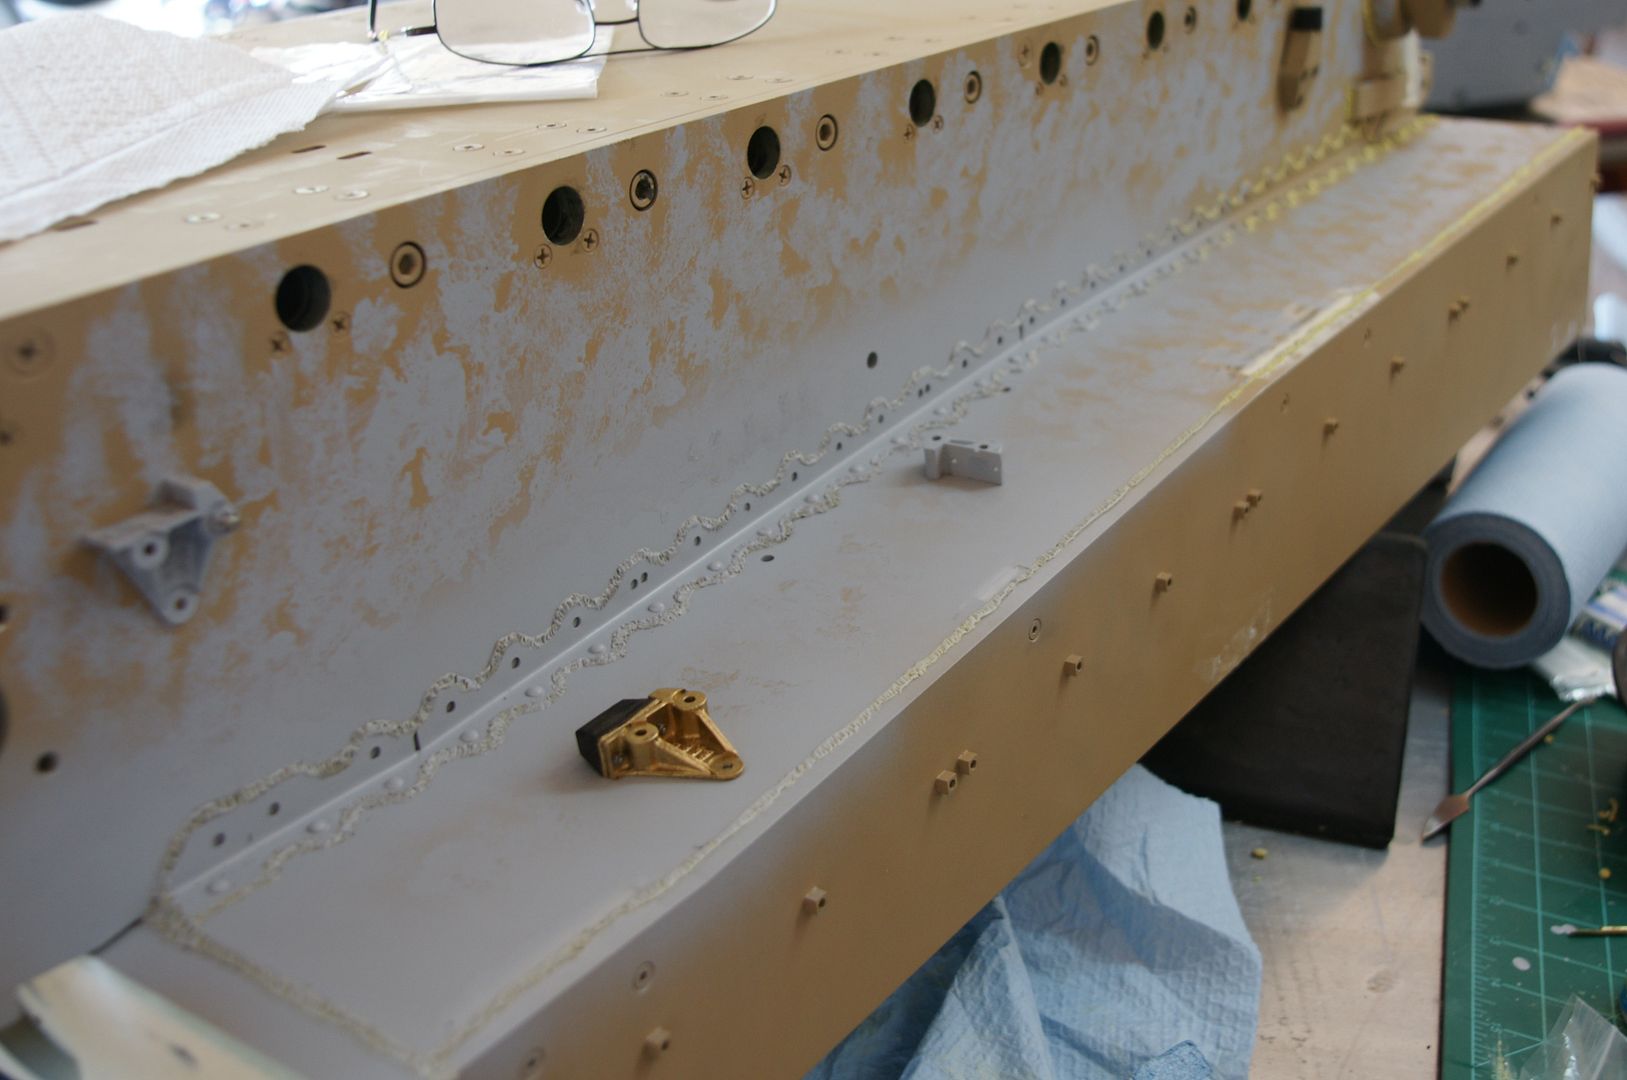
I finished all the welds on this side and started the texture process.

My only question is do you use one of the existing three mounting holes or remount using new holes?

I finished all the welds on this side and started the texture process.

-
John Fitzsimons
- Posts: 1816
- Joined: Tue Dec 14, 2010 3:11 pm
- Location: IRELAND,Dublin/Meath
- Has liked: 5 times
- Been liked: 629 times
- Contact:
Re: Rocky's Tiger
http://www.armortek.co.uk/Forum3b/viewt ... 8&start=15
See above re positioning although some contradictions. Hope it helps. What a pity once fitted you hardly see them but at least you know they are there.
See above re positioning although some contradictions. Hope it helps. What a pity once fitted you hardly see them but at least you know they are there.
If interested in any parts used in my builds contact me at johnfitzsimons@msn.com for a price list.
http://www.armortek.co.uk/Forum3b/viewt ... f=4&t=4770
https://youtube.com/@16rctankworkshop-y ... TlMwTalnX5
http://www.armortek.co.uk/Forum3b/viewt ... f=4&t=4770
https://youtube.com/@16rctankworkshop-y ... TlMwTalnX5
-
Rocky Sembritzky
Re: Rocky's Tiger
John,John Fitzsimons wrote:http://www.armortek.co.uk/Forum3b/viewt ... 8&start=15
See above re positioning although some contradictions. Hope it helps. What a pity once fitted you hardly see them but at least you know they are there.
Many thanks! I have no idea how I missed that post? I have been through Tim's thread many times, must have been the scotch.
I was a little motivated and decided to finish the welds on the other side....
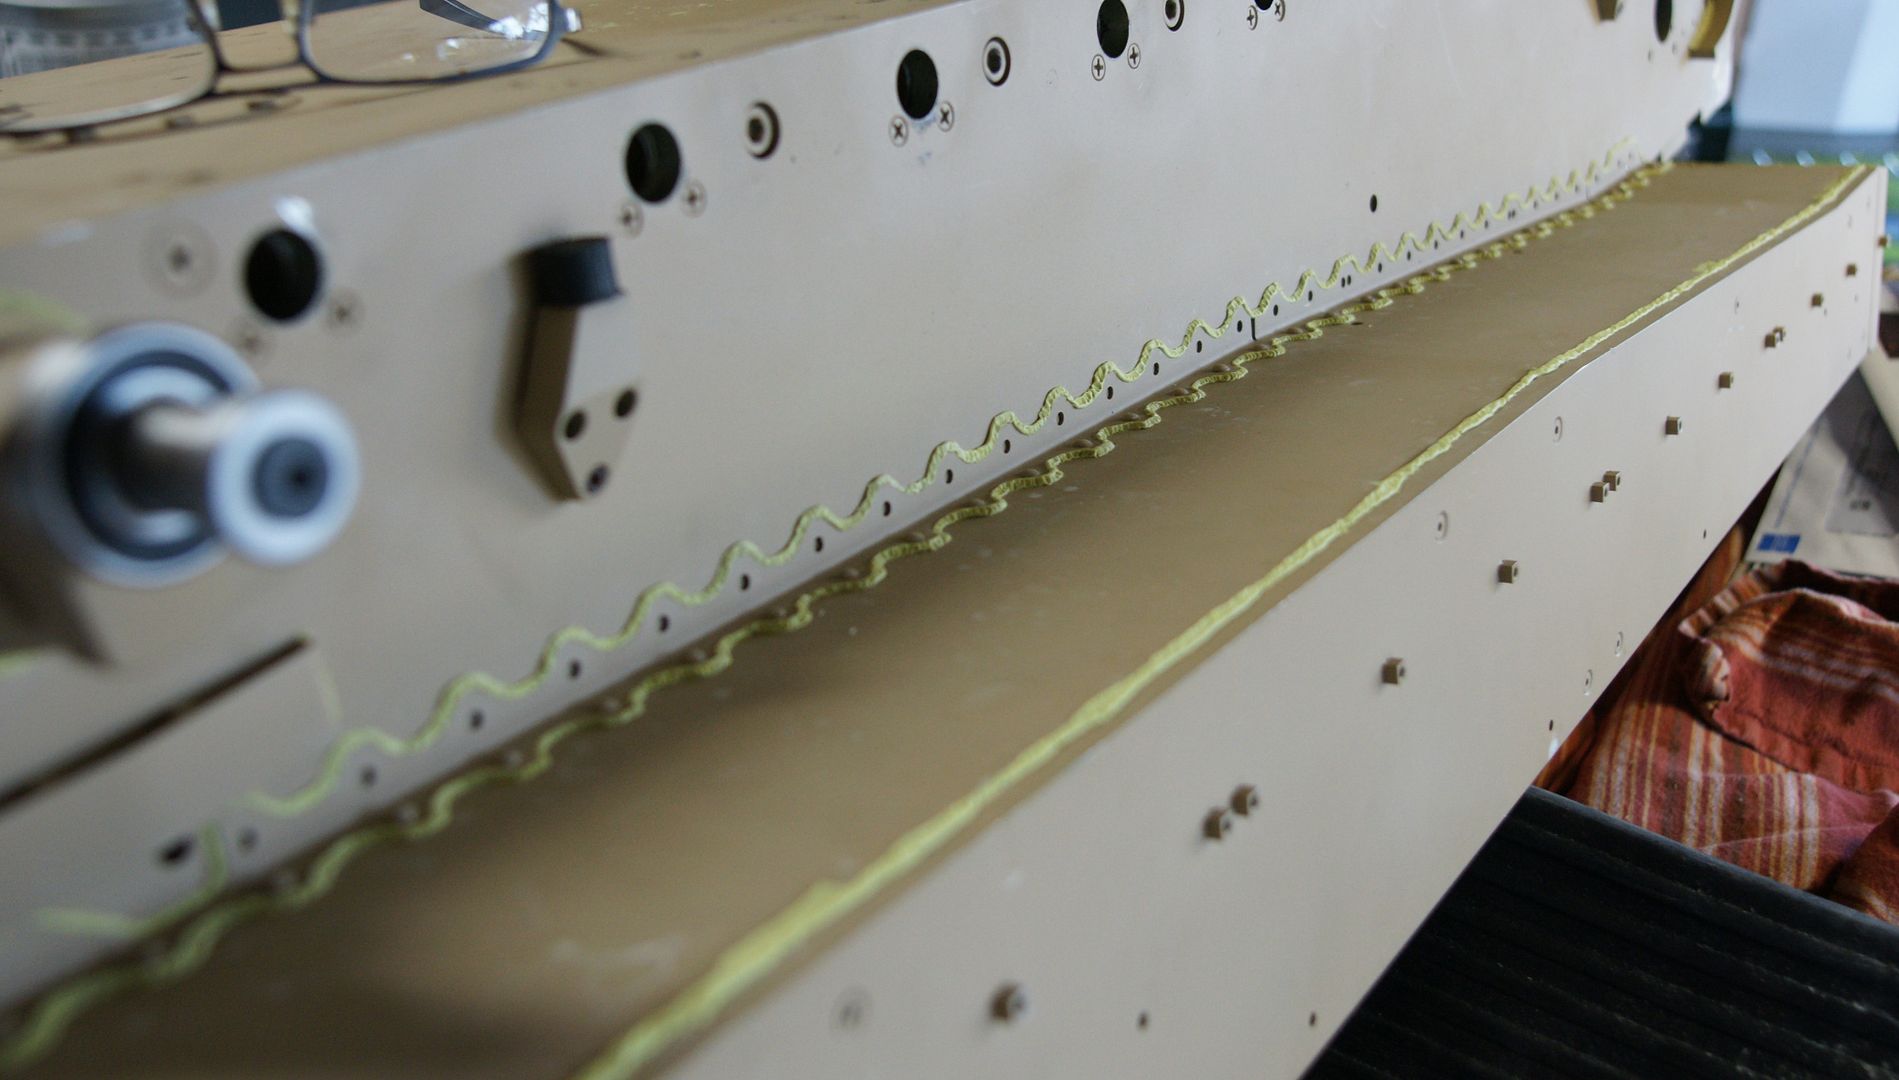
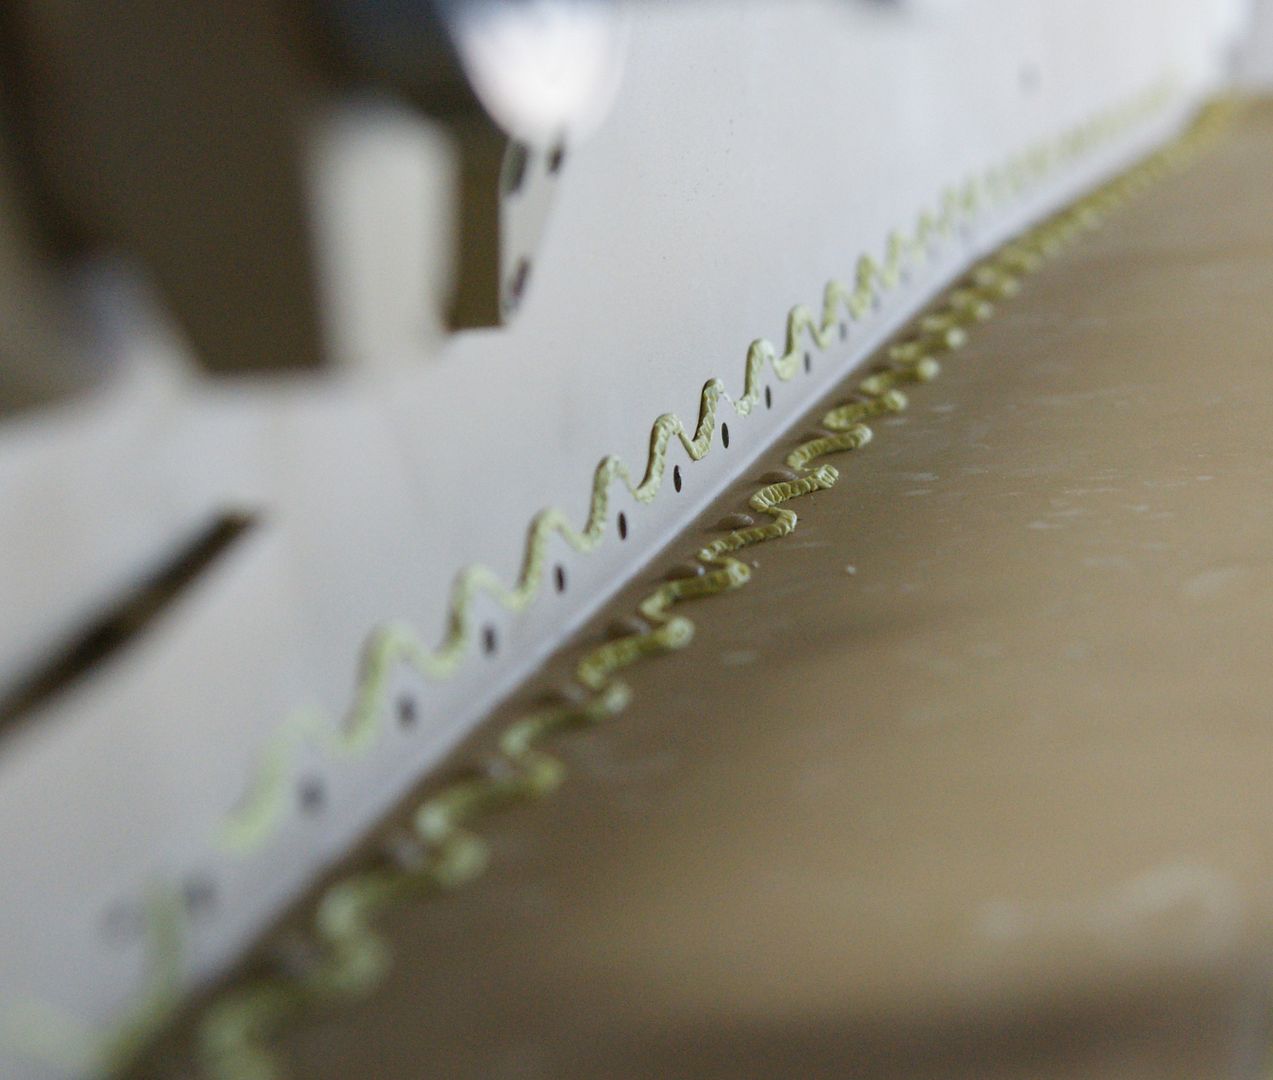
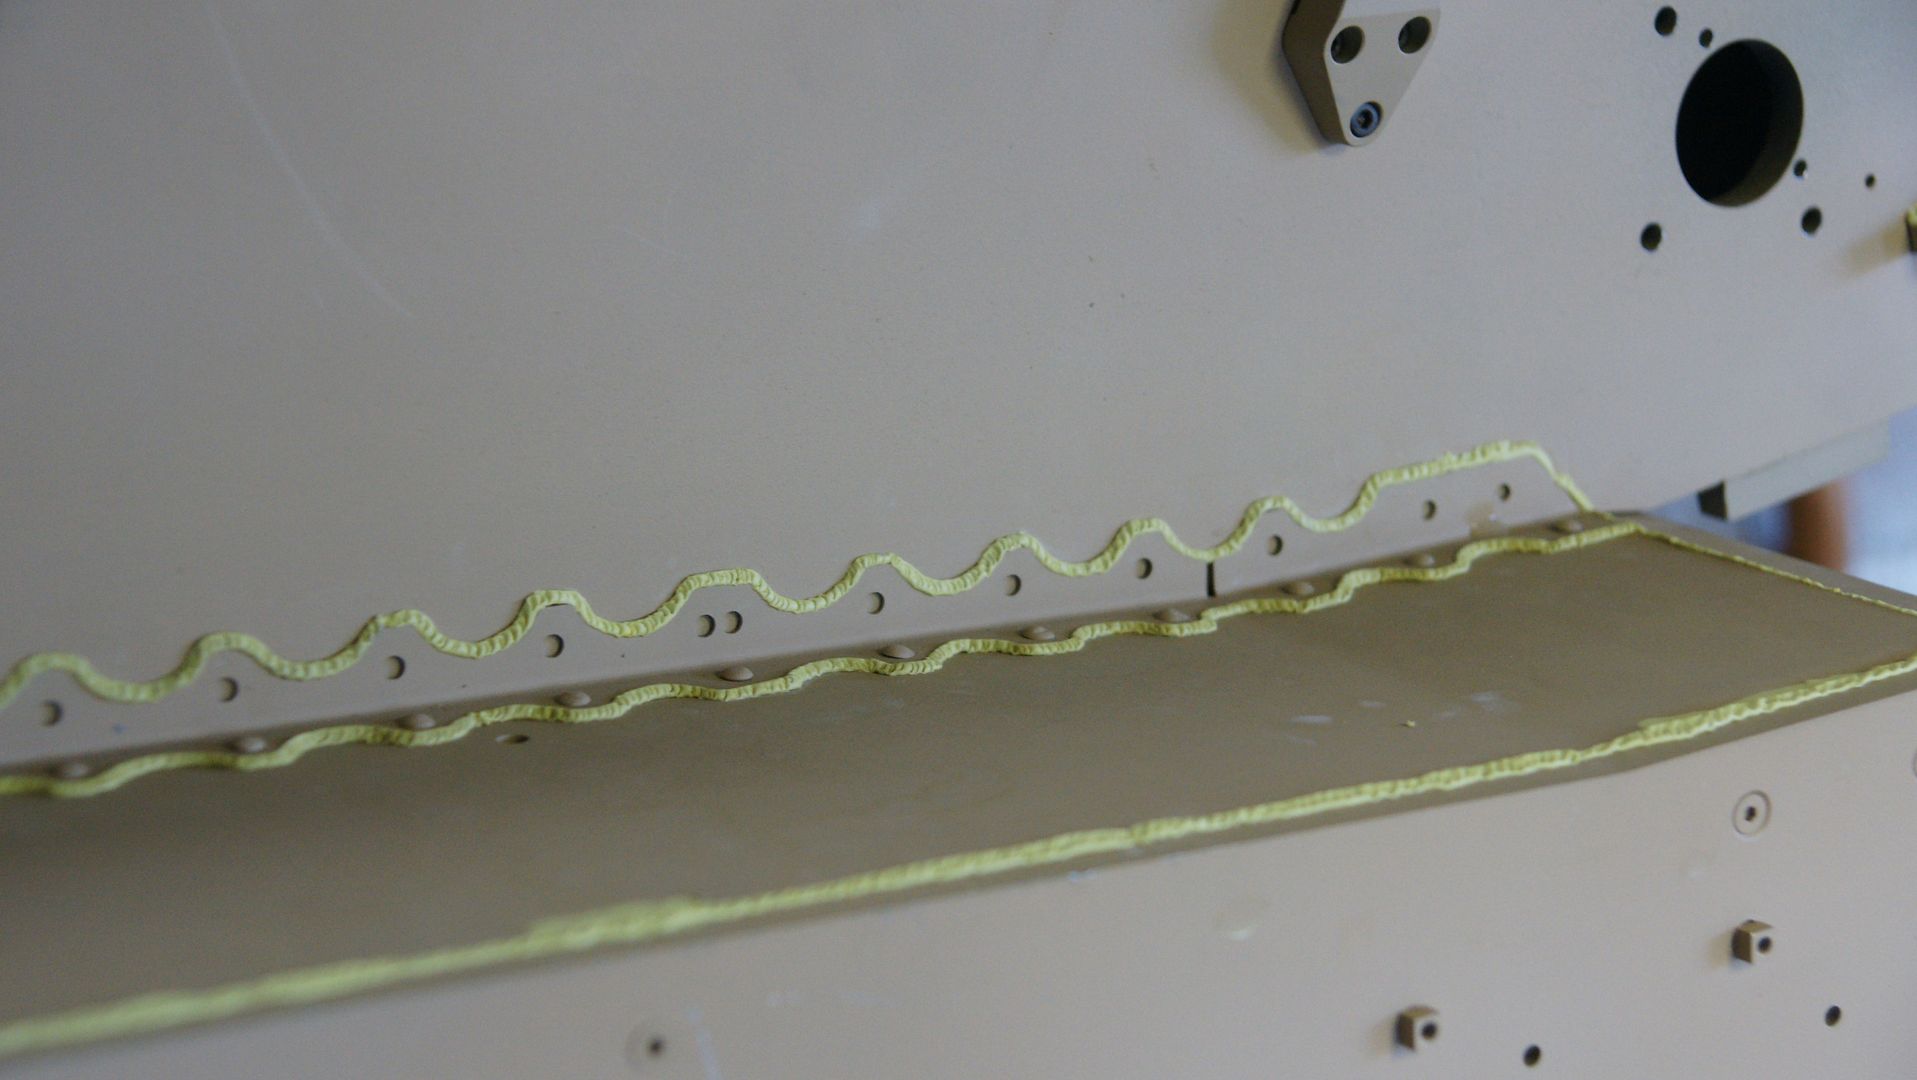
The paint arrives tomorrow, a little more texture and I hope to have the wheels on by next weekend.
Cheers!
