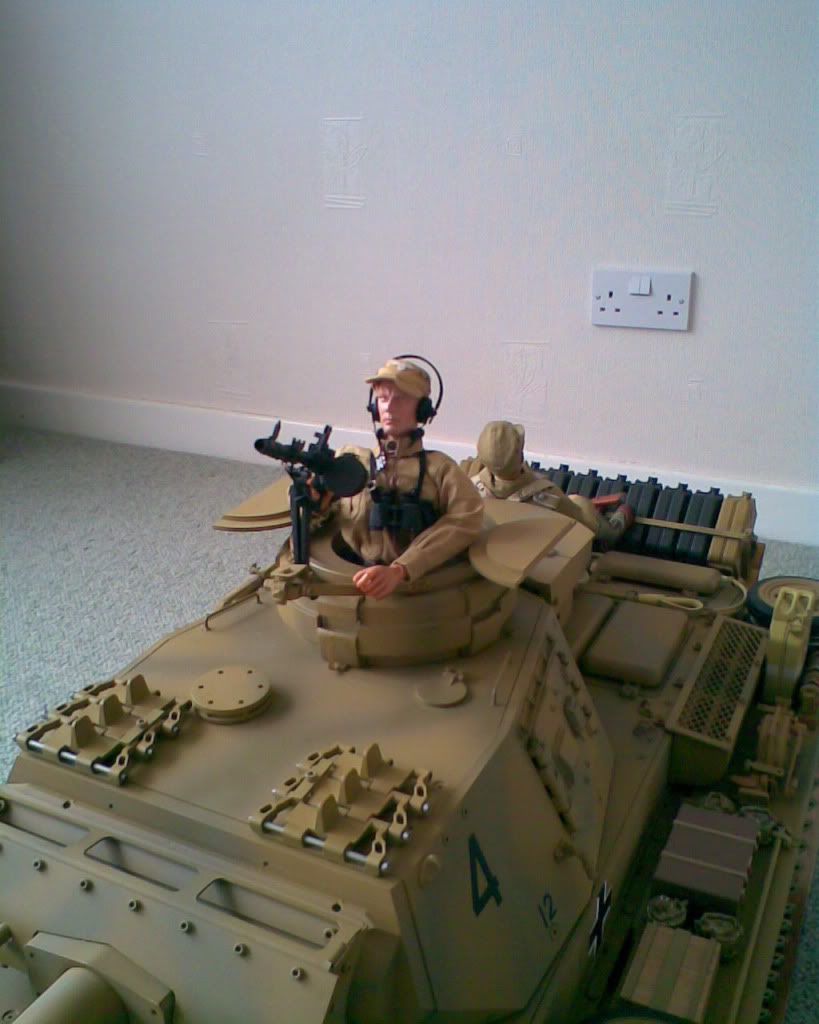
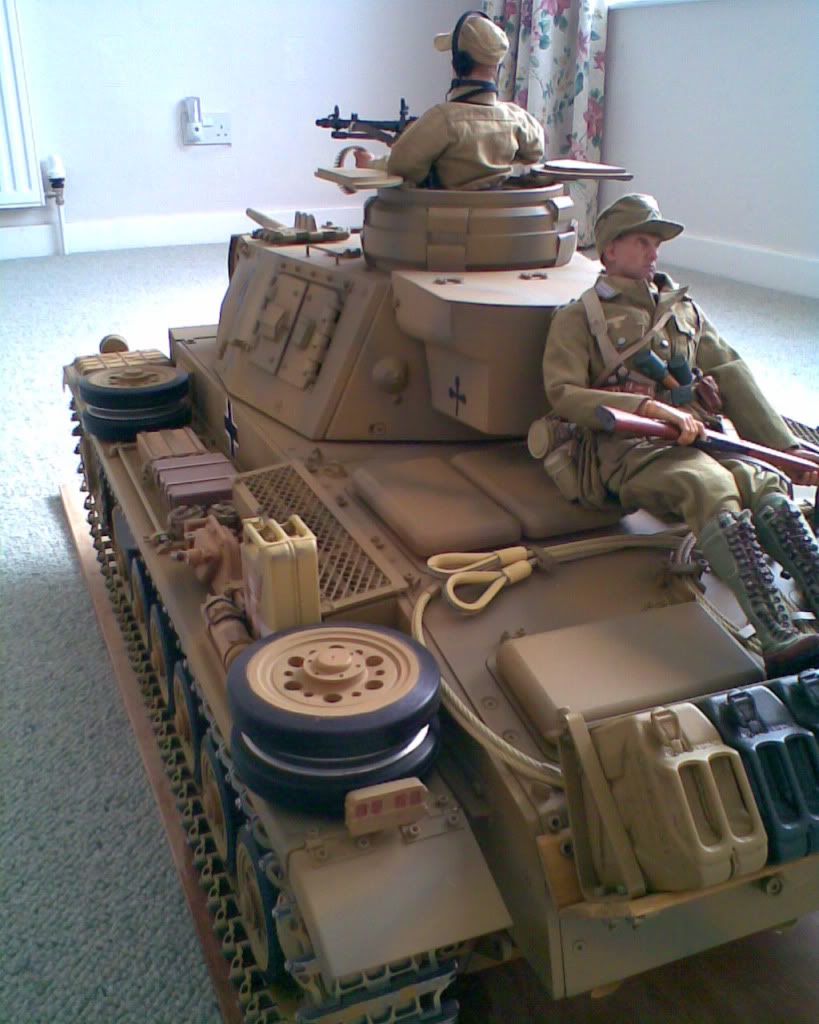
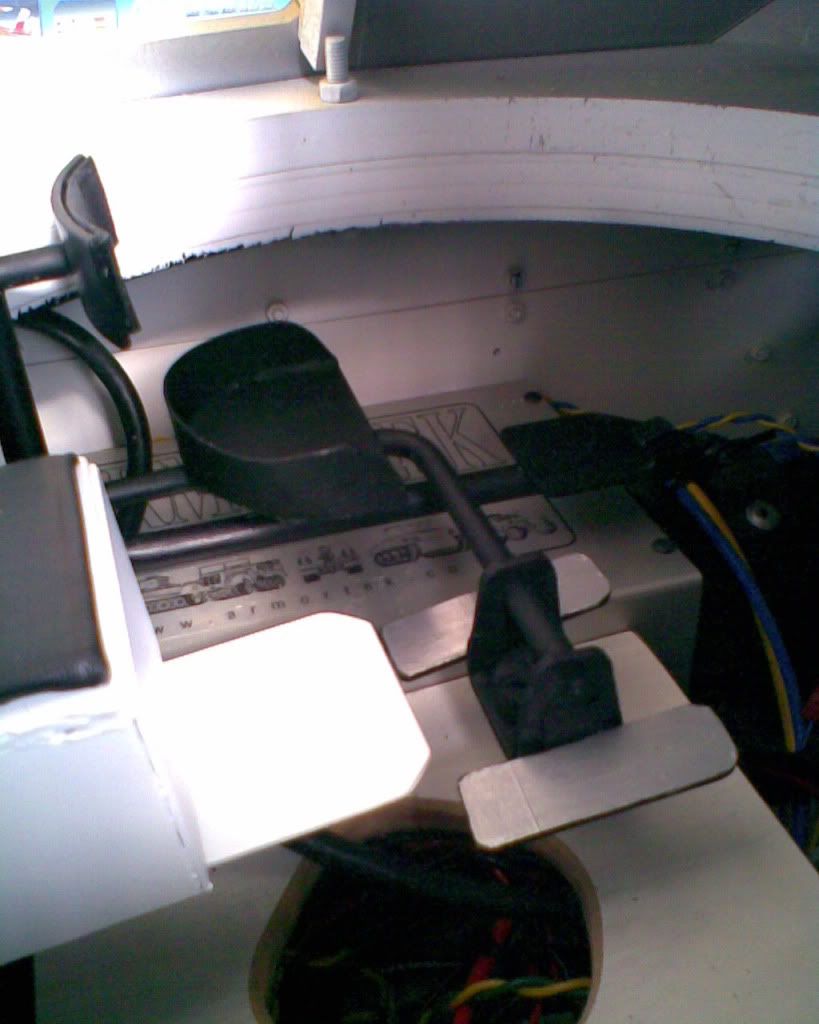
I wasnt happy with my suspension so I stripped my Panzer out and put better flats on the Torsion Bars after resetting to 40 degrees like I should have done in the begining.
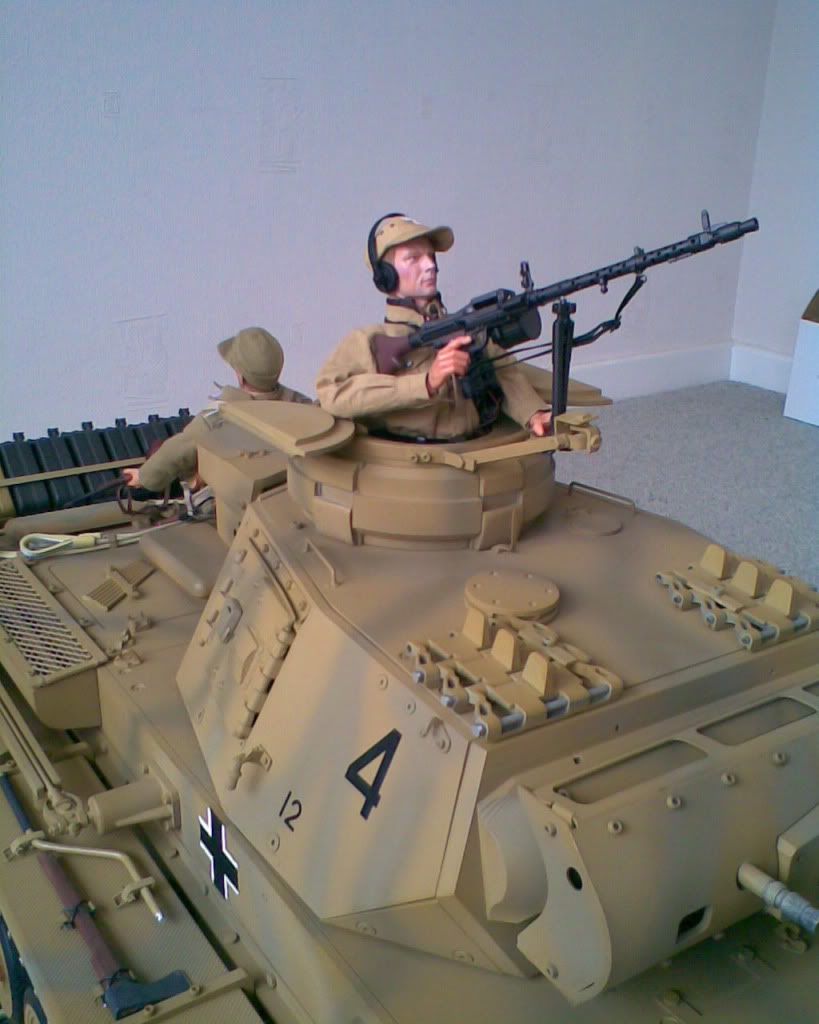
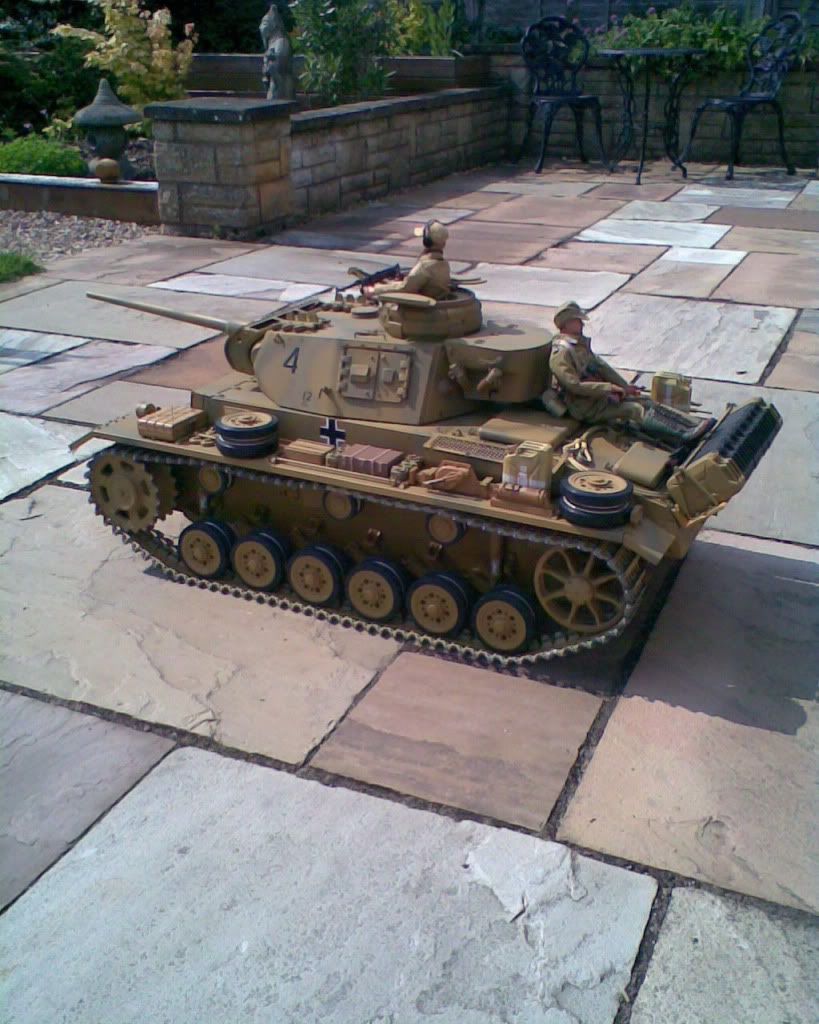
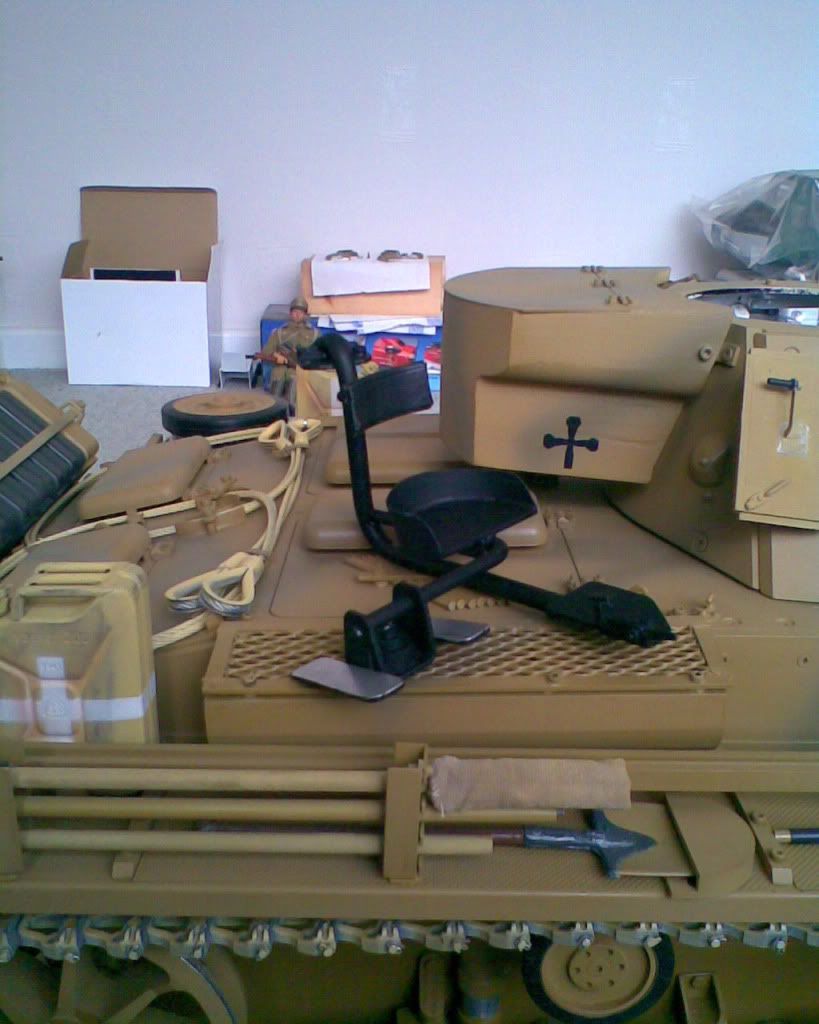
So I have took some up todate photo's to show the new ride height and the few extra bits Ive put on.
Hi Phil, great job on the panzer, the corrected ride height makes a big difference, not only to the performance but the overall look, well done
regards
Jeff
Hello phil
i was wondering where you had got to ,so know we now .I thought
you had defected to the allies camp with that comet you got comming.
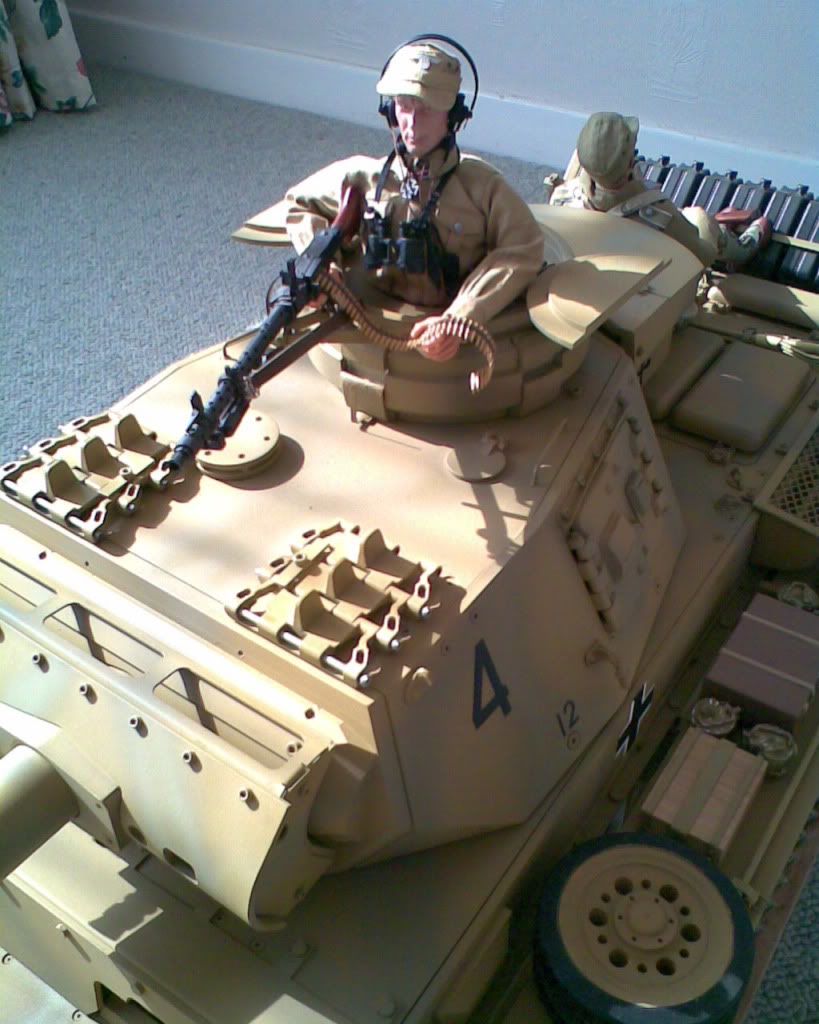
you have done a good job on the suspension im glad the spring idea worked
i will have to have ago at that myself.Iwas looking at your previous pics
to see the differance in the ride height, and their is quit a differance,you should get a realy smooth ride now ,and i noticed your tracks are quit loose
that will help on uneven ground .My tracks are quit loose i think it has
saved me from braking any track links so far(TOUCH WOOD) Idid have a track ride up over the rear idler once because of the dreded gravel ,if the tracks had bean tight i think it would have broken a link.
great pics keep them coming .
all the best
nick
Thanks Nick
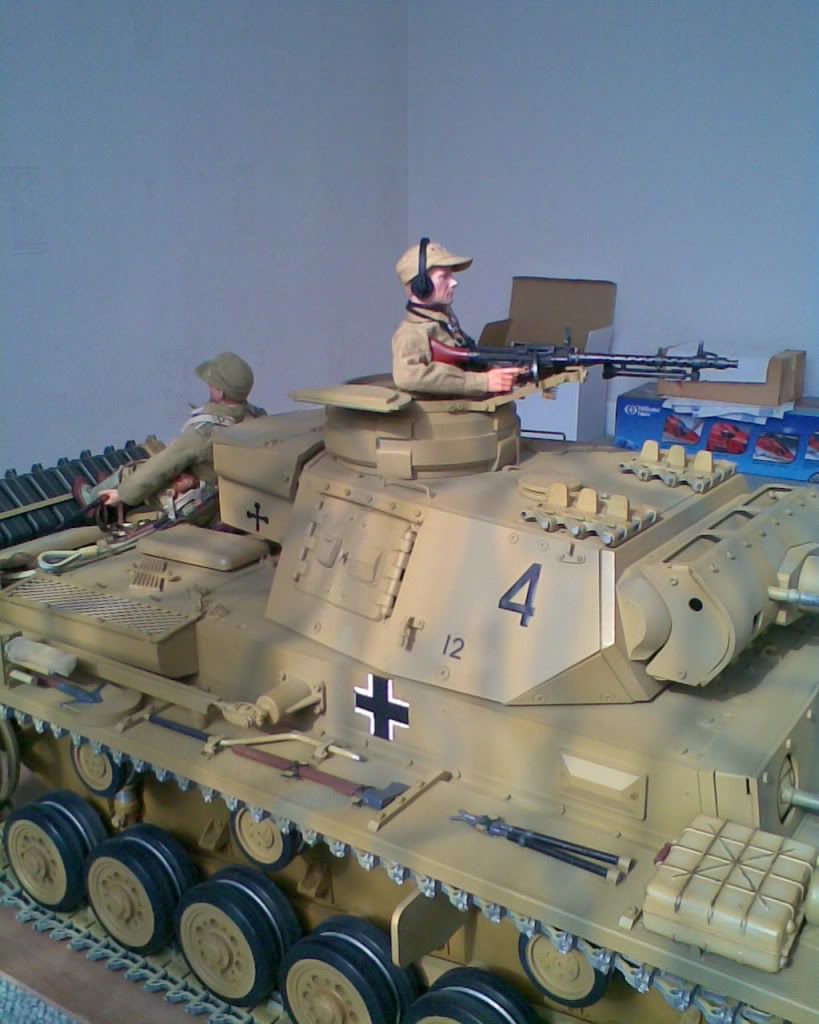
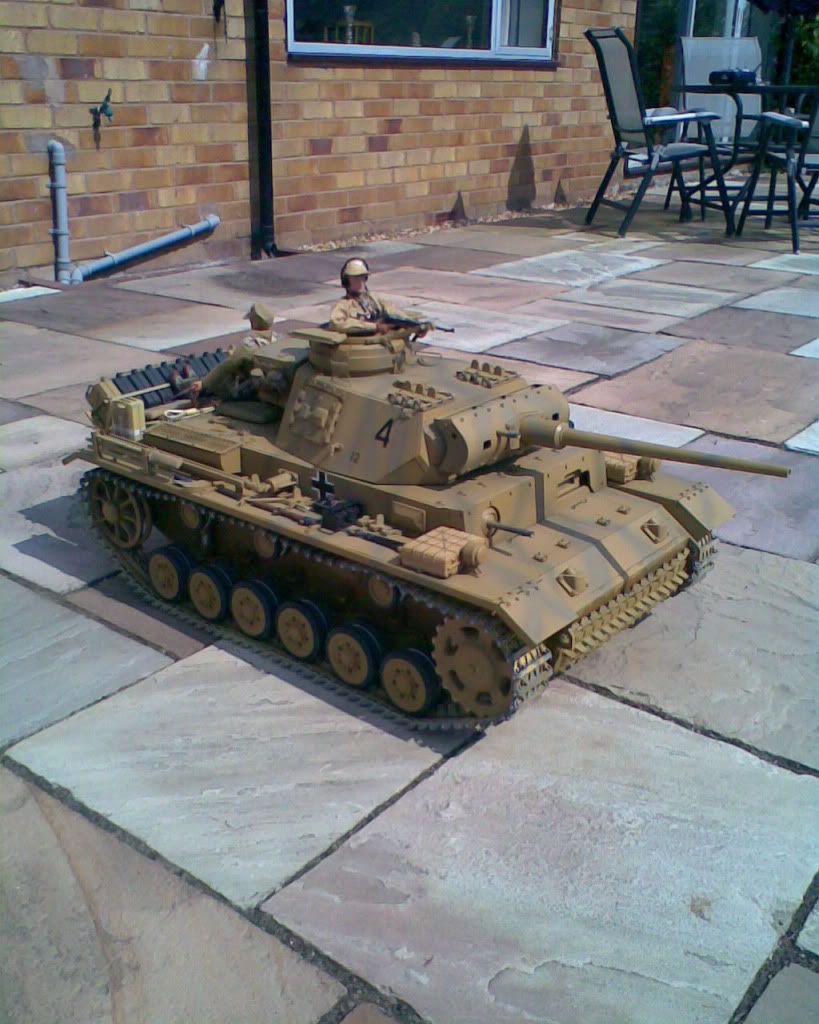
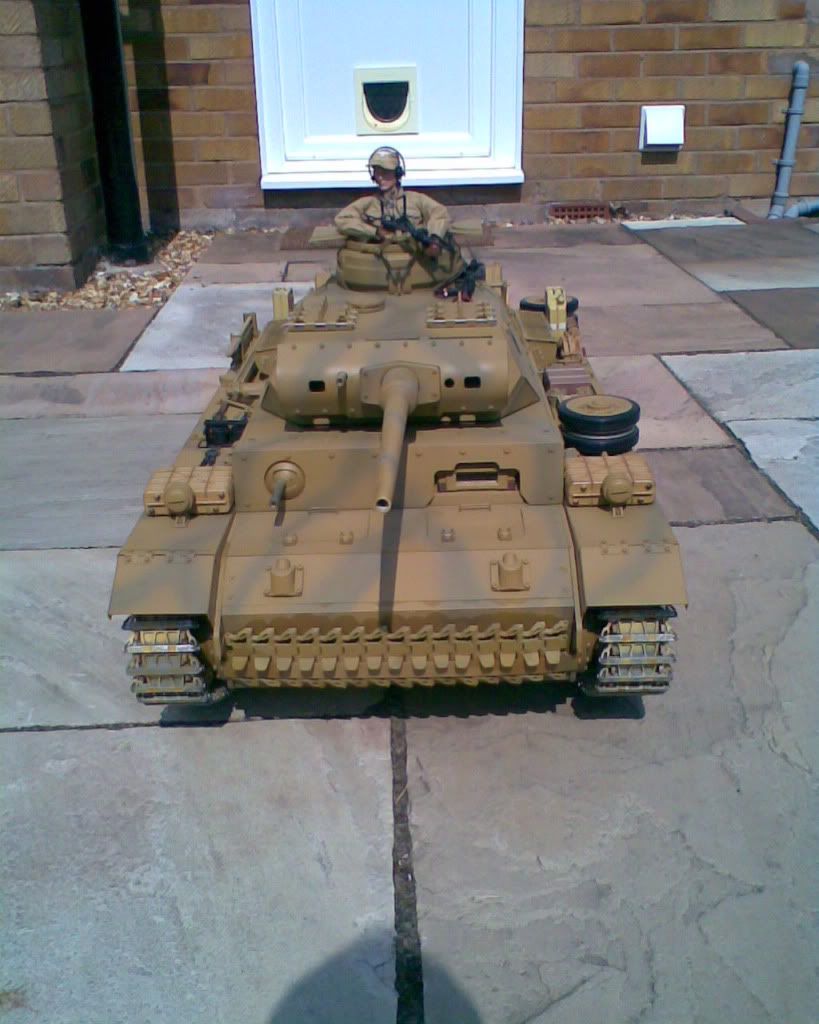
Yes I think ive got my tracks how I need them at the moment
I couldnt find any thing on the Forum for the correct tension,so i went by photo's of Panzer 111's stationary on hard ground.
Also I had bought an Official works Manual on the Full size Comet,and in there it tells you all about adjusting the Comet tracks and the limits of sag between the return rollers when stationary on hard ground.
The Comet drive sprocket is at the rear instead of the front like the Panzer,
but the sag between the sprocket and first roller is 3/4 inch to 1 1/4 inch and at the front and intermediat rollers is 1/2 inch to 1 inch.
Scaling the max sag is about 4.24 mm and 5.30 mm.
So I used that as a guide.
Interestingly the manual says how important the sag limits are yet all the photo's I ve seen I dont think they had the time to mess about too much.
I wish I could find out if there was an official works manual for the Panzer 111L and I would buy one for the interest it gives to know all the ins and outs.
Cheers Nick
Thanks David
Like Jeff Said my Panzer is much better for sorting out my suspension
properly
Look forward to seeing your Photo's as you get going with your Tank
Have fun doing it
Hi phil
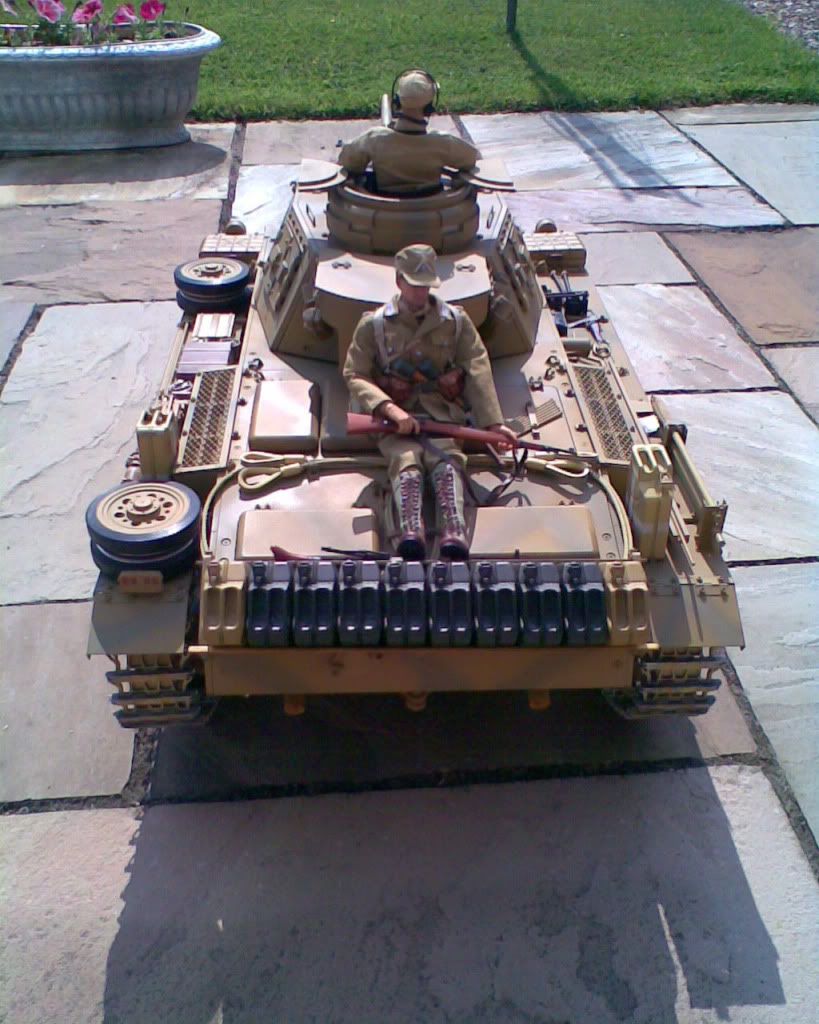
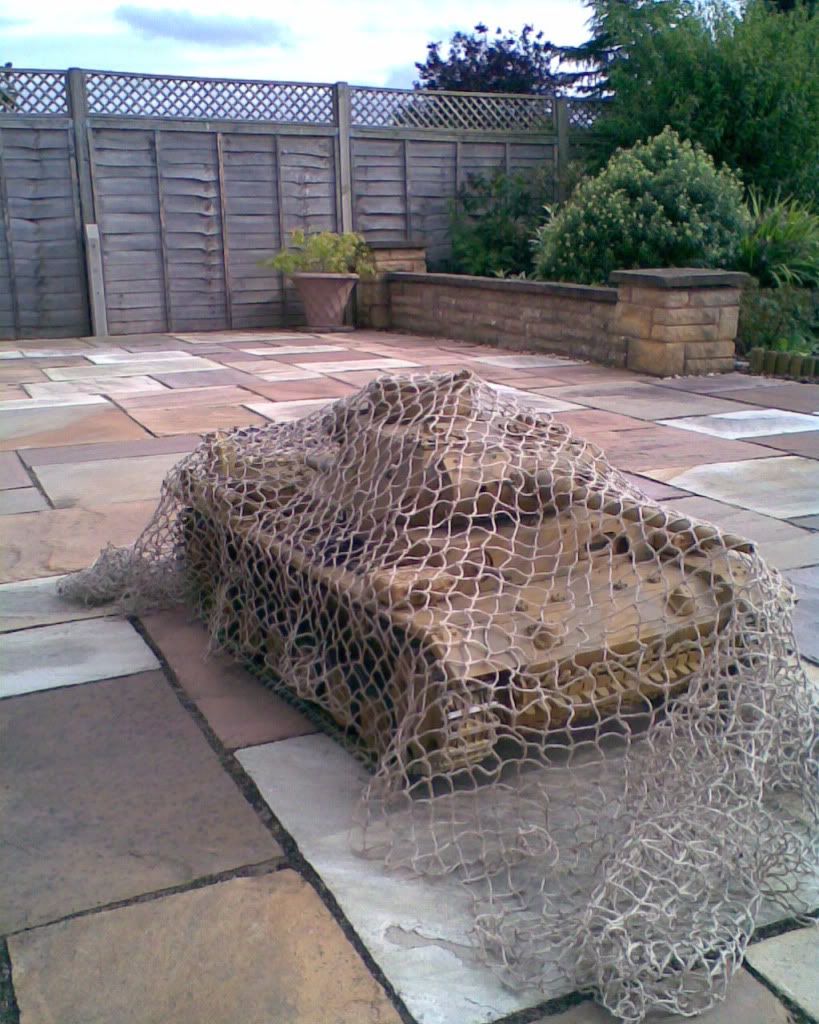
thats a lot of knots
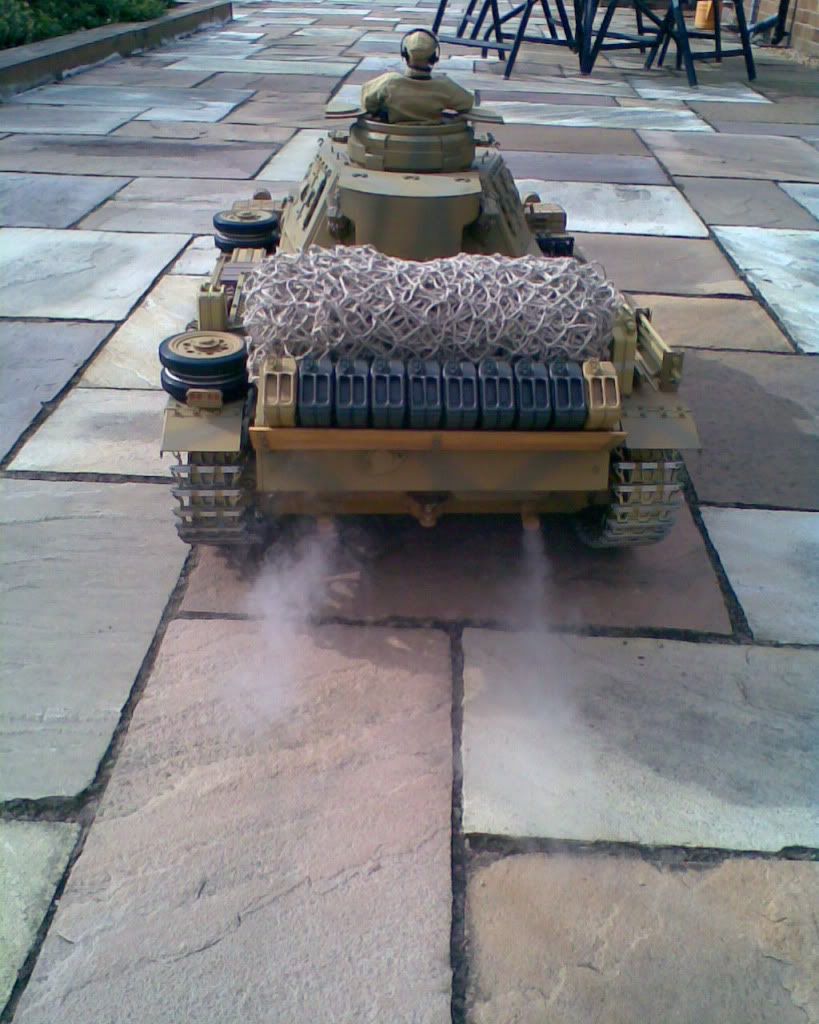
looks realy good, how long did it take you to make,i would not now where to start, very clever .I altered my suspension the same way you did yours ,springs in the shocks mutch better. i had to do it because i am running the smoke unit off another battery and it was getting abit low on the front .good picture of the smoke on yours ,it does make a big difference .
all the best
nick
Hi Nick
At first I just "Googled" "Net Making"and it threw up a few sites with some
directing you to Youtube and there are a few little vidio's showing different sorts of net making.
Then I found a site that supplied the natural string and the net making needles in different sizes and instructions on how to make a rabbit net.
Which I just adapted to suit my own flat net.
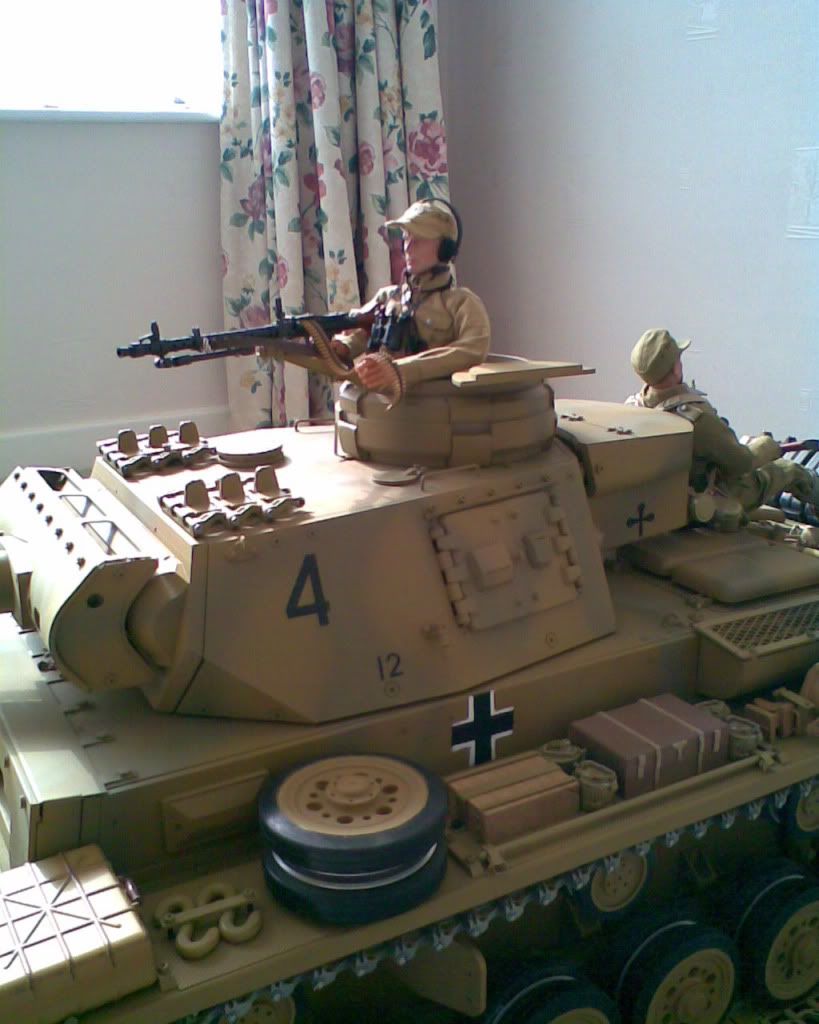
The smallest needle they did was 15 mm which scaled up would be a 90mm mesh but in reality when the needle was loaded with string I had to make it 20 mm which scaled up would be 120 mm mesh.
When I was in the army the mesh varied from arround 60mm to about 120mm so I thought that was the best I could do.
The trade off with a smaller net needle would be that you couldnt get much string on it and there would be lots more joins.
It took me over a month to learn how to do it and I got faster in the end,but I had to do it a bit at a time,some days only a few meshes other days a row or two.
I havent experimented yet with dieing it or spraying it and addiing scrim.
My shock absorbers look quite good now,I lightly greased the spring coils befor putting them in and there is a nice grey greasy mark now showing the range of movement.
Look forward to your next trip out to Tunisia
Cheers
Phil
Hi phil
sounds like a lot of work ,but the end result is very good ,the colour of the netting go,s well with the camo on your tank thanks for explaining how you made it i might have a go at it myself when i ve got a bit more time.
very best
nick
p.s i have got your e.mail address, if ok will send you some pics
of a new project i am starting