Late Production Tiger Project

Forum for discussion relating to Tiger 1, Mid, Early, Late Production and Sturmtiger
Post Reply
Steve Norris
Posts: 1225
Joined: Thu Jul 12, 2007 11:42 am
Location: Manchester
Has liked: 8 times
Been liked: 688 times

Post by Steve Norris »

Hi Tim.
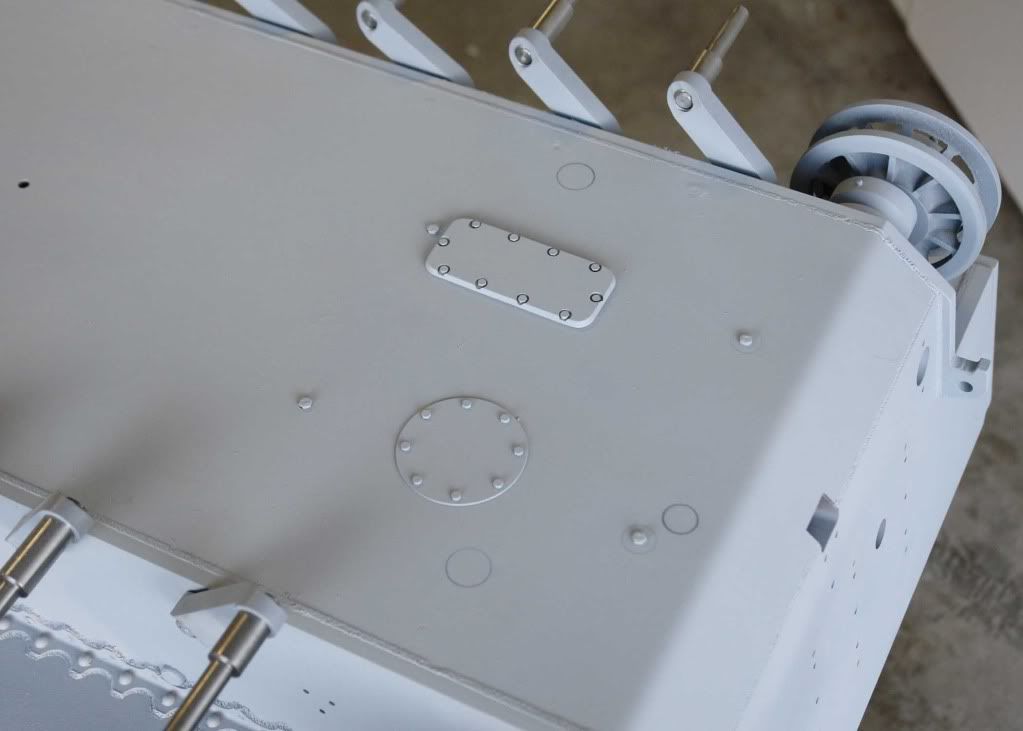
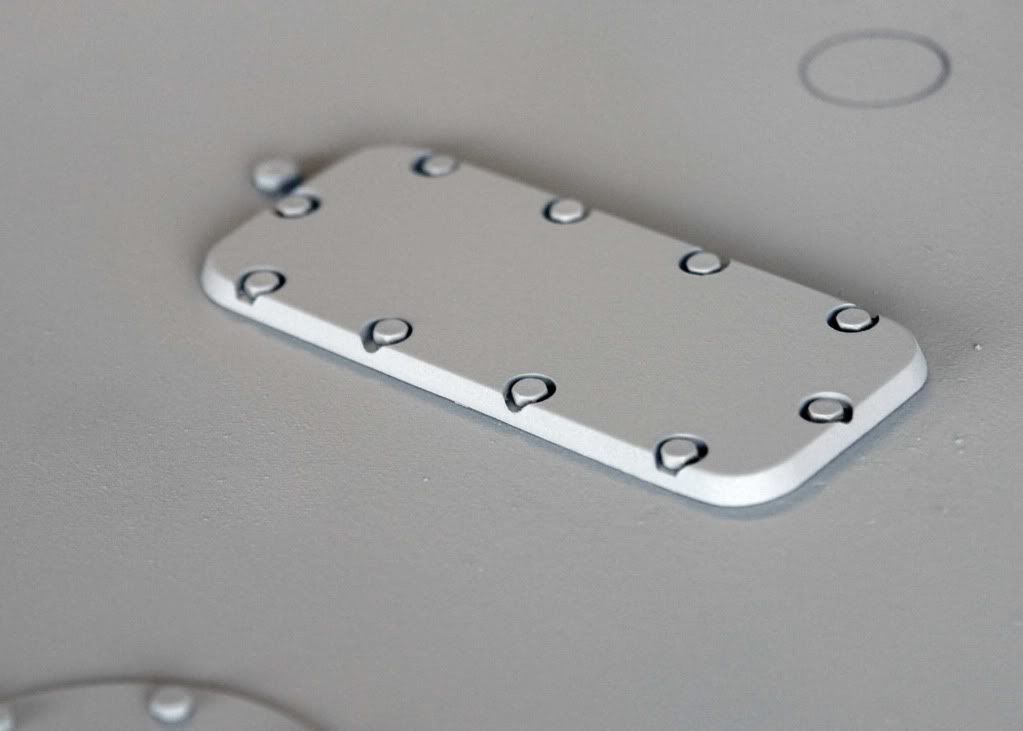
Your making great progress and have given me some great inspiration. I will now go back and reposition my track pin deflectors plus fit shock mounts :roll: . If you recall the last time we spoke i said i was not going to change one of the round engine access covers in the lower hull, Well after a bit more thought i changed my mind and fitted a rectangular one :D . As it turned out it was a quick and easy job and although it wont be visable i will at least know that it is there. Looking at the detail you have put into the lower hull i think it would be a shame if you did not change it while you have the chance.
Keep up the great work
Steve

Kent Wiik

Post by Kent Wiik »

Yes Tim, go for it!
You can always blame me... :wink:

Cheers
Kent, the Swede who lurk everyone into the detailingswamp... :shock:

Steve Norris
Posts: 1225
Joined: Thu Jul 12, 2007 11:42 am
Location: Manchester
Has liked: 8 times
Been liked: 688 times

Post by Steve Norris »

Tim.
I have been trying to find what angle the track pin deflector should sit at and the only photos i have seen show it parallel with the pannier bottom (as supplied in the kit), I have also looked at the Dragon late Tiger kit and this is also parallel to the pannier bottom. Before i reposition mine can you tell me where you got your angle from ?
All the best
Steve

Tim Bowman
Posts: 1762
Joined: Fri Jul 13, 2007 4:53 am
Location: Northern California
Been liked: 177 times
Contact:

Post by Tim Bowman »

Hi Steve

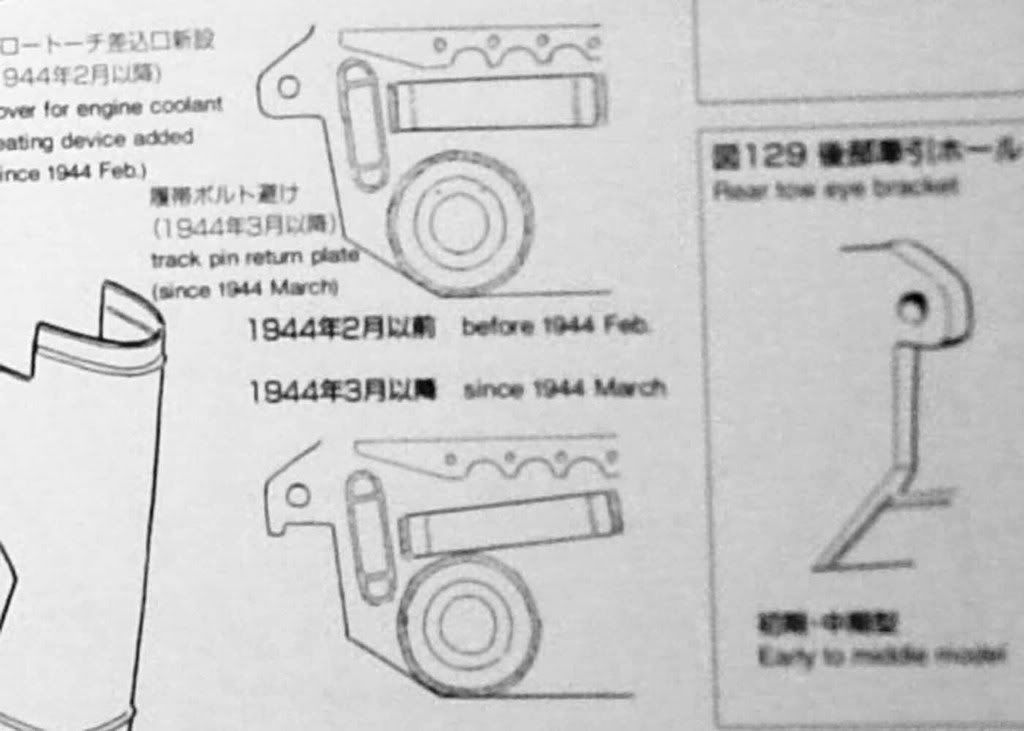
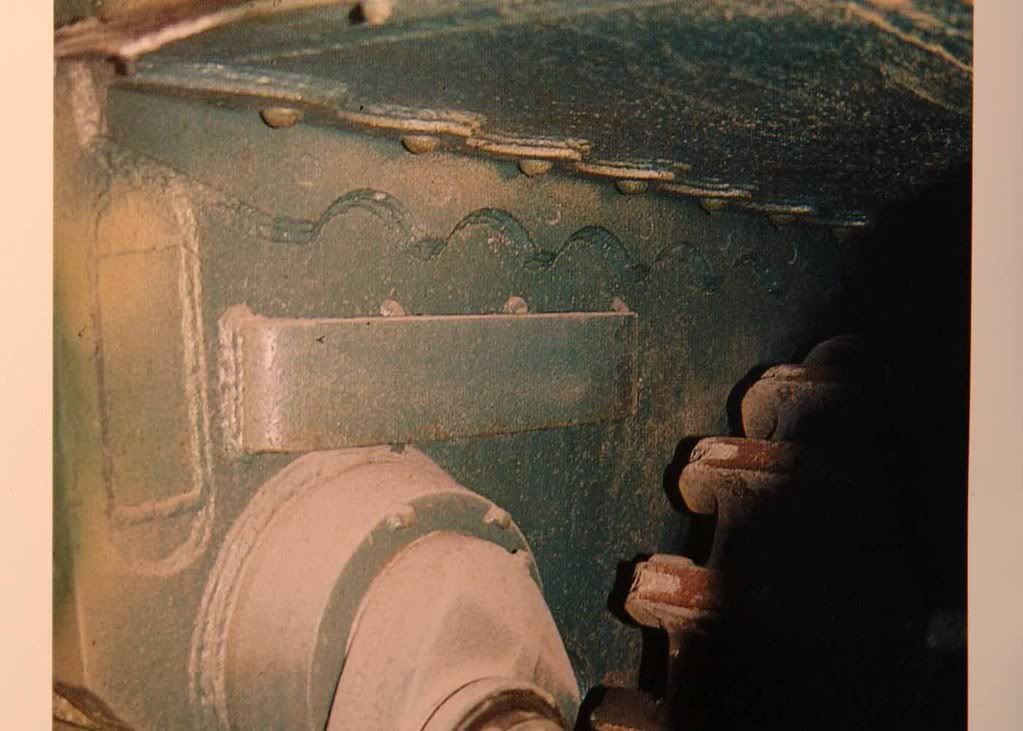
Here's a drawing from "Achtung Panzer" that shows the design change in March of 1944. I based mine off this and the photos from the Saumur Tiger which also has the angled deflector. Sorry not the best pictures. :oops:

Image

Image

Off to make my rectangular engine plate now. :roll:

Tim
"So long as one isn't carrying one's head under one's arm, things aren't too bad." – Erwin Rommel

Steve Norris
Posts: 1225
Joined: Thu Jul 12, 2007 11:42 am
Location: Manchester
Has liked: 8 times
Been liked: 688 times

Post by Steve Norris »

Thanks for that Tim.
The pictures are good enough to see the repositioned plate,
I guess the photos i have seen show pre March 44 versions.
Oh well out with the drill and filler :roll:
Steve

Tim Bowman
Posts: 1762
Joined: Fri Jul 13, 2007 4:53 am
Location: Northern California
Been liked: 177 times
Contact:

Post by Tim Bowman »

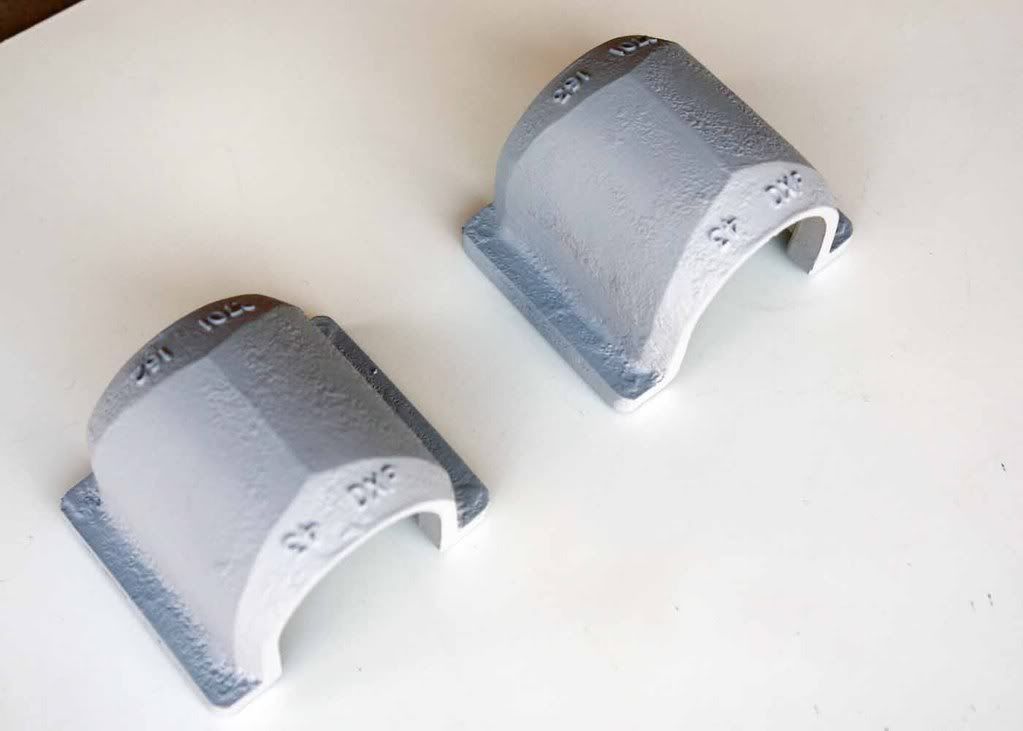
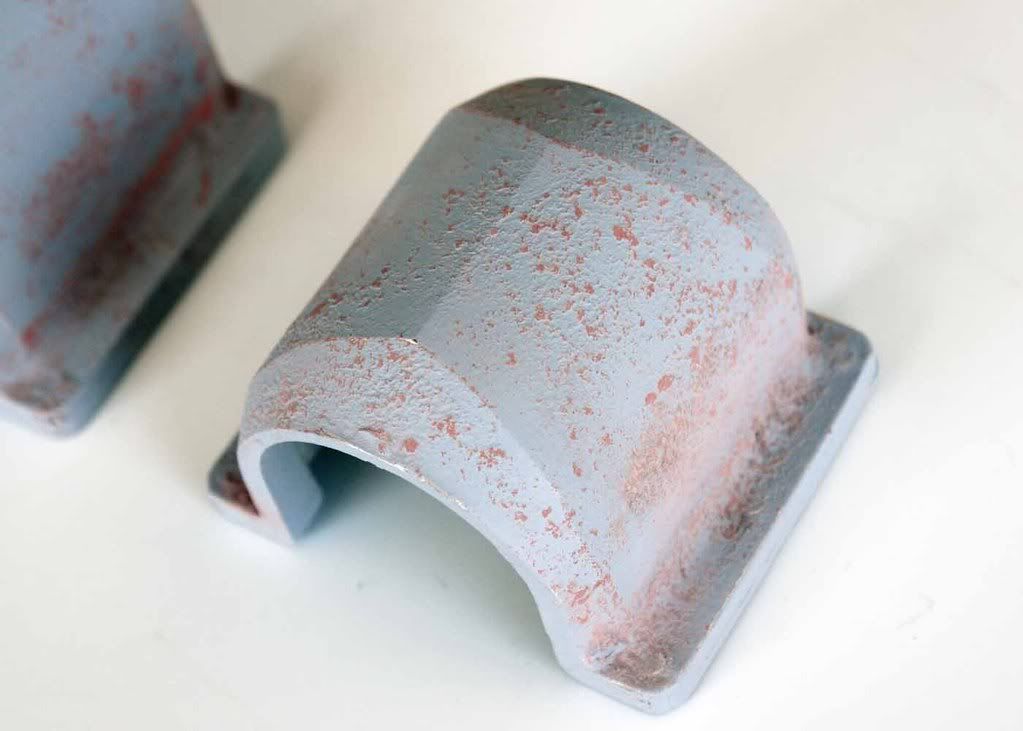
I got side tracked today and started on the exhaust guards. I'll machine the holes and bolt recesses, ad the lifting lugs and add the notches on the back side. Will post more pictures when completed. Thank you Kent for the clarification with the cast numbers.

Fist step was filling the existing holes and adding larger fillets. Then putty was stippled on using a very coarse sponge.
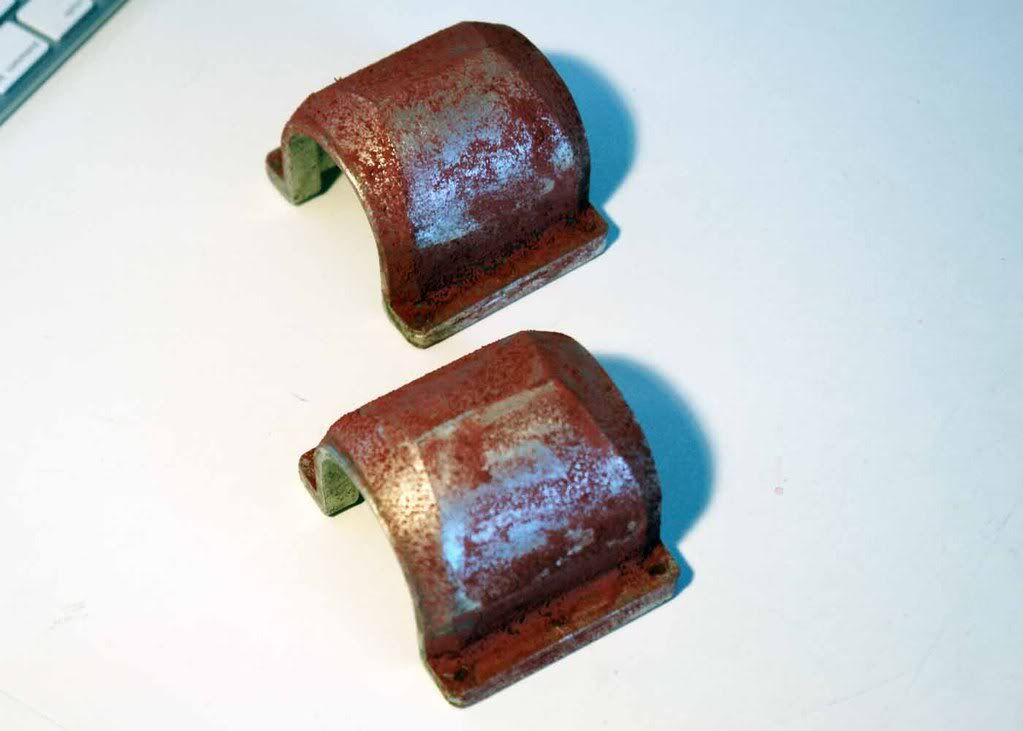
Image

After that, it was sanded down and primered and then sanded down a bit more.
Image

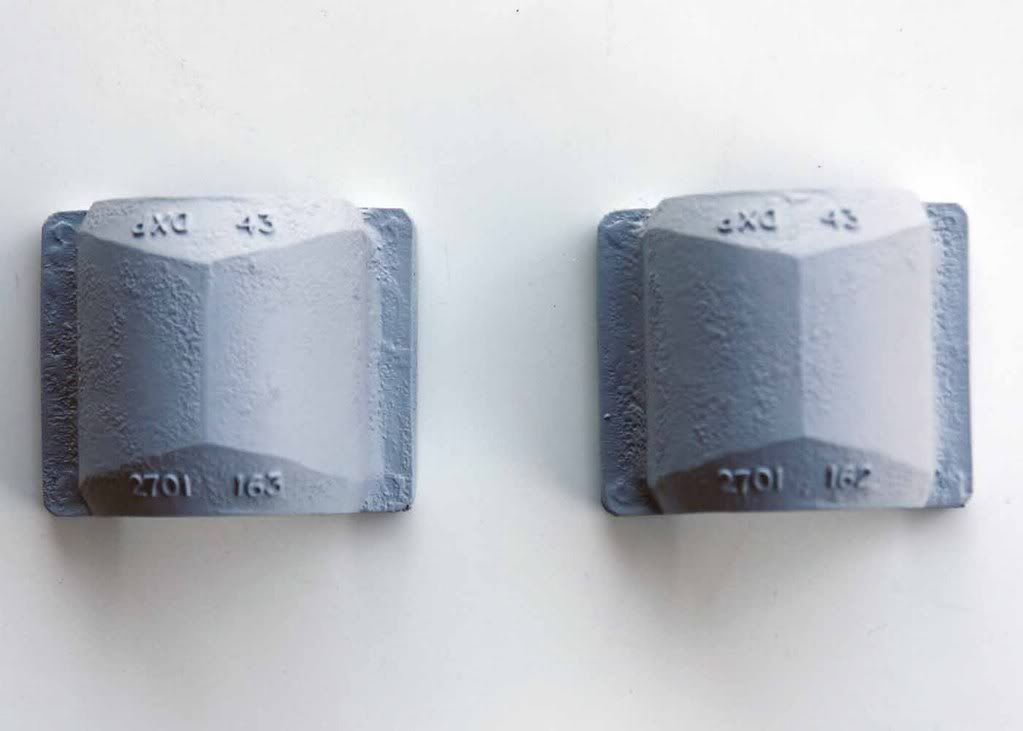
Cast-in letters and numbers were added along with some Mr Surfacer 500.
Image

Image

Hope to finish these this weekend.

Tim
"So long as one isn't carrying one's head under one's arm, things aren't too bad." – Erwin Rommel
Kent Wiik

Post by Kent Wiik »

Yeah, Fantastic!

The cast surface and letters/numbers are spot on the real thing.
Very nice - I love it!

Here are the photos I send Tim so everyone can see how good his work are.
Image
Image

Keep it up as I want to see more of this build :D
Kent
Last edited by Kent Wiik on Wed Mar 11, 2009 10:12 am, edited 1 time in total.

simon_manning
Posts: 2024
Joined: Fri Nov 02, 2007 8:51 pm
Location: new forest,hampshire,u.k.
Been liked: 1633 times

Post by simon_manning »

they look good,casting no.s add that bit extra,this is new detail unkown to moi.interesting stuff.


simon manning

Steve Norris
Posts: 1225
Joined: Thu Jul 12, 2007 11:42 am
Location: Manchester
Has liked: 8 times
Been liked: 688 times

Post by Steve Norris »

Wow Tim,
They look great :D
Can you tell me how much was added to the fillets ?
Steve

Tim Bowman
Posts: 1762
Joined: Fri Jul 13, 2007 4:53 am
Location: Northern California
Been liked: 177 times
Contact:

Post by Tim Bowman »

Thanks guys

Steve, I used my index finger for the fillet. :) I wanted to make sure it was a big enough fillet that when I machine the recesses they cut into the fillet slightly like the real ones.

Regards
Tim
"So long as one isn't carrying one's head under one's arm, things aren't too bad." – Erwin Rommel

Allan Richards
Posts: 743
Joined: Thu Jul 12, 2007 10:34 am
Location: Kent
Been liked: 10 times

Post by Allan Richards »

Wow, the bar is being raised all the time. The detail being picked up now is amazing. I really like the surface texture also.
Allan Richards

Tim Bowman
Posts: 1762
Joined: Fri Jul 13, 2007 4:53 am
Location: Northern California
Been liked: 177 times
Contact:

Post by Tim Bowman »

Bolt holes, recesses and lifting lug position pre-drilled.

Image

Image

Image

Image

Happy building
Tim
"So long as one isn't carrying one's head under one's arm, things aren't too bad." – Erwin Rommel

Dale jordan
Posts: 1428
Joined: Fri Jul 13, 2007 1:10 am
Location: Port Macquarie Australia
Been liked: 429 times
Contact:

Post by Dale jordan »

Fantastic work Tim ... They look like they came straight out of the factory stores ... Dale

Kent Wiik

Post by Kent Wiik »

Stunning!
Looks 1:1 :shock:

Cheers
Kent

Tim Bowman
Posts: 1762
Joined: Fri Jul 13, 2007 4:53 am
Location: Northern California
Been liked: 177 times
Contact:

Post by Tim Bowman »

Thanks guys for the nice comments.

I finally took a break from ammo and transport box making to take care of the access plate. It was nice to work on the Tiger again.

I guess the good news is that Steve is so far ahead in his build that it make for more great reference material.:D

Image

Image

Regards
Tim
"So long as one isn't carrying one's head under one's arm, things aren't too bad." – Erwin Rommel

Post Reply