A34 COMET

Forum for discussion relating to the Comet
Post Reply
phil fitzpatrick
Posts: 2020
Joined: Sat Dec 12, 2009 3:38 pm
Location: Sambourne uk
Been liked: 223 times

Mantlet Cover

Post by phil fitzpatrick »

Thanks Mick
It took me 2 long days to learn how to use the machine,have a practice,
then the material I cut out from Templates I drew and allowed a bit for hems
The actual making of it was like someone making up a dress on a dummie
and it was on and off more than a newly wed's nickers :lol:
It needs someone with the skills like these people who make the uniforms
for the 1/6th scale crew.
At least I have got a machine to turn my Jeans up now instead of by hand.
Cheers
Phil

Nick Farrugia
Posts: 547
Joined: Fri Aug 28, 2009 10:08 pm
Location: South Wales Glamorgan

mantlet cover

Post by Nick Farrugia »

Hi phil
great job on the mantlet cover looks very good i bet it was fidly to make. I should think you will get some orders for them prety soon, i will have one and i havent got a comet :cry: :cry: sob sob, never mind , allso liked the discription of how you made it.
all the best
nick

phil fitzpatrick
Posts: 2020
Joined: Sat Dec 12, 2009 3:38 pm
Location: Sambourne uk
Been liked: 223 times

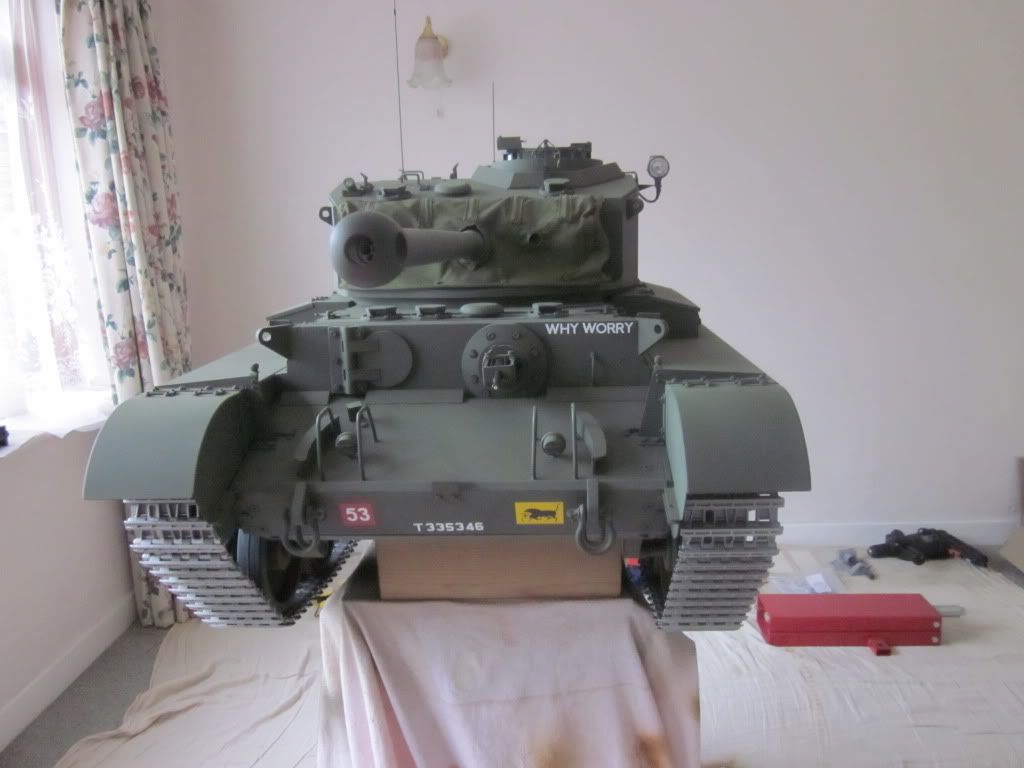
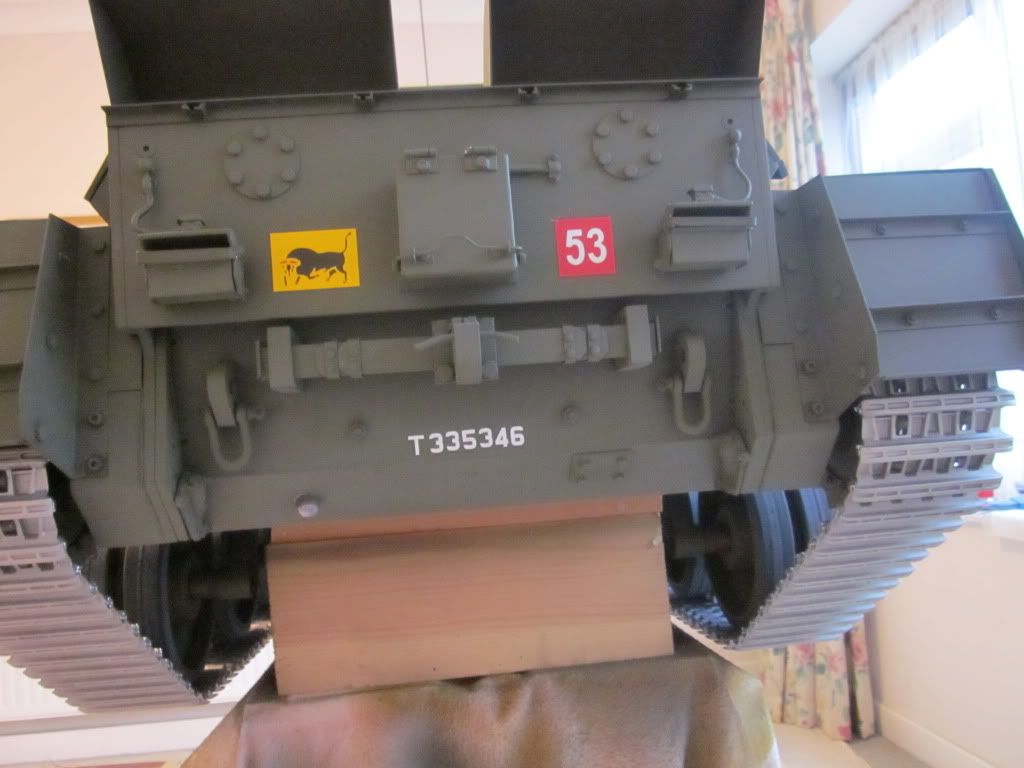
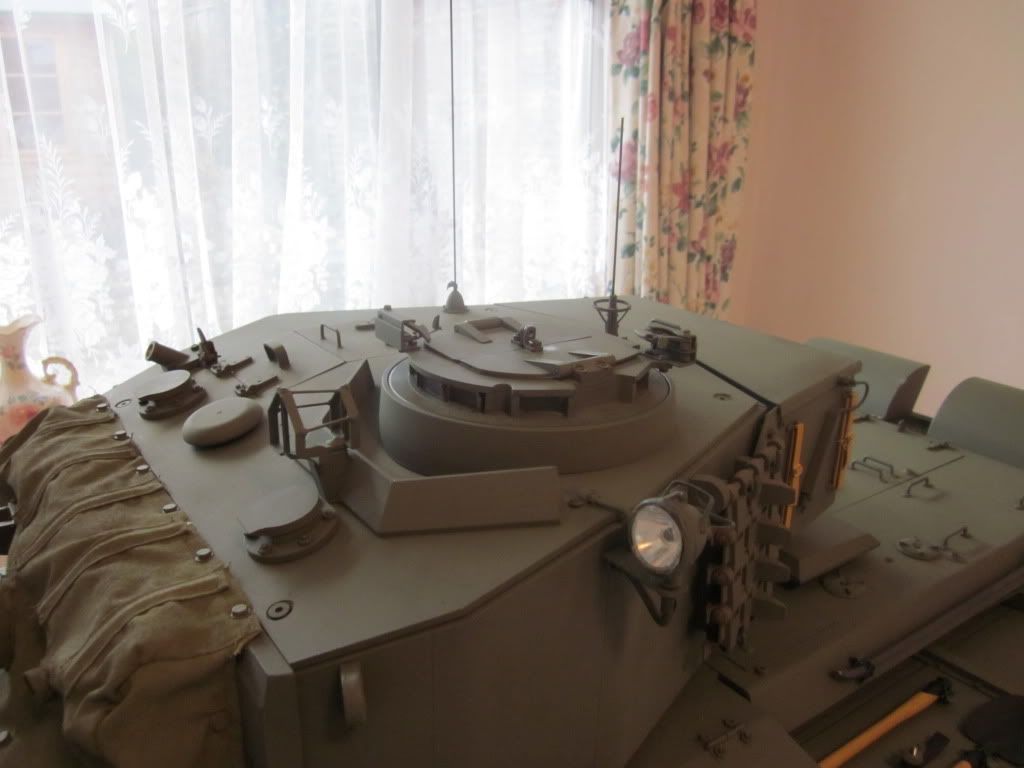
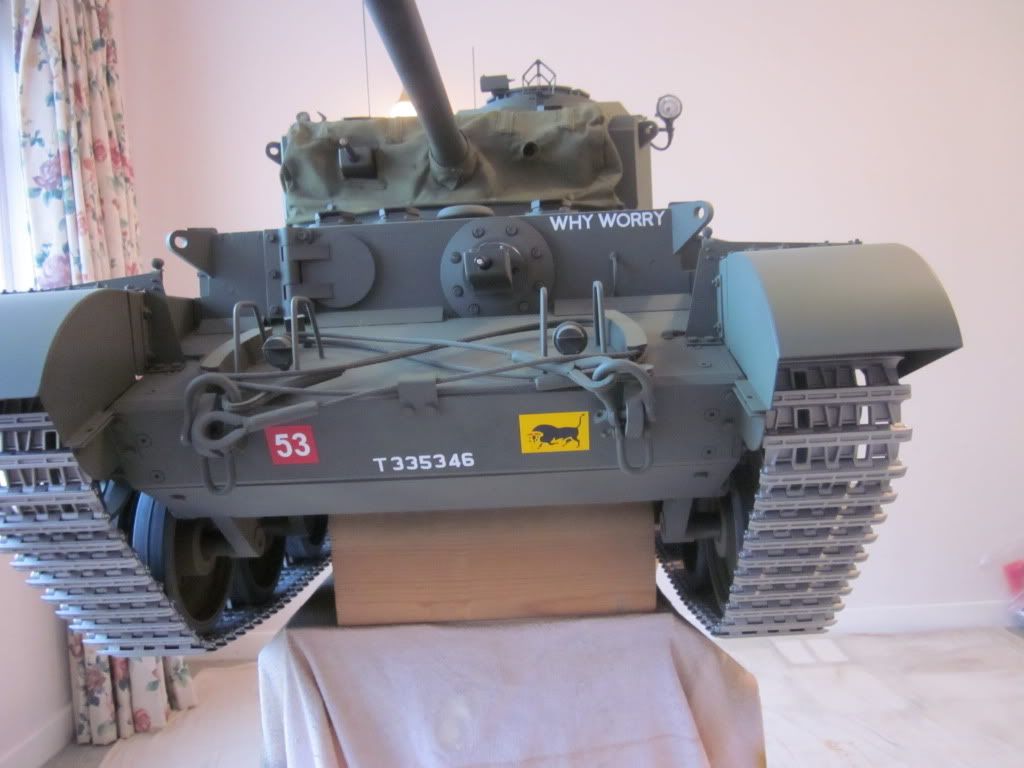
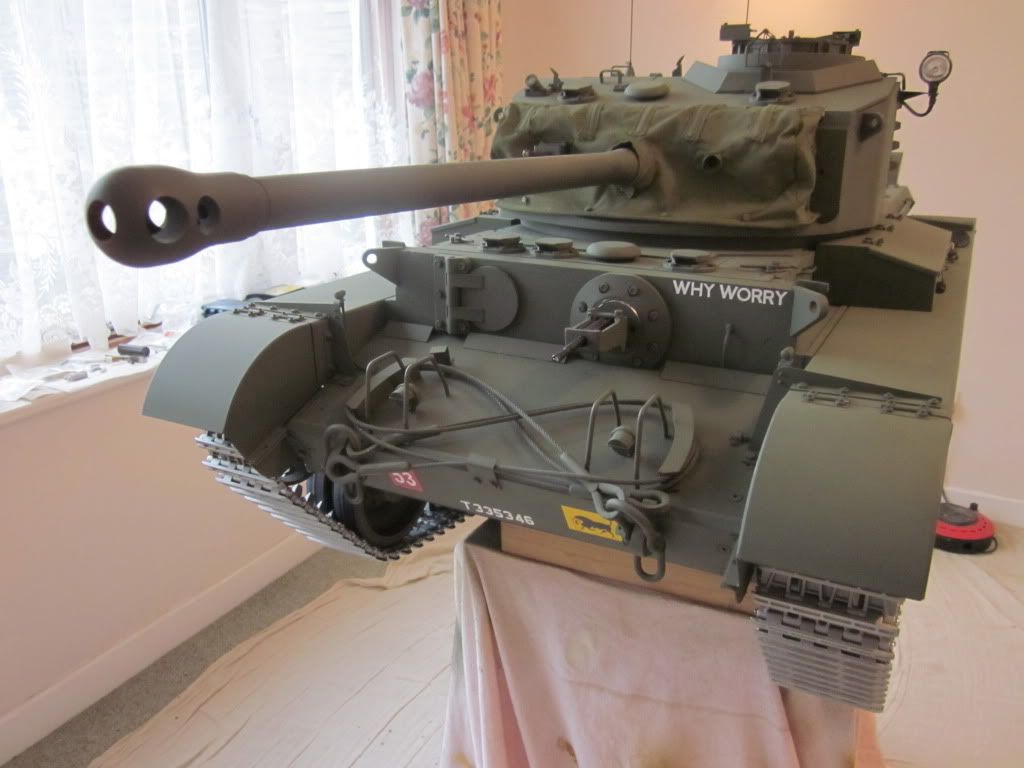
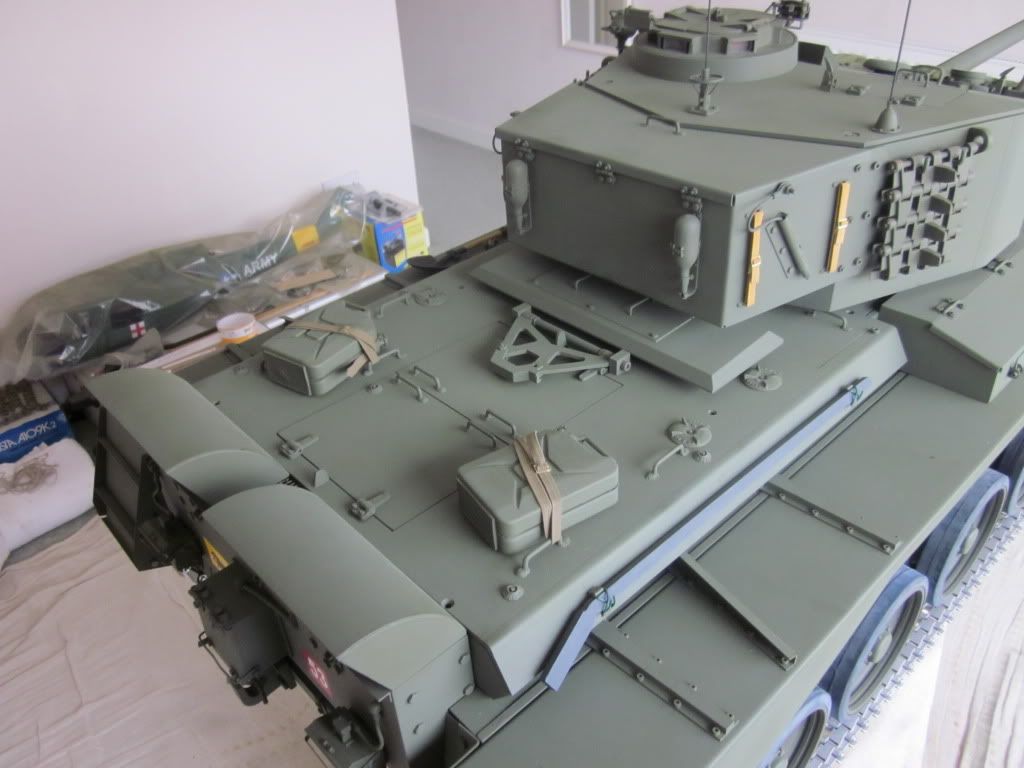
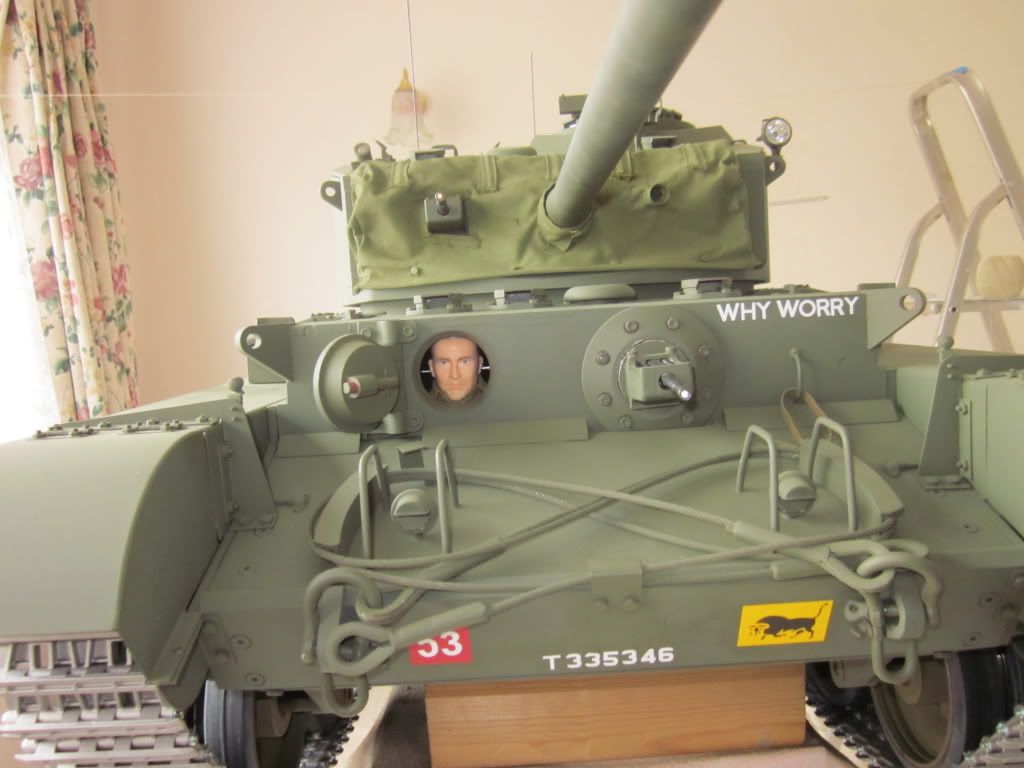
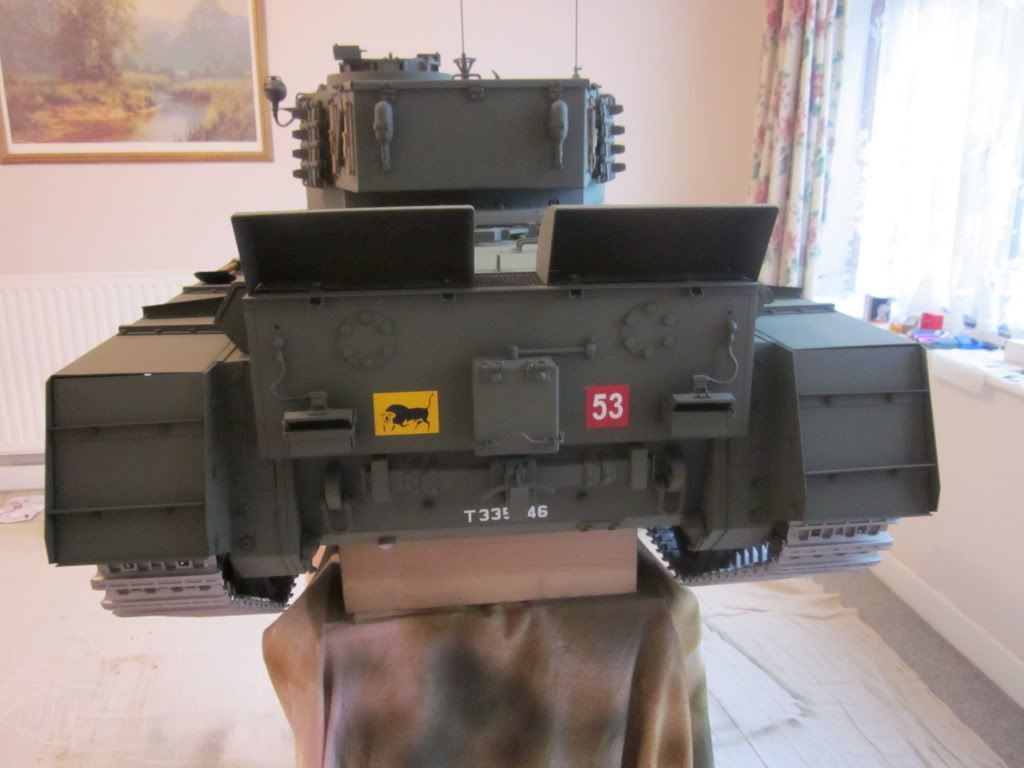
Some more detail front and rear

Post by phil fitzpatrick »

Image
Comet number T335346 WHY WORRY
Image
Image
Image
Image

robert michael hilton
Posts: 377
Joined: Sat Apr 03, 2010 3:23 pm
Location: Welshpool, Powys

Post by robert michael hilton »

Super build Phil.....the decals really add the finishing touch. Will you be using any 'weathering'. My own preference is to leave the Comet as is.
All being well, I hope to start on the 'internals' next week. I have sprayed my tracks, will fit them over the weekend, I will have to get my 'hod carrier' out again.
It would be nice to see more Comet builds, I guess not everyone has the time.
Anyway, it's been an interesting first few months, looking forward to the Spring/Summer and lots of running time.....Mick.

phil fitzpatrick
Posts: 2020
Joined: Sat Dec 12, 2009 3:38 pm
Location: Sambourne uk
Been liked: 223 times

Post by phil fitzpatrick »

Thanks Mick,
No I dont think I will be doing any weathering,I will be doing my tracks
when I take them off soon.
I did my Panzer tracks with just thin coats of red oxide then a light grey
then the sand camaflauge I had used on the tank.
I left the tips that go between the wheels bare metal and a few minutes
driving round the patio gets the high points of the tracks back down to bare
metal,and it looked pretty good.
Dirt and dust will do the rest.
I've still got plenty of detail to do inside and out,I have just done the turret
internal lights,but I shall photo those after tidying the wireing up.
Cheers
Phil

phil fitzpatrick
Posts: 2020
Joined: Sat Dec 12, 2009 3:38 pm
Location: Sambourne uk
Been liked: 223 times

Episcopes

Post by phil fitzpatrick »

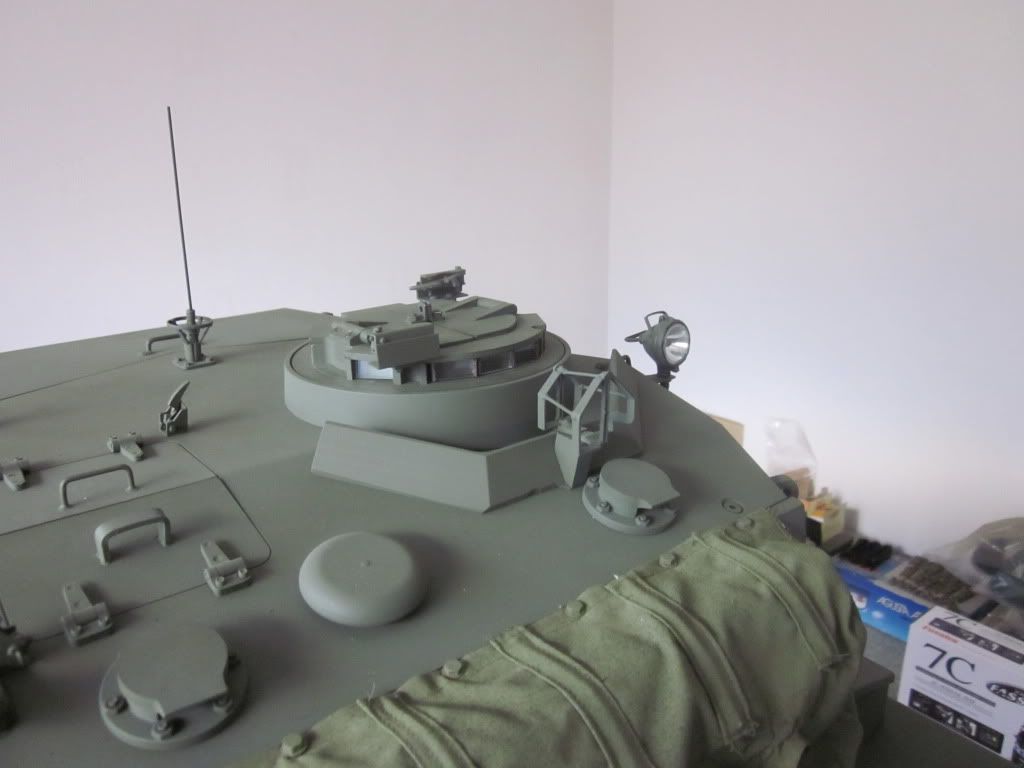
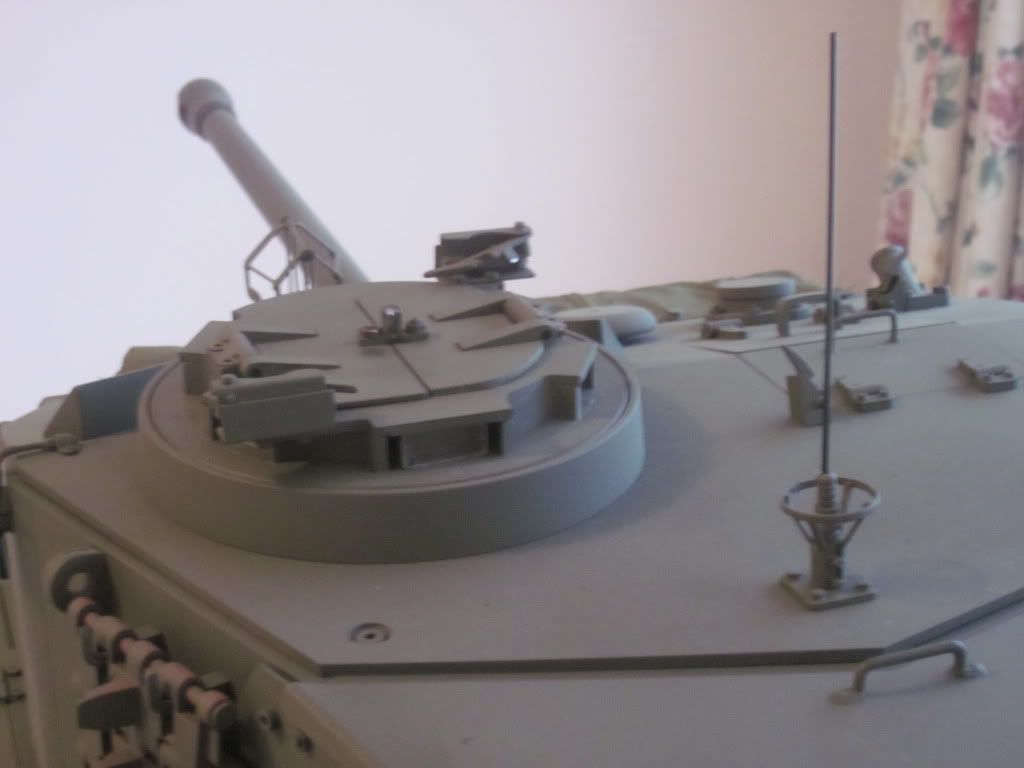
Episcopes fitted to cupola
Image
Image
Image

phil fitzpatrick
Posts: 2020
Joined: Sat Dec 12, 2009 3:38 pm
Location: Sambourne uk
Been liked: 223 times

Towing Cables

Post by phil fitzpatrick »

Towing Cables fitted
Image
Image

Richie Wignall

Post by Richie Wignall »

Hi Phil

Your Comet looks fantastic, you've done a great job on it. If you want to get more pressure out of the exhaust, try reducing it at the very end of the pipework to 10mm on each outlet. Also, you could try a 10mm piece of pipe and squashing the end in the vice to make a very thin slit. This may look even better!!

Phil, Steve & Nick

Don't get told off by the Missus for smoking the house out - been there plenty of times.......!!!!
Also avoid liquid parafin in the house, or you could spend all night on the loo!! been their also.

Thanks for the kind comments, if you guys have any videos of your smokers I would appreciate a look.
r-wignall@sky.com

Thanks again

Richie Wiggytronics :wink: :

phil fitzpatrick
Posts: 2020
Joined: Sat Dec 12, 2009 3:38 pm
Location: Sambourne uk
Been liked: 223 times

Comet & Exhaust

Post by phil fitzpatrick »

Thanks Richie for your comments and especially the warning on parrafin,
I'll give that a miss.
Baby oil is probably dearer but the smells better.
I will take another vidio with my camera when I eventually get it outside
and adjust it properly,my other little vidio in my spare bed room that I posted,was with the adjustment full up :lol:
I think it should be just fine I hope so because it was a devil of a job
getting the end U bend on after all the detail round the mesh and under
the normandy canopies,but I will keep all those tips in mind.
Cheers
Phil

robert michael hilton
Posts: 377
Joined: Sat Apr 03, 2010 3:23 pm
Location: Welshpool, Powys

Post by robert michael hilton »

Hello Phil, your Comet build is superb and really looks fantastic with all the additions....I will telephone the guy who made up your 'decals' this week.

Starting on the 'options' this week, have you secured your batteries in the hull? I was thinking of using double sided tape.
Also I have been trying to source the foam packing you are using between the units.

I 'brush' painted my inner hull with Rustins Aluminium paint over the weekend. I would like to have sprayed this....to late now....should have obtained the A34 Comet book earlier. Looks ok though....Mick

phil fitzpatrick
Posts: 2020
Joined: Sat Dec 12, 2009 3:38 pm
Location: Sambourne uk
Been liked: 223 times

decals/battery fixing

Post by phil fitzpatrick »

Thanks Mick

Re my Decals
if you have a close look at the Bull in my decals you will see a skall black
mark on the left that looks like a 3rd front leg without the red foot.
When I discovered it on photographing them on my tank,I covered it with a
little strip of the yellow.
He did that good a job he even copied the blemish on the phot sample I sent.
He will take this off for you if you ask him and if you cant get him on
the phone I think I put his email address in the postings.
He will also do the letters and numbers to your own size if they are not
shown on his web site.
I will be coating my decals with something clear to protect the befor it
goes outside

Re battery fixing
I have just wedged mine in position with sponge so that they cant move
arround in the hull,I dont think I will be driving in a maner to have the
battery jump up.
I used velcro on my Panzer batteries and at first i used 2 inch squares of
the heavy duty velcro and I had to use a screw driver to break the hold
when I tried to get my battery out.
It certainly works,I reduced it to 2 small bits towards the front of each
battery and it was ample.
Other people use small straps or make a little tray to hold them.
Velcro is fast and does the job.

Re packing
The stuff I have been using is just what I have horded in the past,from
packing arround electronic and radio items.
I packed under my speakers with a thin strip of polystyreen velcroed to
the floor,to take the load off the plastic speaker brackets which I had bolted
to the hull floor.

Your tracks look good Mick,that was a good choice of paint.

Cheers
Phil

phil fitzpatrick
Posts: 2020
Joined: Sat Dec 12, 2009 3:38 pm
Location: Sambourne uk
Been liked: 223 times

Fuel Cans

Post by phil fitzpatrick »

Fuel Cans

Image

phil fitzpatrick
Posts: 2020
Joined: Sat Dec 12, 2009 3:38 pm
Location: Sambourne uk
Been liked: 223 times

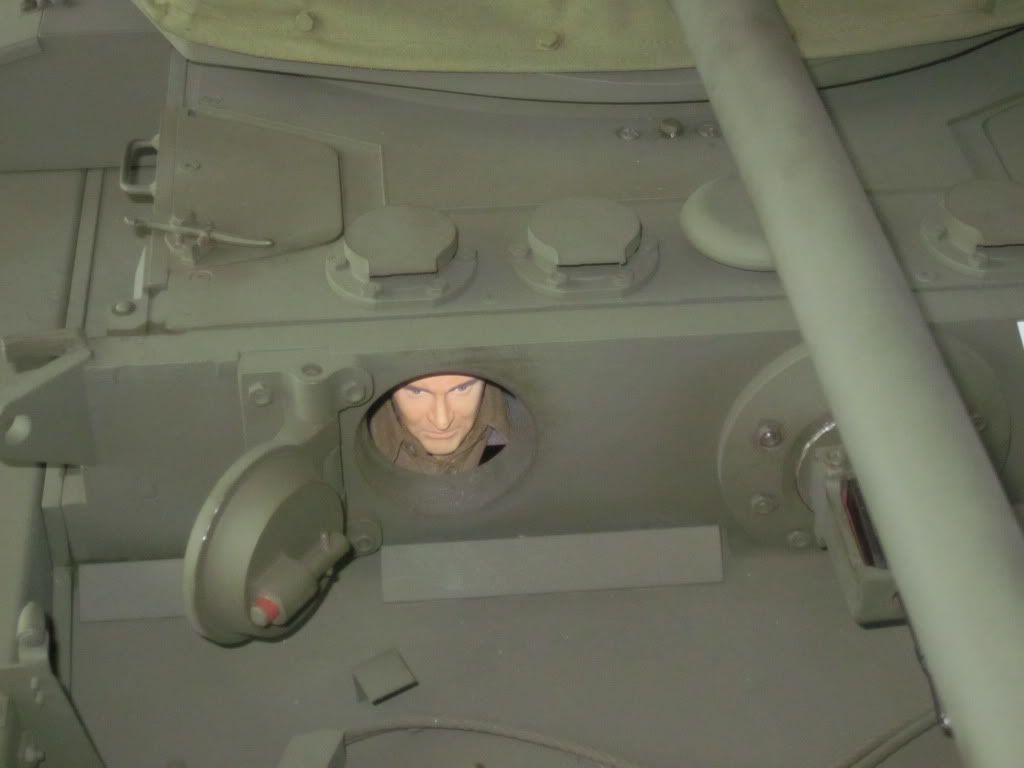
My Driver

Post by phil fitzpatrick »

Meet my driver Herman
Image
Image
:oops: I zoomed in and the fog came down

Image

robert michael hilton
Posts: 377
Joined: Sat Apr 03, 2010 3:23 pm
Location: Welshpool, Powys

Post by robert michael hilton »

Hello Phil, your driver looks the part, have just reread your post on securing the internal options....so ignore my question on the double sided tape.

If I can fit the internal parts over the coming weeks this will leave time to attempt upgrades or additional bits, like welds etc,. I think these give these models the final touch.....mick

Dennis Jones
Posts: 893
Joined: Wed Feb 04, 2009 11:19 am
Location: Poole, Dorset
Has liked: 10 times
Been liked: 224 times

Post by Dennis Jones »

Spooky Phil !!!!

Dennis.

Post Reply